Introduction
Welcome to the exciting world of virtual reality gaming with PlayStation VR! If you’re a fan of immersive gameplay experiences, then you’re in for a treat. PlayStation VR (PS VR) is a virtual reality headset designed specifically for use with PlayStation 4 gaming consoles. It offers a remarkable level of immersion, allowing you to step into your favorite games and experience them like never before.
With PlayStation VR, you can explore virtual worlds, interact with characters, and engage in thrilling adventures that blur the line between reality and fiction. Whether you’re a seasoned gamer or new to the world of gaming, PS VR provides a unique and unforgettable gaming experience.
But before you can dive into the world of virtual reality gaming, there are a few things you need to know and set up. In this guide, we will walk you through the process of setting up your PlayStation VR headset and getting it ready for gaming.
From assembling the hardware components to connecting the necessary cables and adjusting the headset for optimal comfort, we’ll cover it all. We’ll also guide you through the software setup process and ensure that your PlayStation 4 console is ready to deliver a seamless VR experience.
So, if you’re ready to take gaming to the next level, let’s get started with setting up your PlayStation VR!
What is PlayStation VR?
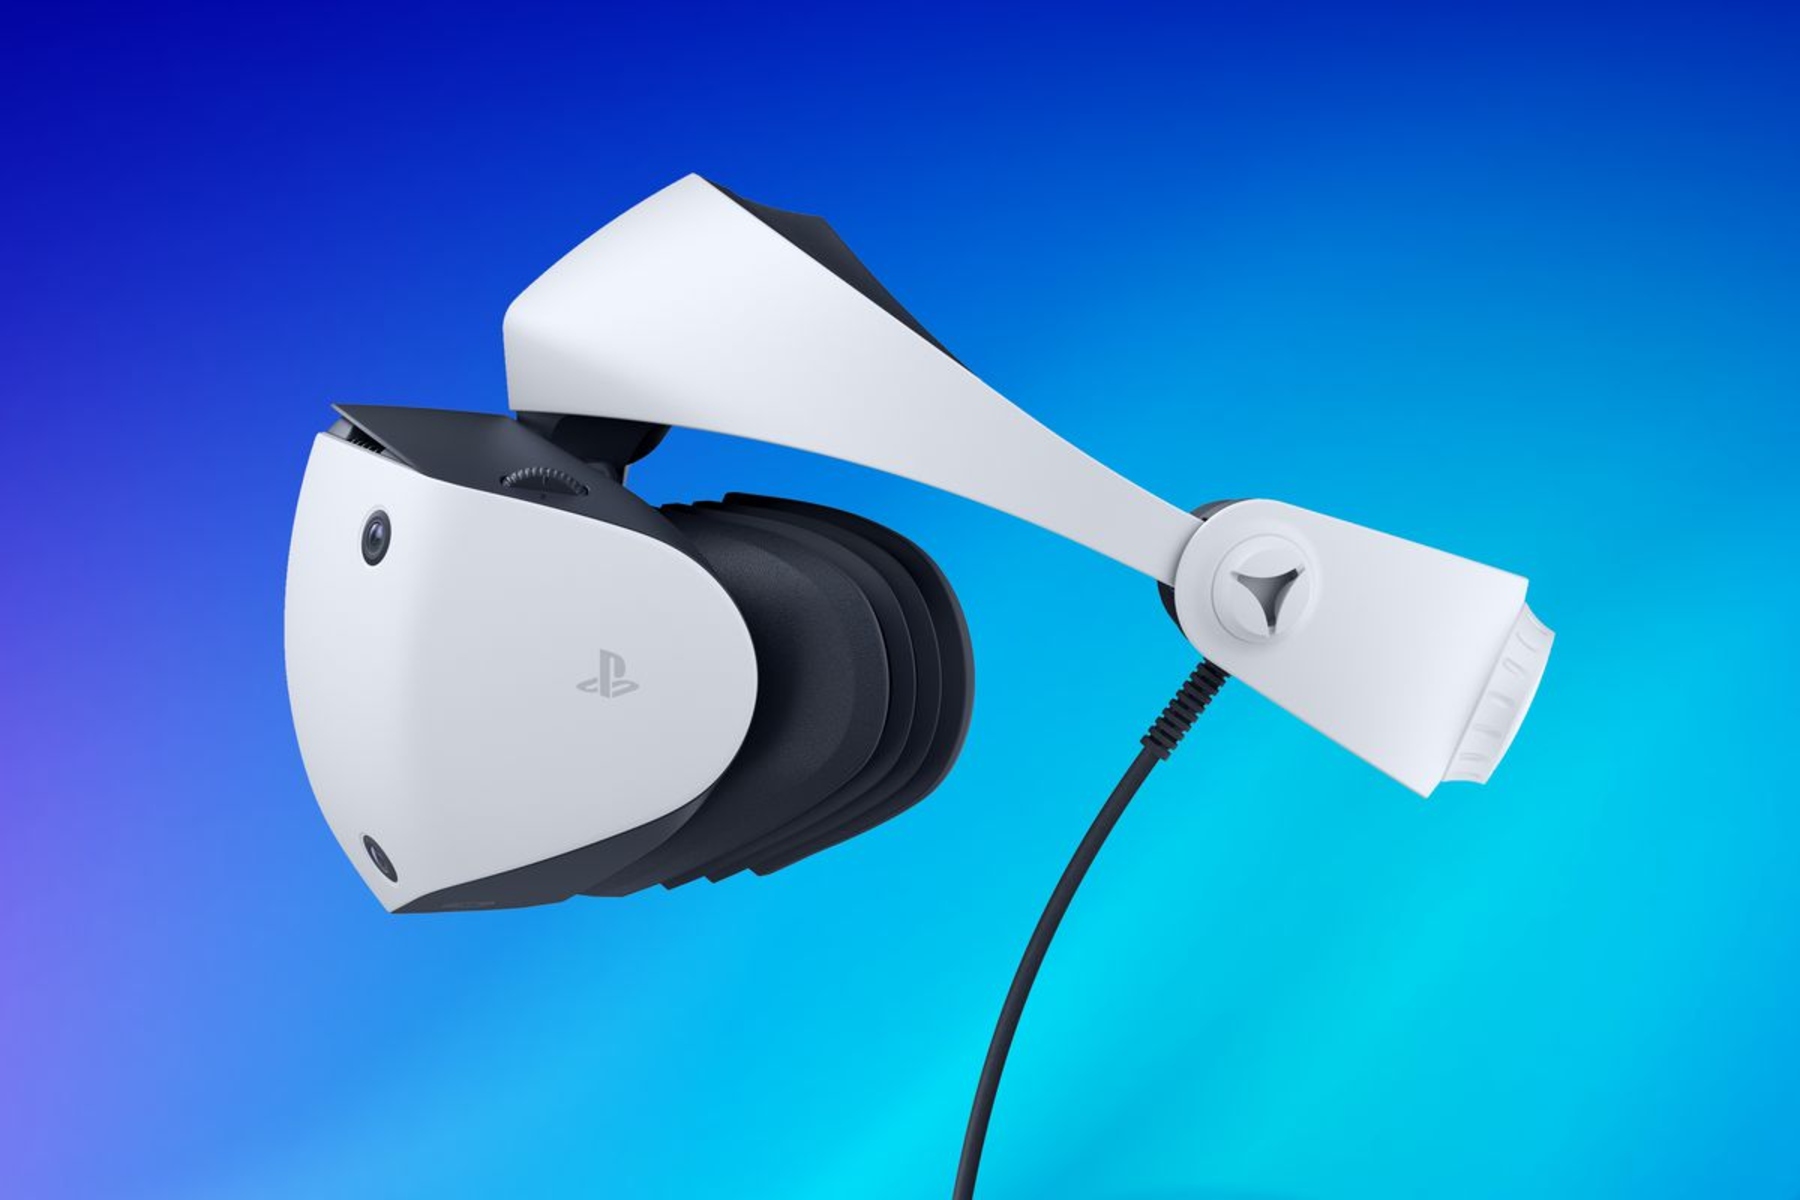
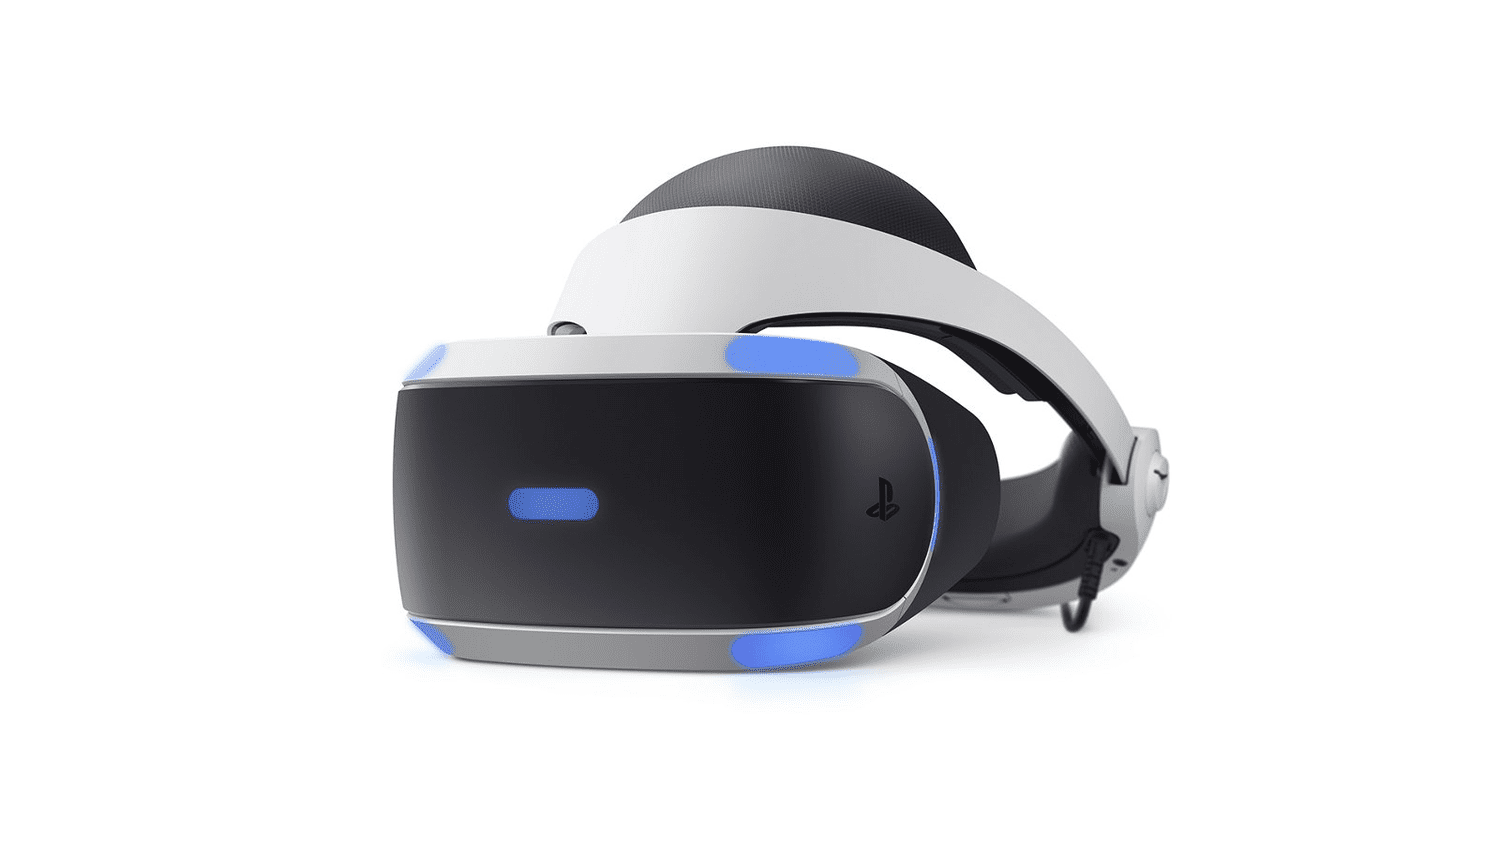
PlayStation VR, often abbreviated as PS VR, is a virtual reality headset developed by Sony Interactive Entertainment. It is designed to be used with the PlayStation 4 (PS4) console, providing gamers with an immersive and interactive virtual reality gaming experience.
Unlike traditional gaming, where players view the game on a TV screen, PS VR places players directly inside the game world. By wearing the PS VR headset, players can explore virtual environments in 360 degrees, as well as interact with characters and objects in a more realistic way.
The PlayStation VR headset features a high-resolution OLED display, which provides smooth visuals and a wide field of view. It also incorporates 3D audio technology, which enhances the immersive experience by delivering realistic and directional audio cues.
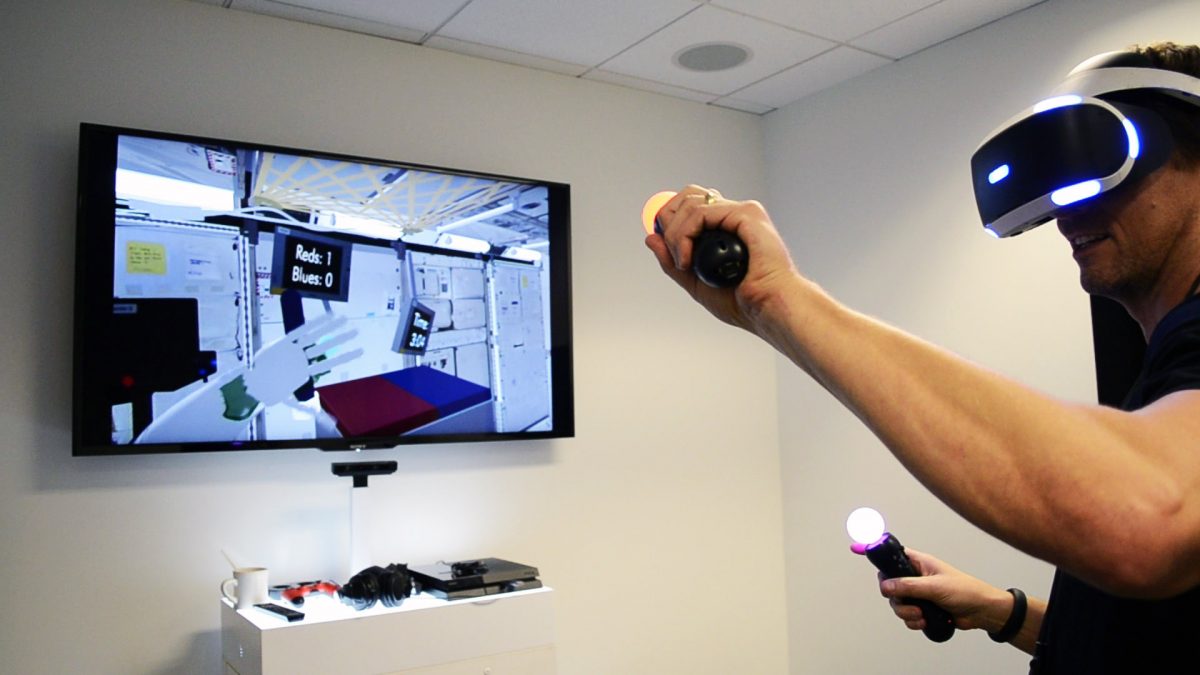
PS VR utilizes the PlayStation Camera, a motion-sensing device that tracks the movement of the player’s head and the position of the PlayStation Move controllers. This tracking technology enables players to have an unprecedented level of control and freedom within virtual reality worlds.
With a growing library of VR games and experiences, PlayStation VR offers a diverse range of genres to suit every taste. From action-packed adventures to immersive simulations and captivating storytelling, there is something for everyone.
Beyond gaming, PlayStation VR also supports non-gaming applications, such as virtual reality videos, 360-degree photos, and even virtual reality experiences created by independent developers.
PlayStation VR is designed to be user-friendly and accessible to both hardcore gamers and casual players. It provides a unique and exciting way to enjoy gaming, bringing players closer to the action and immersing them in worlds they’ve only dreamed of.
With its innovative technology and immersive capabilities, PlayStation VR has quickly become a popular choice among virtual reality enthusiasts and has contributed to the growing mainstream adoption of virtual reality gaming.
What You Need Before Setting Up PlayStation VR
Before diving into the world of virtual reality with PlayStation VR, there are a few things you’ll need to ensure a smooth setup process and optimal gaming experience.
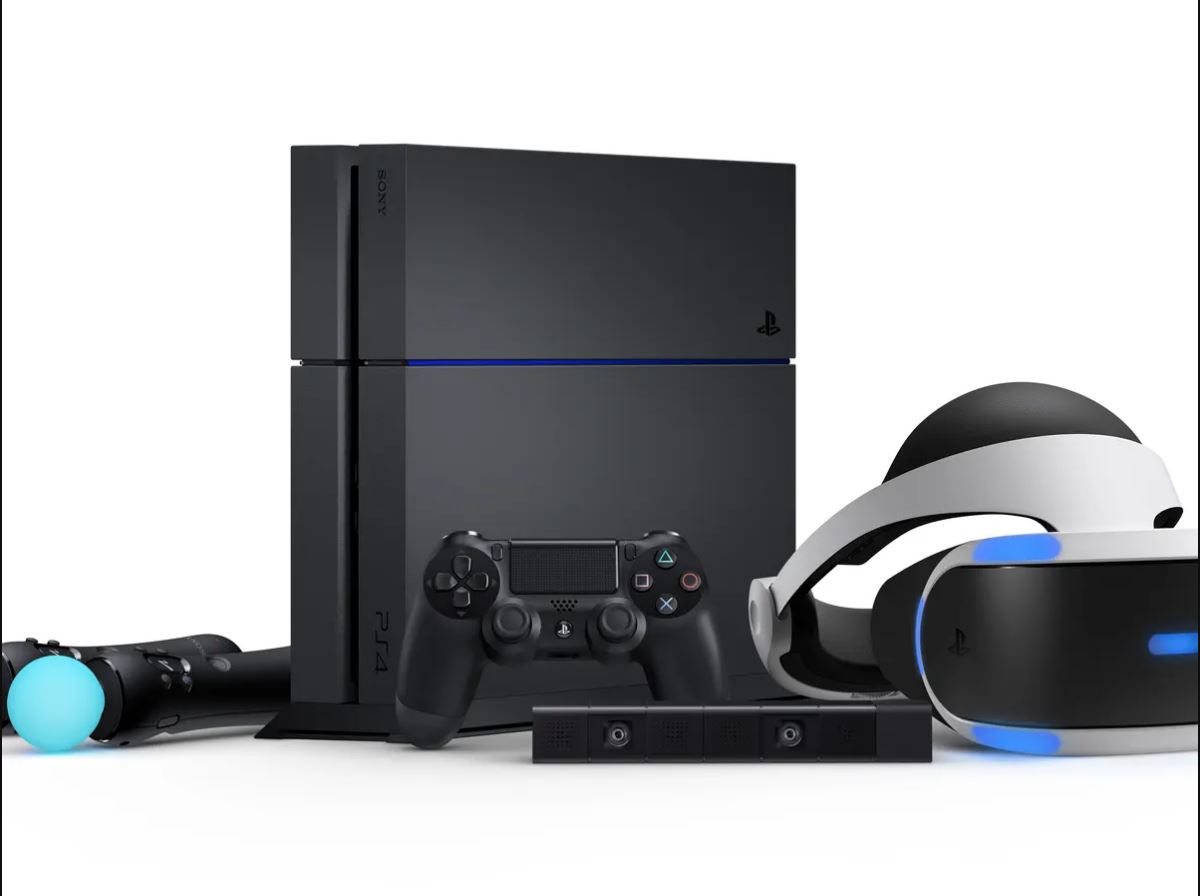
1. PlayStation 4 Console: PlayStation VR is designed to work with PlayStation 4 and PlayStation 4 Pro consoles. Make sure you have a compatible console before proceeding with the setup.
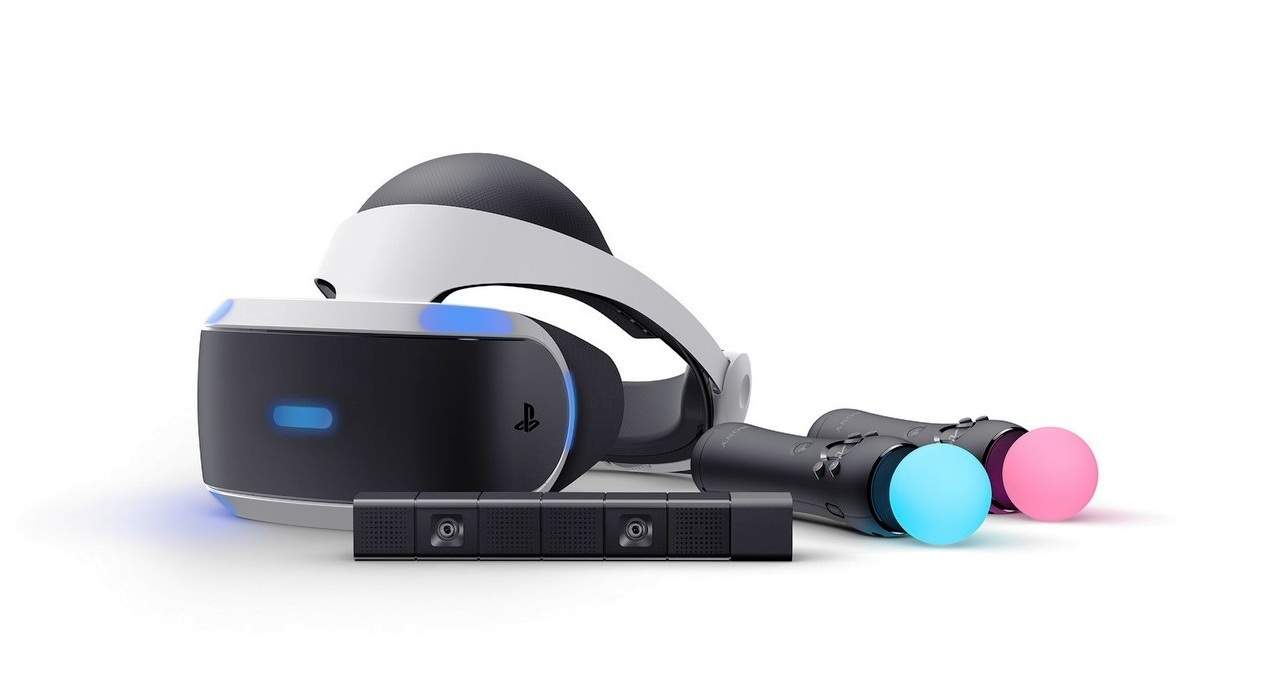
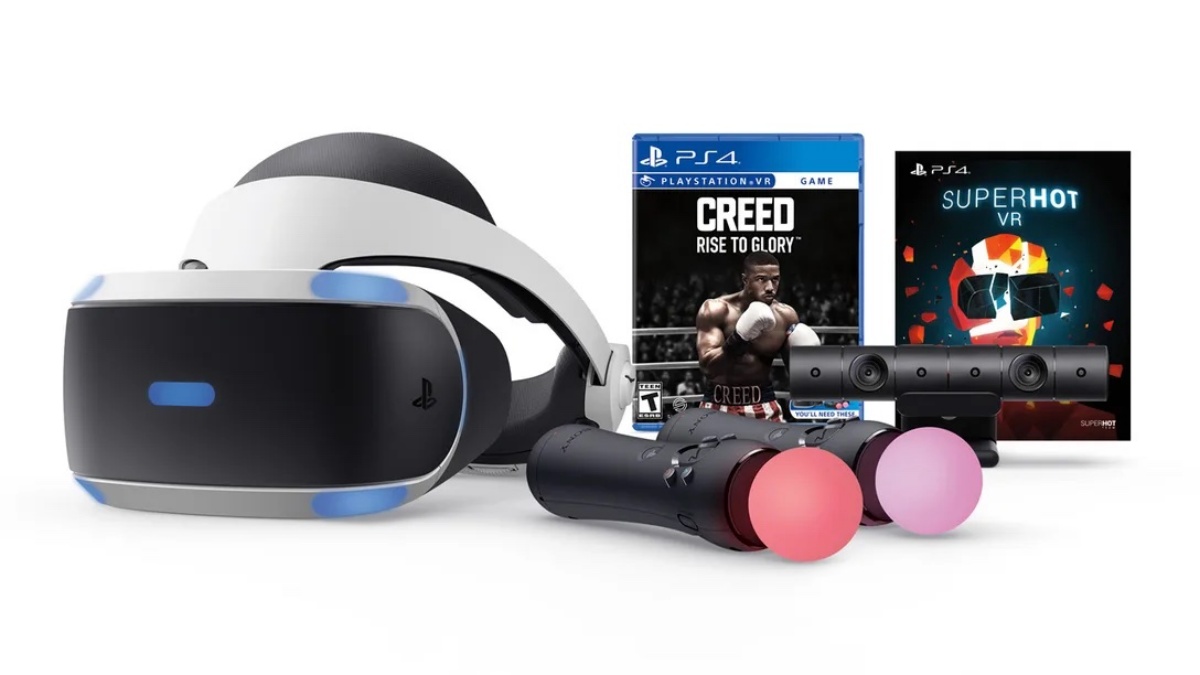
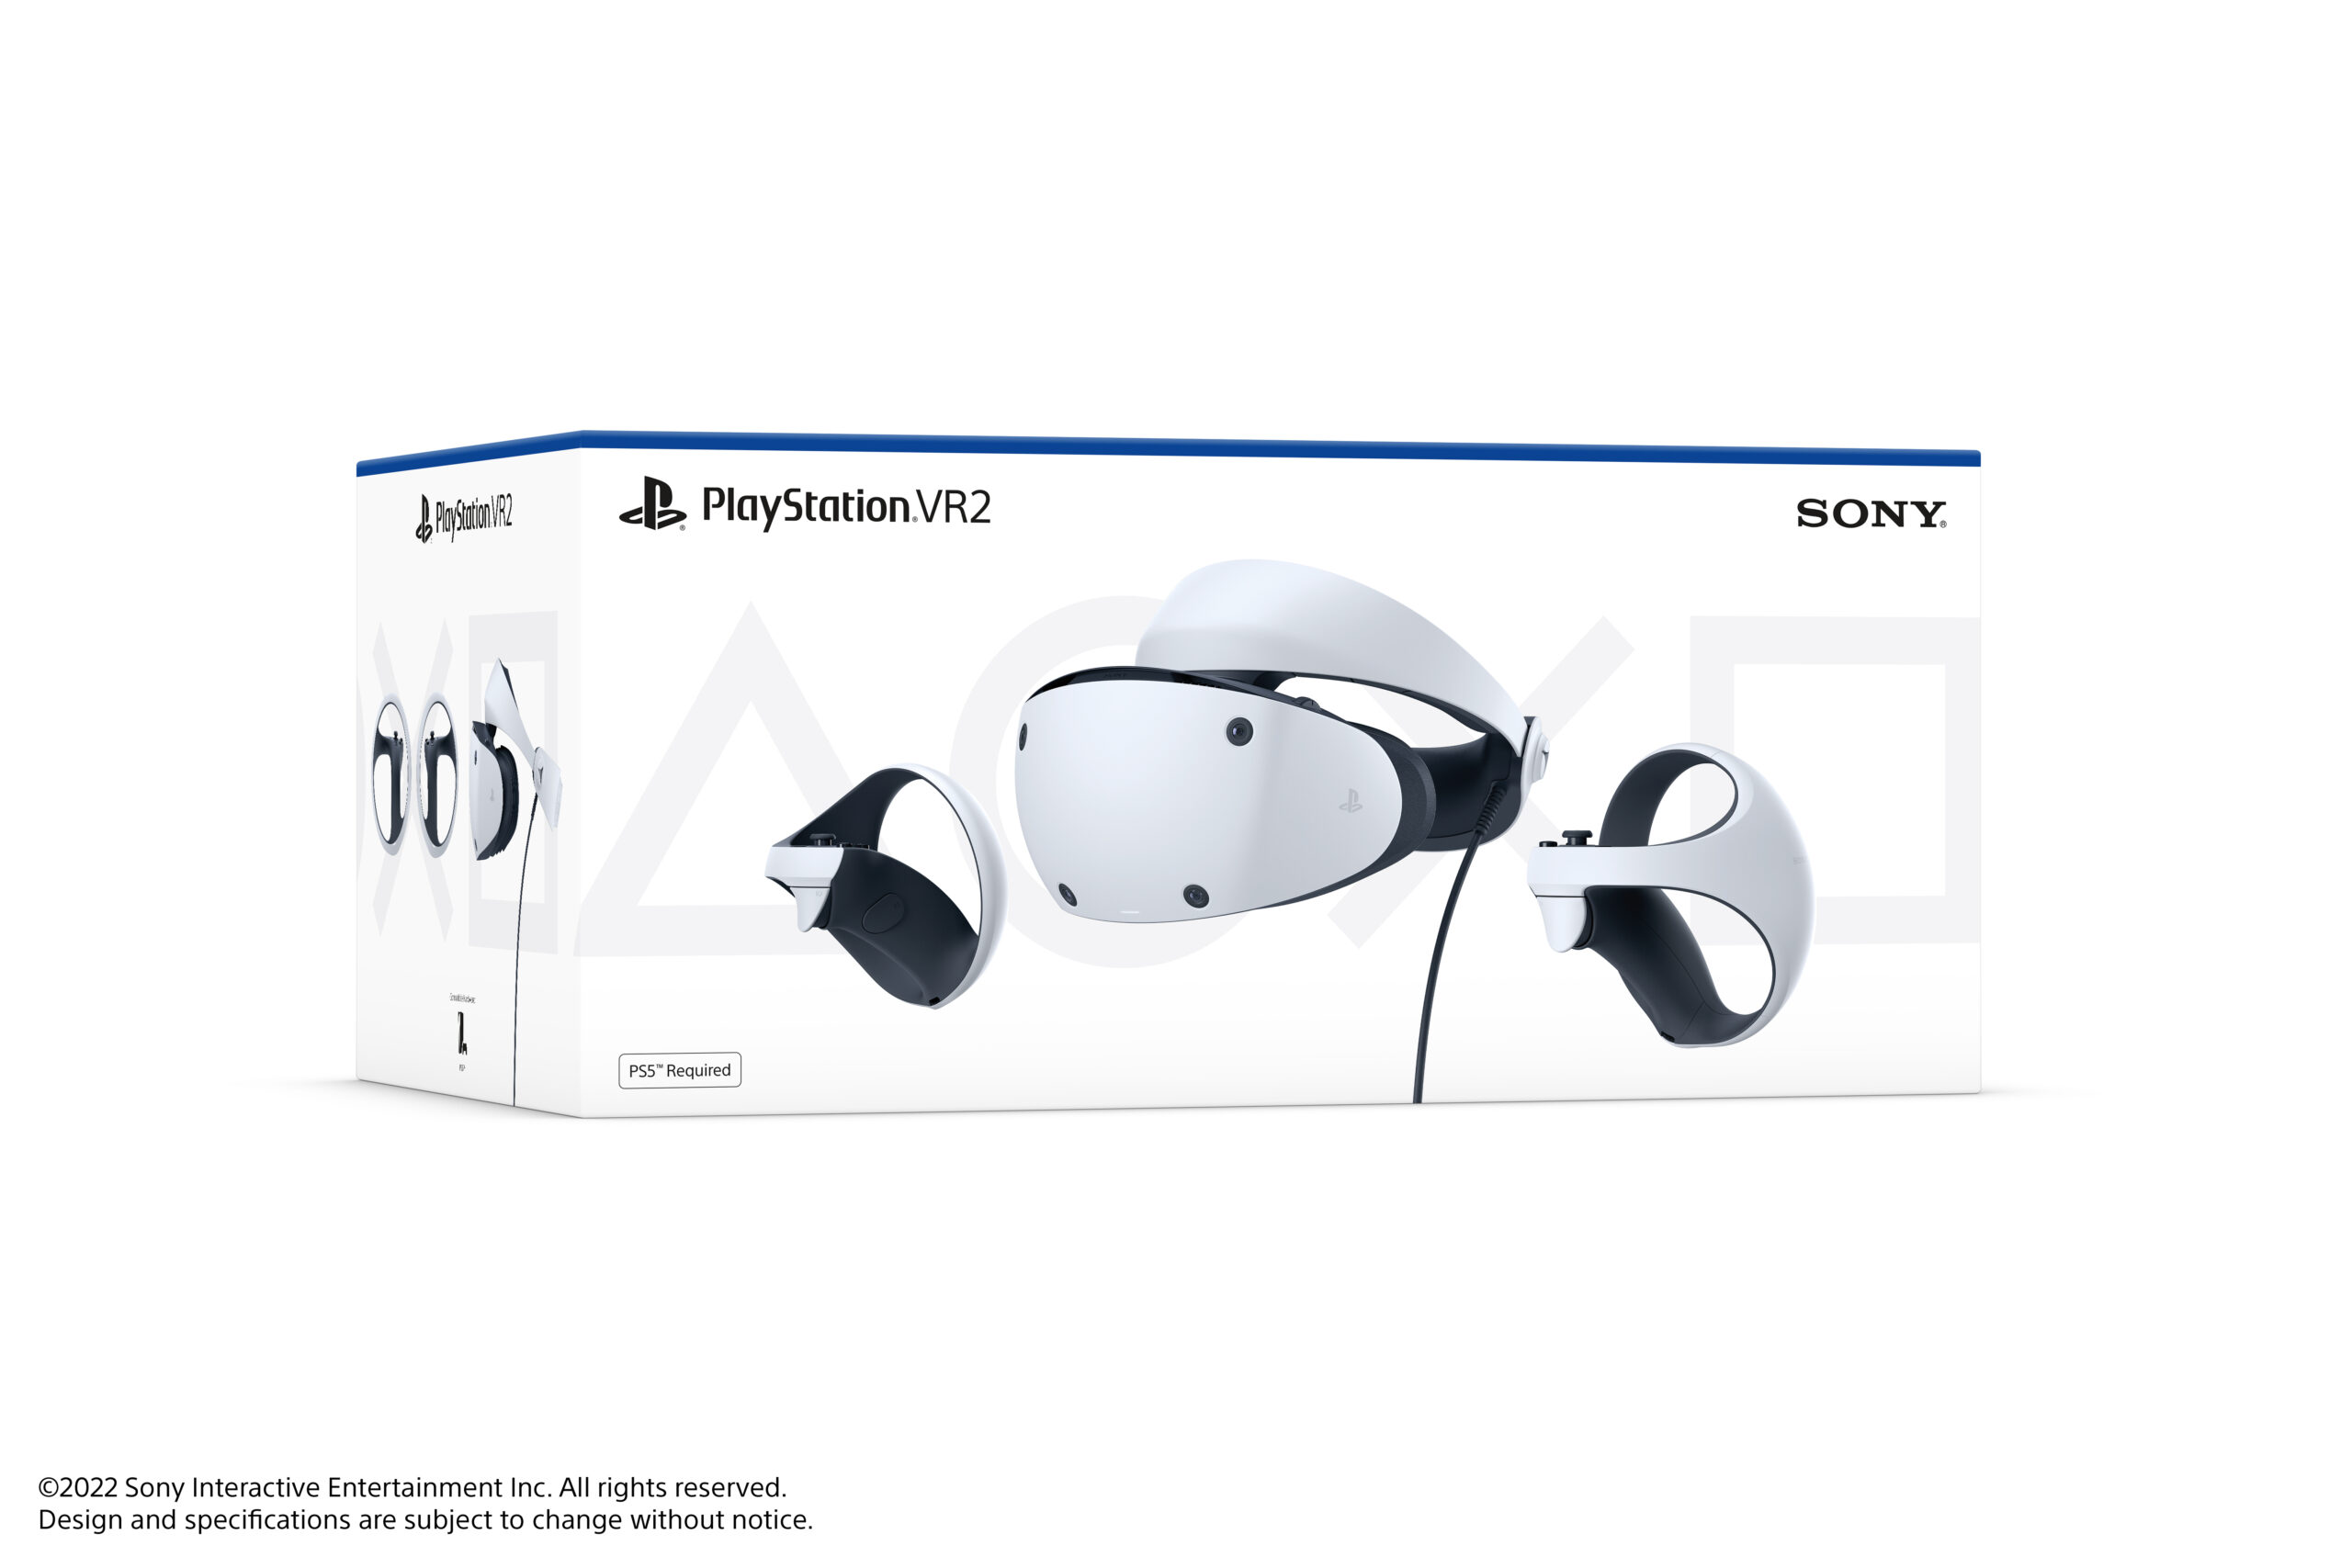
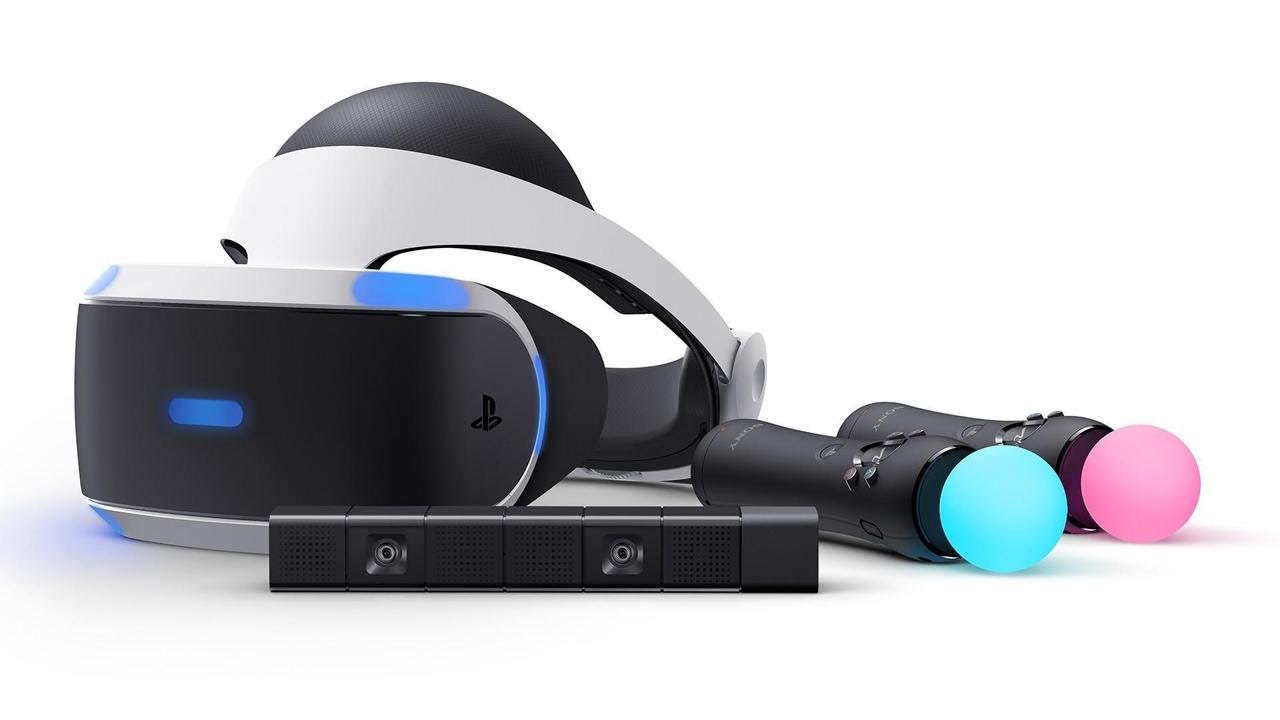
2. PlayStation VR Bundle: To get started with PS VR, you’ll need to purchase a PS VR bundle, which typically includes the PS VR headset, PlayStation Camera, and sometimes Move controllers. The bundle ensures you have all the necessary hardware to enjoy virtual reality gaming.
3. PlayStation Camera: The PlayStation Camera is an essential component of the PS VR setup. It tracks the position of your headset and PlayStation Move controllers, enabling precise motion tracking and enhancing the immersive experience. Ensure that you have the PlayStation Camera before setting up PS VR.
4. PlayStation Move Controllers: While not required for all PS VR games, PlayStation Move controllers allow for more interactive and realistic gameplay. Some games rely on motion controls, and having PlayStation Move controllers can enhance your overall gaming experience.
5. Adequate Space: VR gaming requires some physical space to move around comfortably and safely. Make sure you have enough room in your gaming area to move freely without bumping into furniture or obstacles. Clearing the space beforehand will prevent any accidents or interruptions during gameplay.
6. Stable Internet Connection: While not directly related to the setup process, a stable internet connection is essential for downloading game updates, accessing online multiplayer features, and experiencing additional VR content. Ensure that your PlayStation console is connected to a reliable internet connection.
7. Patience and Time: Setting up PlayStation VR requires some time and patience. It is important to carefully follow the setup instructions provided with the device. Taking the time to properly set up the hardware and calibrate the system will ensure the best immersive gaming experience.
With these necessary prerequisites in place, you’re now ready to embark on your PS VR journey. The next step involves assembling and connecting the PS VR hardware, which we’ll cover in detail in the following sections.
Setting Up the PlayStation VR Hardware
Setting up the PlayStation VR hardware is the first step towards experiencing virtual reality gaming on your PlayStation 4 console. Here’s a step-by-step guide to help you get started:
1. Unboxing the PlayStation VR: Open the PlayStation VR box and carefully remove all the components. You should find the PS VR headset, the processing unit, cables, and other accessories.
2. Assembling the PS VR Headset: Gently remove the protective covers from the PS VR headset lenses. Adjust the headband size to fit comfortably on your head. Ensure that the cables are not twisted or tangled.
3. Connecting the Cables: Locate the cable that connects the PS VR headset to the processing unit. Plug one end of the cable into the headset and the other end into the corresponding port on the processing unit. Make sure the connections are secure.
4. Connecting the Processing Unit to the PlayStation 4: Take the cable connected to the VR headset and plug it into the port labeled “HDMI PS4” on the processing unit. Connect the other end of the cable to the HDMI port on your PlayStation 4 console.
5. Connecting the Television: Take the HDMI cable that came with the PlayStation 4 console and connect it to the HDMI port on the processing unit labeled “HDMI TV.” Plug the other end of the cable into the HDMI port on your TV.
6. Powering On: Connect the power cable to the processing unit and plug it into a power outlet. Ensure that all the connections are secure. When ready, press the power button on the processing unit to turn on the PlayStation VR.
7. Adjusting the PS VR Headset: Put on the headset and align it properly on your head. Use the adjustment dial at the back to tighten or loosen the fit. Adjust the scope of view by sliding the button at the bottom of the visor up or down. Ensure a comfortable and clear view.
8. Adjusting the Position of the PlayStation Camera: Place the PlayStation Camera on a stable surface above or below your TV. Tilt and adjust the camera angle so that it captures your head and the PS VR headset properly. Follow the on-screen instructions to fine-tune the camera position.
With the PlayStation VR hardware properly set up, you’re now one step closer to entering the immersive world of virtual reality gaming. The next section covers how to connect the PlayStation VR headset to complete the setup process.
Connecting the PlayStation VR Processor Unit
The PlayStation VR Processor Unit is a crucial component that acts as the intermediary between your PlayStation 4 console and the PS VR headset. Follow these steps to connect the Processor Unit:
1. Positioning the Processor Unit: Find a suitable location near your PlayStation 4 console to place the Processor Unit. It should be within reach of the necessary cables and have enough ventilation to prevent overheating.
2. Connecting the AC Adaptor: Take the AC adaptor provided with the PlayStation VR and connect it to the Processor Unit’s power input port. Plug the other end into a power outlet.
3. Connecting the HDMI Cables: Locate the HDMI cable that came with the PlayStation VR. Connect one end of the HDMI cable to the Processor Unit’s HDMI output port labeled “TV/AVR”. Connect the other end to an available HDMI input port on your TV or audio/video receiver (AVR).
4. Connecting the PlayStation 4: Take the HDMI cable that connects your PlayStation 4 to your TV and detach it from the TV. Connect the free end of this HDMI cable to the Processor Unit’s HDMI input port labeled “PS4.” This ensures that the video and audio signals pass through the Processor Unit.
5. Connecting the USB Cables: Locate the USB cables that came with the PlayStation VR. Connect one USB cable from the Processor Unit’s USB port labeled “PS VR” to an available USB port on your PlayStation 4. Connect the other USB cable from the Processor Unit’s USB port labeled “HDMI” to an available USB port on your PlayStation 4 or your TV.
6. Connecting the PS VR Headset: Connect the cable attached to the PS VR headset to the corresponding port on the Processor Unit. Ensure a secure connection. This cable transmits video and audio signals to the PS VR headset.
7. Checking the Connections: Double-check all the connections to ensure they are secure and properly inserted. Make sure there are no loose cables or tangled wires that could affect the performance of the PlayStation VR.
By following these steps to connect the PlayStation VR Processor Unit, you have now established the necessary connection between your PlayStation 4 console, the Processor Unit, and the PS VR headset. The next section will guide you through the process of setting up the PlayStation Camera for optimal tracking and gameplay.
Setting Up the PlayStation Camera
The PlayStation Camera is an essential component of the PlayStation VR setup, as it enables accurate tracking of your movements and enhances the overall virtual reality experience. Here’s how you can set up the PlayStation Camera:
1. Positioning the Camera: Place the PlayStation Camera on a stable surface or mount it securely above or below your TV. Make sure that the camera is facing the play area and is positioned at a suitable height to capture your movements.
2. Adjusting the Camera Angle: Tilt and adjust the camera angle by carefully manipulating the camera stand or mounting bracket. The goal is to have the camera capture your head and the PlayStation VR headset within its field of view.
3. Checking the Camera Position and Angle: Turn on your PlayStation 4 console and access the “Settings” menu. Navigate to “Devices” and select “PlayStation Camera.” The console will display a preview of what the camera sees. Use this preview to fine-tune the camera position and angle until your head and the PS VR headset are clearly visible.
4. Lighting Conditions: Ensure that the play area is well-lit but avoid direct sunlight and bright light sources that may cause interference. Balanced and natural lighting conditions are ideal for accurate tracking.
5. Calibrating the Camera: Once you have positioned and adjusted the camera, it’s advisable to calibrate it to enhance tracking accuracy. Follow the on-screen instructions from the PlayStation 4 console to perform the camera calibration process. This typically involves holding the PlayStation VR headset in front of your face while the camera records reference points.
6. Verifying Tracking: Test the camera tracking by moving within the play area while wearing the PlayStation VR headset. Ensure that your movements are accurately reflected in the virtual reality environment. If you experience any tracking issues, follow the troubleshooting steps provided by Sony to improve the tracking performance.
With the PlayStation Camera set up and properly calibrated, you can now enjoy accurate tracking and a more immersive gaming experience with your PlayStation VR headset. The next section will guide you through adjusting the PS VR headset for optimal comfort.
Adjusting the PlayStation VR Headset
Properly adjusting the PlayStation VR headset is essential to ensure a comfortable and immersive virtual reality gaming experience. Follow these steps to achieve the optimal fit:
1. Putting on the Headset: Hold the PlayStation VR headset with both hands and gently place it over your head. Make sure the rear adjustment band is positioned at the base of your skull.
2. Securing the Headband: Adjust the headband by pulling on the tabs or rotating the adjustment dial at the back of the headset. The headband should rest comfortably on your head, providing a secure fit without exerting too much pressure.
3. Positioning the Visor: Adjust the scope of view by sliding the button at the bottom of the visor up or down. Position the visor at a comfortable distance from your face, ensuring that it fully covers your field of vision without causing discomfort or obstructing your view.
4. Adjusting the Interpupillary Distance (IPD): The IPD is the distance between the center of your pupils. To achieve optimal visual clarity, locate the IPD adjustment button or slider on the underside of the visor. Move the IPD adjustment mechanism until the virtual reality content appears clear and in focus.
5. Ensuring a Secure Fit: Tilt the visor slightly up and down, left and right, to confirm that it remains securely in place and does not shift or slide during gameplay. Adjust the headband or visor positioning as necessary to achieve a stable and secure fit.
6. Eyeglasses Compatibility: If you wear prescription eyeglasses, you can wear them while using the PlayStation VR headset. Adjust the headset to accommodate your glasses comfortably. If needed, you can also purchase additional eyeglass spacers to provide extra room for your glasses within the VR headset.
7. Taking Breaks: Virtual reality gaming can be immersive and intense. It’s important to take frequent breaks to rest your eyes and avoid discomfort or fatigue. Remove the headset, stretch, and take a short break from gameplay to prevent overexposure and maintain your overall comfort.
By carefully adjusting the PlayStation VR headset according to your preferences, you can ensure a comfortable fit that allows for extended periods of immersive gaming. The next section will guide you through the process of connecting the PlayStation VR headset to complete the setup process.
Connecting the PlayStation VR Headset
Connecting the PlayStation VR headset is the final step in setting up your PlayStation VR system. Follow these steps to ensure a proper connection:
1. Locate the Headset Cable: Take the cable attached to the PlayStation VR headset and find the corresponding port on the VR Processor Unit. The port is labeled “Headset Connection” or similar.
2. Connect the Headset Cable: Carefully align the cable connector and gently insert it into the headset port on the VR Processor Unit. Ensure that the connection is secure and snug.
3. Position the Headset Cable: Guide the headset cable along the designated groove or clip on the VR Processor Unit. This helps keep the cable organized and prevents it from tangling or getting in the way during gameplay.
4. Take Precautions with the Cable: Avoid stepping on or tripping over the headset cable while wearing the PlayStation VR headset. It is a good practice to position the cable behind you or to the side and out of the way while playing.
5. Wear the Headset: Now, put on the PlayStation VR headset and adjust it according to your comfort level. Make sure the visual clarity is optimal and that the headset rests securely on your head.
6. Attach the Stereo Headphones (optional): If you have the PlayStation VR Stereo Headset or any compatible headphones, connect them to the headset jack on the VR Processor Unit. This allows for an immersive audio experience during gameplay.
7. Manage the Cables: Take a moment to manage the cables connected to the PlayStation VR headset, ensuring they are not twisted or tangled. This prevents any interruptions in gameplay and helps maintain a seamless experience.
With the PlayStation VR headset properly connected to the VR Processor Unit, you are ready to embark on your virtual reality gaming adventure. Prepare to be transported to new worlds, engage in thrilling experiences, and immerse yourself in the remarkable world of PlayStation VR.
Powering On PlayStation VR
After connecting all the necessary components, it’s time to power on your PlayStation VR system and prepare for an immersive gaming experience. Here’s how to power on PlayStation VR:
1. Ensure Proper Connections: Before powering on, double-check that all cables are securely connected to the PlayStation VR headset, the VR Processor Unit, the PlayStation Camera, and the PlayStation 4 console. Confirm that the power cables are plugged into the appropriate outlets.
2. Powering on the VR Processor Unit: Locate the power button on the VR Processor Unit. Press the button to turn it on. You should see an indicator light illuminate on the processor unit, indicating that it is powered on and ready for use.
3. Turning on the PlayStation 4 Console: Press the power button on your PlayStation 4 console to turn it on. Wait for the console to fully boot up and reach the home screen.
4. Activating VR Mode: From the PlayStation 4 home screen, navigate to the main menu and select the “Settings” option. In the settings menu, locate and select “Devices” followed by “PlayStation VR.” Enable the VR mode to activate the PlayStation VR functionality.
5. Adjusting the Television Display: If necessary, adjust the display settings on your television to ensure a clear and optimal view of the PlayStation VR gameplay. Refer to your TV’s user manual for instructions on adjusting display settings for gaming purposes.
6. Putting on the PlayStation VR headset: With your PlayStation 4 console and VR Processor Unit powered on, put on the PlayStation VR headset and adjust it according to your comfort and visual clarity. Ensure that the headset fits securely and snugly on your head, and the visor is positioned correctly in front of your eyes.
7. Following On-Screen Prompts: Once you have the PlayStation VR headset on and adjusted, follow any on-screen prompts or instructions that appear on your television. These prompts may include calibrating the headset or performing room setup to optimize tracking and gameplay.
With the PlayStation VR powered on and properly set up, you are now ready to explore virtual worlds, engage in exciting adventures, and discover the incredible immersion that PlayStation VR has to offer. Enjoy the thrilling ride of virtual reality gaming!
Setting Up PlayStation VR on Your PlayStation 4
Setting up PlayStation VR on your PlayStation 4 console involves a few important steps to ensure a seamless and optimized gaming experience. Here’s a guide to help you get started:
1. Updating the PlayStation 4 System Software: Connect your PlayStation 4 console to the internet and navigate to the settings menu. Check for system software updates and install any available updates to ensure your console is running the latest version. This step is crucial for compatibility and performance.
2. Installing PlayStation VR System Software: Access the PlayStation Store from the main menu of your PlayStation 4 console. Search for the PlayStation VR system software and download and install it. This software provides the necessary drivers and features for PlayStation VR.
3. Calibrating PlayStation VR: Follow the on-screen prompts and instructions provided by the PlayStation 4 console to calibrate your PlayStation VR headset and controllers. This calibration process helps optimize tracking accuracy and ensures smooth gameplay experiences.
4. Adjusting Display and Audio Settings: From the settings menu of your PlayStation 4 console, adjust the display and audio settings to suit your preferences and the capabilities of your TV or audio setup. This ensures the best visual and audio experience while using PlayStation VR.
5. Setting Up User Profiles: If multiple users will be using the PlayStation VR system, create individual user profiles on your PlayStation 4 console. This allows each user to personalize settings and preferences for their gaming experience.
6. Exploring PlayStation VR Content: Visit the PlayStation Store and browse the growing library of PlayStation VR games, experiences, and demos. Download and install the content you’re interested in and start exploring the vast world of virtual reality gaming.
7. Familiarizing Yourself with VR Controls: As you venture into VR gaming, take some time to familiarize yourself with the new control schemes and interactions. Depending on the game or experience, you may use the PlayStation DualShock 4 controller, PlayStation Move controllers, or even VR-specific peripherals.
By following these steps to set up PlayStation VR on your PlayStation 4 console, you’re ready to delve into a world of immersive gameplay experiences. Enjoy the incredible adventures and unforgettable moments that await you in the virtual reality realm!
Updating the PlayStation 4 System Software
Updating the system software on your PlayStation 4 console is a crucial step in setting up PlayStation VR, as it ensures compatibility with the VR system and provides improved performance and functionality. Here’s how to update your PlayStation 4 system software:
1. Connect to the Internet: Ensure that your PlayStation 4 console is connected to the internet. You can connect via a wired Ethernet connection or wirelessly using Wi-Fi. A stable internet connection is necessary for downloading and installing system software updates.
2. Accessing the Settings Menu: From the main PS4 menu, scroll to the right and select the “Settings” icon. The settings menu contains various options for configuring your PlayStation 4 console.
3. System Software Update: Within the settings menu, scroll down and select the “System Software Update” option. This will check for any available updates.
4. Checking for Updates: After selecting “System Software Update,” your PlayStation 4 console will check for available updates. If an update is available, it will be shown on the screen.
5. Downloading and Installing the Update: If there is an update available, select “Download and Install” to begin the update process. The download and installation time may vary depending on the size of the update and the speed of your internet connection. It is recommended not to turn off the console during the update process to avoid any potential issues.
6. Restarting the Console: Once the update is downloaded and installed, your PlayStation 4 console will prompt you to restart. Select “Restart” to complete the update process.
7. Verifying the Update: After the console restarts, go back to the “System Software Update” option in the settings menu. Verify that your PlayStation 4 console is now running the latest system software version.
8. Automatic Updates: To keep your PlayStation 4 console up to date in the future, you can enable automatic updates. In the settings menu, select “System” and then “Automatic Downloads” to enable automatic updates for system software and game updates.
By regularly updating your PlayStation 4 system software, you ensure that your console is equipped with the latest features and enhancements, providing optimal performance and compatibility for PlayStation VR gaming. Now that your system software is updated, you’re ready to proceed with the next steps of setting up PlayStation VR.
Installing PlayStation VR System Software
Installing the PlayStation VR system software is an important step in setting up your PlayStation VR system. This software provides the necessary drivers and features to ensure the smooth operation of your PlayStation VR headset. Here’s how to install the PlayStation VR system software:
1. Access the PlayStation Store: From the main menu of your PlayStation 4 console, scroll to the right and select the “PlayStation Store” icon. The PlayStation Store is where you can find and download various content for your console.
2. Search for the PlayStation VR System Software: In the PlayStation Store’s search bar, type “PlayStation VR” or “PS VR” and press Enter. Look for the official PlayStation VR system software.
3. Select the System Software: From the search results, locate the PlayStation VR system software and select it. This will take you to the software’s details page.
4. Download the System Software: On the software’s details page, select the “Download” button. Wait for the download to complete. The download time may vary depending on the size of the system software and the speed of your internet connection.
5. Install the System Software: Once the download is complete, the system software installation will begin automatically. Follow the on-screen prompts to proceed with the installation process. It’s important not to turn off the console or interrupt the installation process to avoid any potential issues.
6. Restart the Console: After the installation is complete, your PlayStation 4 console will prompt you to restart. Select “Restart” to complete the installation process.
7. Check for Updates: After restarting your console, go to the system settings menu and navigate to the “System Software Update” option. Verify that your PlayStation 4 console is now running the latest version of the PlayStation VR system software.
Installing the PlayStation VR system software ensures that your PlayStation 4 console is equipped with the necessary components to support your PlayStation VR headset. This software update provides essential drivers, features, and optimizations for a seamless and immersive virtual reality gaming experience. With the system software installed, you’re now one step closer to engaging in unforgettable virtual reality adventures.
Calibrating PlayStation VR
Calibrating your PlayStation VR system is a crucial step in ensuring optimal tracking accuracy and performance. This process fine-tunes the settings of your PlayStation VR headset and controllers to provide the best possible virtual reality experience. Here’s how to calibrate your PlayStation VR system:
1. Positioning: Find a clear play area free from obstacles and ensure adequate lighting conditions. Clear any objects that may interfere with your movement and make sure the PlayStation Camera can track the PlayStation VR headset and controllers properly.
2. Power On: Turn on your PlayStation 4 console and allow it to fully start up. Make sure the PlayStation VR headset is properly connected to the PlayStation 4 console and the VR Processor Unit.
3. Accessing Settings: From the PlayStation 4 home screen, navigate to the settings menu. Scroll down and select the “Devices” option.
4. Selecting PlayStation VR: Within the “Devices” menu, locate and select the “PlayStation VR” option. This is where you can access the calibration settings for your PlayStation VR system.
5. Headset Calibration: Follow the on-screen instructions to calibrate the PlayStation VR headset. This may involve adjusting the position of the PlayStation Camera or holding the headset at specific angles. The calibration process helps optimize the tracking of your head movements within the virtual reality environment.
6. Controller Calibration: Depending on the PlayStation VR game or experience you’re using, you may need to calibrate the PlayStation Move controllers or the DualShock 4 controller. Follow the on-screen instructions to perform the necessary calibration for your controllers.
7. Fine-Tuning: After completing the initial calibration, you may have the option to fine-tune certain settings. This may include adjusting the camera height or angle for optimal tracking or modifying sensitivity settings to suit your preferences.
8. Testing and Adjustment: Once the calibration process is complete, it’s a good idea to test the tracking and comfort of the PlayStation VR system. Move around within the play area, perform various actions, and ensure that the virtual reality environment accurately reflects your movements.
By calibrating your PlayStation VR system, you can enhance the accuracy and performance of the tracking, resulting in a more immersive and enjoyable virtual reality gaming experience. Take the time to perform the necessary calibrations whenever you set up your PlayStation VR system or if you experience any issues with tracking or performance.
Conclusion
Congratulations! You have successfully set up your PlayStation VR system and are now ready to embark on an extraordinary journey into the world of virtual reality gaming. By following the steps outlined in this guide, you have ensured that your PlayStation VR hardware is correctly connected, the system software is up to date, and the calibration is optimized for the best tracking experience.
PlayStation VR opens up a whole new realm of immersive gameplay, allowing you to step into virtual worlds and engage in thrilling adventures like never before. Whether you’re exploring fantastical landscapes, facing off against enemies, or solving puzzles, PlayStation VR offers an unparalleled level of immersion and interactivity.
As you dive into virtual reality gaming, don’t forget to take breaks and be mindful of your comfort. Remember, safety is paramount, so be aware of your surroundings and create a suitable gaming environment to ensure a seamless and enjoyable experience.
With an ever-growing library of PlayStation VR games and experiences, you can continuously discover new and exciting content to push the boundaries of your gaming adventures. From heart-pounding action to awe-inspiring simulations and thought-provoking narratives, PlayStation VR offers something for every gamer.
Lastly, don’t forget to share the fun with friends and family. Introduce them to the wonders of virtual reality gaming and create unforgettable memories together.
Now that you have set up your PlayStation VR system, go ahead and explore the possibilities that await you in the vast world of virtual reality. Get ready to lose yourself in incredible experiences, get a taste of the future of gaming, and immerse yourself like never before with PlayStation VR!