Introduction
Setting up a Plantronics headset on your computer can significantly enhance your audio experience, whether you're engaging in virtual meetings, enjoying music, or immersing yourself in a gaming session. Plantronics, a renowned brand in the audio technology industry, offers a range of high-quality headsets designed to deliver exceptional sound performance and comfort. By following a few simple steps, you can seamlessly integrate your Plantronics headset with your computer, unlocking its full potential and ensuring a delightful audio experience.
In this comprehensive guide, we will delve into the essential steps for setting up your Plantronics headset on your computer. From checking compatibility to adjusting settings and testing the headset, each step is crucial to ensure a smooth and optimal integration. Whether you're a tech enthusiast, a remote worker, or a gaming aficionado, this guide will equip you with the knowledge and confidence to make the most of your Plantronics headset.
Let's embark on this journey to unleash the power of your Plantronics headset and elevate your audio experience to new heights. Whether you're a seasoned tech-savvy individual or a newcomer to the world of audio peripherals, this guide will provide clear and actionable instructions to streamline the setup process. So, grab your Plantronics headset and let's dive into the exciting world of seamless audio integration with your computer!
Step 1: Checking Compatibility
Before diving into the setup process, it's crucial to ensure that your Plantronics headset is compatible with your computer. Compatibility encompasses both hardware and software requirements, and by confirming this aspect, you can avoid potential issues and streamline the integration process.
Hardware Compatibility
First and foremost, check the physical connections and ports on your computer. Most Plantronics headsets utilize a standard 3.5mm audio jack or USB connection. If your computer features these ports, you're off to a great start. For wireless Plantronics headsets, ensure that your computer supports Bluetooth connectivity if that's the intended mode of connection.
Software Compatibility
Next, consider the software aspect. Plantronics headsets are designed to work seamlessly with various operating systems, including Windows, macOS, and Linux. It's essential to verify that your computer's operating system is compatible with the specific Plantronics headset model you own. Visit the Plantronics official website or refer to the product documentation to confirm the supported operating systems.
Additional Considerations
In addition to hardware and software compatibility, it's beneficial to check for any additional requirements or recommendations provided by Plantronics. This may include specific driver installations, firmware updates, or compatibility with certain audio applications. By proactively addressing these considerations, you can preemptively resolve any potential hurdles and ensure a smooth setup process.
By thoroughly checking the compatibility of your Plantronics headset with your computer, you lay a solid foundation for a successful integration. This proactive approach minimizes the risk of encountering compatibility issues during the setup process, allowing you to proceed with confidence and peace of mind.
Remember, compatibility is the cornerstone of a seamless and hassle-free integration. By confirming this crucial aspect, you pave the way for a rewarding audio experience with your Plantronics headset and your computer. With compatibility verified, you're now ready to move on to the next step and proceed with connecting your Plantronics headset to your computer.
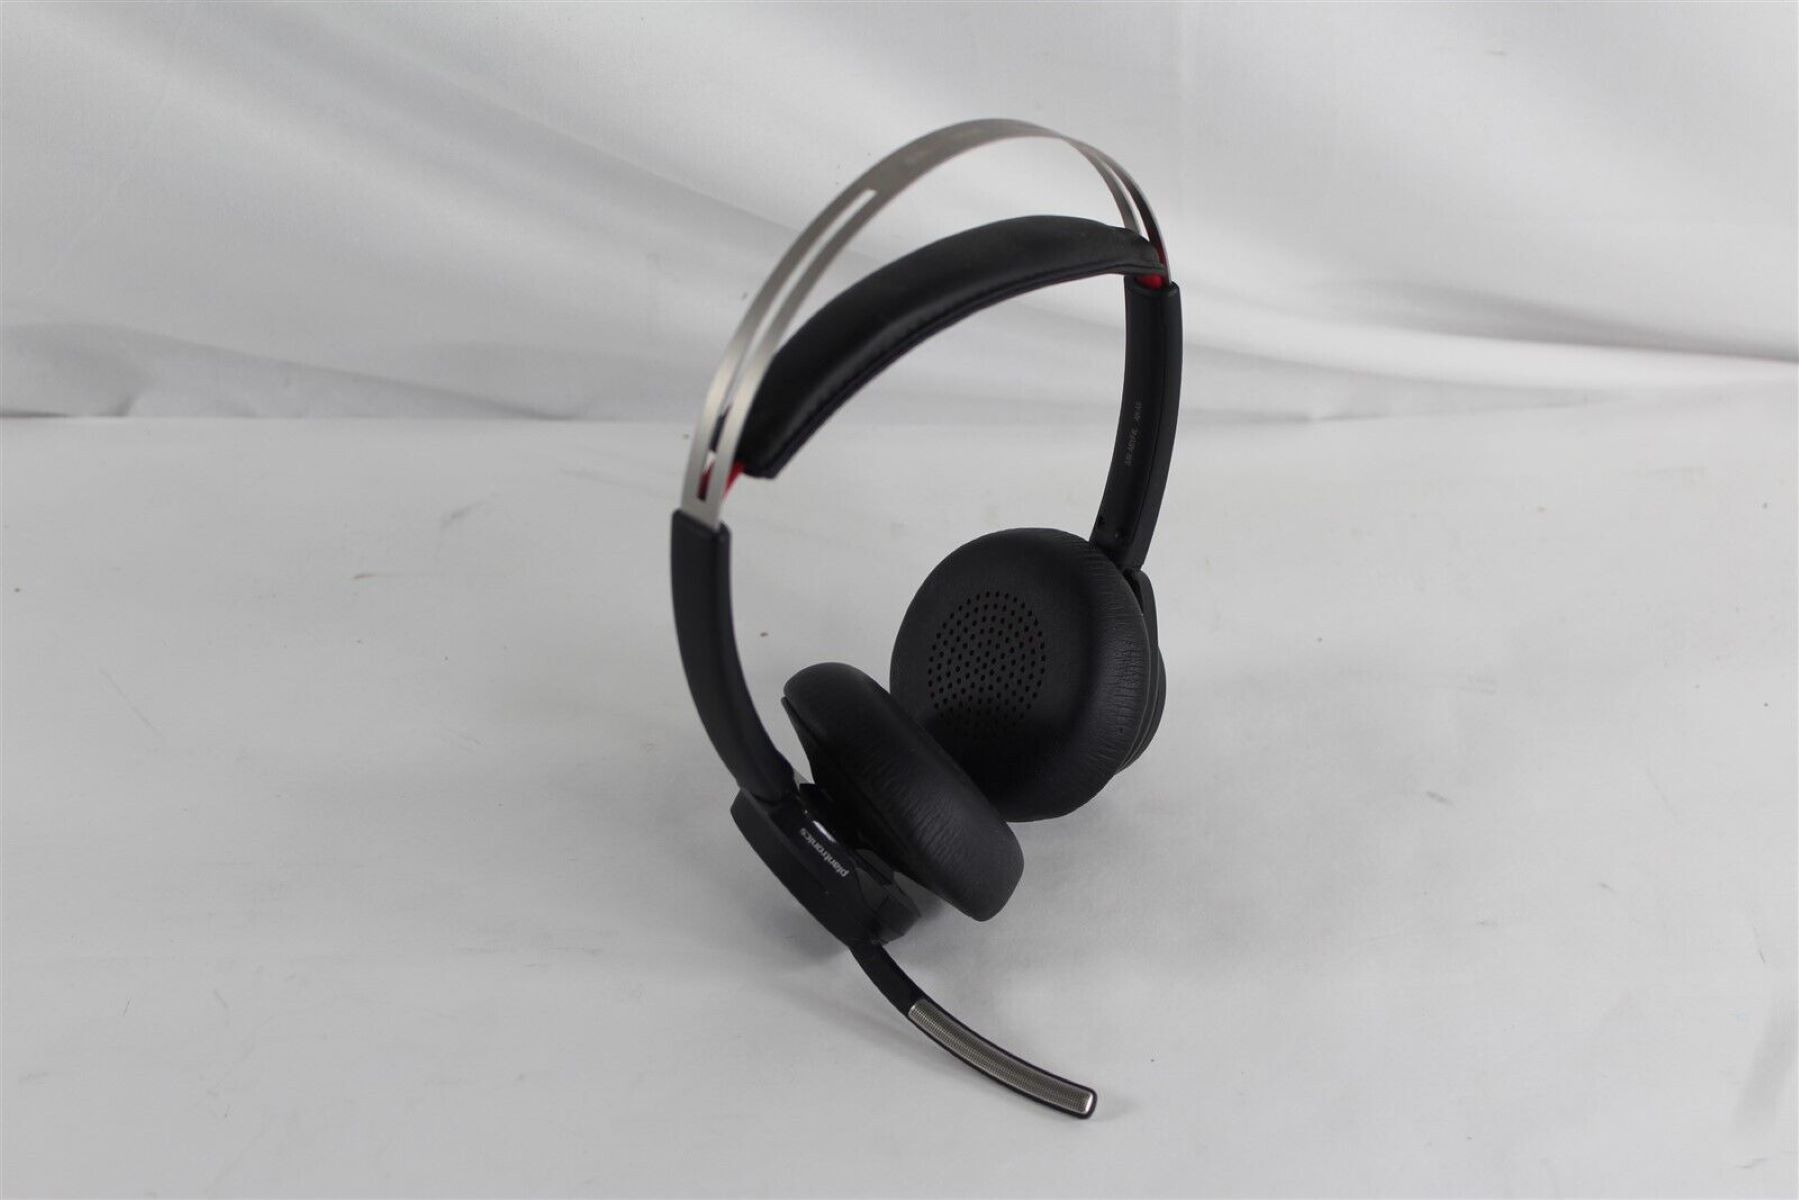
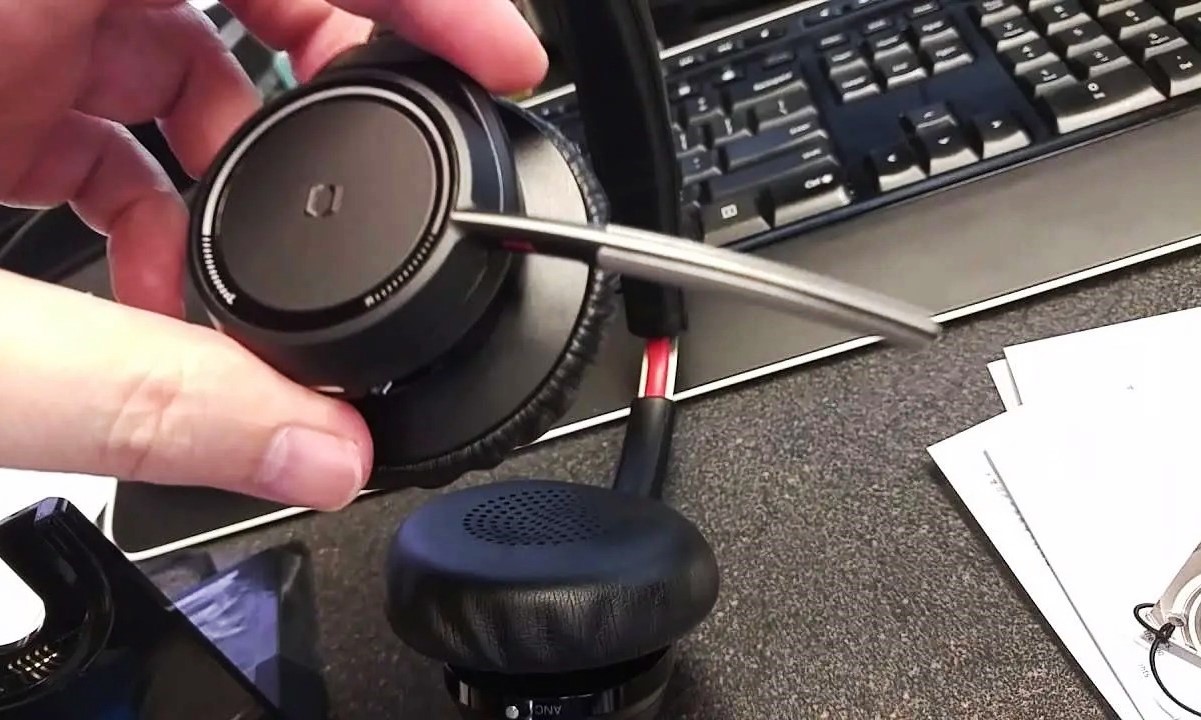
Step 2: Connecting the Headset
Connecting your Plantronics headset to your computer is a pivotal step that sets the stage for an immersive audio experience. Whether you're gearing up for a virtual meeting, diving into a gaming adventure, or simply indulging in your favorite music, a secure and efficient connection is essential. Let's explore the seamless process of establishing a reliable connection between your Plantronics headset and your computer.
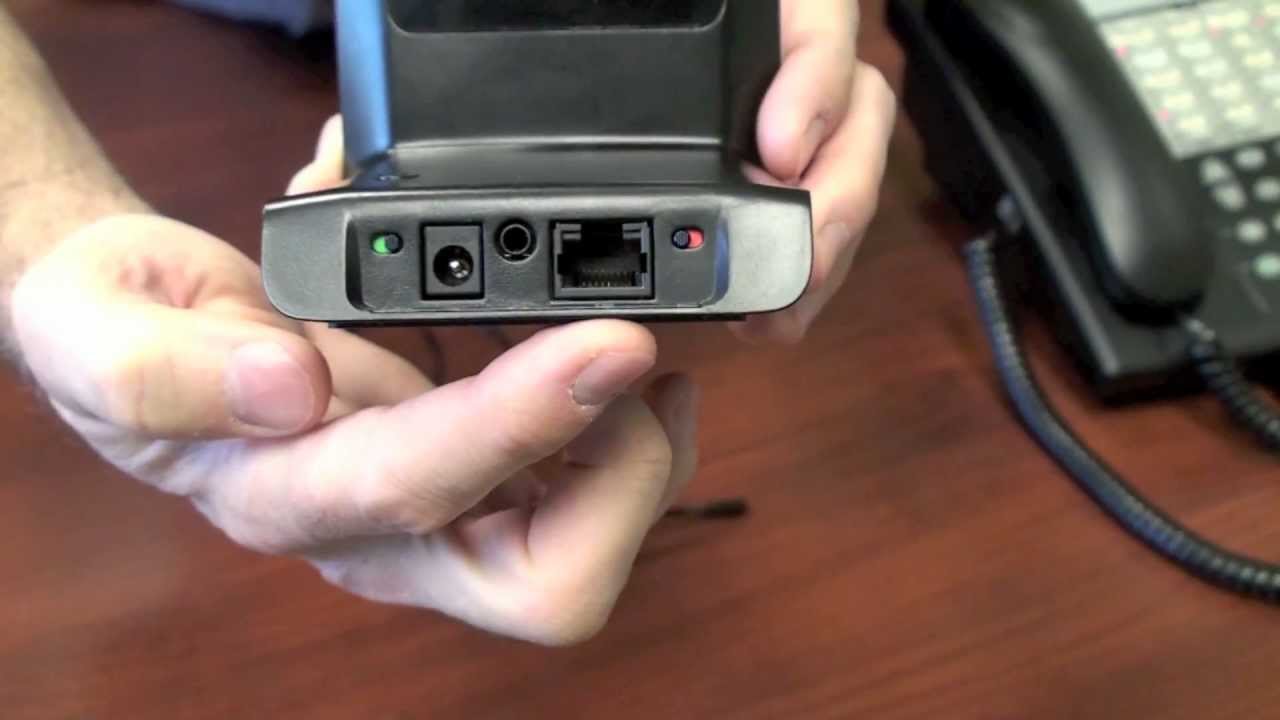
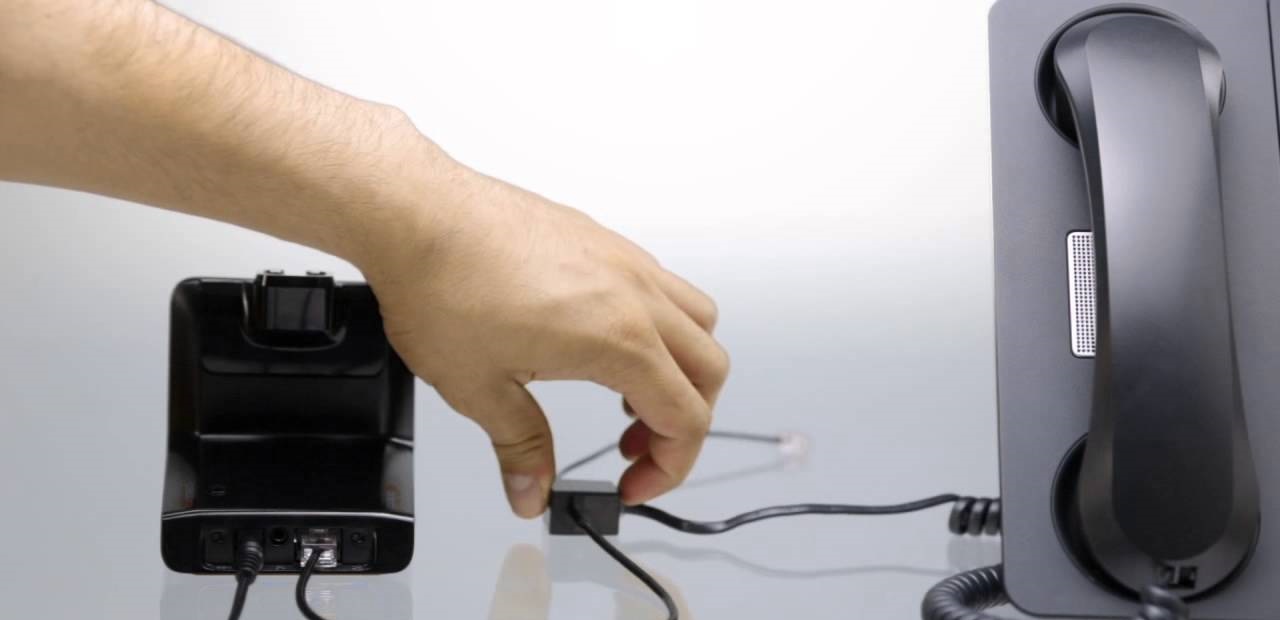
Wired Headsets
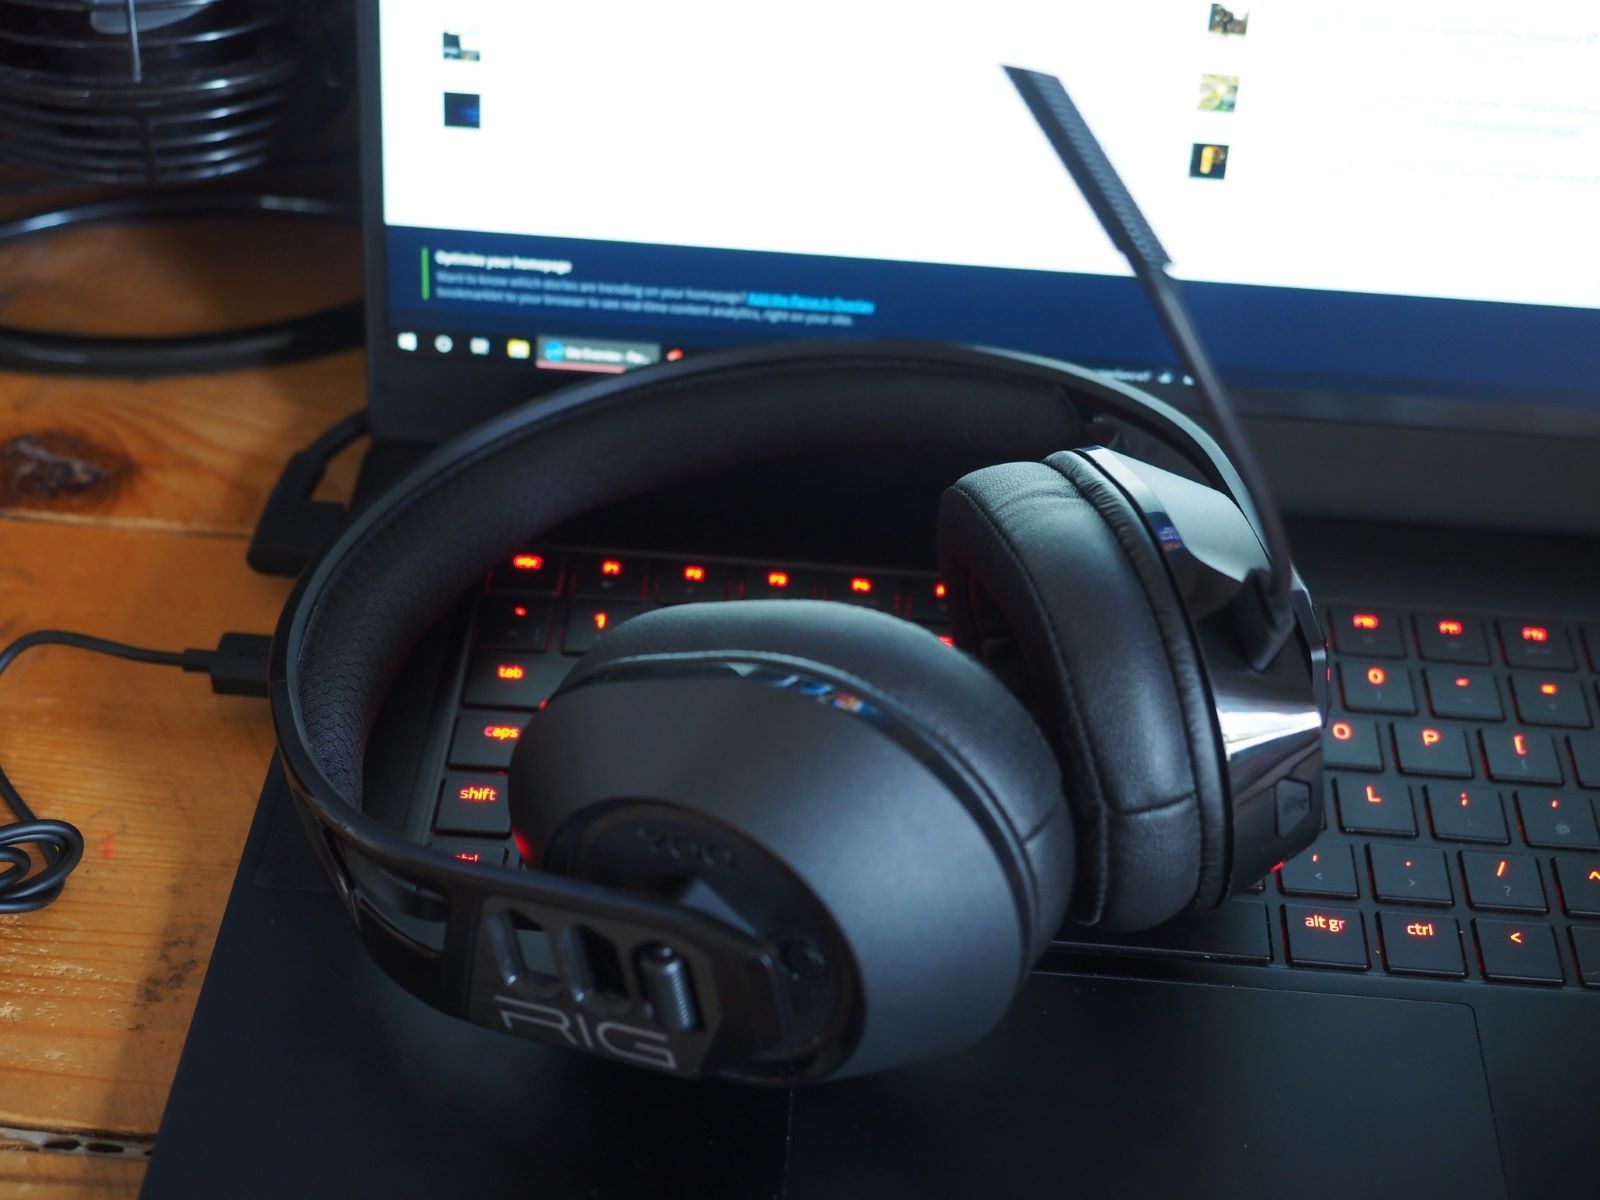
If you own a wired Plantronics headset, the connection process is straightforward. Begin by identifying the appropriate port on your computer for the headset's cable. Most wired Plantronics headsets feature a standard 3.5mm audio jack, which can be easily plugged into the corresponding audio input on your computer. Ensure a secure connection to prevent audio disruptions during usage.
In the case of USB-connected Plantronics headsets, simply insert the USB connector into an available USB port on your computer. Once connected, your computer should automatically detect the headset, and you may proceed to the next step to configure the audio settings.
Wireless Headsets
For wireless Plantronics headsets, the setup involves establishing a Bluetooth connection with your computer. Begin by activating the Bluetooth feature on your computer. Then, initiate the pairing mode on your Plantronics headset as per the manufacturer's instructions. Once in pairing mode, your computer should detect the headset in the list of available Bluetooth devices.
Select your Plantronics headset from the list and complete the pairing process. Upon successful pairing, your computer will recognize the headset as an audio output device, allowing you to enjoy wireless audio convenience seamlessly.
Additional Considerations
Regardless of the type of connection, it's advisable to ensure that your computer's audio settings are configured to recognize the newly connected Plantronics headset. Access the audio settings on your computer and verify that the Plantronics headset is selected as the default audio output device. This ensures that all audio output is directed to your headset, delivering an immersive and personalized audio experience.
By following these simple yet crucial steps, you can establish a robust connection between your Plantronics headset and your computer, setting the stage for a seamless audio integration. With the connection successfully established, you're now poised to delve into the next step of adjusting the audio settings to optimize your audio experience.
Now that your Plantronics headset is securely connected to your computer, let's proceed to the next step to fine-tune the audio settings and ensure an optimal audio experience.
Step 3: Adjusting Settings
After successfully connecting your Plantronics headset to your computer, the next crucial step involves adjusting the audio settings to optimize your audio experience. By fine-tuning the settings, you can ensure that the audio output is tailored to your preferences, whether you're focused on crystal-clear communication during virtual meetings or seeking an immersive audio environment for gaming and entertainment.
Audio Output Configuration
Begin by accessing the audio settings on your computer. Depending on the operating system, you can typically find the audio settings in the system preferences or control panel. Locate the section related to audio output devices and select your Plantronics headset as the default playback device. This ensures that all audio output is directed to your headset, guaranteeing a personalized and immersive audio experience.
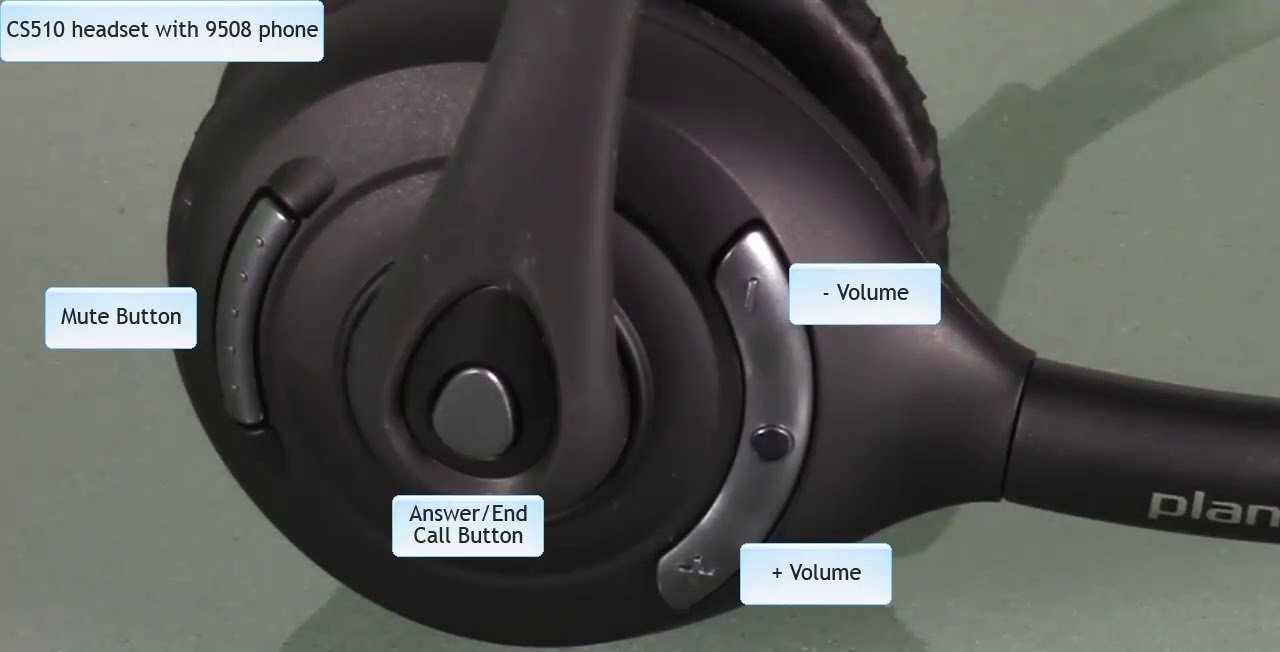
Microphone Settings
If your Plantronics headset features a built-in microphone, it's essential to configure the microphone settings to ensure optimal performance during voice calls and online meetings. Access the microphone settings on your computer and verify that the Plantronics headset's microphone is selected as the default recording device. Adjust the microphone sensitivity and levels as per your preference to achieve clear and distortion-free voice transmission.
Equalizer and Sound Enhancements
Many computers offer built-in equalizer settings and sound enhancements to customize the audio output according to individual preferences. Explore the equalizer settings to fine-tune the audio frequencies, allowing you to adjust the bass, treble, and overall sound profile to suit your audio preferences. Additionally, consider experimenting with sound enhancements such as virtual surround sound or spatial audio to elevate your audio experience to new heights.
Communication and Notification Settings
In certain operating systems, you may encounter specific communication and notification settings that directly impact the audio behavior during calls and alerts. Ensure that these settings are aligned with your preferences, especially if you frequently engage in voice calls or require uninterrupted audio notifications. By customizing these settings, you can tailor the audio behavior of your Plantronics headset to seamlessly integrate with your communication needs.
Firmware Updates and Customization
Depending on the specific model of your Plantronics headset, it's advisable to check for firmware updates and customization options provided by the manufacturer. Firmware updates often introduce performance enhancements and compatibility improvements, ensuring that your headset operates at its best. Additionally, explore any customization options, such as predefined audio profiles or programmable buttons on the headset, to further personalize your audio experience.
By meticulously adjusting the audio settings in accordance with your preferences and usage scenarios, you can unlock the full potential of your Plantronics headset and tailor the audio output to suit your unique requirements. This proactive approach ensures that your headset seamlessly integrates with your computer, delivering a captivating audio experience across various applications and scenarios.
With the audio settings finely tuned, you're now ready to proceed to the final step of testing your Plantronics headset to confirm its seamless integration with your computer.
Step 4: Testing the Headset
With your Plantronics headset connected and the audio settings adjusted to your preference, it's time to put it to the test. Testing the headset allows you to confirm its seamless integration with your computer and ensures that both the audio output and microphone functionality meet your expectations.
Audio Playback Test
Begin by playing your favorite music or a video that incorporates various audio elements. This allows you to assess the audio quality and experience firsthand. Pay attention to the clarity of sound, the richness of bass, and the overall balance of the audio output. As the audio plays through your Plantronics headset, immerse yourself in the experience and evaluate whether the sound profile aligns with your preferences.
Virtual Meeting Simulation
If your primary usage of the headset involves virtual meetings or voice calls, consider simulating a call to evaluate the microphone and audio transmission. Utilize a communication application or a voice recording tool to capture your voice while using the Plantronics headset. Speak at varying volumes and distances from the microphone to gauge its sensitivity and clarity. Additionally, engage in a brief virtual meeting or voice call to assess the overall communication quality from both the audio output and microphone perspectives.
Gaming Experience
For gaming enthusiasts, testing the Plantronics headset in a gaming environment provides valuable insights into its immersive capabilities. Launch your favorite game and pay attention to the spatial audio cues, directional sound effects, and overall audio immersion. Evaluate how the headset enhances your gaming experience, whether through precise audio positioning or the delivery of impactful in-game sound effects. The goal is to ensure that the headset elevates your gaming sessions by delivering an engaging and immersive audio environment.
Multi-Application Compatibility
Explore the compatibility of your Plantronics headset across various applications and scenarios. Switch between music playback, online videos, voice calls, and gaming sessions to gauge the headset's adaptability and performance consistency. By seamlessly transitioning between different audio-intensive activities, you can ascertain the headset's versatility and reliability across diverse usage scenarios.
By thoroughly testing your Plantronics headset in real-world usage scenarios, you can confidently validate its seamless integration with your computer. This comprehensive testing process allows you to fine-tune any remaining audio settings or make minor adjustments to optimize the headset's performance based on your specific usage patterns.
With the headset successfully tested and integrated with your computer, you're now poised to enjoy a captivating audio experience tailored to your preferences and usage needs. Whether it's for work, entertainment, or gaming, your Plantronics headset stands ready to deliver exceptional audio performance, enriching your digital experiences with immersive sound and clear communication.
Conclusion
In conclusion, the process of setting up your Plantronics headset on your computer encompasses a series of essential steps that culminate in a seamless and immersive audio integration. By following the outlined steps, you've embarked on a journey that begins with confirming compatibility, progresses to establishing a secure connection, fine-tuning audio settings, and culminates in comprehensive testing to validate the seamless integration. Throughout this process, you've not only harnessed the power of technology but also tailored your audio experience to align with your unique preferences and usage scenarios.
The significance of compatibility verification cannot be overstated, as it serves as the bedrock for a successful integration. By ensuring that your Plantronics headset aligns with your computer's hardware and software requirements, you've mitigated potential hurdles and set the stage for a smooth setup process. This proactive approach reflects your commitment to optimizing your audio experience from the outset.
The subsequent steps of connecting the headset and adjusting audio settings further demonstrate your dedication to achieving an optimal audio environment. Whether it's through the secure establishment of wired or wireless connections, the fine-tuning of audio output and microphone settings, or the exploration of sound enhancements and customization options, you've meticulously tailored the audio integration to suit your individual preferences and usage patterns.
The culminating step of testing the headset in real-world scenarios represents the final validation of your efforts. By immersing yourself in music, virtual meetings, gaming experiences, and diverse applications, you've confirmed the seamless integration of your Plantronics headset with your computer. This comprehensive testing process not only validates the technical integration but also affirms your commitment to embracing an enriched audio experience across various facets of your digital endeavors.
As you conclude this setup journey, you stand poised to embrace a world of captivating audio experiences, whether it's the clarity of communication during virtual meetings, the immersive soundscapes of gaming environments, or the seamless integration of your favorite music into your daily routine. Your Plantronics headset, seamlessly integrated with your computer, serves as a gateway to a realm of personalized audio experiences, tailored to your unique preferences and usage scenarios.
In essence, the process of setting up your Plantronics headset on your computer transcends technical integration; it represents a commitment to optimizing your digital experiences through the power of immersive and personalized audio. With your Plantronics headset seamlessly integrated, you're ready to embark on a journey where every sound is crisp, every communication is clear, and every digital endeavor is enriched by the captivating audio environment you've meticulously crafted.