Introduction
In today's fast-paced digital world, seamless connectivity is essential for optimizing productivity and communication. Whether you're a remote worker, a gaming enthusiast, or a frequent traveler, having a reliable headset-to-computer setup can significantly enhance your overall experience. Plantronics, a renowned leader in audio technology, offers a wide range of headsets designed to deliver exceptional sound quality and comfort. By integrating a Plantronics headset with your computer, you can enjoy crystal-clear audio, hands-free convenience, and enhanced mobility.
In this comprehensive guide, we'll walk you through the process of seamlessly connecting your Plantronics headset to your computer. From checking compatibility to configuring audio settings, each step is designed to ensure a hassle-free setup experience. By following these instructions, you'll be able to harness the full potential of your Plantronics headset, whether you're engaging in virtual meetings, immersing yourself in gaming adventures, or simply enjoying your favorite music and podcasts.
Let's dive into the intricacies of setting up your Plantronics headset with your computer, empowering you to experience unparalleled audio performance and connectivity. Whether you're a tech-savvy individual or a novice user, this guide is tailored to provide you with the knowledge and confidence to establish a seamless connection and unlock the myriad benefits of integrating your Plantronics headset with your computer.
Step 1: Checking Compatibility
Before embarking on the process of connecting your Plantronics headset to your computer, it's crucial to ensure that both devices are compatible. This initial step lays the foundation for a successful setup and prevents potential issues that may arise from incompatible hardware or software. Here's a detailed exploration of the factors to consider when checking compatibility:
1. Headset Model and Computer Interface
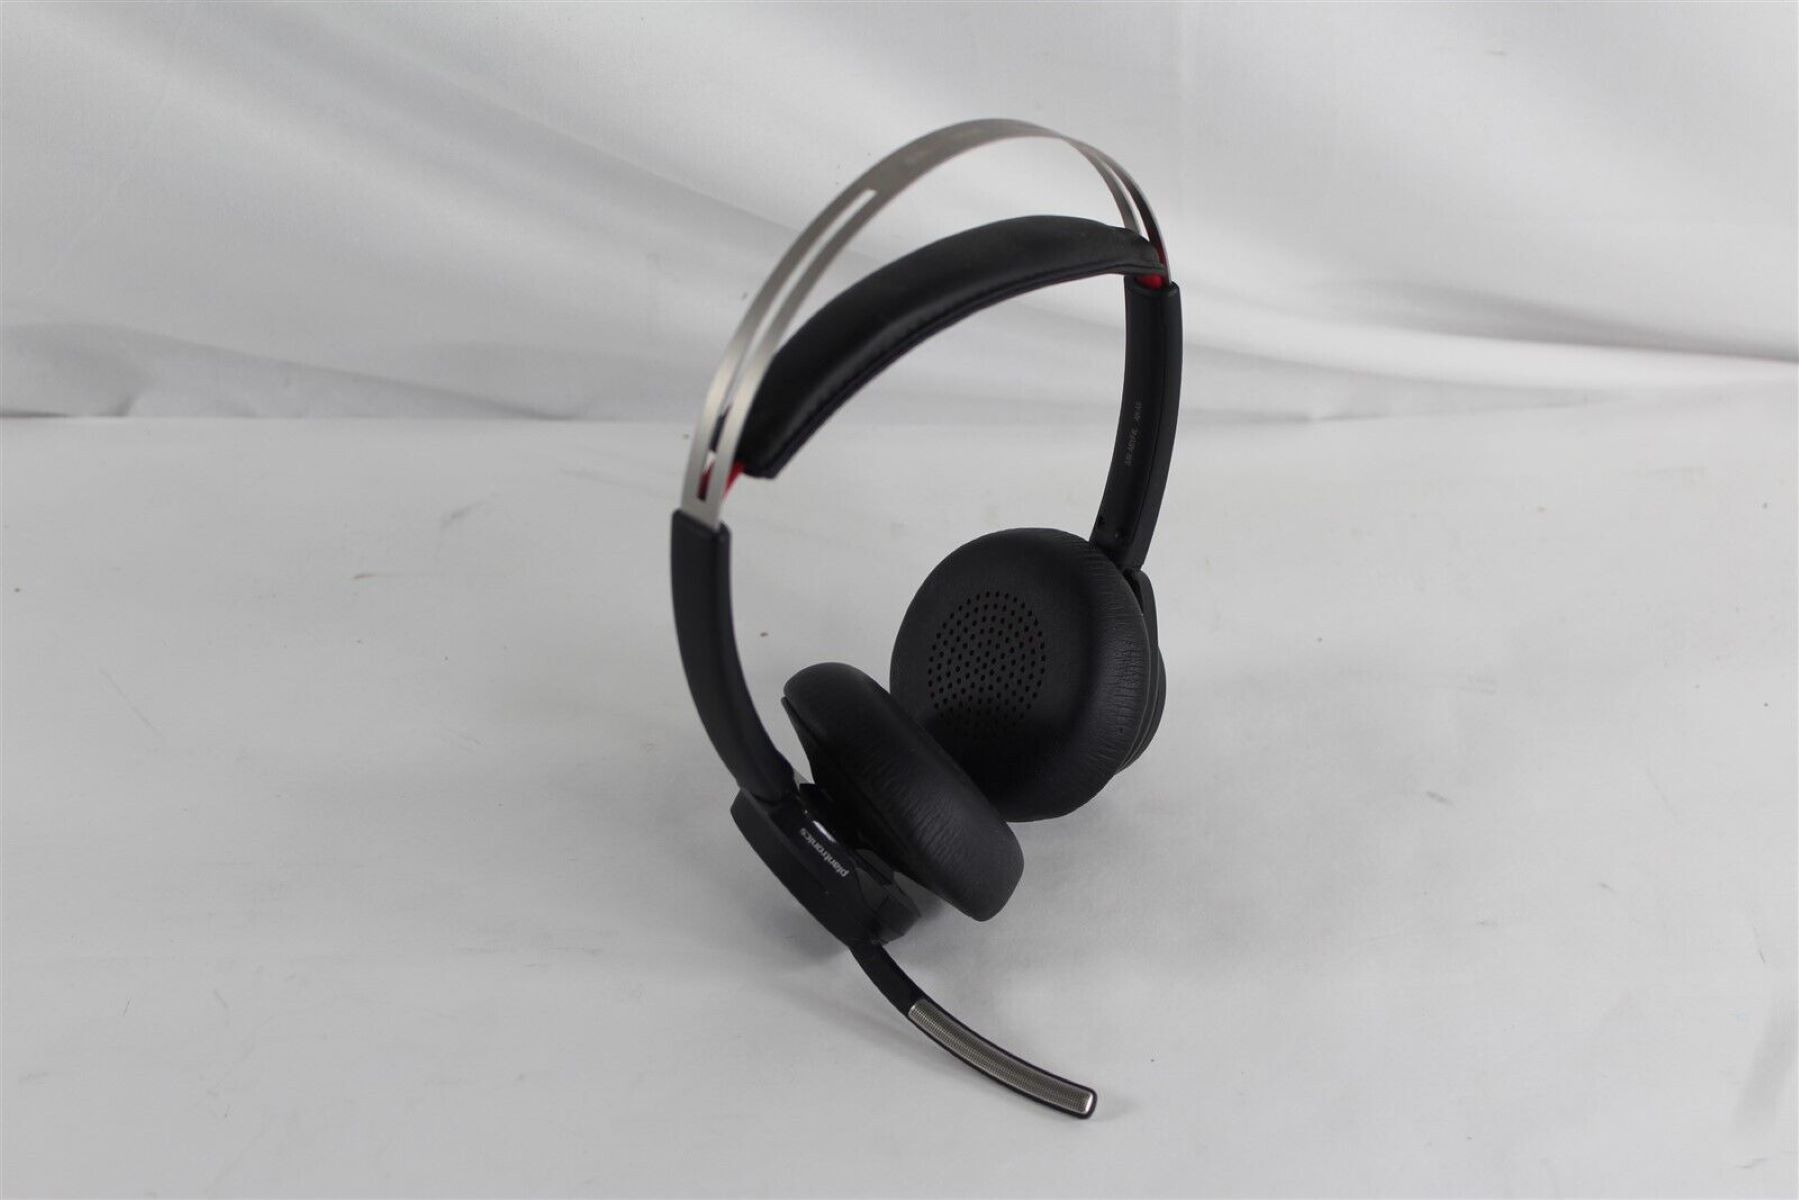
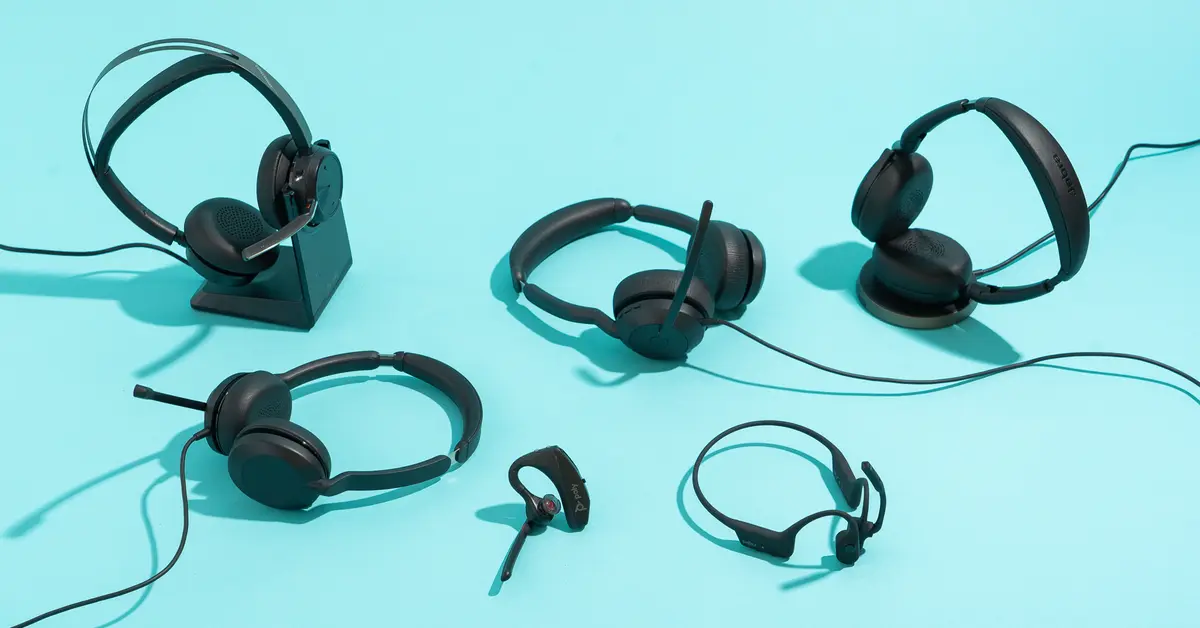
Begin by identifying the specific model of your Plantronics headset and the interface options available on your computer. Plantronics offers a diverse range of headsets, including wired and wireless models equipped with USB, Bluetooth, or audio jack connectivity. Verify that the interface of your headset aligns with the available ports on your computer, ensuring a seamless physical connection.
2. Operating System Compatibility
Check the compatibility of your computer's operating system with the Plantronics headset. Whether you're using Windows, macOS, or Linux, it's essential to confirm that the headset's drivers and software are supported by your operating system version. This step is crucial for ensuring that the headset's features and functionalities can be fully utilized without encountering compatibility issues.
3. Plantronics Hub Software Compatibility
If your Plantronics headset is equipped with advanced features, such as noise-cancelling technology or customizable settings, it may require the installation of the Plantronics Hub software. Prior to connecting the headset, verify that the Plantronics Hub is compatible with your computer's operating system. This software serves as a centralized platform for managing and optimizing the performance of your Plantronics headset, making compatibility a critical consideration.
4. Firmware Updates
Check for firmware updates for your Plantronics headset. Manufacturers often release firmware updates to enhance compatibility with various devices and address potential issues. By ensuring that your headset's firmware is up to date, you can mitigate compatibility concerns and optimize its performance when connected to your computer.
By meticulously examining these compatibility factors, you can establish a solid foundation for the seamless integration of your Plantronics headset with your computer. This proactive approach minimizes the risk of encountering connectivity issues or performance limitations, allowing you to fully leverage the capabilities of your headset within your computing environment.
Step 2: Installing Plantronics Hub Software
Installing the Plantronics Hub software is a pivotal step in optimizing the functionality and performance of your Plantronics headset within the computer environment. The Plantronics Hub serves as a centralized platform for managing various aspects of your headset, including firmware updates, personalized settings, and seamless integration with communication applications. By following the steps outlined below, you can effortlessly install the Plantronics Hub software and unlock a myriad of features tailored to enhance your audio experience.
-
Downloading the Plantronics Hub Software: Begin by visiting the official Plantronics website or the designated software download page. Locate the section dedicated to the Plantronics Hub software and ensure that you select the version compatible with your computer's operating system. Whether you're using Windows, macOS, or a mobile platform, Plantronics offers versatile software versions to accommodate diverse user preferences.
-
Initiating the Installation Process: Once the Plantronics Hub software installer is downloaded, navigate to the designated location on your computer and launch the installation wizard. Follow the on-screen prompts to initiate the installation process, ensuring that you carefully review and acknowledge any relevant terms and conditions presented during the setup.
-
Customizing Installation Options: During the installation process, you may encounter options to customize certain settings or installation components. Depending on your preferences, you can choose to customize the installation path, create desktop shortcuts, or specify additional configurations that align with your usage requirements. This flexibility allows you to tailor the installation to suit your specific preferences and workflow.
-
Completing the Installation: Upon successful installation, ensure that you finalize the process by following any concluding prompts or instructions provided by the installation wizard. Once the Plantronics Hub software is installed on your computer, you can proceed to launch the application and explore its diverse functionalities, ranging from firmware management to advanced audio settings.
-
Updating Firmware and Customizing Settings: With the Plantronics Hub software installed, you gain access to a wealth of features designed to optimize your headset's performance. Take advantage of firmware update notifications to ensure that your headset is equipped with the latest enhancements. Additionally, explore the customization options within the Plantronics Hub, allowing you to tailor audio settings, manage device connections, and personalize the overall audio experience according to your preferences.
By diligently following these steps, you can seamlessly install the Plantronics Hub software and harness its full potential to elevate your Plantronics headset's performance within the computer ecosystem. This strategic integration empowers you to unlock advanced features, streamline management tasks, and enjoy a tailored audio experience that aligns with your unique usage scenarios.
Step 3: Connecting the Headset to the Computer
The process of connecting your Plantronics headset to your computer is a pivotal step that bridges the physical and digital realms, enabling seamless audio transmission and device interaction. Whether you're utilizing a wired USB connection or leveraging the convenience of wireless Bluetooth technology, the following detailed steps will guide you through the process of establishing a robust connection between your Plantronics headset and your computer.
Wired Connection (USB or Audio Jack)
-
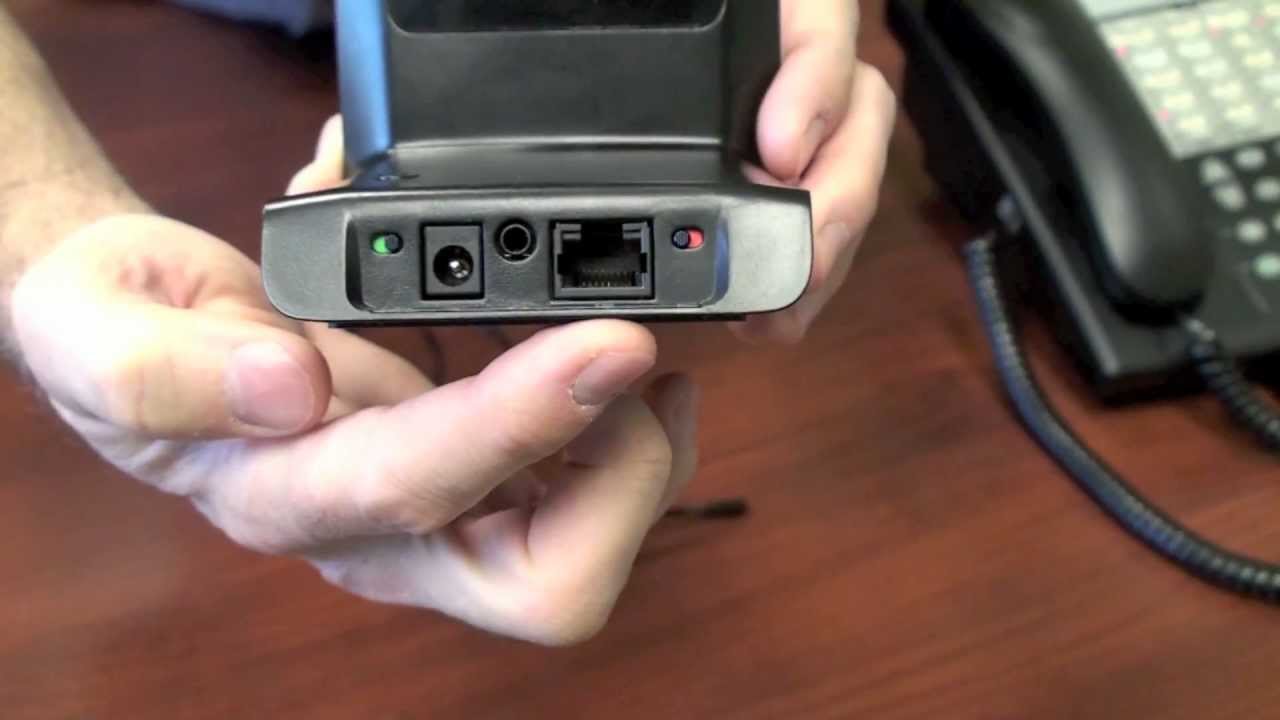
Identifying the Interface: If you're using a wired Plantronics headset equipped with a USB connector or an audio jack, begin by identifying the corresponding interface on your computer. Locate an available USB port or audio jack that aligns with the connectivity options offered by your headset.
-
Secure Connection: With your computer powered on, gently insert the USB connector or the audio jack into the respective port. Ensure that the connection is secure to prevent any audio interruptions or connectivity issues during usage.
-
Driver Installation (if applicable): In certain cases, connecting a wired Plantronics headset to your computer may prompt the automatic installation of device drivers. If prompted, follow the on-screen instructions to complete the driver installation process, ensuring that the headset is recognized and configured within your computer's system.
-
Recognition and Configuration: Once the connection is established, your computer should recognize the Plantronics headset as an audio output device. Access the audio settings on your computer and verify that the headset is selected as the default playback device, allowing audio output to be channeled through the headset.
Wireless Connection (Bluetooth)
-
Activating Bluetooth: If you're utilizing a wireless Plantronics headset with Bluetooth capability, ensure that the Bluetooth feature is activated on both the headset and your computer. Access the Bluetooth settings on your computer and enable Bluetooth connectivity to initiate the pairing process.
-
Pairing the Devices: Navigate to the Bluetooth settings on your computer and initiate the process of pairing a new device. Follow the specific pairing instructions provided by Plantronics for your headset model, allowing the computer to detect and establish a secure Bluetooth connection with the headset.
-
Verification and Configuration: Upon successful pairing, verify that the Plantronics headset is recognized as a connected audio device within your computer's Bluetooth settings. Set the headset as the default playback device to ensure that audio output is seamlessly transmitted wirelessly.
By meticulously following these steps, you can confidently connect your Plantronics headset to your computer, whether through a wired USB or audio jack connection, or via the convenience of wireless Bluetooth technology. This seamless integration facilitates a cohesive audio experience, empowering you to leverage the full potential of your Plantronics headset within your computing environment.
Step 4: Configuring Audio Settings
Configuring the audio settings for your Plantronics headset is a crucial aspect of optimizing your overall audio experience within the computer environment. By fine-tuning the audio parameters and customizing the settings to align with your preferences, you can elevate the clarity, volume, and spatial characteristics of the audio output, whether you're engaged in immersive gaming, virtual meetings, or leisurely entertainment. The following comprehensive guidelines will walk you through the process of configuring the audio settings for your Plantronics headset, empowering you to tailor the audio output to suit your unique preferences and usage scenarios.
1. Accessing Audio Control Panel
Begin by accessing the audio control panel or settings menu on your computer, depending on the operating system in use. Whether you're using Windows, macOS, or a Linux distribution, navigating to the audio settings interface allows you to access a range of audio customization options specific to your Plantronics headset.
2. Equalizer and Sound Enhancements
Explore the equalizer and sound enhancement features within the audio control panel, if available. Adjusting the equalizer settings enables you to fine-tune the frequency response, enhancing the bass, midrange, and treble according to your audio preferences. Additionally, explore sound enhancement options that may include virtual surround sound, spatial audio, or noise cancellation features, allowing you to tailor the audio output to suit specific content types or usage scenarios.
3. Microphone Configuration
If your Plantronics headset incorporates a microphone for voice communication or recording purposes, navigate to the microphone configuration settings within the audio control panel. Adjust the microphone sensitivity, noise suppression, and input levels to optimize voice clarity and minimize background noise, ensuring that your communication and recording activities are seamlessly facilitated by the headset's microphone.
4. Plantronics Hub Audio Customization
If you've installed the Plantronics Hub software, leverage its audio customization features to further refine the headset's performance. The Plantronics Hub may offer advanced audio control options, including personalized presets, dynamic equalization, and voice optimization settings. Explore these customization features to tailor the audio output based on your specific usage scenarios, whether it involves gaming, multimedia consumption, or professional communication.
5. Testing and Fine-Tuning
Upon configuring the audio settings, engage in thorough testing to assess the impact of the adjustments on the overall audio output. Play diverse audio content, including music, videos, and voice recordings, to evaluate the clarity, balance, and spatial characteristics of the audio output. Fine-tune the settings based on your subjective preferences, ensuring that the audio output aligns with your desired listening experience across various content types.
By meticulously following these steps, you can effectively configure the audio settings for your Plantronics headset, harnessing a tailored audio experience that aligns with your unique preferences and usage scenarios. This strategic customization empowers you to immerse yourself in high-fidelity audio, seamless communication, and immersive gaming, unlocking the full potential of your Plantronics headset within the computer ecosystem.
Step 5: Testing the Connection
After completing the intricate process of connecting your Plantronics headset to your computer and configuring the audio settings, the final step involves testing the connection to ensure seamless functionality and optimal performance. This pivotal phase allows you to validate the integrity of the connection, assess audio playback and recording capabilities, and address any potential issues that may arise during usage. By engaging in comprehensive testing, you can gain confidence in the reliability and effectiveness of your Plantronics headset within the computer environment.
Audio Playback Verification
Initiate the testing process by playing a diverse range of audio content, including music tracks, video clips, and multimedia presentations. Evaluate the clarity, tonal accuracy, and spatial characteristics of the audio output, ensuring that the Plantronics headset faithfully reproduces the intended soundscapes. Pay attention to subtle nuances, such as instrument separation in music and spatial cues in cinematic audio, to gauge the headset's ability to deliver immersive audio experiences.
Communication and Voice Recording Assessment
If your Plantronics headset incorporates a microphone for voice communication or recording purposes, engage in communication sessions or voice recording activities to assess the microphone's performance. Verify the clarity, intelligibility, and noise suppression capabilities of the microphone, ensuring that your voice is accurately captured without distortion or background interference. Conduct test calls or voice recordings to simulate real-world scenarios and ascertain the headset's suitability for professional communication and content creation.
Mobility and Range Evaluation (Wireless Models)
For wireless Plantronics headsets utilizing Bluetooth connectivity, evaluate the mobility and range capabilities by moving within the designated wireless range while maintaining audio playback and communication stability. Assess the robustness of the wireless connection in various environments, considering potential obstacles or interference that may impact signal integrity. Verify that the wireless connection remains stable and reliable, allowing you to move freely within the operational range without compromising audio performance.
Software Integration Validation
If you've installed the Plantronics Hub software to leverage advanced features and customization options, validate the seamless integration of the software with your Plantronics headset. Verify that the software settings and presets are effectively applied to the headset, allowing you to access personalized audio profiles, firmware management, and device optimization features. Ensure that the Plantronics Hub enhances the overall functionality of your headset, contributing to a cohesive and tailored audio experience.
By meticulously conducting these comprehensive tests, you can affirm the successful integration of your Plantronics headset with your computer, validating its audio playback, communication, and software-driven capabilities. This rigorous testing phase empowers you to confidently embrace the myriad benefits of your Plantronics headset, whether you're engaging in immersive audio experiences, professional communication, or seamless mobility within your computing ecosystem.
Conclusion
In conclusion, the seamless integration of your Plantronics headset with your computer opens a gateway to a realm of unparalleled audio experiences, communication efficiency, and personalized audio management. By meticulously following the steps outlined in this guide, you've embarked on a journey to optimize the connectivity, functionality, and performance of your Plantronics headset within the dynamic landscape of modern computing.
From the initial phase of checking compatibility to the comprehensive testing of the connection, each step has been meticulously crafted to empower you with the knowledge and confidence to establish a robust and tailored headset-to-computer setup. By ensuring compatibility, installing the Plantronics Hub software, establishing the physical connection, configuring audio settings, and conducting thorough testing, you've laid the groundwork for a seamless and enriching audio experience.
The integration of your Plantronics headset with your computer transcends conventional audio usage, offering a gateway to immersive gaming, professional communication, multimedia consumption, and personalized audio management. Whether you're navigating virtual landscapes in immersive gaming environments, engaging in crystal-clear virtual meetings, or indulging in your favorite music and multimedia content, the optimized connectivity and audio customization capabilities of your Plantronics headset elevate every aspect of your digital interaction.
Furthermore, the installation of the Plantronics Hub software serves as a catalyst for unlocking advanced features, firmware management, and personalized audio profiles, adding a layer of customization and control to your headset's performance. This centralized platform empowers you to tailor the audio output, manage device connections, and stay updated with the latest firmware enhancements, ensuring that your Plantronics headset remains at the forefront of audio technology.
As you embark on your journey with a seamlessly integrated Plantronics headset and computer setup, remember that the possibilities are boundless. Embrace the immersive audio experiences, streamlined communication, and personalized audio management that await you, and continue to explore the diverse capabilities of your Plantronics headset within your computing ecosystem.
With a solid foundation established through compatibility checks, software installation, meticulous connection setup, audio configuration, and comprehensive testing, you're well-equipped to harness the full potential of your Plantronics headset. Embrace the seamless connectivity, elevate your audio experiences, and immerse yourself in a world of boundless possibilities as you embark on this transformative journey of integration and optimization.