Introduction
Welcome to the quick and easy guide for setting up your Plantronics headset! Whether you're a busy professional needing a reliable hands-free solution or a tech enthusiast eager to explore the latest gadget, this guide is designed to walk you through the process with simplicity and clarity. With the Plantronics headset, you can enjoy crystal-clear audio, seamless connectivity, and ergonomic design, making it a valuable addition to your daily routine.
In this comprehensive guide, we will cover the essential steps to get your Plantronics headset up and running smoothly. From unboxing the device to pairing it with your preferred gadget, we've got you covered. By following these steps, you'll be well on your way to experiencing the convenience and functionality that this headset has to offer.
So, without further ado, let's dive into the world of Plantronics headsets and embark on a hassle-free setup journey. Get ready to elevate your communication and multimedia experience as we walk you through the process of setting up your Plantronics headset.
Step 1: Unboxing the Plantronics Headset
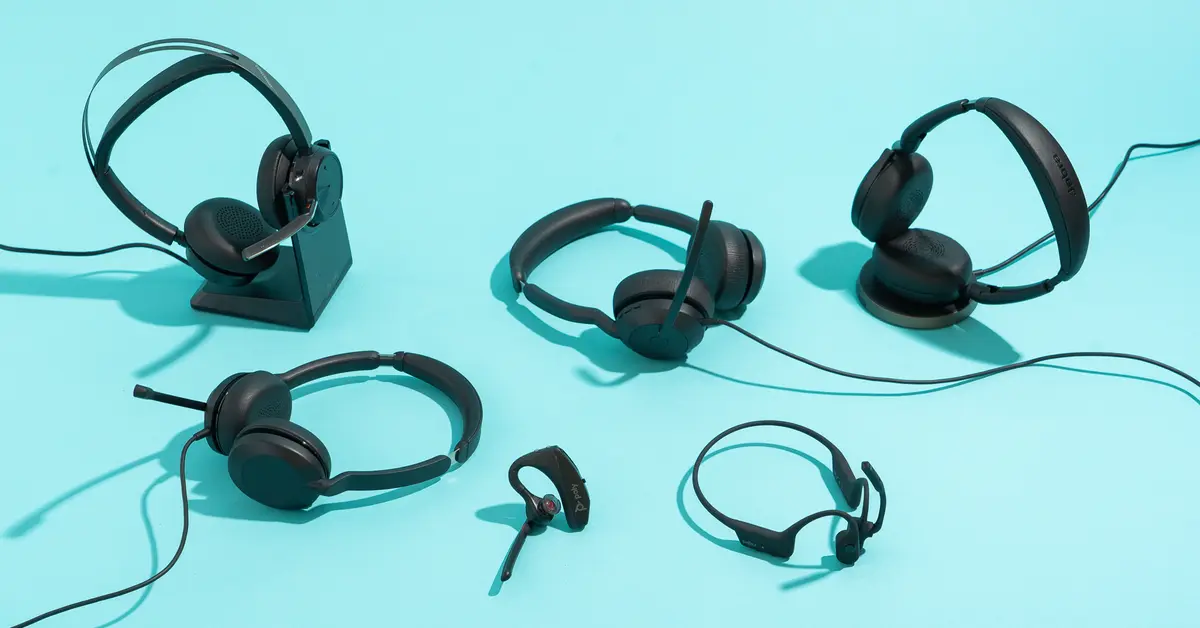
Unboxing a new gadget is always an exciting experience, and the Plantronics headset is no exception. As you open the sleek packaging, you'll find the headset nestled securely within, accompanied by a set of accessories to enhance your overall user experience.
What's Inside the Box
Upon lifting the lid, you'll be greeted by the Plantronics headset, elegantly presented and ready to be unveiled. As you carefully lift the headset from its enclosure, you'll notice the thoughtfully designed components that make up this premium device. Alongside the headset, you'll find a charging cable, user manual, and possibly additional ear tips or ear loops, depending on the specific model you've chosen.
Exploring the Design
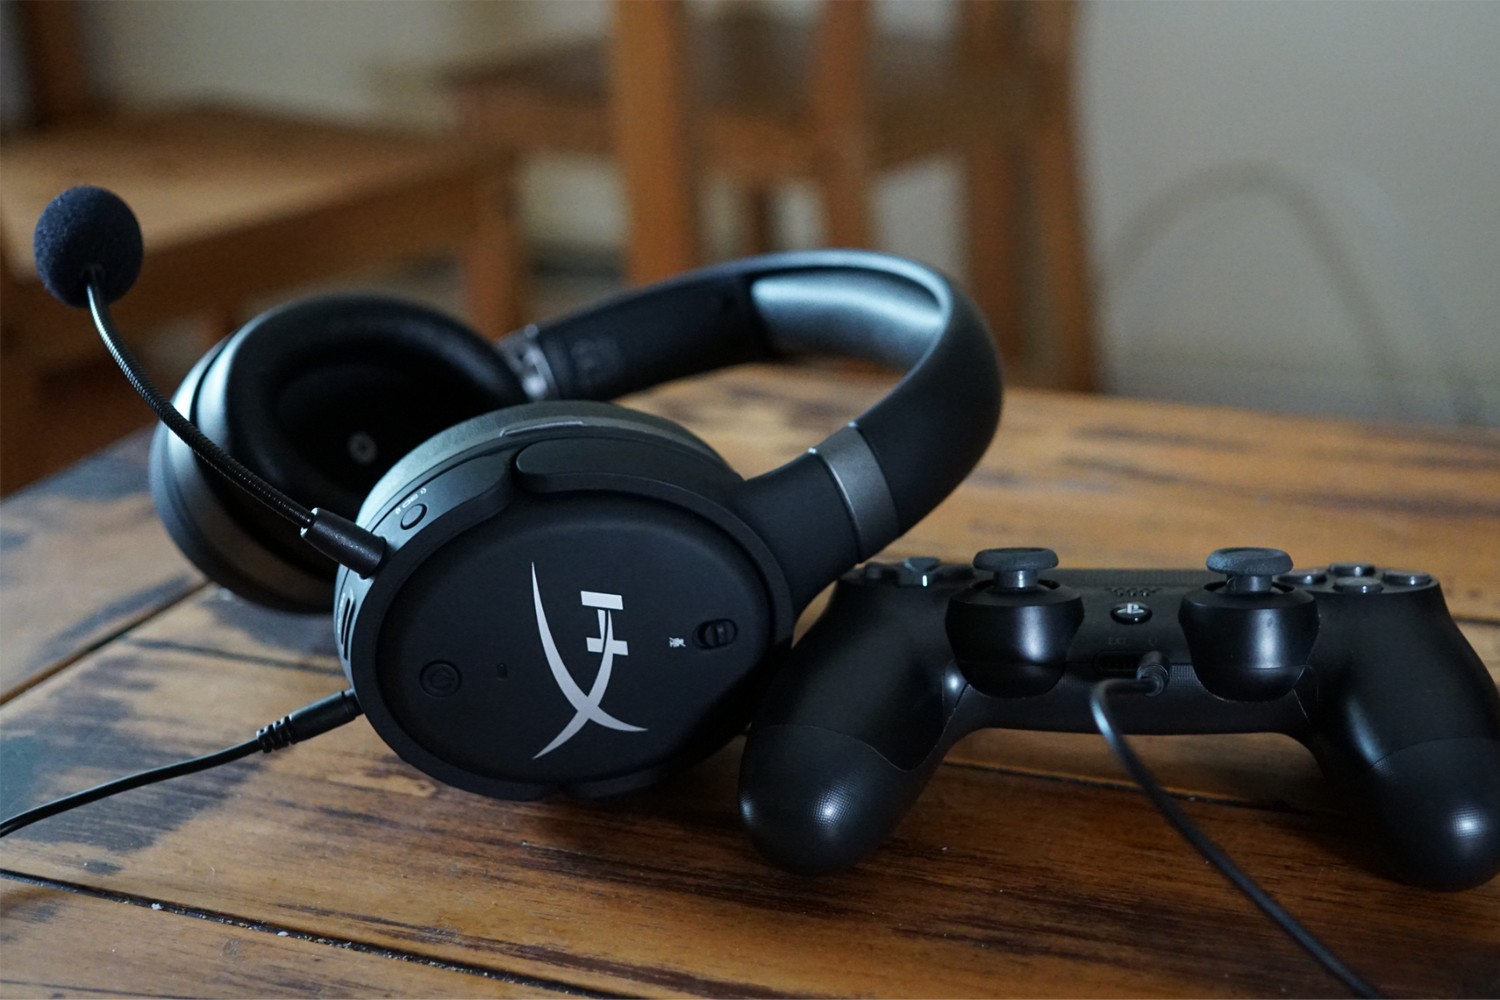
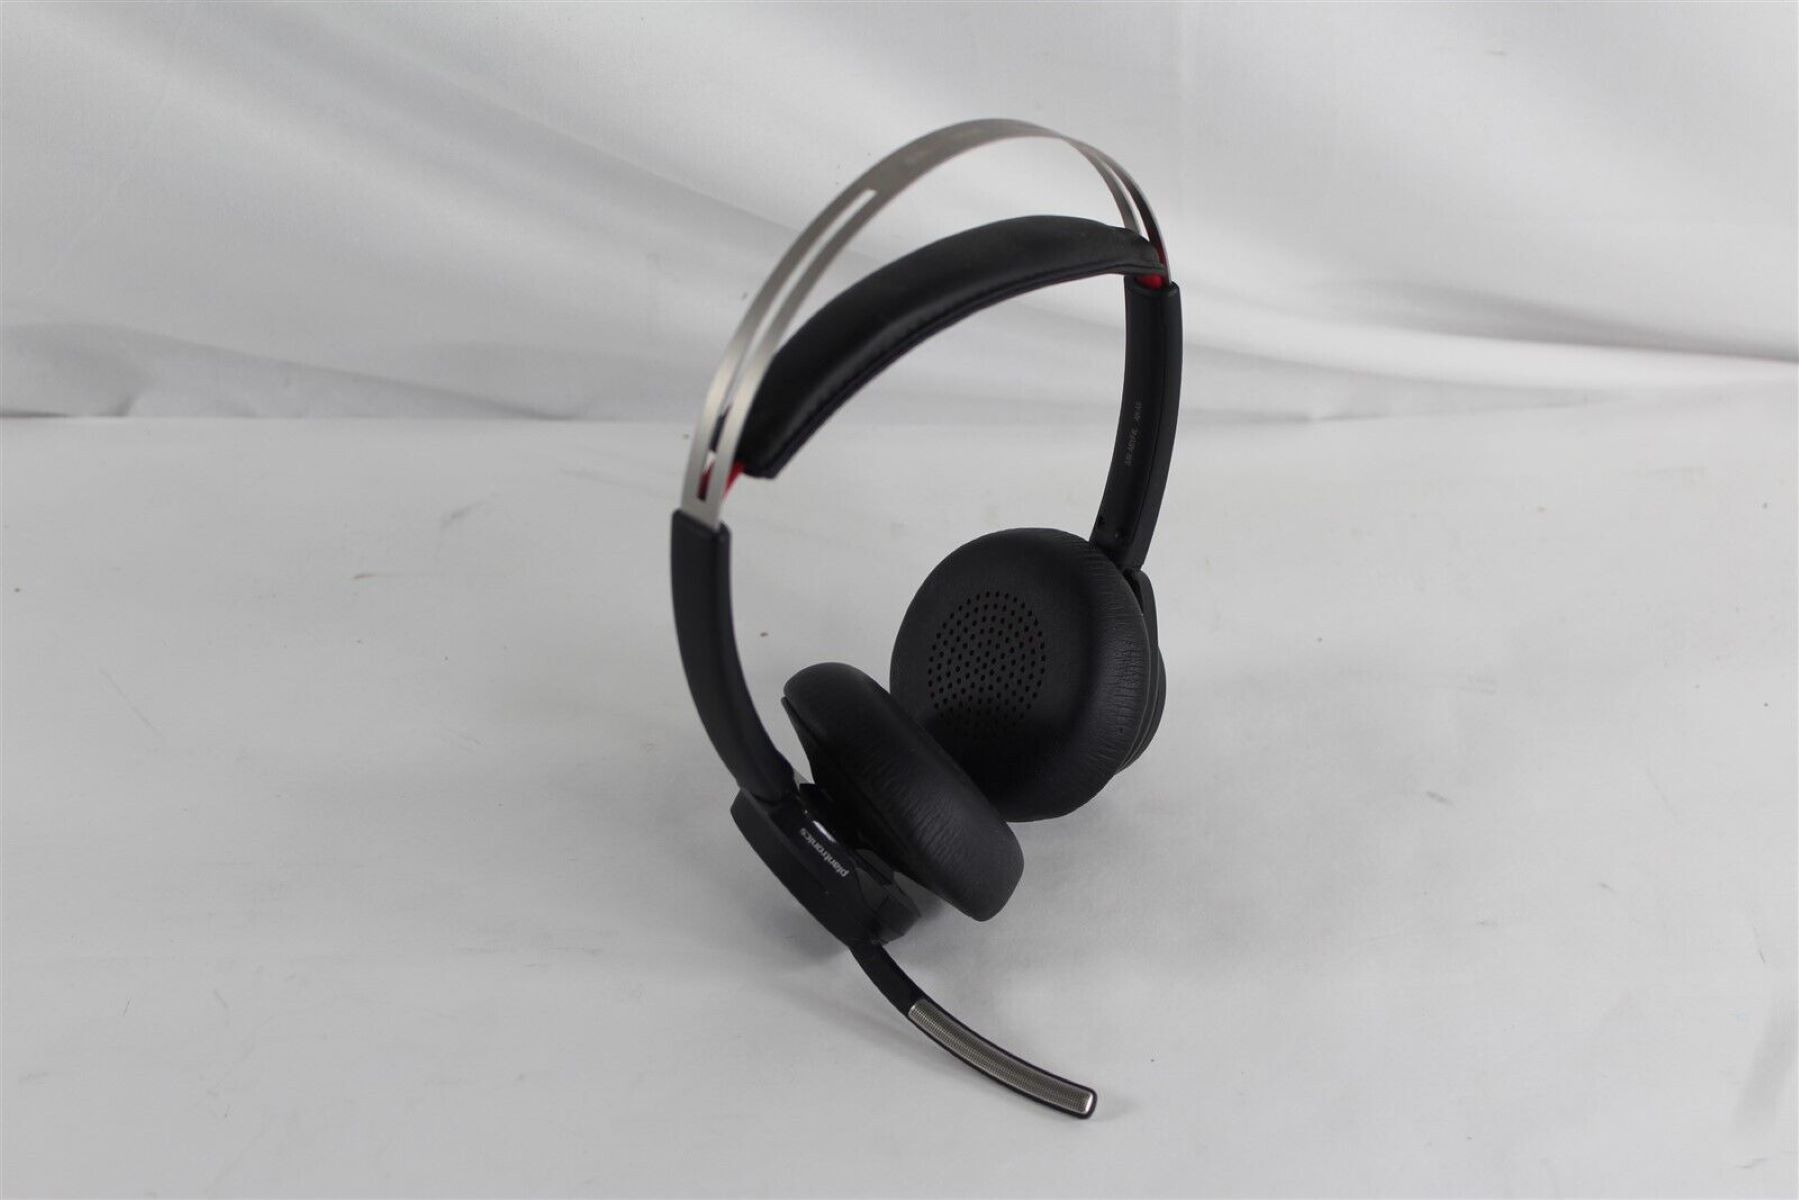
The first thing you'll notice as you hold the Plantronics headset is its sleek and ergonomic design. The lightweight yet durable construction ensures comfort during extended wear, while the intuitive button placements allow for effortless control. The attention to detail in the design becomes evident as you inspect the quality of materials and the precision of craftsmanship.
Familiarizing Yourself with the Controls
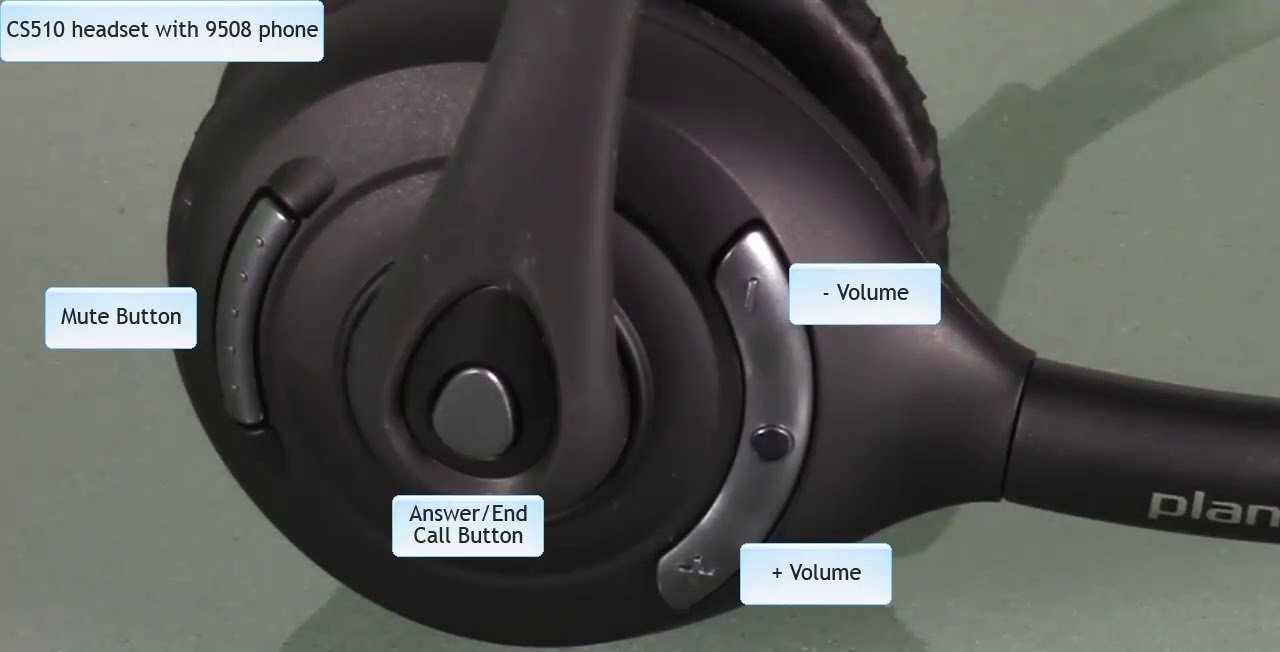
As you examine the headset, take a moment to familiarize yourself with the various controls and ports. Depending on the model, you may find power buttons, volume controls, and a multifunction button for easy call management. Additionally, the charging port is conveniently located for effortless recharging when needed.
Setting the Stage for Setup
Unboxing the Plantronics headset sets the stage for the exciting journey ahead. With the device in your hands and the accessories at your disposal, you're now ready to move on to the next step: charging the headset to ensure it's powered up and ready for seamless connectivity.
The unboxing experience not only introduces you to the physical aspects of the headset but also sets the tone for the exceptional quality and attention to detail that Plantronics is known for. As you prepare to embark on the setup process, you can appreciate the care and precision that has gone into crafting this innovative headset, designed to elevate your communication and audio experience.
Next, let's move on to Step 2, where we'll delve into the process of charging the headset to ensure optimal performance and uninterrupted usage.
Step 2: Charging the Headset
Charging the Plantronics headset is a crucial step to ensure uninterrupted usage and optimal performance. Before diving into the setup process, it's essential to power up the headset and give it the necessary charge to keep you connected throughout your day.
The charging process is straightforward and can be completed in just a few simple steps. To begin, locate the charging cable that was included in the packaging. The cable is designed to connect to the headset for efficient and convenient charging. With the cable in hand, follow these steps to charge your Plantronics headset:
-
Locate the Charging Port: On the headset, you'll find the charging port typically positioned discreetly for easy access. It may be covered by a small flap or located along the edge of the device. Once you've identified the charging port, you're ready to proceed to the next step.
-
Connect the Charging Cable: Take the charging cable and gently insert it into the charging port of the headset. Ensure that the connection is secure to facilitate efficient charging. The cable's design allows for a hassle-free connection, making the process quick and convenient.
-
Power Source: Once the cable is securely connected to the headset, plug the other end into a power source. This can be a standard wall adapter, a USB port on your computer, or any other compatible power outlet. As the cable establishes a connection, the charging process will commence, indicated by a visual or audible cue on the headset.
-
Charging Indicator: Many Plantronics headsets are equipped with a charging indicator light, which provides a visual cue to indicate the charging status. This light may illuminate or flash to signal that the headset is successfully charging. It's a helpful feature that allows you to monitor the progress and ensure that the device is receiving the necessary charge.
-
Allow Sufficient Charging Time: Depending on the initial battery level, allow the headset to charge for the recommended duration as outlined in the user manual. This ensures that the battery reaches its full capacity, providing you with extended usage before the next charge cycle.
By following these simple steps, you can effectively charge your Plantronics headset and prepare it for seamless connectivity with your preferred device. Once the charging process is complete, you're ready to move on to the next step: pairing the headset with your device. This pivotal stage sets the stage for a streamlined and hassle-free connection, allowing you to harness the full potential of your Plantronics headset.
With the headset powered up and ready to go, you're one step closer to experiencing the exceptional audio quality and hands-free convenience that the Plantronics headset has to offer. As we transition to the next step, let's explore the process of pairing the headset with your device, unlocking a world of connectivity and immersive audio experiences.
Step 3: Pairing the Headset with Your Device
Pairing your Plantronics headset with your device is a pivotal step that sets the stage for seamless connectivity and hands-free convenience. Whether you're using a smartphone, tablet, or computer, the pairing process allows your device to recognize and establish a wireless connection with the headset, enabling you to enjoy crystal-clear audio and effortless call management.
To initiate the pairing process, ensure that your Plantronics headset is powered on and in the discoverable mode. This mode enables your device to detect the headset during the pairing process, facilitating the establishment of a secure and stable connection. Depending on the specific model of your Plantronics headset, the method to activate the discoverable mode may vary. Refer to the user manual for detailed instructions tailored to your device.
Once the headset is in the discoverable mode, navigate to the Bluetooth settings on your device. In the list of available devices, locate and select the option to pair a new device. Your device will then scan for nearby Bluetooth devices, and the Plantronics headset should appear in the list of discoverable devices.
Upon identifying the Plantronics headset in the list, select it to initiate the pairing process. Your device will send a pairing request to the headset, which you can confirm to establish the connection. Depending on your device, you may be prompted to enter a passcode to complete the pairing process. This passcode is often provided in the user manual or may be a default code such as "0000" or "1234."
Once the pairing is successfully completed, your device will display a confirmation message, indicating that the Plantronics headset is now connected. You'll also notice a Bluetooth icon or indicator on your device, signifying the active connection with the headset.
With the pairing process finalized, your Plantronics headset is now seamlessly integrated with your device, ready to deliver immersive audio experiences and hands-free communication. Whether you're making calls, listening to music, or engaging in multimedia content, the wireless connection ensures freedom of movement and unparalleled convenience.
As we move forward to the next step, we'll delve into the process of adjusting the headset settings to personalize your audio experience and optimize the functionality of the Plantronics headset. Let's explore the various settings and customization options that allow you to tailor the headset to your preferences, enhancing your overall user experience.
Step 4: Adjusting the Headset Settings
After successfully pairing your Plantronics headset with your device, it's time to explore the various settings and customization options that allow you to tailor the headset to your preferences. These settings not only personalize your audio experience but also optimize the functionality of the headset, enhancing your overall user experience.
Customizing Audio Preferences
Plantronics headsets often feature adjustable audio settings that enable you to fine-tune the sound to suit your preferences. Depending on the model, you may have access to features such as equalizer presets, bass enhancement, and noise cancellation settings. By navigating through the headset's settings menu, you can experiment with these audio adjustments to create an immersive and tailored listening experience. Whether you prefer crisp highs, deep bass, or a balanced sound profile, the customizable audio settings empower you to optimize the audio output according to your preferences.
Call Management and Voice Commands
Many Plantronics headsets offer convenient call management features, allowing you to handle incoming calls, redial contacts, and activate voice commands with ease. Through the headset's settings, you can customize the button configurations to streamline call management tasks. Additionally, if your headset supports voice commands, you can explore the voice recognition settings to enhance hands-free functionality. These features not only elevate the convenience of using the headset but also contribute to a seamless and efficient communication experience.
Firmware Updates and Enhancements
Regular firmware updates are essential to ensure that your Plantronics headset operates at its best. By accessing the settings menu or using the dedicated mobile app, you can check for available firmware updates and apply them to the headset. These updates often introduce performance enhancements, bug fixes, and new features, keeping your headset up to date and optimized for reliable functionality. Staying proactive with firmware updates is a simple yet effective way to maximize the potential of your Plantronics headset and benefit from the latest improvements.
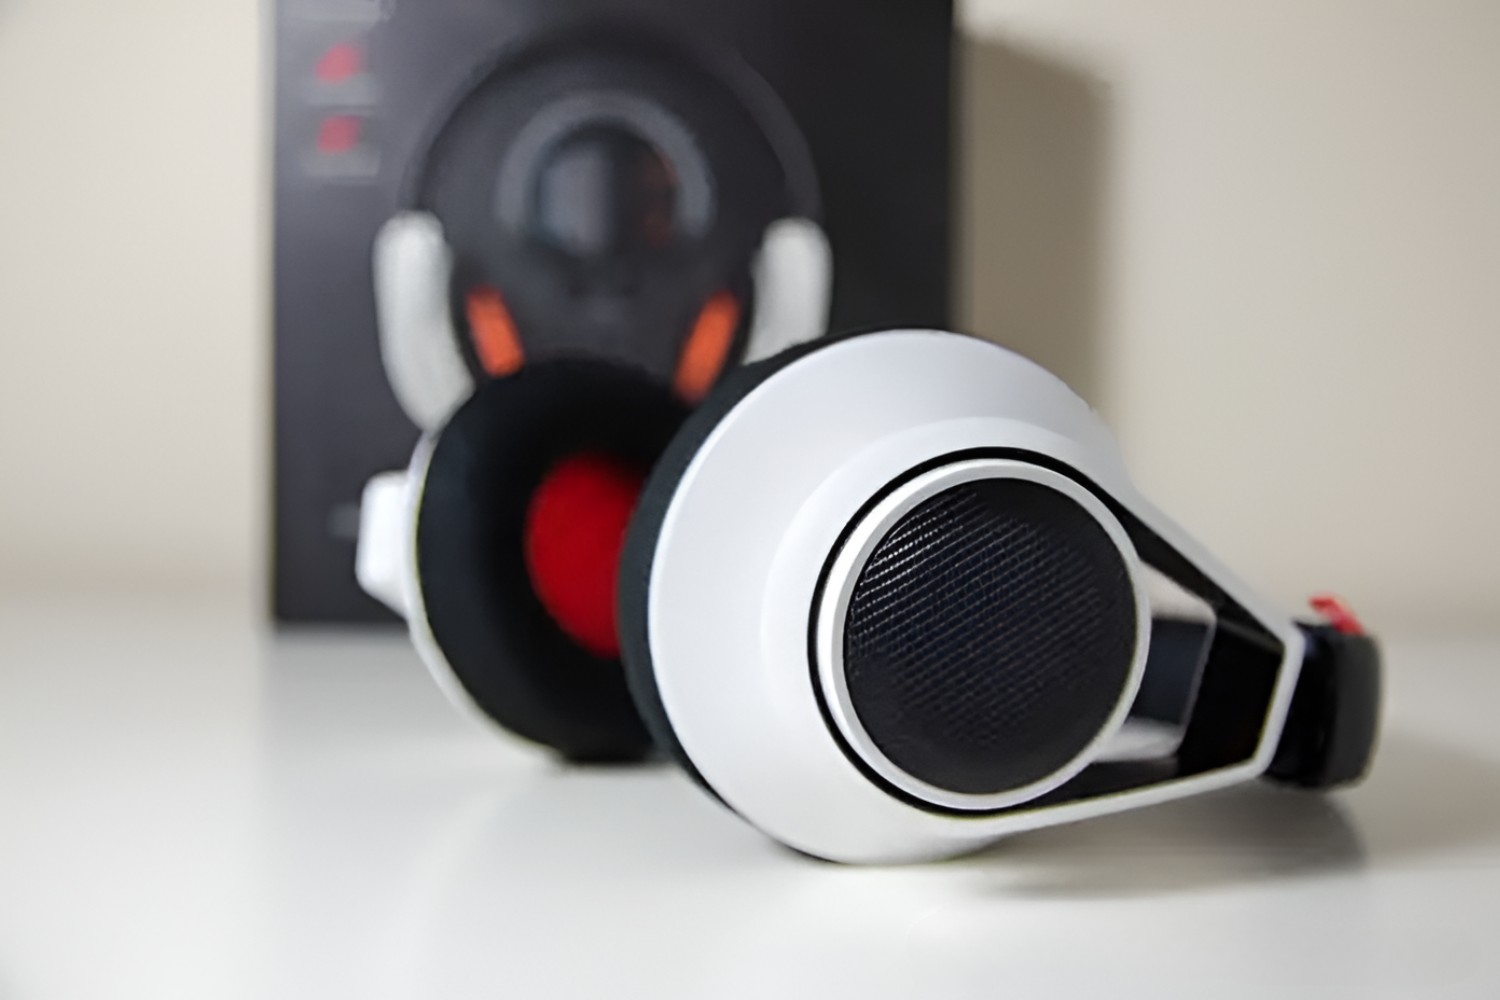
Comfort and Fit Adjustments
Beyond audio and call settings, it's important to consider the physical comfort and fit of the headset. Depending on the model, you may have the option to adjust the headband, ear cup position, or ear tip size to achieve a comfortable and secure fit. Exploring these fit adjustments within the headset's settings ensures that you can wear the device for extended periods without discomfort, promoting a seamless and enjoyable user experience.
By delving into the headset settings and customizing the various options to align with your preferences, you can unlock the full potential of your Plantronics headset. These personalized adjustments not only enhance the functionality of the device but also cater to your individual preferences, contributing to a tailored and immersive audio and communication experience.
With the headset settings adjusted to your liking, you're now ready to explore the next step: testing the headset to experience its capabilities in action. Let's proceed to the final step, where we'll delve into the process of testing the headset and ensuring that it meets your expectations in terms of audio quality, call management, and overall performance.
Step 5: Testing the Headset
Now that you've completed the setup process and adjusted the settings of your Plantronics headset, it's time to put it to the test and experience its capabilities firsthand. Testing the headset allows you to evaluate its audio quality, call management features, and overall performance, ensuring that it meets your expectations and enhances your communication and multimedia experiences.
Audio Quality Assessment
Begin by playing your favorite music or audio content through the headset. Pay attention to the clarity of the sound, the richness of the bass, and the overall balance of the audio output. If your headset offers customizable audio settings, such as equalizer presets or bass enhancement, experiment with different configurations to find the sound profile that resonates with your preferences. By immersing yourself in various genres of music and audio content, you can gauge the headset's ability to deliver a captivating and detailed listening experience.
Call Management and Voice Commands
Initiate a test call to evaluate the headset's call management features. Ensure that the microphone captures your voice clearly and accurately, allowing for seamless communication. If your headset supports voice commands, test the functionality by issuing voice prompts to make calls, send messages, or access virtual assistants. The efficiency and responsiveness of these features contribute to the overall convenience and hands-free capability of the headset.
Comfort and Fit Assessment
Wear the headset for an extended period to assess its comfort and fit. Pay attention to any pressure points or discomfort, especially around the ear cups or headband. If your headset offers adjustable fit options, such as headband adjustments or interchangeable ear tips, experiment with these settings to achieve an optimal and secure fit. The comfort of the headset plays a crucial role in ensuring prolonged wear without causing fatigue or discomfort.
Environmental Noise Isolation
Test the headset's ability to isolate environmental noise during calls or audio playback. Find a moderately noisy environment and observe how well the headset attenuates external sounds, allowing you to focus on your calls or audio content without distractions. Effective noise isolation contributes to enhanced call clarity and an immersive listening experience, especially in bustling or noisy surroundings.
By thoroughly testing the Plantronics headset across these key aspects, you can gain a comprehensive understanding of its performance and capabilities. This hands-on evaluation allows you to fine-tune the settings further and optimize the headset to align with your specific preferences and usage scenarios.
With the testing phase completed, you're now equipped to seamlessly integrate the Plantronics headset into your daily routine, leveraging its advanced features and exceptional audio quality to elevate your communication and multimedia experiences. Whether you're navigating professional calls, enjoying music on the go, or engaging in virtual meetings, the Plantronics headset stands ready to deliver unparalleled convenience and immersive audio performance.
As you embark on this exciting journey with your Plantronics headset, remember to revisit the settings and customization options periodically to ensure that the device continues to cater to your evolving needs and preferences. With its seamless connectivity and user-centric design, the Plantronics headset is poised to become an indispensable companion in your tech-savvy lifestyle.
Conclusion
In conclusion, the process of setting up your Plantronics headset has equipped you with a seamless and intuitive hands-free solution that enhances your communication and multimedia experiences. From the initial unboxing, where you were introduced to the elegant design and thoughtful components of the headset, to the pivotal steps of charging, pairing, adjusting settings, and testing, you've embarked on a journey that has transformed the way you engage with audio and communication.
By unboxing the Plantronics headset, you not only unveiled a premium device but also set the stage for the exceptional quality and attention to detail that defines Plantronics products. The sleek design and intuitive controls hinted at the immersive audio experiences and hands-free convenience that awaited you.
Charging the headset was a simple yet essential step that ensured uninterrupted usage and optimal performance. The straightforward process of connecting the charging cable and allowing sufficient charging time paved the way for a fully powered and ready-to-use headset.
Pairing the headset with your device marked a significant milestone, enabling seamless connectivity and wireless freedom. The pairing process, coupled with the customizable settings, allowed you to tailor the headset to your preferences, creating a personalized audio and communication experience that aligns with your unique needs.
Adjusting the headset settings empowered you to fine-tune the audio, optimize call management features, and ensure a comfortable fit, enhancing the overall functionality and user experience. The ability to customize audio preferences, manage calls effortlessly, and stay updated with firmware enhancements showcased the versatility and adaptability of the Plantronics headset.
Testing the headset across various scenarios provided valuable insights into its audio quality, call management capabilities, and comfort during prolonged wear. This hands-on evaluation allowed you to optimize the settings and tailor the headset to your specific usage scenarios, ensuring that it seamlessly integrates into your daily routine.
As you embrace the seamless connectivity and advanced features of your Plantronics headset, remember that the device is designed to evolve with your needs. Regularly revisiting the settings and customization options ensures that the headset continues to meet your expectations and enhance your audio and communication experiences.
With the Plantronics headset by your side, you're poised to navigate professional calls, enjoy immersive music, and engage in seamless communication, all while experiencing the unparalleled convenience and audio performance that the headset offers. As you embark on this exciting journey with your Plantronics headset, you can look forward to a tech-savvy lifestyle enriched by hands-free convenience and exceptional audio experiences.