Introduction
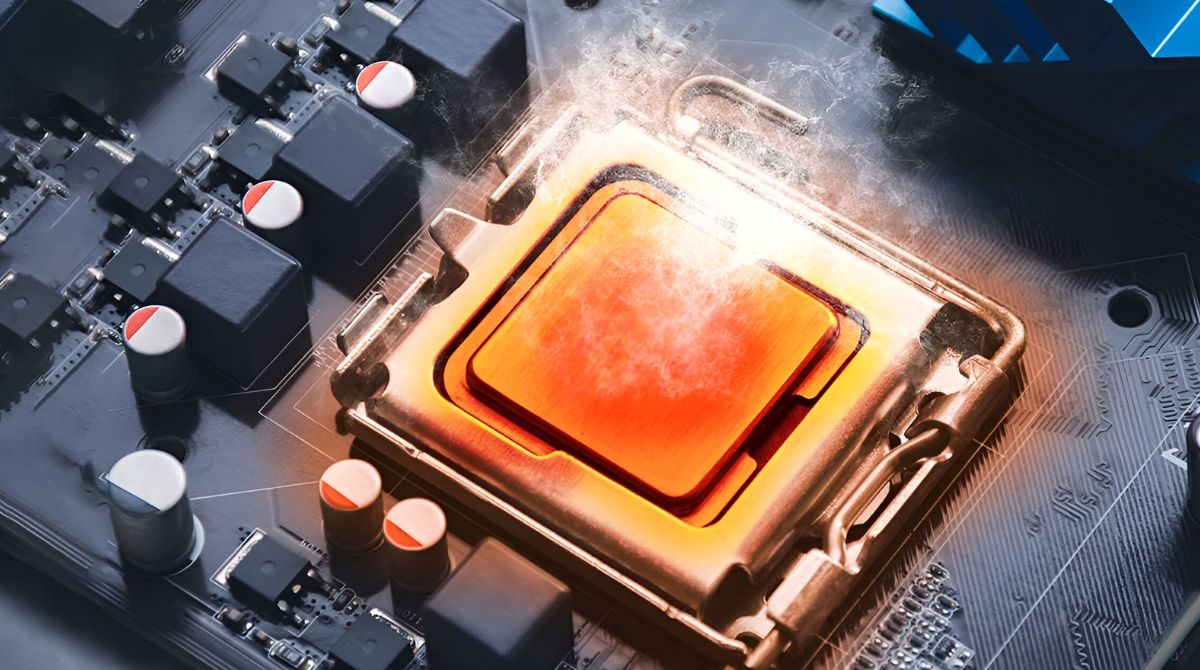
The central processing unit (CPU) cooler is an essential component for ensuring the optimal performance and longevity of a computer’s processor. However, in certain scenarios, it may be beneficial to install a CPU cooler on a graphics processing unit (GPU) as well. This process, known as GPU cooling modification, involves replacing the stock cooler on the GPU with a more efficient CPU cooler to improve thermal management and potentially enhance performance. While it may seem unconventional, this method can be particularly useful for users who engage in graphically intensive activities such as gaming or video editing. In this article, we will explore the steps required to put a CPU cooler on a GPU, providing a detailed guide on how to undertake this modification successfully.
Before diving into the process, it’s important to note that modifying your GPU cooling system may void the warranty and carries some risks. Therefore, it is essential to have a good understanding of computer hardware and be prepared to accept any potential consequences. Additionally, it is recommended to consult the manufacturer’s guidelines or seek professional advice before proceeding. With that said, let’s delve into the step-by-step process of installing a CPU cooler on a GPU.
Step 1: Gather the necessary materials
Before starting the process of installing a CPU cooler on a GPU, it is crucial to gather all the required materials. Here’s a list of what you’ll need:
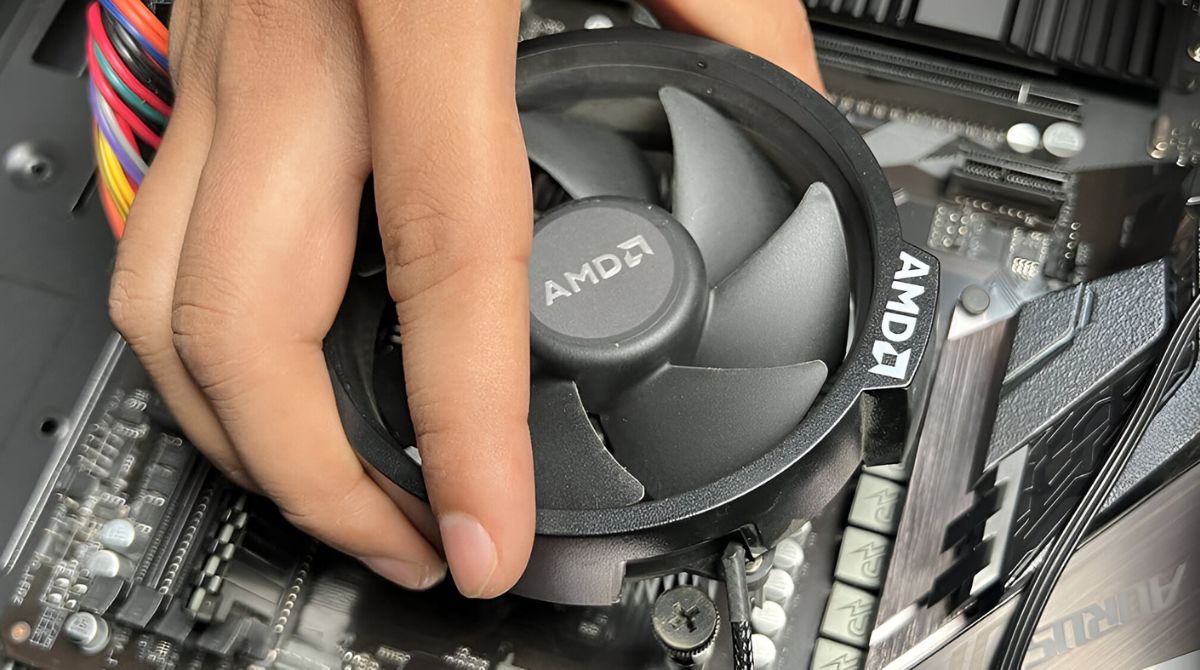
- A compatible CPU cooler: Choose a CPU cooler that is compatible with your specific GPU model. It is important to ensure that the CPU cooler’s mounting mechanism aligns with the GPU’s layout.
- Thermal paste: Thermal paste is used to create a heat-conducting interface between the GPU and the CPU cooler. Ensure that you have a high-quality thermal paste to optimize the cooling performance.
- Screwdriver: You will need a screwdriver that matches the screws on your GPU. Different GPUs may have different screw types, so check the specifications before selecting the appropriate screwdriver.
- Cleaning materials: It is essential to have cleaning materials such as isopropyl alcohol and lint-free cloths to clean the GPU and remove any residues left by the previous cooler.
- Anti-static precautions: Static electricity can damage sensitive computer components. Make sure to use an anti-static strap or work on an anti-static mat to prevent any electrostatic discharge during the installation process.
Once you have gathered all the necessary materials, you can move on to the next step: preparing the GPU for the cooler installation.
Step 2: Prepare the GPU
Before installing the CPU cooler on your GPU, it is crucial to properly prepare the graphics card for the modification. Follow these steps to ensure a clean and secure setup:
- Power off your computer and disconnect it from the power source. This step is essential to prevent any potential electrical hazards during the process.
- Remove the GPU from the computer case. Depending on your computer setup, you may need to unscrew the GPU from the motherboard or unclip it from the PCIe slot. Consult your computer’s manual for specific instructions.
- Place the GPU on an anti-static mat or surface. This will help prevent any damage caused by static electricity or accidental contact with conductive surfaces.
- Using a screwdriver, carefully remove the existing cooler from the GPU. The cooler is usually secured with screws or clips. Take your time and ensure that you remove all the attachments before attempting to detach the cooler.
- Once the cooler is removed, clean the GPU and the surrounding area using isopropyl alcohol and lint-free cloths. This will help remove any thermal paste residue or dirt that may interfere with the installation of the new CPU cooler.
- Inspect the GPU for any visible damage or warping. If you notice any issues, it is recommended to consult a professional technician before proceeding with the modification.
With the GPU now prepared, you are ready to move on to the next step: removing the existing cooler from the GPU.
Step 3: Remove the existing cooler
Now that you have prepared the GPU for the CPU cooler installation, it’s time to remove the existing cooler from the graphics card. Follow these steps carefully to ensure a smooth and successful removal:
- Locate the screws or clips securing the existing cooler to the GPU. These are typically found around the perimeter of the cooler.
- Using a screwdriver or your hands, carefully unscrew or unclip the cooler from the GPU. Be gentle and avoid applying excessive force to prevent damage to the GPU or other components.
- Once all the screws or clips are undone, gently lift the existing cooler away from the GPU. Be cautious of any remaining thermal paste that may be holding it in place.
- Clean the GPU thoroughly using isopropyl alcohol and lint-free cloths to remove any residue from the previous cooler and old thermal paste. This step is crucial as it ensures optimal heat transfer between the GPU and the new CPU cooler.
- Inspect the GPU for any damage or bent pins. If any issues are detected, it is advisable to seek professional assistance to rectify the problems before proceeding further.
With the existing cooler successfully removed, you are now ready to apply thermal paste to the GPU in the next step.
Step 4: Apply thermal paste to the GPU
Applying thermal paste is a critical step in ensuring effective heat transfer between the GPU and the new CPU cooler. Follow these steps carefully to apply thermal paste correctly:
- Make sure the GPU and your hands are clean and free from any dust, dirt, or oils. Use isopropyl alcohol and lint-free cloths to clean the GPU surface.
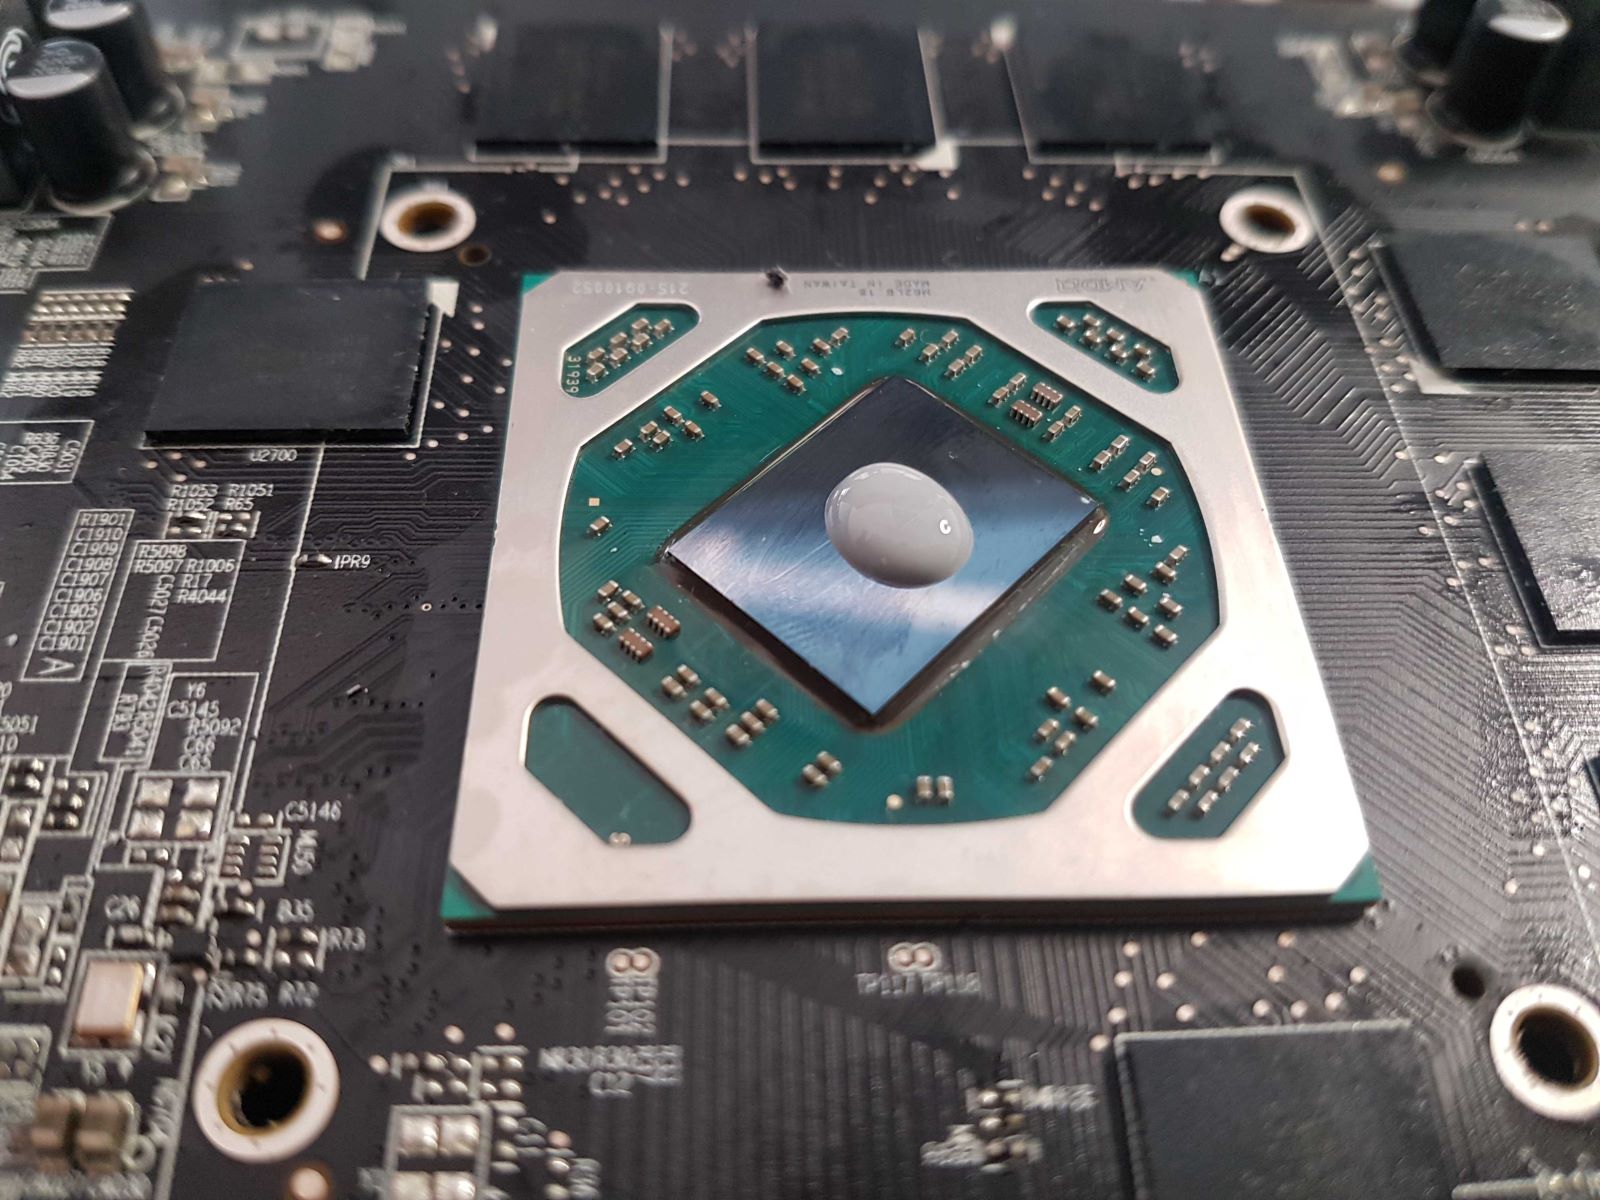
- Take a small amount of thermal paste, approximately the size of a grain of rice. Remember, using too much thermal paste can hinder heat transfer and cause overheating.
- Apply the thermal paste onto the center of the GPU. Avoid applying it too close to the edges as it may ooze out when the new CPU cooler is installed.
- Using a plastic spreader or a clean fingertip, spread the thermal paste evenly and thinly over the GPU surface. Ensure that the entire GPU is covered, but there is no excess paste that could cause interference with the CPU cooler.
- Double-check that no thermal paste has dripped onto the GPU pins or other components. If any excess paste is present, carefully wipe it away using a lint-free cloth or cotton swab dipped in isopropyl alcohol.
Once the thermal paste is applied, you are now ready to proceed to the next step and install the new CPU cooler onto the GPU.
Step 5: Install the new CPU cooler
Now that you have applied the thermal paste to the GPU, it’s time to install the new CPU cooler. Follow these steps to ensure a secure and proper installation:
- Align the new CPU cooler with the mounting holes on the GPU. Take note of the orientation of the cooler to ensure proper heat dissipation.
- Carefully place the CPU cooler onto the GPU, ensuring that the mounting mechanism aligns with the GPU’s layout. Apply gentle and even pressure to secure the cooler in place.
- Insert and tighten the screws or clips provided with the CPU cooler. Start with one screw or clip at a time, gradually tightening them in a diagonal or crisscross pattern. This ensures even pressure distribution and prevents the cooler from being lopsided.
- Double-check that the CPU cooler is securely fastened to the GPU. Ensure that it is not wobbling or loose.
- Ensure that any cables or wires from the CPU cooler are neatly routed and do not obstruct the fans or other components of the GPU.
- If the CPU cooler requires additional power, connect the necessary cables to the GPU or the motherboard as specified by the CPU cooler manufacturer.
With the new CPU cooler properly installed on the GPU, you are one step closer to experiencing improved cooling performance. The next step is to connect the cooler and GPU together, which we will cover in the following section.
Step 6: Connect the cooler and GPU
Now that the new CPU cooler is securely installed on the GPU, it’s time to connect the cooler and GPU together. Follow these steps to ensure proper connectivity:
- Locate the fan headers on the GPU or the motherboard. These headers allow you to connect the cooler’s fans for optimal cooling.
- Attach the CPU cooler’s fan connector to the appropriate fan header. Ensure that the connector matches the header type, such as PWM or DC, for compatibility.
- If your CPU cooler has multiple fans, connect them to available fan headers or use fan splitters if necessary. This ensures that all fans operate synchronously to achieve balanced cooling performance.
- Check the cable management to ensure that the fan cables are neatly routed and not interfering with other components or obstructing airflow within the computer case.
- Double-check all connections to ensure they are secure and firmly attached. Loose or improper connections can affect the cooling performance of the CPU cooler.
With the cooler and GPU properly connected, you are almost ready to test the cooler and GPU. However, before proceeding, ensure that you have properly reinstalled the GPU into the computer case. This will ensure that the GPU receives adequate power and stays securely in place. Once the GPU is properly installed, proceed to the final step: testing the cooler and GPU.
Step 7: Test the cooler and GPU
Now that you have completed the installation of the new CPU cooler on the GPU, it is crucial to test its functionality and ensure that both the cooler and the GPU are operating efficiently. Follow these steps to perform a proper test:
- Ensure that all cables connecting to the GPU and the CPU cooler are secure and properly plugged in.
- Power on your computer and check the BIOS or software monitoring tools to verify that the CPU cooler and GPU fans are spinning and operating at appropriate speeds.
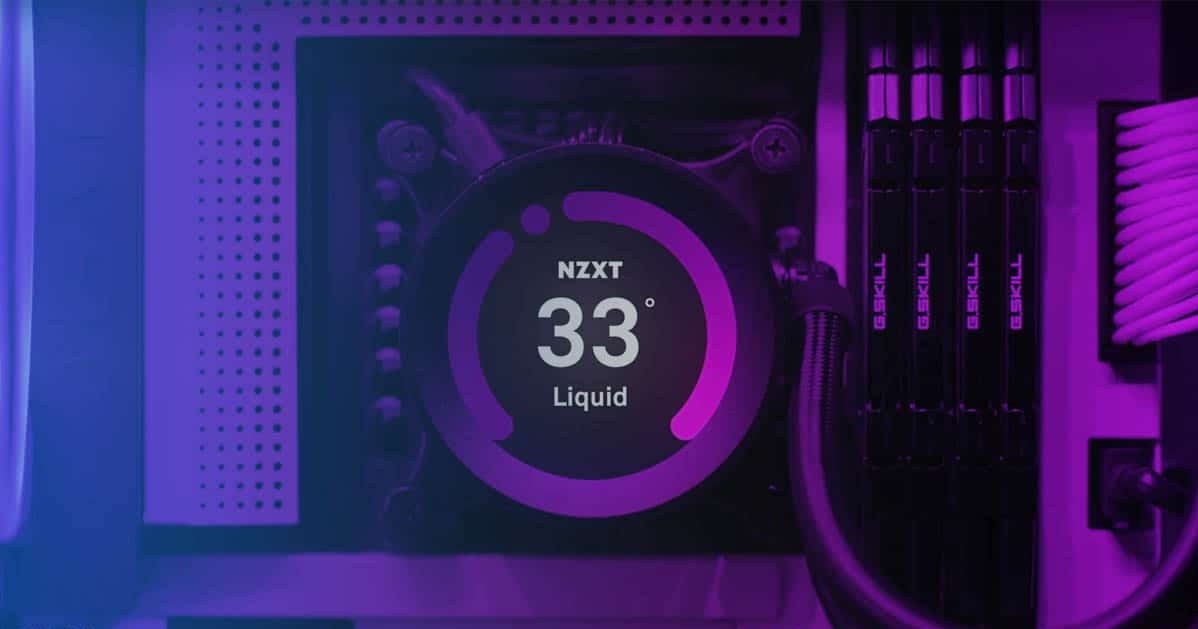
- Monitor the temperature of the GPU during idle and under load using software monitoring tools that are compatible with your GPU model. Check that the temperatures remain within safe operating ranges.
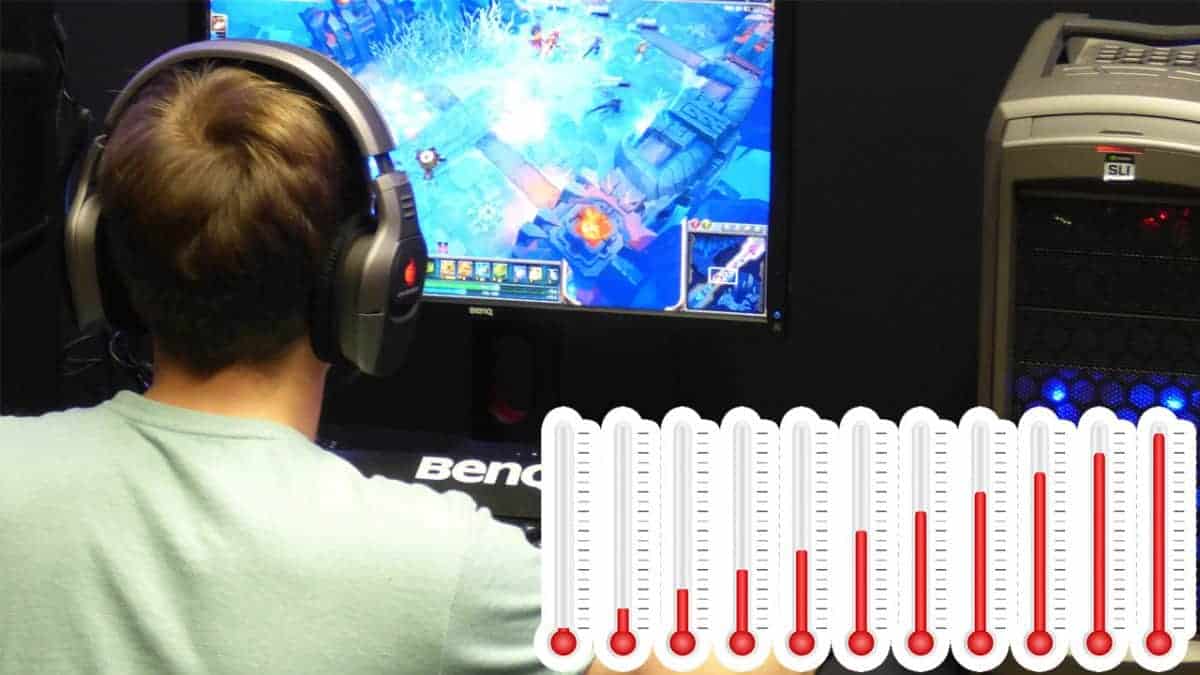
- Run stress tests or engage in graphically intensive activities to assess the cooling performance. Monitor the GPU temperature closely during these tests and ensure that it does not reach critical levels.
- Listen for any abnormal noises or vibrations coming from the CPU cooler or GPU. Unusual sounds or vibrations may indicate an installation or compatibility issue that needs to be addressed.
- If everything appears to be functioning correctly and the temperatures are within acceptable ranges, you can consider the cooler and GPU installation successful.
Be sure to periodically monitor the CPU and GPU temperatures to ensure that the cooler is providing efficient cooling. If you notice any significant increase in temperatures or experience any stability issues, it is advisable to revisit the installation process or consult with a professional technician.
With the cooler and GPU successfully tested, you can now enjoy improved cooling performance and potentially enhanced GPU performance during graphically demanding tasks.
Conclusion
Installing a CPU cooler on a GPU can be a beneficial modification for users who engage in graphically intensive activities. By replacing the stock cooler with a more efficient CPU cooler, you can improve thermal management and potentially enhance GPU performance.
Throughout this step-by-step guide, we have covered the necessary materials, preparation of the GPU, removal of the existing cooler, application of thermal paste, installation of the new CPU cooler, connection of the cooler and GPU, and testing of the cooler and GPU.
However, it is important to note that modifying your GPU’s cooling system comes with risks and may void the warranty. Before proceeding with the installation, it is advisable to consult the manufacturer’s guidelines or seek professional advice to ensure compatibility and to understand any potential consequences.
By carefully following each step and taking necessary precautions, you can successfully install a CPU cooler on your GPU. This modification can lead to improved cooling efficiency, lower temperatures, and potentially enhanced performance when engaging in demanding tasks.
Remember to regularly monitor the CPU and GPU temperatures to ensure that the cooler is functioning optimally. If you experience any issues or notice abnormally high temperatures, consider revisiting the installation process or seeking professional assistance.
With proper installation and maintenance, putting a CPU cooler on a GPU can be a worthwhile modification for users looking to maximize their system’s performance. Enjoy the benefits of improved cooling and take your graphically intensive activities to the next level.