Why is PC Cooling Important?
PC cooling is a vital aspect of maintaining the overall health and performance of your computer. Without adequate cooling, your PC can overheat, leading to a range of issues that can impact its functionality and even cause irreversible damage. Understanding why PC cooling is important can help you take the necessary steps to keep your system running smoothly.
First and foremost, cooling ensures that your computer operates within safe temperature limits. CPUs and GPUs generate a significant amount of heat when performing tasks, and if not properly cooled, this heat can build up and reach critical levels. Overheating can lead to frequent and unexpected system crashes, which can potentially result in data loss or corruption.
Furthermore, excess heat can shorten the lifespan of your computer components. High temperatures can cause stress to various hardware parts, such as the motherboard, graphics card, and hard drives, resulting in premature failure. Regularly monitoring and maintaining proper cooling can help prolong the lifespan of your valuable components and save you from costly repairs or replacements.
Effective cooling also ensures optimal performance. When a computer overheats, it tends to throttle its performance to prevent thermal damage. This means that your system may not be running at its full potential and could result in slower processing speeds and reduced overall efficiency. By providing adequate cooling, you can maintain optimal performance levels for a smoother and more enjoyable computing experience.
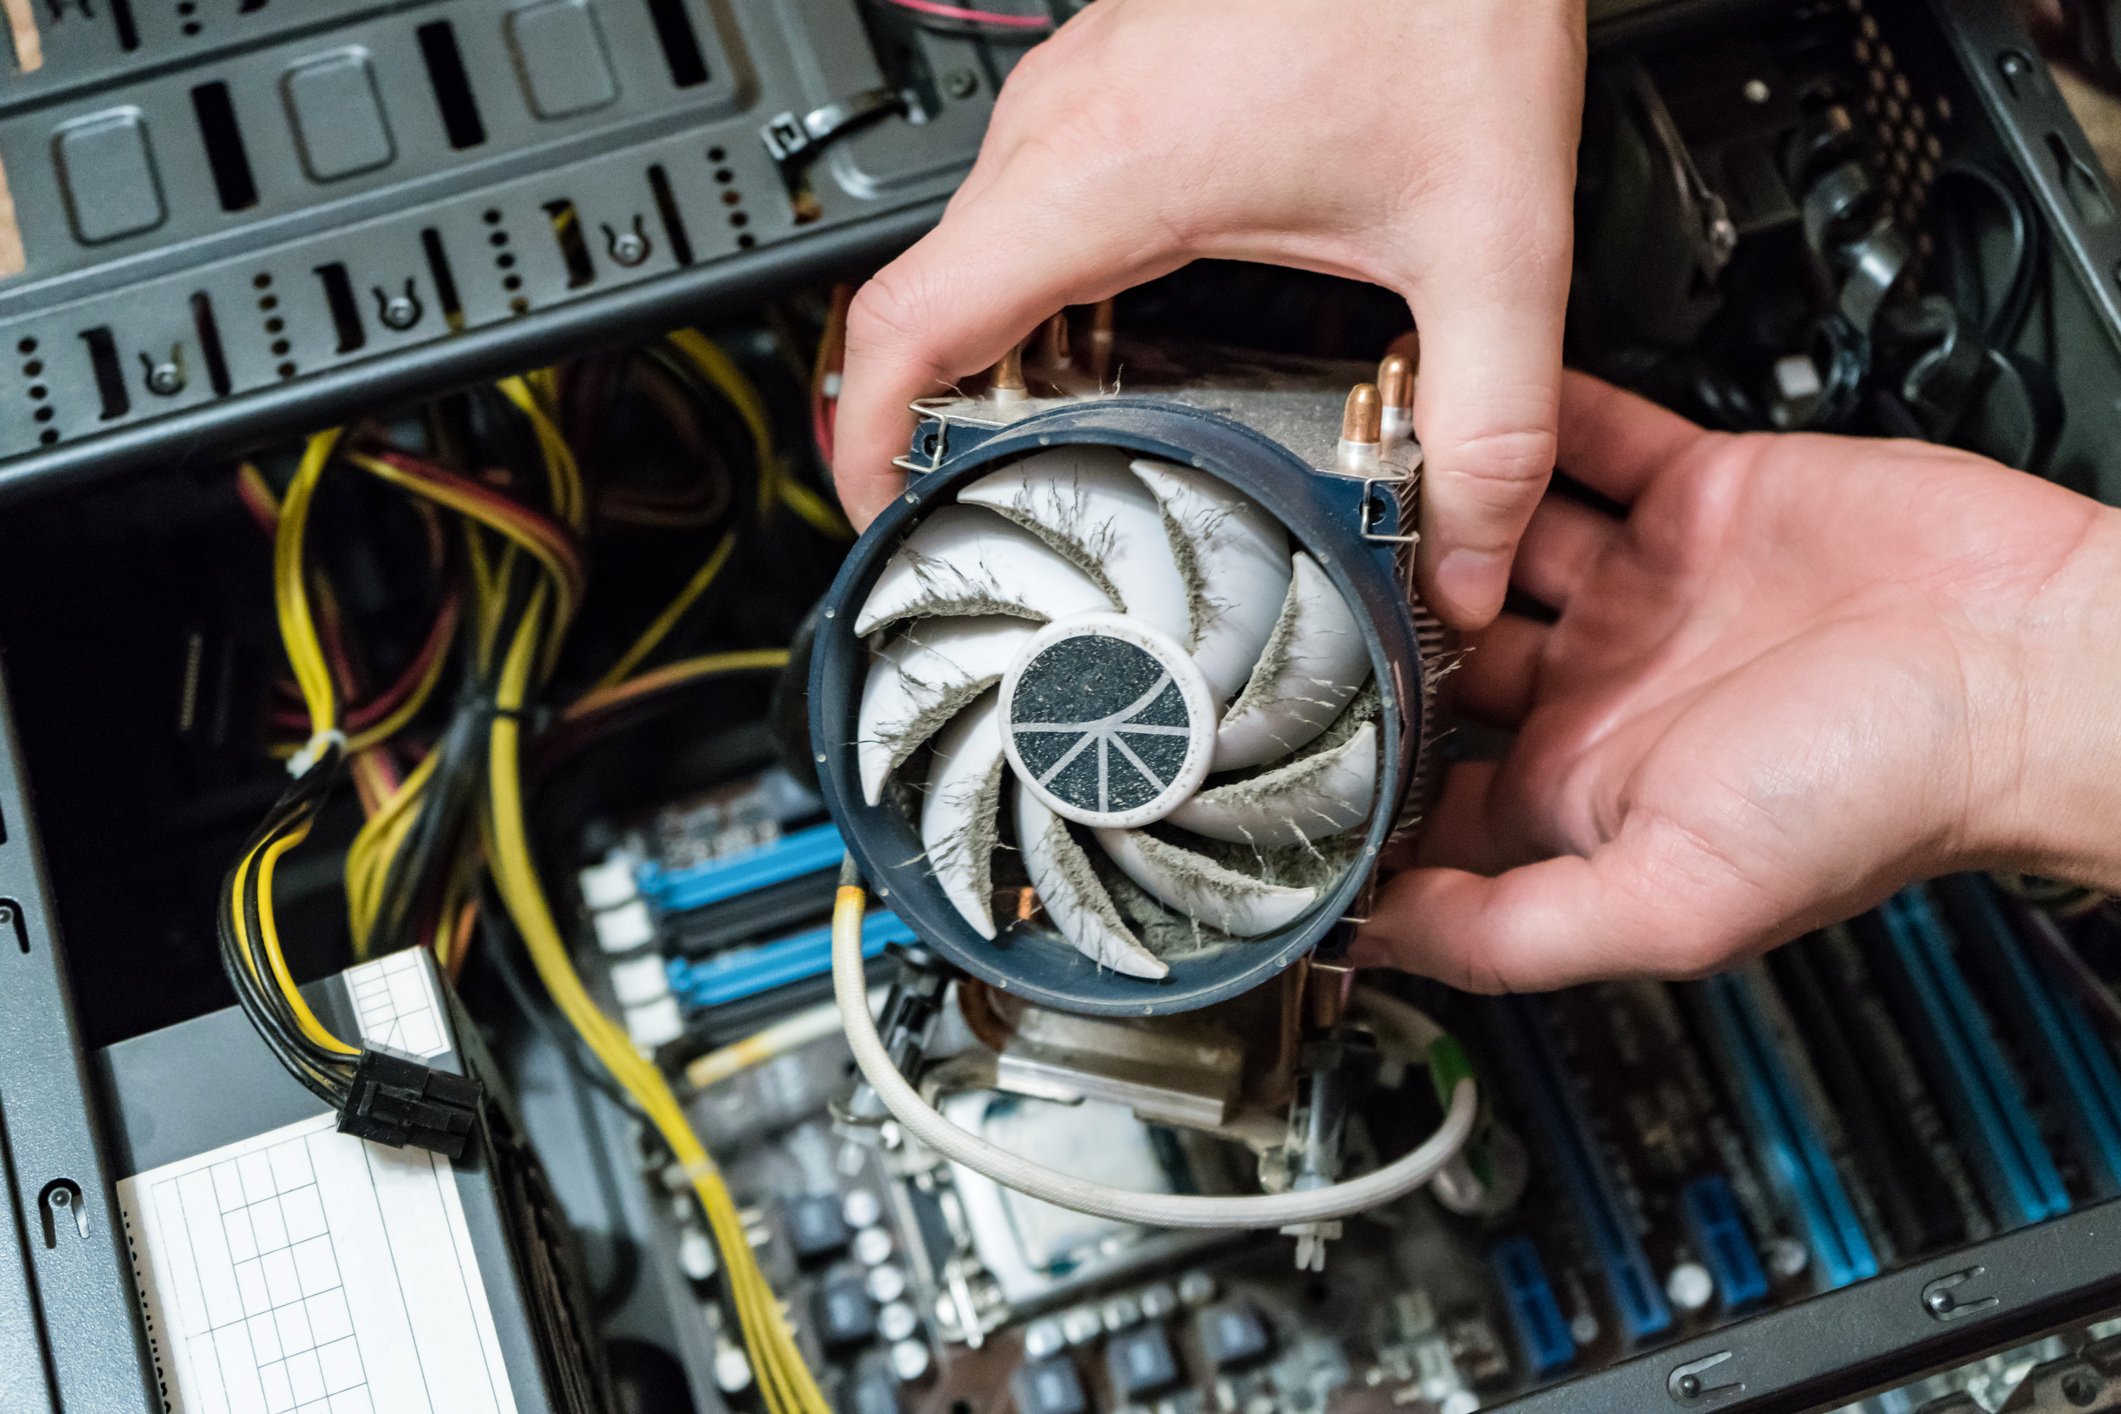
Moreover, cooling helps prevent the accumulation of dust and debris. When a computer’s cooling system is not functioning properly, dust particles can settle on components, blocking vents and hindering airflow. This can further exacerbate overheating issues and lead to a decline in performance. Regularly cleaning and dusting your PC, along with maintaining proper cooling, will help prevent the buildup of harmful debris.
In summary, PC cooling is essential for maintaining a stable and healthy computer system. It safeguards against overheating, extends the lifespan of your components, improves performance, and prevents the accumulation of dust and debris. By prioritizing cooling methods and regularly maintaining your system, you can enjoy a reliable and efficient PC for years to come.
Signs of Overheating
It’s important to be aware of the signs that indicate your PC is overheating. Identifying these signs early on can help you take prompt action to prevent any potential damage or performance issues. Here are some common indicators of an overheating computer:
1. Increased Fan Noise: If you notice a sudden increase in fan noise coming from your computer, particularly from the CPU or GPU, it could be a sign that your system is trying to cool down. The fans work harder to dissipate the excess heat, resulting in louder noise levels.
2. Frequent System Crashes: Overheating can cause your system to crash or automatically shut down to prevent damage. If your PC frequently shuts down or restarts unexpectedly, especially during graphically intensive tasks or when running multiple programs, it could be due to overheating.
3. Slower Performance: High temperatures can lead to thermal throttling, where the system reduces its performance to lower the heat output. This can result in slower processing speeds, longer load times, and overall sluggish performance.
4. Unresponsive or Frozen Screen: Overheating can cause your screen to freeze or become unresponsive. If you experience these issues, particularly when running demanding applications or playing games, it may be a symptom of overheating.
5. Visual Artifacts or Glitches: When a computer overheats, it can lead to graphical glitches or artifacts on the screen. You may notice unusual lines, distortions, or color changes on your display, indicating that the GPU is struggling to handle the heat.
6. Burning Smell: A distinct burning odor emanating from your PC is a clear sign of overheating. It could indicate that some components, such as the CPU or power supply, are experiencing extreme heat levels.
7. Excessive Heat from the Case: If you notice the external case of your computer becoming excessively hot to the touch, it suggests that heat is not properly dissipating from inside the system. This can be a warning sign of internal overheating.
If you observe any of these signs, it’s crucial to take immediate action to address the overheating issue. Ensure proper airflow to your computer, clean out any dust or debris, and consider upgrading your cooling system if necessary. By being proactive and attentive, you can prevent potential damage and ensure a smooth computing experience.
Cleaning and Dusting the PC
Regularly cleaning and dusting your PC is an important maintenance task that can help prevent overheating and prolong the lifespan of your components. Dust and debris can accumulate over time, clogging up vents and obstructing airflow, leading to increased temperatures. Here are some steps you can take to effectively clean and dust your PC:
1. Gather the Necessary Tools: Before you begin, gather tools such as a soft microfiber cloth, compressed air canister, cleaning solution (preferably isopropyl alcohol), cotton swabs, and a small brush.
2. Power Down and Disconnect: Make sure to power down your PC and unplug it from the power source. This is essential to avoid any potential electrical hazards and ensure your safety.
3. Open the Case: Depending on the type of PC you have, you may need to remove screws or use a latch to open the case. Refer to your computer’s manual or manufacturer’s instructions for guidance.
4. Use Compressed Air: Begin by using compressed air to blow away dust and debris from various components, including fans, heatsinks, and vents. Hold the canister upright and use short bursts of air to prevent liquid from coming out.
5. Clean the Fans: Fans are prime areas for dust accumulation. Use the compressed air to blow away visible dust, and if necessary, hold the fan in place with a cotton swab to prevent it from spinning while you clean.
6. Wipe Surfaces: Use a soft microfiber cloth lightly dampened with isopropyl alcohol or a cleaning solution to gently wipe down surfaces, including the case, front panel, and keyboard. Be careful not to exert excessive pressure or use excessive moisture.
7. Clean Hard-to-Reach Areas: Use a small brush or cotton swab to clean hard-to-reach areas such as crevices, corners, and small gaps. This will help remove stubborn dust that may have accumulated in these spaces.
8. Inspect the Cables: While cleaning, take the opportunity to inspect the cables and connections inside your PC. Ensure they are securely connected and free from any damage or fraying.
9. Reassemble and Test: Once you are satisfied with the cleaning, carefully reassemble the case, ensuring all screws or latches are in place. Plug in your PC and power it on to ensure everything is functioning properly.
Remember, regular maintenance is key to keeping your PC clean and dust-free. Aim to clean your computer at least once every three to six months, depending on your environment. This will help ensure optimal airflow and cooling, enhancing the overall performance and longevity of your PC.
Enhancing Airflow
Optimizing airflow is crucial for keeping your PC cool and preventing overheating. Good airflow helps dissipate heat effectively, ensuring that your components run at safe temperatures. Here are some tips to enhance airflow in your PC:
1. Cable Management: Proper cable management is essential for improving airflow. Organize your cables and tuck them away neatly, using cable ties or Velcro straps to secure them. This helps prevent cables from blocking airflow paths and obstructing fans.
2. Clean Vents and Dust Filters: Regularly clean the vents and dust filters on your PC case. Dust accumulation can restrict airflow, so gently remove any debris using compressed air or a soft brush. Clean filters allow for better air intake and help maintain a clean system interior.
3. Remove Obstructions: Ensure that your PC is not placed against a wall or in a confined space. This can restrict the airflow around the case. Provide sufficient clearance on all sides to allow for proper ventilation.
4. Position the PC Properly: If your PC is on the floor, raise it onto a desk or a stand to prevent dust and carpet fibers from being sucked into the vents. Placing it on a hard surface helps minimize the amount of debris that can enter the system.
5. Consider Case Fans: Upgrading or adding case fans can significantly improve airflow. Installing intake fans at the front of the case and exhaust fans at the rear can create a streamlined airflow path. High-performance fans or those with larger blades can enhance cooling efficiency.
6. Avoid Blocking Intake and Exhaust: Check that no objects are obstructing your PC’s intake or exhaust vents. These vents are designed to draw in cool air and expel hot air. Keep them clear of any obstacles to allow for unrestricted airflow.
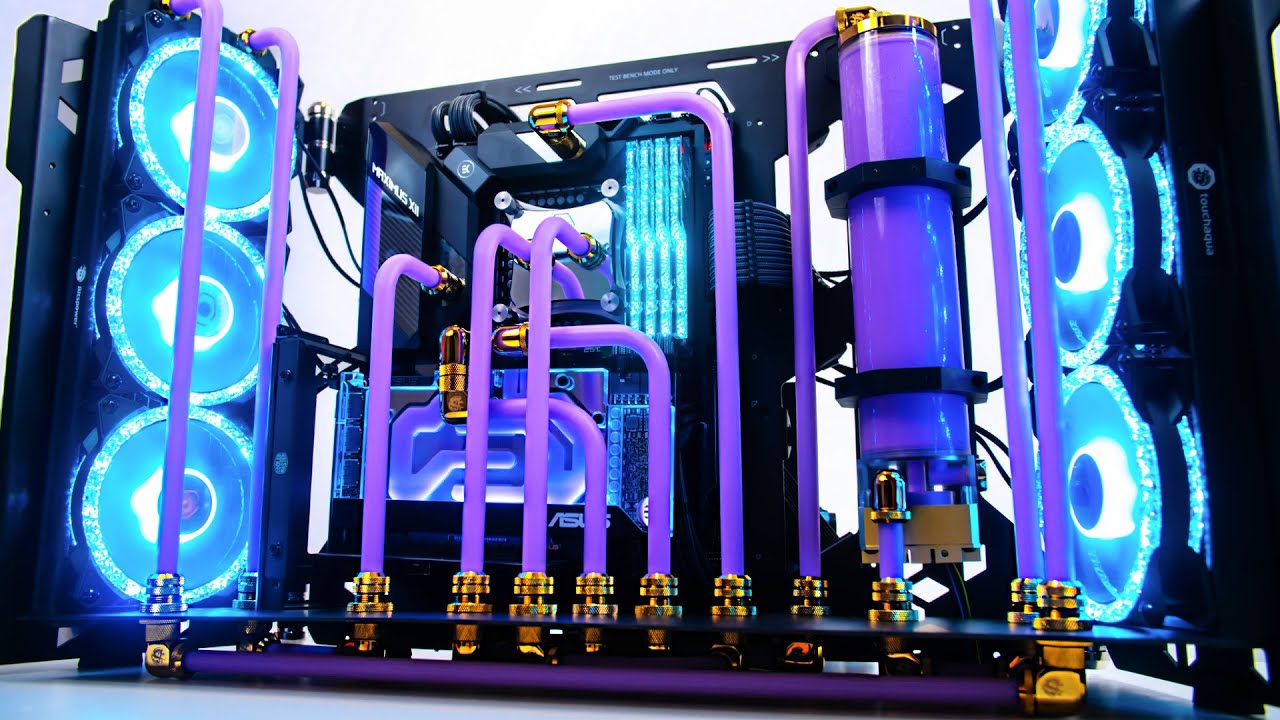
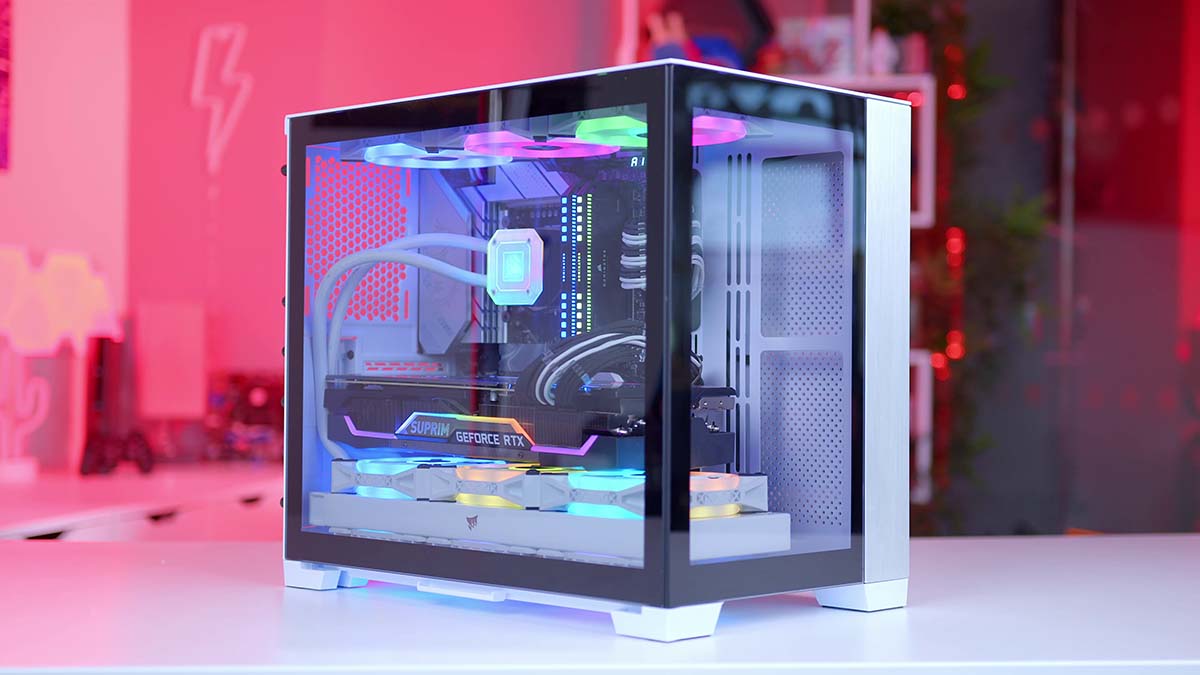
7. Invest in Liquid Cooling: Liquid cooling systems, such as all-in-one (AIO) coolers or custom loops, are effective at removing heat from components and can improve overall cooling performance. These systems transfer heat away from the CPU or GPU, resulting in lower temperatures.
8. Use Thermal Paste: When installing or reseating a CPU or GPU cooler, ensure that you apply a thin layer of thermal paste. This helps improve heat transfer between the component and heatsink, maximizing cooling efficiency.
By implementing these measures, you can enhance airflow within your PC and maintain optimum temperatures. A well-ventilated system ensures that your components stay cool, reducing the risk of overheating and prolonging their lifespan. Regularly monitoring your PC’s temperature and performing necessary maintenance will help ensure smooth and reliable operation.
Upgrading Cooling System
Upgrading your cooling system can greatly improve the overall cooling performance of your PC, helping to maintain lower temperatures and prevent overheating. If you find that your current cooling setup is inadequate or you want to optimize cooling for demanding tasks, consider the following options:
1. Invest in Aftermarket CPU Cooler: Upgrading your stock CPU cooler to an aftermarket cooler can provide better heat dissipation and lower temperatures. Air coolers come in various sizes and designs, while liquid coolers offer efficient cooling solutions.
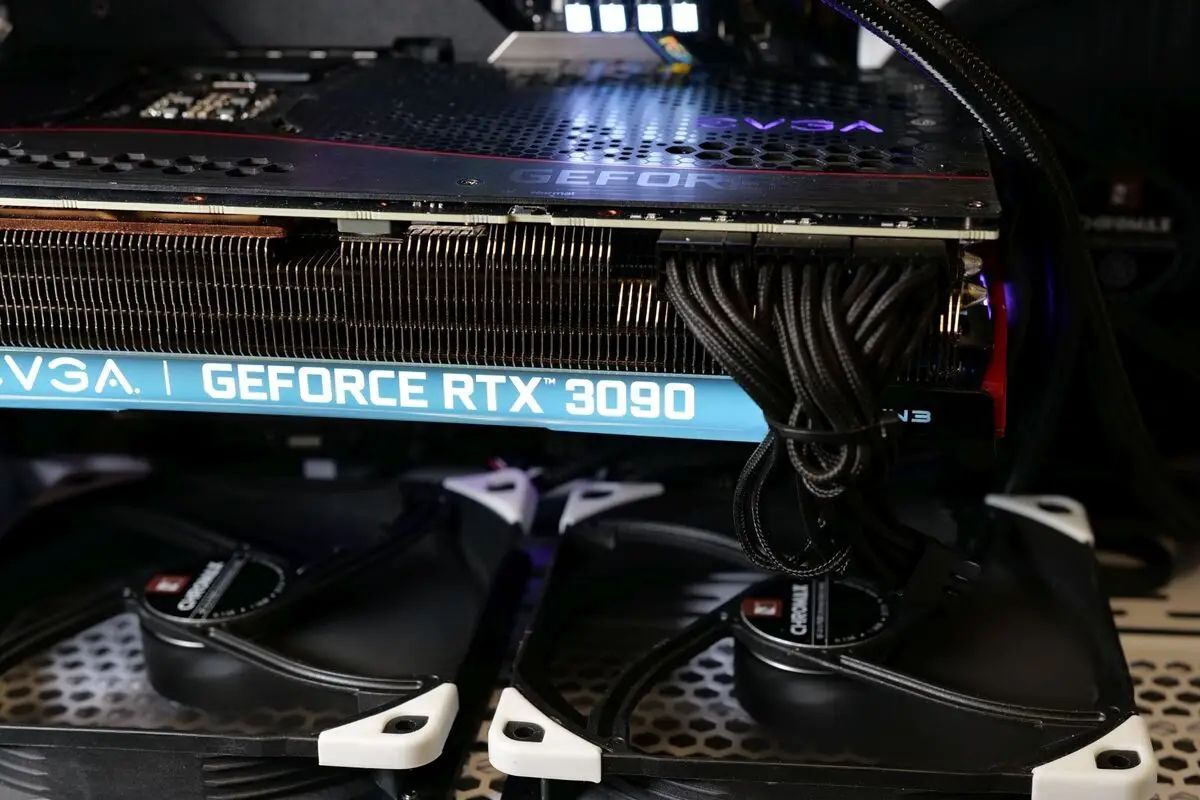
2. Upgrade GPU Cooler: Graphics cards can run hot under heavy loads, causing performance throttling or instability. Consider replacing the stock cooler with an aftermarket GPU cooler or opting for a graphics card with a robust built-in cooling solution.
3. Add More Case Fans: Increasing the number of case fans can improve airflow and cooling efficiency. Look for high-quality fans with higher airflow ratings and low noise levels. Place them strategically to create a balanced airflow path within your PC.
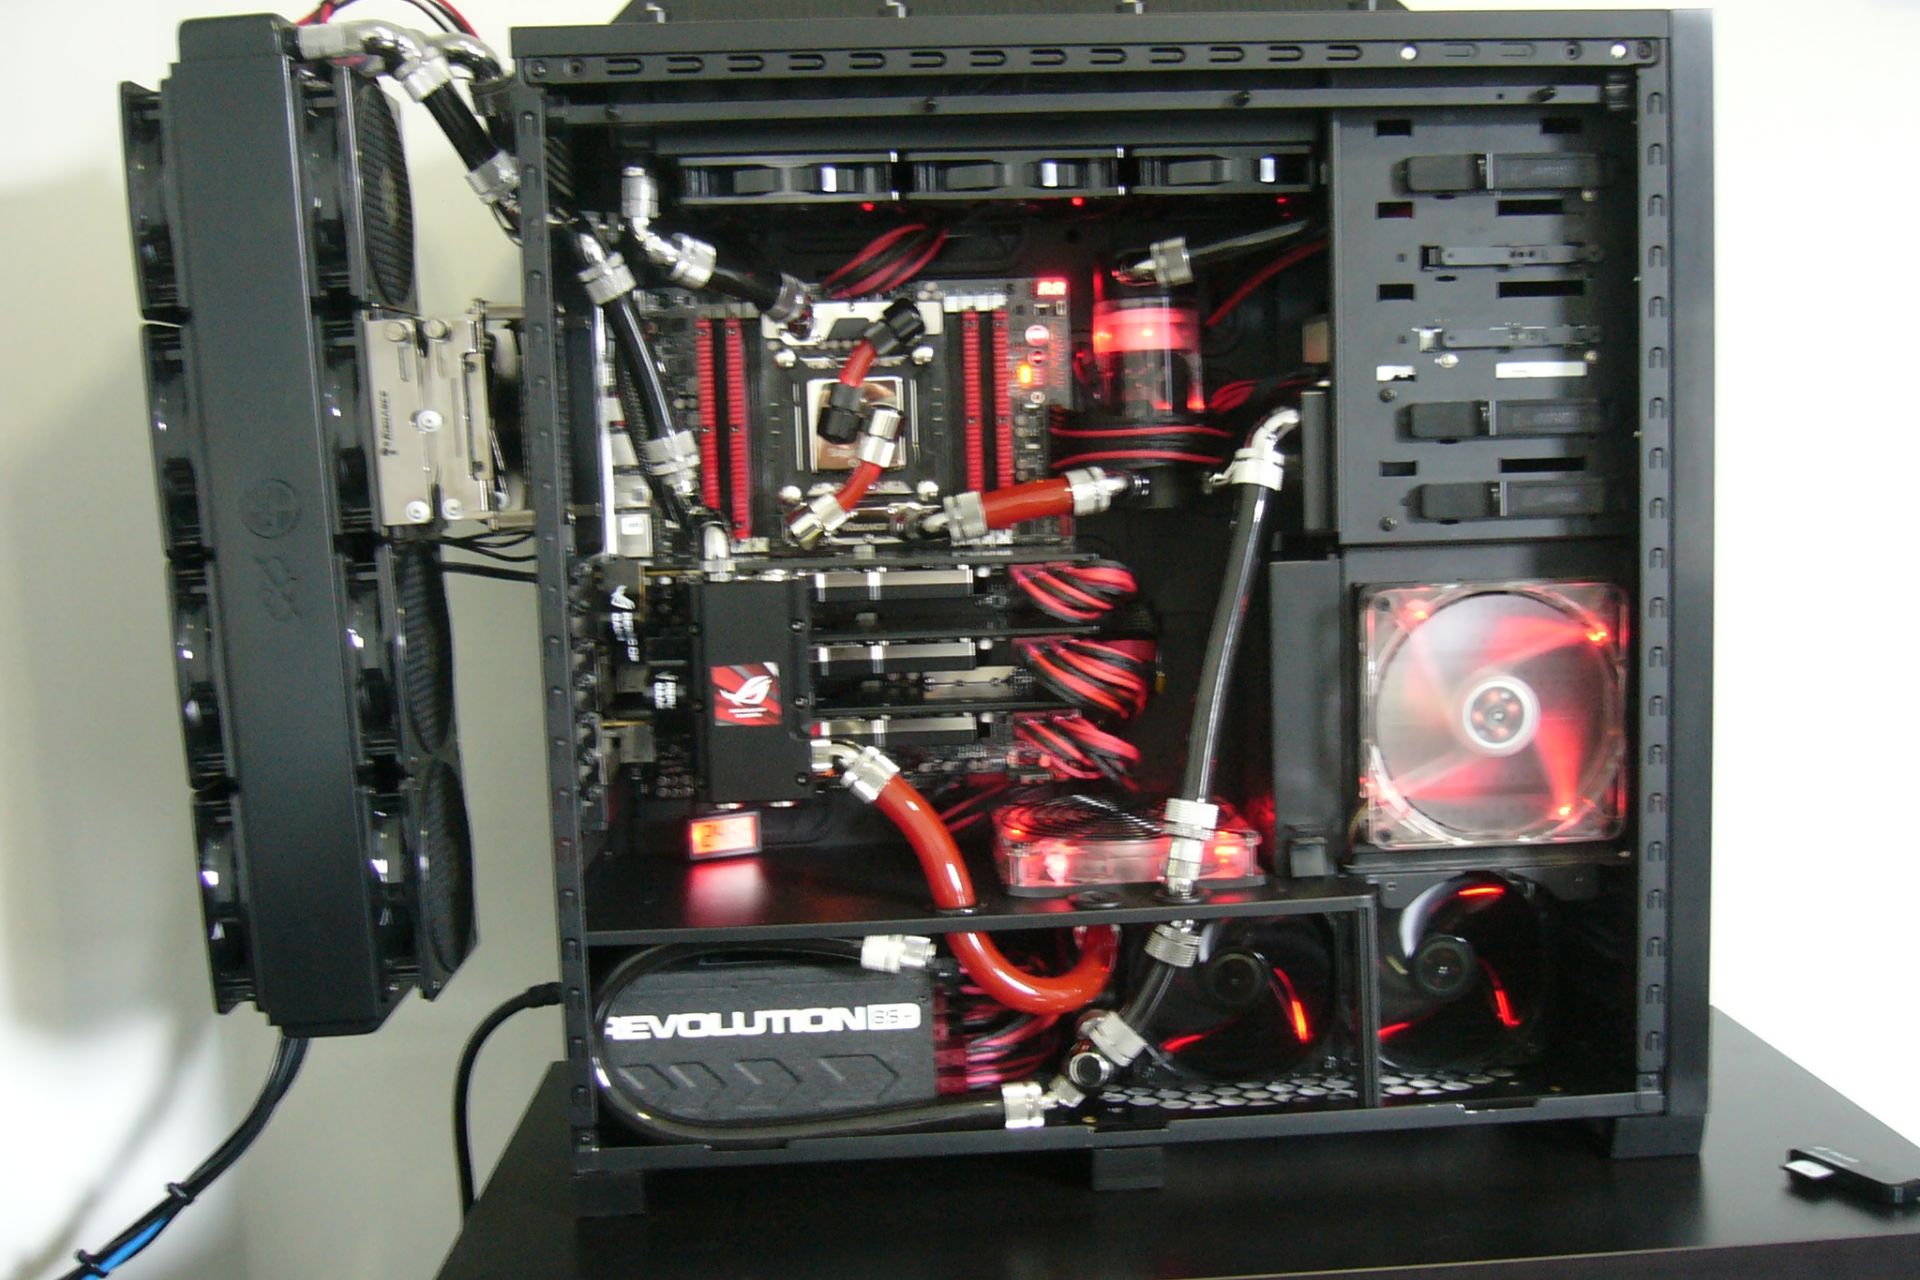
4. Install Liquid Cooling: Liquid cooling solutions, such as all-in-one (AIO) coolers or custom loops, offer efficient heat dissipation and can handle more demanding cooling requirements. These systems use liquid to transfer heat away from components, resulting in lower temperatures and improved performance.
5. Consider Fan Placement and Orientation: Ensure that your fans are properly positioned for optimal airflow. Intake fans should be located at the front or bottom of the case, while exhaust fans should be positioned at the rear or top. This helps create an effective flow of cool air in and hot air out.
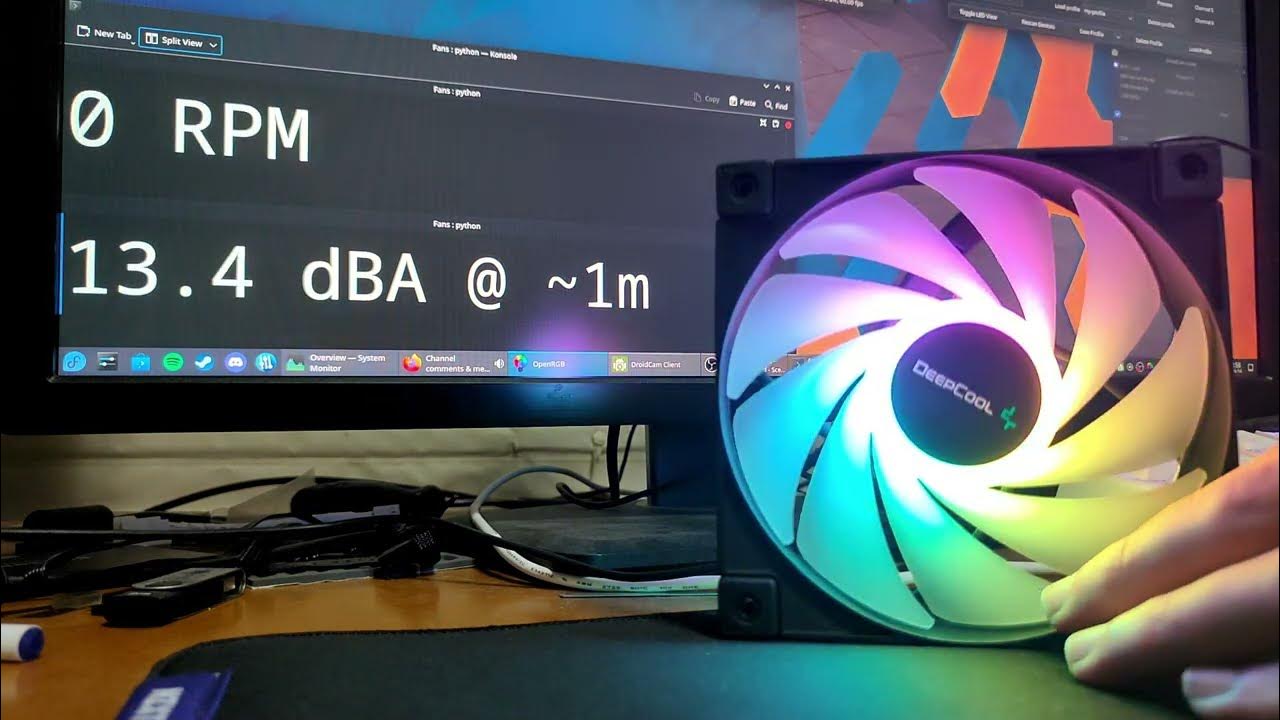
6. Implement Fan Speed Control: Adjusting the fan speed can help strike a balance between noise and cooling performance. Consider using fan speed control software or hardware to customize fan speeds based on temperature thresholds or specific needs.
7. Upgrade Thermal Interface Material: Applying high-quality thermal paste or thermal pads between the CPU/GPU and the cooler can improve heat transfer and enhance cooling performance. This ensures better contact between the surfaces, reducing heat buildup.
8. Consider Case Modifications: If you’re comfortable with advanced modifications, you can explore options such as adding ventilation holes, installing additional vents, or even using custom ducting to channel airflow more efficiently.
It’s important to note that when upgrading your cooling system, compatibility and proper installation are crucial. Refer to the manufacturer’s specifications and guidelines for compatibility with your PC components. If you’re uncertain or uncomfortable performing the upgrades yourself, seeking professional assistance can ensure a successful installation.
Remember to monitor your system temperatures after upgrading to ensure that the new cooling system effectively keeps temperatures in check. Regularly clean and maintain your cooling components to maximize their efficiency and lifespan. Upgrading your cooling system can significantly enhance your PC’s performance, reduce the risk of overheating, and extend the life of your components.
Adjusting Fan Speed
Adjusting fan speed is a useful technique to control the cooling performance and noise levels of your PC. By fine-tuning the fan speed, you can strike a balance between efficient cooling and a quiet system. Here are some methods for adjusting fan speed:
1. BIOS/UEFI Settings: Many motherboards offer fan control options in the BIOS/UEFI settings. Access the settings by pressing the designated key during boot (usually F2 or Del). Look for options like “Fan Control” or “Q-Fan Control.” From there, you can adjust fan speeds, set temperature thresholds, and even create custom fan profiles.
2. Third-Party Fan Control Software: Various software applications allow you to control and monitor fan speeds from within the operating system. Examples include SpeedFan, HWMonitor, and MSI Afterburner. Install the software, locate the fan control section, and adjust the fan speeds as desired.
3. Hardware Fan Controllers: If you prefer dedicated hardware control, you can install a fan controller in your PC. Fan controllers typically offer knobs or buttons to manually adjust fan speeds. Some advanced controllers even provide temperature-based fan speed control.
4. Fan Speed Adapters/Reducers: Fan speed adapters, also known as resistors or reducers, can be used to lower the voltage supplied to the fan, reducing its speed. These adapters are inexpensive and easily available. However, keep in mind that they may affect the overall performance of the fan.
5. Using PWM (Pulse-Width Modulation) Fans: PWM fans are designed to work with PWM-compatible motherboards or fan controllers. They adjust speed based on the PWM signal received, providing precise control over fan speeds without reducing voltage. Consider using PWM fans for more efficient and flexible fan speed adjustment.
6. Create Custom Fan Curves: Some fan control software allows you to create custom fan curves based on temperature sensors. This enables you to set different fan speeds at specific temperature ranges. Experiment with different curves to find the ideal balance between cooling performance and noise levels.
7. Monitor and Adjust: After adjusting fan speeds, monitor your system temperatures using hardware monitoring software or BIOS/UEFI readings. Make sure to stress-test your PC to ensure that the adjusted fan speeds effectively maintain desired temperatures without causing overheating.
Remember, when adjusting fan speeds, it’s essential to monitor system temperatures to prevent overheating. Keep in mind that higher fan speeds tend to offer better cooling performance, but they can also produce more noise. Strive to find the right balance between cooling efficiency and noise levels specific to your needs and preferences.
Additionally, maintaining a clean and dust-free system is crucial for optimal fan performance. Regularly clean and remove dust from fans and heatsinks to prevent dust build-up, which can impede airflow and lead to less effective cooling.
By adjusting fan speeds appropriately, you can ensure efficient cooling, improve the lifespan of your components, and create a quieter computing environment.
Monitoring Temperature
Monitoring the temperature of your PC is essential for maintaining optimal performance, preventing overheating, and ensuring the longevity of your components. Keeping an eye on temperature readings can help you identify potential issues and take appropriate measures to mitigate them. Here’s how you can effectively monitor your PC’s temperature:
1. Hardware Monitoring Software: Install dedicated hardware monitoring software, such as HWMonitor, Core Temp, or Open Hardware Monitor. These programs provide real-time temperature readings for various components, including the CPU, GPU, and hard drives. They often display other helpful information, such as fan speeds and voltages.
2. BIOS/UEFI Readings: Access your PC’s BIOS/UEFI settings by pressing the designated key during boot (usually F2 or Del). These settings often include temperature readings for critical components. However, note that BIOS readings may not be as comprehensive or up-to-date as dedicated software.
3. Manufacturer’s Software: Many hardware manufacturers provide their own software utilities for monitoring temperatures. These utilities are often specifically designed to work with their products and can provide accurate readings and additional features tailored to their hardware.
4. Remote Monitoring Apps: Some monitoring apps allow you to track temperatures remotely on your smartphone or tablet. These apps connect to your PC over the local network or internet, providing you with temperature alerts and real-time monitoring while you’re away.
5. Hardware Temperature Sensors: Consider installing additional hardware temperature sensors in specific locations within your PC. These sensors can provide more detailed temperature readings for specific components or hotspots, allowing for a more comprehensive view of your system’s thermal performance.
6. Use Benchmarking Tools: Running benchmarking tools, such as Prime95 or FurMark, can put your PC under heavy load and stress the components. Monitor temperatures during these tests to gauge how well your cooling system is handling the workload and identify any potential overheating issues.
7. Set Alarms or Notifications: Some hardware monitoring software allows you to set alarms or notifications for specific temperature thresholds. This can help you address temperature issues promptly, preventing damage to your hardware.
Remember that what is considered a safe temperature range can vary depending on the specific components in your PC. Consult your manufacturer’s guidelines or online resources to determine the recommended temperature limits for your hardware.
Regularly monitoring your PC’s temperature will help you detect any abnormal increases and take appropriate action. If temperatures are consistently high, consider optimizing airflow, cleaning dust filters, upgrading cooling components, or adjusting fan speeds to ensure that your system operates within safe temperature ranges.
Using Cooling Pads
Using cooling pads is an effective way to enhance the cooling performance of your laptop and prevent overheating. These portable accessories provide additional airflow to the underside of your laptop, helping to dissipate heat and keep temperatures in check. Here’s why and how you can use cooling pads:
1. Improved Air Circulation: Many laptops draw in cool air from underneath. When placed on a flat surface like a desk or table, the airflow can be obstructed, leading to heat buildup. Cooling pads feature built-in fans or elevated designs that create a gap between the laptop and the surface, allowing for better air circulation.
2. Reduced Heat Transfer: Laptops often generate heat on the underside due to the proximity of the processor and other components to the chassis. Cooling pads with heat-absorbing materials or metal surfaces help dissipate heat, preventing the transfer of excess heat to your lap or the surrounding environment.
3. Convenient Portability: Cooling pads are lightweight and portable, making them ideal for laptop users on the go. They can easily be placed in your laptop bag or backpack, allowing you to maintain better cooling performance wherever you work or play.
4. Plug-and-Play Convenience: Most cooling pads are USB-powered and require no additional setup or installation. Simply connect the USB cable to an available port on your laptop, and the cooling pad’s fans will start running, providing immediate cooling benefits.
5. Adjustable Fan Speeds: Some cooling pads offer the option to adjust fan speeds to suit your cooling needs. This allows you to strike a balance between cooling efficiency and noise levels based on the workload or ambient temperature.
6. Ergonomic Benefits: In addition to cooling, many cooling pads feature ergonomic designs. They offer angled surfaces or adjustable heights, allowing for more comfortable typing and better viewing angles, reducing the strain on your wrists and neck.
7. Choosing the Right Cooling Pad: When selecting a cooling pad, consider factors such as laptop size compatibility, the number of fans, noise levels, and build quality. Look for reputable brands known for producing reliable cooling solutions.
8. Regular Maintenance: Like any other electronic device, cooling pads require regular maintenance. Keep the fans clean by removing dust and debris using compressed air or a soft brush. This helps maintain optimal performance and airflow.
Using a cooling pad is a simple yet effective way to enhance the cooling performance of your laptop. It provides better air circulation, reduces heat transfer, and offers added benefits such as portability and ergonomics. Invest in a quality cooling pad that suits your needs and ensure proper maintenance to extend its lifespan and maximize cooling efficiency.
Avoiding Overclocking
While overclocking can provide a performance boost, it also generates more heat and increases the risk of component damage or instability. For most users, avoiding overclocking is a safer approach to ensure the longevity and stability of their PC. Here are a few reasons why you may want to avoid overclocking:
1. Increased Heat Generation: Overclocking typically requires higher voltages and clock speeds, which result in increased heat output. This puts extra stress on the components and can lead to higher temperatures, potentially causing instability or even permanent damage.
2. Voiding Warranties: Overclocking often involves altering the default settings of your hardware, which can void warranties provided by manufacturers. If components fail due to overclocking, you may not be eligible for free repairs or replacements.
3. Reduced Lifespan: Running components at higher clock speeds and voltages for prolonged periods increases wear and tear. This can shorten the lifespan of your hardware, requiring earlier replacements and added expenses.
4. Increased Power Consumption: Overclocking can significantly increase power draw, leading to higher electricity bills. The additional power required to run the overclocked components can offset the performance gains achieved.
5. Potential Instability: Overclocking can make your system more susceptible to crashes, freezes, and software errors. The higher clock speeds can introduce instability, affecting the overall system’s reliability and causing loss of work or data.
6. Incompatibility and Compatibility Issues: Not all components are designed to be overclocked, and different hardware may not be compatible with certain overclocking methods. Mixing and matching components can lead to unexpected compatibility issues and system instability.
7. Expertise and Time Commitment: Overclocking requires knowledge, time, and experimentation to find stable and optimal settings for your specific hardware. It can be a complex process that demands careful tweaking and monitoring of various parameters.
However, it’s worth noting that some high-performance systems and enthusiasts may still find value in overclocking. If you are knowledgeable and have the necessary expertise, following proper overclocking techniques and precautions can help mitigate the risks associated with higher clock speeds.
If you decide to overclock, ensure that you have adequate cooling solutions in place, such as powerful aftermarket coolers and good case ventilation. Regularly monitor temperatures and stability, and be prepared to revert to default settings if issues arise.
For most users, avoiding overclocking provides a safer and more stable computing experience, with less risk of component damage, increased heat generation, and compromised reliability. It’s important to consider your specific needs, budget, and skill level before opting to overclock your PC.
Cool PC Accessories
There are several cool accessories available that can enhance your PC’s cooling performance and overall experience. These accessories offer innovative solutions to help maintain lower temperatures, improve airflow, and add a touch of style to your setup. Here are a few cool PC accessories to consider:
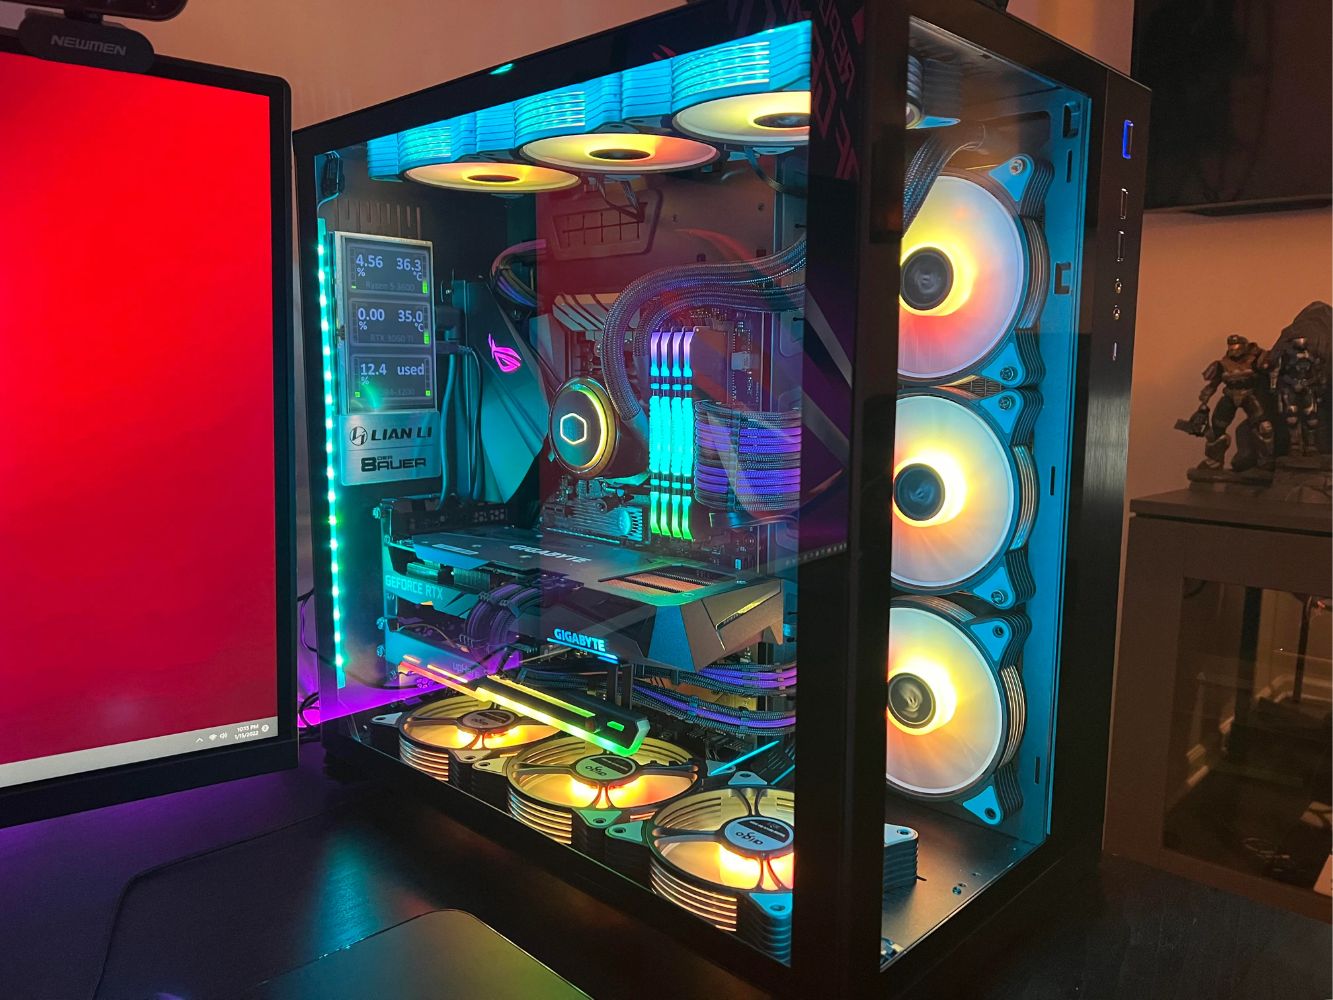
1. RGB Fans: RGB fans not only provide efficient cooling but also add a stunning visual element to your PC. These fans feature built-in LED lights that can be customized to match your preferred color scheme, creating a vibrant and eye-catching setup.
2. Fan Filters: Fan filters are essential accessories that help keep dust and debris out of your PC’s cooling system. These filters prevent dust buildup on fans and components, ensuring optimal airflow and reducing the need for frequent cleaning.
3. Liquid CPU Coolers: Liquid CPU coolers are all-in-one (AIO) cooling solutions that use liquid to transfer heat away from the CPU. These coolers are efficient and often provide better cooling performance compared to traditional air coolers.
4. Noise-Canceling Pads: Noise-canceling pads are designed to reduce vibrations and noise caused by fans and other moving parts. These pads help minimize the noise generated by your PC, resulting in a quieter and more enjoyable computing experience.
5. Cable Management Solutions: Cable management accessories, such as cable clips, cable sleeves, and cable tunnels, help organize and secure cables within your PC. Proper cable management improves airflow by preventing cables from obstructing fans or blocking airflow paths.
6. External GPU Enclosures: External GPU enclosures allow you to connect a powerful graphics card to your laptop or compact PC via a Thunderbolt connection. This enables enhanced gaming performance without compromising portability or customizability.
7. Monitor Stands with Cooling Fans: Monitor stands with built-in cooling fans help cool your monitor and dissipate heat generated during long hours of use. These stands offer a comfortable viewing angle while providing additional airflow to your display.
8. Hard Drive Cooling Solutions: Hard drive cooling solutions, such as heat sinks or cooling enclosures, help maintain lower temperatures for your storage devices. Cooler hard drives have improved longevity and performance, reducing the risk of data loss and drive failure.
9. Smart Power Strips: Smart power strips allow you to control multiple devices and provide surge protection. Some models also offer individual outlets that can be turned off when not in use, reducing unnecessary power consumption and heat generation.
10. Acoustic Panels: Acoustic panels help reduce echo and improve sound quality in your PC setup. They can be placed on walls or other surfaces to minimize sound reflections and create a more immersive audio experience.
Remember to consider compatibility, quality, and functionality when purchasing PC accessories. Ensure they are designed to work with your specific hardware and meet your needs in terms of cooling performance, aesthetics, and functionality. Adding these cool accessories can not only enhance your cooling setup but also elevate the overall aesthetics of your PC.