Introduction
When it comes to maintaining the optimal performance and longevity of your computer’s processor, ensuring that the CPU cooler is correctly seated is of utmost importance. The CPU cooler plays a crucial role in dissipating the heat generated by the processor, preventing it from overheating and causing potential damage.
However, despite its significance, it’s not uncommon for users to overlook or improperly install their CPU coolers, leading to inadequate cooling performance. If your computer is experiencing unusually high temperatures or frequent thermal throttling, there’s a possibility that the CPU cooler isn’t seated properly.
In this guide, we will explore the signs that indicate a poorly seated CPU cooler, visually inspect the cooler, provide step-by-step instructions to ensure proper seating, and highlight common mistakes to avoid during installation. Additionally, we will discuss how to test the CPU cooler for proper seating and offer troubleshooting tips if you’re still facing inadequate CPU cooling despite proper installation.
By the end of this article, you will have a comprehensive understanding of how to identify and rectify a CPU cooler that is not seated correctly, allowing you to optimize the cooling performance of your computer and maintain its overall efficiency.
Signs that Indicate a Poorly Seated CPU Cooler
When the CPU cooler is not seated correctly on the processor, it can lead to various issues that affect the overall performance and stability of your computer. By paying attention to the following signs, you can identify whether your CPU cooler is improperly seated:
- High CPU temperatures: One of the most apparent signs of a poorly seated CPU cooler is elevated CPU temperatures. If you notice that your processor is consistently running at higher temperatures, it could be an indication that the cooler is not making proper contact with the CPU, leading to inadequate heat dissipation.
- Frequent thermal throttling: Thermal throttling occurs when the processor reaches its maximum operating temperature and reduces its clock speed to prevent damage. If you’re experiencing frequent thermal throttling, even during basic tasks or under light loads, it’s possible that the CPU cooler is not seated correctly and unable to cool the processor effectively.
- Noise and increased fan speed: A CPU cooler that is not seated properly may cause the fans to work harder and spin at higher speeds in an attempt to compensate for insufficient cooling. This can result in increased noise levels from your computer, indicating that the cooling system is struggling to keep the processor temperatures within acceptable limits.
- Intermittent system crashes or instability: Improper CPU cooling can lead to system instability, causing frequent crashes, freezes, or unexpected reboots. When the processor overheats due to a poorly seated CPU cooler, it can trigger these issues, disrupting the overall performance and reliability of your computer.
- Poor overall system performance: Inadequate cooling can negatively impact the performance of not only the processor but also other system components. When the CPU operates at higher temperatures, it may throttle its performance to avoid overheating, resulting in reduced overall system performance.
It’s important to note that these signs may not always be definitive indicators of an improperly seated CPU cooler, as other factors like inadequate thermal paste application or a faulty cooling system can also contribute to similar symptoms. However, if you notice any combination of these signs, it’s worth investigating the seating of your CPU cooler to ensure optimal cooling performance.
How to Visually Inspect the CPU Cooler
Before proceeding with any corrective measures, it’s important to visually inspect the CPU cooler to determine if it is seated properly. By following these steps, you can ensure that the CPU cooler is correctly aligned and making adequate contact with the processor:
- Power off and unplug your computer: Before inspecting the CPU cooler, make sure to power off your computer and disconnect it from the power source. This will prevent any electrical hazards and allow you to handle the components safely.
- Open the computer case: Depending on your computer’s design, you may need to remove a side panel or unscrew the case to access the internal components. Take precautionary measures, such as grounding yourself to avoid static electricity, before opening the case.
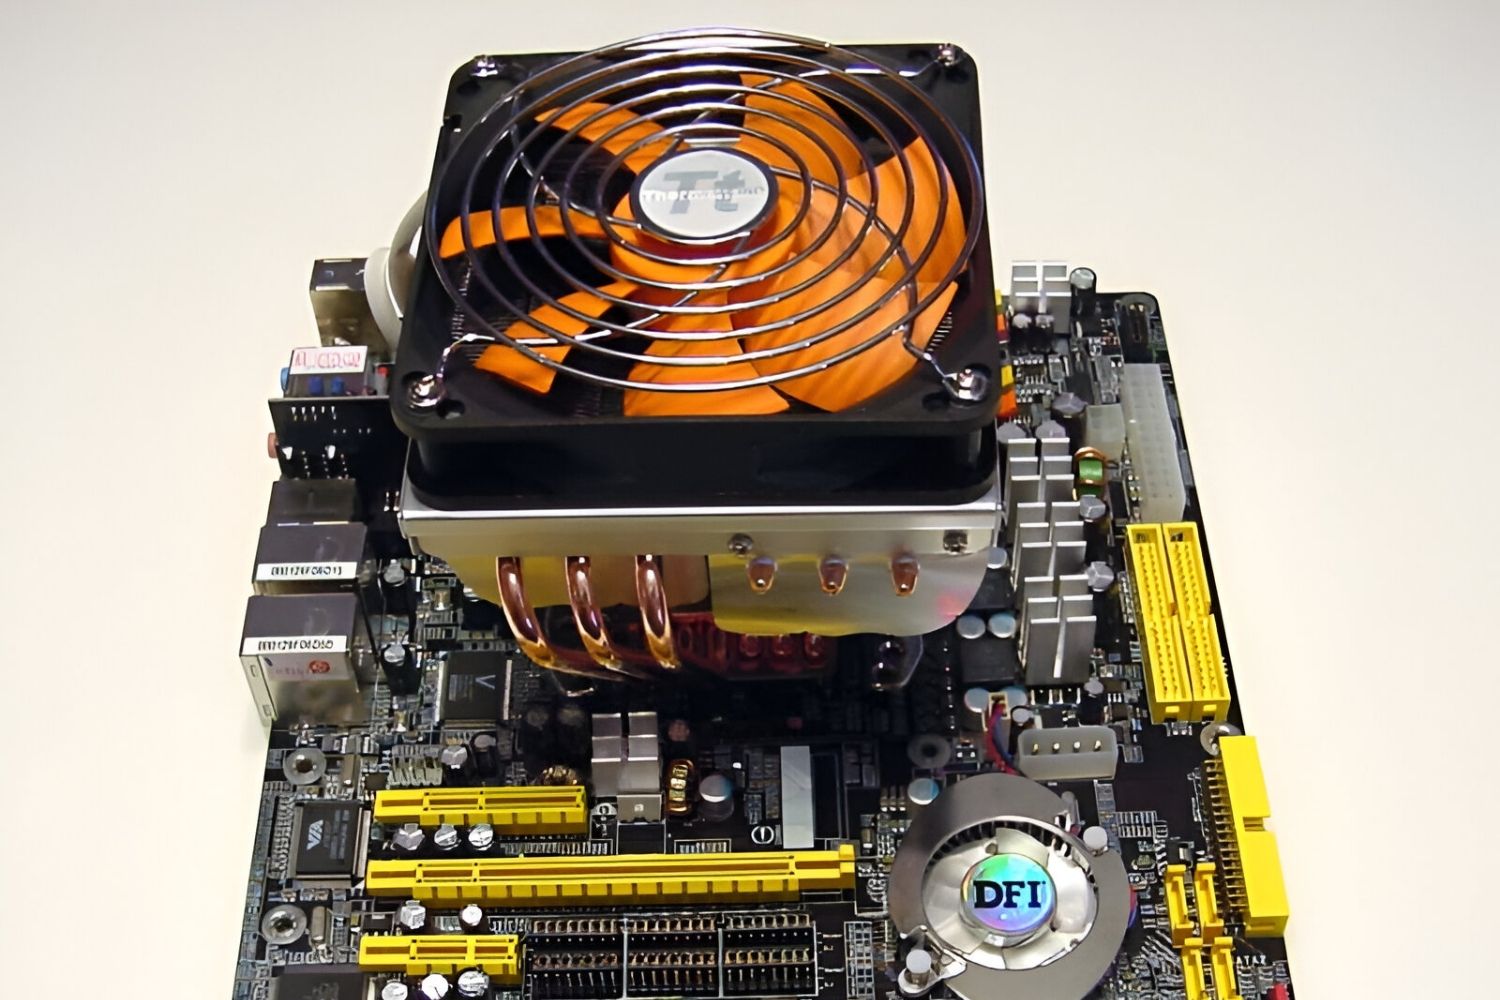
- Locate the CPU cooler: Find the CPU cooler mounted on top of the processor. It is usually a bulky heatsink with a fan(s) attached to it. Take note of any visible misalignments or signs of poor contact between the cooler and the processor.
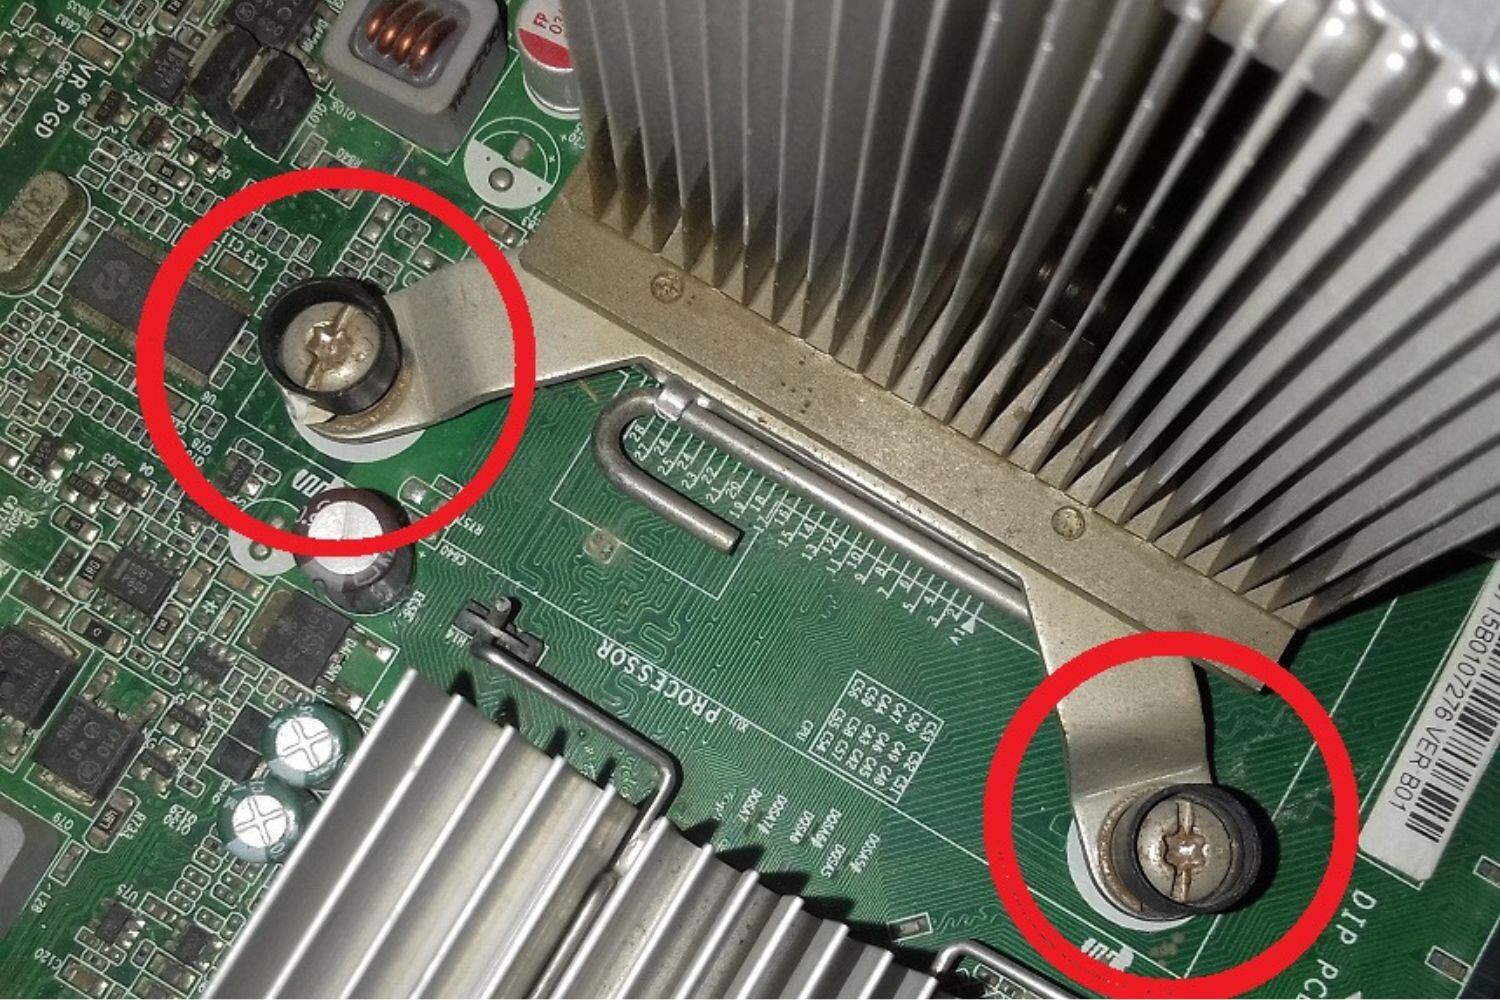
- Inspect the mounting mechanism: Check the screws or brackets used to secure the CPU cooler in place. Ensure that they are properly tightened and securely fastened to the motherboard. Loose or improperly installed mounting mechanisms can result in an uneven seating of the cooler.
- Examine the thermal paste application: Thermal paste is crucial for maximizing heat transfer between the CPU and the cooler. Check the application of the thermal paste between the processor and the cooler. It should form a thin, even layer without any excess or gaps.
- Verify the proper alignment and contact: Look for any visible gaps between the cooler and the processor. The CPU cooler should be evenly and firmly seated on top of the processor without any tilt or misalignment. Ensure that it is making adequate contact with the CPU surface.
During the visual inspection, if you notice any issues such as misalignment, improper contact, or loose mounting mechanisms, it is likely that the CPU cooler is not seated correctly. In such cases, you will need to take appropriate steps to ensure proper seating and optimize the cooling performance of your computer.
Steps to Ensure Proper CPU Cooler Seating
Proper seating of the CPU cooler is crucial for effective heat dissipation and optimal cooling performance. Follow these step-by-step instructions to ensure that your CPU cooler is correctly seated:
- Prepare necessary tools: Gather the required tools, such as a screwdriver and thermal paste, before proceeding with the seating process. Ensure that you have the appropriate thermal paste compatible with your processor and cooler.
- Power off and unplug your computer: As a safety precaution, make sure to power off your computer and disconnect it from the power source. This will prevent any potential electrical mishaps during the process.
- Remove the existing CPU cooler: If you have an existing CPU cooler in place, carefully remove it by unscrewing the mounting screws or unclipping the brackets. Follow any specific instructions provided by the cooler’s manufacturer.
- Clean the CPU surface: Use a lint-free cloth or an alcohol-based cleaning solution to thoroughly clean the surface of the CPU. This will remove any residual thermal paste or debris, ensuring optimal contact between the CPU and the cooler.
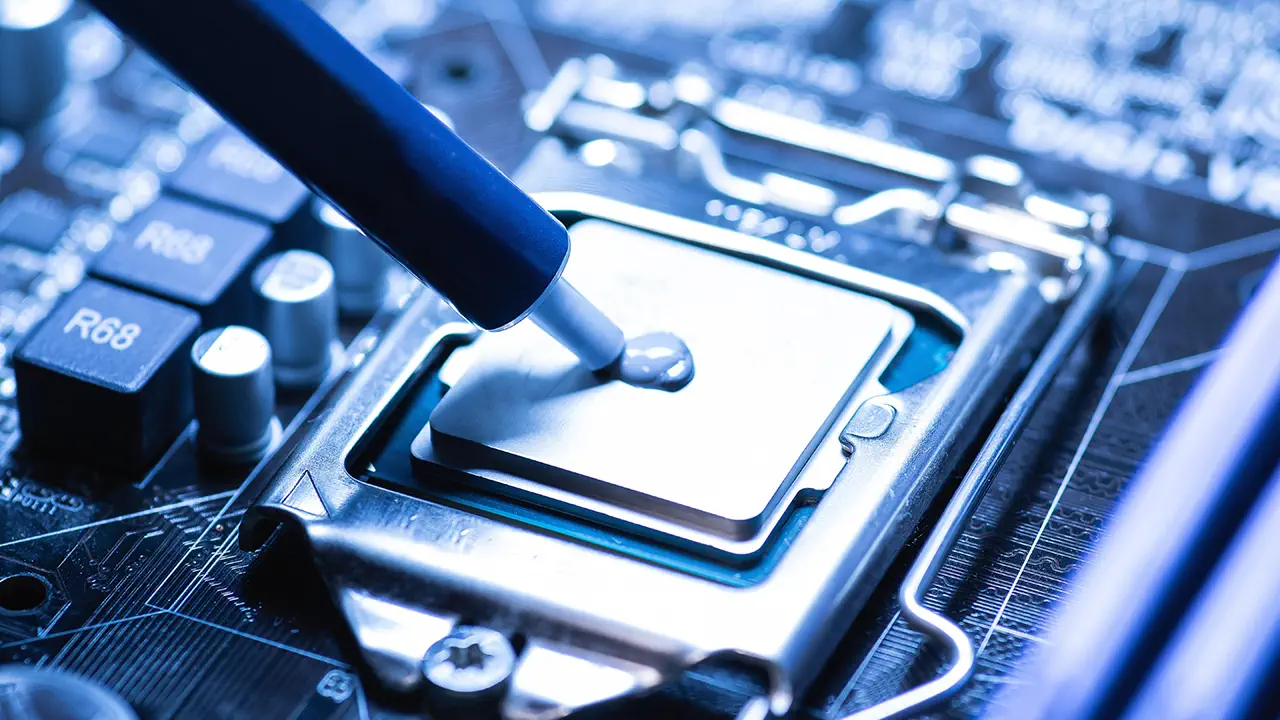
- Prepare the thermal paste: Apply a small amount of thermal paste to the center of the CPU surface. The paste will spread evenly when pressure is applied by placing the cooler on top.
- Align the CPU cooler: Position the CPU cooler directly over the CPU socket, aligning it with the mounting holes on the motherboard. Ensure that the cooler’s base is in direct contact with the applied thermal paste.
- Secure the mounting screws/brackets: Using the provided screws or brackets, carefully secure the CPU cooler in place. Start by tightening the screws in a diagonal pattern to evenly distribute pressure and avoid uneven seating.
- Double-check the seating: Confirm that the CPU cooler is seated evenly by visually inspecting its alignment and contact with the CPU surface. Make sure there are no gaps or tilts and that it is securely fastened.
- Plug in the fan(s) and power on your computer: Once the CPU cooler is properly seated, connect the fan(s) to the designated motherboard header(s). Then, plug in your computer and power it on to check for any abnormal heating or cooling issues.
By following these steps diligently, you can ensure that your CPU cooler is correctly and securely seated, maximizing its cooling efficiency and protecting your processor from potential damage caused by overheating.
Common Mistakes to Avoid During Installation
While installing a CPU cooler may seem straightforward, there are a few common mistakes that many users inadvertently make. By being aware of these mistakes and avoiding them, you can ensure a proper and hassle-free installation of your CPU cooler. Here are some common mistakes to avoid:
- Insufficient thermal paste application: Applying too little or too much thermal paste can affect the heat transfer between the CPU and the cooler. Follow the recommended guidelines provided by the thermal paste manufacturer and apply a thin, even layer to ensure optimal thermal conductivity.
- Incorrect mounting mechanism: Using the wrong screws or brackets or misinterpreting the instructions for mounting the CPU cooler can lead to an improper seating. Make sure to consult the cooler’s manual or manufacturer’s guidelines to accurately install the mounting mechanism.
- Uneven pressure distribution: Failing to tighten the mounting screws or brackets evenly across the CPU cooler can result in an uneven pressure distribution. This can create gaps or poor contact between the cooler and the CPU, compromising the effectiveness of the cooling solution.
- Forgetting to remove protective covers: Some CPU coolers come with pre-applied thermal paste and protective covers on the base. Neglecting to remove these protective covers before installation can prevent proper contact between the CPU and the cooler. Always double-check and remove any protective covers before seating the cooler.
- Forgetting to connect the fan(s): Without proper airflow from the fan(s), the CPU cooler cannot effectively dissipate heat. Ensure that you connect the fan(s) to the designated motherboard header(s) or fan controller, allowing them to function and provide necessary cooling to the CPU.
- Tightening screws too forcefully: While it’s important to secure the mounting screws or brackets firmly, overtightening them can lead to damaging the motherboard or causing an uneven seating. Tighten the screws until they are snug, but be careful not to exert excessive force.
- Not reseating the cooler after repositioning: If you remove and reposition the CPU cooler during installation, always make sure to clean the thermal paste from the CPU and cooler base, reapply fresh thermal paste, and carefully reseat the cooler. Failure to do so can result in air pockets or uneven contact, reducing cooling effectiveness.
By avoiding these common mistakes, you can ensure a successful installation of your CPU cooler, maximizing cooling efficiency and maintaining optimal performance for your processor.
Testing the CPU Cooler for Proper Seating
After installing the CPU cooler, it’s essential to test its seating to ensure optimal performance and prevent any potential issues related to inadequate cooling. Here are a few tests you can perform to verify the proper seating of the CPU cooler:
- Temperature monitoring: Use temperature monitoring software to keep track of the CPU temperature while the computer is running. Monitor the temperature during idle and under load conditions, such as running a demanding application or stress testing the CPU. If the temperatures remain within acceptable limits, it suggests that the CPU cooler is adequately seated.
- CPU stress test: Run a CPU stress test utility to put the processor under high workload and monitor the temperature closely. If the CPU temperature does not exceed safe operating limits and remains stable during the test, it indicates that the CPU cooler is making proper contact and effectively dissipating heat.
- Listen for abnormal fan noises: A well-seated CPU cooler should operate silently, providing efficient cooling without generating excessive noise. If you hear unusual noises like grinding or rattling sounds coming from the CPU cooler fan, it could indicate a seating issue. In such cases, double-check the installation to ensure a proper fit.
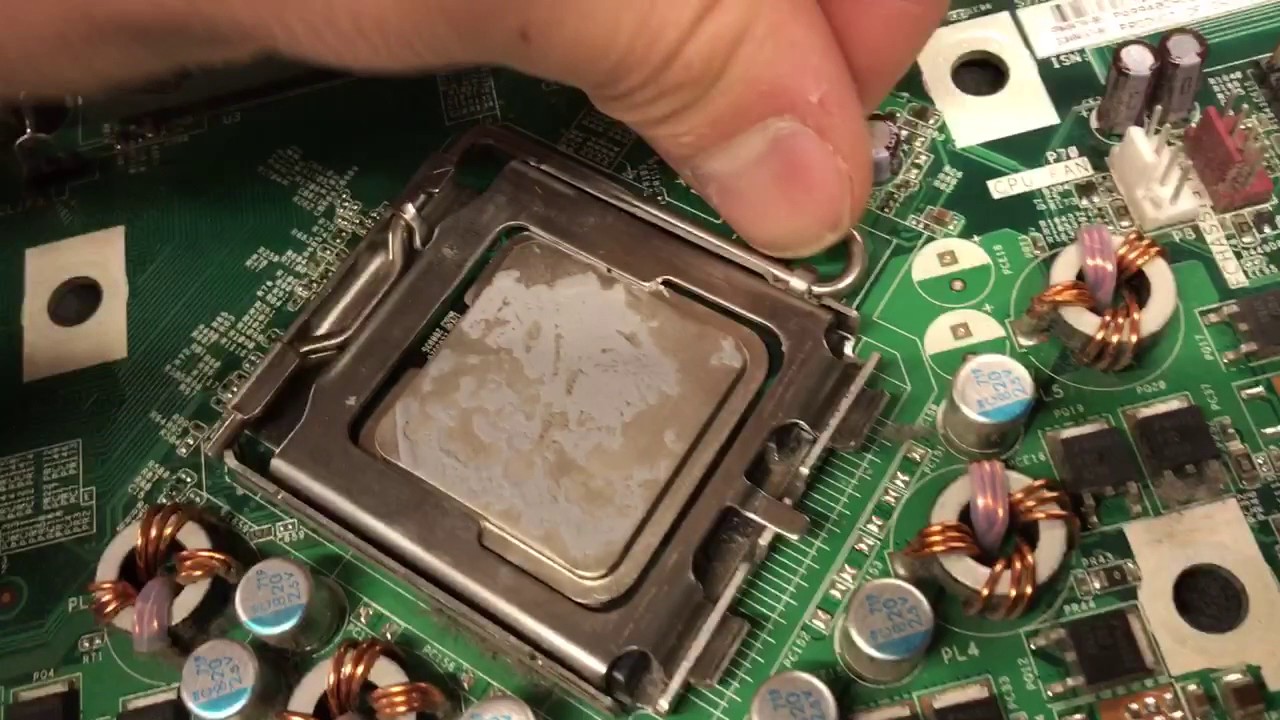
- Inspect for thermal paste spread: After a period of computer usage, power off the system and carefully remove the CPU cooler. Examine the thermal paste beneath the cooler. It should show a spread pattern indicating that it has effectively filled the microscopic gaps between the CPU and the cooler’s base. Uneven or incomplete spread could suggest an improper seating that needs to be addressed.
- Repetition of visual inspection: Regularly perform visual inspections of the CPU cooler to ensure that it remains properly seated over time. Look for any signs of misalignment, gaps, or loose screws. If you notice any issues, reseat the cooler and tighten the mounting screws as necessary.
By performing these tests and observations, you can assess the effectiveness of the CPU cooler’s seating and take corrective measures if needed. Remember, regularly monitoring and maintaining the cooling efficiency of your CPU cooler is crucial for the long-term performance and stability of your computer system.
Troubleshooting Tips for Inadequate CPU Cooling
If you are experiencing inadequate cooling despite proper installation and seating of your CPU cooler, there may be underlying issues that need to be addressed. Here are some troubleshooting tips to help you identify and resolve the problem:
- Check fan speed and airflow: Ensure that the CPU fan(s) are spinning properly and providing sufficient airflow. Verify that the fan speed is appropriate by accessing the BIOS or using third-party software. Clean any dust or debris accumulated on the fan blades or heatsinks that may obstruct airflow.
- Inspect thermal paste application: If the CPU cooler’s thermal paste was poorly applied or has dried out, it can impede proper heat transfer. Remove the cooler, clean off the old thermal paste, and reapply a fresh layer. Make sure to evenly spread the paste across the CPU surface before reinstalling the cooler.
- Consider upgrading the CPU cooler: If the current CPU cooler is inadequate for your system’s heat output or overclocking needs, it may be necessary to upgrade to a more powerful and efficient cooler. Select a cooler that is compatible with your CPU socket and offers better cooling performance.
- Recheck mounting mechanisms: Double-check the mounting mechanisms and fasteners of the CPU cooler. Ensure that the screws or brackets are tightly secured but not over-tightened, as this can cause an uneven seating. Make sure the cooler is evenly and firmly making contact with the CPU surface.
- Reposition case fans: The airflow inside the computer case can greatly impact CPU cooling. Ensure that the case fans are properly positioned to maintain a steady flow of cool air over the CPU cooler. Consider adding additional case fans if necessary to improve overall airflow.
- Monitor CPU usage and clock speeds: Abnormally high CPU usage or clock speeds can lead to increased heat output. Check for any resource-intensive processes or background applications that may be placing undue stress on the CPU. Adjusting power settings or terminating unnecessary processes may help alleviate the heat generation.
- Consider liquid cooling: If conventional air cooling methods fail to provide sufficient cooling, consider upgrading to a liquid cooling solution. Liquid cooling systems can offer enhanced heat dissipation, especially for high-performance CPUs or overclocked systems. However, ensure that your case and motherboard support liquid cooling installation.
- Consult a professional: If you have followed all the troubleshooting steps and still encounter inadequate CPU cooling, it may be beneficial to consult a professional computer technician. They can perform an in-depth assessment and offer tailored solutions to resolve the cooling issue.
Remember, improper CPU cooling can lead to performance degradation, reduced system lifespan, and even potential damage to sensitive components. By applying these troubleshooting tips, you can diagnose and address the underlying causes of inadequate CPU cooling, allowing you to maintain optimal performance and temperature control for your computer system.
Conclusion
Ensuring that your CPU cooler is seated properly is crucial for maintaining the optimal performance and longevity of your computer system. In this guide, we explored the signs that indicate a poorly seated CPU cooler and provided step-by-step instructions on how to visually inspect and ensure proper seating.
By following the steps outlined in this article, you can avoid common mistakes during installation, such as insufficient thermal paste application or uneven pressure distribution, which can lead to inadequate cooling performance. Additionally, we discussed testing methods to verify the CPU cooler’s proper seating and provided troubleshooting tips for addressing inadequate CPU cooling.
Proper CPU cooler seating plays a vital role in dissipating heat and preventing thermal throttling or system instability. By addressing any seating issues and maximizing cooling efficiency, you can maintain optimal CPU temperatures and enhance the overall performance and reliability of your computer.
Remember, if you encounter persistent cooling problems or need assistance with CPU cooler installation, it is advisable to consult a professional computer technician for expert advice and assistance.
By being diligent in the installation and maintenance of your CPU cooler, you can ensure a well-cooled and efficient computer system that meets all your computing needs.