Introduction
Welcome to our guide on how to unscrew a CPU cooler for AMD processors. Upgrading or replacing your CPU cooler can provide significant benefits, including better cooling performance and improved stability for your system. Whether you’re a seasoned PC builder or a beginner, this step-by-step tutorial will walk you through the process of safely removing the CPU cooler without causing any damage to your hardware.
Before diving into the details, it is essential to understand the importance of proper cooling for your CPU. Overheating can lead to performance throttling, decreased lifespan of your components, and even system crashes. Regularly maintaining and replacing your CPU cooler ensures that your processor operates at optimal temperatures, boosting its performance and longevity.
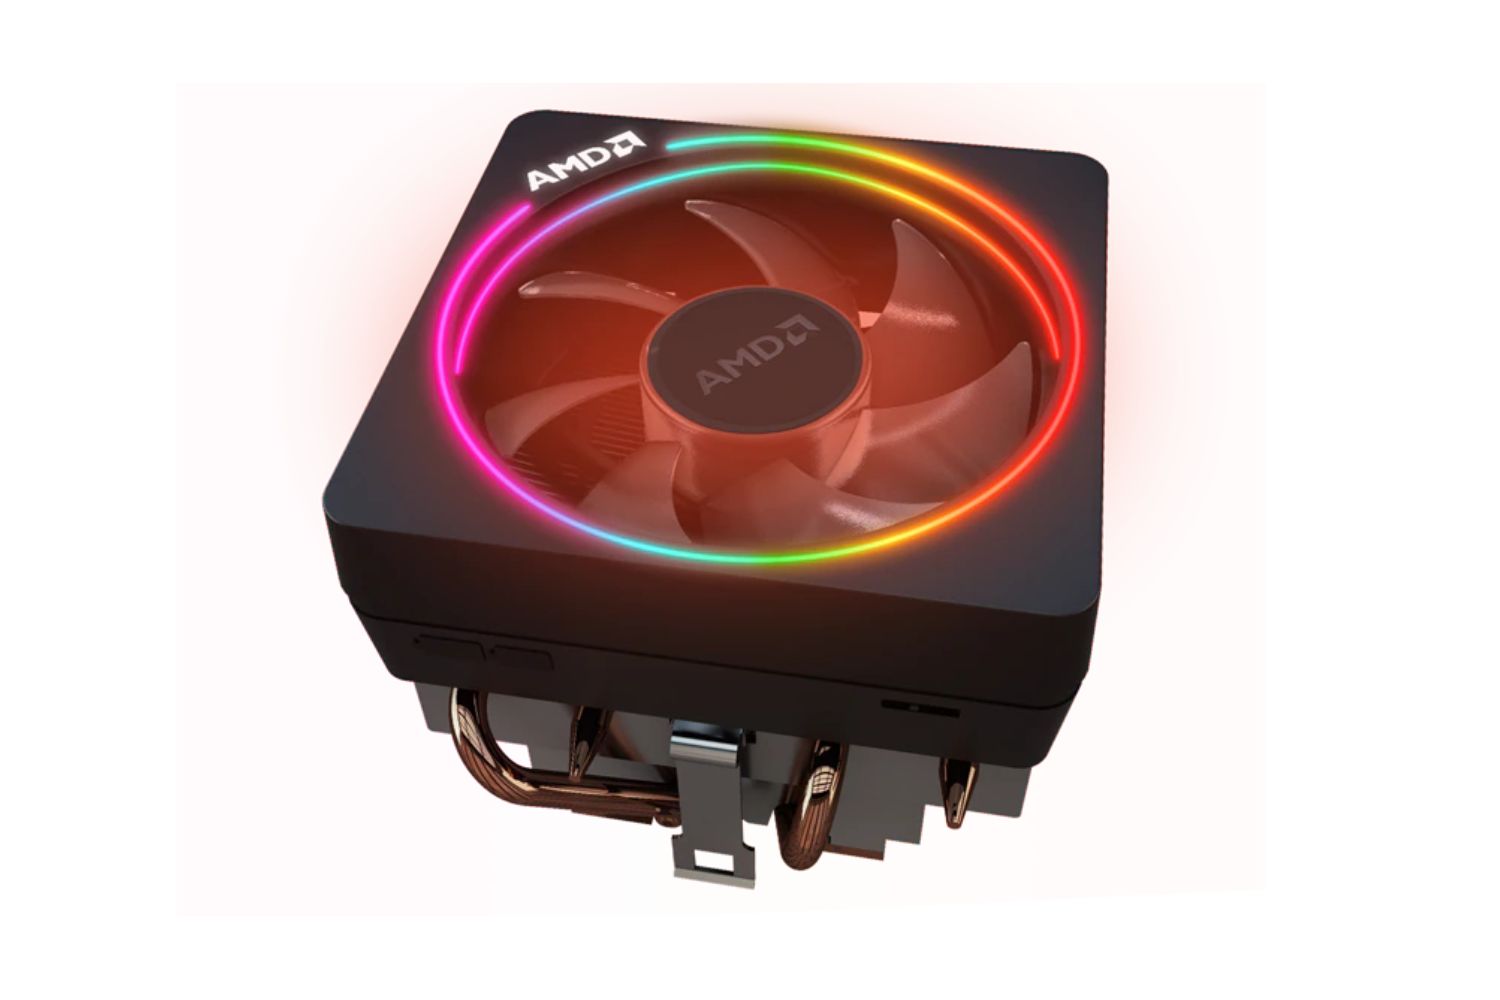
In this guide, we will focus specifically on unscrewing the CPU cooler for AMD processors. AMD employs different mounting mechanisms compared to Intel, and understanding the unique steps and procedures involved is crucial to ensure a smooth and successful detachment.
Before proceeding to unscrew the CPU cooler, it is important to gather the necessary tools and materials. You will need a Phillips screwdriver, rubbing alcohol or thermal paste remover, lint-free cloth or cotton pads, and a new CPU cooler, if you plan to replace the existing one. Having all the required items ready before starting will help streamline the process and prevent any unnecessary delays.
Please note that when dealing with PC components, it’s crucial to handle them with care. Static electricity can easily damage sensitive electronics, so make sure to discharge any static buildup by touching a grounded metal object, such as a table or the PC case, before handling any internal components. Additionally, follow all safety precautions, such as turning off the computer and disconnecting the power source, to avoid any potential hazards.
Now that you understand the importance of efficient cooling and have gathered all the necessary tools, let’s move on to the next section, where we will prepare for unscrewing the CPU cooler.
Preparing for Unscrewing the CPU Cooler
Before you start unscrewing the CPU cooler, it is essential to take a few preparatory steps to ensure a smooth and hassle-free process. By following these guidelines, you will minimize the risk of damaging any components and ensure a successful removal.
The first step in the preparation process is to shut down your computer and unplug the power cord from the wall socket. This will prevent any electrical accidents and ensure your safety during the procedure.
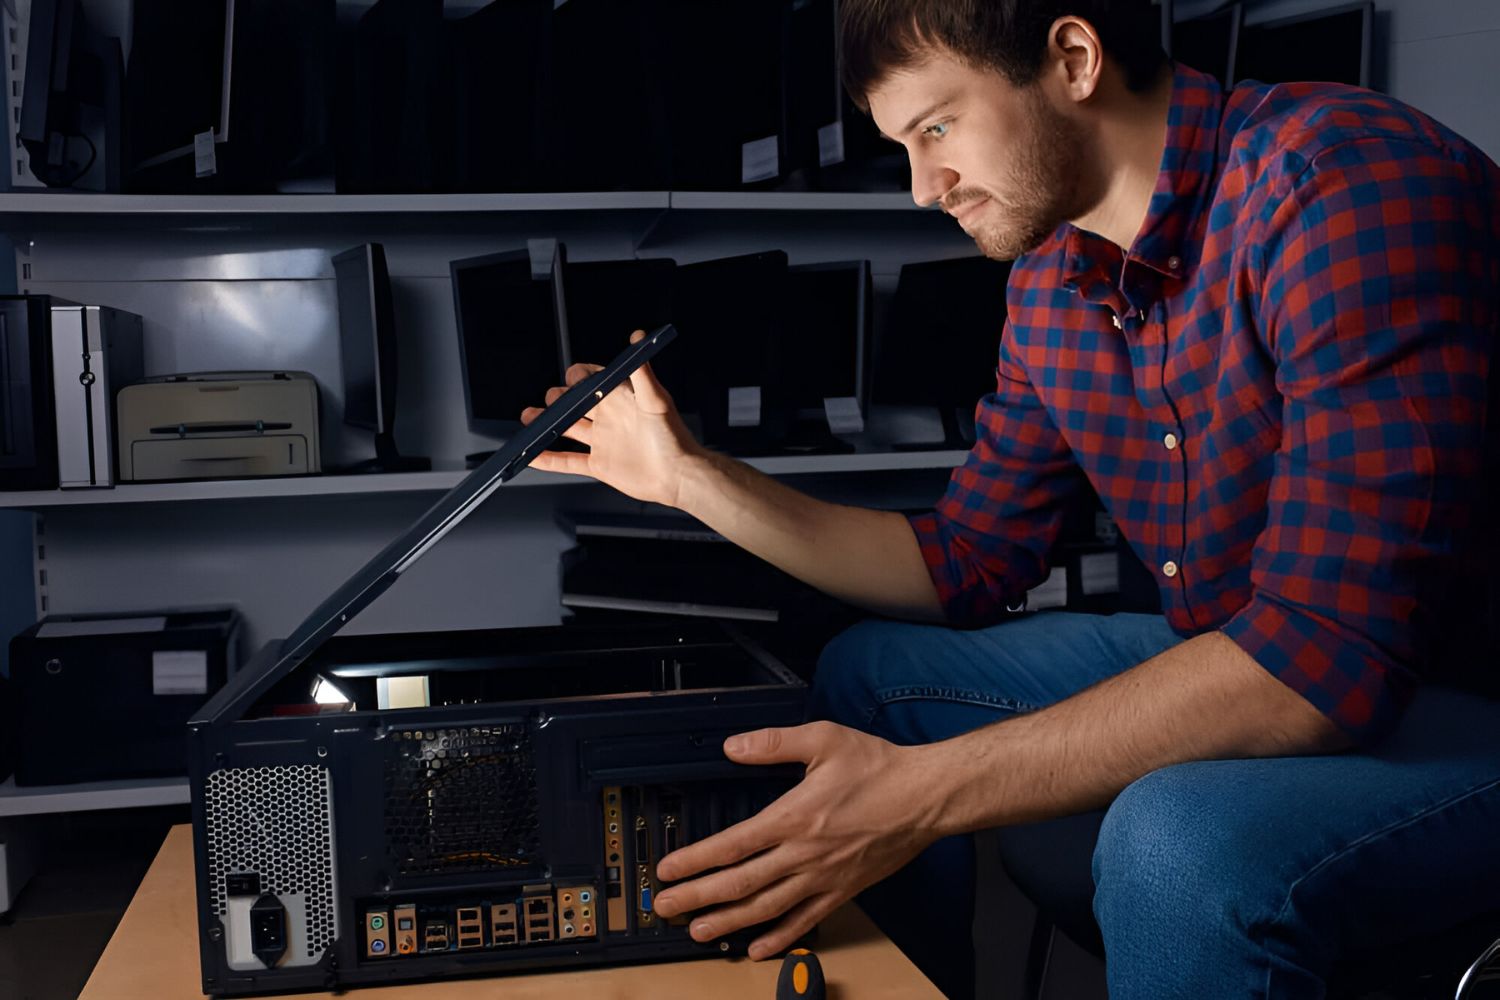
Next, remove the side panel of your computer case to access the internal components. Depending on your case design, you may need to unscrew a couple of screws or use a latch mechanism to remove the panel.
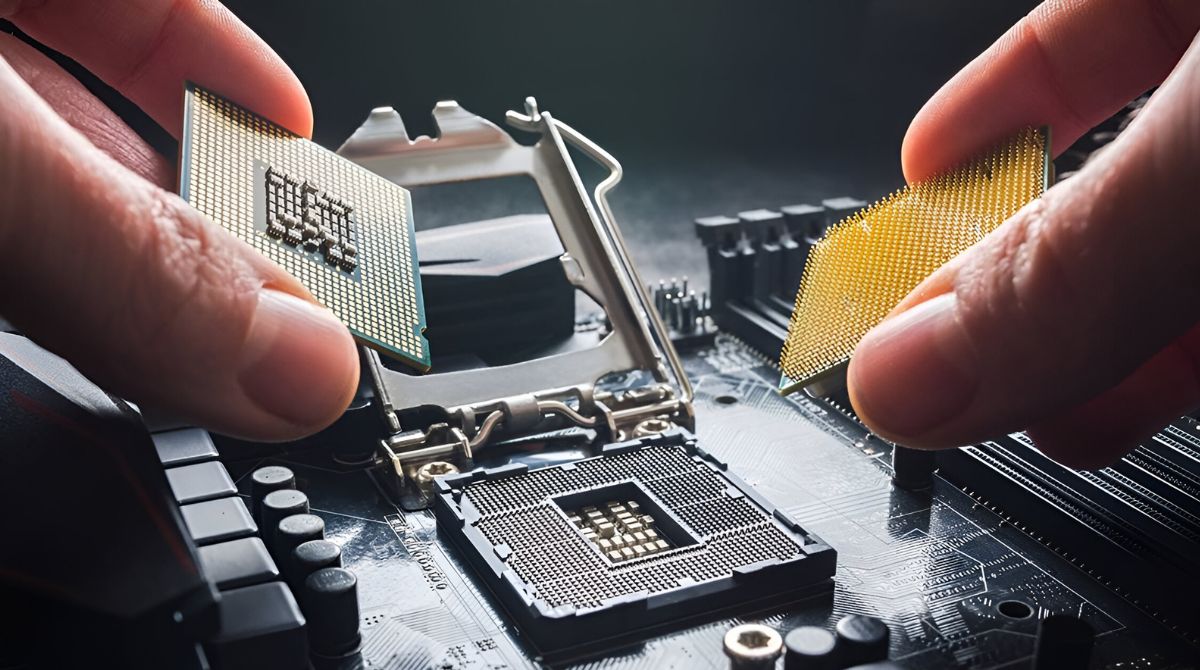
Once the side panel is off, familiarize yourself with the CPU cooler assembly. Take note of how it is secured to the motherboard and locate the screws that need to be removed. Generally, AMD CPU coolers are held in place by a mounting bracket with screws on all four corners. Identify these screws, as they will be the primary focus during the unscrewing process.
It’s always a good idea to consult your motherboard manual or the manufacturer’s documentation to understand the specific mounting mechanism for your CPU cooler. This will ensure that you don’t accidentally skip any steps or remove any unnecessary screws.
Before proceeding with the unscrewing process, ensure that you have an appropriate workspace and proper lighting. A well-lit area will allow you to see the small screws and components more easily, reducing the chances of any mishaps.
Furthermore, it’s advisable to ground yourself to prevent any static discharge that could damage sensitive components. You can do this by touching a grounded metal object or by using an anti-static wrist strap. Just remember to periodically ground yourself throughout the process to maintain a safe working environment for your hardware.
Now that you have prepared your system and familiarized yourself with the CPU cooler assembly, you are ready to move on to the next section: removing the CPU cooler. This step requires careful attention to detail, as improper handling can lead to damage to the CPU or motherboard. Let’s dive in and safely remove the CPU cooler without any complications.
Removing the CPU Cooler
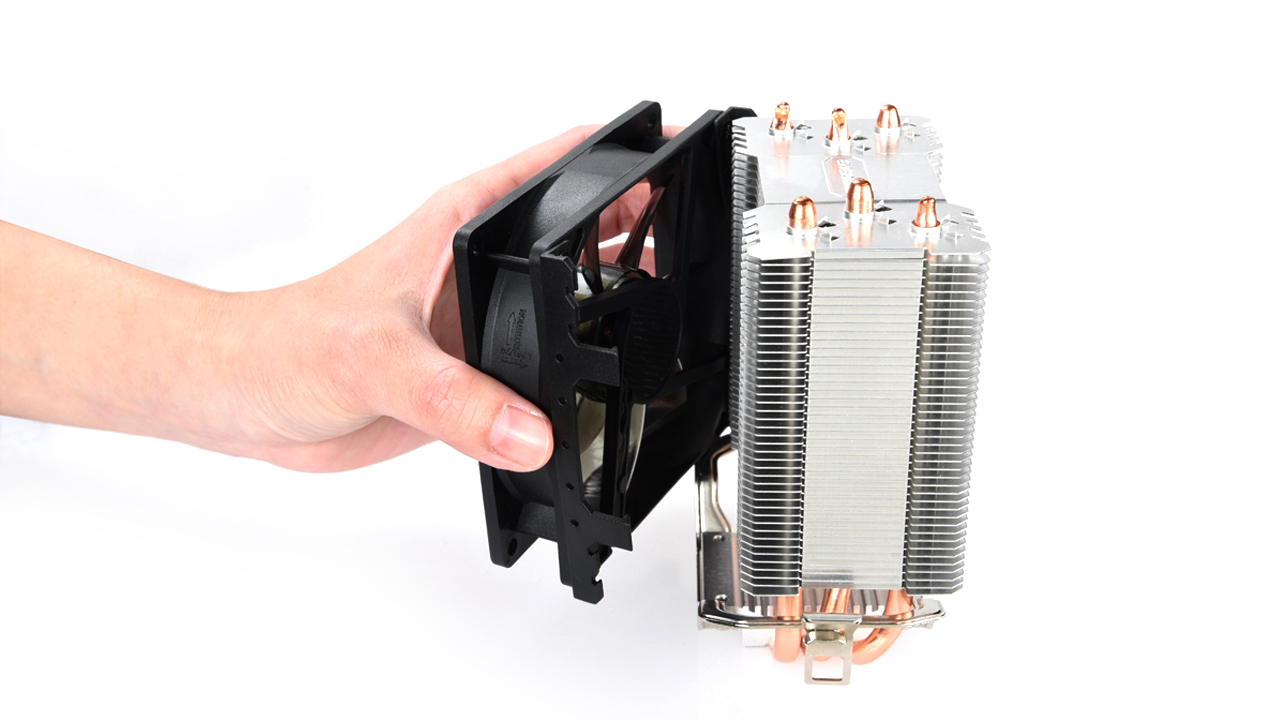
Now that you have prepared your system and familiarized yourself with the CPU cooler assembly, it’s time to remove the CPU cooler from your AMD processor. Follow the steps below to ensure a safe and successful removal process:
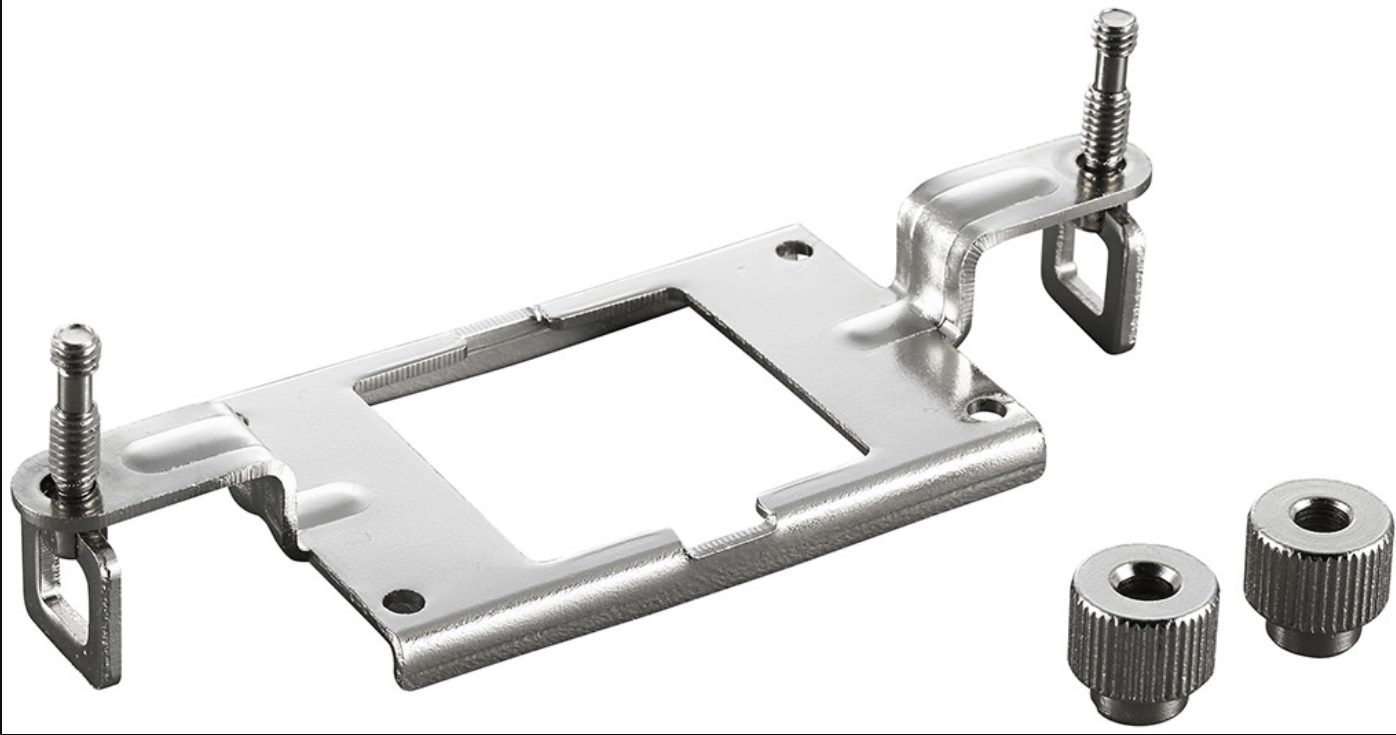
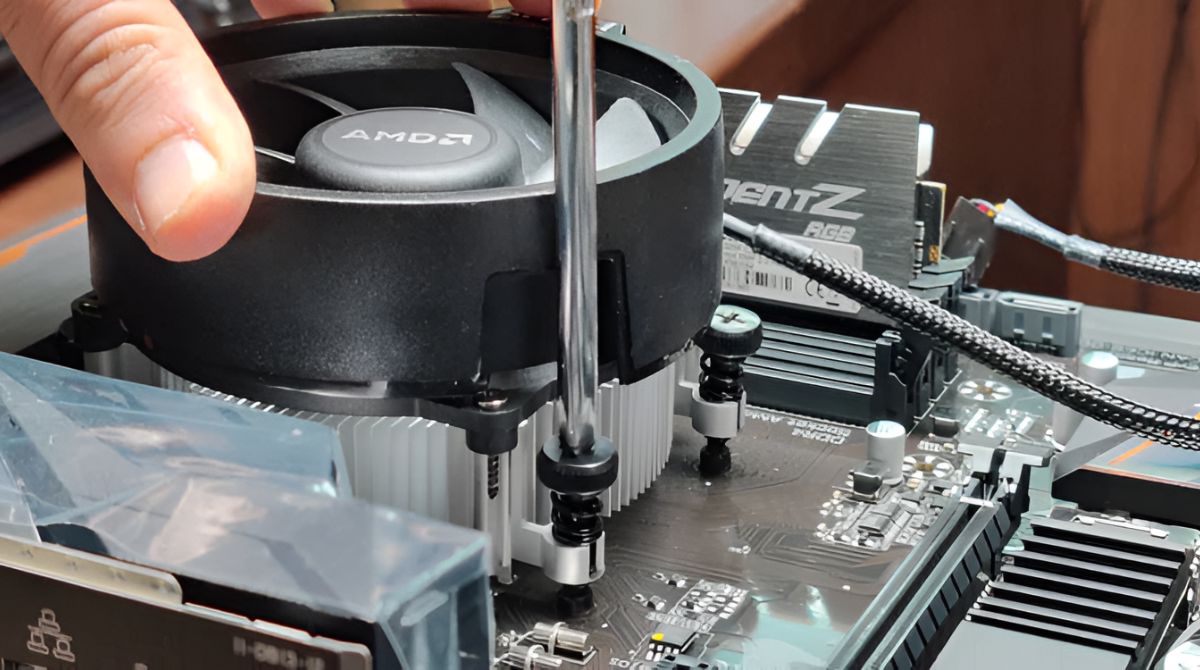
- Start by locating the screws that hold the CPU cooler in place. In most cases, there will be four screws, one in each corner of the mounting bracket. These screws may be Phillips head or hexagonal.
- Using the appropriate screwdriver, carefully unscrew each screw in a diagonal pattern. Start with one screw, then move to the diagonally opposite screw, and so on. This method ensures even pressure distribution and prevents any damage to the CPU or cooler.
- As you unscrew each screw, be sure to hold the CPU cooler in place to prevent it from falling off the motherboard. Gently grip the cooler and apply slight upward pressure to keep it steady.
- Once all four screws are removed, the CPU cooler should be loose. However, it may still be attached to the CPU socket due to the thermal paste. Avoid pulling forcefully or twisting the cooler at this stage.
- To detach the cooler from the CPU, gently twist it in a slight rocking motion. This will help break the bond formed by the thermal paste. As you twist, you will feel the cooler become easier to lift.
- Continue lifting the cooler slowly and steadily until it is completely separated from the CPU. Be cautious not to damage any nearby components or accidentally pull the CPU out along with the cooler.
With the CPU cooler successfully removed, you can now proceed to the next section where we will clean the CPU and socket to prepare them for the new cooler and thermal paste application. Cleaning these components ensures optimal thermal conductivity and improves the efficiency of heat dissipation. Let’s move on to the next step!
Cleaning the CPU and Socket
Once you have removed the CPU cooler from your AMD processor, it is essential to clean both the CPU and socket to ensure optimal thermal performance. Over time, dust, debris, and residual thermal paste can accumulate on these surfaces, hindering the transfer of heat. Follow the steps below to clean the CPU and socket effectively:
- Start by using a lint-free cloth or cotton pad lightly dampened with rubbing alcohol or thermal paste remover. Gently wipe the surface of the CPU to remove any residual thermal paste, dirt, or debris. Avoid using excessive force, as this can damage the delicate pins or the CPU itself.
- Next, shift your focus to cleaning the CPU socket. Use a small brush or a cotton swab dipped in rubbing alcohol to carefully clean the socket and remove any debris or residue. Pay extra attention to the corners and crevices where dirt can accumulate.
- Continue cleaning until both the CPU and socket surfaces are completely free of any contaminants. Inspect them closely to ensure no residue remains.
- Allow the CPU and socket to air dry for a few minutes or use a can of compressed air to blow away any remaining moisture. It is crucial to ensure that both surfaces are dry before applying the new thermal paste.
Cleaning the CPU and socket is a crucial step in the process of removing and replacing the CPU cooler. By thoroughly cleaning these surfaces, you ensure proper contact and heat transfer, which translates to better cooling efficiency and system stability. With the CPU and socket cleaned, it’s time to move on to the next step – applying thermal paste to the CPU.
Applying Thermal Paste
After cleaning the CPU and socket, the next step in the CPU cooler installation process is applying thermal paste. Thermal paste, also known as thermal compound, is a material that helps facilitate heat transfer between the CPU and the cooler. When applied correctly, it fills in microscopic imperfections and air gaps, improving thermal conductivity and ensuring efficient cooling. Follow the steps below to apply thermal paste properly:
- Start by preparing a small amount of thermal paste. The size of a pea or a small grain of rice is typically sufficient for most CPUs.
- Using a clean and dry applicator, such as a plastic spatula, credit card edge, or the tip of a small syringe, carefully apply the thermal paste to the center of the CPU. Be cautious not to apply too much thermal paste, as excessive amounts can lead to poor heat transfer or spill over onto the motherboard.
- Once the thermal paste is applied, use a clean cotton pad or lint-free cloth to spread it evenly and thinly across the surface of the CPU. The goal is to create a thin, smooth layer that covers the entire CPU but is not excessively thick. This ensures optimal contact with the CPU cooler.
- Double-check that the thermal paste is evenly spread, with no gaps or excess around the edges. This will help facilitate efficient heat transfer between the CPU and the cooler.
It’s important to note that different thermal paste brands may have specific application instructions or recommendations. Be sure to read the manufacturer’s guidelines if they are provided with the thermal paste you’re using.
With the thermal paste properly applied, you are now ready to move on to the next section – installing the new CPU cooler. This step will ensure that your CPU is effectively cooled and protected, allowing for optimal system performance. Let’s proceed to the next step!
Installing the New CPU Cooler
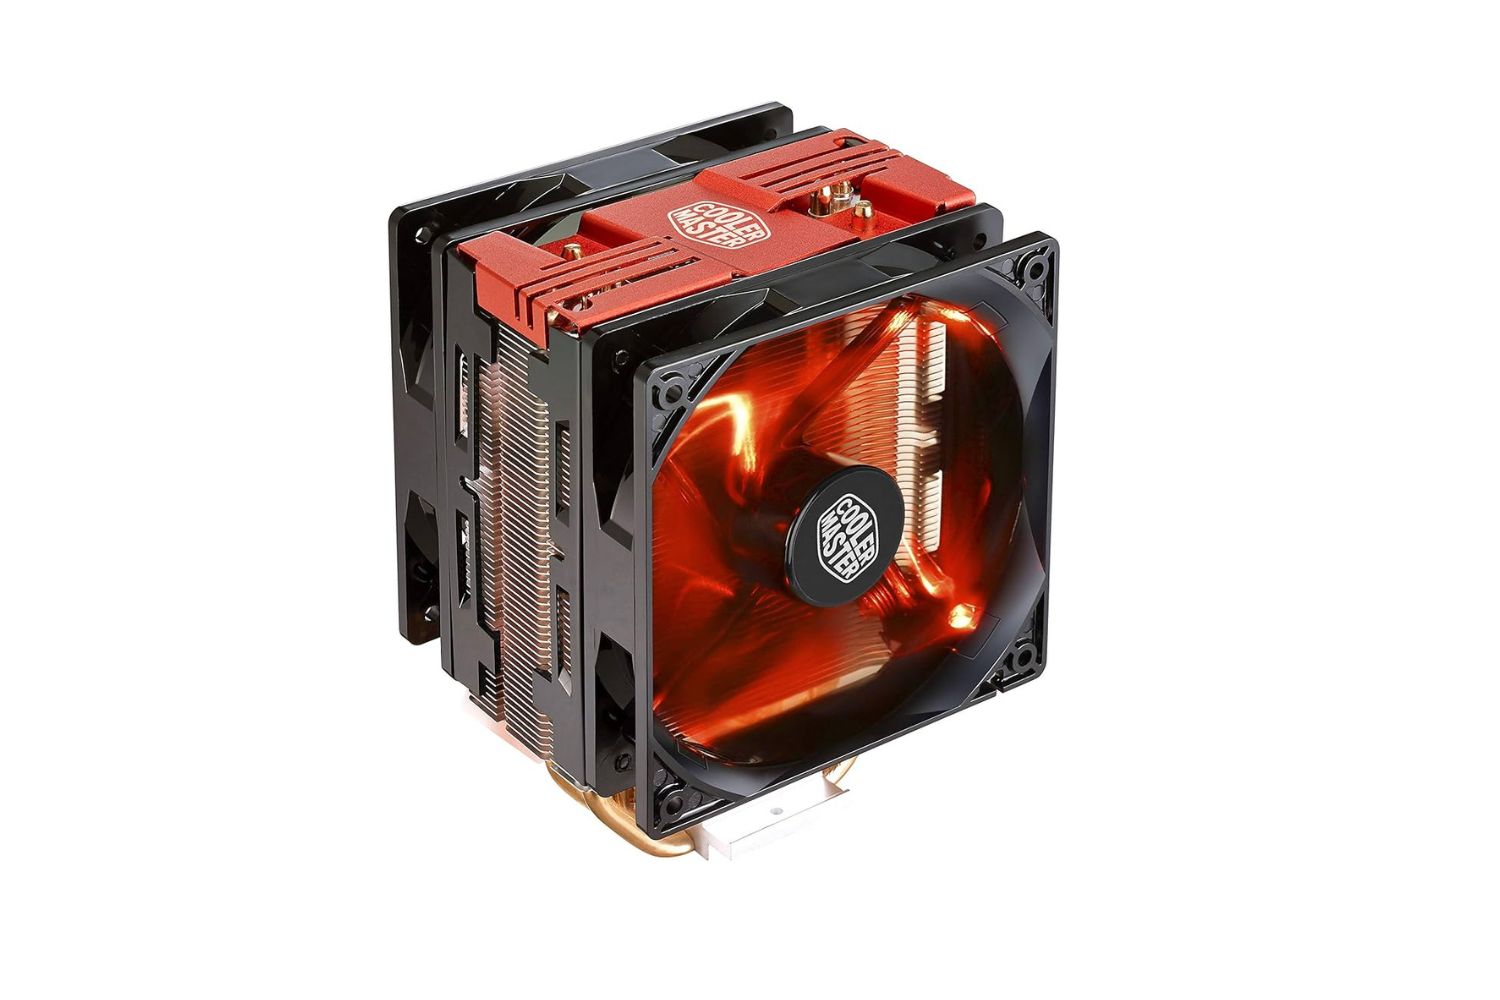
With the thermal paste applied, it’s time to install the new CPU cooler on your AMD processor. Follow the steps below to ensure a secure and proper installation:
- Start by aligning the CPU cooler with the mounting bracket on the motherboard. Take note of any guides or notches that ensure the cooler is positioned correctly.
- Gently lower the CPU cooler onto the CPU, making sure that the screw holes on the cooler align with those on the mounting bracket.
- Once aligned, begin screwing in the cooler in a diagonal pattern. Start with one screw, then move to the diagonally opposite one, and so on. This ensures even pressure distribution and a secure attachment.
- Tighten each screw gradually, alternating between screws, until they are snug. Do not overtighten, as this can damage the CPU or the cooler. Check the instructions provided by the cooler manufacturer for any specific torque recommendations.
- Double-check that the CPU cooler is firmly attached and does not wobble. This ensures proper contact with the CPU and improves cooling efficiency.
- Reattach the side panel of your computer case and secure it in place with the appropriate screws or latch mechanism. Ensure the panel is properly aligned and closed to maintain proper airflow within the system.
Once the new CPU cooler is installed, you’re almost ready to power on your computer and test the system. However, before doing so, it’s essential to perform a few checks and adjustments to ensure a successful installation and optimal cooling performance.
First, make sure that all cables and connectors are properly plugged in and secured. Ensure that the CPU cooler fan is connected to the appropriate header on the motherboard to ensure proper cooling and fan speed control.
Additionally, check the CPU temperature readings in your computer’s BIOS or through monitoring software to verify that the cooler is functioning correctly and keeping temperatures within safe limits.
Once you have completed these checks and adjustments, you’re ready to power on your computer and test the system. Monitor the CPU temperatures under different workloads to ensure that the new CPU cooler is operating efficiently and keeping the processor cool.
Congratulations! You have successfully installed a new CPU cooler on your AMD processor. By following the steps outlined in this guide, you have ensured proper cooling and improved stability for your system. Remember to regularly clean and maintain your CPU cooler for optimal performance in the long run.
Testing the System
After installing the new CPU cooler on your AMD processor, it is crucial to test the system to ensure that everything is functioning correctly. Testing will allow you to verify that the CPU temperatures are within safe limits and that the cooler is effectively dissipating heat. Follow the steps below to test your system:
- Power on your computer and enter the BIOS or use monitoring software to check the CPU temperatures. Monitor the temperatures while the system is idle and under different workloads, such as running intensive applications or games.
- Compare the temperature readings to the acceptable temperature range specified by the CPU manufacturer. If the temperatures are within the safe limits, it indicates that the new CPU cooler is operating effectively.
- If the temperatures are excessively high or out of the safe range, it may indicate that there is an issue with the installation or the cooling performance. In such cases, double-check the CPU cooler’s installation, ensuring that it is securely attached and making proper contact with the CPU.
- If the temperature issues persist, consider reapplying the thermal paste and checking the airflow within your computer case. Make sure that all fans are operational and that the airflow is optimized to dissipate heat effectively.
- Run stress tests or demanding tasks on your system to push it to its limits and monitor the CPU temperatures closely. This will help identify any potential issues or overheating problems that need to be addressed.
- Continue monitoring the CPU temperatures regularly, especially during intensive usage, to ensure that the new CPU cooler is consistently providing adequate cooling performance.
By thoroughly testing your system after installing the new CPU cooler, you can identify any potential issues and address them promptly. Monitoring the temperatures and ensuring proper cooling will contribute to the stability and longevity of your AMD processor.
If you encounter persistent overheating issues or other performance-related problems, it is advisable to seek assistance from a professional or the manufacturer’s support team to troubleshoot and resolve the issue.
With the system successfully tested and confirmed to be running within safe temperature ranges, you can now enjoy improved cooling performance and optimal system stability. Congratulations on successfully installing and testing your new CPU cooler!
Conclusion
Upgrading or replacing your CPU cooler on an AMD processor is a crucial step in maintaining optimal cooling performance and system stability. By following the steps outlined in this guide, you have learned how to safely unscrew the CPU cooler, clean the CPU and socket, apply thermal paste, install a new CPU cooler, and test the system to ensure its smooth operation.
Remember, proper cooling plays a vital role in maximizing the performance and lifespan of your AMD processor. Regularly maintaining and replacing your CPU cooler helps to prevent overheating, which can lead to performance issues, component degradation, and system instability.
Throughout the process, it’s important to handle the components with care, follow safety precautions, and consult the manufacturer’s documentation or guides specific to your AMD processor and CPU cooler. This will ensure a successful installation and minimize the risk of any damage to your hardware.
If you encounter any difficulties during the process, don’t hesitate to seek assistance from a professional or the manufacturer’s support team. They can provide valuable guidance and troubleshooting tips to help you overcome any challenges.
With the new CPU cooler properly installed and the system tested, you can now enjoy improved cooling efficiency and peace of mind knowing that your AMD processor is protected and operating optimally.
By consistently maintaining and monitoring your CPU cooler, you can ensure the long-term performance and reliability of your computer system. Remember to periodically clean your CPU cooler, reapply thermal paste as needed, and monitor CPU temperatures to address any potential cooling issues proactively.
Keep in mind that upgrading your CPU cooler is just one aspect of overall system maintenance. Regularly cleaning dust from your case, optimizing airflow, and keeping all components in good condition contribute to the overall health and performance of your computer.
We hope this guide has provided you with the necessary knowledge and steps to successfully unscrew and replace the CPU cooler on your AMD processor. Happy computing!