Common Issues with USB Microphone
USB microphones have become incredibly popular for recording audio, whether it’s for podcasting, streaming, or general voice recording. However, like any other technology, USB microphones can sometimes encounter issues that may hinder their performance. Here are some common issues you may encounter with a USB microphone:
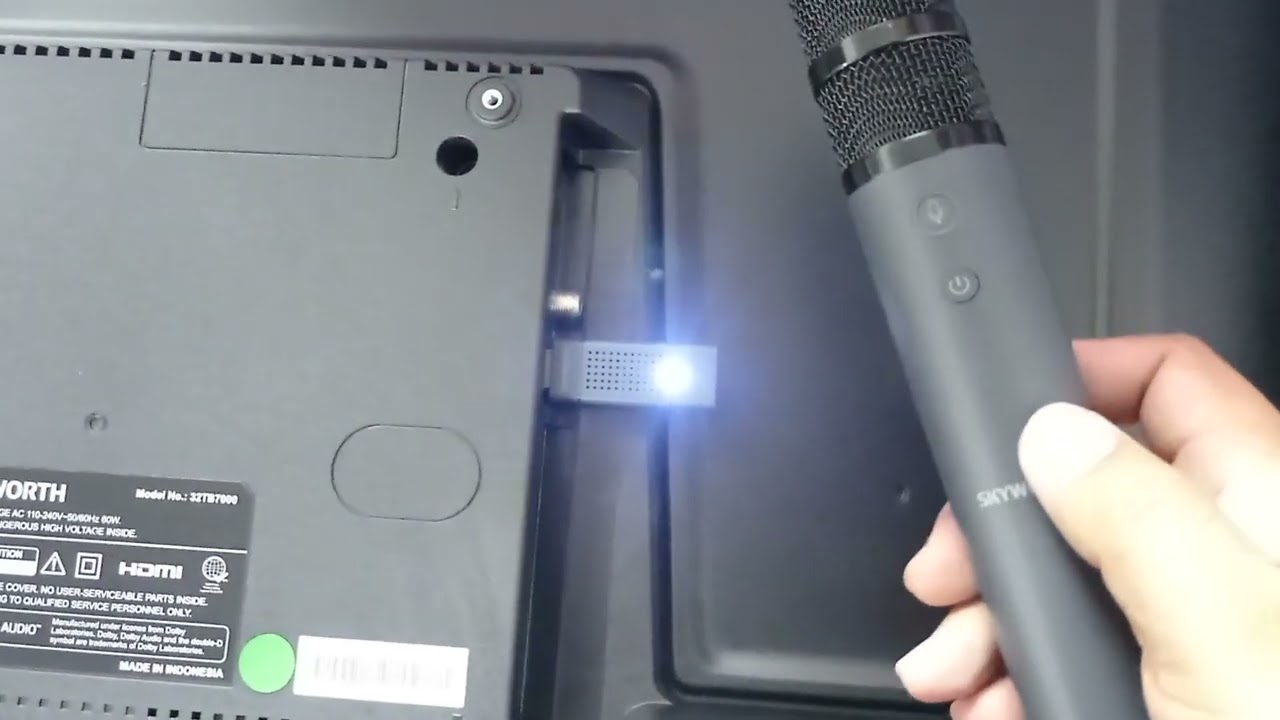
- Poor or no connection: One of the most prominent issues is a poor or non-existent connection. This can be due to a faulty USB cable, a loose connection, or compatibility issues with your computer’s USB port. Make sure to check all the connections and try using a different USB cable or port to ensure a stable connection.
- Driver compatibility: Another issue that may arise is driver compatibility. Some USB microphones require specific drivers to be installed on your computer for them to function properly. Ensure that you have the latest and compatible drivers installed. You can usually find these drivers on the manufacturer’s website.
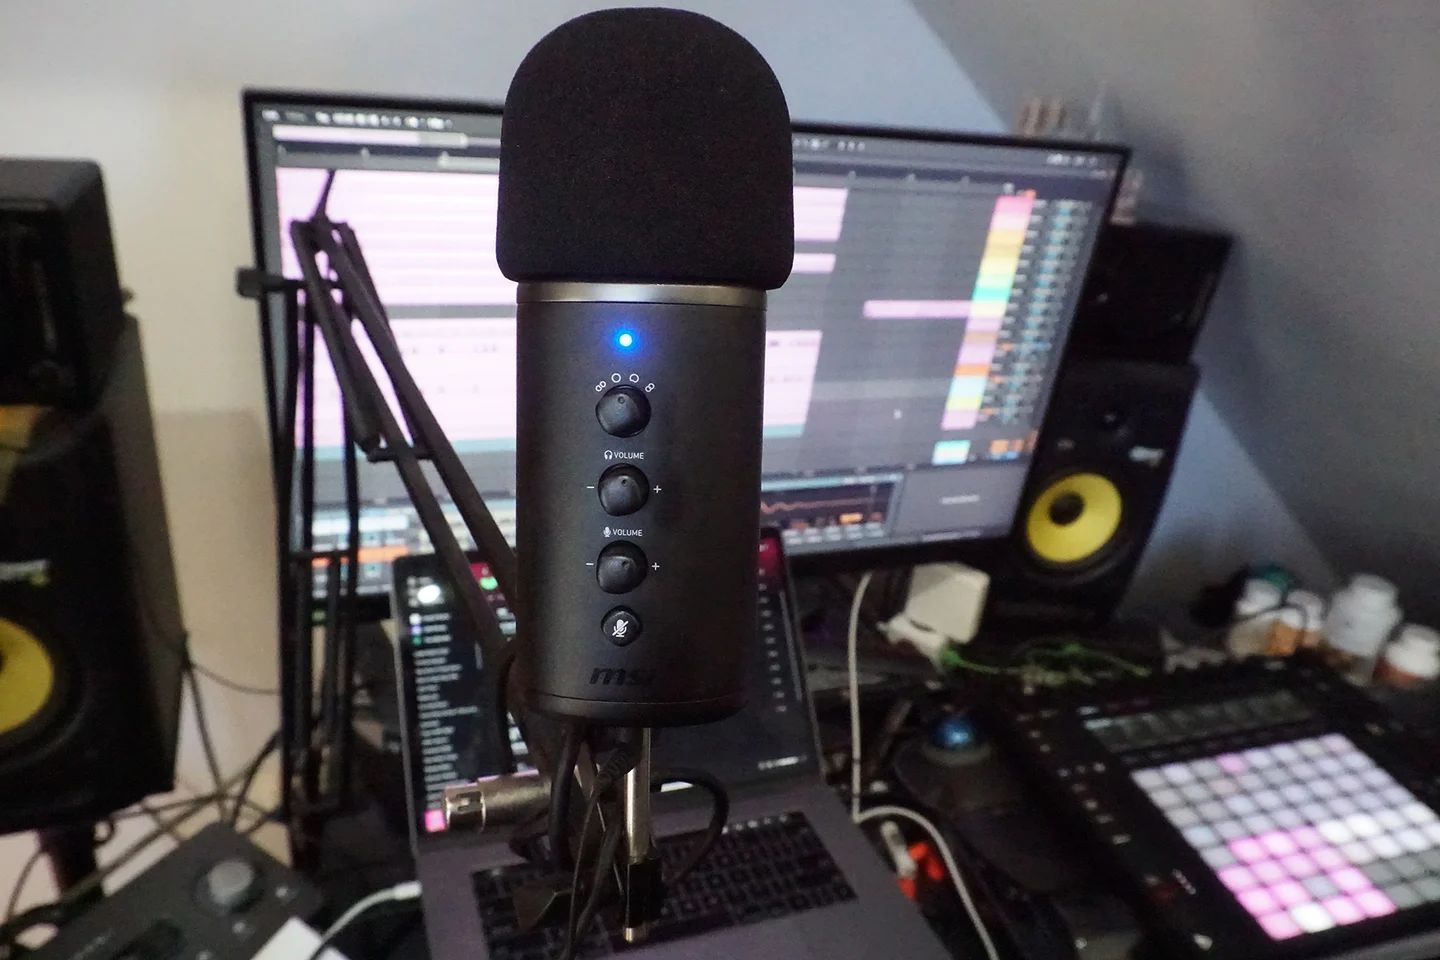
- Noisy background: USB microphones are susceptible to picking up background noise, especially if they don’t have proper noise-canceling capabilities. This can result in distracting audio recordings. Consider using a pop filter or adjusting your recording environment to minimize background noise.
- Low audio levels: If you find that your USB microphone’s audio levels are consistently low even when you’ve set them to maximum, it could be a problem with the microphone’s gain settings. Check the microphone’s manual or settings to adjust the gain, ensuring optimal audio levels during recording.
- Audio distortion: Distorted audio is another common issue with USB microphones. This distortion can occur due to various factors such as faulty cables, improper settings, or even a damaged microphone. Experiment with different settings and cables to troubleshoot and resolve any distortion issues.
These are just a few of the common issues that you may encounter when using a USB microphone. It’s important to troubleshoot these problems by checking your connections, adjusting settings, and referring to the manufacturer’s documentation. With some patience and troubleshooting, you can often resolve these issues and enjoy crystal-clear audio recordings with your USB microphone.
Preparing for Testing
Before you start testing your USB microphone, it’s important to properly prepare and set up the necessary equipment. Here are some steps you can follow to ensure a smooth and accurate testing process:
- Find a quiet environment: Choose a quiet location for testing your USB microphone. This will help minimize background noise and interference, allowing you to focus on the microphone’s performance.
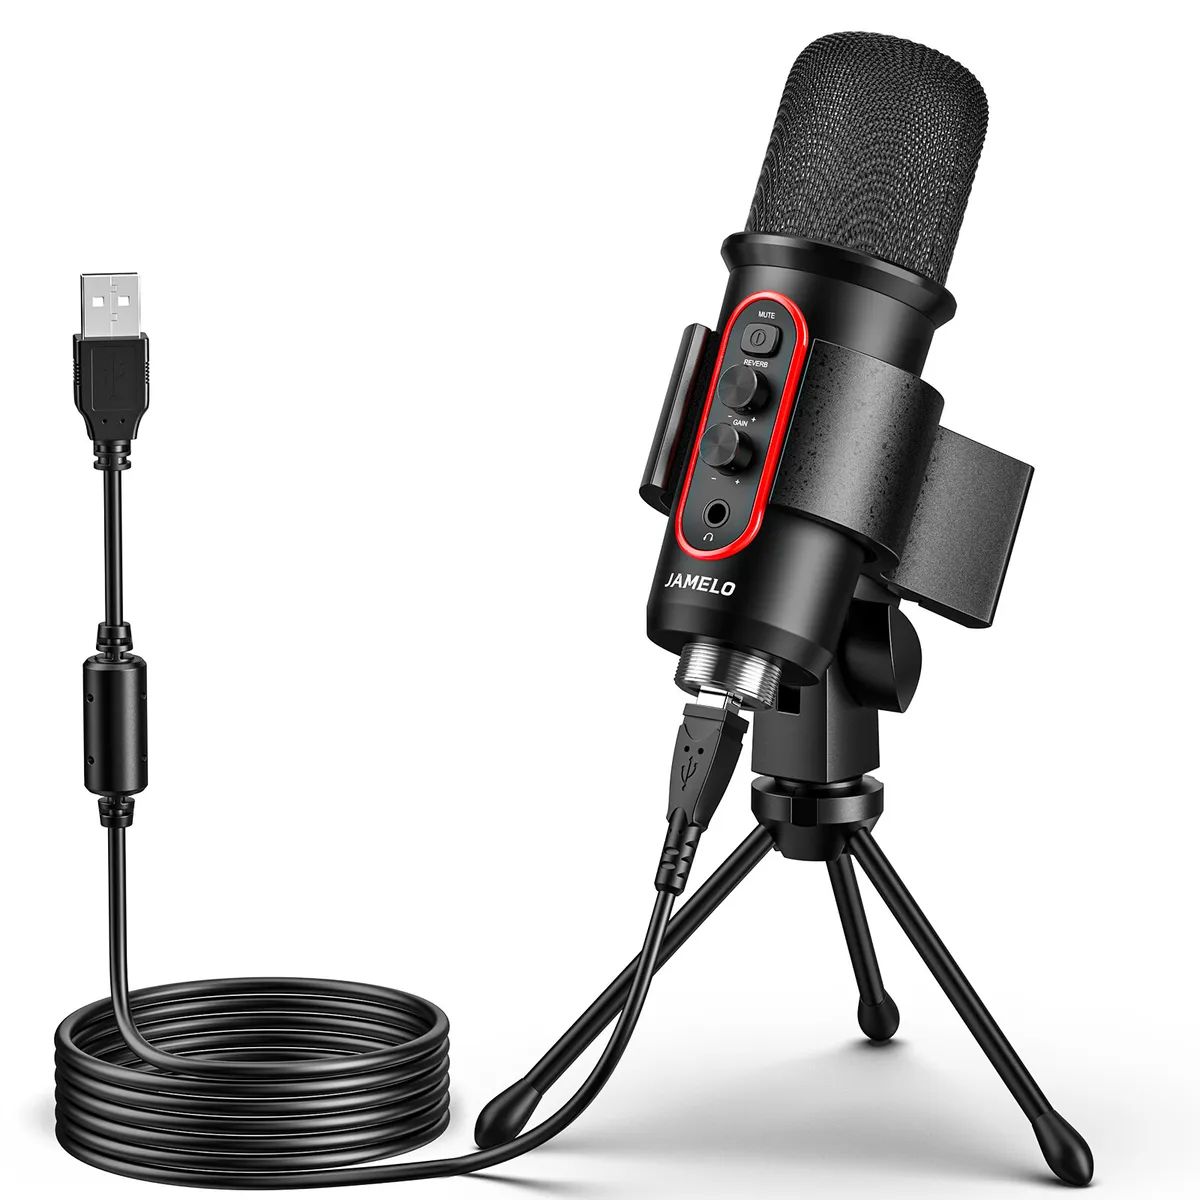
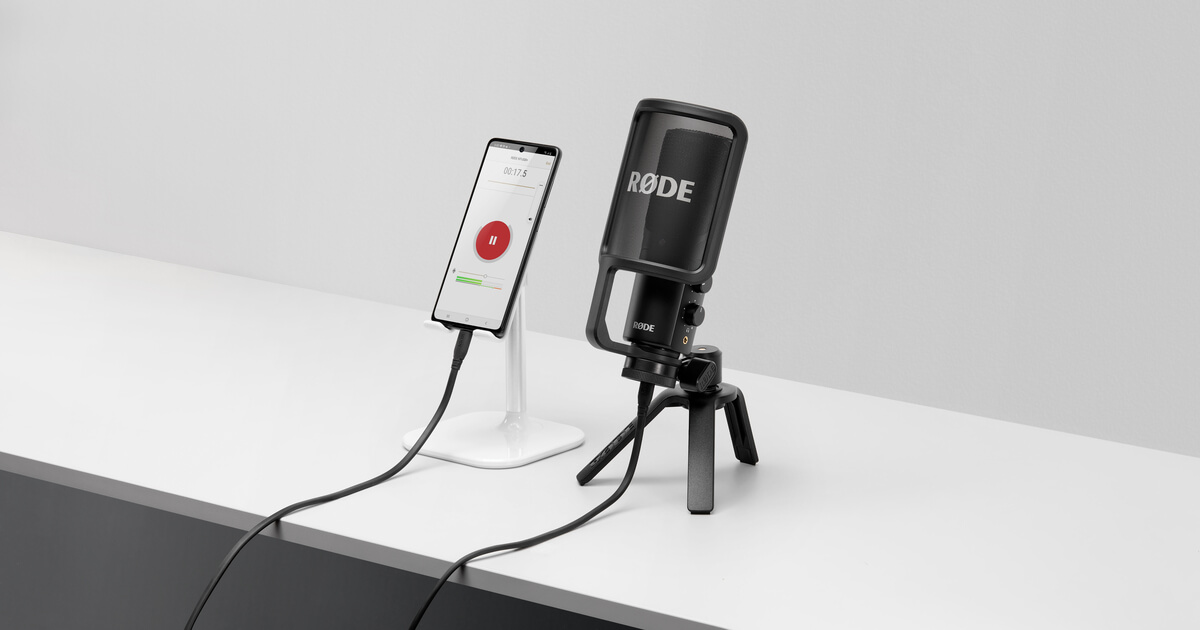
- Position the microphone: Set up the microphone in the desired position. Depending on the type of USB microphone, you may either need to attach it to a microphone stand or position it on your desk using the included stand. Ensure that the microphone is placed at an appropriate distance from your mouth for optimal recording quality.
- Check USB cable and connections: Inspect the USB cable for any signs of damage or wear. Make sure the cable is securely plugged into both the microphone and your computer’s USB port. If you suspect a faulty cable, try using a different one to eliminate any connection issues.
- Adjust computer settings: Open the audio settings on your computer and ensure that the USB microphone is selected as the default recording device. Adjust the microphone’s input level to an appropriate setting that captures your voice clearly without distorting or clipping the audio.
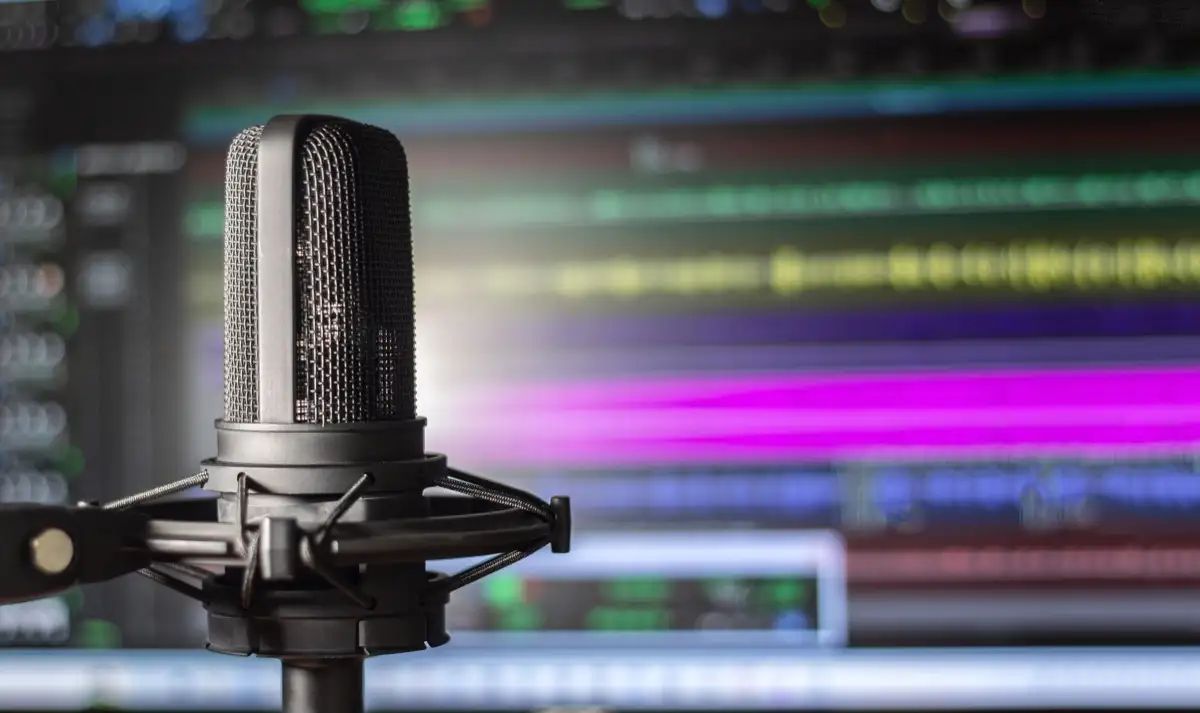
- Test recording software: If you plan to use specific recording software, such as Audacity or GarageBand, make sure it is installed and configured correctly. Familiarize yourself with the software’s interface and settings before conducting any tests.
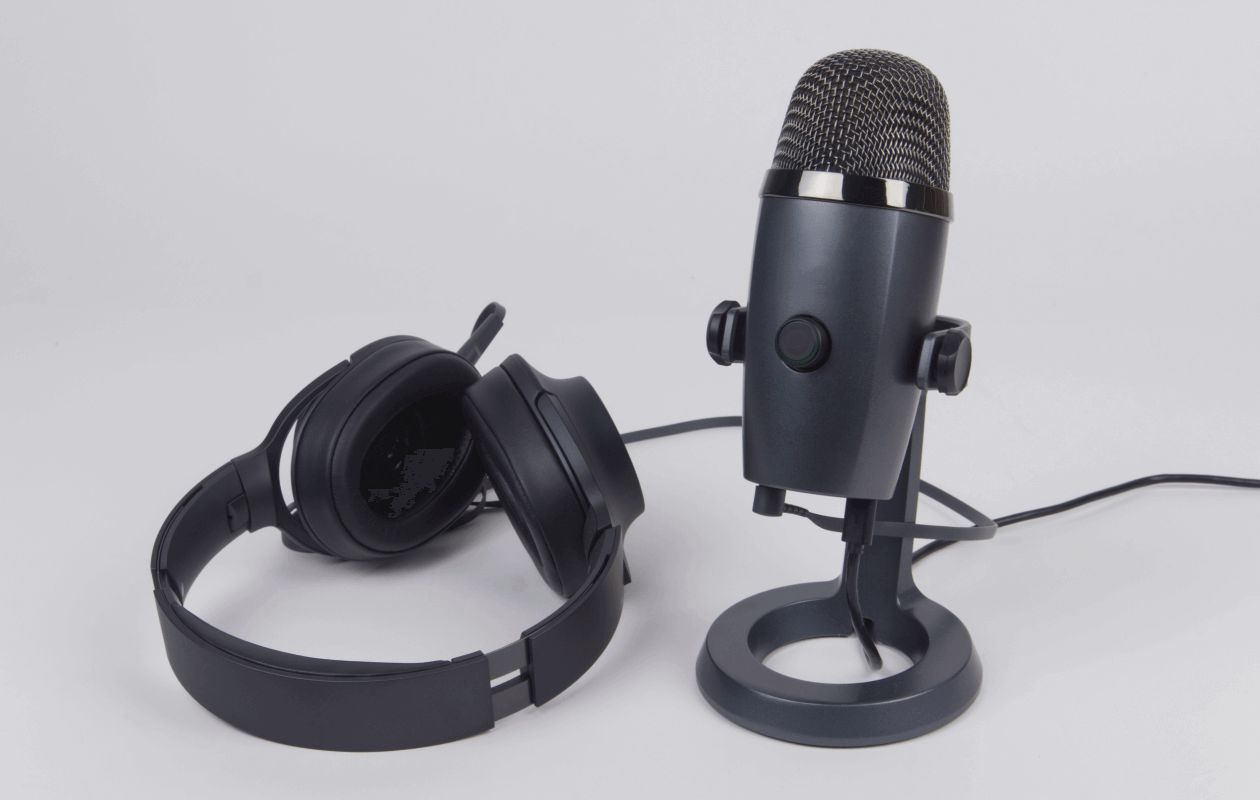
- Gather any additional equipment: Depending on your testing requirements, you may need extra equipment such as headphones, a pop filter, or a microphone preamp. Ensure that you have all the necessary equipment ready before starting the tests.
By following these preparation steps, you’ll create an ideal environment for testing your USB microphone. This will help you accurately assess its performance and ensure that any issues encountered during testing are not due to improper setup or configuration. Once you have completed the preparation process, you’re ready to proceed with testing the USB microphone.
Testing the USB Connection
One of the first steps in testing your USB microphone is to ensure that the USB connection is working properly. Here’s how you can test the USB connection:
- Connect the USB microphone: Plug the USB cable of the microphone into an available USB port on your computer. Ensure that the connection is secure and properly inserted.
- Check device recognition: Once you have connected the USB microphone, check if your computer recognizes it. Go to your computer’s audio settings and look for the USB microphone in the list of available recording devices. Make sure it is selected as the default recording device.
- Test signal detection: Speak into the USB microphone and observe the audio signal level on your computer. You should see the levels fluctuating as you speak, indicating that the microphone is successfully capturing sound.
- Ensure no interference: During the USB connection test, listen for any interference or static noise in the audio. If you hear any strange sounds, try wiggling or reseating the USB cable to see if it eliminates the issue. If the problem persists, you may need to try a different USB port or cable.
- Verify compatibility: If your USB microphone requires drivers or software for it to work properly, ensure that you have installed all the necessary files. Visit the manufacturer’s website to download the latest drivers compatible with your computer’s operating system.
By testing the USB connection, you can verify that the microphone is properly connected and recognized by your computer. This step is essential in ensuring that the microphone functions correctly and that any subsequent testing accurately reflects its performance. If you encounter any issues during the USB connection test, refer to the manufacturer’s documentation or contact their support for further assistance.
Testing the Microphone Input
Once you have confirmed that the USB connection is working correctly, it’s time to test the microphone input itself. This step will help you evaluate the microphone’s ability to capture accurate and clear audio. Here’s how you can test the microphone input:
- Open your recording software: Launch your preferred recording software, such as Audacity or GarageBand. Set up a new recording session or open an existing project.
- Select the USB microphone: In the recording software’s settings, choose the USB microphone as the input device. Ensure that the microphone’s input level is set to an appropriate level. Start with a moderate setting and adjust as necessary during testing.
- Speak into the microphone: Start recording and speak into the microphone at a normal volume. Test different speaking patterns, including soft and loud voices, to evaluate the microphone’s ability to capture various audio levels.
- Monitor the audio levels: Keep an eye on the audio levels displayed in the recording software. Ensure that the microphone is picking up your voice clearly and that the levels are not clipping (reaching the maximum level and distorting the sound).
- Listen to the playback: After recording, play back the audio to evaluate the overall quality. Check for any background noise, distortion, or other issues that may affect the clarity and accuracy of the recorded audio.
- Make adjustments if needed: If you notice any issues during the microphone input test, such as low audio levels or background noise, adjust the microphone’s gain settings or recording environment as necessary. You can also try using a pop filter or moving to a quieter location to minimize unwanted noise.
Testing the microphone input allows you to assess the microphone’s performance in capturing your voice accurately. It helps you identify any potential issues and make adjustments to optimize the recording quality. If you are satisfied with the results of the microphone input test, move on to testing the audio quality and other aspects to ensure a comprehensive evaluation of the USB microphone.
Testing the Audio Quality
When testing a USB microphone, one of the crucial aspects to evaluate is the audio quality it delivers. Here are the steps to follow for testing the audio quality:
- Set up a recording: Open your recording software and create a new recording session or project. Ensure that the USB microphone is selected as the input device.
- Perform a sample recording: Record a sample of your voice or any audio content while speaking at a normal volume. Utilize different vocal ranges and speaking patterns to assess how the microphone captures nuances and variations in your voice.
- Listen for clarity: Play back the recorded audio and listen for clarity in your voice. The audio should sound natural and intelligible, without any muffled or distorted elements.
- Check frequency response: Analyze the frequency response of the microphone by recording and playing back a test tone. The microphone should accurately capture the full range of frequencies, from low to high, without significant peaks or dips.
- Assess sensitivity: Test the microphone’s sensitivity by recording audio content with soft-spoken or whispered speech. The microphone should clearly capture even the faintest sounds without introducing excessive noise or background interference.
- Evaluate dynamic range: Perform a recording with varying sound levels, from soft to loud, to assess the microphone’s ability to handle different dynamic ranges. It should effectively capture both quiet and intense moments without distortion or clipping.
- Analyze audio artifacts: Listen for any unwanted audio artifacts, such as pops, clicks, or hisses, during the playback of the recorded audio. These artifacts are disturbances that can significantly impact the overall audio quality.
- Compare with reference audio: If available, listen to a reference recording made with a high-quality microphone to compare the audio quality. This comparison will help you gauge the USB microphone’s performance against industry standards.
By testing the audio quality, you can ensure that the USB microphone delivers clear, accurate, and professional-grade sound. If you detect any issues during the test, such as distortion, background noise, or poor frequency response, consider adjusting the microphone’s settings or exploring alternative solutions to achieve the desired audio quality.
Testing for Background Noise
When using a USB microphone, it’s important to evaluate its performance in handling background noise. Background noise can significantly impact the clarity and quality of your recordings. Here’s how you can test for background noise:
- Select a quiet recording environment: Choose a quiet room or space where you can minimize external sounds. Close windows and doors to reduce outdoor noise, and turn off any noisy appliances or fans.
- Record silence: Start a recording in your software without speaking. Allow the microphone to capture the ambient sound in the room for a few seconds. During this time, ensure that there are no sudden noises or disturbances.
- Listen to the silence recording: Play back the recording and listen for any background noise. Listen for any hissing, buzzing, or other unwanted sounds that may have been picked up by the microphone.
- Identify noise sources: If you detect background noise in the recording, try to identify the source of the noise. It could be electrical interference, room ambiance, or even noise from the computer itself. Take note of the specific noise sources for troubleshooting.
- Experiment with microphone placement: Adjust the positioning of the microphone to see if it reduces or eliminates the background noise. Moving the microphone closer to your mouth or away from noisy sources can help improve the signal-to-noise ratio.
- Use noise reduction tools: If the background noise is persistent, consider using noise reduction tools in your recording software. These tools can help filter out unwanted background noise and improve the overall quality of the recording.
- Repeat the recording: After making any adjustments or using noise reduction techniques, repeat the recording in the quiet environment to assess the impact on background noise. Listen carefully to ensure that the recorded audio is clear and free from significant background noise.
Testing for background noise is essential to ensure that your USB microphone can capture clean audio even in less than ideal recording environments. By identifying and addressing background noise issues, you can achieve higher-quality recordings and improve the overall audio experience for your audience.
Testing for Distortion
Distortion in audio recordings can significantly impact the quality and clarity of your sound. To ensure that your USB microphone produces clean and distortion-free audio, you should perform the following tests:
- Select a suitable recording level: Set your microphone’s input level to an appropriate setting before starting the test. Avoid setting the input level too high, as it can lead to distortion. Start with a moderate level and adjust as necessary.
- Record a spoken passage: Speak into the microphone at a normal volume while recording in your software. Ensure that you speak clearly and use a consistent level of volume throughout the recording.
- Listen for clipping: Clipping occurs when the volume level exceeds the maximum capacity of the microphone or recording device. Listen for any distorted or clipped audio during playback. If you hear distortion or notice flattened waveforms, it indicates clipping.
- Check the input level: Examine the input level indicators in your recording software. If the level meters frequently hit the maximum or exceed a safe range, it suggests that the microphone is being overdriven. Adjust the input level accordingly to prevent distortion.
- Monitor audio peaks: While recording, watch for any spikes or sudden jumps in the audio waveform. These peaks may indicate instances of distortion. If you notice consistent spikes, consider reducing the microphone’s input level or adjusting your distance from the microphone to prevent distortion.
- Experiment with different recording techniques: Explore different microphone positioning and speaking techniques to find the optimal setup that minimizes distortion. Adjust the microphone’s distance and angle to your mouth to achieve the best balance of volume and clarity.
- Test with varying audio sources: Record audio from different sources, such as music or instruments, to ensure that the microphone can handle a wide dynamic range without introducing distortion. Evaluate how the microphone reproduces different frequencies and intensities.
Testing for distortion will help you identify any issues with your USB microphone and ensure that the recorded audio is free from unwanted distortion. By adjusting the input levels, experimenting with microphone placement, and monitoring audio peaks, you can achieve optimal recording quality without distortion.
Testing for Echo or Feedback
Echo or feedback can be a common issue when using a USB microphone, leading to a distorted and unpleasant audio experience. To ensure that your recordings are free from echo or feedback, follow these steps for testing:
- Set up your recording environment: Choose a room with minimal echoes or reverberation. A carpeted room or a space with curtains and soft furnishings can help reduce the chance of echo or feedback.
- Position the microphone properly: Place the microphone at an optimal distance from your mouth to avoid capturing excessive room sound. Experiment with different angles and distances to find the best placement that minimizes echo and feedback.
- Record a test sample: Start recording in your chosen recording software and speak at a normal volume. As you record, carefully listen for any signs of echo or feedback in the playback.
- Identify echo or feedback: Echo occurs when you hear a delayed repetition of your voice, while feedback is a high-pitched or ringing sound that occurs when sound from the speakers is picked up by the microphone and re-amplified. Both can be disruptive to the recording quality.
- Adjust microphone or speaker placement: If you detect echo or feedback during the test, try repositioning your microphone or speakers. Keep the microphone away from speakers or any reflective surfaces that can bounce sound back into the microphone.
- Use headphones for monitoring: Use headphones while recording to prevent the audio from being picked up by the microphone. This can help eliminate feedback caused by audio leakage between the speakers and the microphone.
- Check software settings: Ensure that your recording software is not set to monitor the input in real-time, as this can cause a feedback loop. Disable any monitoring or echo cancellation features that might interfere with the recording.
- Test with different audio sources: Record audio from various sources, including speaking, playing music, or using different instruments. Test different volume levels to ensure that the microphone can handle different sound sources without introducing echo or feedback.
By conducting thorough testing for echo or feedback, you can identify and resolve any issues that may affect the quality of your USB microphone recordings. Adjusting microphone and speaker placement, using headphones, and optimizing software settings are effective ways to minimize or eliminate echo and feedback for a more professional and pleasant audio recording experience.
Testing the Headphone Output
When using a USB microphone, it’s essential to test the headphone output to ensure optimal monitoring of your recordings. Here are the steps to follow when testing the headphone output:
- Connect headphones: Plug your headphones into the headphone output of your USB microphone. Ensure that the connection is secure.
- Enable headphone output: Check your recording software or device settings to ensure that the headphone output is enabled and set as the primary audio output for monitoring.
- Adjust headphone volume: Adjust the volume on your headphones to a comfortable level. Start with a lower volume and gradually increase it to avoid any sudden loud sounds.
- Monitor live input: Speak or make a sound into the microphone while monitoring the audio through your headphones. Confirm that you can hear the live input with minimal latency.
- Test playback: Play back a recorded audio file or a previous recording while listening through the headphone output. Pay attention to the clarity and accuracy of the audio playback.
- Check for distortion or anomalies: Listen for any distortion, crackling, or other anomalies in the audio playback. Monitor for any audio artifacts that may affect the quality of the sound.
- Test stereo imaging: Play a stereo audio source or a stereo recording to evaluate the headphone output’s stereo imaging capabilities. Ensure that the left and right audio channels are distinguishable and accurately represented.
- Assess frequency response: Use audio samples that cover a wide range of frequencies to assess the headphone output’s ability to reproduce different frequencies accurately. Listen for any noticeable imbalances or inconsistencies in the frequency response.
- Check for background noise: Ensure that the headphone output does not introduce or amplify background noise during monitoring. Listen for any unwanted hissing, buzzing, or static noises.
Testing the headphone output allows you to monitor your recordings with accurate and reliable audio playback. By ensuring that the headphone output is clear, distortion-free, and capable of accurately reproducing the audio, you can make informed decisions about your recordings and achieve high-quality results.
Final Thoughts
Testing your USB microphone is an important step in ensuring optimal performance and high-quality recordings. By following the testing procedures outlined in this guide, you can identify any issues and make necessary adjustments to improve the audio quality. Here are a few final thoughts to consider:
1. Regular testing: It’s important to periodically test your USB microphone to ensure that it continues to function properly over time. Factors like cable wear and tear or software updates can affect performance, so regular testing can help catch and resolve any emerging issues.
2. Know your microphone: Familiarize yourself with the features and capabilities of your specific USB microphone model. Understanding its recommended settings, frequency response, and any special features it offers can help you maximize its potential during testing and recording.
3. Experiment and adjust: During testing, don’t be afraid to experiment with microphone placement, software settings, and other variables. Small adjustments can make a big difference in the quality of your recordings, so take the time to fine-tune your setup based on the results of your tests.
4. Seek assistance if needed: If you encounter persistent issues or are unsure of how to address a problem, consider seeking assistance from the manufacturer’s support team. They can provide valuable advice and guidance specific to your USB microphone model.
Remember, testing your USB microphone is an ongoing process as your recording needs and environment may change. By regularly assessing its performance and making adjustments as needed, you can ensure that your USB microphone continues to deliver the best possible audio quality for your recordings.