Introduction
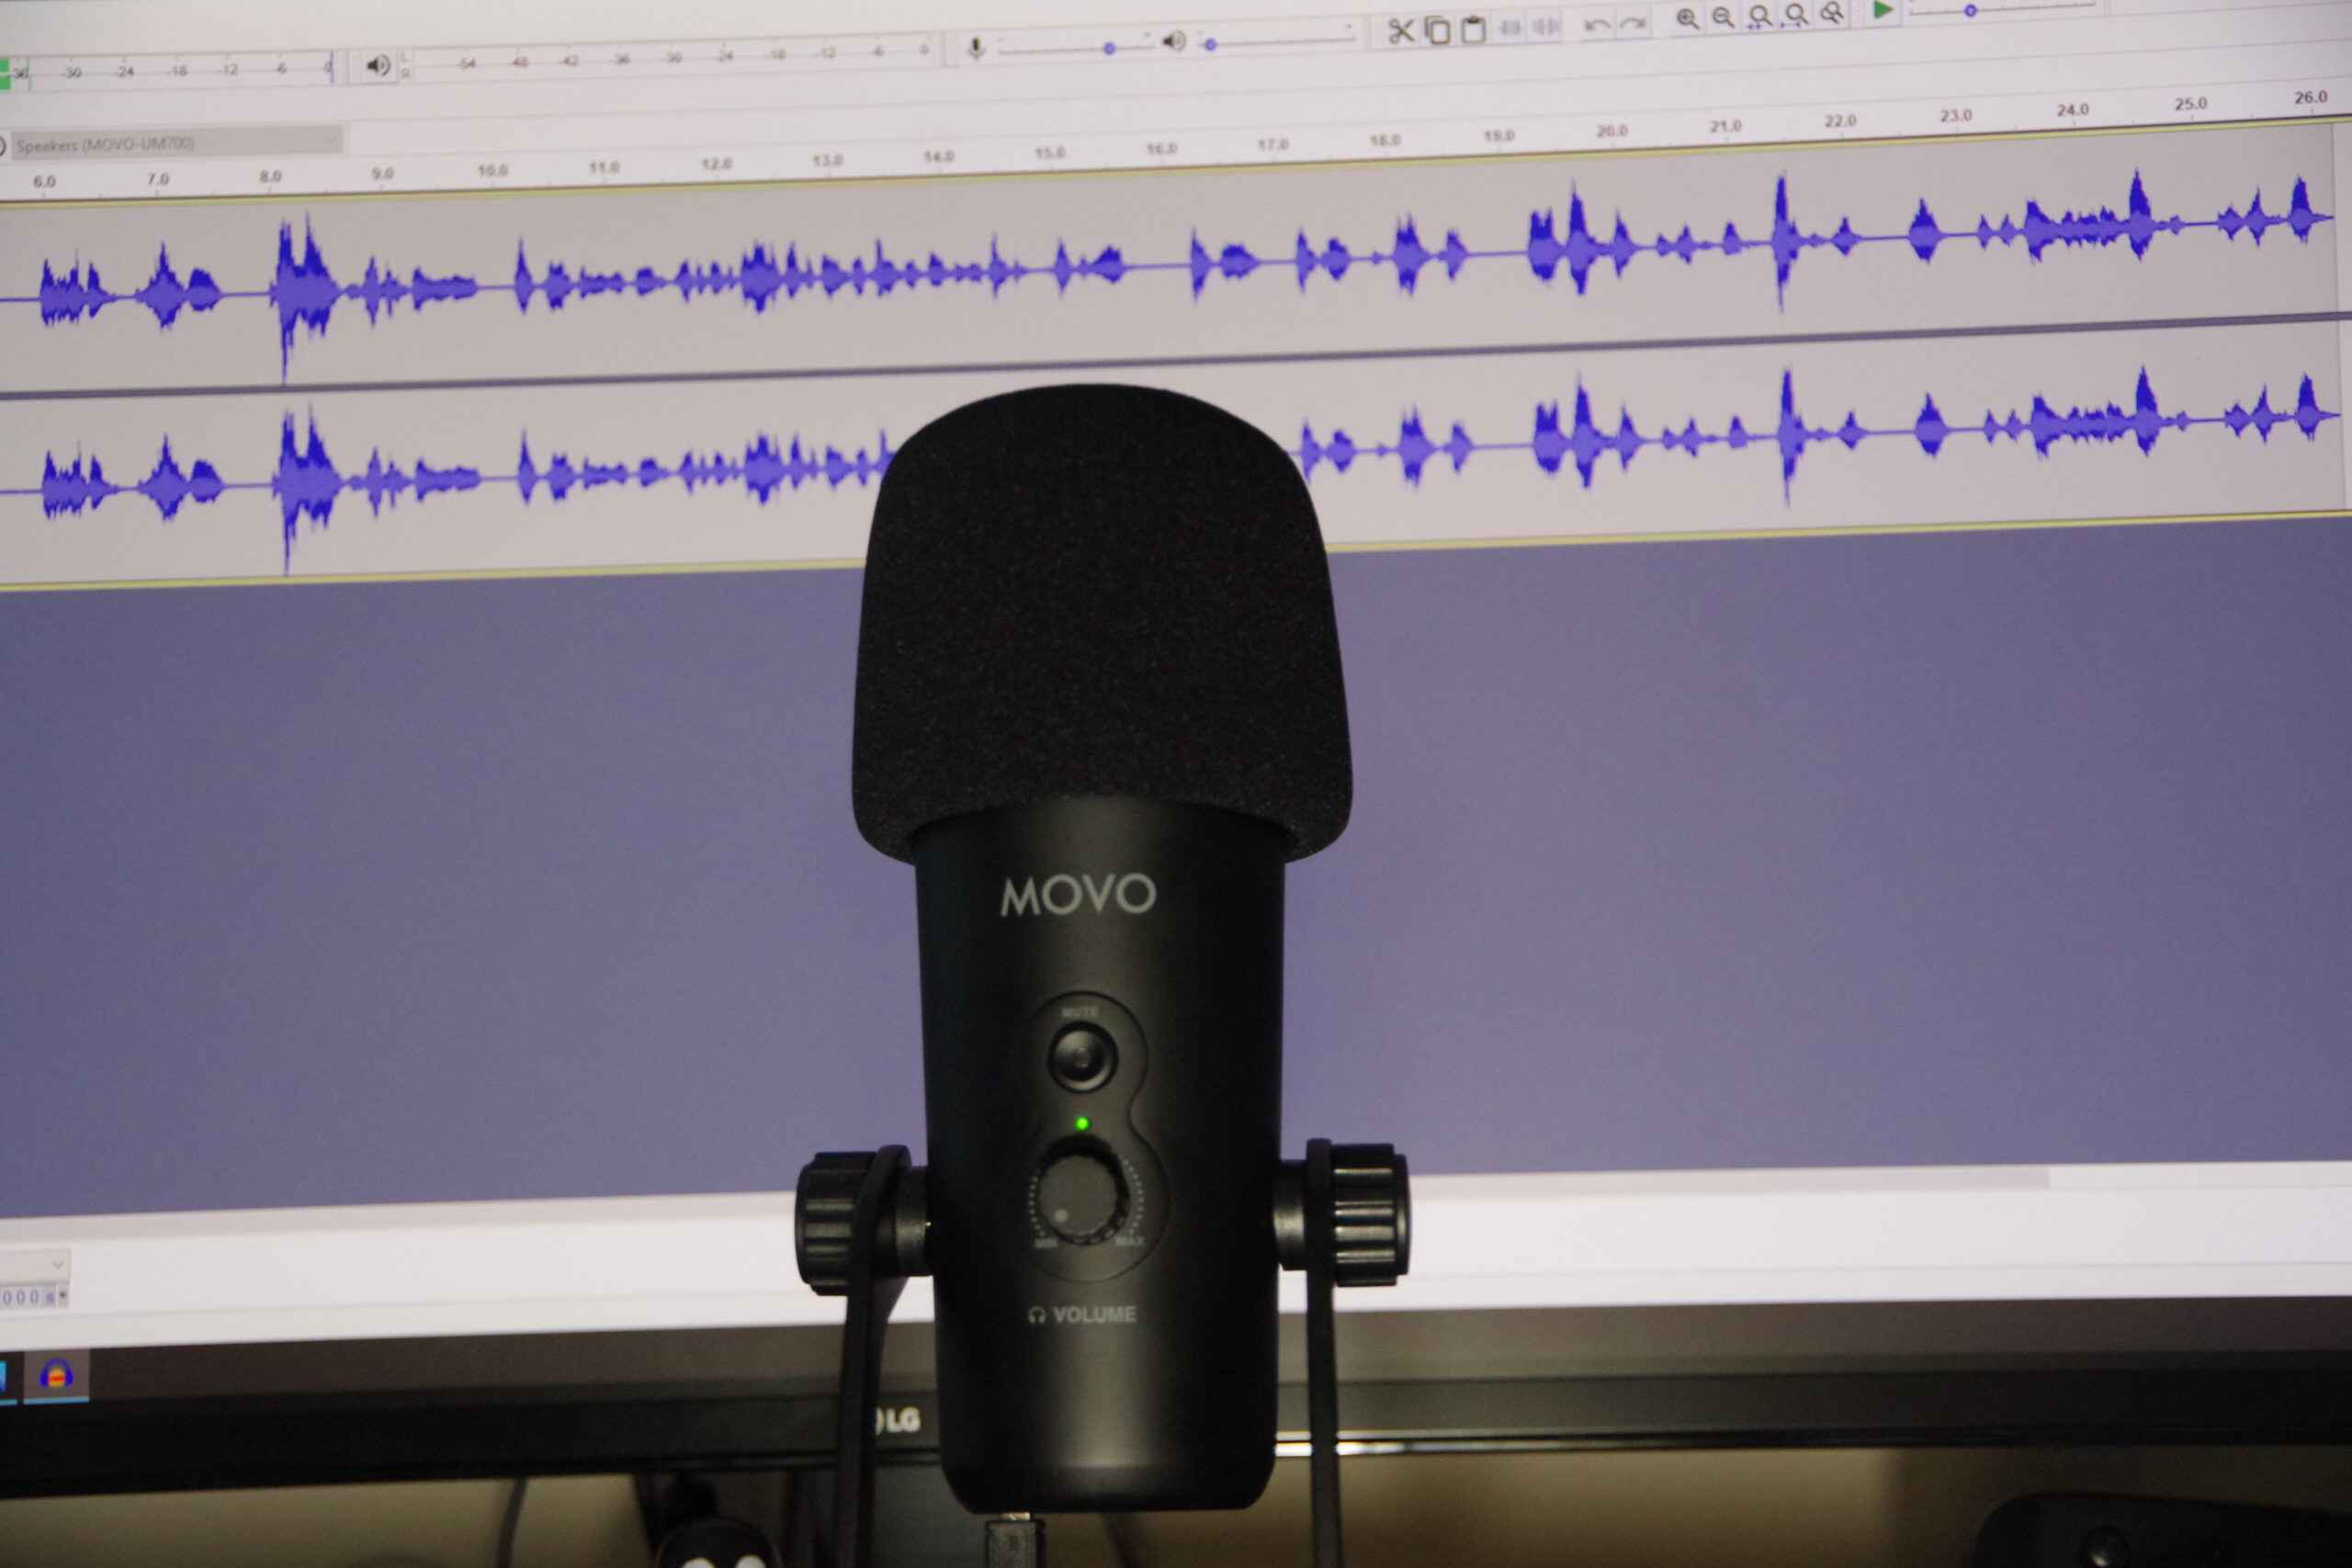
A USB microphone is a convenient and versatile tool for recording audio. Whether you are a podcaster, musician, voice actor, or simply want to improve the audio quality of your videos, a USB microphone provides a simple plug-and-play solution. With the rise of remote work and online content creation, the demand for USB microphones has increased, making them an essential tool in many people’s setups.
Using a USB microphone in Audacity, a popular open-source audio editing software, allows you to take advantage of its powerful features. From recording vocals to enhancing audio quality, Audacity provides a user-friendly interface for all your audio editing needs.
In this guide, we will walk you through the process of using a USB microphone in Audacity. We will start by helping you choose the right USB microphone for your needs. Then, we will guide you through the setup process and configuring Audacity to work seamlessly with your USB microphone. Additionally, we will cover adjusting sound levels, recording, editing, applying effects, and finally exporting and saving your audio projects.
Whether you are a beginner or have some experience with audio recording and editing, this guide will provide you with the knowledge and techniques to make the most out of your USB microphone in Audacity. So, let’s dive in and unlock the full potential of your audio recordings!
Choosing the Right USB Microphone
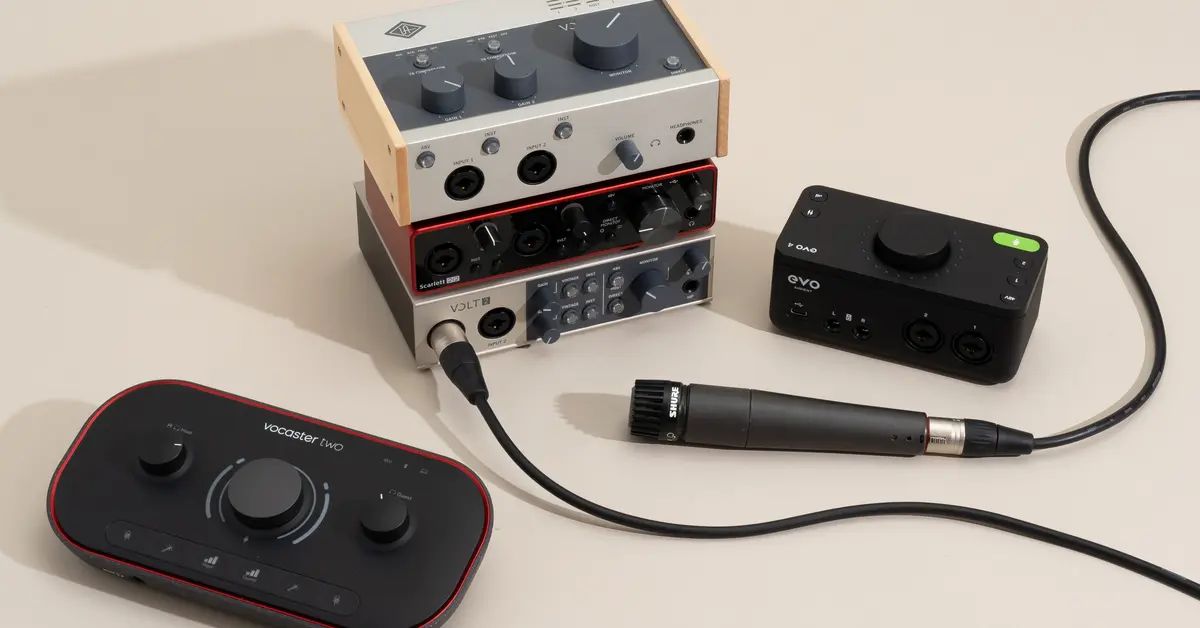
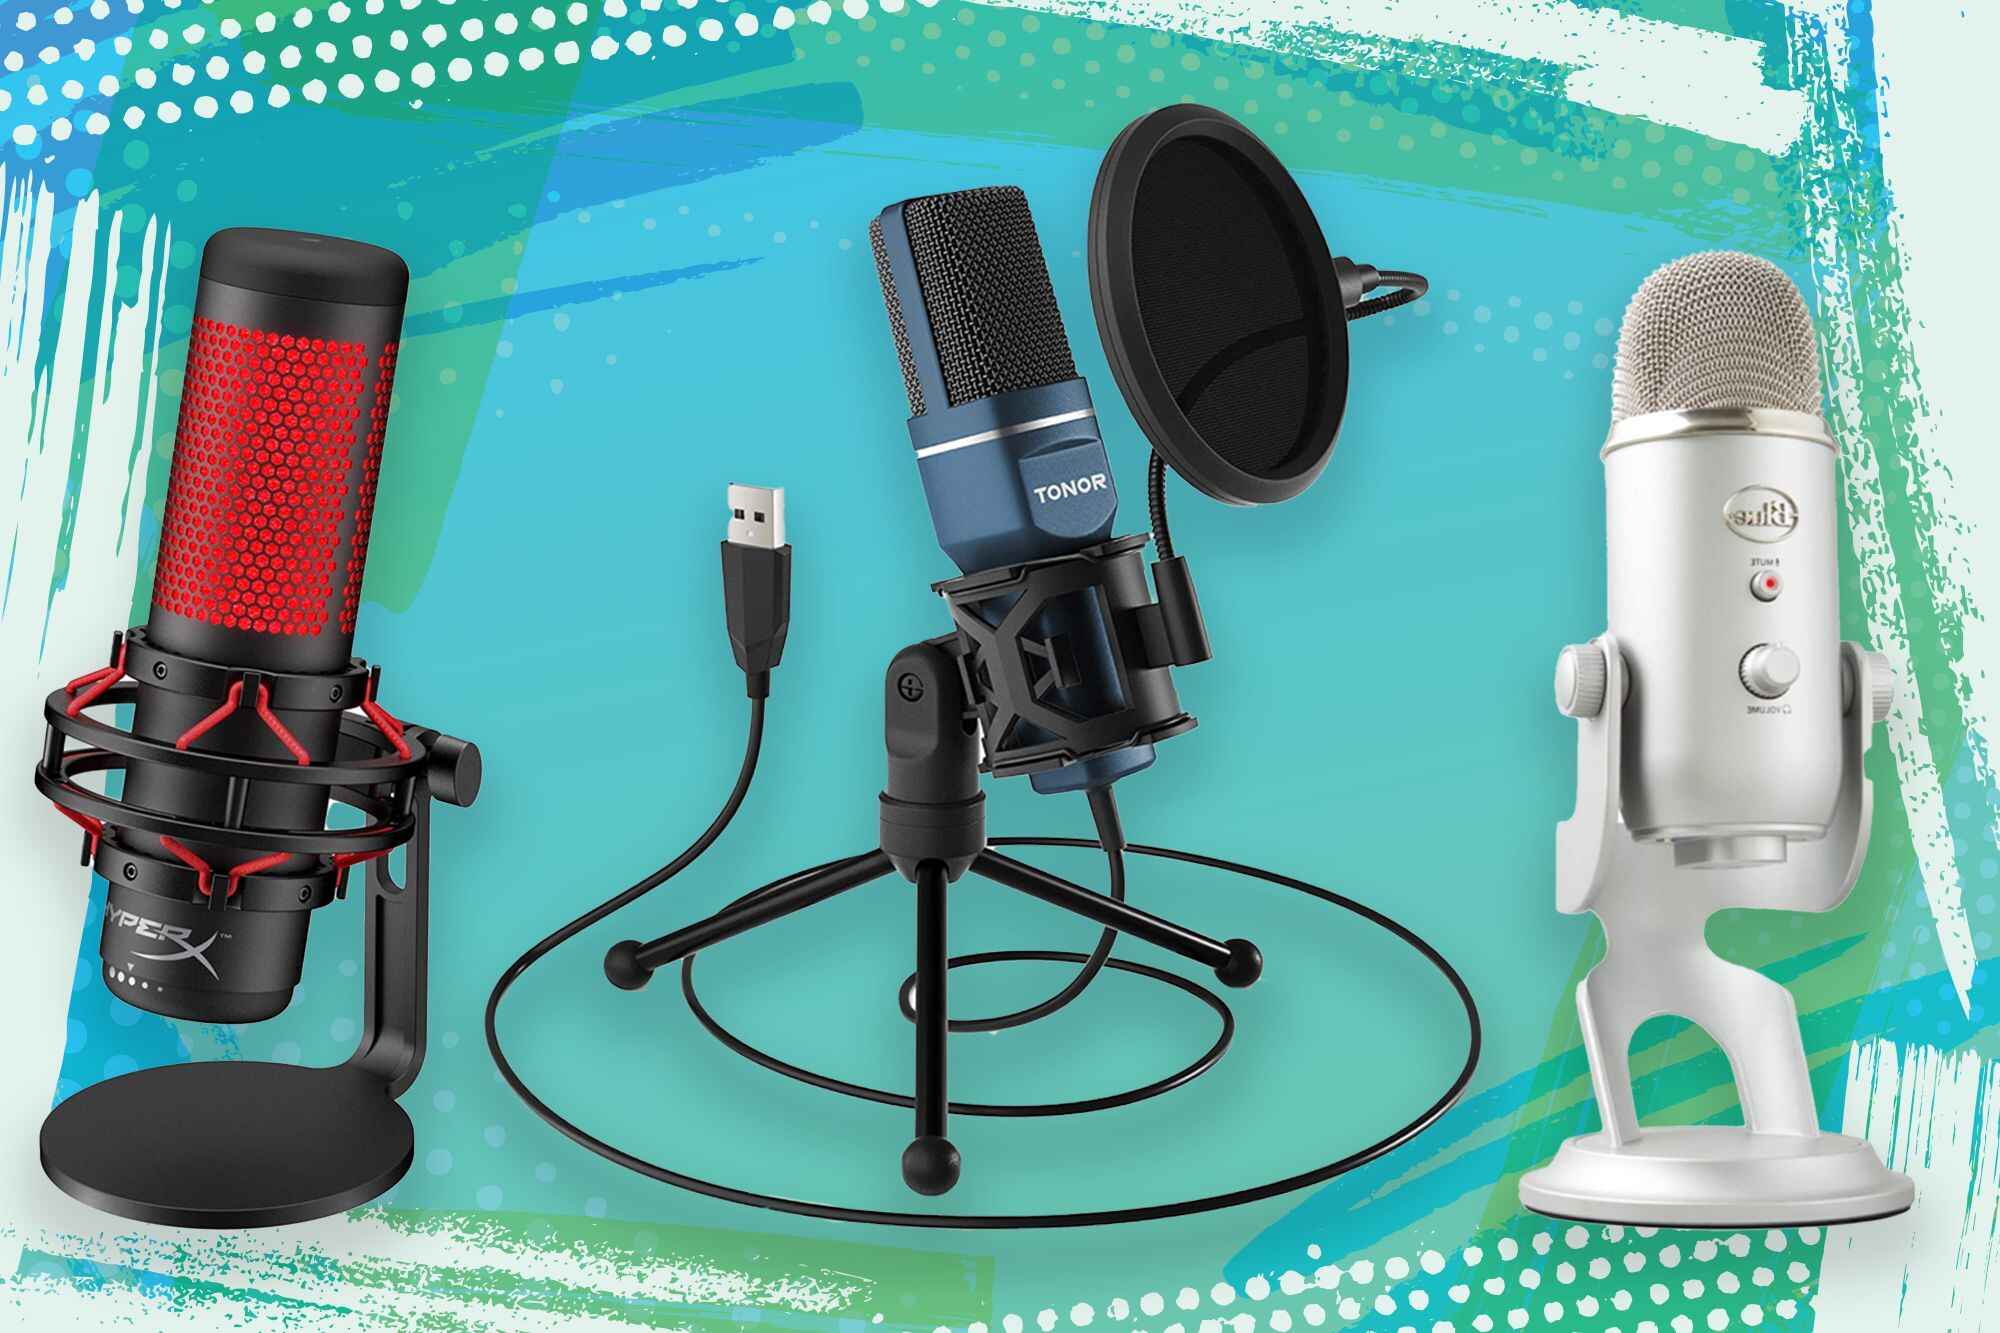
When it comes to selecting a USB microphone, there are several factors to consider to ensure you find the right one for your specific needs. Here are some key points to keep in mind:
1. Purpose: Determine how you plan to use the microphone. Are you primarily recording vocals, instruments, podcasts, or gaming commentary? Different microphones are optimized for specific applications, so it’s essential to choose one that suits your intended use.
2. Recording Environment: Consider the environment in which you will be recording. Do you have a dedicated studio space, or will you be recording in a less controlled environment? If background noise is a concern, look for microphones with good noise-canceling capabilities.
3. Budget: Set a budget that aligns with your requirements. USB microphones come in a range of price points, from budget-friendly options to more professional-grade models. While higher-end microphones may offer superior audio quality, there are excellent options available for various budgets.
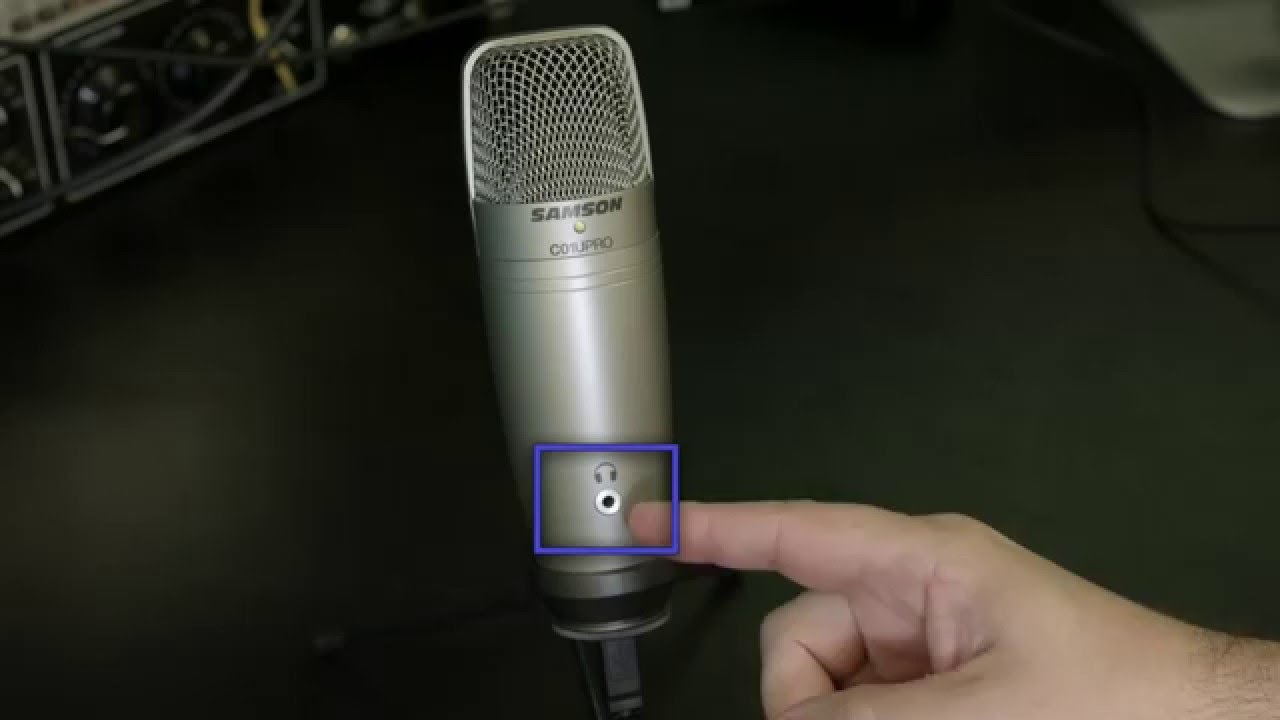
4. Features: Research the features offered by different USB microphones. Some include built-in headphone jacks for real-time monitoring, adjustable gain controls for volume adjustments, and mute buttons for convenient audio control. Consider which features are essential for your recording setup.
5. Reviews and Recommendations: Read reviews and seek recommendations from trusted sources or fellow content creators. People who have already used a particular USB microphone can provide valuable insights into its performance and suitability for different purposes.
6. Compatibility: Ensure that the USB microphone you choose is compatible with your operating system. Most USB microphones work seamlessly with both Windows and Mac systems, but it’s always a good idea to double-check before making a purchase.
By considering these factors, you can narrow down your options and find the perfect USB microphone for your needs. Remember, finding the right microphone is crucial for achieving professional-quality audio recordings in Audacity.
Setting up Your USB Microphone
Setting up your USB microphone correctly is essential to ensure optimal performance. Follow these steps to get your USB microphone up and running:
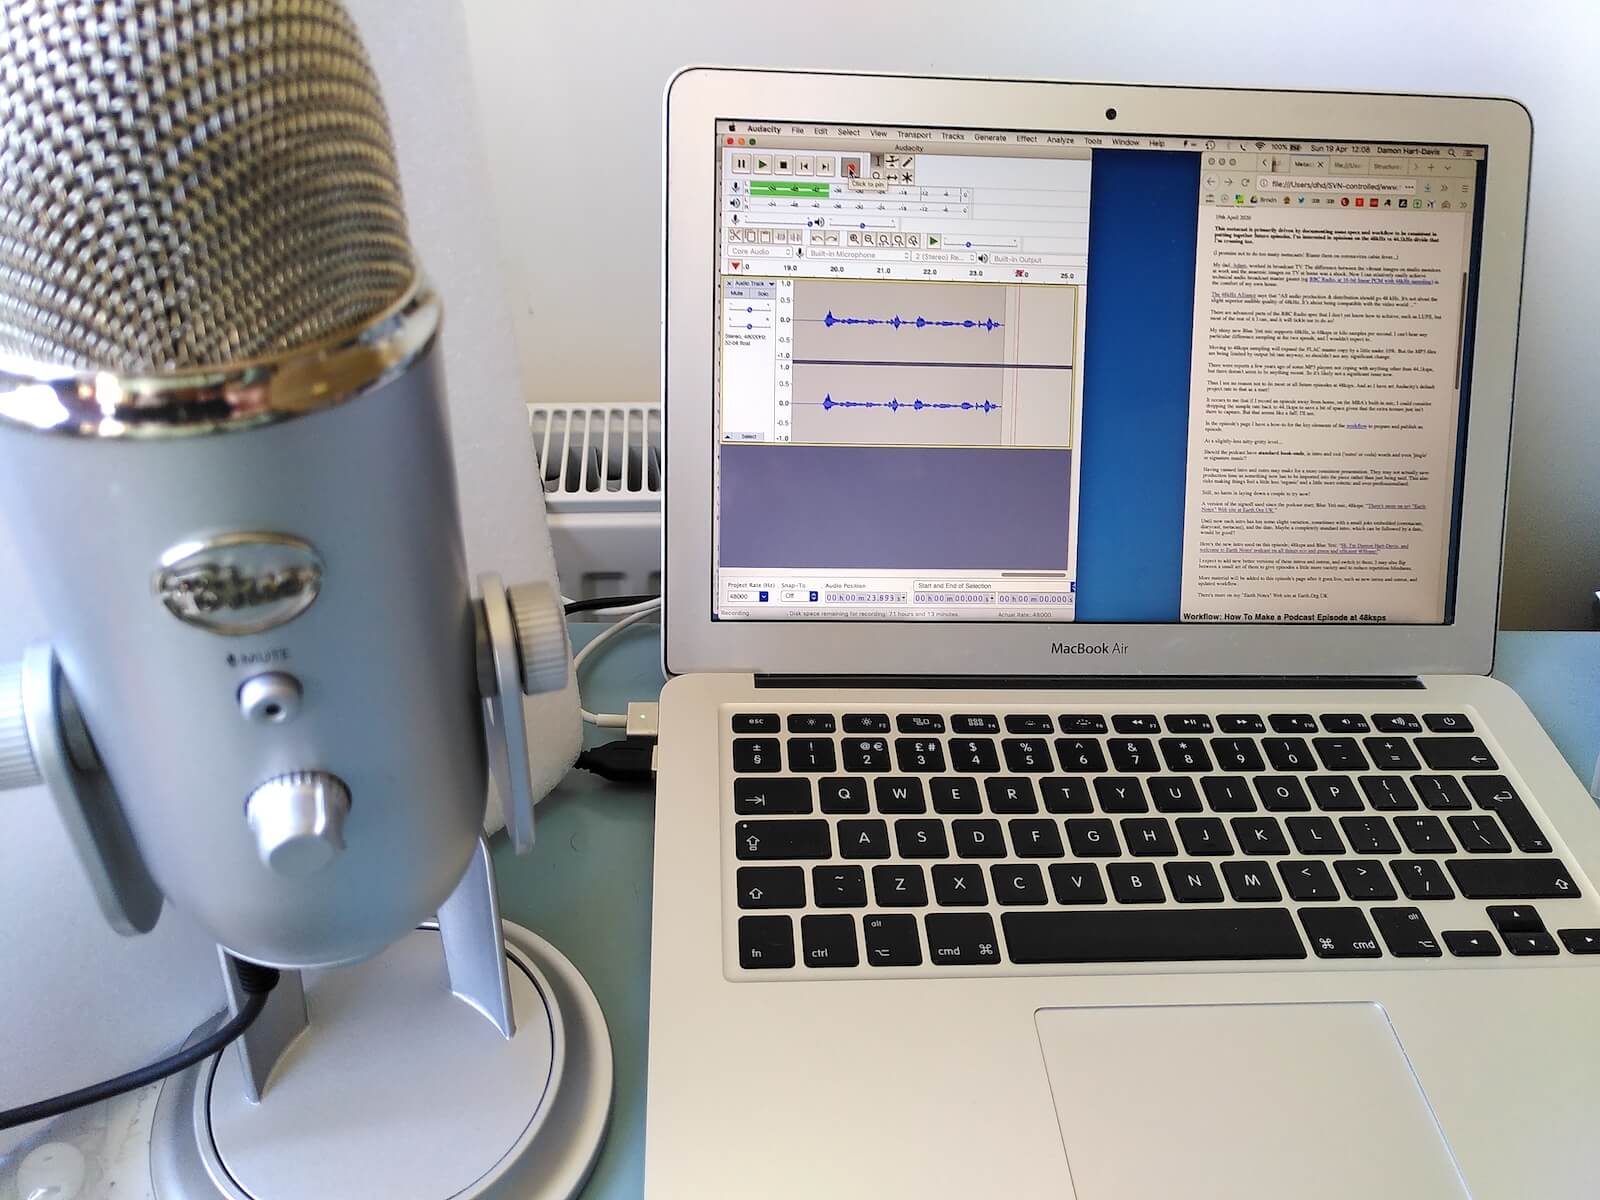
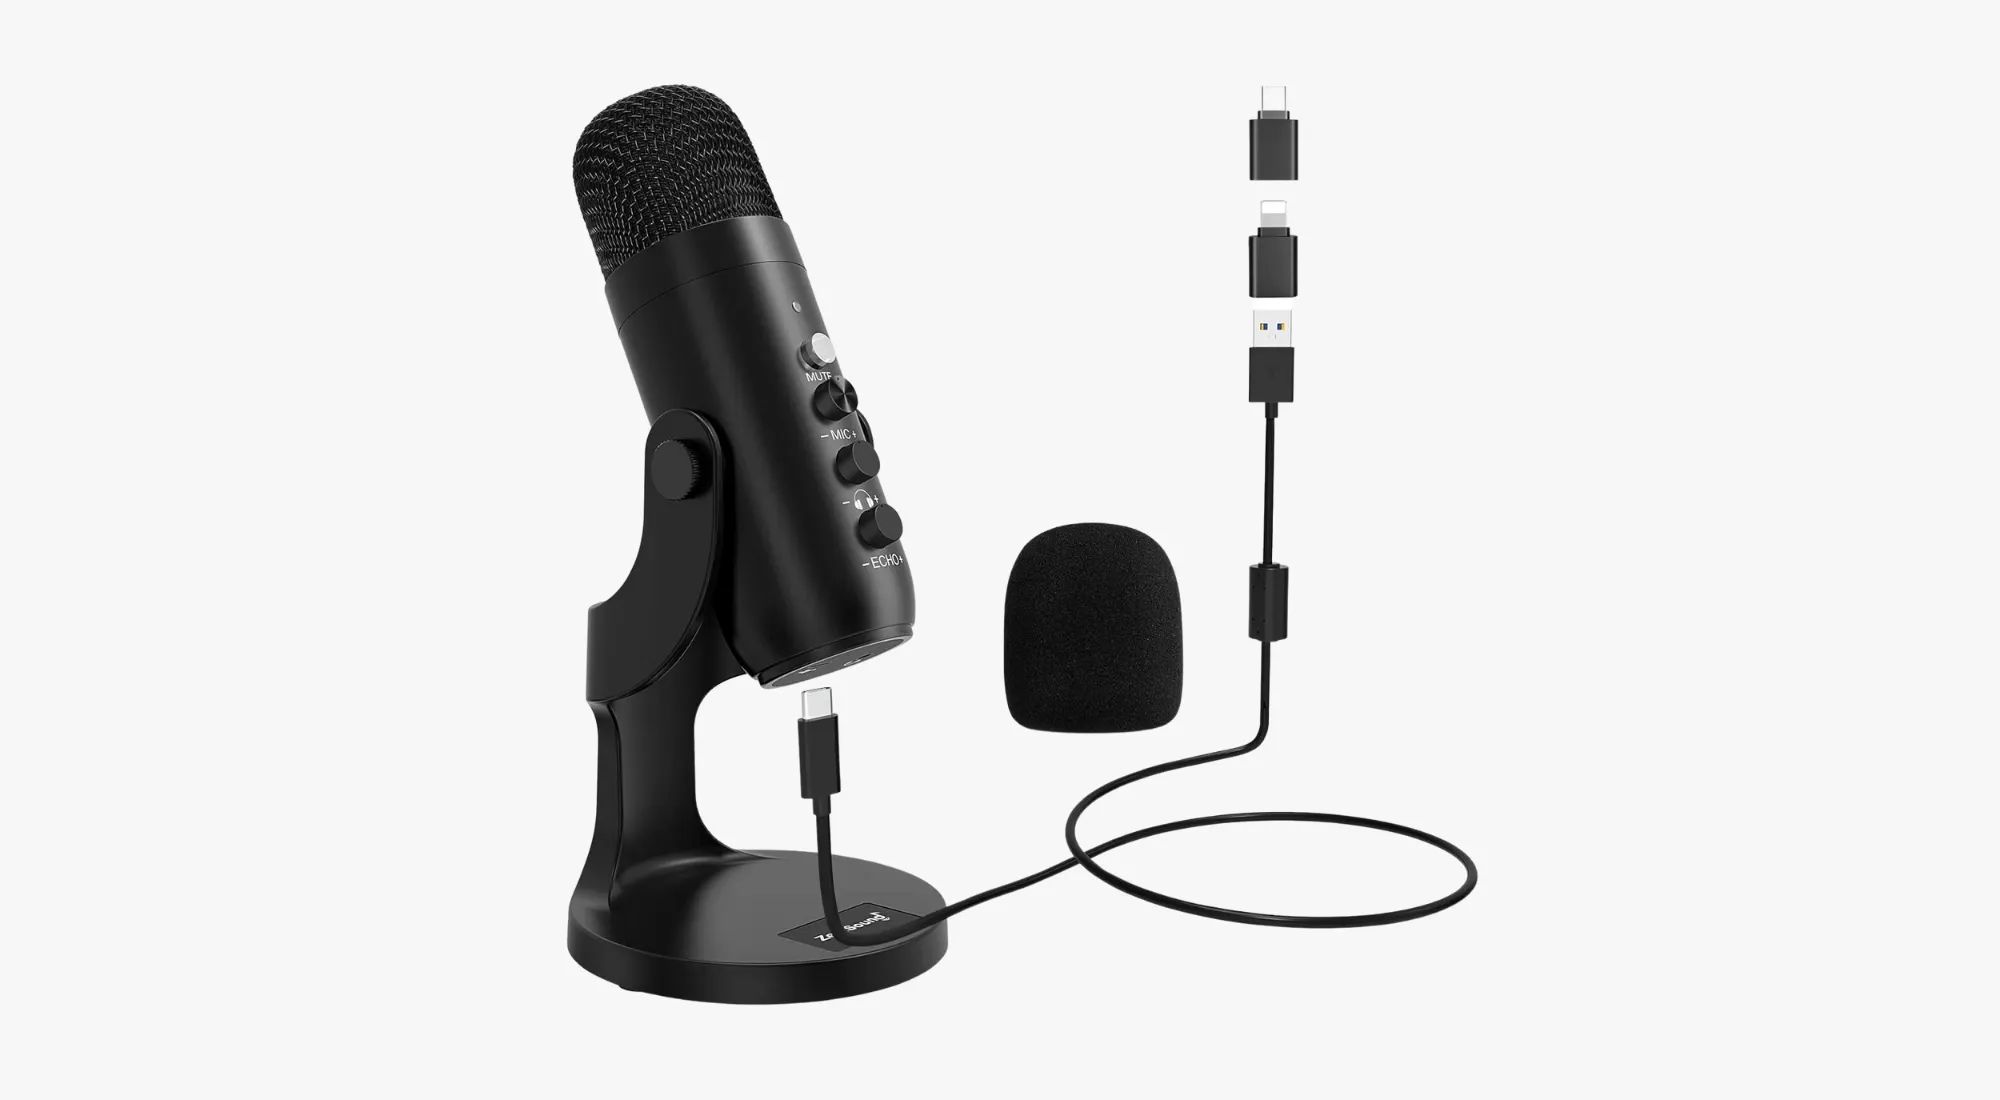
1. Plug in the Microphone: Start by connecting the USB microphone to an available USB port on your computer. The microphone should be automatically recognized by your operating system.
2. Check the Input/Output Settings: Open your computer’s sound settings and verify that the USB microphone is selected as the input device. You may need to access the sound settings through the control panel or system preferences, depending on your operating system.
3. Adjust the Microphone Position: Position the USB microphone in a way that allows for optimal sound capture. Consider using a microphone stand or boom arm to minimize vibrations and ensure the microphone is at an appropriate distance from your mouth or the sound source.
4. Test the Microphone: Open Audacity or any other audio recording software and create a new project. Press the record button and speak into the microphone to test the audio input. Monitor the recording levels to ensure they are within an acceptable range and adjust the microphone gain if necessary.
5. Monitor with Headphones: If your USB microphone has a built-in headphone jack, plug in your headphones and check the audio quality in real-time. This allows you to monitor your recordings and make sure the sound is clear and free of any unwanted noise.
6. Position the Microphone: Experiment with different microphone positions to find the best sound quality. If you’re recording vocals, try different angles and distances to capture the desired tone and clarity. For instrument recording, position the microphone based on the instrument’s sound projection and desired sound characteristics.
By following these steps, you can properly set up your USB microphone for optimal performance in Audacity. It is crucial to ensure that the microphone is connected correctly and positioned appropriately to achieve the best audio quality.
Configuring Audacity for Your USB Microphone
Configuring Audacity to work seamlessly with your USB microphone is essential for capturing and editing high-quality audio. Follow these steps to configure Audacity:
1. Select the Input Device: Launch Audacity and click on the dropdown menu next to the microphone icon on the toolbar. Choose your USB microphone from the list of available input devices.
2. Set the Recording Channels: Depending on your USB microphone and recording setup, you may need to adjust the recording channels. To do this, click on the dropdown menu next to the microphone icon again and select the appropriate number of channels (mono or stereo) for your recording needs.
3. Adjust the Recording Levels: Before recording, it’s important to ensure that the recording levels are set correctly. Click on the Input Level slider in Audacity to adjust the input volume. Aim for an optimal level that prevents clipping (audio distortion) while still capturing a strong and clear signal.
4. Enable Monitoring: To monitor your recordings in real-time, enable the audio monitoring feature in Audacity. Click on the microphone icon on the toolbar to toggle the monitoring on or off. This allows you to hear your input signal while recording.
5. Test and Adjust Settings: Perform a test recording to ensure that your USB microphone is working properly in Audacity. Pay attention to the audio quality, levels, and any potential issues such as background noise. Adjust the settings as necessary to achieve the desired results.
6. Save Your Configuration: Once you have configured Audacity for your USB microphone, save the configuration as a preset. This allows you to quickly load the settings for future recording sessions without having to reconfigure everything from scratch.
By following these steps, you can configure Audacity to work seamlessly with your USB microphone. Customizing the input device, recording channels, levels, and monitoring options ensures that you capture the best possible audio quality and have a smooth editing experience in Audacity.
Adjusting Sound Levels
Properly adjusting sound levels is crucial for achieving balanced audio and preventing any issues such as clipping or low volume. Follow these steps to adjust the sound levels in Audacity:
1. Normalize Audio: Start by normalizing your audio tracks. This process ensures that the audio peaks are brought to a consistent level, resulting in a more balanced sound. To normalize an audio track in Audacity, select the desired track and navigate to the “Effect” menu. Choose “Normalize” and adjust the settings as needed.
2. Use the Amplify Effect: The Amplify effect in Audacity allows you to adjust the volume of specific sections within an audio track. This can be helpful for boosting quieter parts or reducing the volume of louder sections. To apply the Amplify effect, select the section you want to adjust and go to the “Effect” menu. Choose “Amplify” and modify the gain accordingly.
3. Utilize the Compressor: The Compressor effect is useful for controlling the dynamic range of an audio track. It helps to even out variations in volume and maximize the overall loudness. To apply the Compressor effect, select the track or section, navigate to the “Effect” menu, and choose “Compressor.” Adjust the threshold, ratio, and other settings to achieve the desired compression effect.
4. Reduce Noise: If your recording has background noise or unwanted hiss, you can use the noise reduction tools in Audacity to improve the overall sound quality. Select a portion of the audio that contains only the noise, go to the “Effect” menu, and select “Noise Reduction.” Follow the on-screen instructions to perform noise reduction and minimize any distractions caused by unwanted noise.
5. Monitor Levels: As you adjust sound levels, it’s essential to monitor the audio levels to prevent any clipping or distortion. Keep an eye on the input and output meters in Audacity while making adjustments. Aim for a healthy signal level that is neither too low nor too high. If you notice clipping, lower the input gain or use the Amplify effect to reduce the volume accordingly.
6. Test and Fine-Tune: After adjusting sound levels, it’s crucial to test the audio and make any necessary fine-tuning adjustments. Listen to your recording through headphones or quality speakers to ensure that the volume is balanced and there are no noticeable issues with the sound quality.
By following these steps, you can effectively adjust the sound levels in Audacity to achieve a well-balanced and professional-sounding audio recording. Take the time to experiment with different effects and settings to find the best configuration for your specific needs.
Recording with Your USB Microphone
Recording with your USB microphone in Audacity is a straightforward process. Here are the steps to get started:
1. Set up a New Project: Launch Audacity and create a new project. You can do this by going to the “File” menu and selecting “New” or using the shortcut Ctrl+N (Cmd+N for Mac).
2. Select the USB Microphone: In Audacity, click on the microphone icon on the toolbar and choose your USB microphone as the input device. Ensure that the microphone is properly connected and recognized by your computer.
3. Check Levels and Monitoring: Verify that the input levels are set correctly by monitoring the meters in Audacity. Adjust the microphone gain or input levels to achieve a clear and balanced signal. Enable monitoring to hear the audio in real-time through your headphones, if your USB microphone supports it.
4. Position the Microphone: Position your USB microphone correctly for optimal sound capture. Consider factors such as distance, angle, and any necessary pop filter or shock-mount attachments. Experiment with different positions to find the best sound quality for your recording.
5. Start Recording: Once your USB microphone is properly set up and positioned, you are ready to start recording. Click on the red record button in Audacity to begin capturing the audio. Speak or perform into the microphone according to your desired recording.
6. Monitor the Recording: Keep an eye on the meters in Audacity as you record to ensure that the levels are within an acceptable range. Avoid clipping, which can occur when the input levels are too high, resulting in distorted audio. Make adjustments to the microphone gain if necessary.
7. Pause and Resume: If you need to pause the recording temporarily, click on the yellow pause button in Audacity. To resume recording, click on the red record button again. This allows you to have breaks or make edits during your recording session without creating multiple separate audio files.
8. Stop and Save the Recording: When you have finished recording, click on the square stop button in Audacity. Your audio recording will be automatically saved within your project. Remember to save your project separately to preserve your work.
By following these steps, you can easily record with your USB microphone in Audacity. Take the time to properly set up and monitor your recording to ensure the best possible audio quality. With practice, you will become more comfortable and proficient in capturing excellent recordings for your projects.
Editing Your Audio in Audacity
Once you have recorded your audio using your USB microphone in Audacity, you can proceed to edit and refine it to achieve the desired outcome. Here are the steps to effectively edit your audio:
1. Import Audio: Open your recorded audio file or import it into Audacity by going to the “File” menu and selecting “Import” or using the shortcut Ctrl+Shift+I (Cmd+Shift+I for Mac). Locate the file on your computer and import it into your Audacity project.
2. Split and Trim: Use the selection tool in Audacity to split your audio into different sections and trim out any unwanted parts. Simply click and drag to select a specific portion of the waveform, and then go to the “Edit” menu and choose “Split” or “Trim” to remove or separate the selected portion.
3. Merge and Combine: If you have multiple audio tracks or sections that you want to merge together, select the desired tracks and go to the “Tracks” menu. Choose “Mix” and then “Mix and Render” to merge them into a single track.
4. Apply Fade In and Fade Out: To create smooth transitions at the beginning and end of your audio, apply fade-in and fade-out effects. Select the desired portion of the waveform, go to the “Effect” menu, and choose “Fade In” or “Fade Out” to gradually increase or decrease the volume of the selected section.
5. Remove Noise: If you have background noise or unwanted hiss in your recording, use Audacity’s noise reduction tools. Select a portion of the audio containing only the noise, go to the “Effect” menu, and choose “Noise Reduction.” Follow the instructions and adjust the settings to reduce the noise without affecting the desired audio.
6. Adjust Equalization: Enhance the overall sound quality by adjusting the equalization (EQ) of your audio. Use the EQ controls in Audacity to boost or cut specific frequency ranges to achieve the desired tonal balance. Experiment with different EQ settings to find the ideal sound for your audio.
7. Add Crossfades: If you have overlapping sections of audio that need to transition smoothly, apply crossfades. Select the overlapping portions, go to the “Edit” menu, and choose “Crossfade Tracks.” This creates a gradual fade out/in between the two sections for a seamless transition.
8. Preview and Fine-Tune: As you edit your audio, listen to the changes in real-time. Use the playback controls in Audacity to preview your edits and make any necessary refinements. Pay attention to the overall flow, clarity, and impact of your audio.
By following these steps, you can effectively edit your audio recordings in Audacity to refine and enhance the overall sound quality. Take your time to experiment with different editing techniques and tools to achieve the desired results for your projects.
Applying Effects and Filters in Audacity
Audacity offers a wide range of effects and filters that can help enhance and transform your audio recordings. Whether you want to add creative effects or improve the overall sound quality, here are the steps to apply effects and filters in Audacity:
1. Select the Audio: Choose the portion of the audio to which you want to apply an effect or filter. You can select a specific section by clicking and dragging on the waveform or select the entire track by clicking on the label to the left of the waveform.
2. Access the Effects Menu: Go to the “Effect” menu in Audacity to explore the various effects and filters available. The menu contains a wide array of options, including reverb, echo, equalization, compression, chorus, and many more.
3. Apply the Effect or Filter: Choose the desired effect or filter from the menu and click on it. A dialog box or window will appear, allowing you to adjust the settings and parameters of the effect. Make the desired changes and click “OK” to apply the effect to your selected audio.
4. Preview the Effect: After applying an effect, use the playback controls in Audacity to preview the changed audio. This allows you to hear the effect in action and make any necessary adjustments to the settings or parameters to achieve the desired result.
5. Chain Effects: Audacity allows you to chain multiple effects together to create unique sounds and achieve complex audio processing. To chain effects, simply apply one effect after another to the audio track, ensuring that you preview and fine-tune each effect to your liking.
6. Save Effect Presets: If you frequently use a specific combination of settings for an effect, you can save it as a preset. This allows you to easily apply the same effect settings to other audio tracks or projects. To save a preset, click on the “Save” or “Save as Preset” button in the effect’s dialog box.
7. Remove or Modify Effects: If you want to remove or modify an effect that you have applied, select the affected portion of the audio track and go to the “Effect” menu. Choose the “Manage” option to access the list of effects and filters applied. From there, you can remove or modify the effects as needed.
By following these steps, you can effectively apply various effects and filters to your audio recordings in Audacity. Experiment with different options to unleash your creativity and enhance the quality of your audio projects.
Exporting and Saving Your Audio
Once you have finished editing your audio in Audacity, the next step is to export and save it in a desired format. Here’s how you can export and save your audio:
1. Select the Audio: If you want to export the entire audio track, make sure no portion of the track is selected. If you only want to export a specific section, select that portion by clicking and dragging on the waveform.
2. Choose the Export Format: Go to the “File” menu in Audacity and select “Export” or use the shortcut Ctrl+Shift+E (Cmd+Shift+E for Mac). Choose the desired export format from the list, such as MP3, WAV, FLAC, or OGG.
3. Set the Export Options: After selecting the export format, a dialog box will appear with various options. Set the desired options such as the file name, location, and quality settings. You can also add metadata and tags to your exported audio file.
4. Apply any Necessary Conversion: If the export format you selected is different from the project’s native format, Audacity might prompt you to convert the audio to the target format. Follow the on-screen prompts to convert the audio, if required.
5. Preview the Exported Audio: Once you’ve selected the export options, you can choose to preview the exported audio file. This allows you to listen to the audio and make any last-minute adjustments or changes, if necessary.
6. Export and Save: Click the “Save” or “Export” button to begin the exporting process. Audacity will process the audio, apply the selected settings, and save the exported file to the location you specified.
7. Check the Exported File: After the export is complete, navigate to the location where you saved the file and verify that it plays back correctly and meets your expectations. Listen to the exported audio in your preferred media player to ensure the quality and integrity of the file.
8. Save Your Audacity Project: It’s important to note that exporting and saving the audio as a separate file does not automatically save any changes to your Audacity project file. To preserve your editing work and allow future modifications, regularly save your Audacity project using the “Save Project” or “Save Project As” option in the “File” menu.
By following these steps, you can successfully export and save your edited audio from Audacity. Remember to choose the appropriate export settings and locations to ensure compatibility and accessibility of your audio files.