Introduction
Welcome to the world of USB microphones, where the power of recording high-quality audio is just a plug away. USB microphones have become increasingly popular among musicians and content creators due to their convenience and ease of use. Whether you’re a budding musician, a podcaster, or simply looking to enhance your audio quality, a USB microphone can be a valuable tool in your arsenal.
Unlike traditional microphones that require additional equipment and complex setup, USB microphones are designed to be plug-and-play devices. This means you can quickly connect them to your computer and start recording or playing music without the need for an audio interface or other specialized equipment.
In this article, we will explore how you can play music through a USB microphone, unlocking a world of possibilities for your musical endeavors. We will cover everything from setting up your USB microphone to configuring the necessary software and connecting it to your audio source. So whether you’re a musician looking to jam along with your favorite tracks or a content creator in need of high-quality audio playback, this guide is for you.
Before we dive into the technical aspects, it’s important to note that the specific steps and settings may vary depending on your specific USB microphone model and the software you are using. However, the general principles and concepts discussed in this article should apply to most USB microphones and software applications.
Now, let’s get started on this journey of playing music through a USB microphone and unlock the endless possibilities that lie ahead.
What is a USB Microphone?
A USB microphone is a type of microphone that connects directly to a computer or other USB-enabled device through a USB port. Unlike traditional microphones that require additional audio interfaces or mixers to connect to a computer, USB microphones simplify the setup process by integrating the necessary audio conversion and preamp circuitry directly into the microphone housing.
USB microphones are designed to be plug-and-play devices, which means they can be easily connected to a computer without the need for complicated setup or additional equipment. They are equipped with an onboard analog-to-digital converter (ADC) that converts the analog audio signals captured by the microphone into digital signals that can be processed and recorded by the computer.
One of the major advantages of USB microphones is their versatility and compatibility. They work seamlessly with a wide range of devices, including desktop computers, laptops, tablets, and even some smartphones. This makes them an excellent choice for musicians, podcasters, voiceover artists, streamers, and anyone else who needs high-quality audio recording or playback.
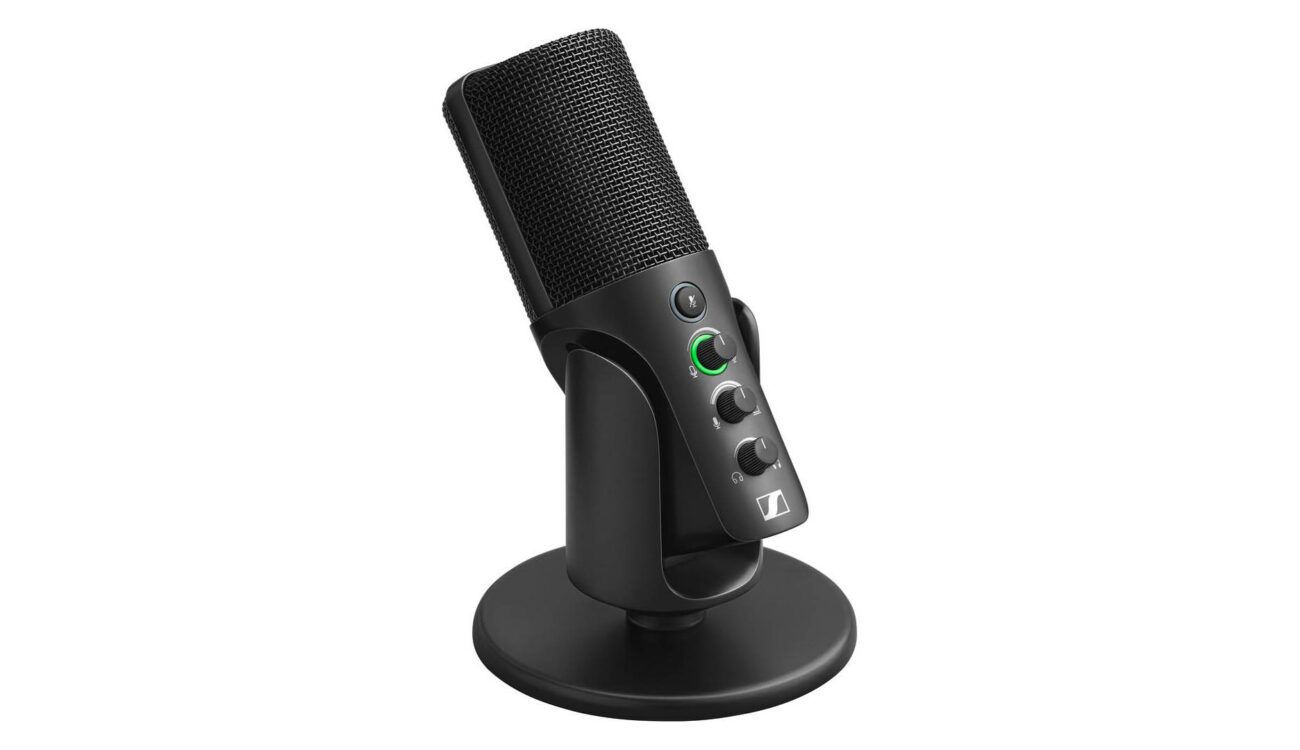
USB microphones come in various shapes and sizes, ranging from small handheld microphones to larger condenser microphones with built-in features like adjustable gain control, headphone jacks, and mute buttons. They offer a convenient and cost-effective solution for recording vocals, instruments, and other audio sources, without the need for complex audio setups or expensive studio equipment.
Additionally, USB microphones often provide better audio quality compared to the built-in microphones found on many computers and laptops. They are designed to capture sound with greater accuracy and clarity, resulting in professional-grade audio recordings.
It’s worth noting that while USB microphones are excellent for recording and playing music, they may not always be the best option for live performances or professional studio recording sessions where more advanced audio equipment may be required. However, for home recording, podcasting, streaming, and other similar applications, USB microphones offer a convenient and cost-effective solution that delivers impressive results.
Now that we understand what USB microphones are and their many advantages, let’s explore how to set up and play music through a USB microphone.
Setting up your USB Microphone
Setting up your USB microphone is a straightforward process that requires minimal effort. Here’s a step-by-step guide to help you get started:
- Unbox and inspect your USB microphone: Carefully remove your USB microphone from its packaging and take a moment to inspect it for any visible damage. Ensure that all the necessary components, such as the microphone itself, the USB cable, and any accessories, are present.
- Find a suitable location: Determine where you plan to place your USB microphone. Consider factors such as stability, accessibility, and minimizing any background noise or interference that could affect the audio quality.
- Connect the USB cable: Take the USB cable provided with your microphone and plug one end into the USB port on the microphone itself. Then, connect the other end of the cable into an available USB port on your computer. Make sure the connection is secure.
- Wait for the drivers to install: In most cases, once you connect your USB microphone to your computer, the necessary drivers will automatically install. However, if your computer prompts you to install drivers or software, follow the on-screen instructions and allow the installation to complete.
- Check the audio settings: Open your computer’s audio settings and make sure the USB microphone is recognized as the default recording device. Depending on your operating system, you can usually access this by right-clicking on the speaker icon in the taskbar and selecting “Recording devices” or a similar option.
- Test your microphone: Open a software application that allows audio recording, such as Audacity or GarageBand. Select the USB microphone as the input device and start recording. Speak or make some noise into the microphone to ensure that it is functioning correctly and that the audio levels are picking up sound.
Once you have successfully set up your USB microphone, you’re ready to start using it to play music. Whether you want to record vocals, capture instruments, or simply enjoy high-quality audio playback, your USB microphone has you covered.
Keep in mind that these steps may vary slightly depending on the specific USB microphone model and the software you are using. Always refer to the manufacturer’s instructions for any specific setup guidelines or troubleshooting steps.
Now that your USB microphone is set up, let’s move on to the next step – connecting it to your computer and configuring the necessary software settings.
Connecting your USB Microphone to Your Computer
Now that you have successfully set up your USB microphone, the next step is to connect it to your computer. Here’s a step-by-step guide to help you with the process:
- Locate an available USB port: Identify an available USB port on your computer where you can connect your USB microphone. Most computers have multiple USB ports located either on the front or back panel.
- Plug in the USB cable: Take the USB end of the cable attached to your USB microphone and insert it into the available USB port on your computer. Make sure the connection is secure.
- Wait for the computer to recognize the microphone: Once you connect the USB microphone to your computer, it will automatically be recognized by your operating system. Depending on your computer’s settings, you may hear a notification sound or see a pop-up message indicating that a new device has been connected.
- Check the audio settings: Open the audio settings on your computer to ensure that the USB microphone is selected as the default recording device. You can usually access the audio settings by right-clicking on the speaker icon in the taskbar and selecting “Recording devices” or a similar option.
- Test the microphone: Open an audio recording software or any application that uses the microphone. Select the USB microphone as the input device and record a sample to confirm that it is functioning correctly. Speak or make some noise into the microphone, and check the audio levels to ensure that sound is being picked up properly.
It’s important to note that some USB microphones may have additional features, such as headphone jacks or volume controls. If your USB microphone includes these features, you can connect your headphones to the headphone jack for real-time monitoring or adjust the volume levels directly on the microphone.
Remember that every USB microphone model and computer operating system may have slight variations in the connection process. Always refer to the manufacturer’s instructions for any specific guidelines or troubleshooting steps related to your USB microphone.
Now that your USB microphone is successfully connected to your computer, we can move on to the next step – configuring the software settings.
Configuring Your USB Microphone Settings
Once you have connected your USB microphone to your computer, it’s important to configure the settings to ensure optimal performance. Here’s a step-by-step guide to help you with the configuration process:
- Open your computer’s audio settings: Access the audio settings on your computer by right-clicking on the speaker icon in the taskbar and selecting “Recording devices” or a similar option. This will open the recording devices settings window.
- Select your USB microphone as the default device: In the recording devices settings window, locate your USB microphone and right-click on it. Choose the option to set it as the default recording device.
- Adjust the microphone levels: In the recording devices settings window, select your USB microphone and click on the “Properties” or “Levels” button. This will open a new window where you can adjust the microphone volume levels. Set the levels to a suitable level that captures your audio accurately without any distortion.
- Enable or configure any additional features: Some USB microphones come with additional features, such as gain control, mute buttons, or headphone jacks. If your USB microphone has any of these features, configure them according to your preferences or specific requirements.
- Test and fine-tune the settings: Open an audio recording software or any application that uses the microphone to test the configuration. Speak or make some noise into the USB microphone and adjust the microphone settings as necessary, ensuring that the audio quality meets your expectations.
It’s important to note that the configuration options may vary depending on your operating system and the software you are using. Always refer to the documentation provided with your USB microphone or consult the manufacturer’s website for specific guidelines and troubleshooting steps related to configuring the microphone settings.
By correctly configuring your USB microphone settings, you can ensure that it is optimized for recording or playing back music. Take the time to experiment with the settings to find the best combination that suits your needs and delivers the desired audio quality.
Now that your USB microphone is properly configured, we can move on to selecting the right software for playing music through your microphone.
Choosing the Right Software for Playing Music
When it comes to playing music through your USB microphone, selecting the right software is crucial. The software you choose will determine how you can control and manage your music playback. Here are some factors to consider when choosing the software:
- Compatibility: Make sure the software you choose is compatible with your operating system. Whether you’re using Windows, macOS, or Linux, there are numerous options available that cater to different platforms.
- Functionality: Consider your specific needs and requirements. Do you need a software that offers advanced audio editing capabilities, or are you looking for a simple and intuitive program for basic music playback? Assess the features and functions offered by the software to ensure it aligns with your goals.
- User Interface: Look for software with a user-friendly interface that you find comfortable and easy to navigate. A clean and intuitive interface can significantly enhance your overall user experience and make it easier to control and manage your music playback.
- Customization Options: Some software applications offer extensive customization options, allowing you to fine-tune various settings according to your preferences. Consider whether you need the ability to customize audio settings, create playlists, or apply effects to your music.
- Community and Support: Research the software’s reputation and user reviews online. A supportive community and access to reliable technical support can be invaluable if you encounter any issues or need assistance with the software.
Here are a few popular software options for playing music through your USB microphone:
- Audacity: Audacity is a widely-used, free, open-source audio editing and recording software. It offers a range of features for playing, recording, and editing music.
- Adobe Audition: Adobe Audition is a professional-grade audio editing software that provides comprehensive functionality for music playback, recording, and editing. It offers a robust set of features suitable for advanced users.
- FL Studio: FL Studio is a popular digital audio workstation (DAW) software used by musicians and producers for music production. It provides a wide range of tools for composing, arranging, and playing back music.
- iTunes: If you’re using a Mac computer, Apple’s iTunes offers a user-friendly interface for playing and managing your music library. It allows you to create playlists, browse your music collection, and sync with other Apple devices.
Remember, the choice of software ultimately depends on your specific needs and preferences. Take the time to explore different options, read reviews, and test out trial versions to find the software that best suits your requirements and enhances your music playback experience.
Now that you have chosen the right software for playing music, let’s explore how to configure the software settings to optimize your USB microphone’s performance.
Configuring Your Software Settings
Once you have chosen the software for playing music through your USB microphone, it’s essential to configure the settings to ensure optimal performance and playback experience. Here’s a step-by-step guide to help you configure your software settings:
- Open the software: Launch the software you have chosen for playing music on your computer.
- Access the settings: Locate the settings or preferences menu in the software. This is often found in the top menu bar or in a designated settings section.
- Select the audio input device: In the software settings, choose your USB microphone as the audio input device. This will ensure that the software recognizes your microphone and captures the audio correctly.
- Adjust the audio levels: Depending on the software, you may have the option to adjust the audio input levels. Set the levels to an appropriate volume that ensures clear and distortion-free audio playback.
- Configure playback options: Explore the software settings to customize the playback options according to your preferences. This may include settings for crossfading, equalization, stereo panning, or any other audio effects.
- Create playlists: If your software supports playlist creation, consider organizing your music into playlists for easy navigation and playback. This allows you to quickly access and play your preferred songs or audio files.
- Test the software: Play a sample music track to ensure that the software is configured correctly and that the USB microphone is capturing and playing the audio as desired. Make any necessary adjustments to the settings if needed.
It’s important to note that the configuration process may vary depending on the specific software you are using. Always refer to the software’s documentation or help resources for detailed instructions and troubleshooting tips.
Take some time to explore the software’s features and settings to make the most out of your music playback experience. Experiment with different settings to find the optimal combination that suits your needs and enhances the audio quality.
With your software settings properly configured, you are now ready to connect your USB microphone to your audio source and start playing music. We will cover this in the next section.
Connecting Your USB Microphone to Your Audio Source
Now that your USB microphone and software settings are configured, it’s time to connect your USB microphone to your audio source. Whether you want to play music from your computer, an instrument, or any other audio device, here’s a step-by-step guide to help you:
- Determine your audio source: Identify the audio source you want to connect to your USB microphone. This could be a musical instrument, a mixer, a sound system, or any other device that generates audio.
- Check for the appropriate audio output: Ensure that your audio source has an available audio output. This is typically a 3.5mm headphone jack, RCA ports, or XLR outputs, depending on the type of device.
- Choose the appropriate cables or adapters: Select the necessary cables or adapters to connect the audio output of your source device to your USB microphone. For instance, if your audio source has a 3.5mm headphone jack, you may need a 3.5mm to USB adapter or cable.
- Connect the cables: Plug one end of the cable into the audio output of your source device and the other end into the USB microphone. Ensure that the connections are secure to avoid any audio distortion or interference.
- Configure your software settings: Open the software you are using for music playback. Access the settings and ensure that the audio input is set to your USB microphone. This allows the software to receive and process the audio coming from your connected source device.
- Test the audio playback: Play a music track or audio file from your source device to test the audio playback. Ensure that the USB microphone is capturing the audio signal from your source device and playing it back through your computer’s audio output or headphone jack.
It’s important to note that the specific steps and requirements for connecting your USB microphone to an audio source may vary depending on the type of device and the software you are using. Always consult the manufacturer’s instructions or the software documentation for any specific guidelines or troubleshooting tips.
Once you have successfully connected your USB microphone to your audio source, you can start enjoying music playback or use your USB microphone to record alongside the audio. This opens up a world of possibilities for musicians, podcasters, and content creators, allowing them to create professional-grade recordings and performances.
In the next section, we will address some common troubleshooting issues that you may encounter when playing music through your USB microphone.
Troubleshooting Common Issues
While playing music through a USB microphone is generally a straightforward process, you may encounter some common issues along the way. Here are a few troubleshooting tips to help you overcome these challenges:
- No sound or low volume: Ensure that your USB microphone is properly connected to your computer and that the volume levels are appropriately adjusted in both the microphone settings and the software you are using. Check that the audio source device is correctly connected and set to an appropriate volume.
- Audio distortion or interference: If you experience audio distortion or interference, check the connections between your USB microphone, audio source, and computer. Make sure all cables are securely plugged in and free from any damage. Minimize any potential electromagnetic interference by keeping your USB microphone away from other electrical devices.
- Compatibility issues: Ensure that your USB microphone is compatible with your operating system and the software you are using. Check for any available driver updates or firmware updates for your microphone to ensure compatibility and optimal performance.
- Driver or software issues: If you encounter any issues with drivers or software, first, try restarting your computer. If the problem persists, go to the manufacturer’s website and download the latest drivers or software updates for your USB microphone. Install the updates and restart your computer.
- Audio latency: If you experience a delay between playing music and hearing the audio through your USB microphone, adjust the buffer size settings in your software. Increasing the buffer size can help reduce latency. However, keep in mind that setting the buffer size too high may result in increased latency during recording or playback.
- Incompatibility with specific software: Some USB microphones may have compatibility issues with certain software applications. Ensure that you are using the latest version of the software, and check if there are any known compatibility issues with your USB microphone. You may need to switch to a different software solution or contact the software’s support team for assistance.
If you are still experiencing issues after trying the troubleshooting steps mentioned above, consult the manufacturer’s support resources for your USB microphone or seek assistance from the software’s support team. They will be able to provide more specific guidance and help resolve any persisting problems.
Remember, every troubleshooting situation can vary, and the steps provided above are general suggestions. Always refer to the documentation provided with your USB microphone and the software you are using for detailed troubleshooting instructions.
With these troubleshooting tips in mind, you can effectively overcome common issues and enjoy uninterrupted music playback through your USB microphone.
Conclusion
Congratulations! You have successfully learned how to play music through a USB microphone. By following the steps outlined in this guide, you have set up your USB microphone, connected it to your computer, configured the necessary settings, and chosen compatible software for music playback.
A USB microphone provides a convenient and user-friendly solution for musicians, podcasters, voiceover artists, and content creators who want to capture high-quality audio or play music directly from their computers. With its plug-and-play functionality, you can easily connect your USB microphone to your computer without the need for additional equipment or complex setup.
Remember, when setting up your USB microphone, inspect it carefully, find a suitable location, and connect the USB cable securely to your computer. Configure the microphone settings in your operating system to ensure it is recognized as the default recording device.
Choosing the right software for playing music is essential. Consider compatibility, functionality, user interface, and customization options when selecting a software application that caters to your specific needs and preferences.
Once you have configured the software settings, you can connect your USB microphone to your audio source using the appropriate cables or adapters. Ensure that all connections are secure to avoid any audio issues.
If you encounter any issues, refer to the troubleshooting tips provided in this guide. Common issues such as low volume, audio distortion, or driver problems can often be resolved by checking connections, adjusting settings, or updating drivers or software.
With your USB microphone set up and configured, you are now ready to embark on your journey of creating music, recording podcasts, conducting voiceovers, or any other audio-related venture you have in mind. Enjoy the convenience and versatility that your USB microphone brings to your creative endeavors!
Remember, each USB microphone and software combination may have specific requirements and instructions, so always refer to the manufacturer’s documentation and software guides for detailed information.
Now go ahead and let your creativity flow as you play music through your USB microphone!