Introduction
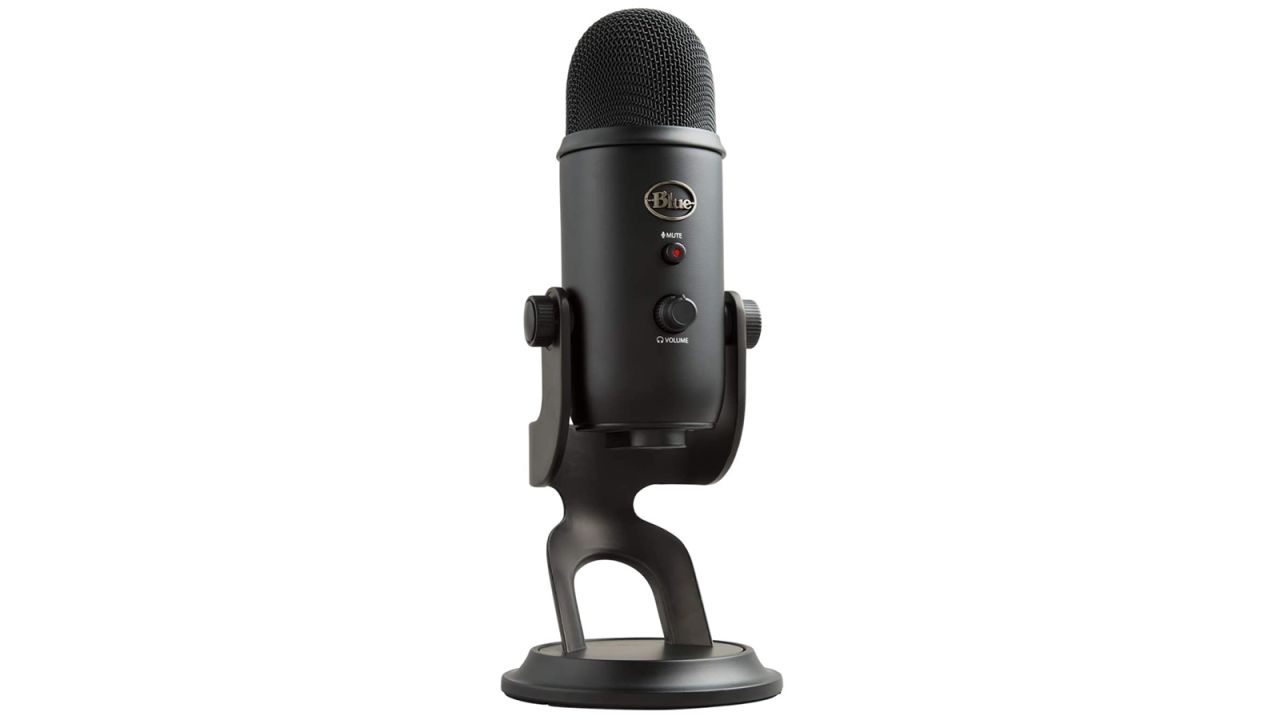
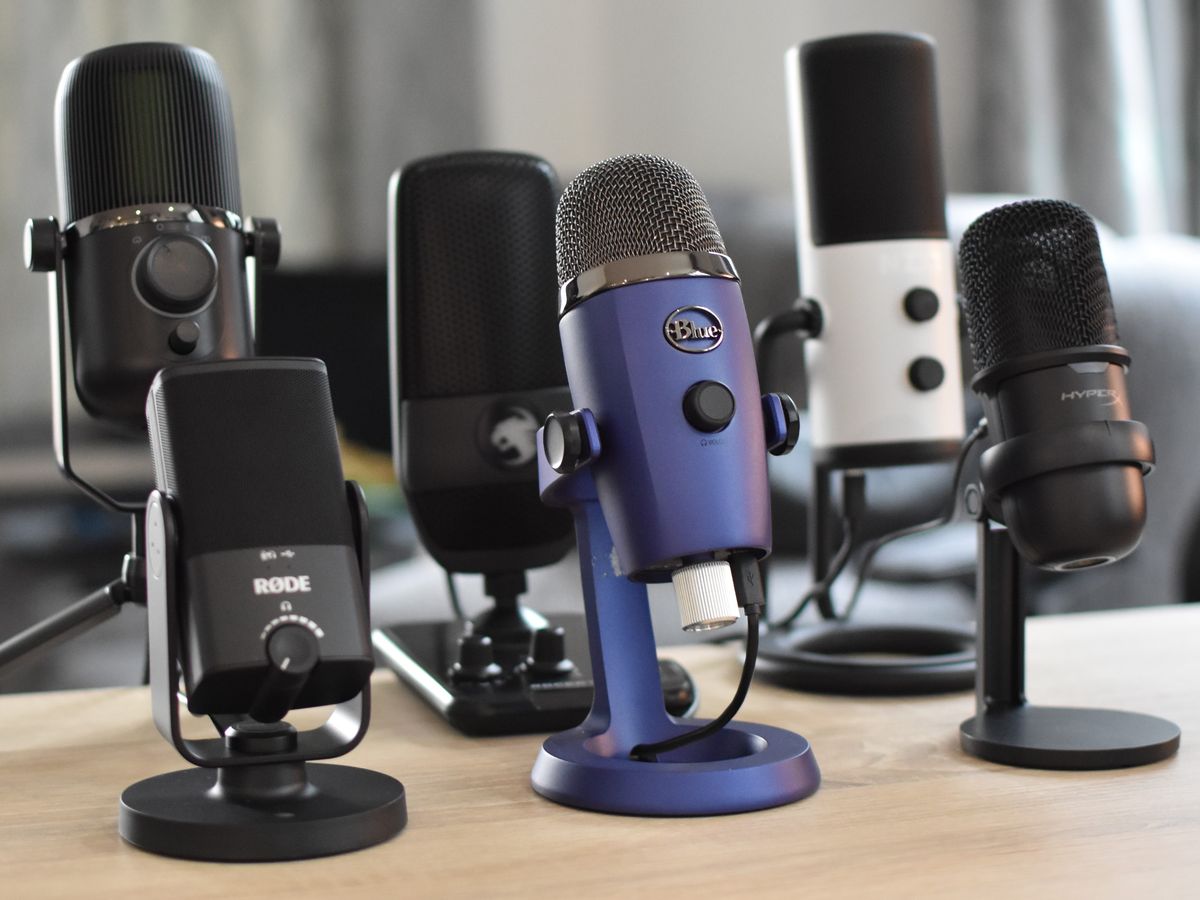
Welcome to this guide on how to record with a USB microphone on Windows 10. USB microphones have gained popularity due to their ease of use and high-quality sound output. Whether you’re a podcaster, musician, content creator, or simply someone who wants to record audio on their computer, a USB microphone can be a valuable tool.
By following the steps outlined in this guide, you will be able to set up and use your USB microphone effectively. We will cover the necessary driver installation, configuring your microphone settings, choosing the right recording software, and monitoring and editing your recordings. With these steps, you’ll be well on your way to creating professional-grade audio recordings right from your Windows 10 computer.
USB microphones offer a convenient plug-and-play solution, eliminating the need for additional audio interfaces or complicated setups. They are compatible with most modern computers, including Windows 10, making them an ideal choice for beginners and experienced users alike.
In this guide, we will focus specifically on recording with a USB microphone on Windows 10. Windows 10 provides a range of audio settings and configurations that allow you to optimize your recording experience. Whether you’re recording vocals, instruments, or any other type of audio, these steps will help you get the best results from your USB microphone.
So, if you’re ready to start recording with your USB microphone on Windows 10, let’s dive into the step-by-step process. Make sure you have your USB microphone and Windows 10 computer ready, and let’s get started!
Step 1: Install the USB Microphone Drivers
Before you can start recording with your USB microphone on Windows 10, you need to ensure that the necessary drivers are installed. Drivers are software components that allow your computer to communicate with hardware devices, such as your USB microphone.
Typically, USB microphones come with their own drivers on a CD or can be downloaded from the manufacturer’s website. Follow these steps to install the drivers:
- Insert the driver CD that came with your USB microphone into your computer’s CD/DVD drive. If your USB microphone didn’t come with a driver CD, skip to the next step.
- Open the CD/DVD drive on your computer and locate the driver installation file. It is usually an executable file with a “.exe” extension.
- Double-click on the driver installation file to run it. Follow the on-screen instructions to install the drivers.
- If you don’t have a driver CD or prefer to download the drivers from the manufacturer’s website, visit their support page and search for the specific model of your USB microphone.
- Download the latest driver package for your USB microphone and save it to a location on your computer.
- Locate the downloaded driver package and double-click on it. Follow the on-screen instructions to install the drivers.
Once the drivers are installed, restart your computer to ensure that the changes take effect. After restarting, your USB microphone should be recognized by Windows 10.
Keep in mind that some USB microphones may not require additional drivers and can be used as plug-and-play devices. In such cases, simply connecting the USB microphone to your computer should automatically install the necessary drivers.
Now that you have successfully installed the USB microphone drivers on your Windows 10 computer, you’re ready to move on to the next step and set the USB microphone as the default recording device.
Step 2: Set the USB Microphone as the Default Recording Device
In order to record audio with your USB microphone on Windows 10, you need to set it as the default recording device. This ensures that all audio input is routed through the USB microphone. Follow these steps to set your USB microphone as the default recording device:
- Right-click on the speaker icon in the taskbar and select “Sounds” from the context menu.
- In the “Sound” window, switch to the “Recording” tab.
- You will see a list of available recording devices. Look for your USB microphone in the list. It is usually listed with the manufacturer’s name or the model name.
- Right-click on your USB microphone and select “Set as Default Device”.
- Right-click on your USB microphone again and select “Properties”.
- In the “Properties” window, switch to the “Levels” tab.
- Adjust the microphone volume according to your preferences. You can increase or decrease the volume by moving the slider.
- Click “OK” to save the changes.
- Close the “Sound” window.
By setting your USB microphone as the default recording device, you ensure that any software or applications you use for recording will recognize and utilize the USB microphone as the primary input device.
It’s worth mentioning that you may need to repeat these steps if you switch to a different USB port or if you connect the USB microphone to a different computer. In such cases, Windows 10 may not automatically recognize the USB microphone as the default recording device.
Now that your USB microphone is set as the default recording device, you can proceed to the next step, which is adjusting the microphone settings to optimize the audio input.
Step 3: Adjust Microphone Settings
After setting your USB microphone as the default recording device, it’s important to adjust the microphone settings in order to optimize the audio input. Windows 10 provides several adjustments that allow you to fine-tune the microphone settings according to your preferences. Follow these steps to adjust the microphone settings:
- Right-click on the speaker icon in the taskbar and select “Sounds” from the context menu.
- In the “Sound” window, switch to the “Recording” tab.
- Locate your USB microphone in the list of recording devices.
- Right-click on your USB microphone and select “Properties”.
- In the “Properties” window, switch to the “Enhancements” tab.
- Check the box next to “Disable all enhancements” to disable any audio enhancements that may be applied to the microphone input. This ensures a clean and unaltered audio signal.
- Switch to the “Levels” tab.
- Adjust the microphone volume or gain according to your needs. Increasing the volume will make the audio input louder, while decreasing it will make it softer.
- If available, you can also adjust the microphone boost or sensitivity. This controls how sensitive the microphone is to sound. Experiment with different settings to find the optimal level.
- Click “OK” to save the changes.
- Close the “Sound” window.
Adjusting the microphone settings allows you to achieve the desired audio quality and avoid any distortion or background noise. It’s important to find the right balance between volume and sensitivity to ensure clear and accurate recordings.
Keep in mind that the available options and settings may vary depending on the USB microphone model and the audio drivers installed on your Windows 10 computer. Some USB microphones may also have their own built-in controls or software that allows for further customization.
Now that you have adjusted the microphone settings, you are ready to proceed to the next step, which involves testing the USB microphone to ensure it is working properly.
Step 4: Test the USB Microphone
Before you start recording, it’s important to test your USB microphone to ensure that it is functioning properly. Testing the microphone will help you verify the audio quality, check for any issues, and make adjustments if needed. Here’s how you can test your USB microphone on Windows 10:
- Open the application or software you intend to use for recording. This can be a voice recording software, video conferencing tool, or any other application that utilizes audio input.
- Access the settings or preferences within the application to select the audio input device.
- Choose your USB microphone from the available options. It should be listed by the manufacturer’s name or model.
- Once the USB microphone is selected, test the microphone by speaking or making sounds into it.
- Observe the audio input levels or indicators within the application to ensure that the microphone is receiving and detecting the sound. You should see the levels move or change in response to your voice or sounds.
- Listen to the playback or monitoring of the microphone input to check for any distortion, background noise, or other audio issues.
- If you encounter any issues, such as very low or no audio input, distorted sound, or excessive background noise, revisit the previous steps to adjust the microphone settings and volume levels accordingly.
- Continue testing the USB microphone until you are satisfied with the audio quality and performance.
Testing the USB microphone allows you to ensure that it is fully functional and ready for recording. It also provides an opportunity to make any necessary adjustments or troubleshoot any issues that may arise before you start your actual recording session.
If you encounter persistent issues with the USB microphone, you may want to consult the manufacturer’s support documentation or contact their customer support for further assistance. They may be able to provide specific troubleshooting steps or solutions related to your USB microphone model.
Once you have successfully tested the USB microphone and are satisfied with the results, you’re now ready to move on to the next step, which involves choosing the right recording software for your needs.
Step 5: Choose a Recording Software
To start recording with your USB microphone on Windows 10, you’ll need to choose the right recording software that suits your needs. There are various recording software options available, ranging from simple voice recording applications to advanced digital audio workstations (DAWs) with extensive features. Here are some factors to consider when selecting recording software:
- Functionality: Determine the type of recording you’ll be doing and the specific features you require. Are you recording vocals, instruments, podcasts, interviews, or audio for videos? Different software may cater to different needs.
- User Interface: Consider the ease of use and user-friendliness of the software. Look for a clean and intuitive interface that allows you to navigate the software and access the necessary controls easily.
- Compatibility: Ensure that the recording software is compatible with Windows 10 and supports USB audio devices. Check the software’s system requirements and verify that it works well with USB microphones.
- Audio Quality: Look for software that supports high-quality audio recording and provides options for adjusting sample rate, bit-depth, and file formats. This will ensure that you can capture audio with the desired level of clarity and accuracy.
- Editing Capabilities: If you require advanced editing features, such as cutting, fading, mixing, or applying effects to your recordings, choose a software that offers comprehensive editing tools and workflows.
- Price: Consider your budget and whether you’re willing to invest in paid software or prefer free alternatives. There are both commercial and open-source recording software options available.
Some popular recording software options for Windows 10 include Audacity, Adobe Audition, GarageBand (for Windows), FL Studio, Reaper, and Ableton Live. These software programs provide a range of features and capabilities suitable for different recording needs and skill levels.
Take your time to research and explore different software options, read user reviews, and consider your specific requirements before making a decision. You may also want to try out demo versions or free trials of the software to get a feel for their functionality and interface before committing to a purchase.
Once you have chosen the recording software that best suits your needs, you’re ready to proceed to the next step, which involves configuring the audio input within the recording software.
Step 6: Configure the Audio Input in the Recording Software
After selecting the recording software that best suits your needs, the next step is to configure the audio input settings within the software. This will ensure that the software recognizes and utilizes your USB microphone as the primary recording device. Here’s how you can configure the audio input in the recording software:
- Launch the recording software on your Windows 10 computer.
- Access the software’s preferences or settings menu. This is usually found in the toolbar or under the “File” or “Edit” menu.
- In the preferences or settings menu, look for the audio or recording options.
- Select the audio input device or microphone settings.
- Choose your USB microphone from the available options.
- Configure other relevant settings, such as sample rate, buffer size, or recording format, according to your preferences or the requirements of your project.
- Ensure that the input level or gain setting is adjusted properly to avoid distortion or clipping.
- Save the changes and close the preferences or settings menu.
By configuring the audio input settings in the recording software, you are ensuring that the software recognizes and utilizes your USB microphone as the primary input device. This will help you achieve the best audio quality and make the most out of your USB microphone’s capabilities.
It’s important to note that the specific steps and options may vary depending on the recording software you are using. Refer to the software’s documentation or support resources for detailed instructions related to audio input configuration.
Once you have successfully configured the audio input settings, you’re ready to move on to the next step, which involves starting the recording process with your USB microphone.
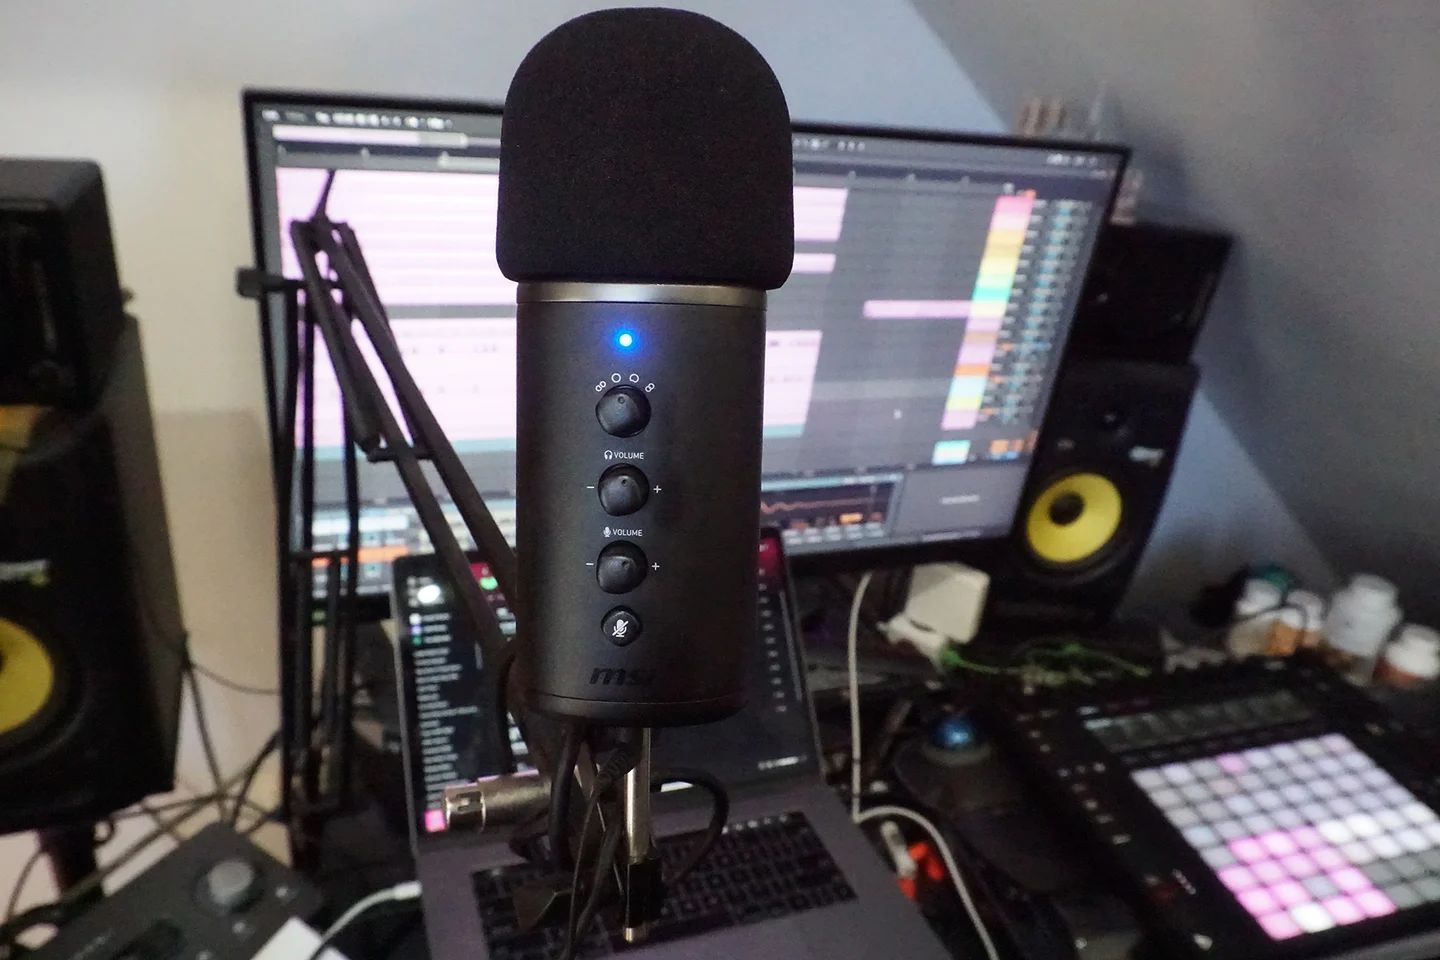
Step 7: Start Recording
Now that you have configured the audio input settings in your chosen recording software, you’re ready to start the recording process with your USB microphone. Follow these steps to begin recording:
- Open the recording software on your Windows 10 computer.
- Create a new project or open an existing one, depending on your needs.
- Ensure that the audio input settings are correctly configured, with the USB microphone selected as the input device.
- Position the USB microphone appropriately, ensuring it is within a suitable distance and angle for capturing audio.
- Press the record button in the recording software to start the recording process. The button is typically represented by a circle or a red dot.
- Begin speaking, singing, playing an instrument, or producing any sounds that you want to capture in your recording.
- Monitor the input levels within the recording software to ensure that your audio is being recorded at an appropriate volume and that it does not exceed the maximum level.
- Continue recording until you have captured the desired content or until you choose to stop the recording.
- When you are finished recording, press the stop button in the recording software to end the recording process. This is usually represented by a square or a black dot.
After stopping the recording, you can review and playback your recording within the recording software. This will allow you to assess the audio quality, make any necessary edits or adjustments, and ensure that your recording meets your requirements.
Remember to save your recording project and export the final recording in a suitable file format for your intended use. Common file formats include WAV, MP3, or FLAC.
Now that you have successfully started recording with your USB microphone, you can proceed to the final step, which involves monitoring and editing your recordings as needed.
Step 8: Monitor and Edit the Recording
Once you have completed the recording process with your USB microphone, it’s important to monitor and edit the recording as needed. Monitoring allows you to review the audio quality and ensure that all desired elements have been captured properly. Editing enables you to refine the recording by removing any errors, adjusting levels, or adding effects. Follow these steps to monitor and edit your recording:
- Play back the recording within the recording software to monitor the audio quality. Listen carefully for any background noise, distortion, or unwanted artifacts.
- Use the playback controls in the recording software to navigate through the recording and locate any areas that require editing.
- Trim the recording to remove any unwanted sections or mistakes. Most recording software provides tools for easily selecting and deleting portions of the audio.
- Adjust the levels or volume of different tracks or sections if needed. This will help balance the audio levels and ensure consistent volume throughout the recording.
- Add effects or enhancements to the recording, if desired. Recording software often includes a range of effects such as EQ (Equalization), compression, reverb, or noise reduction that can enhance the overall sound.
- Apply any necessary corrections or enhancements to individual tracks or specific parts of the recording.
- Listen to the edited recording repeatedly to ensure that it is clean, polished, and meets your desired sound quality.
- Save the edited recording in your preferred file format and location.
Monitoring and editing your recording allows you to refine and finalize the content before sharing, distributing, or using it in your intended project. Pay attention to details such as volume levels, clarity, and any specific requirements for the purpose of your recording.
Remember to save your edited recording project in the recording software format as well, if supported, to preserve the ability to make further edits or adjustments in the future.
With these steps, you have successfully monitored and edited your recording, optimizing it to meet your desired sound quality and final product requirements.
Congratulations! You have now completed the entire process of recording with a USB microphone on Windows 10. You can now enjoy the benefits of high-quality audio recordings for your podcasts, music projects, interviews, voice-overs, and more.