Introduction
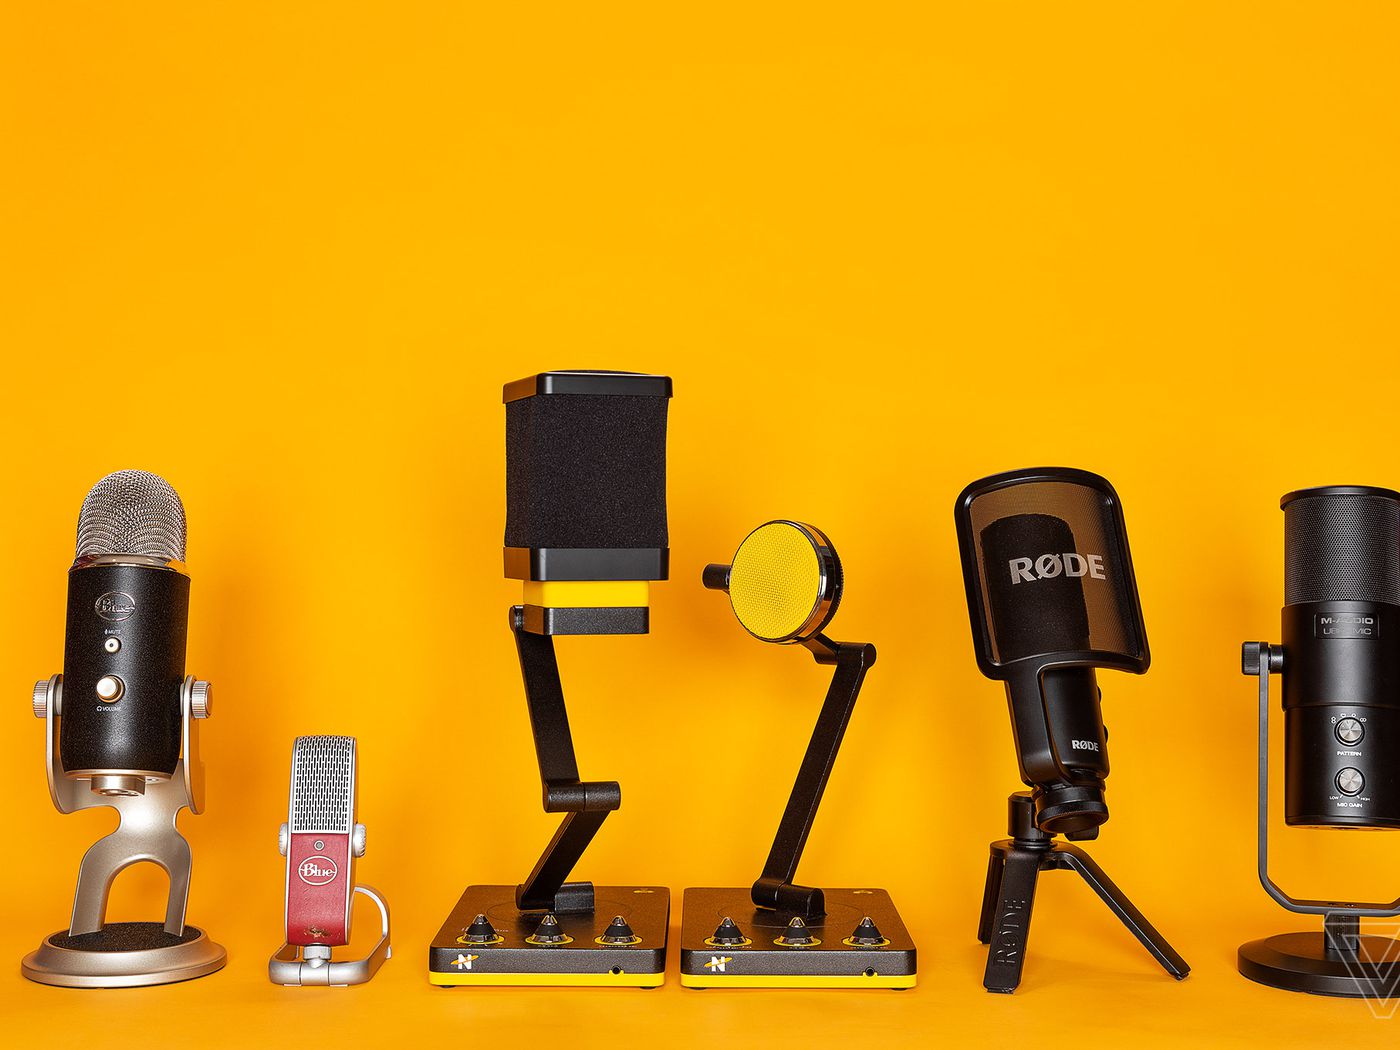
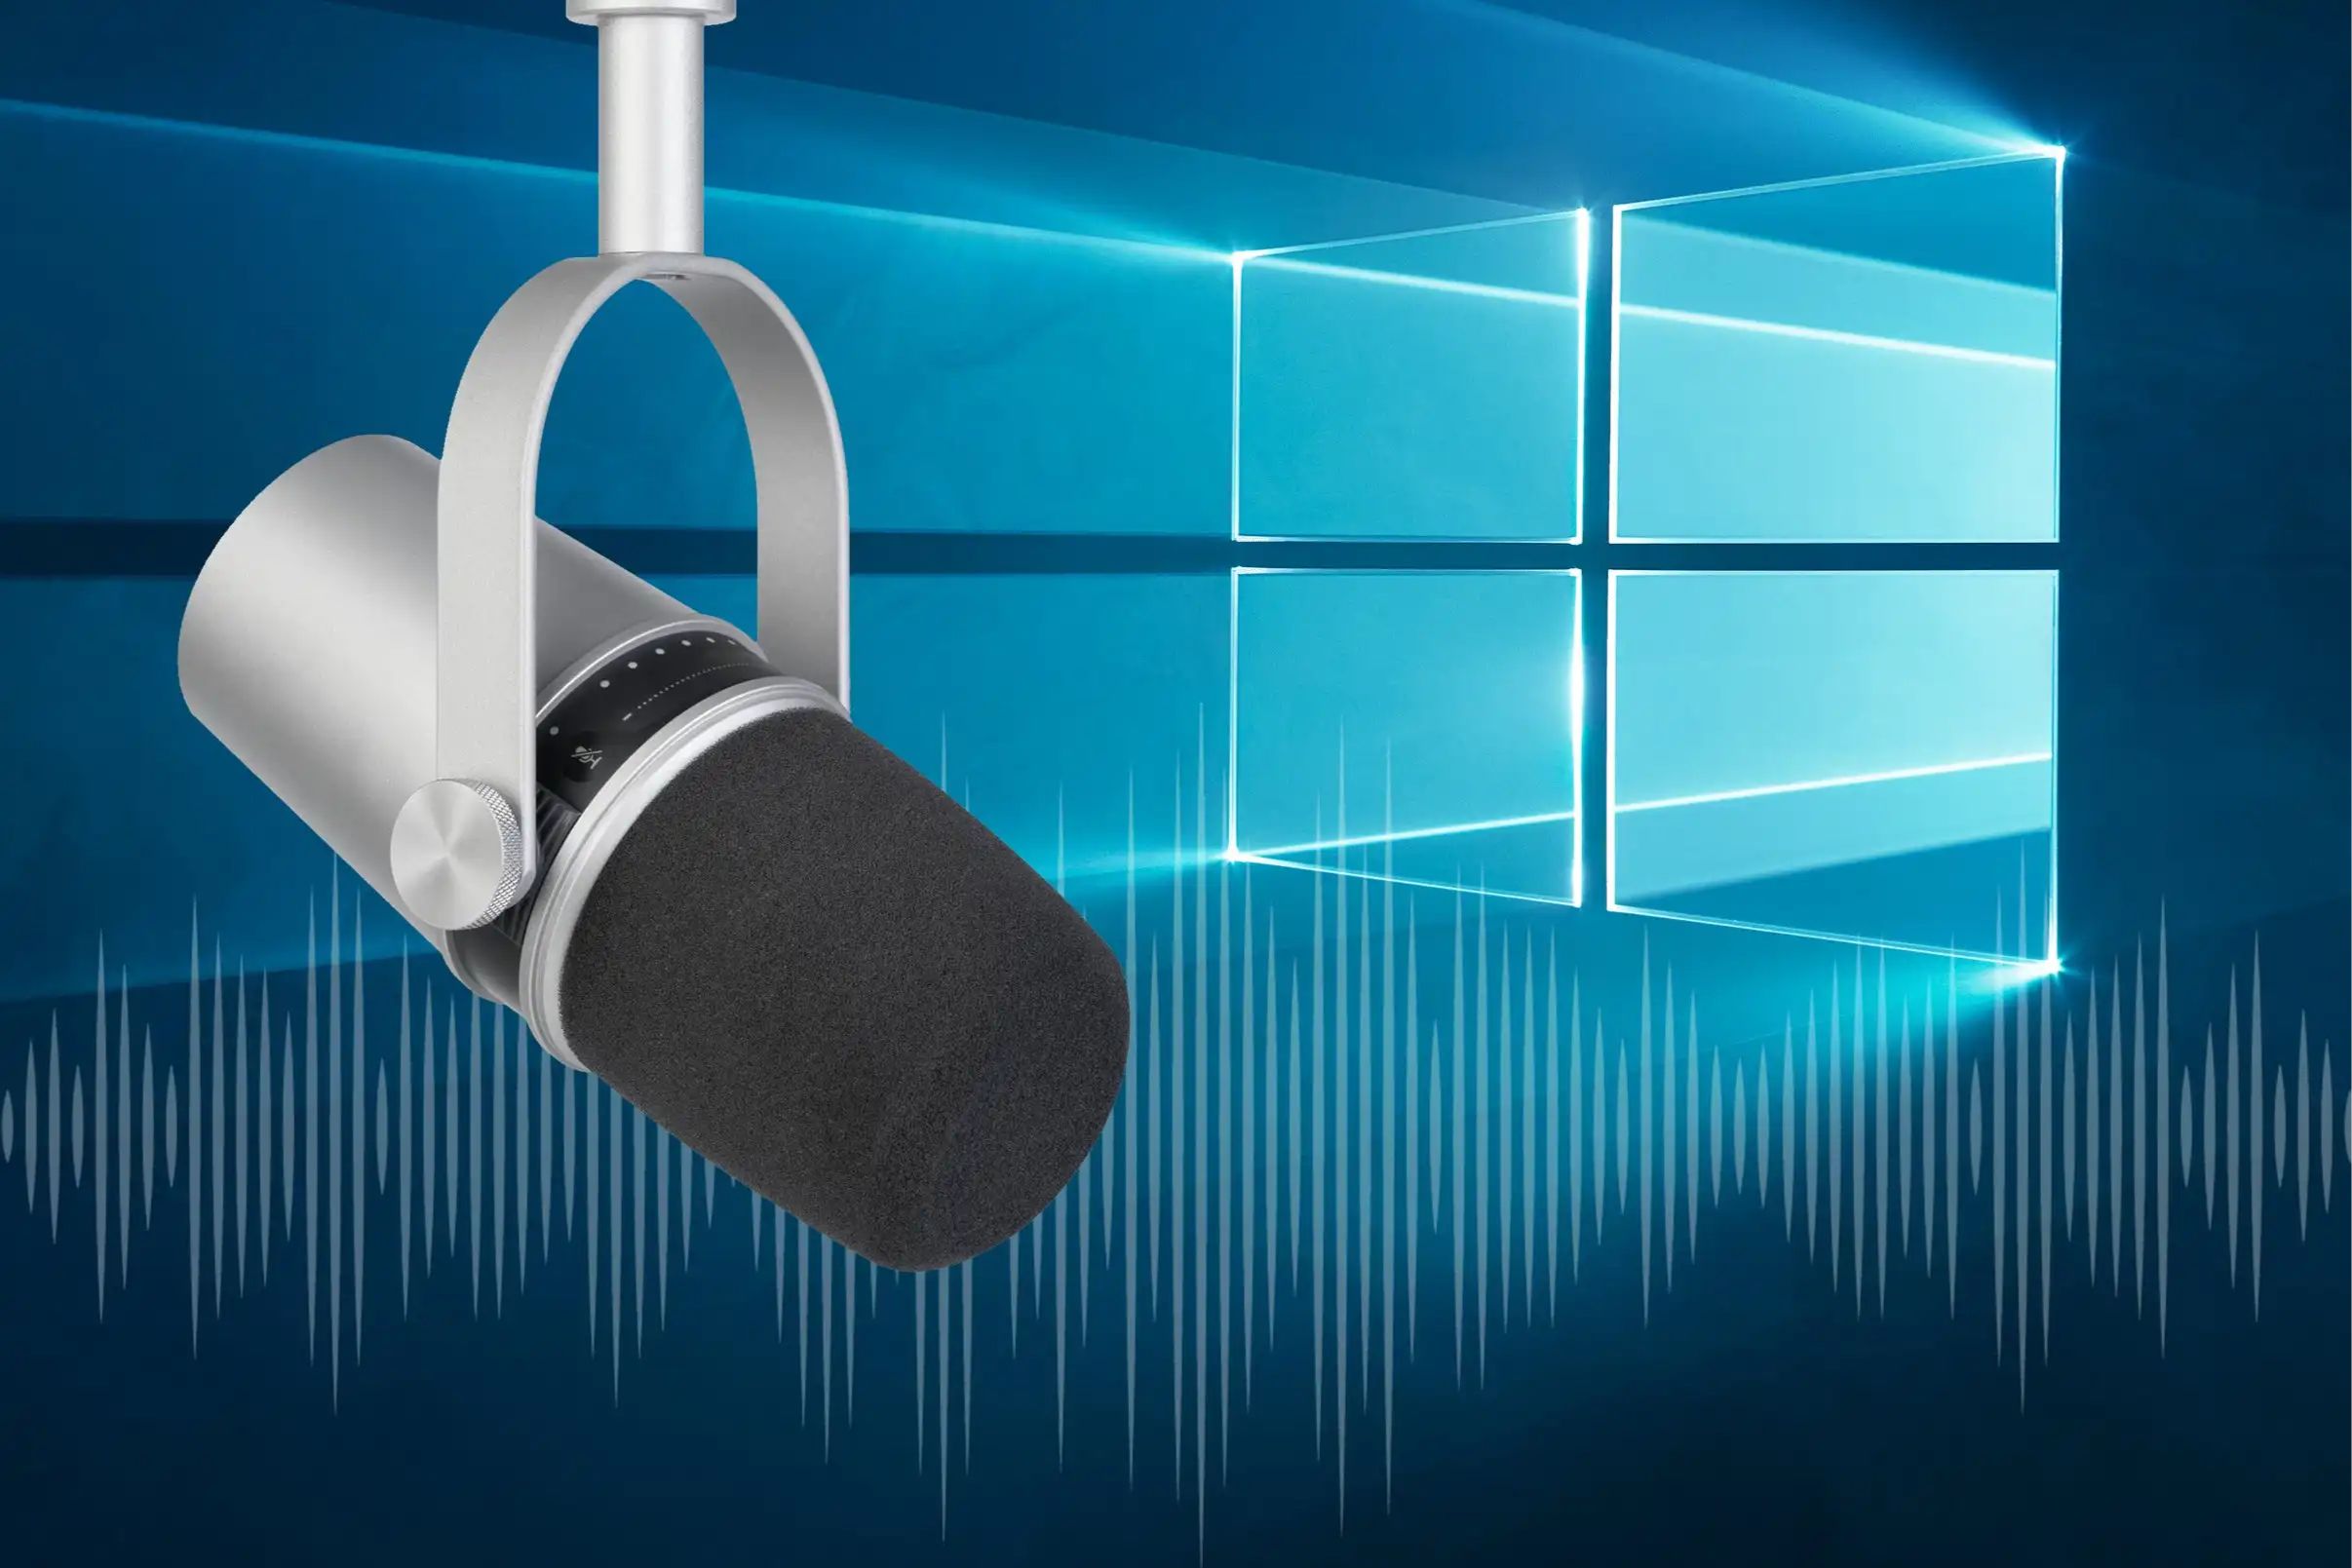
Welcome to our guide on how to increase the volume of a USB microphone on Windows 10. USB microphones have become popular for their plug-and-play convenience and improved sound quality. However, sometimes you may encounter issues with the microphone’s volume being too low or not reaching the desired level.
Ensuring your USB microphone volume is set correctly is crucial, especially if you use it for recording, online meetings, voice chats, or live streaming. Fortunately, there are several methods you can try to boost the volume and improve the overall audio quality of your USB microphone on Windows 10.
In this guide, we will walk you through the step-by-step process of checking the microphone settings in Windows 10, updating the USB microphone driver, adjusting the microphone properties, and boosting the microphone volume. Additionally, we will explore the option of using third-party software to further enhance your USB microphone’s volume.
By the end of this guide, you’ll have the knowledge and tools to optimize your USB microphone volume, ensuring clear and loud audio recordings or communication.
Understanding USB Microphone Volume
Before we dive into the methods of increasing the volume of a USB microphone on Windows 10, it’s essential to have a basic understanding of how microphone volume works and the factors that can affect it.
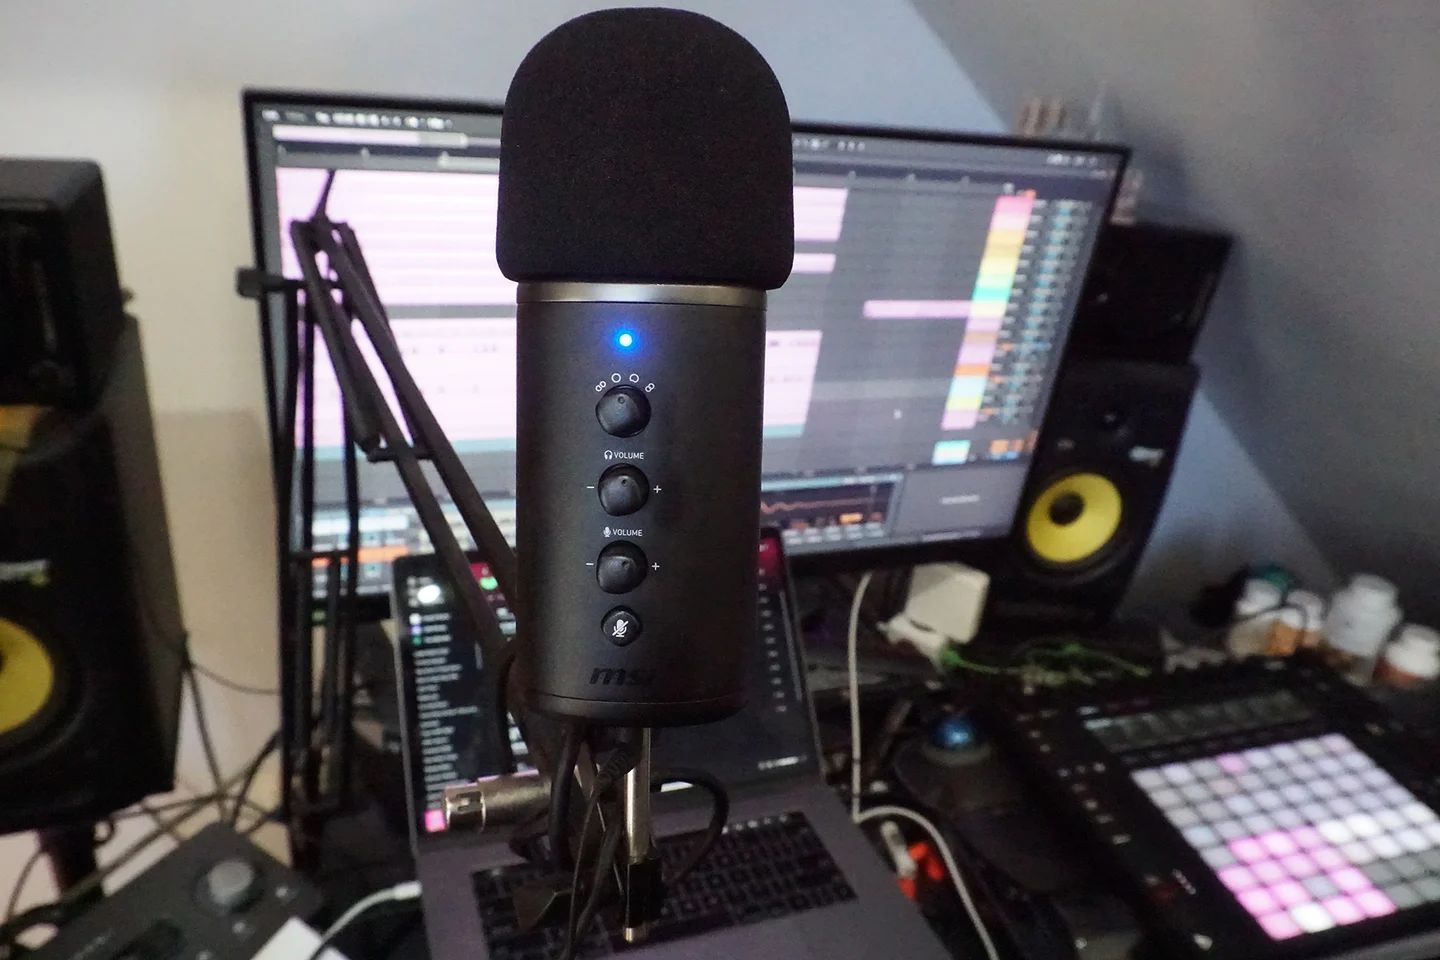
USB microphones are convenient and versatile devices that convert sound waves into digital audio signals. The volume of a USB microphone refers to the intensity or loudness of the captured audio. It is typically displayed as a decibel (dB) level.
There are a few key factors that can impact the volume of your USB microphone:
- Software Settings: The microphone volume can be controlled through software settings on your computer. Windows 10 provides various options to adjust the microphone volume, which we will explore later in this guide.
- Hardware Settings: Some USB microphones have built-in volume controls that allow you to adjust the volume directly on the device. Check if your microphone has any physical buttons or knobs that control the volume.
- Driver Compatibility: The driver is software that enables your USB microphone to communicate with your computer’s operating system. Outdated or incompatible drivers can cause issues with the microphone volume. Updating the driver can sometimes resolve volume-related problems.
- Recording Environment: The environment in which you record or use your USB microphone can impact the volume. Factors like background noise, distance from the microphone, and room acoustics can affect the perceived volume of your recordings.
It’s important to note that excessively high microphone volume can result in distorted or clipped audio. Finding the right balance between volume and clarity is crucial for achieving optimal sound quality.
Now that we have a basic understanding of USB microphone volume and the factors that influence it, let’s proceed to the next section, where we will explore how to check the microphone settings in Windows 10.
Checking Windows 10 Microphone Settings
Before making any adjustments to your USB microphone volume, it’s essential to check and ensure that the microphone settings in Windows 10 are correctly configured. Here’s how you can do it:
Step 1: Right-click on the volume icon in the taskbar and select “Sounds” from the context menu. This will open the Sound settings window.
Step 2: In the Sound settings window, navigate to the “Recording” tab. Here, you will see a list of available recording devices.
Step 3: Locate your USB microphone from the list of recording devices. It should be labeled with the microphone’s brand or model name.
Step 4: Once you’ve identified your USB microphone, select it and click on the “Properties” button at the bottom right corner of the window.
Step 5: In the microphone properties window, go to the “Levels” tab. This tab allows you to adjust various microphone settings, including the volume.
Step 6: On the “Levels” tab, make sure that the microphone volume slider is set to an appropriate level. You can adjust the slider by dragging it up or down.
Step 7: Additionally, ensure that the microphone boost option is enabled if available. This option can provide an extra boost to the microphone’s volume.
Step 8: Once you have made the necessary adjustments, click on the “OK” button to save the changes.
By following these steps, you can check and modify the microphone settings in Windows 10. This ensures that your USB microphone is correctly set up and can help resolve volume-related issues if they exist.
Next, we will explore the option of updating the USB microphone driver, which can often improve the overall performance and volume control of the microphone.
Updating USB Microphone Driver
If you are experiencing volume-related issues with your USB microphone on Windows 10, updating the microphone driver can often help resolve these problems. Here’s how you can update the USB microphone driver:
Step 1: Press the Windows key + X on your keyboard and select “Device Manager” from the menu that appears. This will open the Device Manager window.
Step 2: In the Device Manager window, locate and expand the “Audio inputs and outputs” category.
Step 3: Find your USB microphone in the list. It should be listed under the “Input” or “Sound, video, and game controllers” section.
Step 4: Right-click on your USB microphone and select “Update driver” from the context menu.
Step 5: In the update driver window, choose the option to automatically search for updated driver software. Windows will then search for and install the latest driver for your USB microphone if available.
Step 6: Follow the on-screen instructions to complete the driver update process.
Note: If Windows fails to find an updated driver, you can visit the website of your USB microphone’s manufacturer and look for the latest driver specifically designed for your microphone model. Download and install the driver manually.
Updating the USB microphone driver can fix compatibility issues and ensure that the microphone functions optimally, including its volume control. After updating the driver, check if the microphone volume has improved. If the issue persists, proceed to the next section where we will explore adjusting microphone properties.
Adjusting Microphone Properties
If your USB microphone volume is still not satisfactory after checking Windows 10 settings and updating the driver, adjusting the microphone properties can further help improve the volume and audio quality. Follow these steps to adjust the microphone properties:
Step 1: Right-click on the volume icon in the taskbar and select “Sounds” from the context menu to open the Sound settings window.
Step 2: In the Sound settings window, navigate to the “Recording” tab and locate your USB microphone in the list of recording devices.
Step 3: Select your USB microphone and click on the “Properties” button at the bottom right corner of the window to open the microphone properties.
Step 4: In the microphone properties window, navigate to the “Enhancements” tab (if available).
Step 5: Check the box next to “Disable all sound effects” to ensure that no audio enhancements are interfering with the microphone’s volume and clarity.
Step 6: If there is no “Enhancements” tab, navigate to the “Advanced” tab or a similar section where additional microphone settings are available.
Step 7: Depending on your microphone and driver, you may have options such as “Signal quality,” “Microphone gain,” or “Noise suppression.” Experiment with these settings to adjust the microphone volume and audio quality. Make small changes and test the microphone after each adjustment to find the optimal settings.
Step 8: Once you have made the desired adjustments, click on the “OK” button to save the changes.
By adjusting the microphone properties, you can fine-tune the volume and audio settings specific to your USB microphone. These settings can vary depending on the microphone model and driver, so experiment with different options until you achieve the desired volume and sound quality.
If adjusting the microphone properties does not yield the desired results, there are other methods you can try, such as boosting the microphone volume or using third-party software. We will explore these options in the following sections.
Boosting Microphone Volume
If you have followed the previous steps and are still not satisfied with the volume of your USB microphone on Windows 10, you can try boosting the microphone volume using the system settings. Here’s how:
Step 1: Right-click on the volume icon in the taskbar and select “Sounds” from the context menu to open the Sound settings window.
Step 2: In the Sound settings window, navigate to the “Recording” tab and locate your USB microphone in the list of recording devices.
Step 3: Select your USB microphone and click on the “Properties” button at the bottom right corner of the window to open the microphone properties.
Step 4: In the microphone properties window, go to the “Levels” tab.
Step 5: Look for the microphone volume slider. Drag the slider towards the right to increase the volume. Gradually increase the volume and test the microphone each time to avoid distortion.
Step 6: If available, check the “Microphone Boost” option and adjust its level to further amplify the microphone volume.
Note: Be cautious when boosting the microphone volume as excessive amplification can lead to distorted or noisy audio. It’s important to find a balance between volume and audio quality.
By following these steps, you can boost the volume of your USB microphone within the system settings of Windows 10. Keep in mind that the available options may vary depending on your microphone model and drivers.
If boosting the microphone volume through the system settings does not provide the desired results, there is an alternative option to consider – using third-party software.
We will explore the use of third-party software as a solution for increasing the volume of your USB microphone in the next section.
Using a Third-Party Software
If the built-in Windows 10 settings and adjustments have not been able to achieve the desired volume for your USB microphone, you may consider using third-party software to enhance its volume control and audio quality. Here are some options to explore:
1. Voicemeeter: Voicemeeter is an advanced audio mixer and virtual audio device that allows for precise control over microphone volume and audio routing. It lets you adjust microphone levels, apply audio effects, and manage audio sources. It offers a free version, Voicemeeter Banana, with additional features for more complex audio setups.
2. Equalizer APO: Equalizer APO is a parametric equalizer for Windows that offers advanced control over audio settings, including microphones. It allows you to boost the microphone volume and apply custom EQ settings to enhance the overall audio quality. It works at a system level and can be used with any audio device.
3. VB-Audio Virtual Cable: VB-Audio Virtual Cable is a software solution that creates virtual audio devices and routes audio streams between them. By using VB-Audio Virtual Cable along with an audio equalizer or mixer of your choice, you can gain more control over the microphone volume and audio processing.
4. Additional Audio Software: Depending on your specific needs, there may be other audio software available that offer microphone volume control and audio enhancement features. It’s worth exploring options such as Audacity, Adobe Audition, or other audio editing software to see if they provide the necessary tools and capabilities.
While these third-party software options can provide more advanced control over microphone volume and audio settings, keep in mind that they may have a learning curve and require additional configuration. It’s advisable to thoroughly research and review the software options, read user reviews, and follow the software’s documentation or tutorials for proper usage.
Please note that when using third-party software, it’s important to ensure that the software is reputable and downloaded from trusted sources to avoid any potential security risks.
With the help of these third-party software options, you can further optimize the volume control and audio quality of your USB microphone, tailoring it to your specific preferences and requirements.
Next, let’s conclude our guide with a summary of the key points discussed.
Conclusion
In this guide, we have explored various methods to increase the volume of a USB microphone on Windows 10. We began by understanding the concept of USB microphone volume and the factors that can affect it. We then delved into checking the microphone settings in Windows 10, updating the USB microphone driver, and adjusting the microphone properties.
If the built-in Windows settings and adjustments did not yield the desired results, we discussed the option of using third-party software, such as Voicemeeter, Equalizer APO, VB-Audio Virtual Cable, or other audio editing software, to further enhance the microphone volume and audio quality.
Remember, when adjusting microphone volume, it’s essential to find a balance between volume and audio quality to avoid distortion or noise. Experimenting with different settings and gradually increasing the volume is the key to achieving optimal results.
By following the steps and trying out the methods mentioned in this guide, you can effectively increase the volume of your USB microphone on Windows 10 and enjoy better audio performance for recording, online meetings, voice chats, or live streaming.
We hope this guide has been helpful to you in resolving volume-related issues with your USB microphone. As technology evolves, it’s always beneficial to stay updated with the latest drivers and software to ensure your devices perform optimally.
Thank you for reading, and we wish you the best in your audio endeavors!