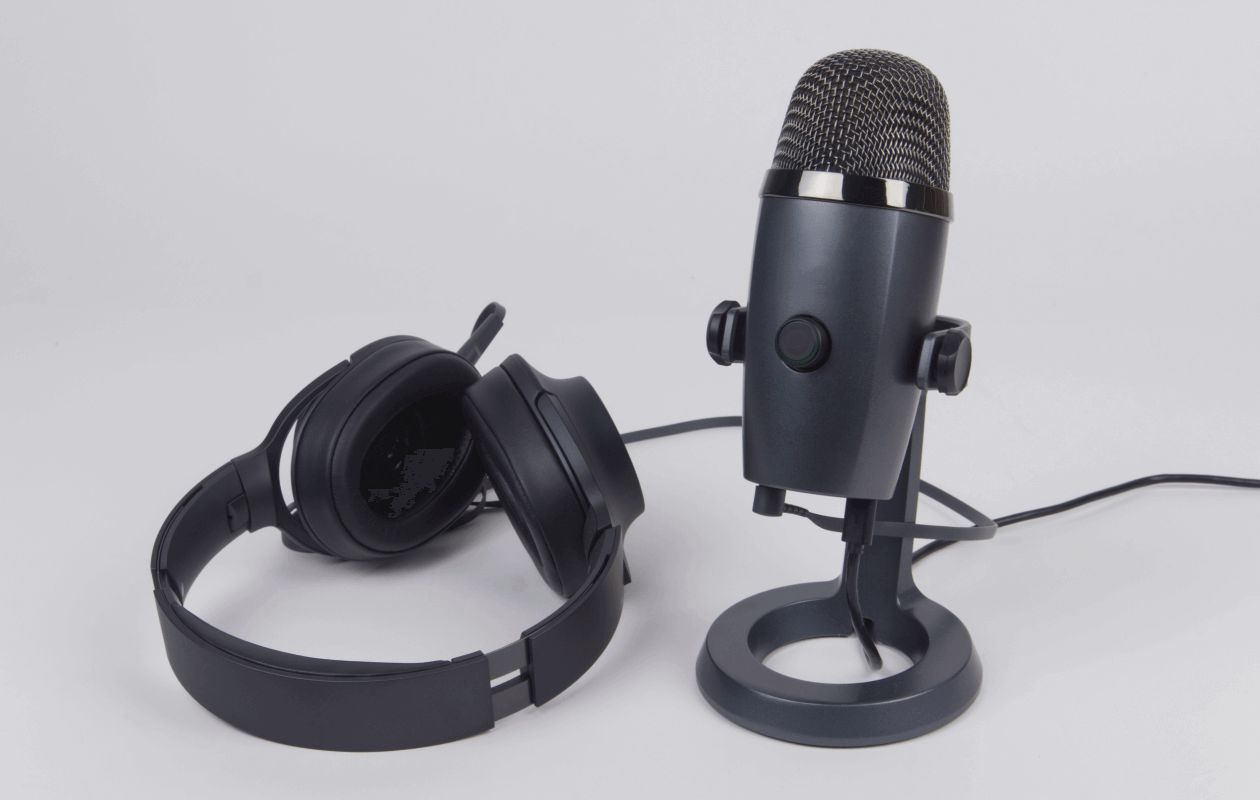
Common Reasons Why Your USB Microphone Won’t Pick Up Audio
Having trouble with your USB microphone not picking up any audio can be frustrating, especially when you need it for recording, streaming, or video conferencing. There could be several reasons why your USB microphone is not working properly. Let’s explore some common causes:
1. USB Connection Issues: First, check if the USB cable is securely connected to both the microphone and your computer. Sometimes, a loose connection can prevent the audio signal from being transmitted effectively.
2. Microphone Settings Misconfiguration: Incorrect settings in your operating system or recording software can cause your USB microphone to not pick up audio. Make sure the microphone is enabled and set as the default input device.
3. Driver Problems: Outdated or incompatible drivers can also lead to audio issues. Ensure that you have the latest drivers installed for your USB microphone. Visit the manufacturer’s website or use the device manager to check for driver updates.
4. Volume and Gain Settings: Low input volume or gain levels can result in a weak or inaudible audio signal. Adjust the volume and gain settings on your microphone and recording software to appropriate levels.
5. Physical Damage: Inspect your USB microphone for any physical damage, such as loose cables, dented or broken parts. Physical damage can interfere with the microphone’s ability to capture sound effectively.
6. Compatibility Issues: Some USB microphones may not be fully compatible with certain operating systems or software applications. Check for compatibility requirements and ensure that your microphone meets them.
7. USB Port Problems: Try using a different USB port on your computer. Sometimes, USB ports can become faulty or experience compatibility issues with certain devices. Switching to a different port might resolve the problem.
8. Connection Troubles: If possible, test your USB microphone on another device to determine if the issue lies with your computer or the microphone itself. This can help pinpoint the source of the problem.
9. External Interference: Electronics or other devices in close proximity to your USB microphone can cause interference and disrupt the audio signal. Ensure that there are no sources of interference nearby during microphone usage.
If you have tried all of the above troubleshooting steps and your USB microphone still won’t pick up audio, it is recommended to contact the manufacturer or technical support for further assistance. They will be able to provide more specialized guidance tailored to your specific microphone model.
Check Your Microphone Settings
When your USB microphone isn’t picking up audio, the first thing you should do is check your microphone settings. Configuring the settings correctly can often resolve the issue. Here are some steps you can take to troubleshoot your microphone settings:
1. Check Operating System Settings: Access the sound settings in your operating system. On Windows, right-click on the speaker icon in the taskbar and select “Sounds.” On Mac, go to “System Preferences” and click on “Sound.” Ensure that the USB microphone is selected as the default input device.
2. Verify Application Settings: If you are using a specific application for recording or streaming, such as DAW software or video conferencing apps, check the microphone settings within the application itself. Make sure the USB microphone is selected as the input device.
3. Enable Microphone Access: Some operating systems or applications may require explicit permission to access the microphone. Check the privacy settings in your operating system and grant access to the microphone if necessary.
4. Mute or Unmute the Microphone: Double-check that the microphone is not muted either in the operating system settings or on the physical microphone itself. Some microphones have a dedicated mute button or switch that can accidentally be activated.
5. Adjust Input Volume Levels: In the microphone settings, check the input volume level. Increase the volume if it is too low or decrease it if the audio is distorted or clipping. Experiment with different volume levels until you find the optimal setting.
6. Try Different Sample Rates: Altering the sample rate settings in your recording software or operating system can sometimes fix audio issues. Start with the default sample rate and gradually try different settings to see if that resolves the problem.
Remember to test your USB microphone after adjusting each setting to see if it starts picking up audio. It’s also a good idea to restart your computer after making changes to ensure the settings take effect.
If adjusting the microphone settings doesn’t solve the issue, proceed to the next troubleshooting step.
Ensure Your USB Microphone is Selected as the Default Input Device
One of the most common reasons why a USB microphone won’t pick up audio is that it is not set as the default input device on your computer. To resolve this issue, you need to ensure that your USB microphone is correctly selected as the default input device. Here’s how:
1. Windows:
- Right-click on the speaker icon in the taskbar and select “Sounds” from the context menu.
- In the “Recording” tab, you will see a list of available recording devices. Locate your USB microphone in the list.
- Right-click on your USB microphone and select “Set as Default Device.” If it’s not already the default, you may also choose “Set as Default Communication Device.”
- Click “OK” to save the changes.
2. Mac:
- Go to “System Preferences” by clicking on the Apple icon in the top-left corner of the screen and selecting “System Preferences” from the drop-down menu.
- Click on “Sound.”
- Navigate to the “Input” tab.
- From the list of available input devices, select your USB microphone as the default input device.
After setting your USB microphone as the default input device, test it to see if it’s picking up audio. Try speaking into the microphone or using a recording software to see if the audio levels are registering properly.
If you’re still facing issues, it’s worth restarting your computer and checking the microphone settings again to ensure that the changes have taken effect. In some cases, you may need to update the driver for your USB microphone or explore other troubleshooting options.
Remember, the process may vary slightly depending on your operating system version or the specific software you’re using. However, the general idea remains the same: ensure that your USB microphone is selected as the default input device for optimal performance.
Adjust the Input Volume and Gain Settings
When your USB microphone isn’t picking up audio, it could be due to incorrect input volume and gain settings. Properly adjusting these settings can help optimize the audio quality and ensure that your microphone captures sound effectively. Here are some steps to adjust the input volume and gain settings:
1. Operating System Settings:
- On Windows, right-click on the speaker icon in the taskbar and select “Sounds” from the context menu. In the “Recording” tab, locate your USB microphone and double-click on it.
- In the microphone properties window, navigate to the “Levels” tab.
- Adjust the input volume slider to an appropriate level. Start with a mid-range setting and test the microphone to see if it’s picking up audio adequately. You may need to increase or decrease the volume depending on your specific microphone and recording environment.
- Click “OK” or “Apply” to save the changes.
2. Recording Software Settings:
- If you’re using specific recording or streaming software, open the audio settings within the program.
- Look for options related to input volume, gain, or microphone settings.
- Adjust the settings according to your preference and test the microphone to ensure the audio levels are appropriate.
- Refer to the software’s documentation or online resources for more detailed instructions on adjusting input volume and gain settings.
It’s important to find the right balance with the input volume and gain settings. If the volume is too low, the microphone may not capture sound adequately. Conversely, if the volume is too high, it can lead to distortion or clipping in the audio. Experiment with different settings to find the optimal level for your specific microphone and recording environment.
Additionally, some USB microphones also have physical controls for adjusting volume or gain. Refer to the instruction manual or the manufacturer’s website to learn how to adjust these settings on your specific microphone model.
Always test the microphone after adjusting the input volume and gain settings to ensure that it’s picking up audio as expected. If the issue persists, you may need to consider other troubleshooting steps such as updating device drivers, checking for physical damage, or exploring alternative solutions to resolve the problem.
Update or Reinstall the USB Microphone Driver
If your USB microphone is not picking up audio, outdated or faulty drivers could be the culprit. Drivers act as a bridge between your computer’s operating system and your USB microphone, allowing them to communicate effectively. Here’s how you can update or reinstall the USB microphone driver:
1. Windows:
- Open the “Device Manager” by right-clicking on the “Start” button and selecting “Device Manager” from the contextual menu.
- Expand the “Audio inputs and outputs” or “Sound, video, and game controllers” category.
- Locate your USB microphone from the list of devices and right-click on it.
- Select “Update driver” from the options.
- Choose the option to search automatically for updated driver software. Windows will scan for the latest driver updates and install them if available.
If Windows fails to find an updated driver or if you encounter any issues, you can also visit the manufacturer’s website to manually download the latest driver for your specific USB microphone model. Follow the instructions provided by the manufacturer to install the driver.
2. macOS:
- Go to the manufacturer’s website for your USB microphone.
- Search for the latest driver specifically designed for macOS.
- Follow the download and installation instructions provided by the manufacturer to update the driver.
After updating or reinstalling the USB microphone driver, restart your computer to ensure the changes are applied. Test your microphone to see if it is now picking up audio properly.
If the issue persists, you may also consider uninstalling the driver completely and then reinstalling it. To do this:
- Open the “Device Manager” (Windows) or “System Preferences” (Mac).
- Locate your USB microphone from the list of devices.
- Right-click on the microphone and select “Uninstall” or “Remove.”
- Restart your computer.
- After rebooting, reconnect your USB microphone.
Windows will automatically reinstall the default driver, or you can manually download and install the driver from the manufacturer’s website.
Updating or reinstalling the USB microphone driver can often resolve audio issues. However, if the problem persists, you may need to explore further troubleshooting steps or contact the manufacturer for additional support.
Check for Physical Damage or Loose Connections
If your USB microphone is not picking up audio, it’s important to check for physical damage or loose connections. Physical issues can affect the microphone’s ability to capture sound properly. Here are some steps to help you identify and address any physical problems:
1. Inspect the USB Cable:
Examine the USB cable connected to your microphone for any visible signs of damage such as frayed wires, cuts, or worn-out insulation. Additionally, ensure that the cable is securely plugged into both the microphone and your computer’s USB port. If you notice any damage or loose connections, consider replacing the cable with a new one.
2. Check the Microphone:
Inspect your USB microphone for any physical damage, such as dents, cracks, or loose components. Pay attention to the microphone capsule, as it is the part responsible for capturing sound. If you observe any damage, consult the manufacturer’s instructions for repair or consider contacting their support for assistance.
3. Verify the Connectors:
Ensure that the connectors on both ends of the USB cable are clean and free from debris. Dust or dirt can hinder the connection and cause audio problems. If necessary, gently clean the connectors using a microfiber cloth or compressed air.
4. Secure Mounting:
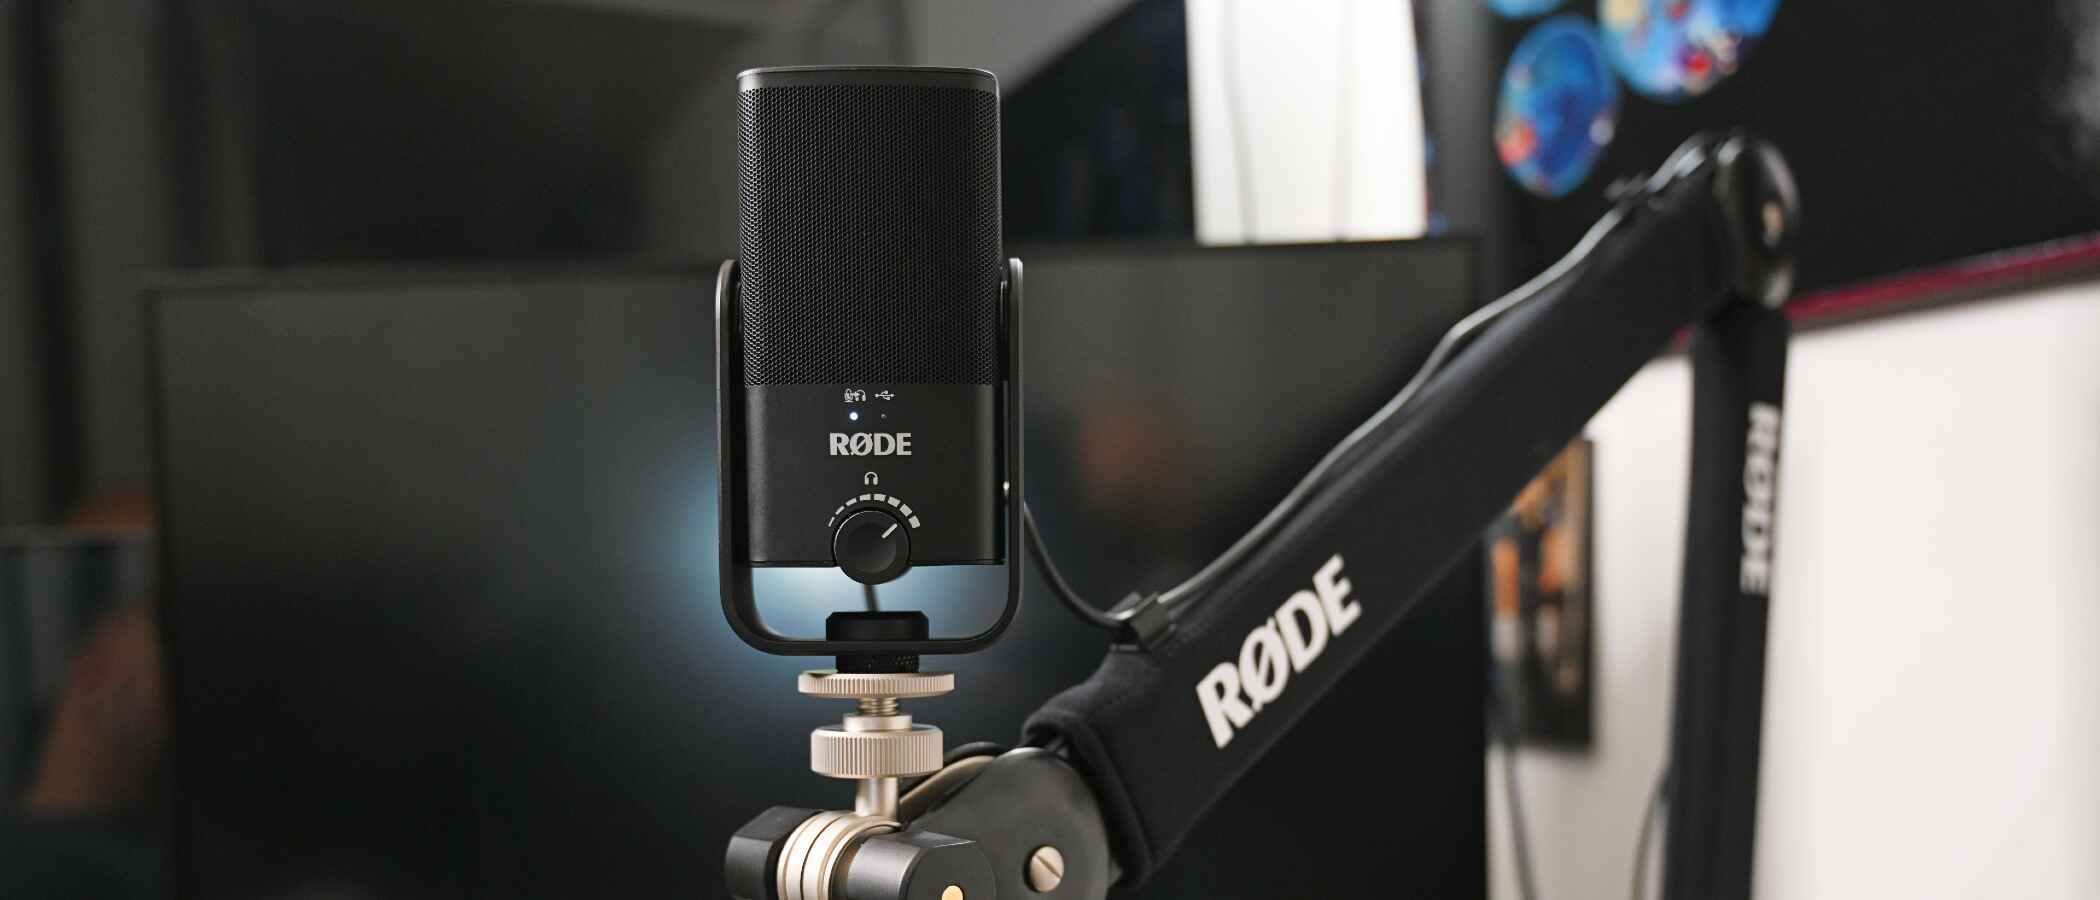
If your USB microphone is mounted on a stand or attached to a boom arm, make sure it is securely fastened. Loose mounting can result in vibrations or movement that may affect the microphone’s performance. Tighten all screws and ensure a stable and vibration-free setup.
5. Test with Different USB Ports:
Try connecting your USB microphone to different USB ports on your computer. Sometimes, the issue might be related to a faulty USB port. Testing various ports can help determine if the problem persists across all connections or is specific to a particular port.
By checking for physical damage and ensuring secure connections, you can eliminate potential issues related to the physical components of your USB microphone. However, if the problem persists, it may be necessary to explore additional troubleshooting steps or seek assistance from the manufacturer.
Test Your USB Microphone on a Different Device
If your USB microphone is not picking up audio, it’s a good idea to test it on a different device to determine if the issue lies with your computer or the microphone itself. Trying it on another device can help isolate the problem and provide valuable insights for troubleshooting. Here’s how to test your USB microphone on a different device:
1. Find an alternative device:
Look for another computer, laptop, or even a smartphone or tablet with USB support. Ensure that the device you choose has the necessary software or apps for testing the microphone.
2. Connect the USB microphone:
Use the same USB cable to connect your microphone to the alternative device. Ensure that the connection is secure.
3. Configure microphone settings:
Access the sound settings or recording software on the alternative device and make sure the USB microphone is recognized and selected as the input device. Adjust the volume and gain settings as needed.
4. Test the microphone:
Speak into the USB microphone or use a recording software to check if it’s picking up audio on the alternative device. Monitor the input levels or listen to the playback to verify that the microphone is functioning properly.
By testing the USB microphone on a different device, you can determine if the issue is specific to your computer or if the microphone itself is not working correctly. If the microphone works fine on the alternative device, there might be a problem with your computer’s settings or drivers that need to be addressed.
In the case that the USB microphone still doesn’t pick up audio on the alternative device, it’s likely that the microphone itself is faulty. In such instances, contacting the manufacturer or technical support for further assistance and possible repair or replacement may be necessary.
Testing on a different device helps narrow down the possible causes and ensures a more accurate diagnosis of the issue. It is an essential step in troubleshooting USB microphone audio problems.
Try Using a Different USB Port
If your USB microphone is not picking up audio, it’s worth trying to use a different USB port on your computer. Sometimes, certain USB ports may experience compatibility issues or have hardware problems that prevent the microphone from functioning correctly. Here’s what you can do:
1. Identify an alternative USB port:
Look for another available USB port on your computer. If you’re using a desktop, try using a port at the front or back of the tower. If you’re using a laptop, try both the USB ports on the sides and those on the back.
2. Disconnect the USB microphone:
Unplug the USB cable connecting your microphone from the current USB port. Be sure to safely remove the device if prompted by your operating system.
3. Connect the USB microphone to the alternative port:
Plug the USB cable into the different USB port on your computer. Ensure that the connection is secure, and the USB cable is inserted fully.
4. Check for recognition:
Wait for a few moments to allow your computer to recognize the USB microphone in the new port. In some cases, you may see a notification or hear a sound indicating that a new device has been connected.
5. Test the microphone:
Speak into the USB microphone or use a recording software to see if it’s picking up audio in the new USB port. Monitor the input levels or listen to the playback to ensure the microphone is working as expected.
By using a different USB port, you can rule out any issues specific to a particular port on your computer. Incompatibility or hardware problems with a USB port can sometimes cause audio issues with USB devices, including microphones.
If the USB microphone works properly in the new USB port, you can continue using it there. However, if the issue persists, it’s recommended to explore additional troubleshooting steps or consult the manufacturer for further assistance.
Remember to test the USB microphone on different USB ports if available, as it can help you identify if the problem lies with a specific port or with the microphone itself.
Use a USB Hub or Extension Cable
If you’re experiencing issues with your USB microphone not picking up audio, using a USB hub or extension cable can sometimes help resolve the problem. Here’s how you can utilize a USB hub or extension cable:
1. USB Hub:
If you have multiple USB devices connected to your computer, the USB ports may not be providing enough power to each device. By using a USB hub with its own power supply, you can ensure that each device receives sufficient power. Connect your USB microphone to the USB hub and then connect the hub to your computer’s USB port. This can help in stabilizing the power supply and potentially resolve any power-related issues that may be affecting the microphone’s functionality.
2. Extension Cable:
If you’re experiencing difficulty in connecting your USB microphone directly to your computer due to limited cable length or positioning, using a high-quality USB extension cable can provide more flexibility. Connect one end of the extension cable to your computer’s USB port and the other end to your USB microphone. Ensure that both ends are securely connected. This allows you to position the microphone in a more convenient location, potentially improving audio capture.
It’s important to note that when using a USB hub or extension cable, it’s recommended to use high-quality, shielded cables and hubs to maintain signal integrity. Poor-quality cables or hubs can introduce data loss or interference, leading to audio issues or unstable connections.
After connecting your USB microphone through a USB hub or extension cable, test it to ensure it is picking up audio properly. If the issue persists, it’s worth checking for other potential causes such as driver issues, physical damage, or software misconfigurations.
Using a USB hub or extension cable can be a practical solution to overcome power and connectivity limitations associated with USB microphones. However, they should be used as a last resort if other troubleshooting steps haven’t resolved the issue. If the problem persists, consider contacting the manufacturer or technical support for further assistance specific to your USB microphone model.
Contact the Manufacturer or Technical Support
If you’ve tried all the troubleshooting steps mentioned above and your USB microphone is still not picking up audio, it’s time to reach out to the manufacturer or technical support for further assistance. Here’s what you can do:
1. Check the manufacturer’s website:
Visit the manufacturer’s website for your USB microphone. Look for a support or contact section where you can find relevant information on how to get in touch with their support team. Many manufacturers provide online resources such as FAQs, user manuals, or community forums that might help you find answers to common issues.
2. Contact customer support:
If you’re unable to find the necessary information on their website, reach out to the manufacturer’s customer support directly. They often have specific channels such as email, live chat, or phone support available. Provide them with details about your USB microphone model, the troubleshooting steps you’ve already taken, and a clear description of the problem you’re facing.
3. Follow their guidance:
Once you’ve contacted the manufacturer or technical support, they will assess your situation and provide guidance based on their expertise. They may ask for additional information or provide specific troubleshooting steps tailored to your USB microphone model.
4. Consider warranty or repair options:
If your USB microphone is still under warranty and the support team determines that it has a manufacturing defect, they may offer repair or replacement services. Make sure to provide any necessary proof of purchase or warranty documentation. If your device is not under warranty, they may still be able to provide repair services or recommend reputable repair centers.
Remember to remain patient and follow the instructions provided by the manufacturer or technical support. They have the knowledge and expertise to assist you in resolving the issue or determining if further action is required.
Keep in mind that response times from manufacturers or support teams may vary, so allow some time for them to get back to you. Meanwhile, continue to explore alternative solutions or workarounds if possible.
Contacting the manufacturer or technical support is an important step when all other troubleshooting efforts have been exhausted. They can provide specialized assistance specific to your USB microphone and guide you towards a resolution.