Introduction
Welcome to the world of gaming and audio! If you’re an Xbox enthusiast and have recently acquired an Xbox USB microphone, you may be wondering how you can use it on your PC. Whether you’re a content creator, a streamer, or simply someone who enjoys voice chatting with friends while gaming, incorporating an Xbox USB microphone into your PC setup can greatly enhance your audio experience.
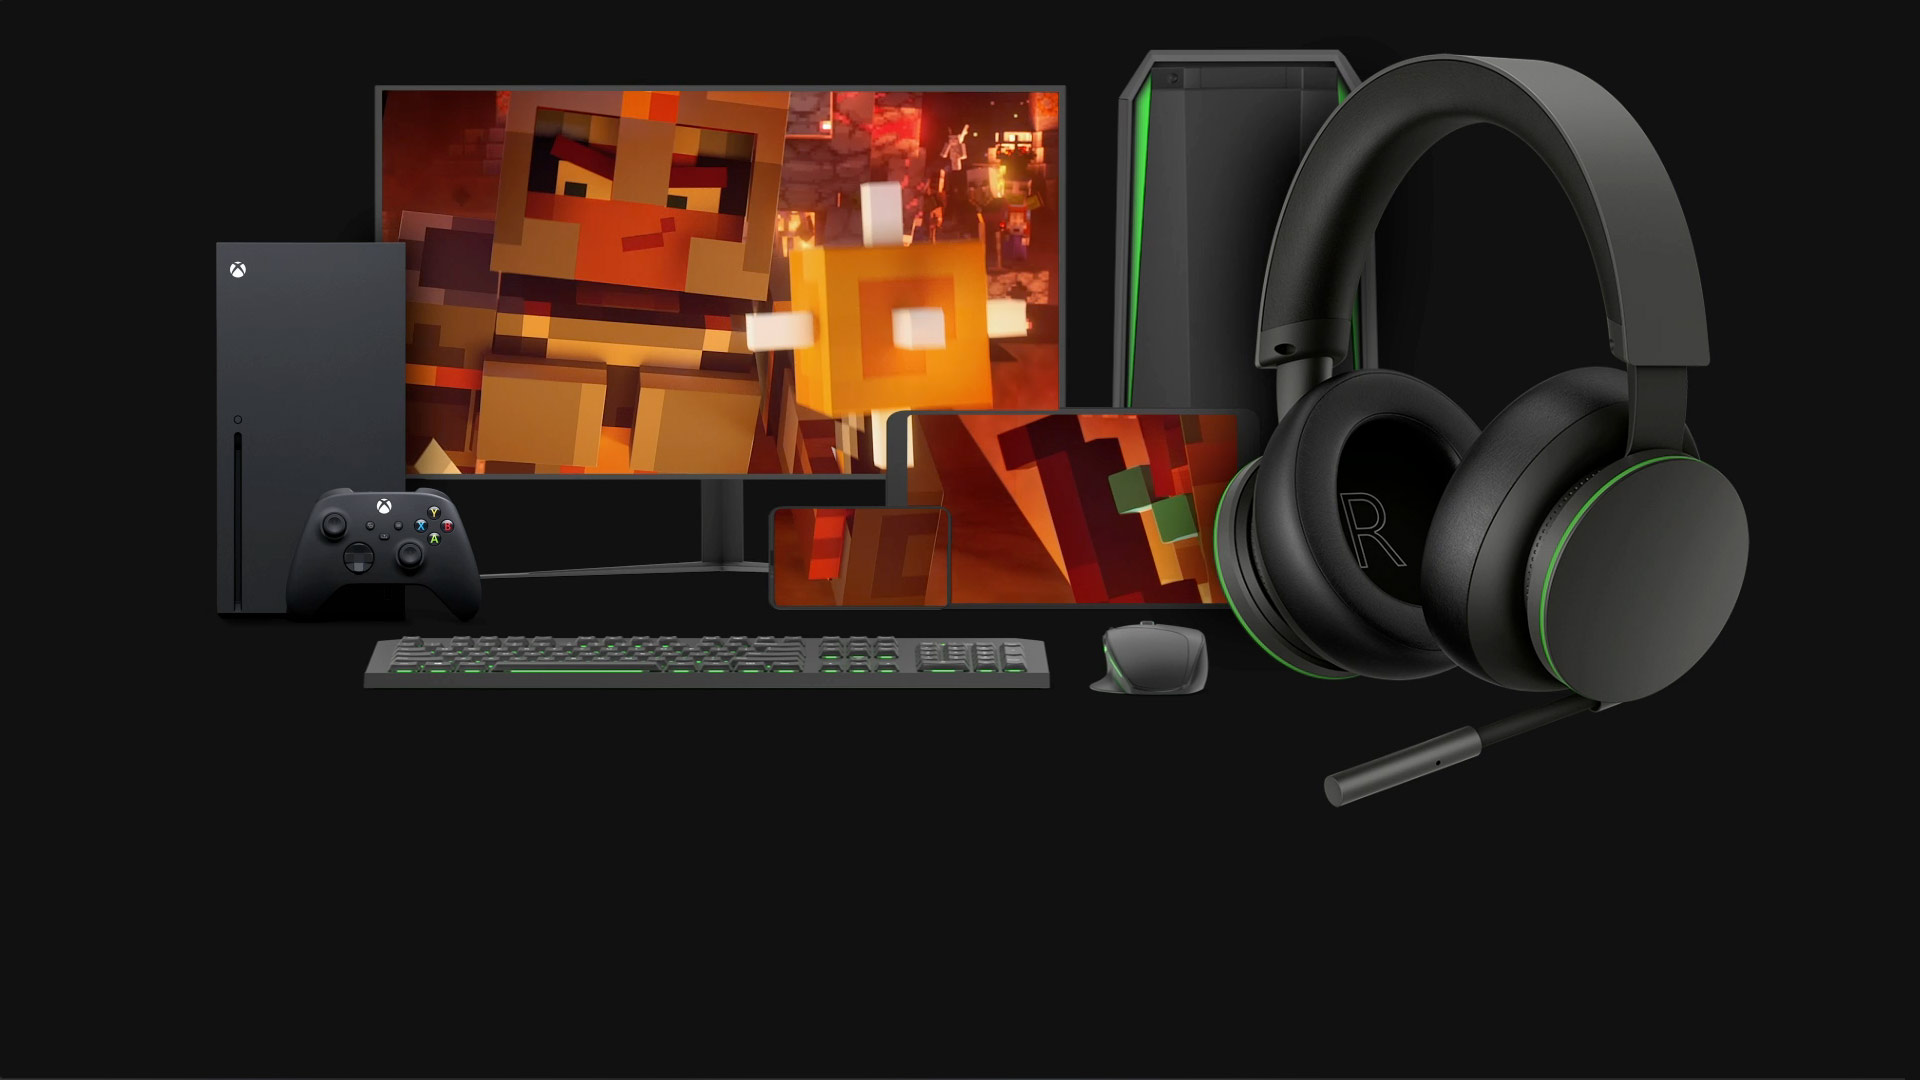
The Xbox USB microphone is a versatile device that provides crisp and clear audio quality, making it perfect for use in various scenarios. While it is primarily designed for use with the Xbox gaming console, it is also compatible with PCs, allowing you to enjoy its benefits across different platforms.
In this guide, we will walk you through the process of using an Xbox USB microphone on your PC. We will cover everything from checking compatibility with your computer to connecting the microphone and configuring the settings. By the end of this guide, you will be ready to make use of your Xbox USB microphone for a seamless and immersive audio experience on your PC.
Before we dive into the details, it’s important to ensure that your Xbox USB microphone is compatible with your PC. This will prevent any compatibility issues and ensure optimal performance.
Understanding the Xbox USB Microphone
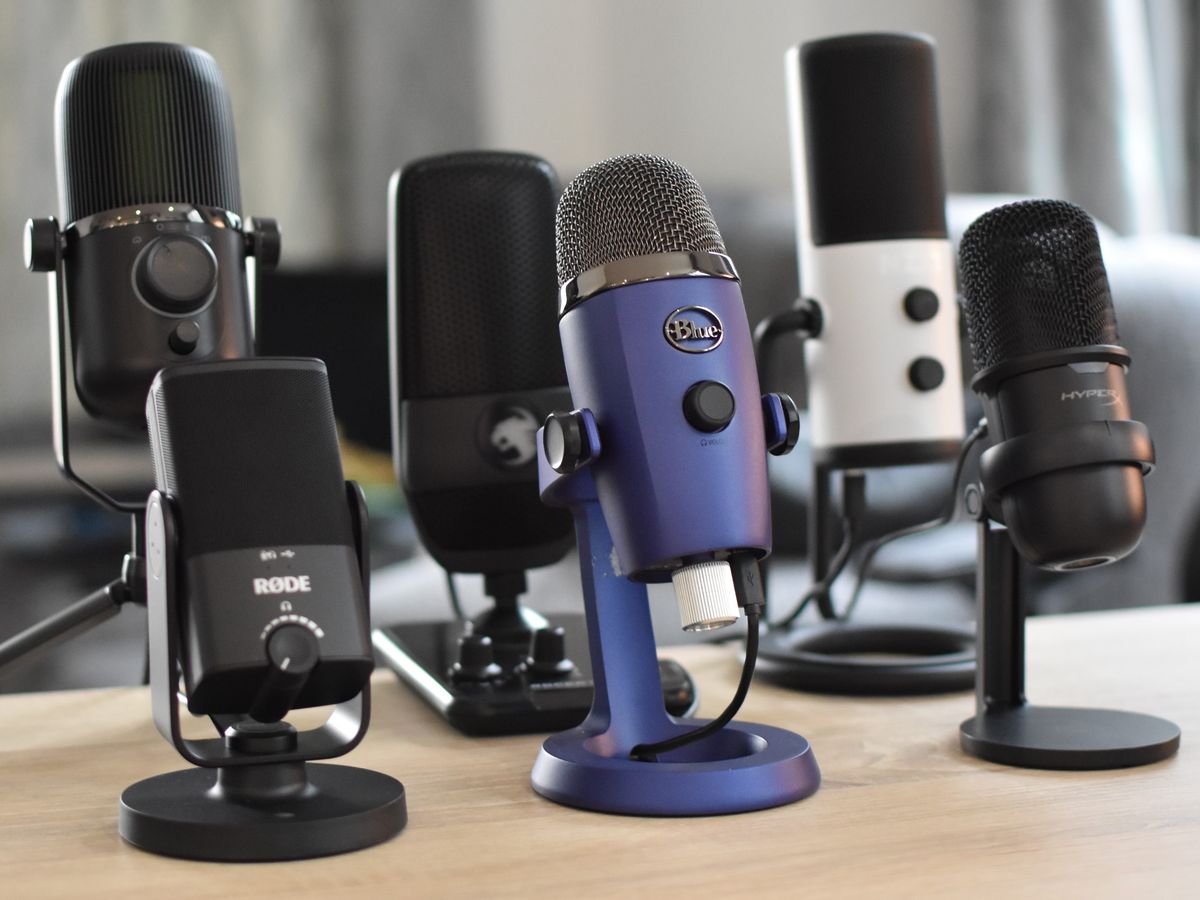
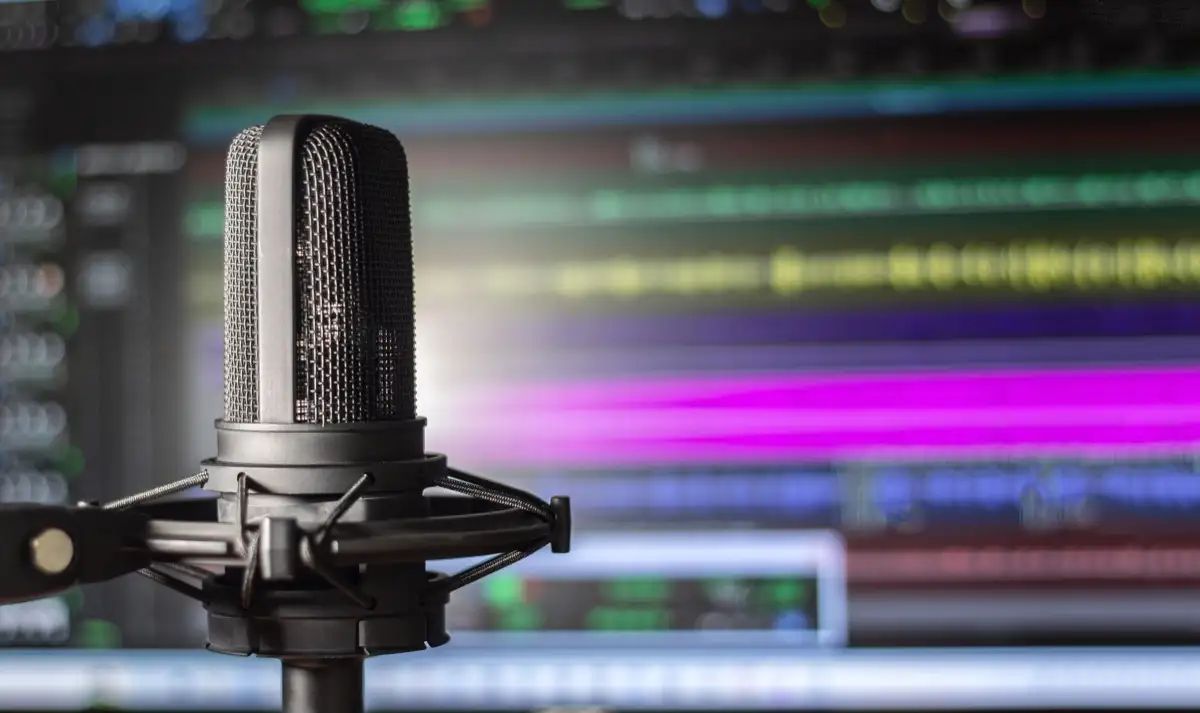
The Xbox USB microphone is a specialized peripheral designed specifically for Xbox gaming consoles. It is a compact and portable device that allows you to communicate with other players, record audio, or stream your gameplay with crystal-clear sound quality.
One of the key features of the Xbox USB microphone is its ease of use. It connects directly to the USB port on your Xbox console or PC, eliminating the need for any additional adapters or cables. This makes it a convenient option for gamers who want a hassle-free setup.
The microphone itself is built with high-quality components to ensure accurate vocal reproduction and minimal background noise. This means that your voice will be clear and crisp, allowing for effective communication with your teammates or audience.
In addition to voice communication, the Xbox USB microphone can also be used for other audio-related tasks. It can be utilized for recording voice-overs, podcasts, or even for streaming music. Its versatility makes it a valuable tool for content creators and musicians who want to produce professional-quality audio.
Furthermore, the Xbox USB microphone often comes with additional features, such as adjustable gain control and mute buttons. These allow you to fine-tune your audio levels and have complete control over your microphone during gameplay or recording sessions.
It is worth noting that while the Xbox USB microphone is primarily designed for Xbox consoles, it is also compatible with PCs running Windows and other operating systems. This means that you can use the microphone across different platforms, providing flexibility and convenience.
Now that we have a better understanding of the Xbox USB microphone and its capabilities, let’s move on to the next step: checking compatibility with your PC.
Checking Compatibility with Your PC
Before you can start using your Xbox USB microphone on your PC, it’s important to ensure that your computer is compatible with the device. This will save you time and frustration and ensure that you can enjoy a seamless audio experience.
The first step in checking compatibility is to determine the operating system of your PC. The Xbox USB microphone is compatible with various operating systems, including Windows, macOS, and Linux. Make sure that your PC is running a supported operating system to ensure proper recognition of the microphone.
Next, check the available USB ports on your PC. The Xbox USB microphone connects to your computer via a USB cable, so it’s essential to have an available USB port for connection. You may also want to ensure that the USB port is in working condition to prevent any potential connectivity issues.
In addition to the USB ports, consider the system requirements of your PC. While the Xbox USB microphone is generally compatible with most PCs, it’s always a good idea to check the minimum system requirements specified by the microphone’s manufacturer. This will ensure that your PC meets the necessary criteria for optimal performance.
Once you have confirmed the compatibility of your operating system, USB ports, and system requirements, it’s time to move on to the next step: connecting the Xbox USB microphone to your PC.
Note: If you are using Windows, it’s advisable to keep your operating system and drivers up to date to ensure smooth connectivity with the microphone.
Connecting the Xbox USB Microphone to Your PC
Now that you have confirmed the compatibility of your PC with the Xbox USB microphone, let’s proceed to the next step: connecting the microphone to your computer. The process is straightforward and only requires a few simple steps.
Start by locating an available USB port on your PC. This is where you will be plugging in the Xbox USB microphone. Ensure that the USB port is easily accessible and in working condition. If the port is covered by a dust cap, remove it before proceeding.
Next, take the USB cable that came with your Xbox USB microphone and plug one end into the USB port on your PC. Make sure the connection is secure and snug. You should hear a confirmation sound or see a notification on your computer indicating that a new device has been connected.
Once the USB cable is connected, locate the other end of the cable, which is a USB connector specifically designed for the Xbox USB microphone. Plug this end into the corresponding port on the microphone itself. Again, ensure that the connection is secure.
With the Xbox USB microphone connected to your PC, you are now ready to move on to the next step: configuring the microphone settings on your computer.
Note: Some PCs may require additional drivers to recognize and function with the Xbox USB microphone. Check the manufacturer’s website or the documentation that came with the microphone to see if any drivers need to be installed.
Configuring the Microphone Settings on Your PC
After connecting the Xbox USB microphone to your PC, the next step is to configure the microphone settings to ensure optimal performance. These settings allow you to customize the audio input levels, adjust volume controls, and make any necessary adjustments for your specific needs.
To begin, access the sound settings on your PC. The process may vary depending on the operating system you are using, but generally, you can access the sound settings by right-clicking on the speaker icon in the system tray or by navigating to the Control Panel or System Preferences and selecting the Sound option.
Once you are in the sound settings, look for the microphone section. Here, you should see the Xbox USB microphone listed as an available input device. Select the microphone and click on the “Properties” or “Settings” button to access the microphone settings.
Within the microphone settings, you will typically find options to adjust the microphone volume or gain, enable or disable enhancements such as noise suppression or echo cancellation, and select the recording format. Adjust these settings according to your preference and the requirements of your recording or communication setup.
Additionally, some applications or games may have their own microphone settings that you can configure separately. For example, in voice chat applications or recording software, you may have the option to adjust the microphone sensitivity or activate push-to-talk functionality. Explore these settings to ensure that the microphone is working properly within your preferred applications.
Once you have made the necessary adjustments to the microphone settings on your PC, it’s time to move on to the next step: testing the microphone to ensure that everything is working correctly.
Note: If you encounter any difficulties while configuring the microphone settings, consult the user manual or the manufacturer’s website for troubleshooting guides or contact their support for further assistance.
Testing the Microphone on Your PC
Once you have connected and configured the Xbox USB microphone on your PC, it’s crucial to test its functionality to ensure that it is working correctly. By conducting a test, you can verify the audio quality, check if the microphone is picking up sound, and make any necessary adjustments.
First, open the application or software where you intend to use the microphone. This could be a voice chat program, a recording software, or a game that supports voice communication. Make sure that the microphone is set as the input device within the application’s settings.
Next, find the microphone test or voice input section within the application. This can usually be found in the settings or preferences menu. Start a voice test or audio recording to check if the microphone is detecting your voice.
Speak into the microphone and monitor the audio levels or playback. You should be able to see visual feedback, such as an audio waveform or a volume meter, indicating that the microphone is picking up sound. Adjust the microphone volume or gain within the application’s settings if necessary.
During the test, pay attention to the audio quality. If you notice any distortion, background noise, or other issues, consider adjusting the microphone settings or troubleshooting the problem. This could involve modifying the sensitivity, enabling noise cancellation, or ensuring that the microphone is positioned correctly.
It is also recommended to test the microphone in different scenarios. For example, try speaking softly and loudly to assess the microphone’s ability to capture different vocal levels. Additionally, experiment with different positions or distances to find the optimal setup for your needs.
If the microphone is not working as expected, double-check all the connections, ensure that the correct microphone is selected within the application, and confirm that the microphone is not muted or disabled in the system settings. If the issue persists, refer to the manufacturer’s troubleshooting guide or contact their support for further assistance.
By thoroughly testing the microphone on your PC, you can ensure that it is functioning properly and delivering the desired audio quality. Once you are satisfied with the results, you are ready to use the Xbox USB microphone for voice chats, recordings, streaming, or any other applications that require high-quality audio input.
Troubleshooting Common Issues
While using the Xbox USB microphone on your PC, you may encounter some common issues that can affect its performance. Luckily, many of these issues can be resolved with a few troubleshooting steps. Let’s explore some of the common problems and their possible solutions.
1. No sound or audio distortion: If you are not getting any sound or experiencing audio distortion, check the volume settings on your PC and within the application you are using. Ensure that the microphone is not muted and adjust the volume or gain levels accordingly. Additionally, check if the microphone is properly connected to the USB port. If the issue persists, try using a different USB port or testing the microphone on another PC to isolate the problem.
2. Background noise or interference: If you notice excessive background noise or interference, consider adjusting the microphone settings to enable noise cancellation or reduce microphone sensitivity. Check if there are any external factors contributing to the noise, such as nearby electronic devices or a poor-quality USB cable. If necessary, try using a USB extension cable to position the microphone farther away from any potential sources of interference.
3. Mic not recognized by PC: If your PC does not recognize the Xbox USB microphone, ensure that you have the necessary drivers installed. Check the manufacturer’s website for any driver updates and install them accordingly. If you are using Windows, you can also try troubleshooting the audio device through the device manager or reinstalling the USB drivers.
4. Low or distorted microphone volume: If your microphone volume is too low or distorted, adjust the microphone gain or volume settings within the application or PC sound settings. You can also try moving the microphone closer to your mouth or speaking louder to improve volume levels. If the issue persists, consider checking for any physical damage to the microphone or testing it on another PC to determine if it’s a hardware-related problem.
5. Connectivity issues: If you are experiencing connectivity issues, try using a different USB cable or USB port. Ensure that the USB port is functioning correctly and remove any dust or debris that may interfere with the connection. You can also try restarting your PC or performing a system update to resolve any temporary software glitches that may be causing the problem.
If none of the troubleshooting steps mentioned above resolve the issue with your Xbox USB microphone, it is advisable to contact the manufacturer’s support for further assistance. They will be able to provide you with specific guidance tailored to your device and help troubleshoot any specific problems you may be experiencing.
By following the troubleshooting steps and reaching out to the manufacturer’s support when needed, you can overcome common issues and ensure that your Xbox USB microphone performs optimally on your PC.
Conclusion
Using an Xbox USB microphone on your PC can greatly enhance your audio experience whether you’re gaming, recording, or communicating with others. By following the steps outlined in this guide, you can connect, configure, and test the microphone to ensure optimal performance.
Start by checking the compatibility of your PC with the Xbox USB microphone. Ensure that your operating system is supported and that you have an available USB port. Then, connect the microphone to your PC by plugging it into the USB port. Remember to configure the microphone settings on your computer to suit your preferences and requirements.
Testing the microphone on your PC is essential to verify its functionality. Conducting audio tests, checking for sound quality, and adjusting settings as needed will ensure that your microphone is working correctly.
If you encounter any issues during the process, refer to the troubleshooting steps provided or reach out to the manufacturer’s support for further assistance.
With your Xbox USB microphone successfully connected and configured on your PC, you’re now ready to enjoy exceptional audio quality for gaming, recording, streaming, and all your other audio-related activities.
So, grab your Xbox USB microphone, connect it to your PC, and immerse yourself in the world of high-quality audio. Elevate your gaming sessions, enhance your content creation, and enjoy crystal-clear communication with friends and teammates. Let the Xbox USB microphone enhance your audio experience on your PC.