Introduction
In today’s digital era, USB microphones have become a popular choice for content creators, podcasters, musicians, and voiceover artists, as they are easy to set up, versatile, and offer high-quality sound. Whether you’re a beginner or a seasoned professional, getting the best sound from your USB microphone is essential to ensure professional-grade recordings.
In this article, we will provide you with valuable tips and techniques to help you get the most out of your USB microphone. From understanding the basics of USB microphones to optimizing their performance, we will cover everything you need to know to enhance your audio recordings.
But before we dive into the specifics, let’s get a quick overview of USB microphones. Unlike traditional microphones that require an audio interface or external power source, USB microphones have a built-in analog-to-digital converter, allowing them to connect directly to your computer or recording device via USB. This convenience makes them an ideal choice for home studios, portable setups, or anyone looking for a hassle-free recording solution.
Now, let’s explore the essential steps to maximize the sound quality of your USB microphone, starting with the setup process to ensure optimal performance.
Understanding USB Microphones
Before diving into the technicalities of optimizing your USB microphone’s sound, it’s important to have a basic understanding of how these devices work. USB microphones are designed to capture audio signals and convert them into digital data that can be transmitted to your computer via a USB connection.
One of the key advantages of USB microphones is their plug-and-play functionality. Unlike traditional microphones that require additional equipment, such as audio interfaces or preamps, USB microphones can be directly connected to your computer without the need for any external devices.
USB microphones offer different polar patterns, which determine their sensitivity to sound from different directions. The most common polar patterns are:
- Cardioid: This pattern captures sound from the front while minimizing background noise from the sides and rear. It’s ideal for single-person recordings or when you want to isolate your voice from external sounds.
- Omni-directional: This pattern captures sound from all directions, making it suitable for recording group discussions or capturing ambient sounds.
- Bi-directional: This pattern captures sound from the front and rear, while rejecting sound from the sides. It’s great for recording interviews or conversations between two people facing each other.
USB microphones come in a range of price points and quality levels. While basic models can offer respectable sound quality for casual recording, professional-grade USB microphones often feature higher sample rates, wider frequency response, and more advanced features.
Understanding the capabilities and limitations of your USB microphone is essential for optimizing its performance. By taking the time to research the specifications and experiment with different settings, you’ll be able to achieve the best sound quality for your specific needs.
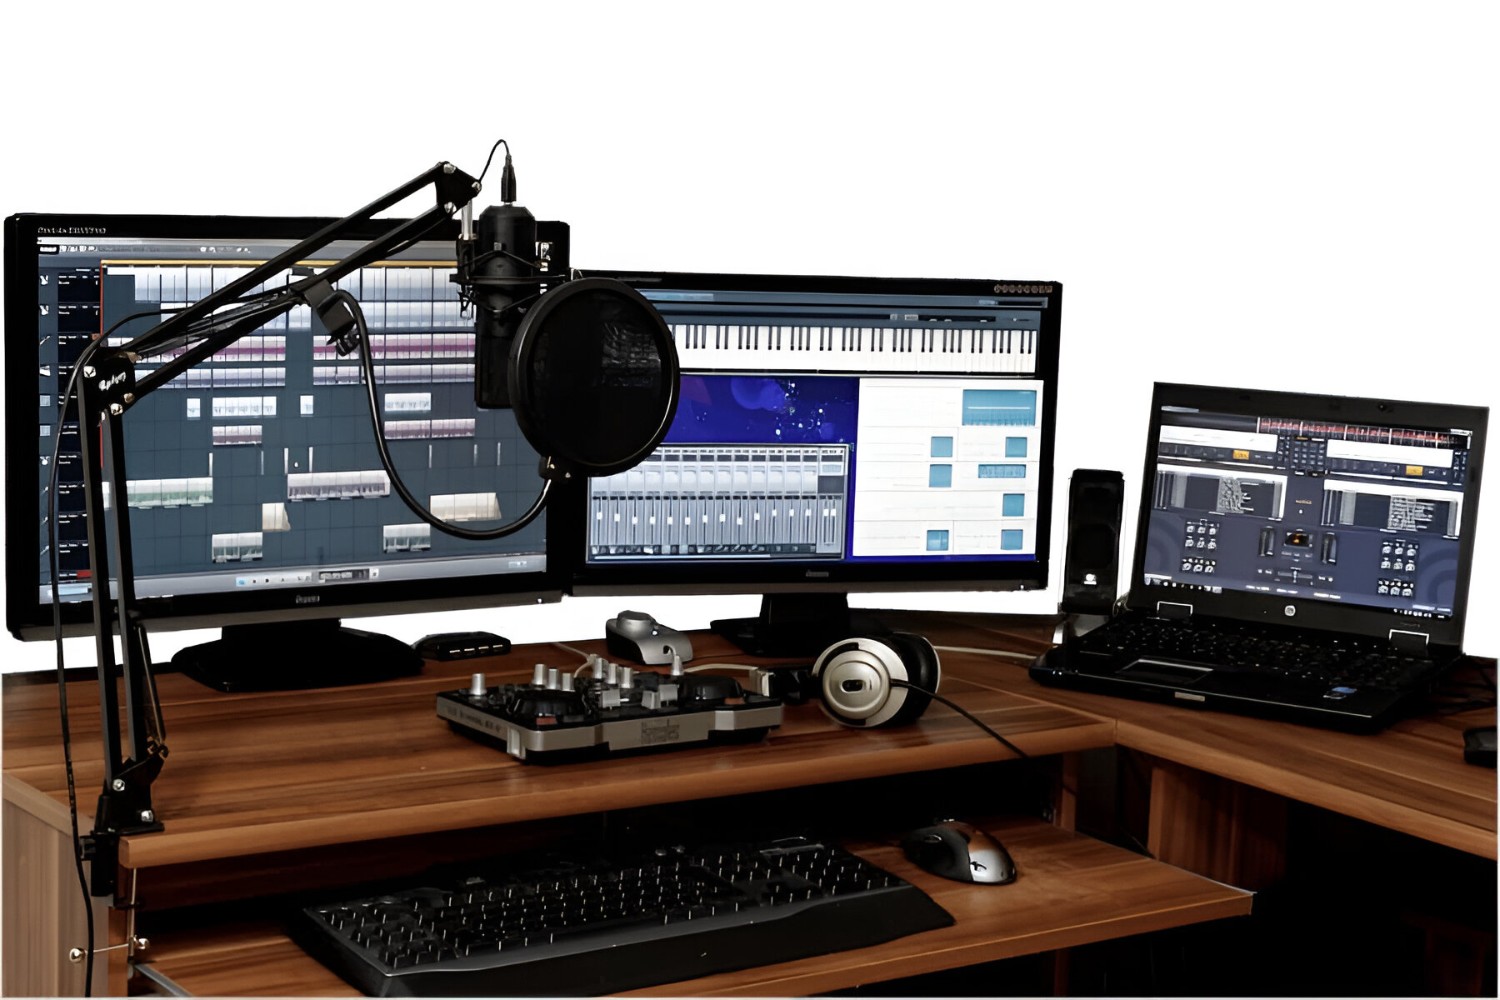
Setting Up Your USB Microphone
Once you have your USB microphone in hand, the first step in optimizing its sound is setting it up correctly. Follow these steps to ensure a proper setup:
- Choose the right location: Find a suitable spot to place your USB microphone. Consider factors such as noise levels, echo, and proximity to the sound source. A quiet and well-isolated environment will help capture clearer and cleaner audio.
- Connect the USB microphone: Plug the USB cable of your microphone into an available USB port on your computer. Make sure the connection is secure.
- Select the microphone as the input device: Go to your computer’s audio settings and select your USB microphone as the default input device. This will ensure that your computer recognizes and uses the microphone for audio input.
- Check the recording levels: Open your audio recording software and adjust the input gain levels of your USB microphone. Aim for a balance where the audio signal is strong enough to avoid noise, but not too high to cause distortion.
- Monitor your audio: Use headphones to monitor your audio while recording. This will allow you to catch any potential issues, such as background noise or distortions, and make adjustments accordingly.
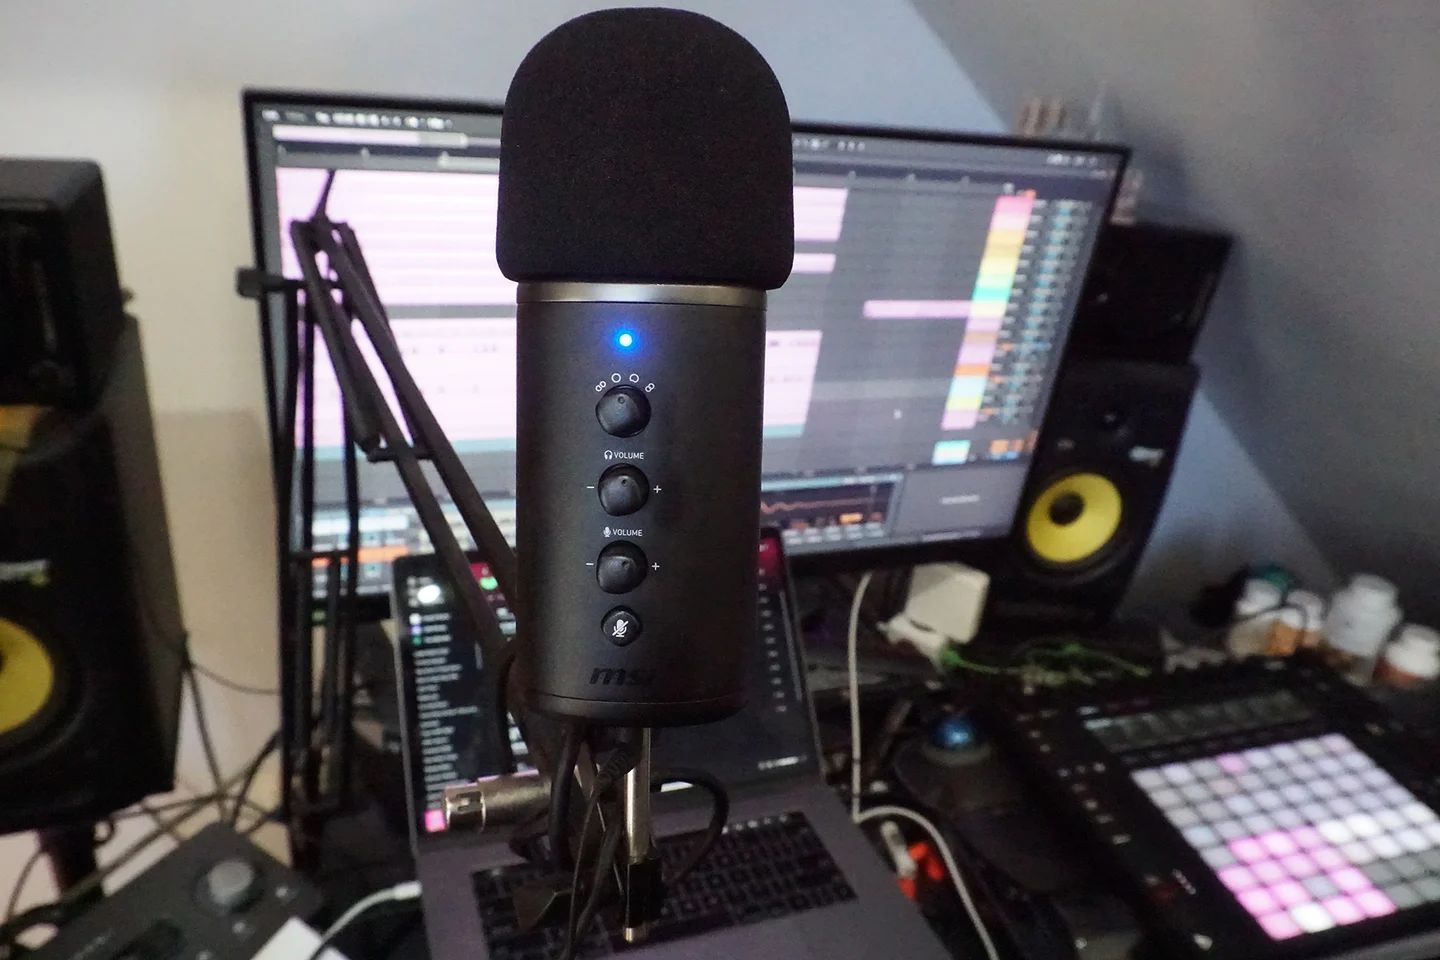
It’s worth noting that some USB microphones may have additional features, such as built-in gain control or headphone output. Familiarize yourself with the specific functions and controls of your microphone to take advantage of these features.
Remember that optimal microphone placement and positioning are crucial for achieving the best sound quality. Experiment with different distances and angles to find the sweet spot that captures your desired sound accurately.
Now that your USB microphone is properly set up, let’s move on to adjust the input gain levels to ensure a clean and robust audio signal.
Adjusting the Input Gain
Input gain refers to the sensitivity of your USB microphone to incoming sound. Properly adjusting the input gain is essential to avoid audio distortion and achieve a clean, balanced recording. Follow these steps to adjust the input gain of your USB microphone:
- Check the microphone’s gain control: Some USB microphones have a physical gain control knob or button that allows you to adjust the input gain. Locate this control on your microphone and set it to a neutral or mid-level position.
- Access your computer’s sound settings: Open your computer’s audio settings or preferences. Depending on your operating system, you can usually find this in the control panel or system preferences.
- Select your USB microphone: In the sound settings, locate the input device section and select your USB microphone as the default input device.
- Adjust the input gain: Look for the microphone or input gain slider in the sound settings and make small adjustments. Start at a low level and gradually increase the gain while speaking or making sounds into the microphone.
- Monitor the signal: While adjusting the input gain, monitor the audio levels on your recording software or audio interface. Aim for a decent signal level that peaks between -12 dB and -6 dB, without hitting the maximum level (0 dB) to prevent clipping and distortion.
- Test and fine-tune: Experiment with different input gain levels and record short samples to assess the sound quality. Listen back and adjust the gain as needed until you achieve a clear and balanced recording.
Remember that the ideal input gain may vary depending on your specific microphone, recording environment, and desired sound. It’s crucial to find the optimal balance that captures your voice or instrument without introducing unwanted background noise or distortion.
Once you have adjusted the input gain, it’s time to focus on the positioning of your USB microphone for capturing the best sound.
Positioning the Microphone
The position of your USB microphone plays a vital role in capturing high-quality sound. The proper positioning will ensure that you capture the desired sound source while minimizing unwanted background noise. Consider the following tips for positioning your USB microphone:
- Distance from the sound source: The distance between the microphone and the sound source affects the sound quality. For vocals or solo instruments, position the microphone roughly 6-12 inches away, adjusting as needed for the desired volume and tone. For group recordings or capturing room ambience, the microphone can be placed further away.
- Microphone angle: Position the microphone at a slight angle, pointing towards the sound source, to reduce plosives and achieve a more natural sound. Avoid positioning the microphone directly facing sources of wind or other disruptive sounds.
- Sound reflections: Take into account the reflective surfaces in your recording area. Consider positioning your microphone away from walls and hard surfaces to minimize echo and reverb. If necessary, use sound baffles or foam panels to absorb unwanted reflections.
- Isolation and microphone stands: Use microphone stands or boom arms to secure the microphone and avoid handling noise. Consider using shock mounts to minimize vibrations and isolating the microphone from external disturbances.
- Polar pattern selection: Depending on your recording needs, choose the appropriate polar pattern on your USB microphone. Cardioid pattern is ideal for isolating sound sources in front, while omni-directional captures sound from all directions.
It’s essential to experiment with microphone positioning to find the optimal setup for your specific recording environment and desired sound. Don’t be afraid to make small adjustments and listen back to test the clarity and presence of the recorded audio.
Next, we will discuss additional accessories, such as pop filters and windshields, that can further enhance the sound quality of your USB microphone.
Using Pop Filters and Windshields
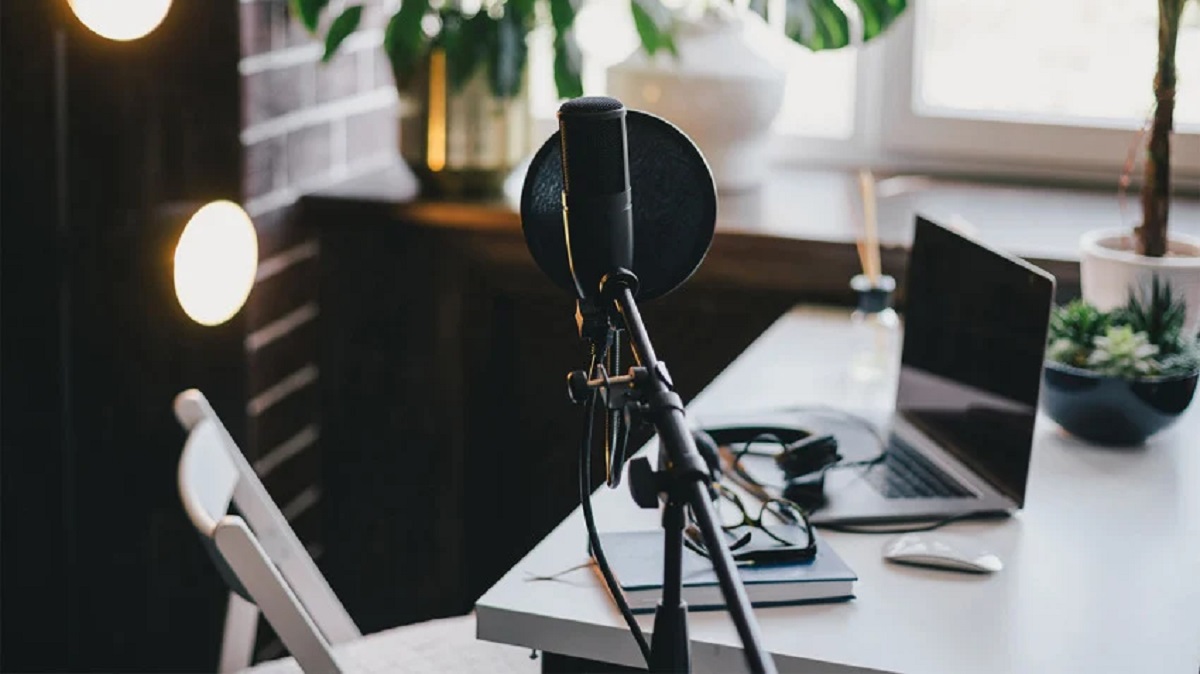
When recording vocals or any sounds that involve close proximity to the microphone, the use of pop filters and windshields can greatly improve the sound quality. These accessories are designed to minimize unwanted noises caused by plosives and gusts of air. Here’s how you can effectively use pop filters and windshields:
- Pop Filters: Pop filters are screens that are placed in front of the microphone to reduce plosive sounds, such as ‘p’ or ‘b’ sounds, that can cause vocal distortion. To use a pop filter, position it a few inches away from the microphone, ensuring that it is placed between your mouth and the microphone. This will diffuse the air blasts and soften the impact on the microphone’s diaphragm, resulting in cleaner recordings.
- Windshields: Windshields are typically foam covers or screens that are used to minimize wind noise, breath sounds, and other airflow disruptions. They are particularly useful when recording outdoors or in environments with fans or air conditioning. Simply place the windshield over the microphone to create a barrier that reduces unwanted noise caused by wind or air movement. Windshields are especially important for capturing crisp and clear outdoor recordings.
- Proper positioning: When using a pop filter or windshield, ensure that it covers the entire surface area of the microphone. It should be positioned securely and firmly so that it doesn’t interfere with your performance or cause any additional noise. Take care not to touch the microphone directly, as this can introduce handling noise.
- Cleaning and maintenance: Regularly clean the pop filter or windshield to remove any buildup of saliva or debris that may accumulate over time. Follow the manufacturer’s instructions for cleaning and maintenance to ensure the longevity and effectiveness of these accessories.
The addition of pop filters and windshields to your USB microphone setup can significantly enhance the overall sound quality by reducing unwanted noises and disturbances. Experiment with different placements and types of filters to find the combination that works best for your specific microphone and recording environment.
Now that we’ve covered the importance of reducing background noise, let’s discuss some tips for choosing the right recording software to maximize the capabilities of your USB microphone.
Reducing Background Noise
Background noise can significantly impact the quality of your recordings. To achieve professional-level sound with your USB microphone, it’s crucial to minimize or eliminate background noise as much as possible. Here are some tips to help you reduce background noise:
- Select a quiet recording environment: Choose a location with minimal background noise, such as a dedicated home studio or a quiet room. Avoid recording in areas with high traffic, loud appliances, or external noise sources.
- Use soundproofing materials: Reduce echo and external noise by incorporating soundproofing materials into your recording space. Foam panels, acoustic curtains, or even blankets can help absorb unwanted sound reflections and isolate your recordings.
- Close windows and doors: Before recording, ensure that windows and doors are closed to minimize outside noise from entering your recording space. This simple step can have a significant impact on reducing background noise levels.
- Turn off noisy electronics: Eliminate or minimize the noise generated by electronic devices, such as fans, air conditioners, or refrigerators, by turning them off during recording sessions. This will help create a cleaner audio environment.
- Position the microphone strategically: Experiment with the positioning of the microphone to find the best angle that minimizes background noise. By pointing the microphone away from noise sources and towards the desired sound source, you can achieve better isolation.
- Edit and process recordings: After recording, use audio editing software to remove any remaining background noise. Tools like noise reduction plugins or spectral editing can help to further clean up your recordings and enhance their overall quality.
- Consider using a noise gate: A noise gate is an audio processing tool that automatically cuts off or reduces the sound level when the input falls below a specified threshold. This can be effective in eliminating low-level background noise during silent parts of your recordings.
Remember that achieving complete silence may not always be possible, especially in certain environments. However, by taking these steps to minimize background noise, you can significantly improve the clarity and quality of your recordings with a USB microphone.
Next, let’s discuss the importance of choosing the right recording software to complement your USB microphone and optimize your sound recordings.
Choosing the Right Recording Software
The choice of recording software can greatly impact the quality and flexibility of your USB microphone recordings. With a wide range of options available, it’s important to choose the software that suits your needs and allows you to maximize the capabilities of your USB microphone. Consider the following factors when selecting recording software:
- Compatibility: Ensure that the software is compatible with your operating system, whether it’s Windows, Mac, or Linux. Check the system requirements of the software to ensure it will run smoothly on your computer.
- Features and functionality: Assess the features and tools offered by the recording software. Look for capabilities such as multi-track recording, audio effects, editing tools, and real-time monitoring. Choose software that provides the necessary functions for your specific recording projects.
- User-friendly interface: Opt for recording software with an intuitive and user-friendly interface. This will make the recording and editing process more efficient and enjoyable, especially if you’re new to audio recording.
- Audio file formats: Check if the recording software supports the audio file formats you plan to use. Common formats include WAV, MP3, FLAC, and AIFF. Having flexibility in file formats will ensure compatibility with various devices and platforms.
- Plugins and integration: Consider whether the recording software allows for the use of plugins and integrates with external hardware or software. This can expand your creative possibilities and allow for deeper customization of your recordings.
- Community and support: Research the software’s user community and available support resources. Look for active forums, tutorials, and responsive customer support to help you troubleshoot any issues or learn more about the software.
- Cost and budget: Determine your budget for recording software. There are free options available that offer basic recording capabilities, as well as professional-grade software that may require a financial investment. Consider the features and functionality that align with your needs and budget accordingly.
Some popular recording software options include Audacity, Adobe Audition, GarageBand (for Mac users), Reaper, and Pro Tools. Take the time to research and try out different software options to find the one that suits your preferences and workflow.
With the right recording software in place, you’ll be able to harness the full potential of your USB microphone and achieve professional-quality recordings.
Now, let’s explore additional ways to optimize your USB microphone’s sound by utilizing external sound cards.
Adjusting EQ and Compression Settings
Equalization (EQ) and compression are powerful tools for enhancing the sound quality of your USB microphone recordings. They help to balance the frequencies and control the dynamics of your audio. Here are some tips for adjusting EQ and compression settings:
- Understand EQ: EQ allows you to adjust the frequency response of your audio. Familiarize yourself with the different EQ bands, such as low, mid, and high frequencies, and learn how they affect the sound. Use EQ to correct imbalances, enhance certain frequencies, or reduce unwanted resonances.
- Identify problem frequencies: Listen to your recordings and identify any frequencies that sound too harsh, boomy, or muffled. Use a parametric EQ to pinpoint those problem frequencies and make subtle adjustments to improve the overall sound quality.
- Enhance desired frequencies: Use EQ to boost frequencies that bring out the best qualities of the sound source. For vocals, you may want to add a slight boost to the high-end frequencies to enhance clarity and presence, or add warmth by increasing the low-end frequencies for a fuller sound.
- Apply gentle compression: Compression helps control the dynamic range of your audio by reducing the difference between loud and soft sounds. Set a moderate compression ratio to even out the levels and make your recordings sound more polished and consistent.
- Adjust thresholds and ratios: Experiment with the threshold and ratio settings of your compressor to find the sweet spot for your audio. The threshold determines at what level the compression kicks in, while the ratio determines the amount of compression applied once the signal exceeds the threshold.
- Use gentle settings: Avoid overusing EQ and compression. Apply subtle adjustments to maintain a natural sound and avoid artifacts or excessive processing. It’s better to make multiple small adjustments than to add drastic EQ boosts or heavy compression, which can result in an unnatural and distorted sound.
- Listen and make adjustments: Continuously monitor and listen to the effect of your EQ and compression settings. Make adjustments as needed to achieve the desired sound. Train your ears by referencing professional recordings to develop a better understanding of how these tools can be used effectively.
It’s worth noting that the specific EQ and compression settings can vary depending on the audio source, recording environment, and personal preference. Take the time to experiment and find the settings that work best for your USB microphone and the type of sound you want to achieve.
Now that we’ve covered the essential techniques for adjusting EQ and compression settings, let’s look into the possibility of using external sound cards to further enhance your USB microphone recordings.
Using External Sound Cards
External sound cards are powerful tools that can enhance the audio quality and performance of your USB microphone recordings. They offer additional audio processing capabilities and improved sound conversion compared to the built-in sound cards of computers. Here are some benefits and tips for using external sound cards:
- Improved audio quality: External sound cards often provide higher-quality digital-to-analog and analog-to-digital conversion, resulting in cleaner and more accurate sound reproduction. This can elevate the overall recording quality of your USB microphone.
- Low latency: Sound cards designed specifically for audio recording and production typically have low-latency performance. This means you’ll experience minimal delay between your input (microphone) and output (headphones/speakers), allowing for real-time monitoring and precise control.
- Additional features: Many external sound cards come equipped with additional features such as preamps, multiple inputs/outputs, headphone amplifiers, and dedicated knobs or controls for adjusting audio levels. These features provide greater flexibility and control over your recordings.
- Reduced interference: External sound cards are often shielded better than built-in sound cards, reducing the risk of interference from other system components such as graphics cards or wireless devices. This can result in cleaner recordings with less electrical noise.
- Compatibility and connectivity: External sound cards can offer a wide range of connectivity options, including USB, Thunderbolt, or PCIe. Choose a sound card that is compatible with your computer and offers the necessary input/output options for your recording setup.
- Choose the appropriate sound card: Consider your specific recording needs when selecting an external sound card. If you’re using a USB microphone, ensure that the sound card has USB connectivity and supports the necessary sample rates and bit depths for your recordings.
- Optimize settings and drivers: Once you have connected your USB microphone to an external sound card, ensure that you have the correct settings and drivers installed. Calibrate the input and output levels to optimize the signal flow and achieve the best sound quality.
Using an external sound card can significantly enhance the audio quality and capabilities of your USB microphone. It is especially beneficial for professional recording studios or advanced audio production setups. However, it’s important to note that for many home studios or beginner-level recordings, a high-quality USB microphone and a well-optimized computer setup may be sufficient.
Now that we’ve covered the use of external sound cards, let’s summarize the key points and conclude our discussion on optimizing the sound quality of your USB microphone recordings.
Conclusion
Optimizing the sound quality of your USB microphone recordings is essential to achieving professional-grade results. By following the tips and techniques outlined in this article, you can enhance the clarity, presence, and overall quality of your audio recordings.
Start by understanding the basics of USB microphones and their various features, such as polar patterns, to ensure you’re utilizing your microphone to its fullest potential. Properly setting up your USB microphone, adjusting the input gain, and positioning the microphone strategically are crucial steps in capturing the best possible sound.
Using accessories like pop filters and windshields can further improve the quality of your recordings by minimizing plosives and reducing wind noise. Additionally, taking steps to reduce background noise, such as selecting a quiet environment and using soundproofing materials, can greatly improve the clarity of your recordings.
Choosing the right recording software that suits your needs and budget is important, as it will provide you with the necessary tools and features to enhance your USB microphone recordings. EQ and compression settings can help balance and control the sound, and external sound cards can elevate your audio quality by providing improved conversion and additional features.
Remember to always listen and make adjustments as needed during the recording process. Train your ears and experiment with different settings, but avoid going overboard with excessive processing that can result in unnatural or distorted sound.
By implementing these practices and continuously refining your recording techniques, you’ll be able to unlock the full potential of your USB microphone and deliver professional-sounding results.
Now it’s time to put this knowledge into action and start producing exceptional recordings with your USB microphone. Good luck!