Introduction
Welcome to the guide on how to get your Blue Yeti USB microphone working. Whether you’re starting a podcast, recording vocals, or live-streaming, the Blue Yeti microphone is a fantastic choice for capturing high-quality audio. However, setting it up and troubleshooting any issues can sometimes be a bit challenging. That’s where this guide comes in.
In this article, we will walk you through the necessary steps to ensure your Blue Yeti microphone is correctly connected and functioning on your computer. We will cover various aspects, including checking the microphone connection, adjusting the microphone settings in Windows, updating the microphone drivers, and troubleshooting common issues.
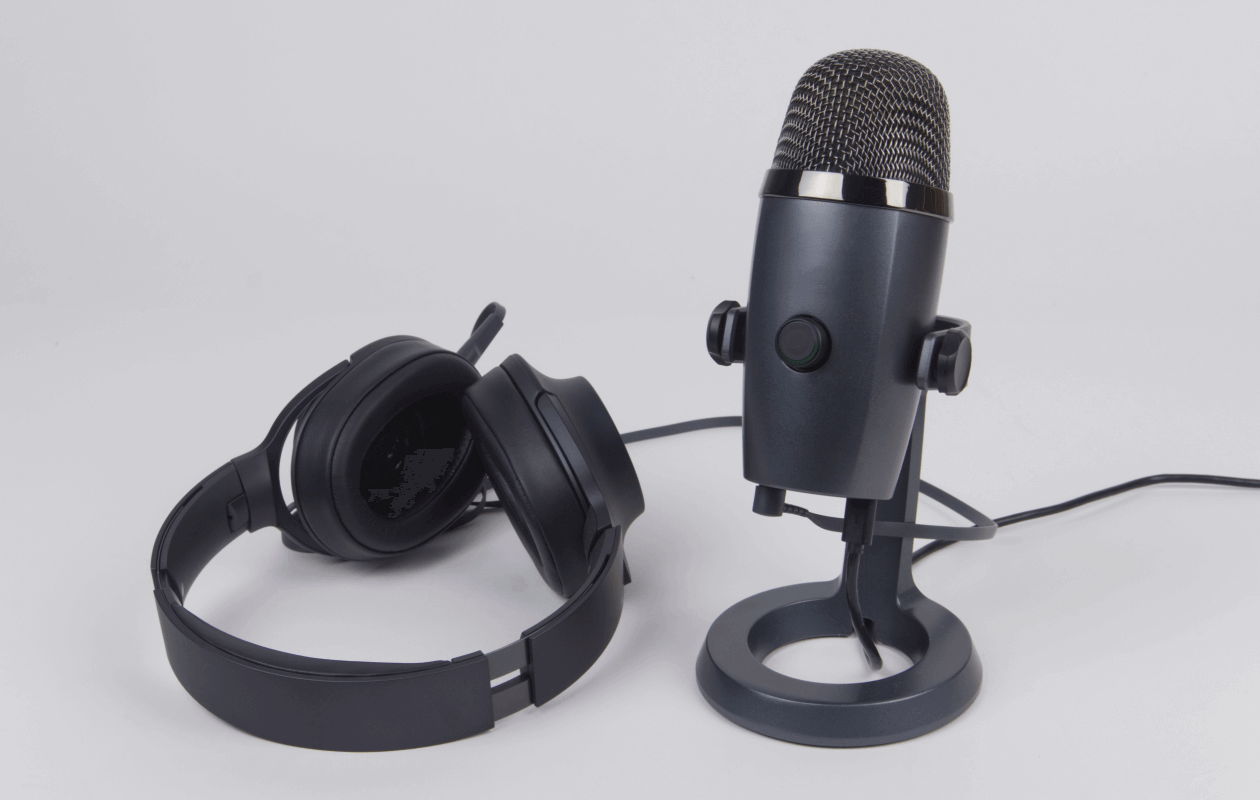
Before we dive into the specific steps, it’s essential to note that the Blue Yeti microphone is a USB device, meaning it connects to your computer via a USB port. This plug-and-play capability makes it easy to set up and use on both Windows and Mac systems.
Now that you have a brief overview, let’s get started by checking the microphone connection to ensure everything is properly connected. If you’ve already done this, feel free to skip ahead to the next section.
Checking the Microphone Connection
Before diving into troubleshooting steps, it’s essential to ensure that your Blue Yeti microphone is properly connected to your computer. Follow the steps below to do a quick check:
- Start by examining the USB cable. Make sure it is securely plugged into both the Blue Yeti microphone and an available USB port on your computer.
- If you’re using a USB hub or extension cable, try connecting the Blue Yeti microphone directly to your computer’s USB port to rule out any issues with external hardware.
- Double-check that the Blue Yeti microphone is powered on. You should see the LED light up on the microphone to indicate that it is receiving power.
- Next, make sure the microphone is selected as the input device in your computer’s sound settings. On Windows, right-click on the speaker icon in the system tray and select “Open Sound settings.” Under the “Input” section, choose the Blue Yeti microphone from the dropdown menu.
- If you’re using a Mac, go to System Preferences and click on “Sound.” In the “Input” tab, select the Blue Yeti microphone from the list of available devices.
- Once you’ve completed these steps, test the microphone by speaking into it and checking the input level. You can do this through the recording software you’re using or through the sound settings on your computer. Ensure that the input level for the Blue Yeti is visible and that it responds to your voice or sound input.
If you’ve followed these steps and your Blue Yeti microphone is still not working correctly, don’t worry. There are additional troubleshooting steps we can explore in the next sections. However, ensuring a good and reliable connection is the first and crucial step towards resolving any microphone issues.
Adjusting the Microphone Settings in Windows
If your Blue Yeti microphone is connected correctly but you’re still experiencing issues, the next step is to adjust the microphone settings in Windows. Here’s what you need to do:
- Right-click on the speaker icon in the system tray and select “Open Sound settings.”
- Under the “Input” section, click on the “Device properties” link next to the Blue Yeti microphone.
- In the microphone properties window, go to the “Levels” tab. Ensure that the microphone volume is set to an appropriate level. Adjust the slider to increase or decrease the microphone volume as needed.
- It’s also recommended to uncheck the “Allow applications to take exclusive control of this device” option under the “Advanced” tab. This can help prevent conflicts with other applications that may be accessing the microphone simultaneously.
- Click “Apply” and then “OK” to save the changes.
After adjusting the microphone settings, test the Blue Yeti microphone again to see if the issues have been resolved. If not, don’t worry. There are still a few more steps to try in order to get your microphone functioning properly.
It’s worth noting that these instructions are specific to Windows. If you’re using a Mac, the process may differ slightly. However, you can still access the microphone settings through the System Preferences and make similar adjustments accordingly.
Now that we’ve adjusted the microphone settings in Windows, let’s move on to the next step—updating the microphone drivers.
Updating the Microphone Drivers
If the Blue Yeti microphone is still not working correctly after adjusting the settings in Windows, it may be necessary to update the microphone drivers. Outdated or incompatible drivers can lead to various issues with device functionality. Follow the steps below to update the microphone drivers:
- Open the Device Manager by right-clicking on the Start menu and selecting “Device Manager” from the list.
- In the Device Manager, expand the “Audio inputs and outputs” category to reveal the Blue Yeti microphone.
- Right-click on the Blue Yeti microphone and select “Update driver.”
- Choose the option to search automatically for updated driver software. Windows will then search for the latest driver version and install it if available.
- Alternatively, you can visit the manufacturer’s website, locate the latest driver for your Blue Yeti microphone model, and download it manually. Then, follow the on-screen instructions to install the driver.
Once the driver installation is complete, restart your computer to ensure the changes take effect. After the reboot, test the Blue Yeti microphone to determine if the driver update has resolved the issue.
If the microphone is still not working correctly, it might be worth considering other potential causes, such as software conflicts or hardware malfunctions. In such cases, referring to the Blue Yeti microphone’s documentation, contacting the manufacturer’s support, or seeking professional assistance can help in resolving the problem.
Now that we’ve covered driver updates, let’s move on to the next section—troubleshooting common issues with the Blue Yeti microphone.
Troubleshooting Common Issues
If you’re still experiencing problems with your Blue Yeti microphone, don’t worry. There are several common issues that users encounter, and we’ll explore some troubleshooting steps to address them:
- No sound or low volume: Double-check that the microphone volume is not set too low in both the microphone settings in Windows and any recording software you’re using. Also, ensure that the microphone is not muted or the gain control is not turned down on the Blue Yeti itself.
- Background noise or static: If you hear static or background noise, try adjusting the microphone gain or sensitivity settings. It’s also recommended to position the microphone away from any potential sources of interference, such as electrical devices or noisy fans.
- Unrecognized or disconnected: If your Blue Yeti microphone is intermittently unrecognized or keeps disconnecting, try connecting it to a different USB port or using a different USB cable. This can help rule out any issues with the USB connection.
- Compatibility issues: Ensure that your Blue Yeti microphone is compatible with your operating system. Check the manufacturer’s website or product documentation for any specific compatibility requirements or recommended software.
- Software conflicts: Some applications or software on your computer may conflict with the Blue Yeti microphone. Try closing unnecessary programs, especially any that use audio or recording functions, to see if that resolves the issue.
- Hardware malfunctions: If none of the steps above solve the problem, there may be a hardware malfunction with your Blue Yeti microphone. In this case, reaching out to the manufacturer’s support or seeking professional assistance is recommended.
By following these troubleshooting steps, you should be able to resolve most common issues with your Blue Yeti microphone. Remember to test the microphone after each step to determine if the problem has been resolved.
If all else fails, it’s crucial to refer to the Blue Yeti microphone’s user manual or contact the manufacturer’s support for further assistance. They will be able to provide specialized guidance tailored to your specific situation.
Now that we’ve covered troubleshooting common issues, let’s wrap up this guide.
Conclusion
Setting up and troubleshooting a Blue Yeti USB microphone can sometimes be challenging, especially if you’re encountering issues along the way. However, with the steps outlined in this guide, you should be able to get your Blue Yeti microphone working properly.
We started by checking the microphone connection to ensure it was securely connected to your computer. Then, we adjusted the microphone settings in Windows, making sure that the volume and other settings were appropriately configured. If the microphone still wasn’t working correctly, we updated the microphone drivers to ensure compatibility and resolve any driver-related issues.
If you encountered common issues such as low volume, background noise, unrecognized or disconnected microphone, or compatibility issues, we provided troubleshooting steps to address them. Remember to test the microphone after each step and consider potential software conflicts or hardware malfunctions if the problems persist.
If you’ve followed all the steps and are still experiencing issues, don’t hesitate to refer to the Blue Yeti microphone’s user manual or contact the manufacturer’s support. They will have the expertise to assist you further.
Remember, patience and persistence are key when troubleshooting technical difficulties. By following this guide and seeking assistance when needed, you’ll be able to enjoy the high-quality audio recording capabilities of your Blue Yeti microphone in no time.
Happy recording!


