Introduction
Welcome to the digital age where technology continues to evolve, making our lives more convenient and engaging. One such technological advancement is the ability to connect a USB microphone to your TV. Perhaps you are a budding content creator looking to enhance your audio quality for your YouTube videos or live streams. Or maybe you simply want to have crystal-clear sound during your online gaming sessions. Whatever your reason may be, connecting a USB microphone to your TV is a straightforward process that can greatly elevate your audio experience.
In this guide, we will walk you through the step-by-step process of connecting a USB microphone to your TV. We will start by outlining the equipment you will need and then take you through each step of the connection process. By the end of this guide, you will have a clear understanding of how to seamlessly integrate a USB microphone into your TV setup.
Before diving into the technical aspects, it’s important to point out that not all TVs are compatible with external USB microphones. Therefore, it’s essential to check if your TV supports this feature. Additionally, it’s crucial to choose the right USB microphone that suits your needs and preferences. By carefully selecting the appropriate microphone and following the correct connection procedure, you can enjoy high-quality audio while using your TV.
So, let’s waste no time and get started with this comprehensive guide on connecting a USB microphone to your TV. Get ready to take your audio experience to a whole new level!
What You Will Need
Before you begin the process of connecting a USB microphone to your TV, it’s important to gather the necessary equipment. Here are the items you will need:
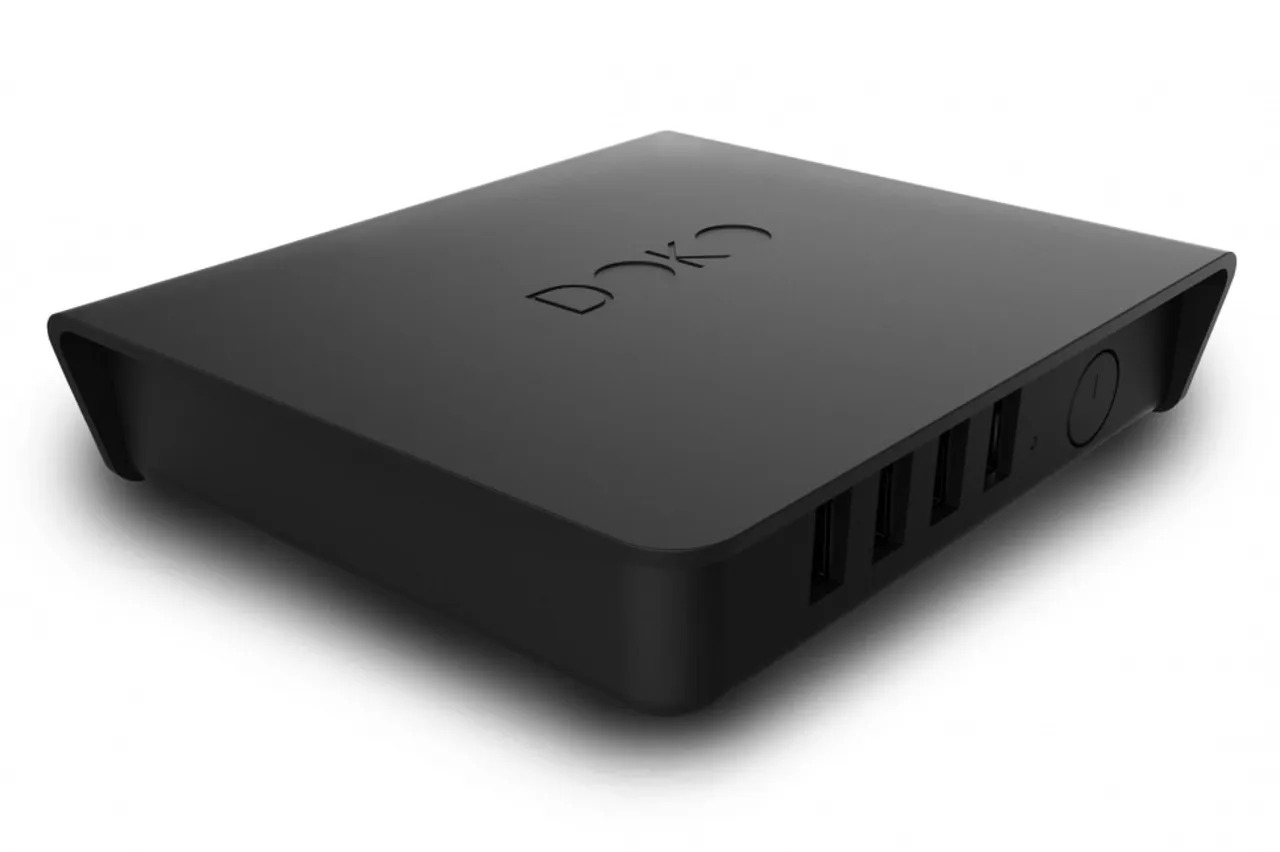
- A USB microphone: This is the core component that will capture your audio. Look for a USB microphone that is compatible with your TV and meets your sound quality requirements.
- A USB cable: Most USB microphones come with a cable, but it’s always a good idea to have an extra one on hand in case you need it.
- A TV with USB ports: Ensure that your TV has USB ports available for connecting the USB microphone. Most modern TVs have one or more USB ports conveniently located for easy access.
- Power source (optional): If your USB microphone requires power, make sure you have the necessary power source, such as batteries or an external power adapter, available to keep it running.
- Headphones (optional): If you want to monitor your audio while recording or streaming, consider using a pair of headphones connected to your USB microphone.
- Audio recording or streaming software: Depending on your specific needs, you may require software to record audio or stream it online. Make sure you have the appropriate software installed on your TV or a connected device.
By having these items ready, you will be fully prepared to connect your USB microphone to your TV and make the most of its features. Remember to carefully read the user manuals for both your USB microphone and your TV to ensure proper compatibility and optimize your audio setup.
Step 1: Check TV Compatibility
Before diving into the process of connecting a USB microphone to your TV, it’s crucial to ensure that your TV is compatible with this feature. Not all TVs support external USB microphones, so it’s essential to verify this before proceeding.
Here’s how you can check the compatibility of your TV:
- Consult the TV manual: Start by referring to the user manual that came with your TV. Look for any information regarding USB microphone support or audio input options.
- Check the TV’s specifications online: If you no longer have the manual or it doesn’t provide the necessary information, visit the manufacturer’s website or search online using your TV’s make and model. Look for specifications or compatibility details that mention USB microphone support.
- Contact customer support: If you’re still unsure about your TV’s compatibility, reach out to the manufacturer’s customer support directly. They will be able to provide you with accurate information about USB microphone compatibility and any additional requirements.
If your TV is indeed compatible with USB microphones, you’re good to go! You can proceed to the next step of choosing the right USB microphone for your TV. However, if your TV does not support external USB microphones, you may need to consider alternative audio solutions, such as using a soundbar or a wireless microphone system that is compatible with your TV.
Checking TV compatibility is an important first step that ensures you don’t waste time and effort on a process that won’t work with your particular TV model. Once you have confirmed compatibility, you can confidently move forward in setting up your USB microphone with your TV.
Step 2: Choose the Right USB Microphone
Now that you have confirmed that your TV is compatible with a USB microphone, it’s time to choose the right microphone that suits your needs and preferences. With a wide range of options available on the market, it’s important to consider the following factors:
1. Sound Quality: Look for a USB microphone that offers clear and high-quality audio. Consider the microphone’s frequency response, signal-to-noise ratio, and sensitivity to ensure optimal sound performance.
2. Polar Pattern: Determine the polar pattern that best suits your recording needs. Common polar patterns include cardioid (ideal for single-person recordings), omnidirectional (suitable for capturing sound from all directions), and bidirectional (great for interviews or podcasts with dual participants).
3. Budget: Set a realistic budget and explore USB microphones within that range. While there are options available at various price points, it’s always advisable to invest in a microphone that delivers reliable performance.
4. Additional Features: Consider any extra features that may enhance your recording experience. This could include built-in headphone jacks, volume controls, mute buttons, or adjustable stands. Choose a microphone that offers the features you need.
5. Reviews and Recommendations: Read reviews and seek recommendations from trusted sources or fellow content creators. Hearing about others’ experiences and feedback can provide valuable insights and help you make an informed decision.
Once you have selected the USB microphone that aligns with your needs, ensure that it is compatible with your TV’s operating system and has the necessary drivers or software for seamless integration. Check the manufacturer’s specifications and recommendations to ensure compatibility with your TV model.
Choosing the right USB microphone is essential to ensure optimal audio quality and a satisfactory recording experience. Take your time to research and consider your options before making a final decision. With the right microphone in hand, you’re one step closer to connecting it to your TV and enjoying professional-grade sound.
Step 3: Connect USB Microphone to TV
Now that you have selected the right USB microphone for your TV, it’s time to connect it and start enjoying improved audio quality. Follow these steps to connect your USB microphone to your TV:
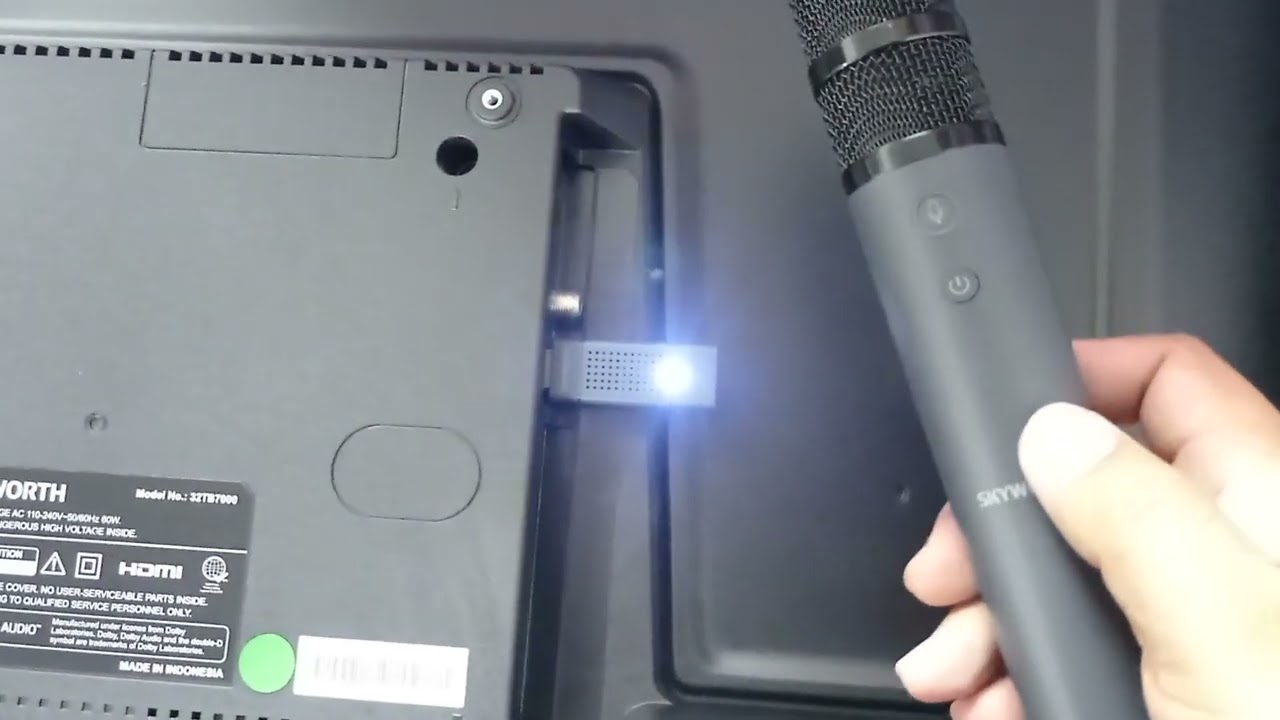
- Locate the USB port: Identify the USB port on your TV where you will connect the USB microphone. It is usually located on the back or side of the TV.
- Connect the USB cable: Take the USB cable that came with your microphone or the extra one you have prepared. Insert one end of the cable into the USB port on your TV and the other end into the USB port of your microphone. Ensure the connections are secure.
- Power on the microphone (if required): If your USB microphone requires external power, make sure it is powered on. This can be done by connecting it to a power source, such as batteries or an external power adapter.
- TV settings: On your TV, navigate to the audio settings. This can usually be done through the TV’s menu or settings options. Look for the audio input or sound settings and select the USB microphone as the input source. Consult the TV manual if you need assistance finding the audio settings.
- Check the audio output: Once you have selected the USB microphone as the input source, check the audio output to ensure that the sound is being captured from the microphone. You can do a quick test by speaking into the microphone and checking if the TV registers the audio input.
With these steps completed, your USB microphone should be successfully connected to your TV. You can now enjoy better sound quality for your videos or gaming sessions. If the microphone is not working properly, double-check the connections and TV settings to ensure everything is set up correctly.
Note that some TVs may require additional configuration or settings adjustments to properly recognize and utilize the USB microphone. Refer to the TV manual or contact customer support if you encounter any difficulties in the process.
Now that you have successfully connected your USB microphone to your TV, it’s time to move on to the next step of configuring the microphone settings to optimize your audio experience.
Step 4: Configure Microphone Settings
After connecting your USB microphone to your TV, it’s important to configure the microphone settings to ensure optimal audio performance. Here’s how you can do it:
- Access TV audio settings: Navigate to the audio settings on your TV. This can typically be done through the TV’s menu or settings options.
- Select microphone settings: Look for the microphone or audio input settings within the audio settings menu. Here, you can adjust various parameters such as volume, gain, and microphone sensitivity.
- Adjust volume and gain: Set the volume and gain levels according to your preference. The volume determines the overall loudness of the microphone output, while the gain controls the sensitivity of the microphone. Adjust these settings to achieve the desired audio level without distorting the sound.
- Configure microphone effects (if available): Some TVs may offer additional audio effects or enhancements for the microphone input. Explore these options, such as echo reduction or noise cancellation, to improve the quality of your recorded or streamed audio.
- Test the microphone: Once you have configured the settings, perform a test recording or live stream to ensure that the microphone is working as expected. Listen to the playback or monitor the live stream to check the audio quality and make any necessary adjustments.
It’s important to note that the available microphone settings may vary depending on your TV model and software. Consult the TV manual or contact customer support if you need assistance with specific settings or if you encounter any issues while configuring the microphone settings.
By taking the time to properly configure the microphone settings, you can optimize the sound quality and ensure that your recordings or streams meet your desired audio standards. Experiment with the settings and adjust them to match your preferences for a personalized and professional audio experience.
With the microphone settings configured, you are now ready to move on to the final step of testing your microphone to ensure it is functioning properly.
Step 5: Test the Microphone
After connecting and configuring your USB microphone on your TV, it’s crucial to test it to ensure that it’s functioning properly. Follow these steps to conduct a microphone test:
- Choose a testing method: Decide on the method you will use to test your microphone. You can either record a sample audio or perform a live stream to check the microphone’s performance in real-time.
- Access the recording or streaming software: If you are using recording or streaming software on your TV, open the software and prepare to record or stream.
- Start recording or streaming: Begin recording or start your live stream. Speak into the microphone and ensure that the audio is being captured and transmitted by the TV.
- Monitor audio quality: While recording or streaming, listen to the playback or monitor the live stream to assess the audio quality. Check for clarity, volume, background noise, and any distortions or anomalies in the sound.
- Adjust settings if necessary: If you are not satisfied with the audio quality, go back to the microphone settings on your TV and make adjustments. Experiment with the volume, gain, or other settings to achieve the desired sound.
- Repeat the test if needed: If you have made any adjustments, repeat the testing process to evaluate the changes and ensure that the microphone is performing as expected.
By performing a thorough test of your USB microphone, you can verify its functionality and make any necessary adjustments to optimize the audio quality. Take the time to test the microphone in different scenarios and settings to ensure consistent performance across various applications.
If you encounter any issues during the test or if the microphone is not functioning properly, double-check the connections, ensure that the microphone settings are correctly configured, and refer to the TV manual or contact customer support for further assistance.
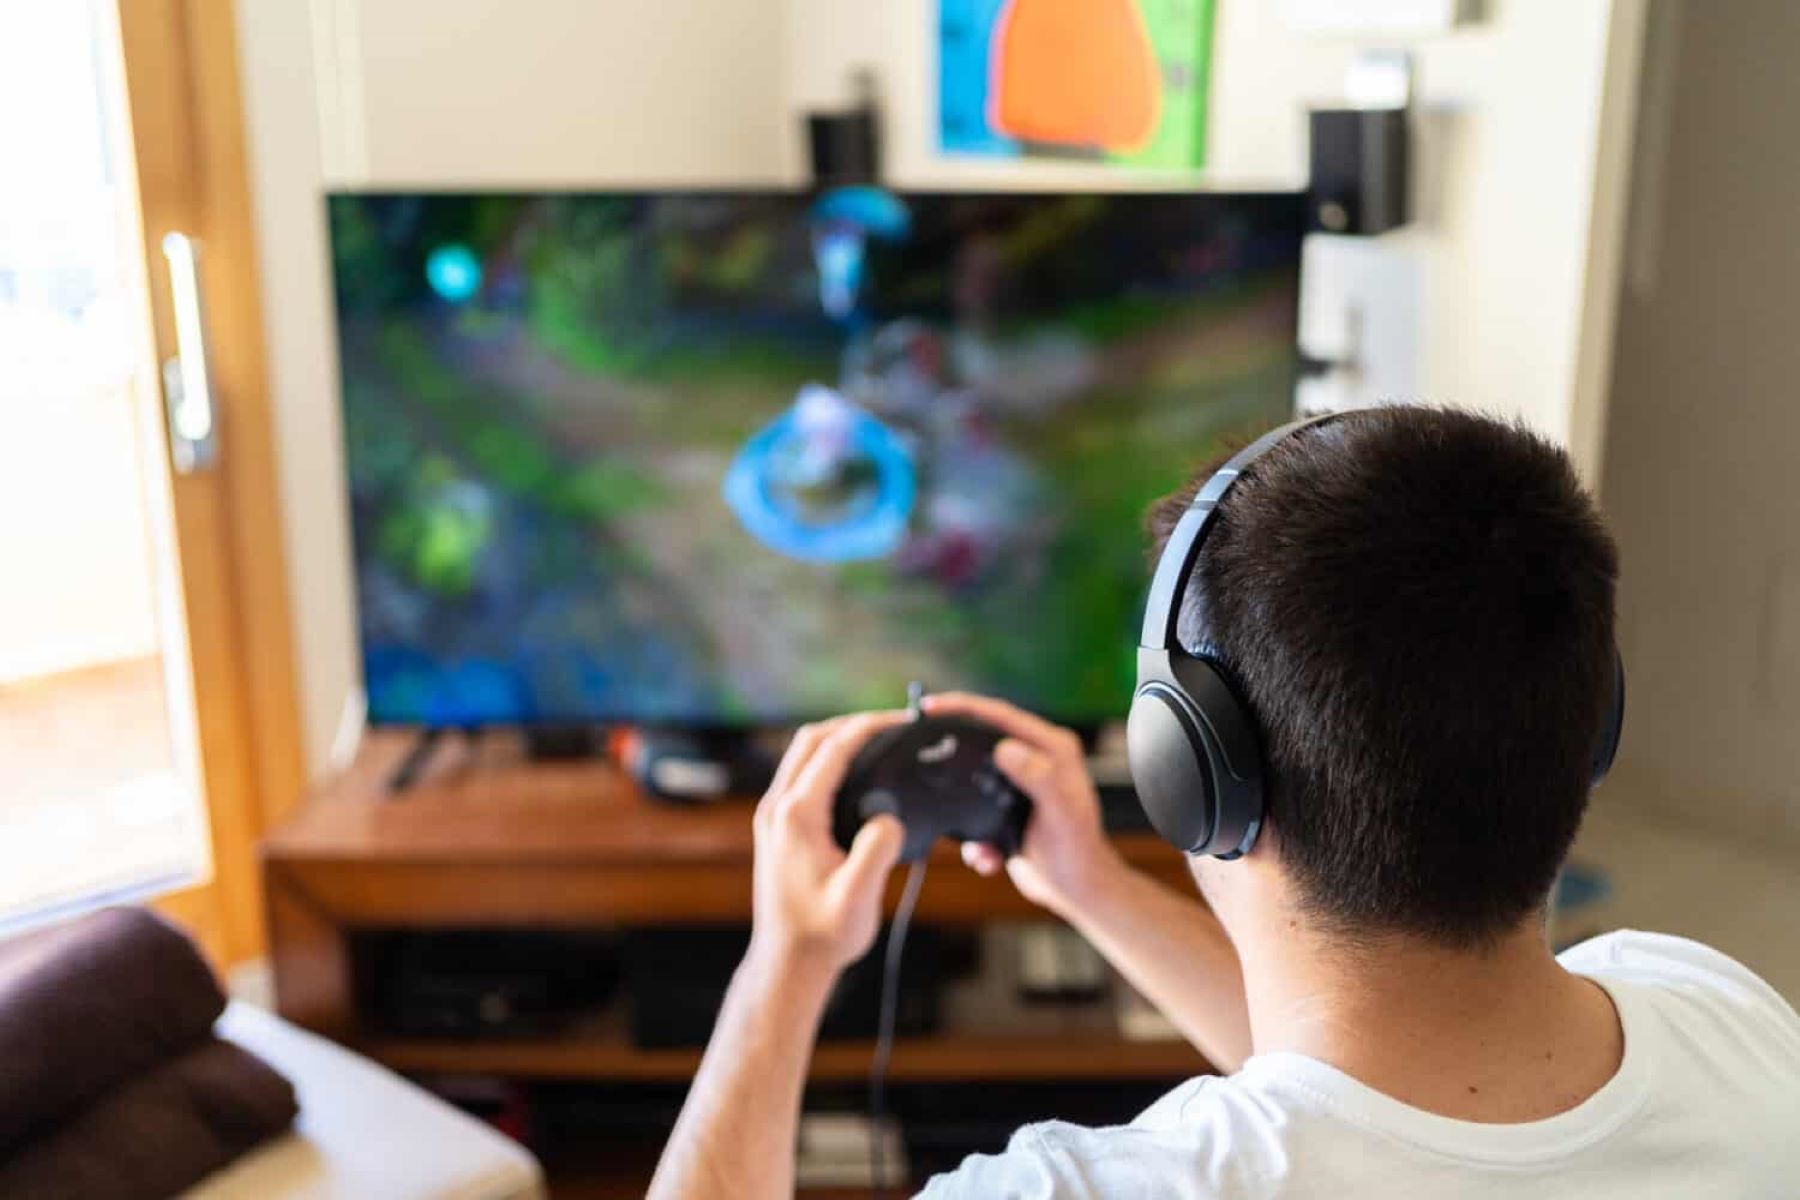
Once you are satisfied with the microphone performance and the audio quality meets your requirements, you can now confidently use your USB microphone with your TV for various applications, such as recording videos, live streaming, or engaging in online gaming.
Conclusion
Connecting a USB microphone to your TV opens up a world of possibilities for enhancing your audio experience. Whether you are a content creator, gamer, or simply want to improve the sound quality of your TV, following these steps can help you seamlessly integrate a USB microphone into your TV setup.
In this guide, we covered the essential steps to connect a USB microphone to your TV. We started by checking the compatibility of your TV, ensuring that it supports external USB microphones. Then, we discussed the importance of choosing the right USB microphone based on sound quality, polar patterns, budget, and additional features.
We proceeded by guiding you through the process of connecting the USB microphone to your TV, including identifying the USB port, connecting the USB cable, and configuring the audio settings. Additionally, we emphasized the significance of properly configuring the microphone settings to optimize sound quality.
Lastly, we emphasized the importance of testing the microphone to ensure it functions effectively. By performing a microphone test, you can evaluate the audio quality, make any necessary adjustments, and ensure a satisfactory performance for your recording, streaming, or gaming needs.
Now that you have successfully connected and tested your USB microphone, you can enjoy improved audio quality, clear sound, and an enhanced overall viewing or gaming experience.
Remember, as technology evolves and new advancements arise, it’s always a good idea to stay up-to-date with the latest USB microphone models, TV updates, and audio recording or streaming software. This will ensure that you continue to enjoy the best possible audio experience with your TV setup.
So, go ahead, connect your USB microphone to your TV, and immerse yourself in the world of high-quality, professional-grade audio!