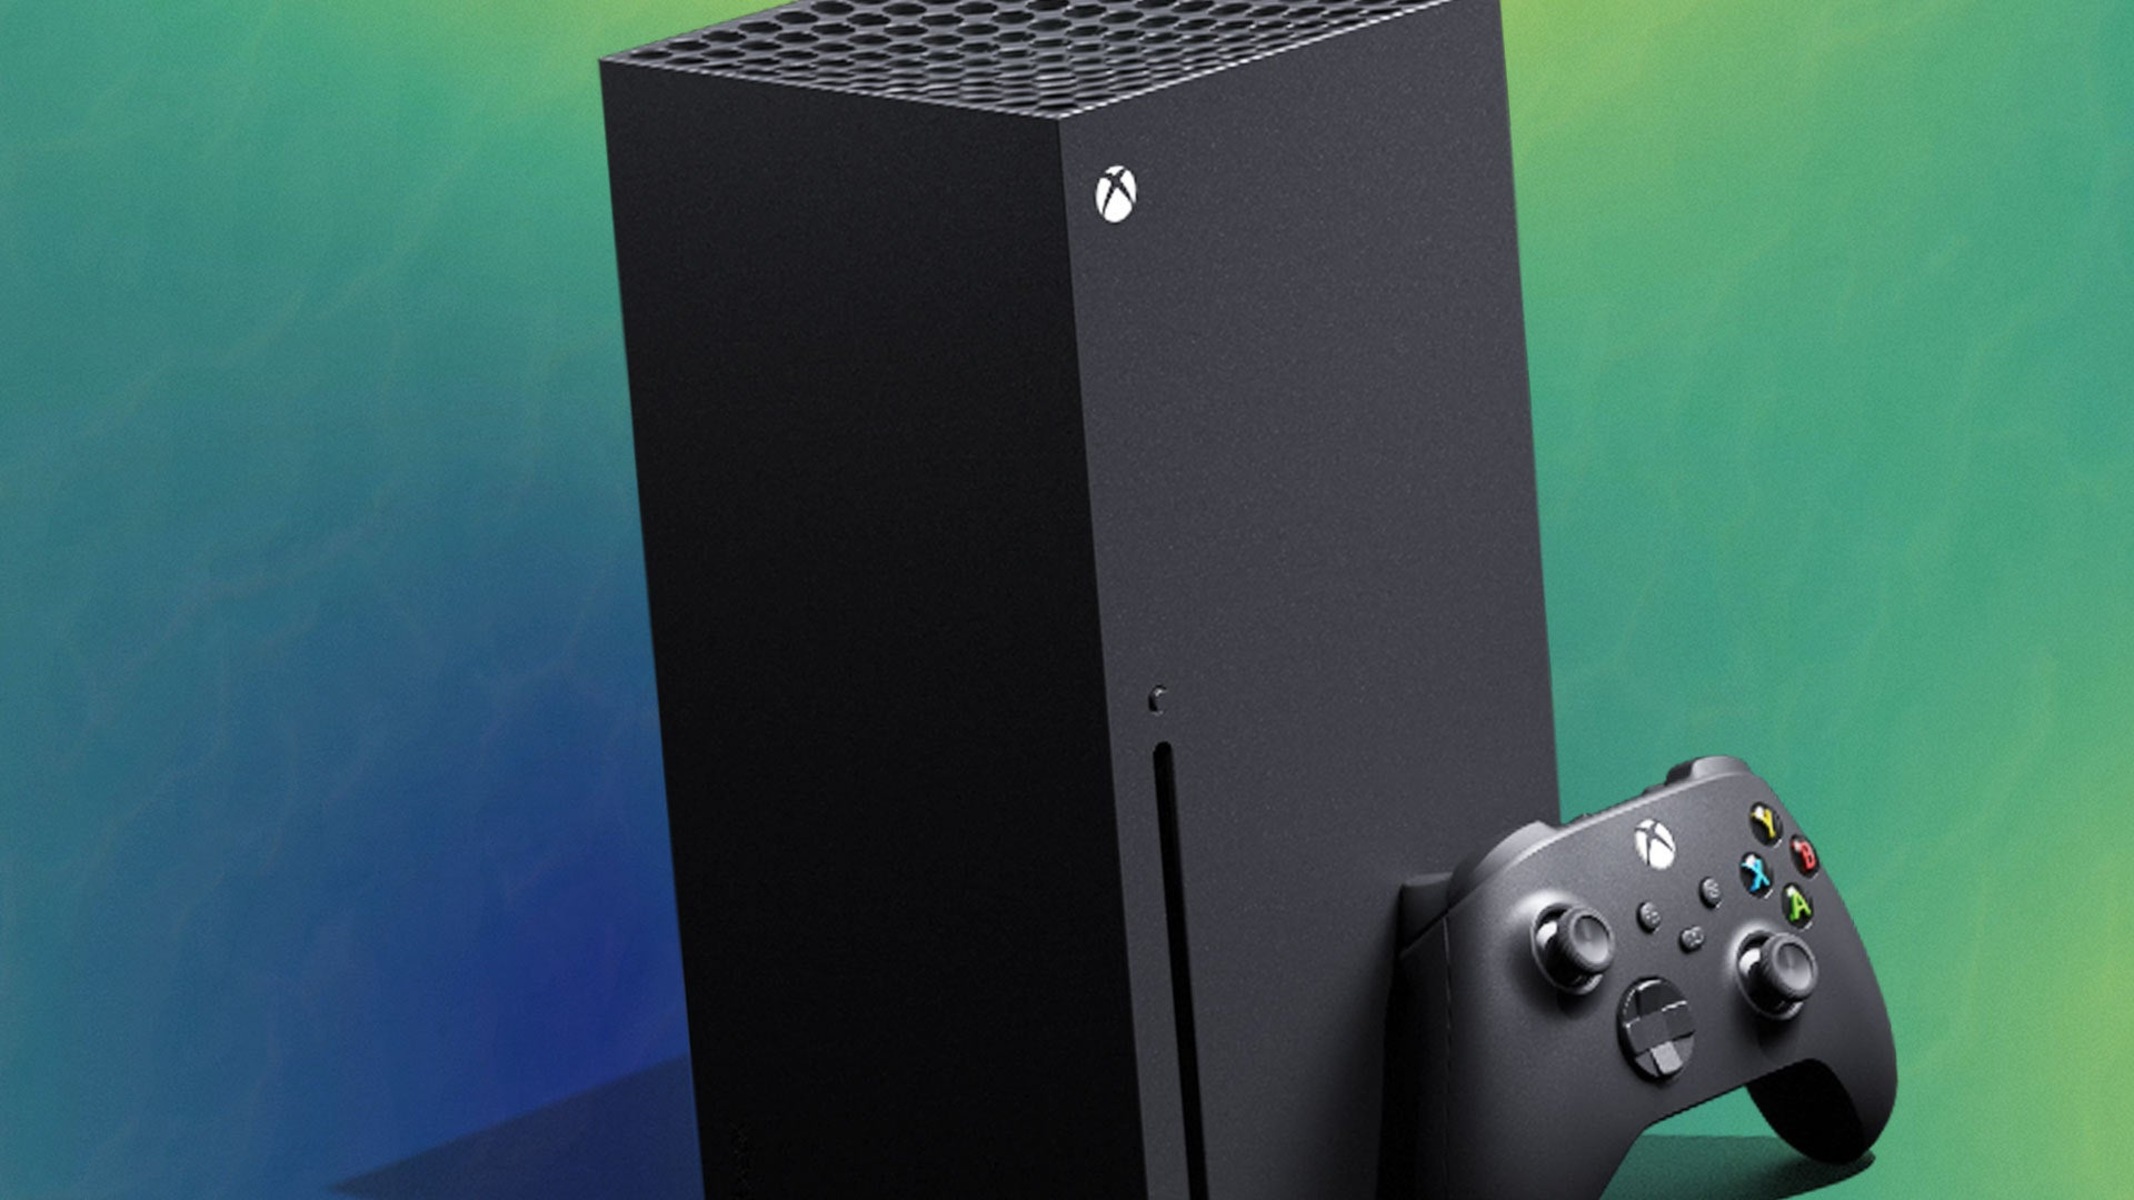
Introduction
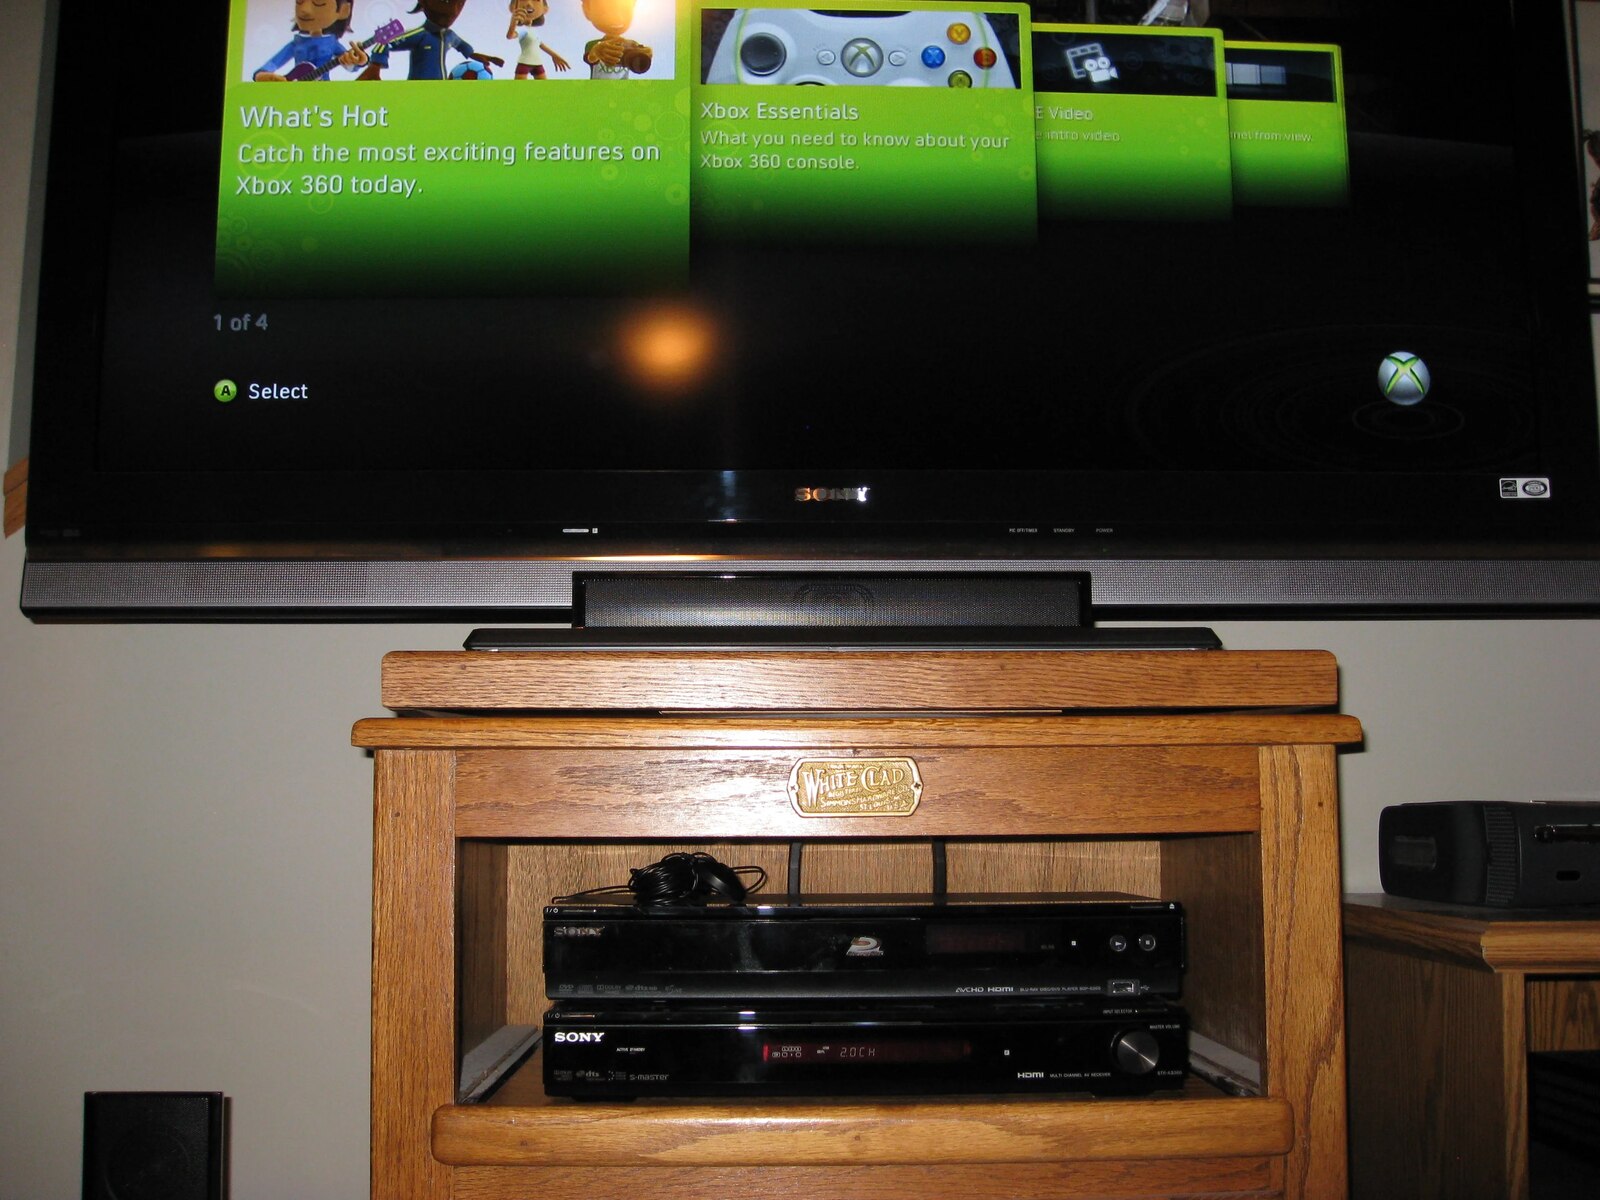
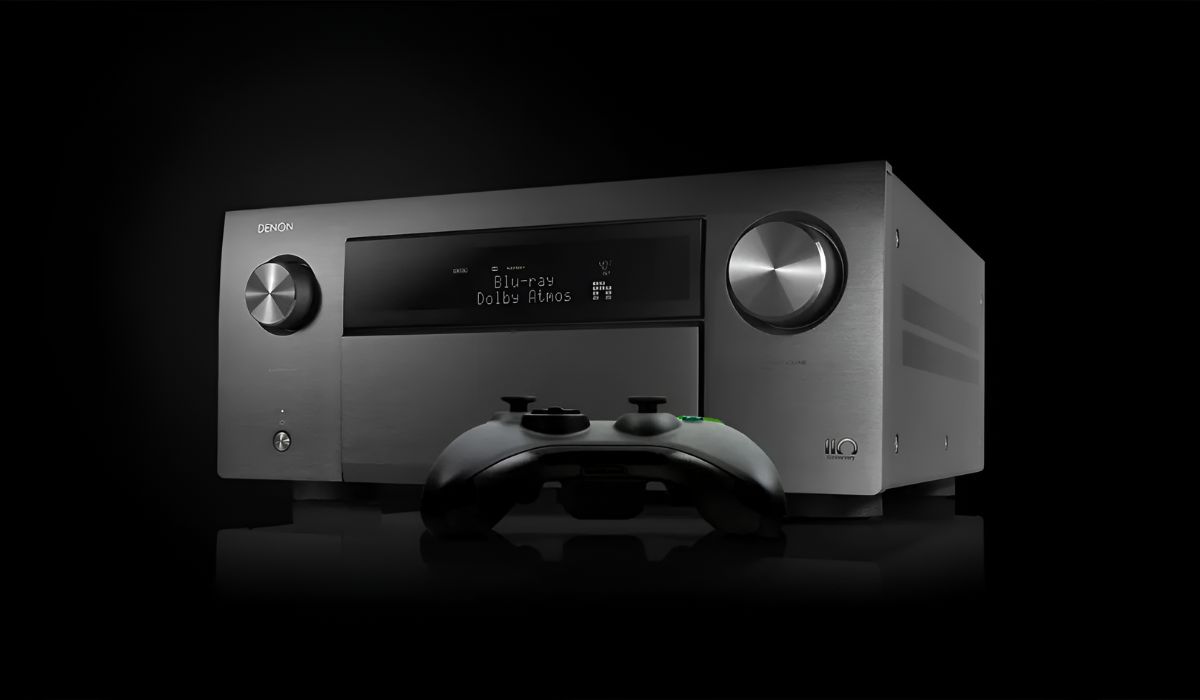
Connecting your Xbox One to a surround sound system can greatly enhance your gaming and entertainment experience. While HDMI is a popular method for audio and video transmission, there are various other options available if your surround sound system does not have an HDMI input.
In this article, we will explore multiple options for connecting your Xbox One to a surround sound system without HDMI. Whether you have an older surround sound system or prefer alternative audio connections, we’ve got you covered.
Before we dive into the different options, it’s essential to understand your specific surround sound system and its available inputs. Most systems will have various audio input options, such as optical, RCA, USB, or HDMI ARC. By identifying the available inputs on your sound system, you can choose the appropriate method for connecting your Xbox One.
Now, let’s explore the various methods you can use to connect your Xbox One to a surround sound system without HDMI.
Option 1: Connecting via Optical Cable
One popular method for connecting your Xbox One to a surround sound system without HDMI is by using an optical cable. Most modern surround sound systems feature an optical audio input that allows for high-quality audio transmission.
Here are the steps to connect your Xbox One to your surround sound system using an optical cable:
- Ensure your Xbox One and surround sound system are powered off.
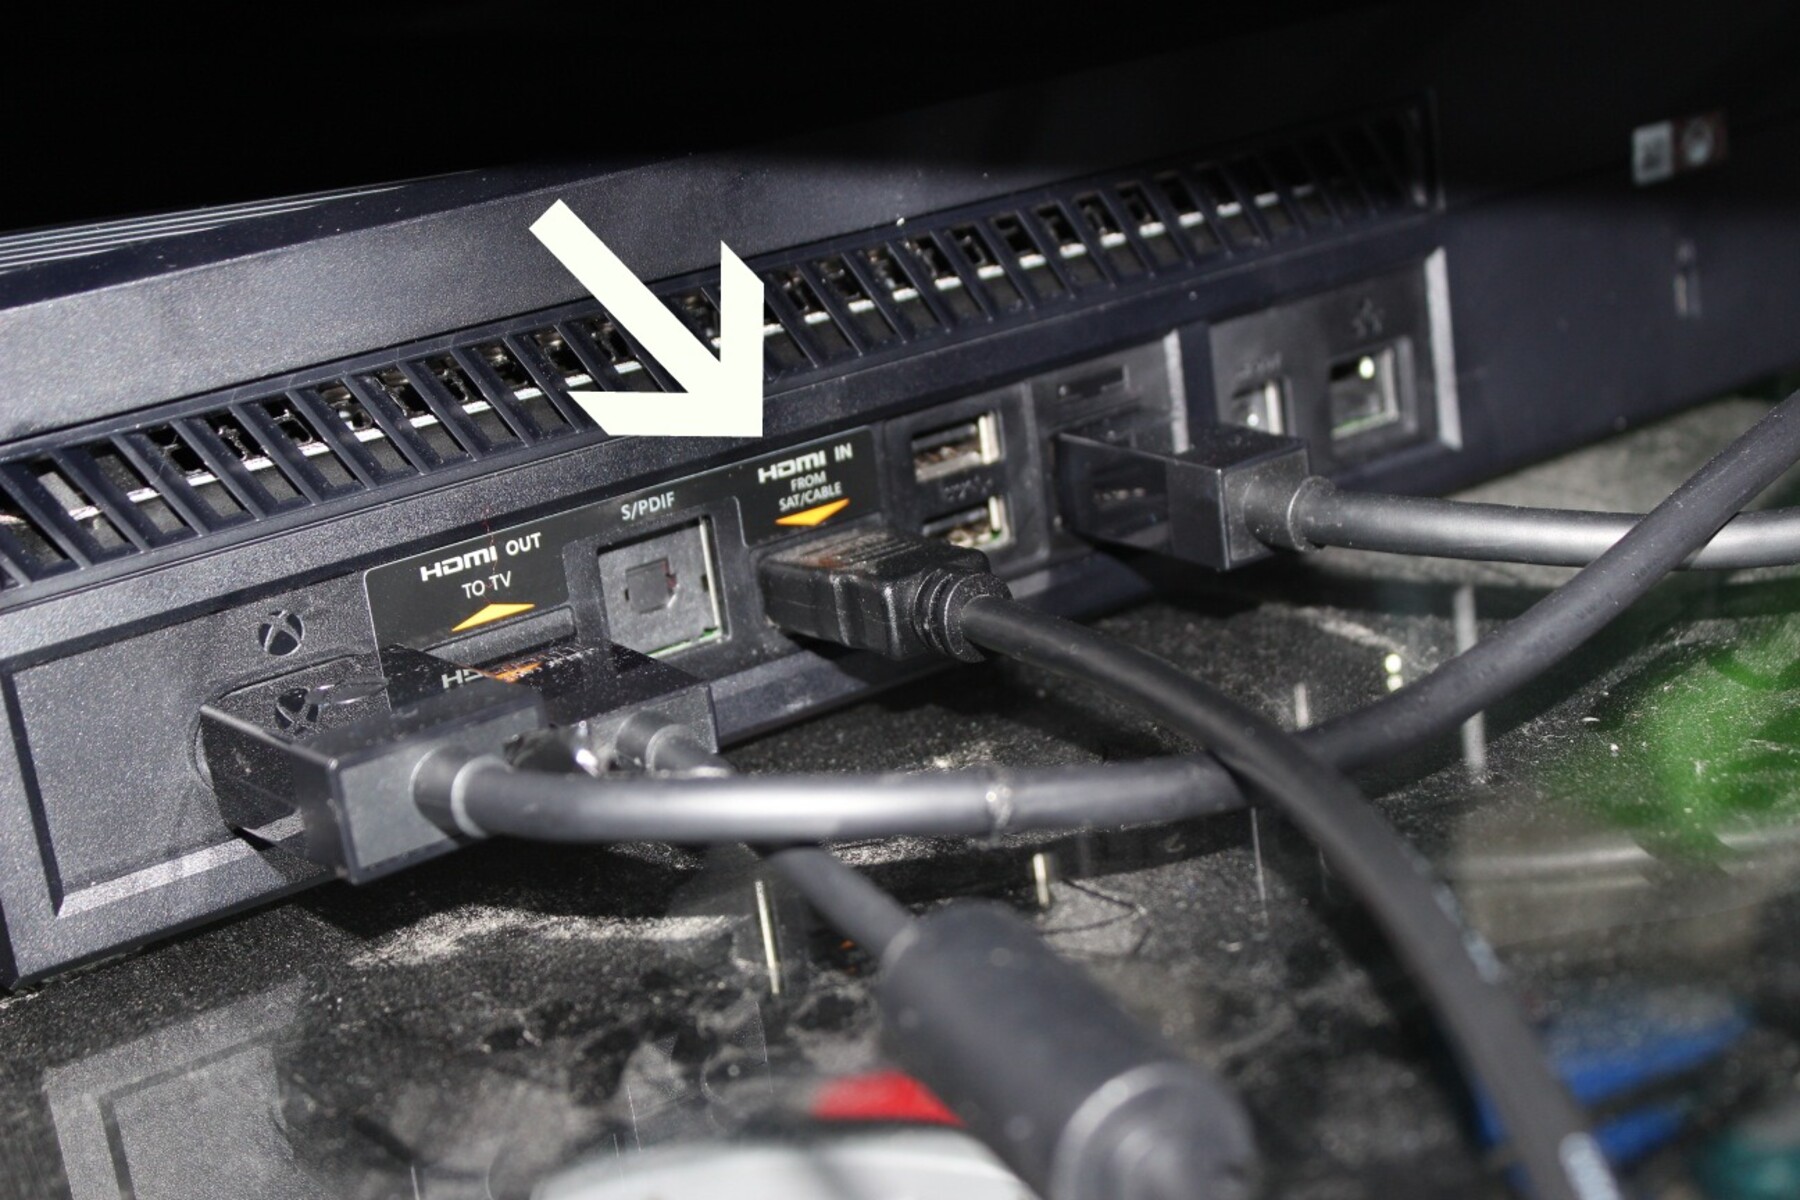
- Locate the optical audio output on your Xbox One. It is usually labeled as “Optical Audio” or “TOSLINK.”
- Insert one end of the optical cable into the optical audio output on your Xbox One.
- Take the other end of the optical cable and insert it into the optical audio input on your surround sound system.
- Power on your Xbox One and surround sound system.
- Access the audio settings on your Xbox One. Navigate to “Settings” -> “Display & sound” -> “Audio output.”
- Select the appropriate audio settings for your surround sound system. Choose “Bitstream out” and then select the desired audio format.
- Test the audio connection by playing a game or media on your Xbox One. You should now be able to enjoy immersive surround sound through your connected system!
Connecting your Xbox One to your surround sound system using an optical cable provides a reliable connection and delivers excellent audio quality. However, keep in mind that optical cables do not transmit video, so you will need to use an additional HDMI cable to connect the video output of your Xbox One to your TV or display.
Now that you know how to connect your Xbox One to a surround sound system via an optical cable, let’s explore another audio connection option in the next section.
Option 2: Utilizing RCA Cables
If your surround sound system does not have an optical audio input, another option for connecting your Xbox One is by utilizing RCA cables. RCA cables are a common audio connection method and can provide a viable alternative for audio transmission.
Here are the steps to connect your Xbox One to your surround sound system using RCA cables:
- Power off your Xbox One and surround sound system.
- Identify the RCA audio outputs on your Xbox One. These are typically color-coded red and white.
- Take the RCA cables and insert the red and white connectors into the corresponding audio outputs on your Xbox One.
- Locate the RCA audio inputs on your surround sound system. These inputs may be labeled as “Aux,” “Audio In,” or something similar.
- Insert the other end of the RCA cables into the respective audio inputs on your surround sound system.
- Power on your Xbox One and surround sound system.
- Access the audio settings on your Xbox One. Go to “Settings” -> “Display & sound” -> “Audio output.”
- Select the appropriate audio settings for your surround sound system. Choose “Stereo uncompressed” for optimal audio quality.
- Test the audio connection by playing a game or media on your Xbox One. You should now be able to enjoy audio through your surround sound system!
Utilizing RCA cables to connect your Xbox One to your surround sound system can be a simple and effective solution. However, it’s important to note that RCA cables are analog and may not provide the same level of audio quality as digital connections like HDMI or optical cables.
Now that you’re familiar with connecting via RCA cables, let’s explore another method for connecting your Xbox One to a surround sound system in the next section.
Option 3: Using a USB Adapter
If your surround sound system does not have optical or RCA inputs, you can consider using a USB adapter to connect your Xbox One to the system. This option allows for a convenient and straightforward audio connection.
Here are the steps to connect your Xbox One to your surround sound system using a USB adapter:
- Ensure your Xbox One and surround sound system are powered off.
- Obtain a USB adapter that is compatible with your Xbox One. Look for an adapter that supports audio output.
- Connect the USB adapter to one of the USB ports on your Xbox One.
- Using an appropriate audio cable, connect the output of the USB adapter to the input on your surround sound system.
- Power on your Xbox One and surround sound system.
- Access the audio settings on your Xbox One. Go to “Settings” -> “Display & sound” -> “Audio output.”
- Select the audio settings that match the capabilities of your surround sound system.
- Test the audio connection by playing a game or media on your Xbox One. You should now be able to hear the sound through your surround sound system!
By using a USB adapter, you can bypass the need for specific audio inputs on your surround sound system. This option provides flexibility, especially if your system has limited input options.
Keep in mind that the audio quality may vary depending on the USB adapter and the capabilities of your surround sound system. It’s always recommended to use high-quality adapters and cables for the best audio experience.
Now that you’re familiar with using a USB adapter, let’s explore another method for connecting your Xbox One to a surround sound system in the next section.
Option 4: Utilizing HDMI ARC
If your surround sound system supports HDMI ARC (Audio Return Channel), you can take advantage of this feature to connect your Xbox One. HDMI ARC allows for both audio and video transmission through a single HDMI cable, simplifying the setup process.
Here are the steps to connect your Xbox One to your surround sound system using HDMI ARC:
- Ensure that both your Xbox One and surround sound system are powered off.
- Locate the HDMI ARC port on your surround sound system. It is typically labeled as “HDMI ARC” or “Audio Return Channel.”
- Connect one end of an HDMI cable to the HDMI ARC port on your surround sound system.
- Insert the other end of the HDMI cable into the HDMI output port on your Xbox One.
- Power on your Xbox One and surround sound system.
- Access the audio settings on your Xbox One. Navigate to “Settings” -> “Display & sound” -> “Audio output.”
- Choose the appropriate audio settings for HDMI audio output. Select “Bitstream out” and then choose the desired audio format.
- Test the audio connection by playing a game or media on your Xbox One. You should now be able to enjoy surround sound through your connected system!
Utilizing HDMI ARC simplifies the connection process by consolidating both audio and video transmission into a single cable. This method eliminates the need for additional audio cables.
It’s important to note that both your surround sound system and TV must support HDMI ARC for this option to work. Additionally, ensure that the HDMI ARC port on your TV is connected to the HDMI ARC port on your surround sound system.
Now that you’re familiar with utilizing HDMI ARC, let’s explore another method for connecting your Xbox One to a surround sound system in the next section.
Option 5: Employing an Audio Extractor
If your surround sound system lacks the necessary input options, an alternative solution is to use an audio extractor. An audio extractor allows you to extract the audio signal from your Xbox One and send it to your surround sound system through compatible audio connections.
Here are the steps to connect your Xbox One to your surround sound system using an audio extractor:
- Ensure that your Xbox One and surround sound system are powered off.
- Purchase an audio extractor that supports the audio connections you have available on your surround sound system. Common audio connections include optical, RCA, or HDMI.
- Connect one end of the appropriate audio cable (optical, RCA, or HDMI) to the output port on your audio extractor.
- Insert the other end of the audio cable into the corresponding audio input on your surround sound system.
- Connect an HDMI cable from the HDMI output on your Xbox One to the HDMI input on the audio extractor (if available).
- Power on your Xbox One, audio extractor, and surround sound system.
- Configure the audio settings on your Xbox One. Navigate to “Settings” -> “Display & sound” -> “Audio output.”
- Choose the audio settings that best match your surround sound system’s capabilities.
- Test the audio connection by playing a game or media on your Xbox One. Your surround sound system should now produce immersive audio!
Using an audio extractor provides flexibility by allowing you to connect your Xbox One to your surround sound system through different audio connections. It can be an ideal solution if your system has limited input options or if you need to convert the audio signal to a different format.
Remember to choose a high-quality audio extractor that supports the desired audio connections and formats for optimal performance.
Now that you’re familiar with employing an audio extractor, let’s explore another method for connecting your Xbox One to a surround sound system in the next section.
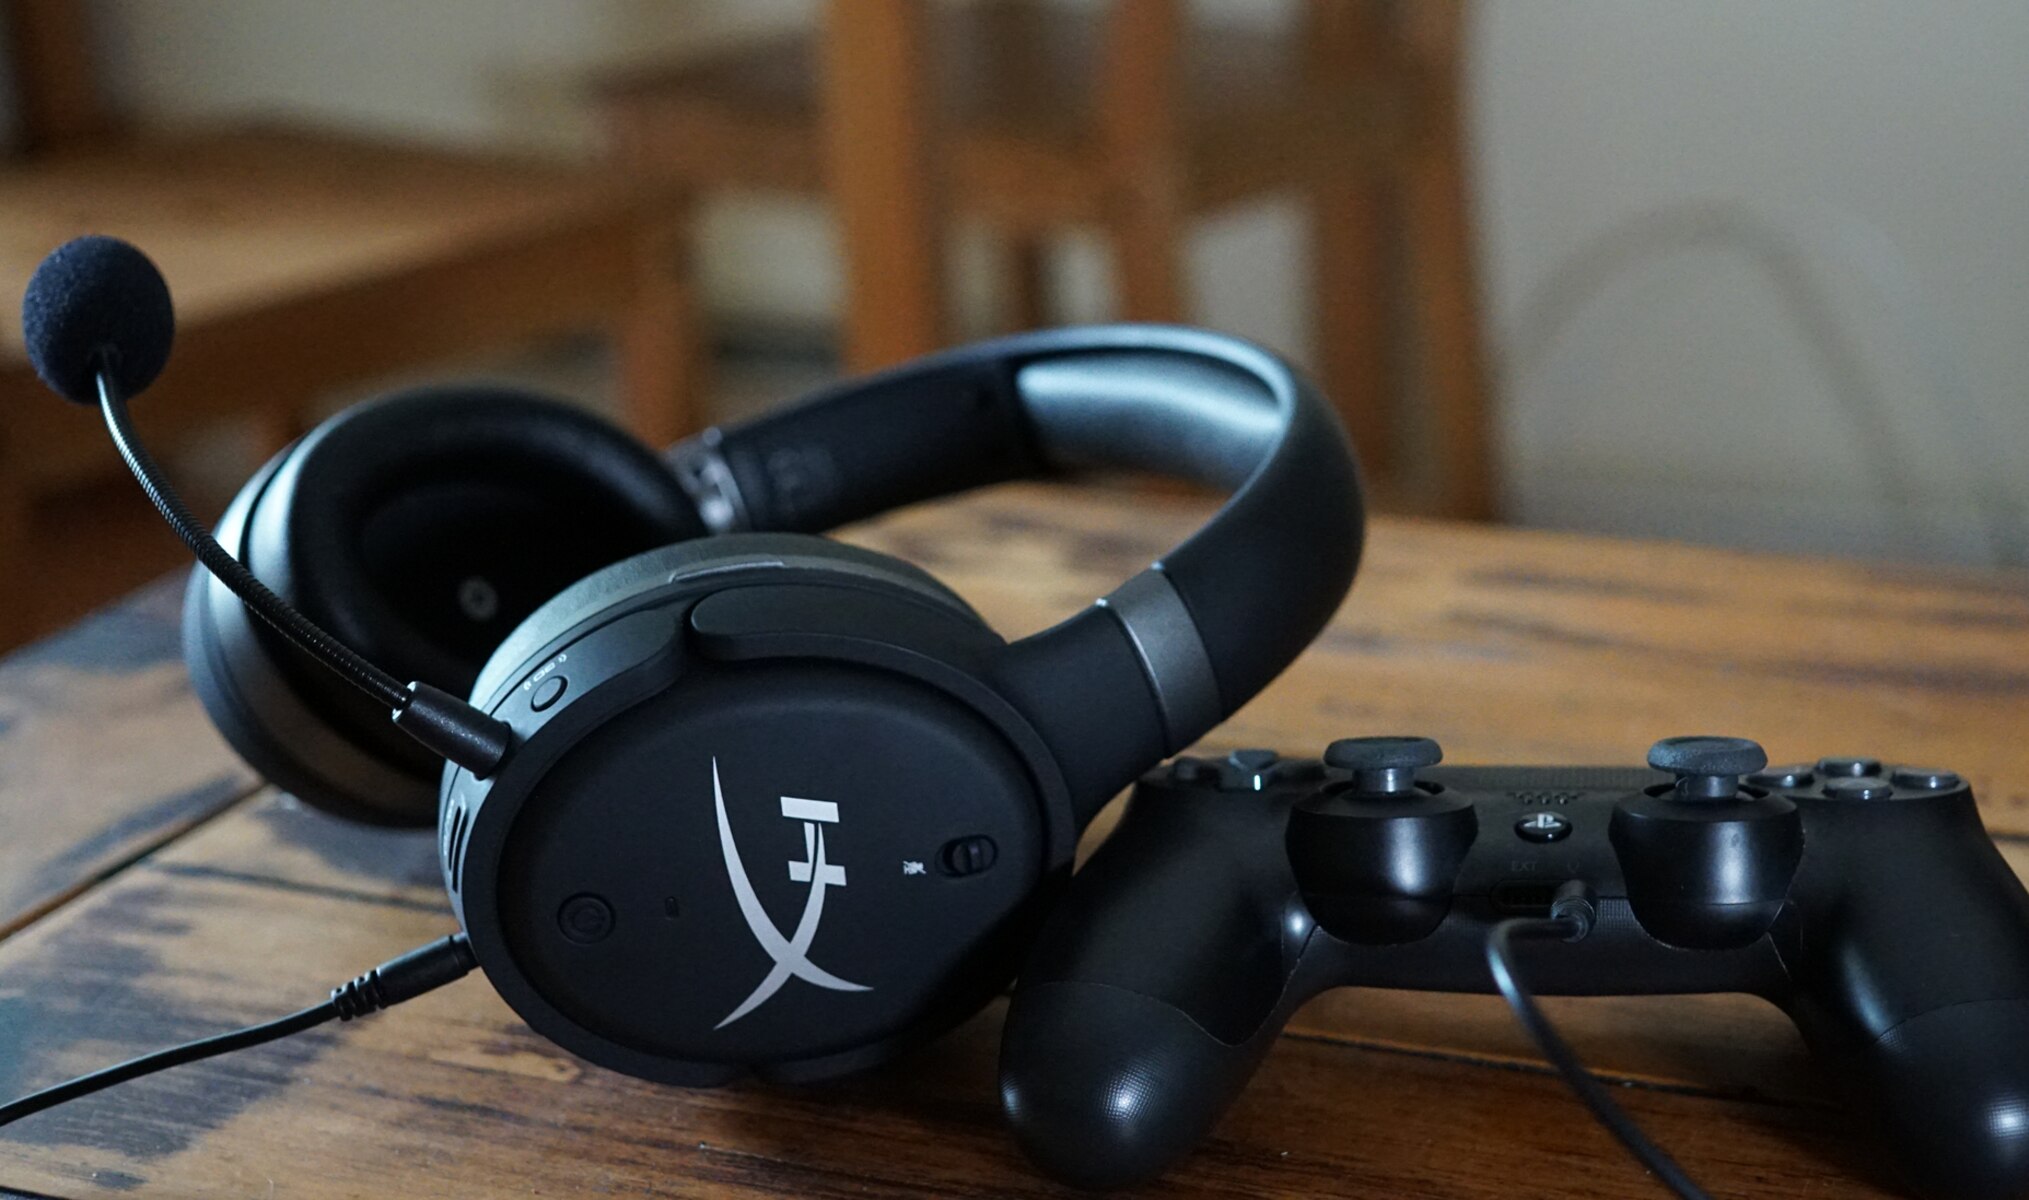
Option 6: Connecting through the Xbox One Stereo Headset Adapter
If you prefer a more personal audio experience or do not have a dedicated surround sound system, you can connect your Xbox One to headphones or a headset using the Xbox One Stereo Headset Adapter. This option allows you to enjoy immersive audio while maintaining a private gaming or entertainment session.
Here are the steps to connect your Xbox One to headphones or a headset using the Xbox One Stereo Headset Adapter:
- Power off your Xbox One console.
- Attach the Xbox One Stereo Headset Adapter to the bottom of your Xbox One controller.
- Connect your headphones or headset to the audio jack on the Xbox One Stereo Headset Adapter.
- Power on your Xbox One console.
- Access the audio settings on your Xbox One. Navigate to “Settings” -> “Display & sound” -> “Audio output.”
- Choose the appropriate audio settings based on your preference and headphone capabilities.
- Test the audio connection by playing a game or media on your Xbox One. You should now be able to enjoy high-quality audio through your headphones or headset!
The Xbox One Stereo Headset Adapter allows you to adjust audio volume, mute the microphone, and control audio mixing between game audio and chat audio. This provides a customizable audio experience tailored to your preferences.
Whether you want to immerse yourself in the game or enjoy your favorite movies and music without disturbing others, connecting through the Xbox One Stereo Headset Adapter gives you the flexibility to enjoy audio privately.
Note that the Xbox One Stereo Headset Adapter requires a wired connection, so wireless headphones or headsets may not be compatible without an additional adapter or converter.
Now that you’re familiar with connecting through the Xbox One Stereo Headset Adapter, you have explored various options for connecting your Xbox One to a surround sound system or headphones. Choose the method that works best for your setup and preferences.
Conclusion
Connecting your Xbox One to a surround sound system or headphones can significantly enhance your gaming and entertainment experience. While HDMI is a popular method for audio transmission, there are several alternative options available if your surround sound system does not have HDMI input or if you prefer a different audio connection method.
We explored several options for connecting your Xbox One to a surround sound system without HDMI, including:
- Utilizing an optical cable for high-quality audio transmission.
- Using RCA cables as a common audio connection method.
- Employing a USB adapter to bypass limited input options.
- Utilizing HDMI ARC to simplify the setup with a single cable.
- Using an audio extractor to adapt to various audio connections.
- Connecting through the Xbox One Stereo Headset Adapter for a personal audio experience.
Each method offers its own advantages and considerations, allowing you to choose the appropriate option based on the available input options on your surround sound system and your personal preferences.
Remember to consider the audio quality, compatibility, and ease of setup when selecting the optimal connection method for your Xbox One and surround sound system or headphones.
By following the steps outlined in each option, you can successfully connect your Xbox One to a surround sound system or headphones without HDMI, ensuring an immersive and enjoyable audio experience.
Now that you have a range of options at your disposal, go ahead and connect your Xbox One to your desired audio setup, and enjoy the enhanced sound quality as you delve into your favorite games and entertainment content!