Introduction
Welcome to this guide on how to connect your Xbox One gaming console to a Samsung Smart TV. If you’re a gaming enthusiast and own both of these devices, you’re probably excited to experience gaming at its best on a larger screen with the added capabilities of a Smart TV. Luckily, connecting the Xbox One to a Samsung Smart TV is a straightforward process that requires just a few simple steps.
The Xbox One is a powerful gaming console that delivers stunning visuals and immersive gameplay. On the other hand, Samsung Smart TVs offer a whole new level of entertainment with their advanced features, including online streaming services, apps, and seamless connectivity options. By connecting the Xbox One to your Samsung Smart TV, you can enjoy the high-quality graphics, vibrant colors, and incredible audio that these devices have to offer.
Whether you’re a casual gamer or a hardcore enthusiast, this guide will walk you through the step-by-step process of setting up your Xbox One with your Samsung Smart TV. From checking the HDMI ports to configuring audio settings, we’ll cover all the necessary details to ensure a smooth and hassle-free connection.
Before we jump into the steps, it’s important to note that the instructions provided in this guide are specifically for connecting an Xbox One to a Samsung Smart TV using an HDMI cable. While this is the most common and recommended method, there may be other connectivity options available depending on the model of your TV. It’s always a good idea to consult the user manual or visit the manufacturer’s website for additional information or alternative connection methods.
Now, let’s dive in and get your Xbox One connected to your Samsung Smart TV so you can start enjoying the best gaming experience possible.
Step 1: Check the HDMI ports
The first step in connecting your Xbox One to your Samsung Smart TV is to check the HDMI ports on both devices. Most modern TVs, including Samsung Smart TVs, come with multiple HDMI ports that allow you to connect external devices like gaming consoles, Blu-ray players, and streaming devices.
Locate the HDMI ports on the back or side panel of your Samsung Smart TV. Typically, these ports are labeled as “HDMI” and are numbered. Take note of the HDMI port number that you want to use for connecting your Xbox One.
Next, check the back of your Xbox One console for the HDMI port. The HDMI port on the Xbox One is usually labeled as “HDMI Out.” Ensure that the HDMI cable you have is compatible with both the Xbox One and your Samsung Smart TV. HDMI cables are widely available, and you can purchase them at electronics stores or online retailers.
It’s worth mentioning that some Samsung Smart TVs have designated HDMI ports that support specific features like ARC (Audio Return Channel) or enhanced gaming capabilities. If you want to take advantage of these features, refer to the TV’s user manual to identify the appropriate HDMI port.
Once you have confirmed the HDMI ports on both your Xbox One and Samsung Smart TV, you’re ready to proceed to the next step.
Step 2: Connect the HDMI cable
Now that you have identified the HDMI ports on your Xbox One and Samsung Smart TV, it’s time to connect them using an HDMI cable. The HDMI cable is the key component that allows audio and video signals to pass between the two devices.
Take one end of the HDMI cable and insert it into the HDMI Out port on your Xbox One console. Make sure the connection is secure by gently pushing the cable into the port. Avoid applying excessive force, as this may cause damage to the HDMI port or cable.
Next, take the other end of the HDMI cable and insert it into the HDMI port on your Samsung Smart TV that you identified in the previous step. Again, ensure that the connection is secure.
It’s important to note that HDMI cables are usually bi-directional, meaning that you can insert them into the HDMI ports in either orientation. However, some HDMI cables may have a label or indicator to indicate the correct orientation. If you encounter any resistance while inserting the cable, double-check that you are inserting it correctly.
Once the HDMI cable is securely connected to both the Xbox One and Samsung Smart TV, you are one step closer to setting up your gaming console. In the next step, we will power on the Xbox One and TV to establish a connection between the two devices.
Step 3: Power on the Xbox One and TV
With the HDMI cable securely connected between the Xbox One and Samsung Smart TV, it’s time to power on both devices. This step is essential to establish a connection and ensure that the audio and video signals are transmitted properly.
Locate the power button on your Xbox One console and press it to turn on the device. Wait for a few moments as the console boots up and prepares for use. You should see the Xbox logo appear on your TV screen, indicating that the console is powered on and successfully connected.
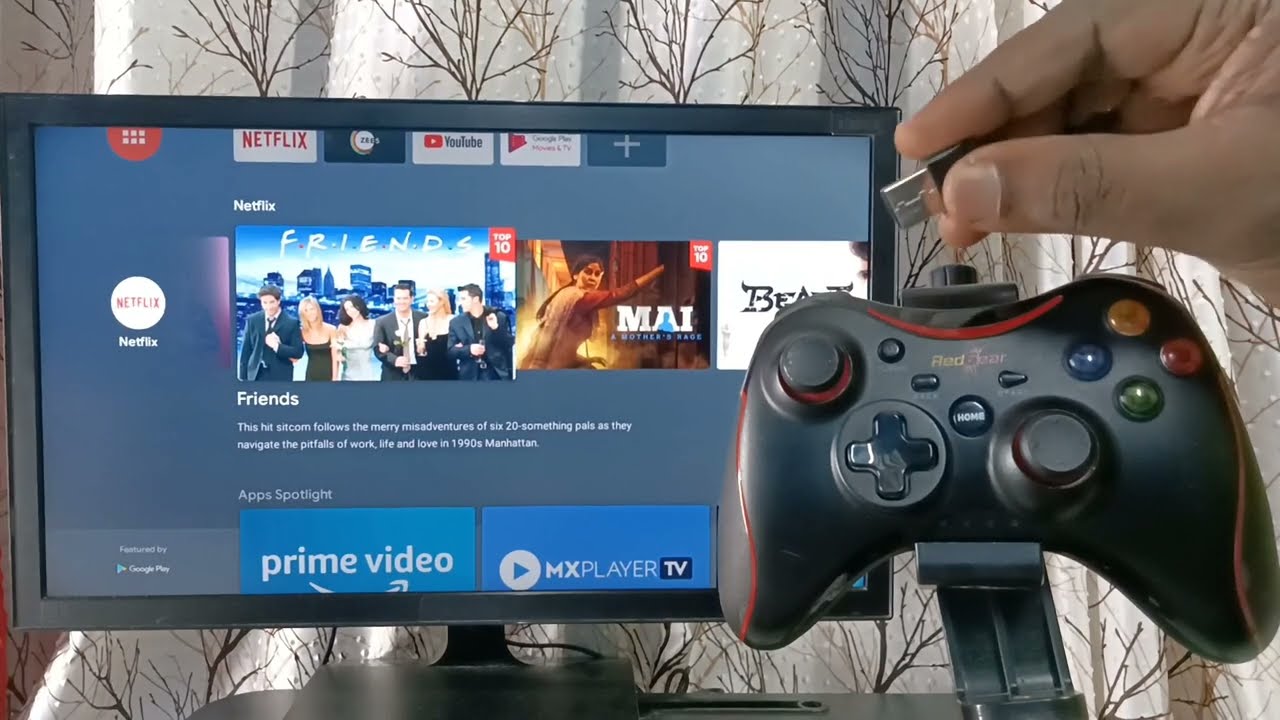
Now, grab your TV remote or use the power button on your Samsung Smart TV to turn on the television. Make sure that the TV is set to the correct HDMI input that you connected the Xbox One to. Most Samsung Smart TVs allow you to switch between inputs using the remote or through the on-screen menu. Look for an option called “Input,” “Source,” or something similar, and select the HDMI input corresponding to the one you used.
Once the Xbox One and TV are powered on and set to the correct input, you should see the Xbox One interface displayed on your Samsung Smart TV. Congratulations! You have successfully established a connection between your gaming console and television.
If you don’t see the Xbox One interface on your TV screen, double-check the HDMI connections and ensure that both devices are powered on. Sometimes, a simple power cycle of both the Xbox One and TV can resolve any connectivity issues.
In the next step, we will guide you through the process of setting up the Xbox One on your Samsung Smart TV, including configuring the display and picture settings for optimal gaming experience.
Step 4: Select the HDMI input
Now that your Xbox One and Samsung Smart TV are powered on and connected, it’s time to select the HDMI input on your TV to access the Xbox One interface. By selecting the correct input, you will be able to see and control the Xbox One functionalities on your TV screen.
Using your TV remote or the buttons on your Samsung Smart TV, navigate to the input/source menu. Look for an option that allows you to switch between different inputs. The exact location and labeling of this menu may vary depending on your TV model.
In the input/source menu, you should see a list of available HDMI inputs. Select the HDMI input you connected your Xbox One to. Once selected, your Samsung Smart TV will switch to that input, and you should see the Xbox One interface appear on the screen.
If you have multiple HDMI inputs on your TV, it’s a good idea to label the input that is connected to your Xbox One for future reference. This way, you can easily switch to the correct input in the future without any confusion.
Once you have selected the correct HDMI input, you can start using your Xbox One on your Samsung Smart TV. From playing games to accessing apps and streaming services, the possibilities are endless.
In the next step, we will guide you through the process of setting up the Xbox One on your Samsung Smart TV, including configuring audio settings for an immersive gaming experience.
Step 5: Set up the Xbox One on your TV
Now that you have selected the HDMI input on your Samsung Smart TV and can see the Xbox One interface, it’s time to set up your gaming console for the best experience on your TV.
Using your Xbox controller, navigate through the on-screen prompts and follow the setup wizard to configure your Xbox One settings. This includes selecting your language preferences, connecting to your Wi-Fi network, and signing in to your Xbox Live account if you have one.
During the setup process, you may also have the option to customize various settings, such as your display resolution and screen size. It’s recommended to choose the highest display resolution that your TV supports to take full advantage of the graphics capabilities of your Xbox One.
Additionally, you may be prompted to update your Xbox One software. It’s important to keep your console up to date to ensure you have the latest features and security patches. If there is an update available, follow the on-screen instructions to download and install it.
Once you have completed the setup process, you can access the Xbox One dashboard on your Samsung Smart TV. From here, you can explore a vast library of games, access apps and streaming services, and connect with friends online for multiplayer gaming.
Keep in mind that the setup process may vary slightly depending on the version of the Xbox One console you have and any updates that may have been released since this guide was written. It’s always a good idea to refer to the Xbox One user manual or visit the official Xbox support website for the most up-to-date instructions specific to your console.
With your Xbox One successfully set up on your Samsung Smart TV, you’re now ready to immerse yourself in the world of gaming and enjoy an unforgettable entertainment experience.
Step 6: Configure audio settings
To fully enhance your gaming experience, it’s important to configure the audio settings on both the Xbox One and your Samsung Smart TV. Adjusting these settings will ensure that you can enjoy immersive sound quality while playing games or watching movies on your TV.
Start by accessing the audio settings on your Xbox One. From the Xbox One dashboard, navigate to the Settings menu. Look for an option related to audio or sound settings. Within this menu, you may find options to adjust the volume, balance, and audio output settings. Experiment with these settings to find the optimal audio configuration according to your preferences and the capabilities of your TV and sound system.
Additionally, you should also check the audio settings on your Samsung Smart TV. Using your TV remote, navigate to the TV’s settings menu. Look for the sound or audio options. Here, you may find settings such as equalizer adjustments, sound mode preferences, and audio output options. Adjust these settings to your liking to achieve the best audio performance when using your Xbox One.
If you have a surround sound system connected to your TV, make sure to select the appropriate audio output option that corresponds to your setup. This will enable you to take full advantage of the immersive surround sound capabilities while gaming.
To ensure the best audio quality, it’s recommended to use an external sound system or speakers rather than relying solely on the TV’s built-in speakers. By connecting your Xbox One to a sound system, you can experience a more immersive and realistic audio environment while gaming.
Remember to adjust the volume and audio levels to a comfortable level that suits your preferences and the environment you’re in. Avoid turning the volume up too high for extended periods, as this may cause strain on your ears and potentially damage your hearing.
Once you have configured the audio settings on both the Xbox One and your Samsung Smart TV, you’re all set to enjoy a truly immersive gaming experience with high-quality audio.
In the next step, we will guide you on how to test the connection between your Xbox One and Samsung Smart TV to ensure everything is working as expected.
Step 7: Test the connection
After completing the setup and configuration process, it’s crucial to test the connection between your Xbox One and Samsung Smart TV to ensure everything is working properly. Testing the connection will help identify any potential issues and enable you to troubleshoot or make adjustments if necessary.
Start by launching a game or playing a video on your Xbox One. Pay attention to the visual quality and ensure that the graphics are displayed correctly on your Samsung Smart TV. Look out for any visual glitches, pixelation, or screen tearing that may indicate a problem with the connection or display settings.
While playing the game or video, listen carefully to the audio. Make sure that the audio is clear, balanced, and synchronized with the on-screen action. If you notice any audio delays, distortion, or uneven volume levels, it may be necessary to revisit the audio settings on both the Xbox One and your Samsung Smart TV to make the necessary adjustments.
During gameplay, also pay attention to the responsiveness of the controls. Check if there is any noticeable input lag or delay between your controller input and the on-screen action. If you experience input lag, it may be due to various factors such as the TV’s settings, game settings, or the performance of your Xbox One. Consulting the TV and game manuals or reaching out to Xbox support can help you troubleshoot and minimize input lag.
Additionally, you can test other features of your Xbox One, such as accessing online services, downloading and installing games, and connecting to multiplayer sessions. This will ensure that all aspects of your console’s connectivity are functioning well.
If you encounter any issues during the testing phase, refer to the troubleshooting sections in the user manuals of both your Xbox One and Samsung Smart TV. These resources can provide valuable information and solutions to common problems.
Once you have thoroughly tested the connection and everything is working smoothly, you can fully enjoy your gaming experience on your Samsung Smart TV. Grab your controller and immerse yourself in the thrilling world of gaming, made even better on the big screen.
Congratulations! You have successfully connected your Xbox One to your Samsung Smart TV and completed the necessary setup and configuration steps. Now it’s time to enjoy endless hours of gaming and entertainment!
Conclusion
Connecting your Xbox One to your Samsung Smart TV opens up a whole new world of gaming and entertainment possibilities. By following the steps outlined in this guide, you can easily and successfully establish a seamless connection between the two devices.
We started by checking the HDMI ports on both the Xbox One and Samsung Smart TV to ensure compatibility and a proper connection. Then, we connected the HDMI cable, powered on both devices, and selected the correct HDMI input on the TV. After that, we proceeded to set up the Xbox One on the TV, configuring the display and audio settings for an optimal gaming experience.
With the setup complete, we tested the connection by playing games, checking the audio quality, and verifying the responsiveness of the controls. By performing these tests, you can ensure that your gaming experience is smooth and enjoyable.
Remember, the exact process may vary slightly depending on your specific Xbox One model and Samsung Smart TV. It’s always a good idea to consult the user manuals or visit the official support websites for the most accurate instructions.
Now that you have successfully connected your Xbox One to your Samsung Smart TV, you can indulge yourself in the immersive world of gaming, streaming your favorite shows, and enjoying an exceptional entertainment experience right in the comfort of your own home.
If you encounter any issues along the way, don’t hesitate to consult the troubleshooting resources provided by Xbox and Samsung. They have comprehensive support systems to assist you in resolving any connectivity or performance-related problems.
With this guide, you have the knowledge and steps needed to connect your Xbox One to your Samsung Smart TV like a pro. So, grab your controller, get ready to level up your gaming experience, and start enjoying the excitement that comes with playing your favorite games on the big screen!