Introduction
Welcome to the world of Samsung Smart TVs! With their stunning display, advanced features, and easy-to-use interface, Samsung Smart TVs are a popular choice for entertainment enthusiasts all around the globe. Whether you’re an avid movie watcher, a gaming enthusiast, or simply looking to stream your favorite shows, setting up your Samsung Smart TV is the first step towards an immersive entertainment experience. In this guide, we will walk you through the step-by-step process of hooking up your Samsung Smart TV, ensuring that you can seamlessly enjoy all the features and benefits it has to offer.
From unpacking and setting up the TV to connecting it to your home network, we will cover everything you need to know to get started. You don’t have to be a tech expert to follow this guide – we’ll break it down in simple terms so that even beginners can quickly get up to speed.
So, let’s dive in and embark on this journey of setting up your Samsung Smart TV. By the end of this guide, you’ll have your TV ready to go, and you’ll be able to explore the vast world of streaming, gaming, and entertainment options right at your fingertips.
Step 1: Unpacking and setting up the Samsung Smart TV
Before you can start enjoying your Samsung Smart TV, you need to unpack and set it up properly. Here’s how you can do it:
1.1 Unboxing the TV:
Start by carefully unboxing your Samsung Smart TV. Remove all the packaging materials and make sure to keep them aside in case you need to return or store your TV in the future. Ensure that the TV screen is facing upwards to prevent any damage.
1.2 Attaching the stand or wall-mounting the TV:
If your Samsung Smart TV comes with a stand, carefully attach it to the TV. Follow the instructions provided in the user manual to ensure a secure and stable attachment. If you plan to wall-mount your TV, refer to the user manual for the correct wall-mounting instructions. Make sure to use the appropriate wall-mounting kit and follow all safety guidelines.
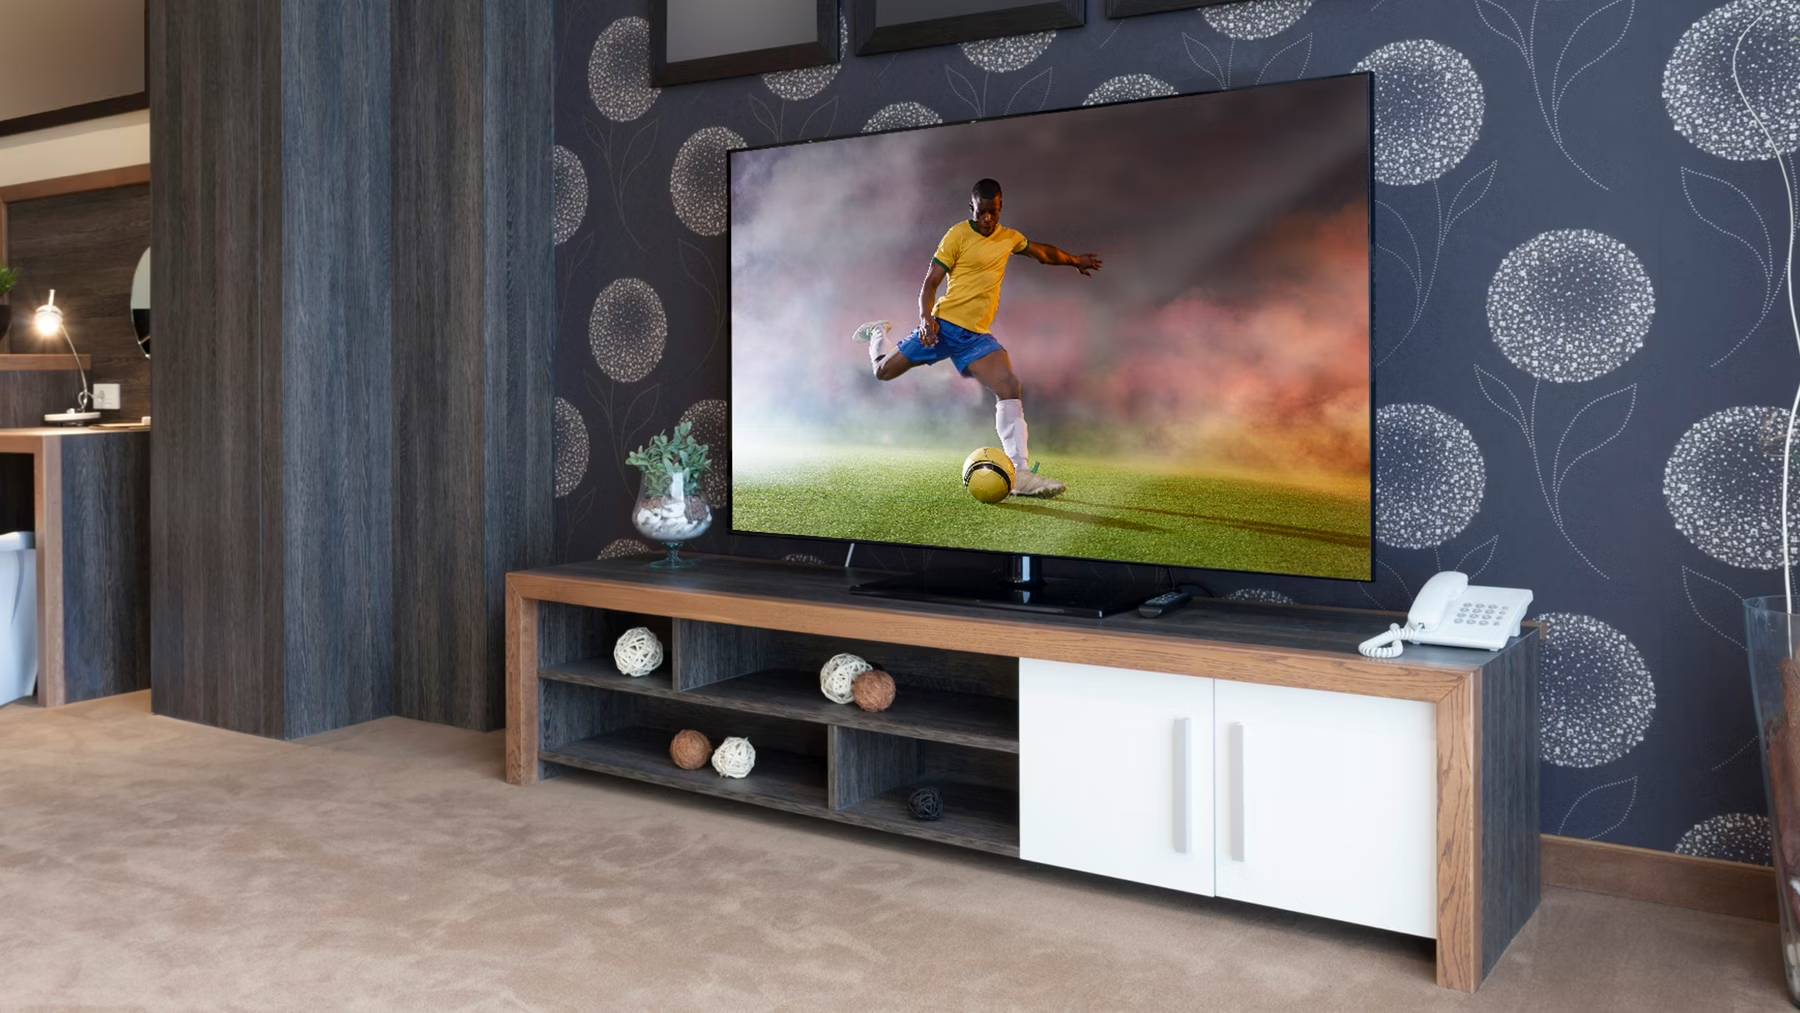
1.3 Placing the TV in the desired location:
Choose a suitable location for your Samsung Smart TV. Ensure that it is positioned where you have a clear view of the screen and easy access to the ports and controls. Also, consider factors such as room lighting and distance from seating areas to optimize your viewing experience.
1.4 Connecting the power cable:
Locate the power cable that came with your Samsung Smart TV. Connect one end to the designated port on the TV and the other end to a power outlet. Make sure the power outlet is easily accessible and grounded to avoid any electrical hazards.
1.5 Powering on the TV:
Once the power cable is connected, press the power button on the TV or the remote control to turn on your Samsung Smart TV. You will usually find the power button on the side or back of the TV. Follow the on-screen prompts to complete the initial setup process.
1.6 Configuring basic settings:
During the initial setup process, you will be guided through a series of on-screen prompts to configure basic settings such as language, time zone, and network connection. Follow the instructions and enter the required information accurately. You can always revisit these settings later in the TV’s menu if needed.
Once you have completed these steps, your Samsung Smart TV will be unpacked and set up, ready for you to dive into the world of entertainment. In the next step, we will guide you through connecting your TV to Wi-Fi or a wired network, allowing you to explore a variety of online content and streaming services.
Step 2: Connecting the power cable
Now that you have unboxed and set up your Samsung Smart TV, it’s time to connect the power cable. Here’s how you can do it:
2.1 Locate the power cable:
Find the power cable that came with your Samsung Smart TV. It is usually a detachable cable with a standard three-prong plug on one end and a proprietary connector on the other end. Ensure that the cable is free from any damage or frayed wires before proceeding.
2.2 Identify the power input port:
Look for the power input port on the back or side panel of your Smart TV. It is usually labeled “AC IN” or “Power”. The port may be covered by a plastic cover or labeled with an icon that resembles an electrical plug.
2.3 Connect the power cable:
Insert the proprietary connector of the power cable into the corresponding power input port on the TV. Ensure that the connector is fully inserted and securely attached to the port. Be gentle while handling the cable to avoid any unnecessary strain on the port or cable itself.
2.4 Plug the power cable into a power outlet:
Locate a nearby power outlet and insert the three-prong plug of the power cable into it. Make sure the power outlet is easily accessible and grounded. Avoid using extension cords or power strips if possible, as they may interfere with the TV’s power supply.
2.5 Powering on the TV:
With the power cable connected and the plug inserted into a power outlet, you are ready to power on your Samsung Smart TV. Locate the power button on the TV or use the remote control to turn on the TV. Follow any on-screen prompts to complete the power-on process.
2.6 Checking the power status:
Once powered on, your Samsung Smart TV should display the manufacturer’s logo or an initial setup screen. If you do not see any indication of power, check the power connection and make sure the power outlet is functional. If the issue persists, consult the user manual or contact Samsung support for assistance.
With the power cable properly connected, your Samsung Smart TV is now ready to be connected to the network and explore a wide range of entertainment options. In the next step, we will guide you through the process of connecting your TV to Wi-Fi or a wired network for internet access.
Step 3: Connecting the TV to Wi-Fi or a wired network
One of the key features of a Samsung Smart TV is its ability to connect to the internet, opening up a whole world of online content and streaming services. Here’s how you can connect your TV to Wi-Fi or a wired network:
3.1 Wi-Fi Connection:
a. Access the network settings: Press the Menu button on your remote control to open the TV’s main menu. Using the arrow keys, navigate to the “Settings” or “Network” section and select it.
b. Select the Wi-Fi network: In the network settings menu, choose the “Wireless” or “Wi-Fi” option and select it. The TV will display a list of available Wi-Fi networks in your vicinity. Select your desired network from the list.
c. Enter the Wi-Fi password: If your Wi-Fi network is secured, you will be prompted to enter the network password. Use the remote control to navigate the on-screen keyboard and enter the password. Make sure to enter it accurately to establish a successful connection.
d. Establish the connection: After entering the password, select the “Connect” or “OK” button to initiate the connection process. The TV will attempt to connect to the selected Wi-Fi network. Once connected, you will see an on-screen confirmation.
3.2 Wired Network Connection:
a. Locate the Ethernet port: Look for the Ethernet port on the back or side panel of your Samsung Smart TV. It resembles a small square or rectangle and is labeled “LAN” or “Ethernet”.
b. Connect the Ethernet cable: Plug one end of the Ethernet cable into the Ethernet port of your TV and the other end into an available Ethernet port on your modem, router, or switch.
c. Configure network settings (if required): In most cases, your Samsung Smart TV will automatically detect the wired network connection and configure the necessary settings. However, if you encounter any network-related issues, you may need to access the network settings menu and manually configure the IP address, subnet mask, gateway, and DNS settings. Consult your user manual or contact your network provider for assistance.
d. Test the connection: Once the physical connection is established, your Samsung Smart TV should automatically connect to the wired network. You can test the connection by accessing built-in apps or streaming services that require an internet connection.
With your Samsung Smart TV successfully connected to either Wi-Fi or a wired network, you can now fully enjoy the benefits of internet connectivity. In the next step, we will explore the different ports and connectors on your TV, allowing you to connect external devices for an enhanced entertainment experience.
Step 4: Understanding the ports on the TV
To fully utilize the capabilities of your Samsung Smart TV, it’s important to understand the various ports and connectors available on the TV. Here’s a guide to help you identify and understand the purpose of each port:
4.1 HDMI (High Definition Multimedia Interface) ports:
HDMI ports are used to connect external devices such as cable/satellite boxes, gaming consoles, Blu-ray players, or soundbars to your Samsung Smart TV. These ports transmit high-quality audio and video signals, ensuring a crisp and immersive viewing experience. HDMI ports are usually labeled and numbered for easy identification.
4.2 USB (Universal Serial Bus) ports:
USB ports on your Samsung Smart TV allow you to connect USB storage devices, such as flash drives or external hard drives. This enables you to access and view media files, such as photos, videos, and music, directly on your TV. USB ports can also be used to connect compatible peripherals, such as keyboards or mice, for enhanced functionality.
4.3 Ethernet (LAN) port:
The Ethernet port on your Samsung Smart TV allows for a wired internet connection. By connecting an Ethernet cable from your TV to your modem, router, or switch, you can ensure a stable and reliable internet connection.
4.4 Component and Composite ports:
These ports are used to transmit analog video signals. Component ports consist of three colored (red, blue, green) connectors for video and two audio connectors (red, white). Composite ports, on the other hand, utilize a single yellow connector for video and the same two audio connectors.
4.5 Audio ports:
These ports are dedicated to audio connectivity. They include options such as an audio output port for connecting external speakers or a soundbar, as well as audio input ports for connecting devices that require audio playback through the TV’s speakers.
4.6 Other ports:
Your Samsung Smart TV may also include additional ports such as a VGA port for connecting computer systems, an antenna/cable input for connecting an antenna or cable, and an optical digital audio output for transmitting high-quality audio signals to compatible audio devices.
It is important to refer to your TV’s user manual or manufacturer’s website to understand the specific ports available and their functionalities. This knowledge will enable you to effectively connect external devices and enhance your entertainment setup. In the next step, we will guide you through the process of connecting external devices and integrating them with your Samsung Smart TV.
Step 5: Connecting external devices (such as cable/satellite box, gaming console, soundbar)
Your Samsung Smart TV is designed to work seamlessly with various external devices, allowing you to expand your entertainment options. Here’s how you can connect external devices to your TV:
5.1 Cable/Satellite Box:
To connect a cable or satellite box, use an HDMI cable. Locate an available HDMI port on your Samsung Smart TV and plug one end of the HDMI cable into the port on your TV and the other end into the HDMI output port on your cable or satellite box. Make sure your cable or satellite box is powered on and tuned to the desired channel. Using the TV remote, select the corresponding HDMI input on your Samsung Smart TV to view the content from your cable or satellite box.
5.2 Gaming Console:
If you own a gaming console such as a PlayStation or Xbox, connecting it to your Samsung Smart TV is a breeze. Just like connecting a cable/satellite box, use an HDMI cable to connect your gaming console to an available HDMI port on your TV. Plug one end of the HDMI cable into the console’s HDMI output port and the other end into the HDMI input port on your TV. Power on your gaming console and select the corresponding HDMI input on your Samsung Smart TV to start gaming.
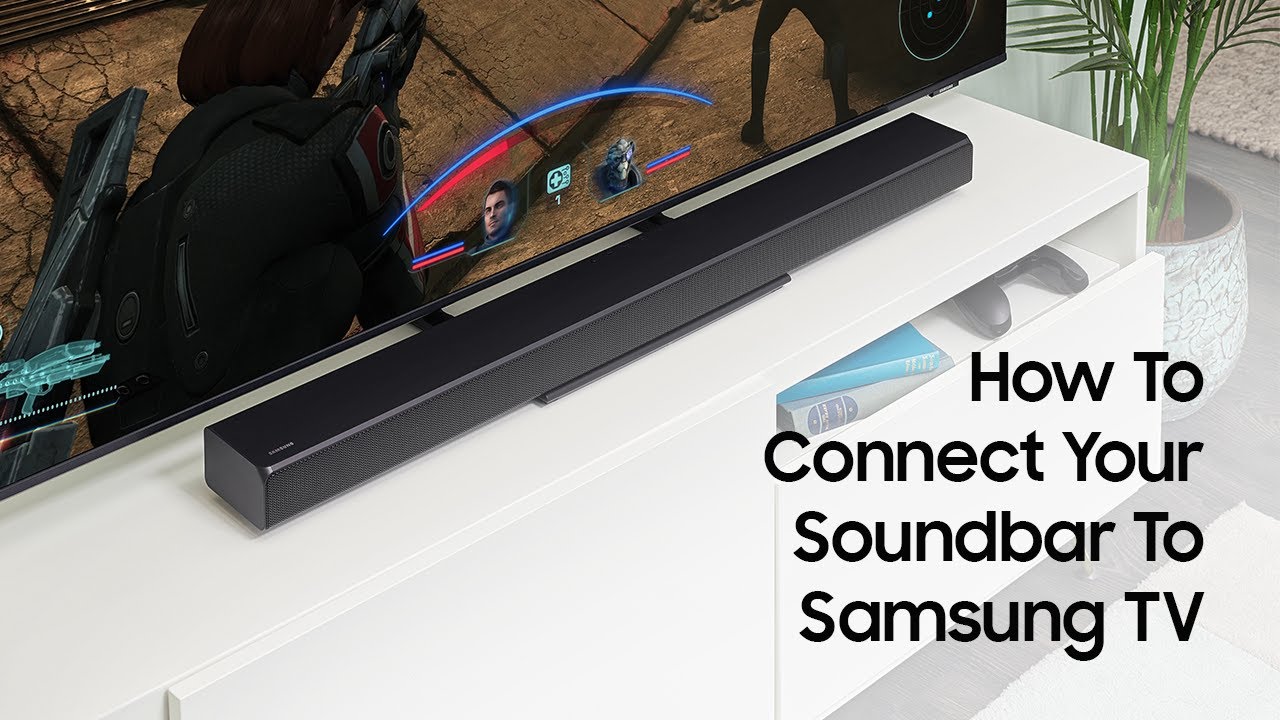
5.3 Soundbar or External Speakers:
If you want to enhance the audio quality of your Samsung Smart TV, consider connecting a soundbar or external speakers. Depending on your soundbar’s interface, you can use either an HDMI, optical, or audio output port. Connect one end of the corresponding cable to the soundbar and the other end to the appropriate audio output port on your TV. Make sure to follow the manufacturer’s instructions for your soundbar to ensure proper setup and configuration. Once connected, adjust the TV’s audio settings to route sound output through the soundbar or external speakers.
5.4 Other Devices:
Your Samsung Smart TV may support connections to various other devices such as DVD or Blu-ray players, streaming devices, or media players. Similar to the steps outlined above, use the appropriate cables (HDMI, RCA, etc.) and connect the corresponding ports on your TV and the device. Follow the device’s user manual for specific setup instructions to ensure optimal compatibility and performance.
By connecting external devices to your Samsung Smart TV, you can enhance your entertainment options and create a personalized setup to suit your preferences. In the next step, we will guide you through the on-screen setup guide, allowing you to optimize your TV settings and customize your viewing experience.
Step 6: Configuring the on-screen setup guide
Your Samsung Smart TV comes with an on-screen setup guide that helps you customize and optimize your TV settings. Follow these steps to configure the on-screen setup guide:
6.1 Access the on-screen setup guide:
When you first power on your Samsung Smart TV or after performing a factory reset, the on-screen setup guide will automatically appear. Use the remote control to navigate through the guide’s screens and options.
6.2 Select your preferred language:
In the initial setup screens, you will be prompted to choose your preferred language. Use the arrow keys on your remote control to select the desired language, and press the confirmation button to proceed.
6.3 Adjust picture and sound settings:
The setup guide will provide options to adjust picture and sound settings. Use the remote control to navigate through the available options and customize the settings according to your preferences. You can adjust parameters such as brightness, contrast, color, audio balance, and more.
6.4 Configure input sources:
The setup guide will allow you to configure the input sources on your Samsung Smart TV. This includes labeling the inputs based on the devices you have connected and setting the default input source when turning on the TV. Follow the on-screen instructions to customize and organize your input sources.
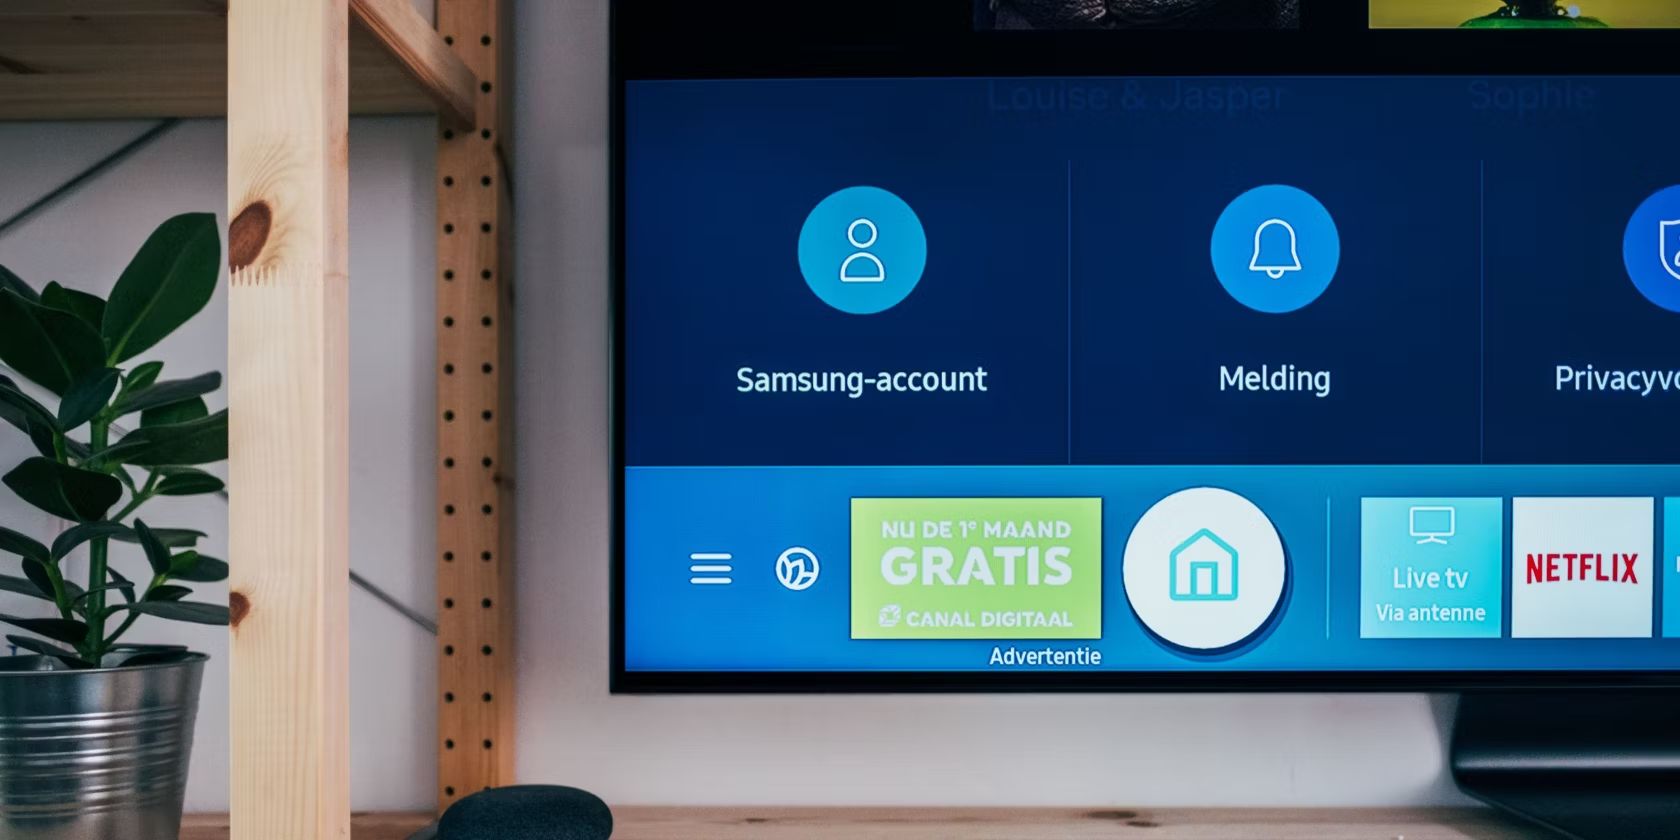
6.5 Set up your Samsung account:
If you haven’t already set up a Samsung account, the setup guide will prompt you to do so. Creating a Samsung account unlocks additional features and allows you to access exclusive content. Follow the instructions to sign up for an account, or sign in if you already have one.
6.6 Customize smart features:
The on-screen setup guide will offer options to customize various smart features of your Samsung Smart TV. This includes setting up and linking your preferred streaming services, configuring voice control, and customizing the smart dashboard layout. Follow the guide’s prompts to personalize your smart TV experience.
6.7 Complete the setup guide:
Once you have configured the desired settings and customized your TV experience, follow the on-screen prompts to complete the setup guide. The TV will save your settings, and you can always revisit and modify them through the TV’s menu system.
By configuring the on-screen setup guide, you can tailor your Samsung Smart TV to meet your preferences and optimize your viewing experience. In the next step, we will explore how to install and configure apps on your TV, giving you access to a wide range of entertainment options.
Step 7: Installing and configuring apps on the Samsung Smart TV
One of the great features of a Samsung Smart TV is the ability to install and enjoy a variety of apps, ranging from streaming services to games. Follow these steps to install and configure apps on your Samsung Smart TV:
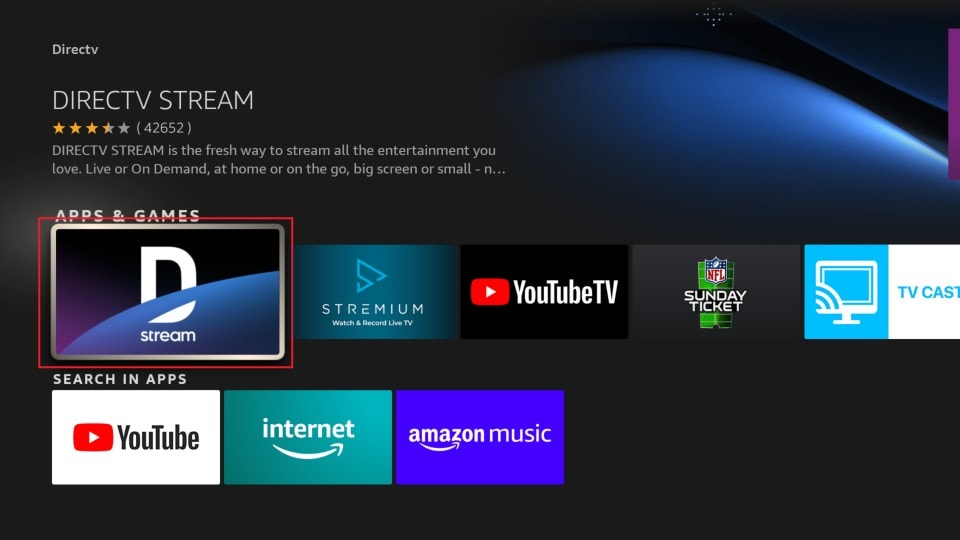
7.1 Access the app store:
On your Samsung Smart TV, navigate to the home screen and locate the app store icon. It is typically labeled as “Apps” or “Samsung Apps”. Select the icon to open the app store.
7.2 Browse or search for apps:
Once you are in the app store, you can browse through the available categories or use the search function to find specific apps. Explore different genres such as entertainment, sports, news, and more to discover the apps that suit your interests.
7.3 Select and install apps:
When you have found an app you want to install, select it to view more details and information. Read app descriptions, check user ratings and reviews, and ensure that the app is compatible with your TV. Once you are satisfied, select the “Install” or “Download” button to begin the installation process.
7.4 Agree to terms and permissions:
During the app installation, you may be prompted to agree to terms and conditions or grant necessary permissions for the app to function properly. Carefully read and review these permissions and agree to them if you are comfortable with the app’s requirements.
7.5 Configure and sign in to apps:
After the app is installed, locate it in the app section of your Samsung Smart TV’s home screen. Select the app to open it. Follow the on-screen instructions to configure any necessary settings or sign in to the app using your account credentials. This is required for apps that require a personal account, such as streaming services.
7.6 Update and manage apps:
Periodically, apps on your Samsung Smart TV may receive updates to improve performance or add new features. Stay up to date by regularly checking for app updates in the app store. You can also manage your installed apps by rearranging their positions on the home screen or uninstalling apps you no longer need or use.
By installing and configuring apps on your Samsung Smart TV, you can enjoy a wide range of entertainment options, including streaming movies and TV shows, playing games, accessing news and sports, and much more. In the next step, we will explore the various Smart TV features and settings that allow you to personalize your viewing experience further.
Step 8: Exploring the Smart TV features and settings
Your Samsung Smart TV comes packed with a plethora of features and settings that allow you to customize and enhance your viewing experience. Here’s how you can explore and make the most of these features:
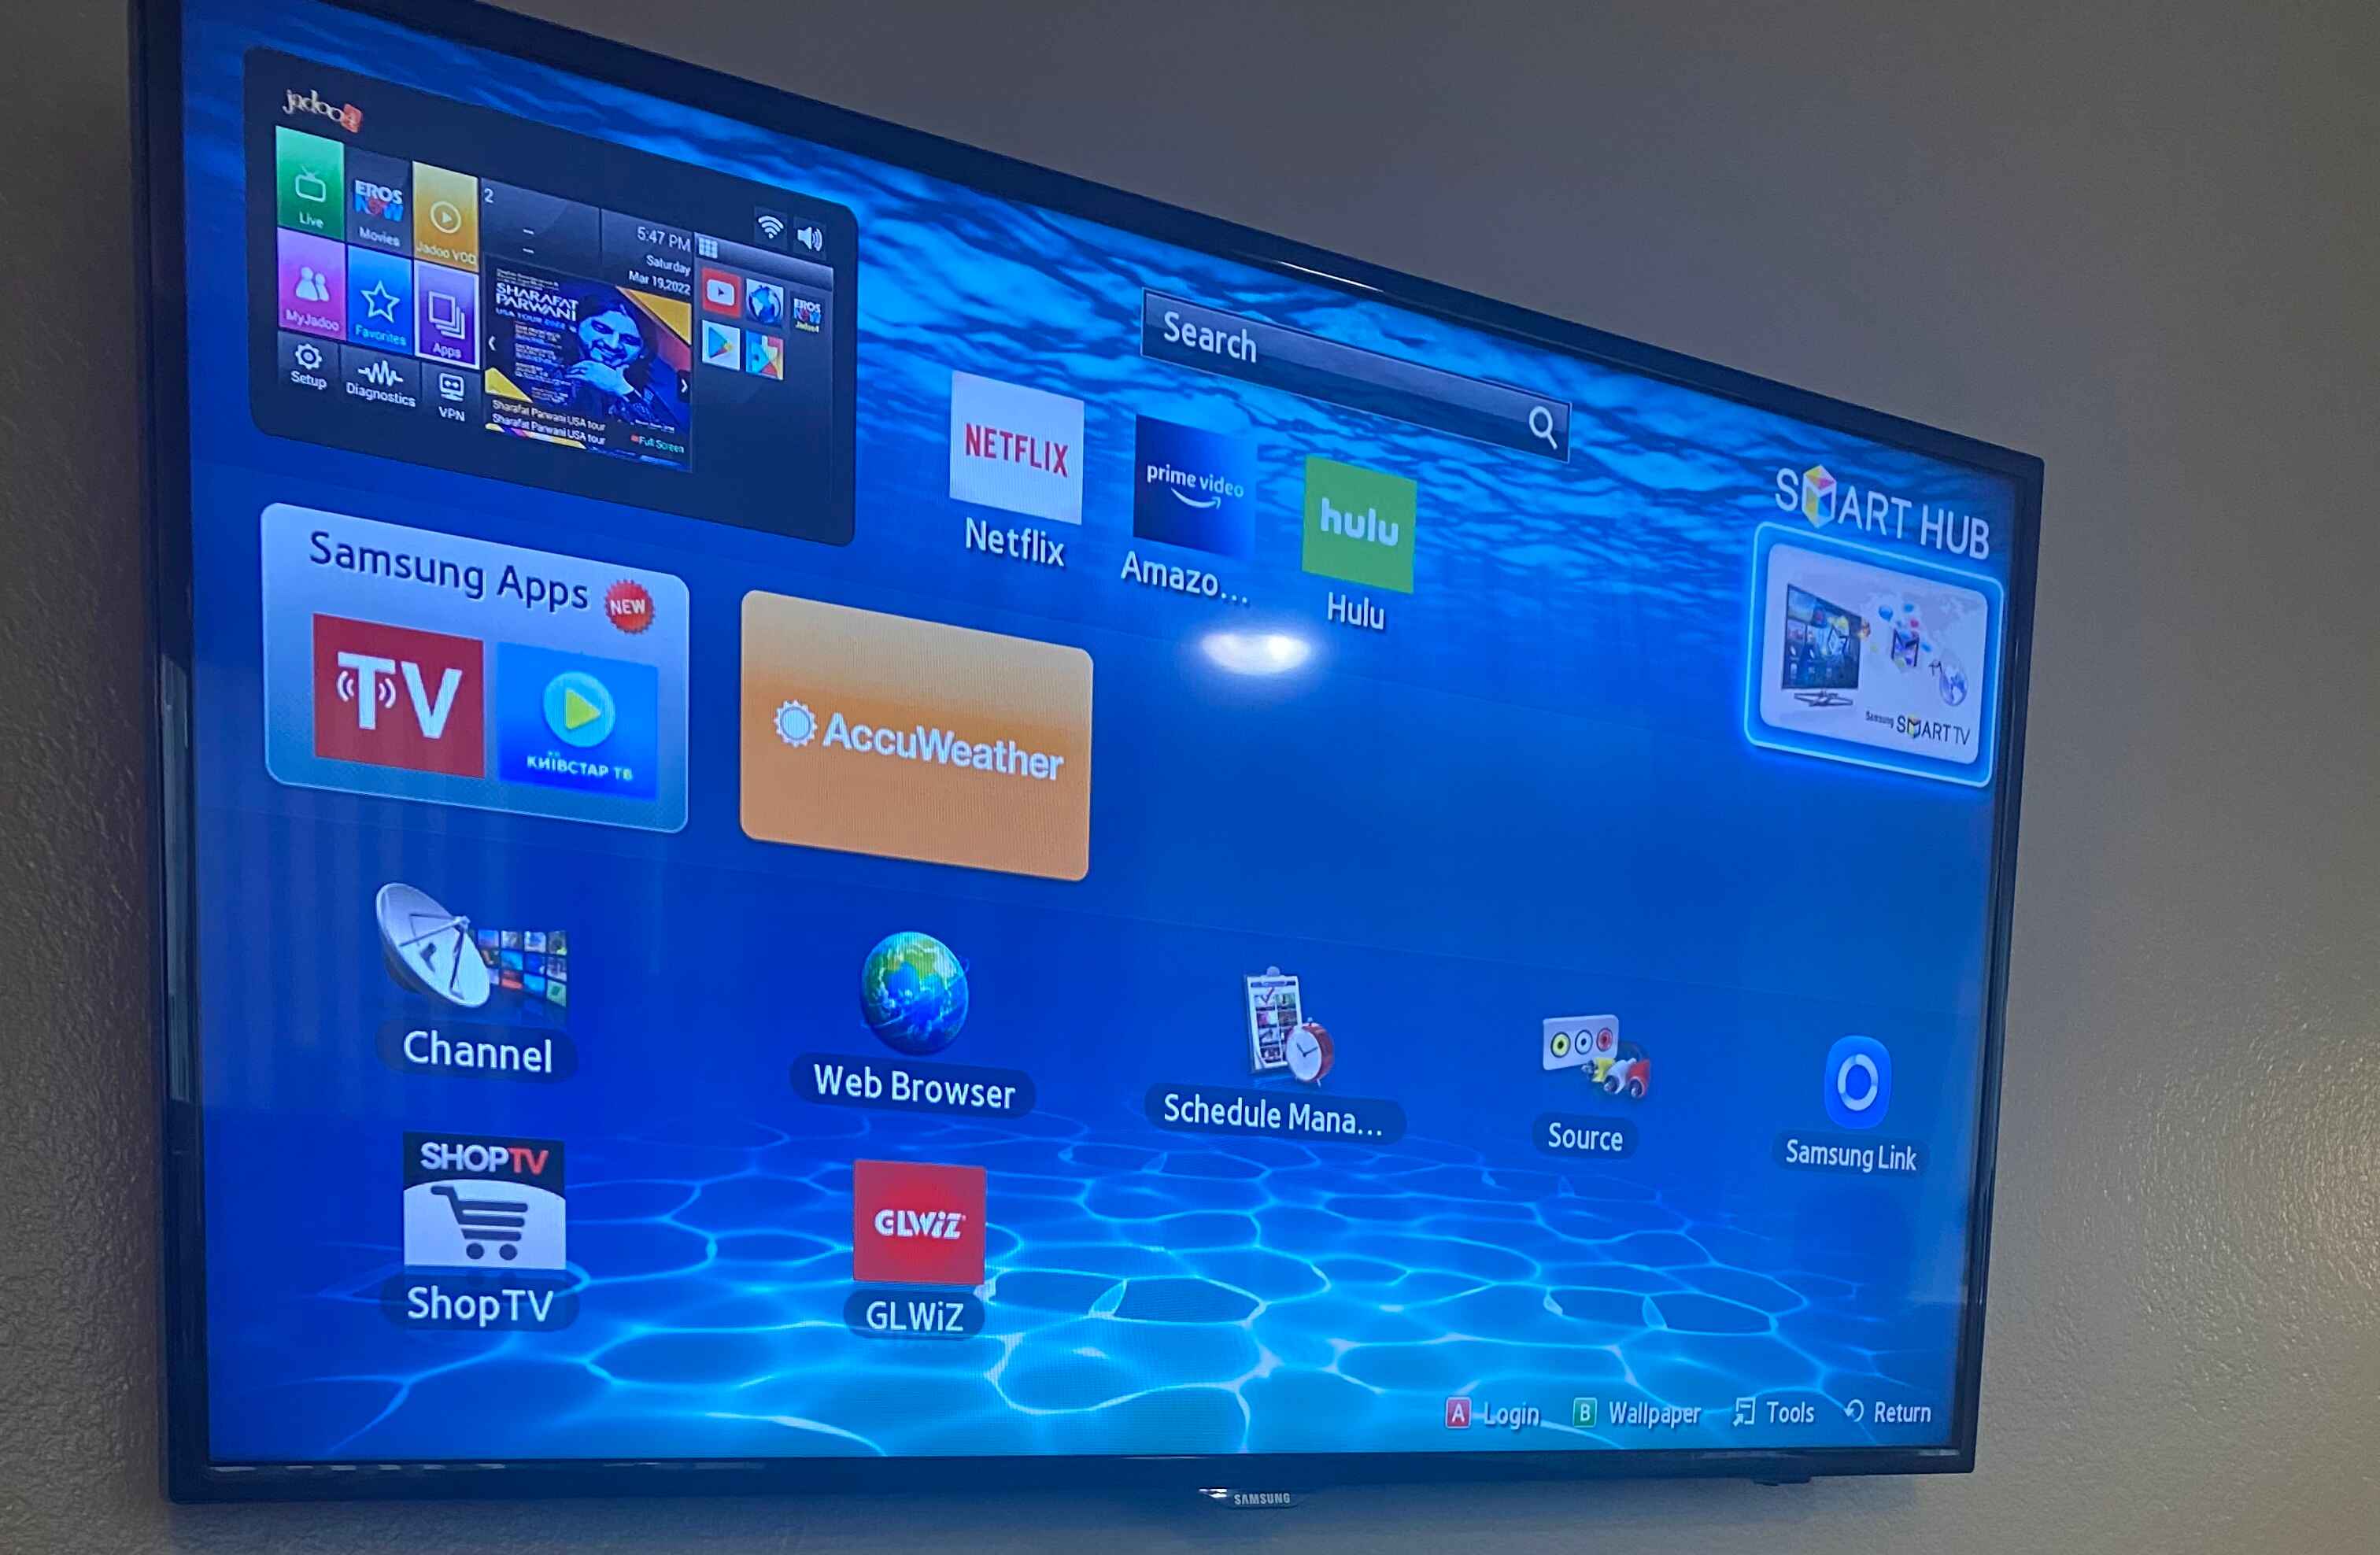
8.1 Smart Hub:
The Smart Hub is the central hub of your Samsung Smart TV. It provides easy access to apps, streaming services, and other TV features. Explore the Smart Hub to discover new content, customize the layout, and access additional settings and options.
8.2 Picture and sound settings:
Use the TV’s settings menu to adjust the picture and sound settings to your preference. Customize parameters such as brightness, contrast, color, and audio settings to ensure an immersive and enjoyable viewing experience. Experiment with different settings to find the balance that suits your preferences and the content you are watching.
8.3 Accessibility features:
If you have specific accessibility needs, your Samsung Smart TV offers a range of accessibility features. Explore the accessibility settings to enable closed captions, audio description, voice guidance, or other options that enhance your TV experience.
8.4 Voice control and smart assistant integration:
Many Samsung Smart TVs come with built-in voice control or support smart assistants such as Bixby or Amazon Alexa. Explore the voice control settings and set up the integration with your smart assistant to control your TV using voice commands. This allows for convenient and hands-free navigation and control of your TV.
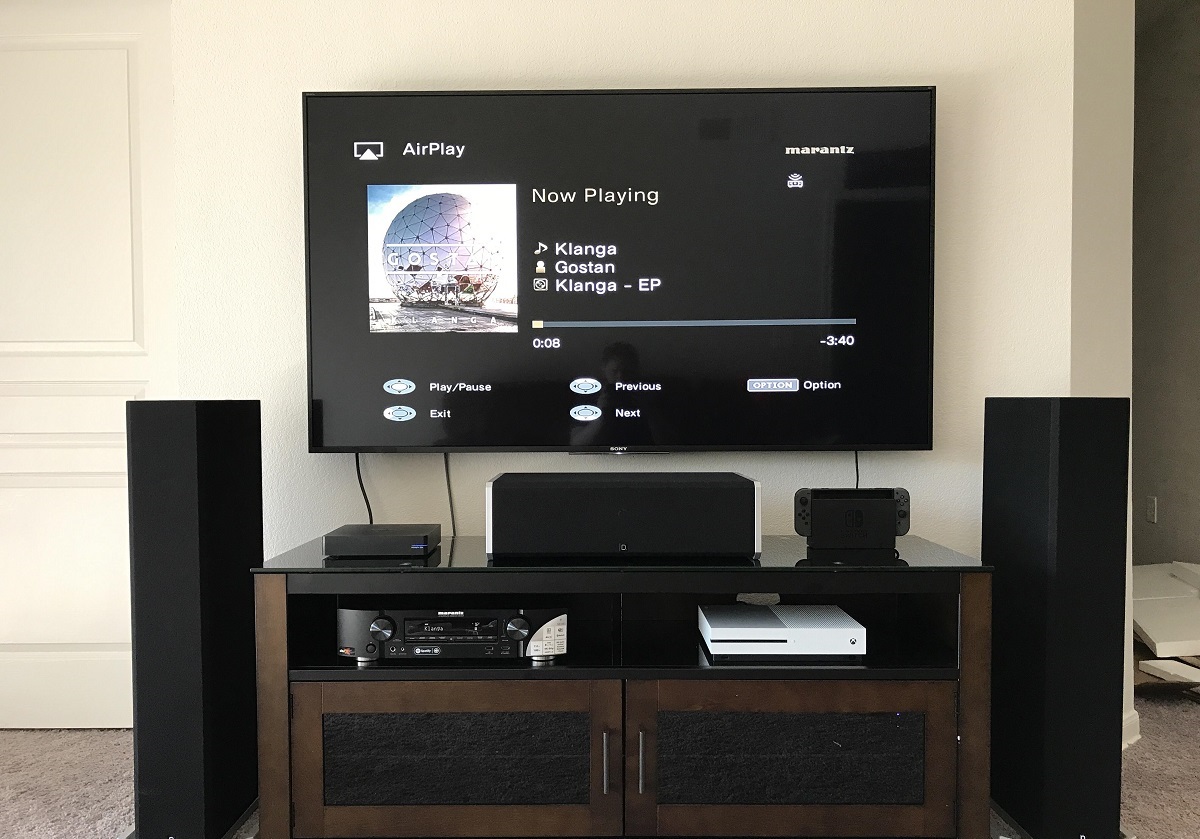
8.5 Screen mirroring and casting:
Your Samsung Smart TV may support screen mirroring or casting features. This allows you to wirelessly mirror the screen of compatible devices, such as smartphones or tablets, onto your TV. Explore the screen mirroring or casting settings to set up and enjoy this convenient feature.
8.6 Energy-saving settings:
Consider adjusting your TV’s energy-saving settings to minimize power consumption. Explore options such as automatic power-off timers or changing the TV’s display mode to reduce energy usage without compromising your viewing experience.
8.7 Parental controls:
If you have children, you can use the parental control settings to restrict access to certain apps or content based on age ratings. Set up a password or PIN to ensure that children can only access appropriate content on the TV.
By exploring the various features and settings of your Samsung Smart TV, you can personalize your viewing experience and enjoy a truly immersive and customized entertainment setup. Take the time to navigate through the settings menu and familiarize yourself with the options available to make the most out of your Smart TV.
Conclusion
Congratulations! You have successfully completed the step-by-step guide on how to hook up your Samsung Smart TV. By following these instructions, you have unpacked and set up your TV, connected it to the power source, connected it to Wi-Fi or a wired network, understood the different ports on the TV, connected external devices, configured the on-screen setup guide, installed and configured apps, and explored various Smart TV features and settings.
Your Samsung Smart TV is now ready to deliver an immersive entertainment experience. Whether you want to stream your favorite movies and TV shows, play games, stay up to date with the latest news, or enjoy a wide variety of apps, your Smart TV offers endless possibilities.
Remember to periodically check for software updates to keep your TV up to date with the latest features and enhancements. You can also refer to the user manual or Samsung’s website for additional support and troubleshooting guides, should you encounter any issues along the way.
Now, sit back, relax, and enjoy the stunning picture quality, incredible features, and seamless functionality of your Samsung Smart TV. Create your personalized entertainment setup by exploring different apps, adjusting settings to your preference, and immersing yourself in a world of limitless entertainment possibilities.
Thank you for choosing Samsung Smart TV, and we hope you have a fantastic and enjoyable viewing experience!