Introduction
Are you tired of paying for expensive cable or satellite TV subscriptions? If so, connecting an antenna to your Samsung Smart TV can provide you with access to free over-the-air channels, allowing you to enjoy a wide variety of content without the hefty price tag. Whether you’re a fan of local news, sports, or your favorite TV shows, hooking up an antenna is a simple and cost-effective solution.
In this step-by-step guide, we will walk you through the process of connecting an antenna to your Samsung Smart TV. With just a few easy steps, you’ll be able to enjoy high-quality, free broadcast television right from the comfort of your own living room.
Before we dive into the details, it’s important to note that not all Samsung Smart TVs come with built-in tuners. To determine if your TV has a built-in tuner, check your TV’s manual or look for labels such as “DTV”, “ATSC”, or “Digital”. If your TV doesn’t have a built-in tuner, you’ll need to purchase an external tuner or converter box in order to connect an antenna to your TV.
Now, let’s get started on the process of hooking up an antenna to your Samsung Smart TV and enhancing your viewing experience without breaking the bank.
Step 1: Gather the necessary equipment
Before you begin, make sure you have all the necessary equipment on hand. Here’s what you’ll need:
- Coaxial cable: This cable is used to connect the antenna to your TV. Make sure it is long enough to reach from your TV to the antenna location.
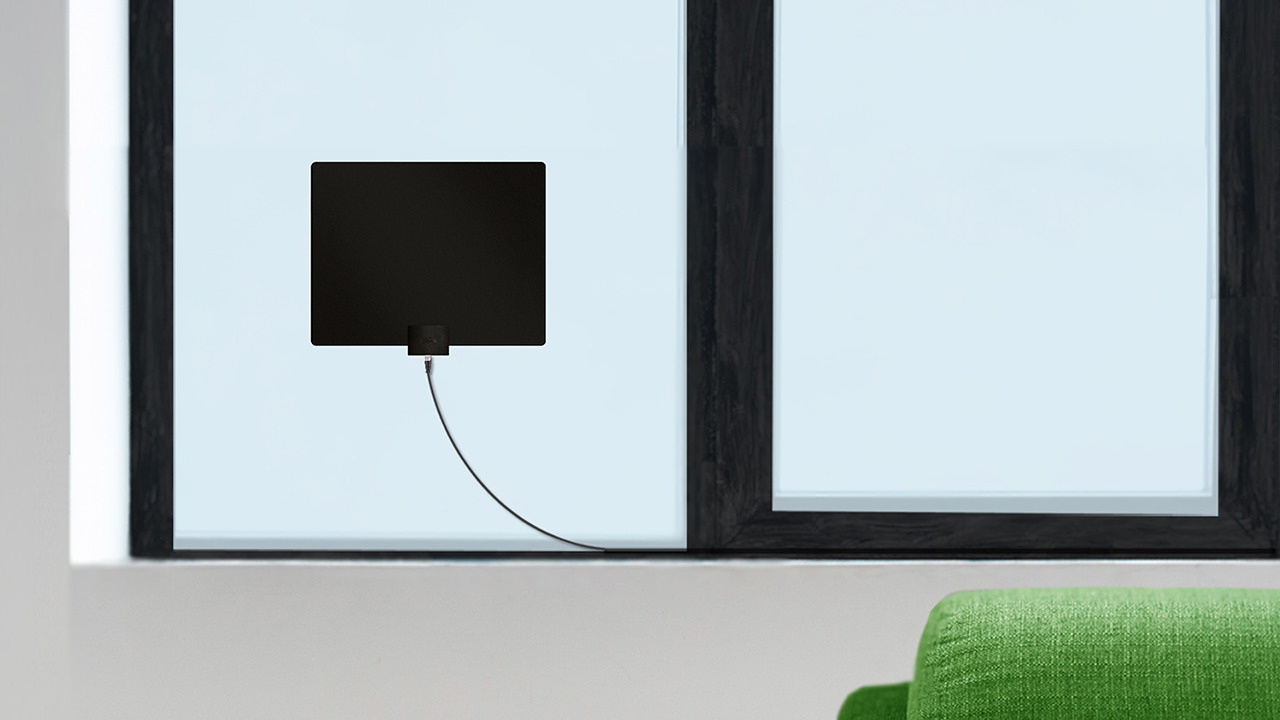
- Antenna: Choose an antenna that is compatible with your local broadcasting signals. There are various types of antennas available, such as indoor antennas, outdoor antennas, and amplified antennas. Consider your location and the strength of the signals in your area when selecting an antenna.
- TV remote: You’ll need your TV remote to access the menu settings and navigate through the interface.
- Optional: If your TV doesn’t have a built-in tuner, you’ll need an external tuner or converter box. Make sure it is compatible with your TV model.
Once you have gathered all the necessary equipment, you’re ready to move on to the next step. Having everything prepared in advance will ensure a smooth installation process.
Step 2: Locate the antenna input on your Samsung Smart TV
Locating the antenna input on your Samsung Smart TV is the next crucial step. This input is where you’ll connect the coaxial cable from your antenna.
The location of the antenna input may vary depending on your specific TV model. Here are a few common places to look:
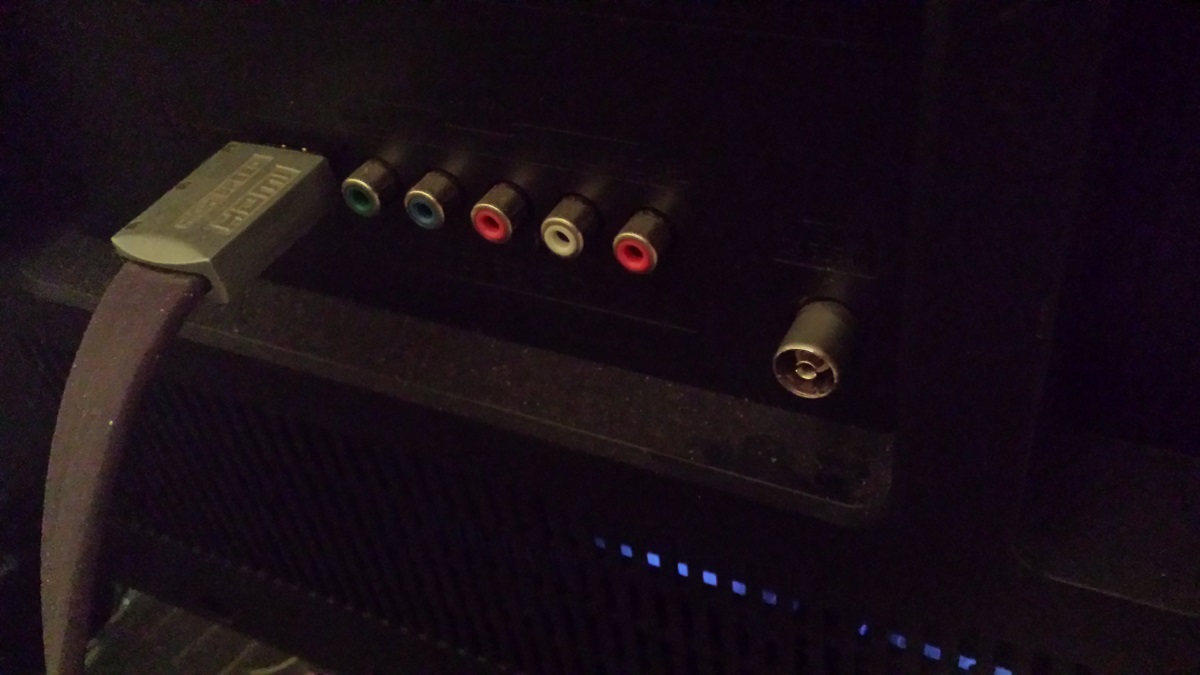
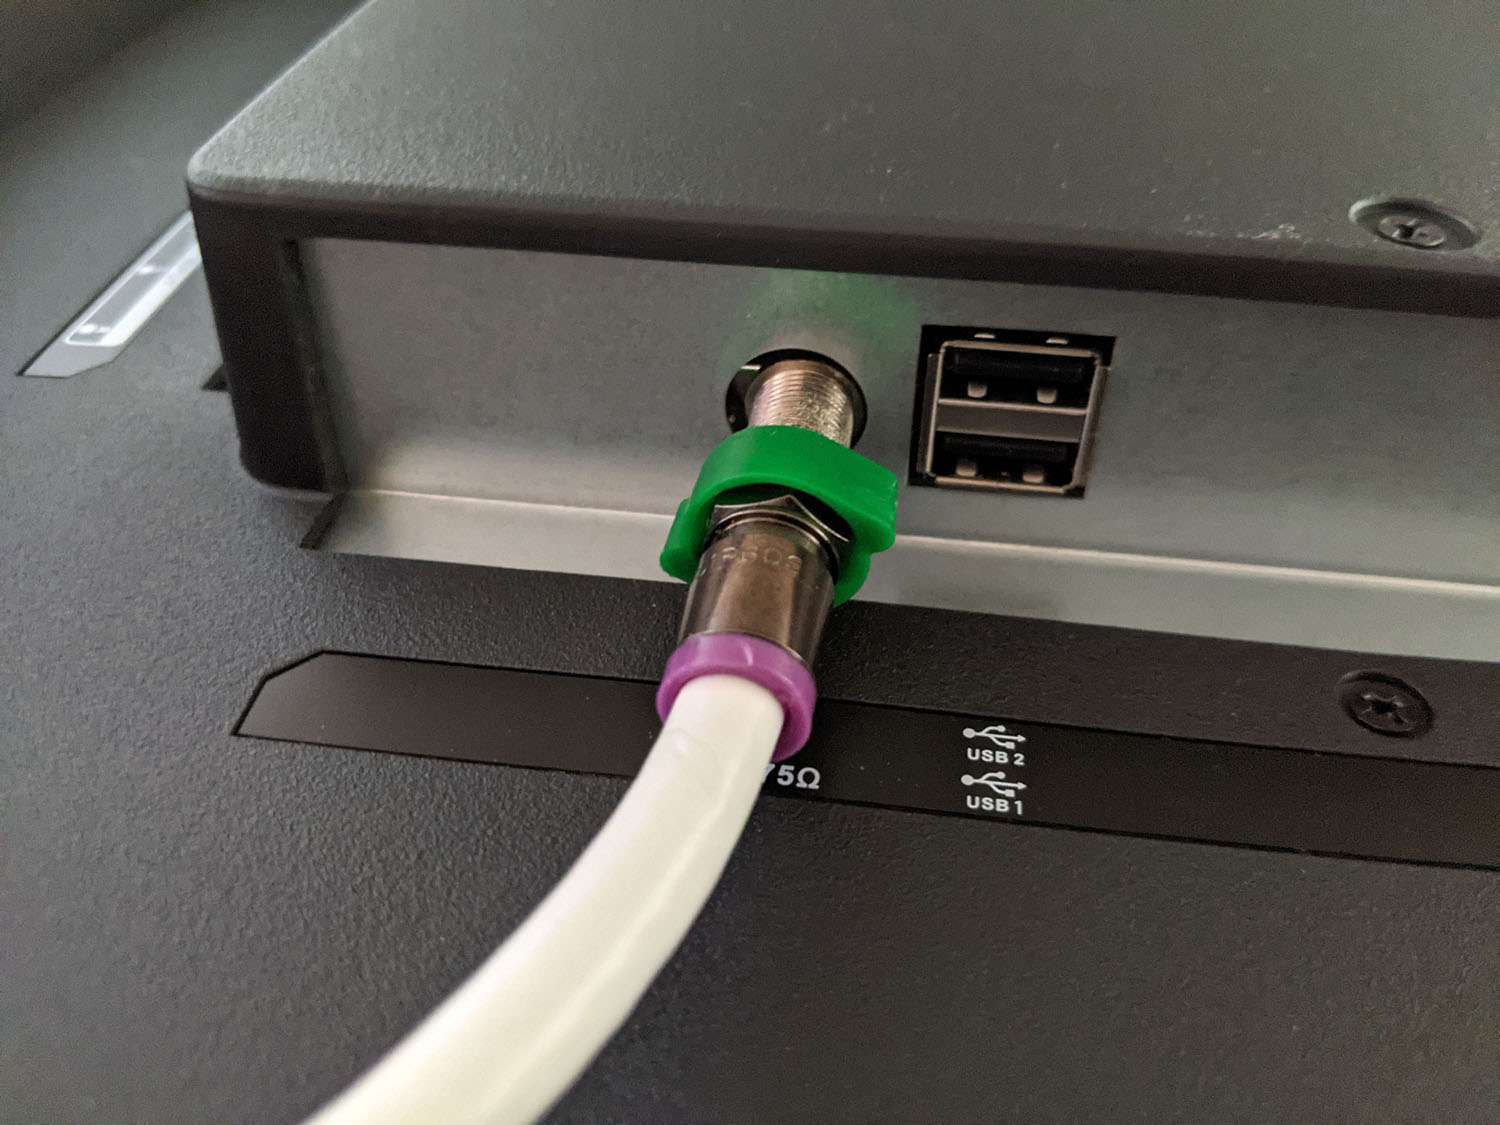
- On the back of the TV: Check the rear panel of your TV for a round connector labeled “Antenna,” “RF In,” or “Cable In.” It is usually located near other input ports.
- On the side of the TV: Some Samsung Smart TVs have the antenna input conveniently located on the side. Look for a small round connector labeled accordingly.
- In the TV’s menu settings: On certain models, the antenna input may be accessed through the TV’s menu settings. Navigate through the settings using your TV remote, and look for the “Input” or “Source” option to find the antenna input.
Refer to your TV’s manual or manufacturer’s website if you’re having trouble locating the antenna input. Once you have identified the antenna input, you can move on to the next step of connecting the coaxial cable to your TV.
Step 3: Connect the coaxial cable to the antenna
Now that you have located the antenna input on your Samsung Smart TV, it’s time to connect the coaxial cable from your antenna to the TV.
Follow these simple steps to connect the coaxial cable:
- Ensure your TV is turned off and unplugged to avoid any electrical mishaps.
- Take one end of the coaxial cable and insert it into the coaxial connector on the antenna. Make sure it is securely connected.
- Once the cable is connected to the antenna, carefully trace the cable’s length to your TV.
- Locate the other end of the coaxial cable and insert it into the antenna input on your Samsung Smart TV. Ensure a secure connection.
It’s important to make sure the coaxial cable is properly connected to both the antenna and the TV to ensure reliable reception of TV signals.
Note: If you are using an amplified antenna, there may be a power source or amplifier unit that needs to be connected between the coaxial cable and the TV. Refer to the antenna’s instructions for proper setup.
Now that the coaxial cable is connected to both the antenna and the TV, you’re one step closer to enjoying free broadcast channels on your Samsung Smart TV. Let’s move on to the next step to select the antenna input on your TV.
Step 4: Connect the other end of the coaxial cable to the antenna input on your TV
With the coaxial cable connected to the antenna, it’s time to complete the setup by connecting the other end of the cable to the antenna input on your Samsung Smart TV.
Follow these steps to connect the coaxial cable:
- Locate the antenna input on your TV, which you identified in the previous step. It may be labeled “Antenna,” “RF In,” or “Cable In.”
- Gently push the other end of the coaxial cable into the antenna input until it is securely connected. Make sure the connection is tight to avoid any signal loss.
- Double-check that the cable is inserted properly and that there are no loose connections.
Once the coaxial cable is connected to the antenna input on your TV, you have successfully established the physical connection between the antenna and your Samsung Smart TV.
It’s important to note that some Samsung Smart TVs have multiple antenna inputs. If this is the case, make sure you connect the coaxial cable to the correct input that corresponds to the main TV tuner.
Now that the cable is securely connected, proceed to the next step to select the antenna input on your TV and configure the necessary settings.
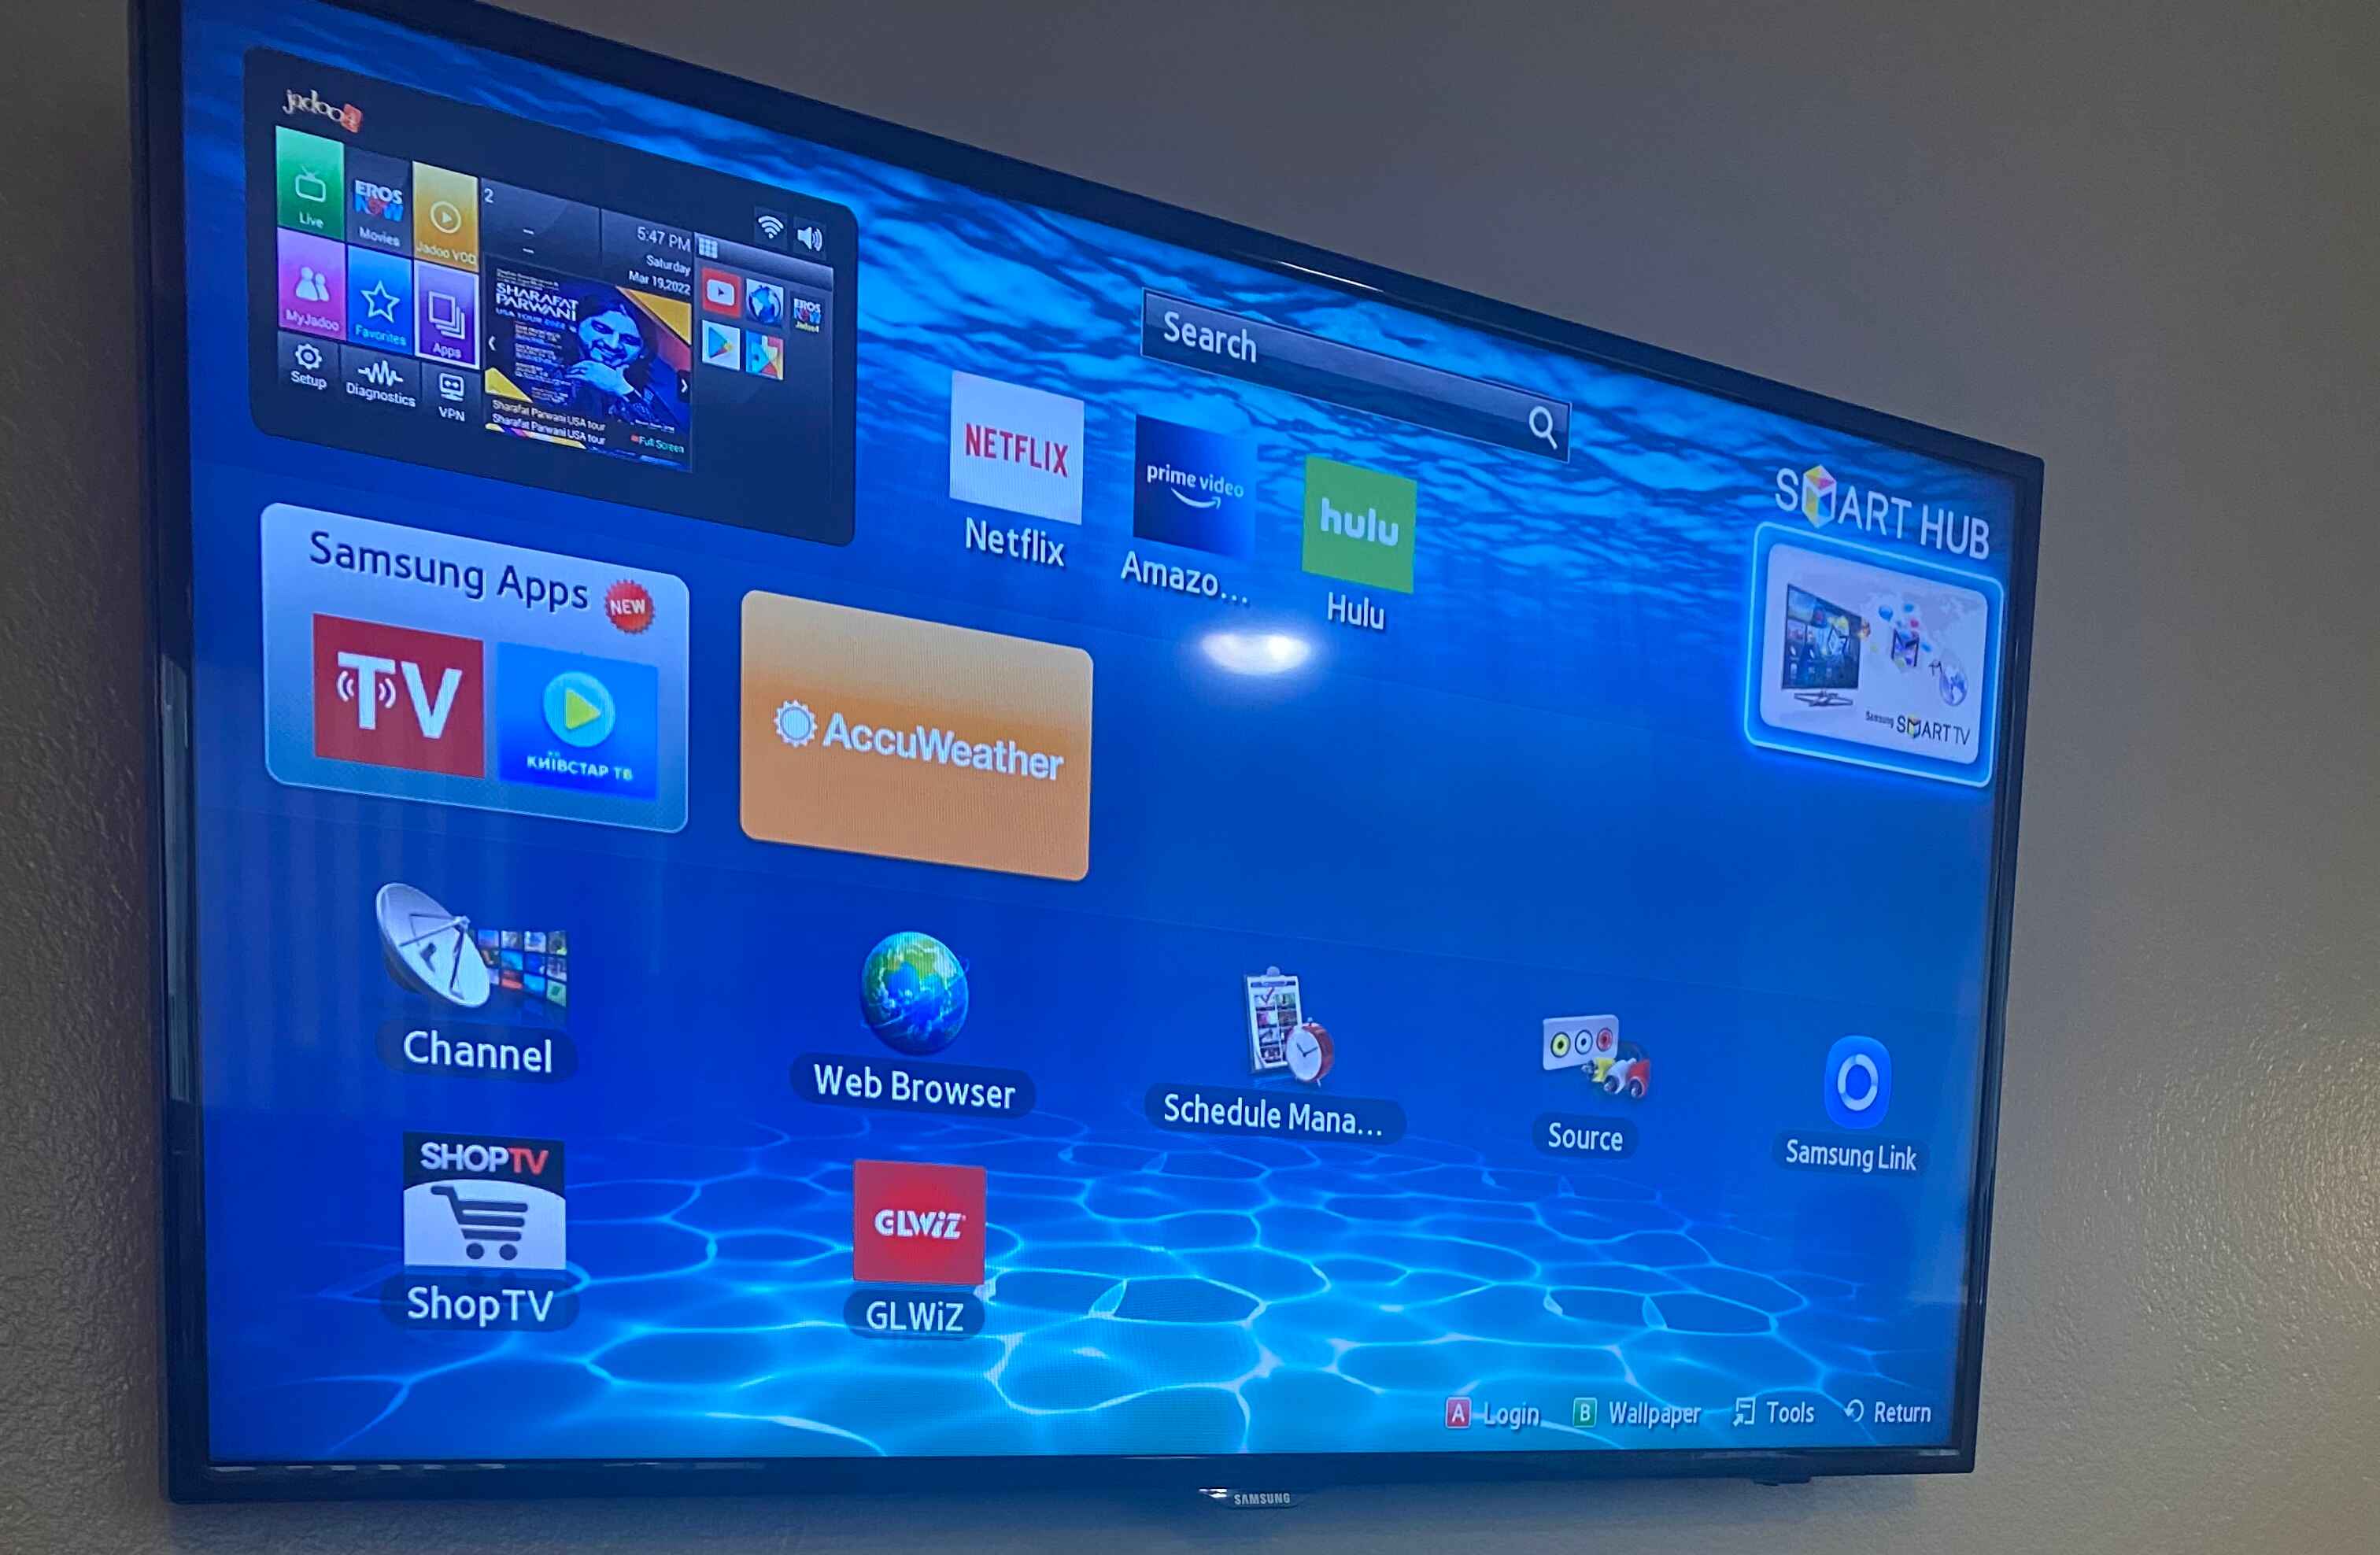
Step 5: Select the Antenna input on your TV
After connecting the coaxial cable to the antenna input on your Samsung Smart TV, it’s time to select the Antenna input in the TV’s menu settings. This step ensures that your TV recognizes the antenna as the source of the broadcast signal.
Here’s how you can select the Antenna input:
- Turn on your Samsung Smart TV using the power button on the TV or the remote control.
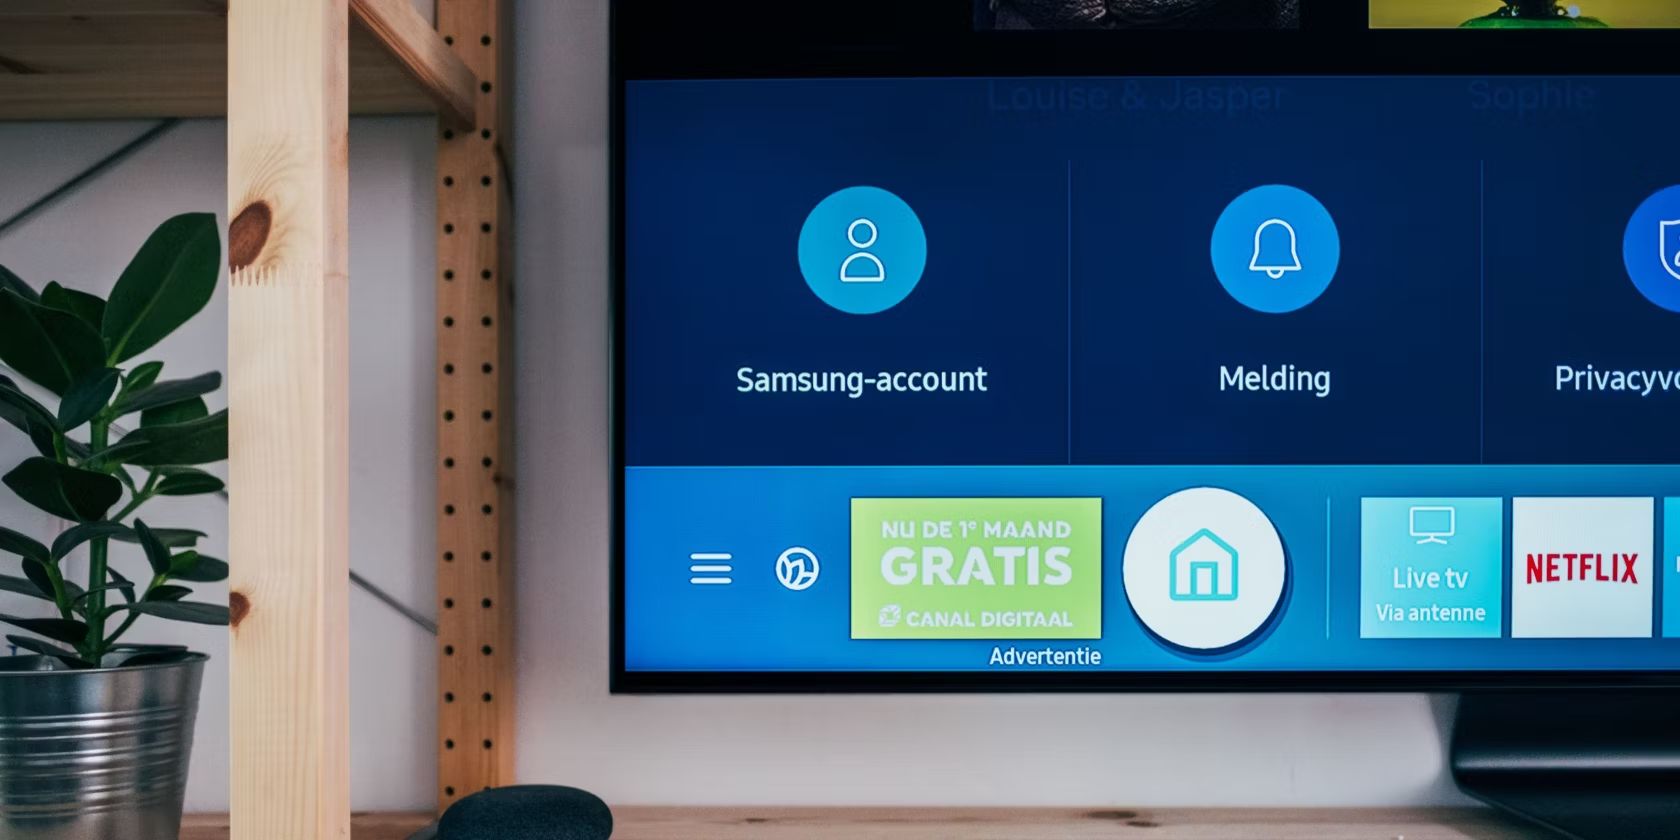
- Use the TV remote control to navigate through the menu settings. Look for the “Menu” or “Settings” button and press it to access the menu options.
- Within the menu, locate the “Input” or “Source” option. Press it to view the list of available input sources for your TV.
- Scroll through the options until you find the Antenna input. It may be labeled as “Antenna,” “TV,” or something similar. Select it by pressing the corresponding button on your remote.
By selecting the Antenna input, you are instructing the TV to receive the broadcast signals from the connected antenna.
Note that the exact steps to access the TV’s menu settings and select the Antenna input may vary depending on your specific Samsung Smart TV model. Refer to the TV’s user manual or the manufacturer’s website for detailed instructions if needed.
After selecting the Antenna input, you are now ready to scan for available channels to complete the setup process. Proceed to the next step to learn how.
Step 6: Scan for available channels
Now that you have selected the Antenna input on your Samsung Smart TV, it’s time to scan for available channels. Scanning for channels allows your TV to detect and store all the available broadcast channels that can be received through the connected antenna.
Follow these steps to scan for available channels:
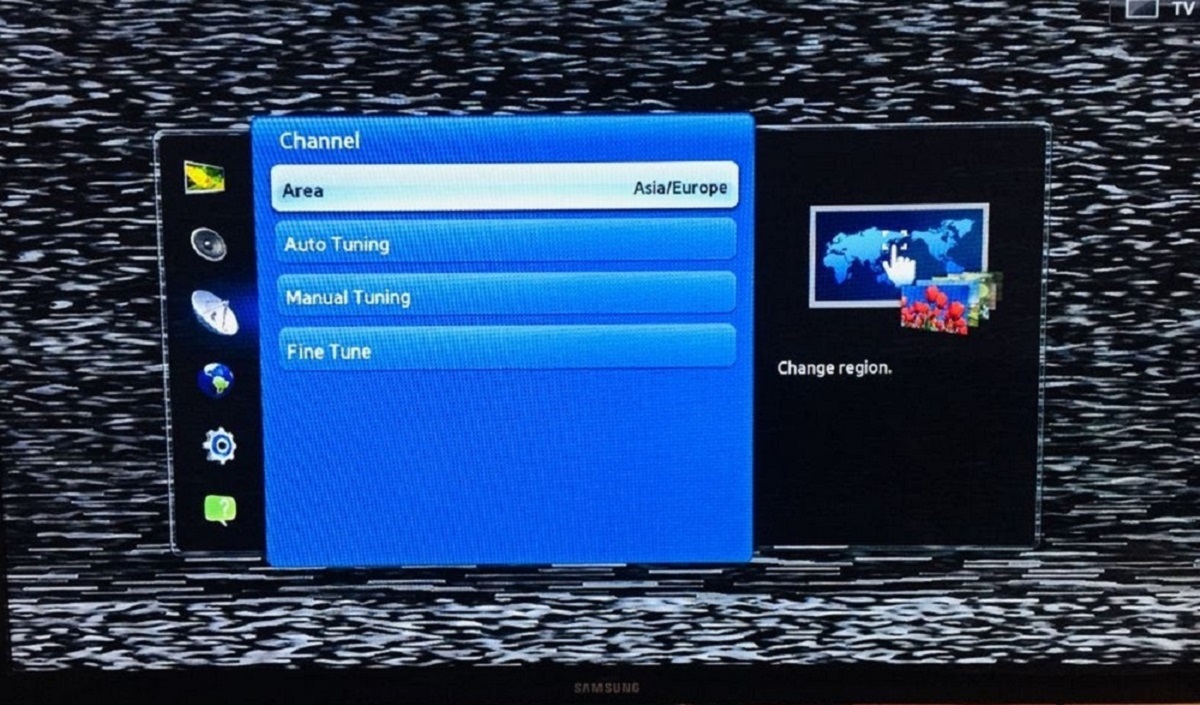
- Using your TV remote control, navigate to the menu or settings options.
- Look for the “Channel” or “Broadcast” settings. The exact name may vary depending on your TV model.
- Within the channel settings, find the option for “Channel Scan” or “Auto Program.” Select it to start the scanning process.
- Wait for the TV to scan for available channels. The scanning process may take a few minutes as the TV searches for and stores the channels it detects.
- Once the scanning is complete, your TV will display a list of available channels. This may include local broadcast channels, digital subchannels, and any other channels that can be received in your area.
During the scanning process, it’s important to keep your antenna in the optimal position to ensure the best signal reception. If you don’t receive all the expected channels or notice any weak signals, try adjusting the position or orientation of the antenna to improve the signal strength.
After the channel scan is complete, you can start enjoying the free broadcast channels on your Samsung Smart TV. Use the channel up/down buttons on your TV remote to navigate through the available channels and find the content you want to watch.
If you ever move your antenna to a new location or experience any changes in the signal reception, it’s recommended to perform a new channel scan to update the channel list on your TV.
Now that you have successfully scanned for available channels, let’s move on to the final step: adjusting the antenna for optimal signal reception.
Step 7: Adjust the antenna for optimal signal reception
Now that you have completed the scanning process and have a list of available channels on your Samsung Smart TV, it’s time to fine-tune the positioning of your antenna for optimal signal reception. This step ensures that you receive the best possible picture and sound quality for the channels.
Follow these steps to adjust your antenna:
- Start by checking the signal strength and quality on your TV. Most Samsung Smart TVs have a signal strength meter or indicator in their settings menu. Access the TV’s menu, navigate to the signal settings, and look for a signal strength or quality meter.
- With the signal strength meter visible, make small adjustments to the position and orientation of your antenna. Move it around and rotate it slightly while monitoring the signal strength meter. Look for the highest possible signal strength and quality levels on your TV.
- Keep an eye on the TV screen while adjusting the antenna. Look for any changes in picture quality, such as pixelation, freezing, or a weak signal message. These can indicate that the antenna position needs further adjustment.
- Continue making small adjustments until you find the optimal position that provides the highest signal strength and the best picture and sound quality for the channels.
During the adjustment process, you may need to experiment with different positions for your antenna. It’s recommended to avoid placing the antenna near large objects that may obstruct the signal, such as metal objects or walls.
Additionally, if you’re using an outdoor antenna, make sure it is securely mounted and aimed towards the broadcast towers in your area. Consult the antenna’s manual or manufacturer’s instructions for specific guidance on outdoor antenna installation.
Remember, the signal strength and quality may vary depending on your location and the distance from the broadcast towers. It’s worth taking the time to find the best antenna position to ensure optimal reception.
Once you are satisfied with the signal reception, you can sit back and enjoy your favorite shows, news, and other content from the available channels on your Samsung Smart TV.
Congratulations! You have successfully connected and set up an antenna on your Samsung Smart TV. Now you can enjoy the benefits of free broadcast television, saving money on costly cable or satellite subscriptions.
Conclusion
Connecting an antenna to your Samsung Smart TV opens up a world of free broadcast television, providing access to a wide range of channels and content without the need for a paid subscription. By following the steps outlined in this guide, you can easily hook up an antenna to your TV and enjoy high-quality, cost-effective entertainment.
From gathering the necessary equipment to adjusting the antenna for optimal signal reception, each step plays a crucial role in ensuring a successful setup. Remember to locate the antenna input on your TV, connect the coaxial cable securely, select the Antenna input, scan for available channels, and fine-tune the antenna position for the best signal strength and quality.
Keep in mind that the availability and number of channels may vary depending on your location and the strength of the broadcast signals in your area. Some channels may require a stronger signal or may not be available in certain regions.
By cutting the cord with expensive cable or satellite subscriptions and opting for a free over-the-air antenna connection, you can enjoy a diverse selection of programming, including local news, sports, weather, and your favorite TV shows. Keep exploring the channels available to you and make the most of your Samsung Smart TV’s capabilities.
Now that you have successfully connected an antenna to your Samsung Smart TV, it’s time to sit back, relax, and enjoy the incredible world of free broadcast television right from the comfort of your own home.