Introduction
Are you tired of paying for expensive cable or satellite TV subscriptions? If so, you’re not alone. Many people are turning to antennas to access free over-the-air television channels. Hooking up an antenna to your smart TV is a cost-effective way to enjoy a wide range of local and national broadcasts without the hefty monthly fees. In this guide, we’ll walk you through the steps to connect an antenna to your smart TV.
With the advancement in technology, modern TVs, including smart TVs, come with the ability to receive and process digital signals from over-the-air antennas. This opens up a whole new world of content for you to explore, including popular shows, sports events, news, and more.
The process of connecting an antenna to a smart TV may seem daunting at first, especially if you’re not particularly tech-savvy. However, with a few simple steps, you’ll be well on your way to enjoying high-quality, free TV channels in no time.
Before we dive into the steps, it’s essential to note that not all smart TVs have built-in tuners for receiving over-the-air signals. Some models may require an external digital converter box to connect the antenna. To determine if your smart TV has a built-in tuner, check the specifications in the user manual or consult the manufacturer’s website.
So, if you’re ready to cut the cord and start enjoying free TV, let’s get started with the step-by-step process of hooking up an antenna to your smart TV.
Step 1: Gather the necessary equipment
Before you can begin connecting the antenna to your smart TV, it’s important to gather all the necessary equipment. Here’s what you’ll need:
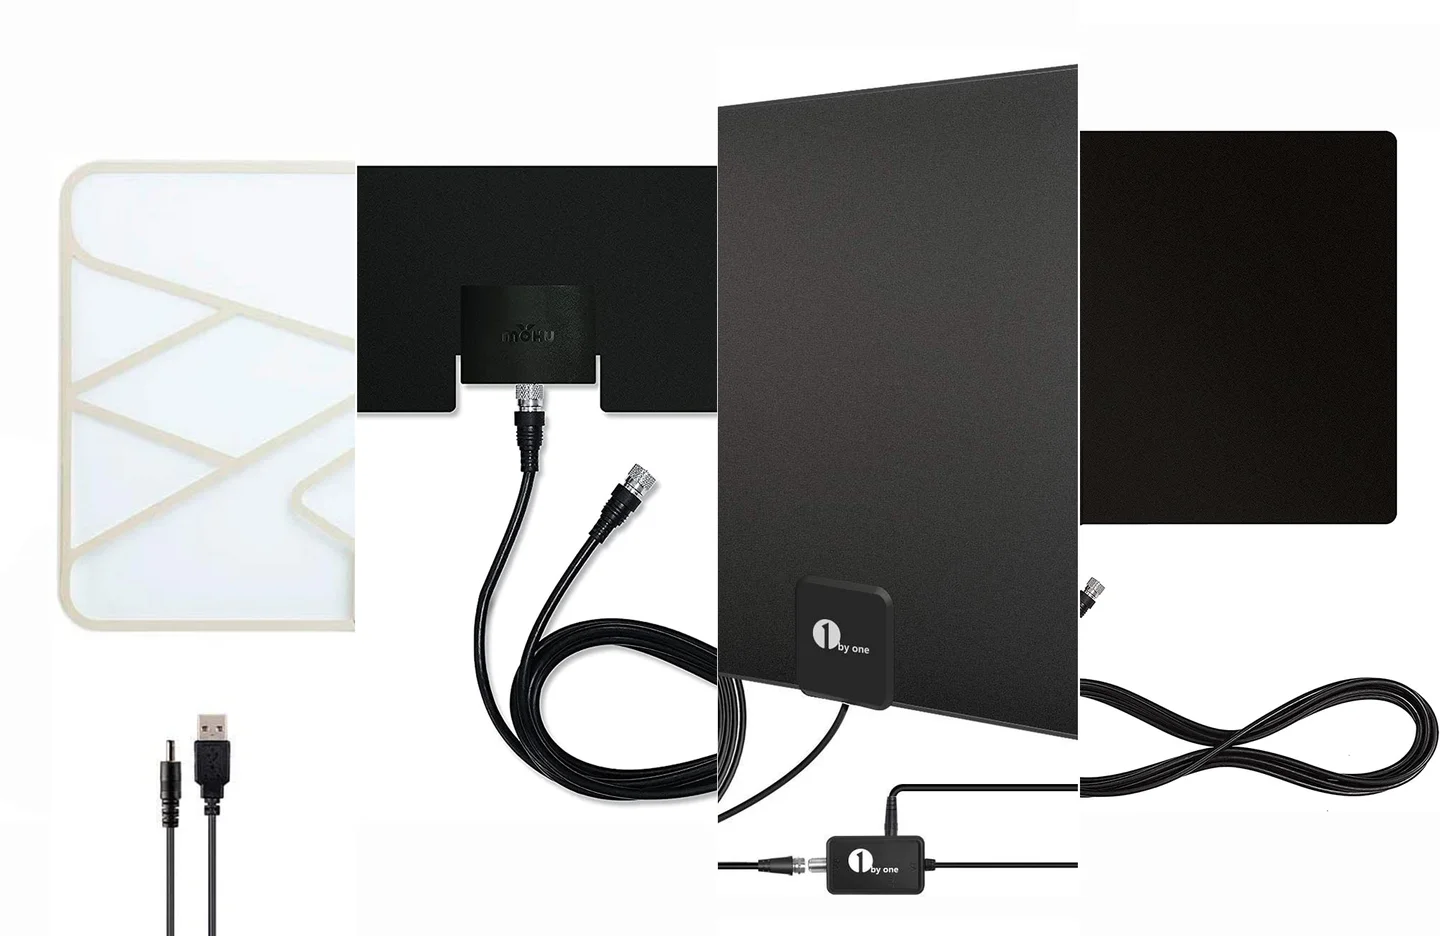
- Indoor or outdoor antenna: Choose an antenna that suits your needs and location. Indoor antennas are suitable for areas with strong signal reception, while outdoor antennas are recommended for areas with weaker signal reception or if you live far from broadcast towers. Consider factors such as terrain, distance from towers, and local regulations when selecting an antenna.
- Coaxial cable: You’ll need a coaxial cable to connect the antenna to your TV. Ensure that the cable is long enough to reach from the antenna to your TV without any limitations. The cable should have connectors on both ends that are compatible with your antenna and TV.
- Power supply (for amplified antennas): If you opt for an amplified antenna, which boosts the signal strength, you may need a power supply. Amplified antennas require power to function, so make sure you have an available power outlet nearby.
- Mounting hardware (for outdoor antennas): If you decide to go for an outdoor antenna, you’ll need appropriate mounting hardware such as brackets, clamps, or a mast to securely attach the antenna to your roof or other suitable structures. Make sure you have the necessary tools to complete the installation.
By ensuring you have all the required equipment, you’ll be well-prepared to move on to the next steps of the antenna installation process. Remember to consult the manufacturer’s instructions and guidelines for your specific antenna model to ensure a smooth setup.
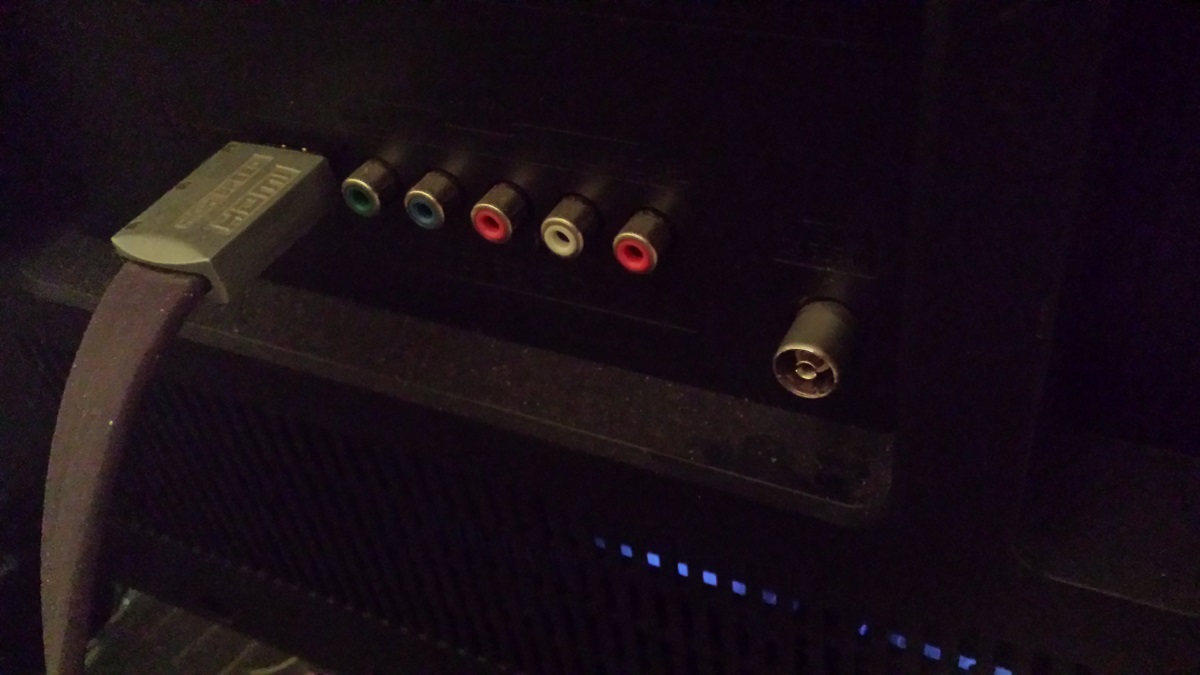
Step 2: Locate the antenna input port on your smart TV
Once you have gathered all the necessary equipment, the next step is to locate the antenna input port on your smart TV. This port is where you will connect the coaxial cable from your antenna. Here’s how to find it:
- Look for the labeled inputs on your TV: Most smart TVs have several input ports, such as HDMI, USB, and AV. The antenna input port may be labeled as “ANT,” “RF,” “Cable,” or “Antenna.” Refer to your TV’s user manual or consult the manufacturer’s website for specific information on the location of the antenna input port.
- Inspect the back or side of your smart TV: In many cases, the antenna input port is located on the back or side of the TV. It is usually a threaded coaxial connector, similar to those used for cable and satellite connections.
- Check for any additional labels or markings: Some TVs may have additional labels or markings near the antenna input port, indicating its purpose. Look for symbols such as a radio tower or an antenna icon.
- Ensure easy access and clearance: It’s essential to identify the antenna input port and ensure that there is enough space around it to connect the coaxial cable easily. Remove any obstructions or debris to facilitate a smooth connection.
By locating the antenna input port on your smart TV, you’re one step closer to enjoying free over-the-air TV channels. Once you’ve identified the port, you can proceed to the next step of connecting the antenna to your TV.
Step 3: Connect the antenna to the TV
With the antenna input port identified, it’s time to connect the antenna to your smart TV. Follow these steps to ensure a proper connection:
1. Turn off your TV: Before connecting the antenna, make sure your smart TV is turned off. This will avoid any electrical issues and protect your equipment.
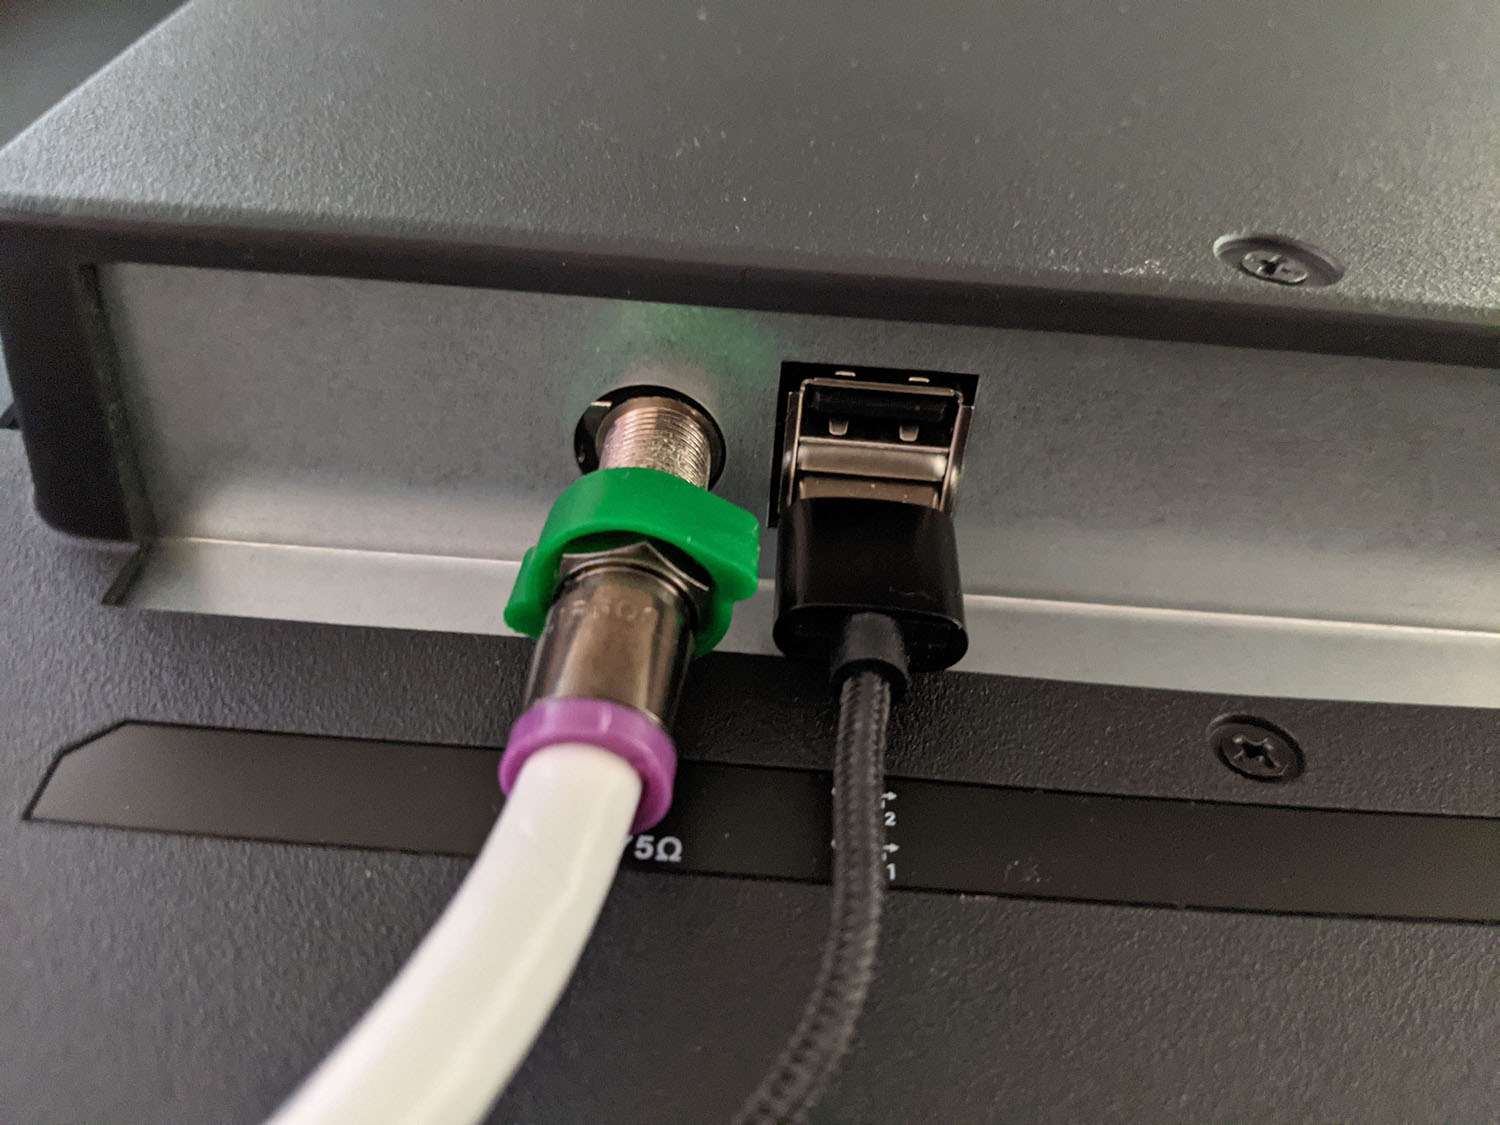
2. Locate the coaxial cable: Take your coaxial cable and identify the connectors on each end. One end should have a screw-on connector, while the other end may have a male connector or another type of connector depending on your antenna model.
3. Connect one end to the antenna: Attach the end of the coaxial cable with the screw-on connector to the matching antenna port on your antenna. Tighten the connector by turning it clockwise until it is secure. Ensure a snug connection, but be careful not to overtighten.
4. Connect the other end to the TV: Now, take the other end of the coaxial cable and connect it to the antenna input port on your smart TV. Again, twist the connector clockwise until it is tightly secured.
5. Verify the connection: Once the cable is connected, double-check that both ends are secure and tight. Avoid pulling or tugging on the cable excessively to prevent any damage.
6. Turn on your TV: After confirming the connections, turn on your smart TV and switch to the appropriate input source. Depending on your TV model, you may need to select the “Antenna” or “TV” input source from the menu or using the remote control.
By following these steps, your antenna should now be successfully connected to your smart TV. With the physical connection established, you’re ready to move on to the next step of positioning and adjusting the antenna for optimal reception.
Step 4: Position and adjust the antenna
Now that you have successfully connected the antenna to your smart TV, it’s time to position and adjust it for optimal signal reception. Follow these steps to ensure the best possible TV viewing experience:
1. Check the signal strength: Before you start positioning the antenna, check the signal strength indicator on your TV. This can usually be found in the settings or menu options. It will help you determine the quality of the received signals and aid in finding the best location for your antenna.
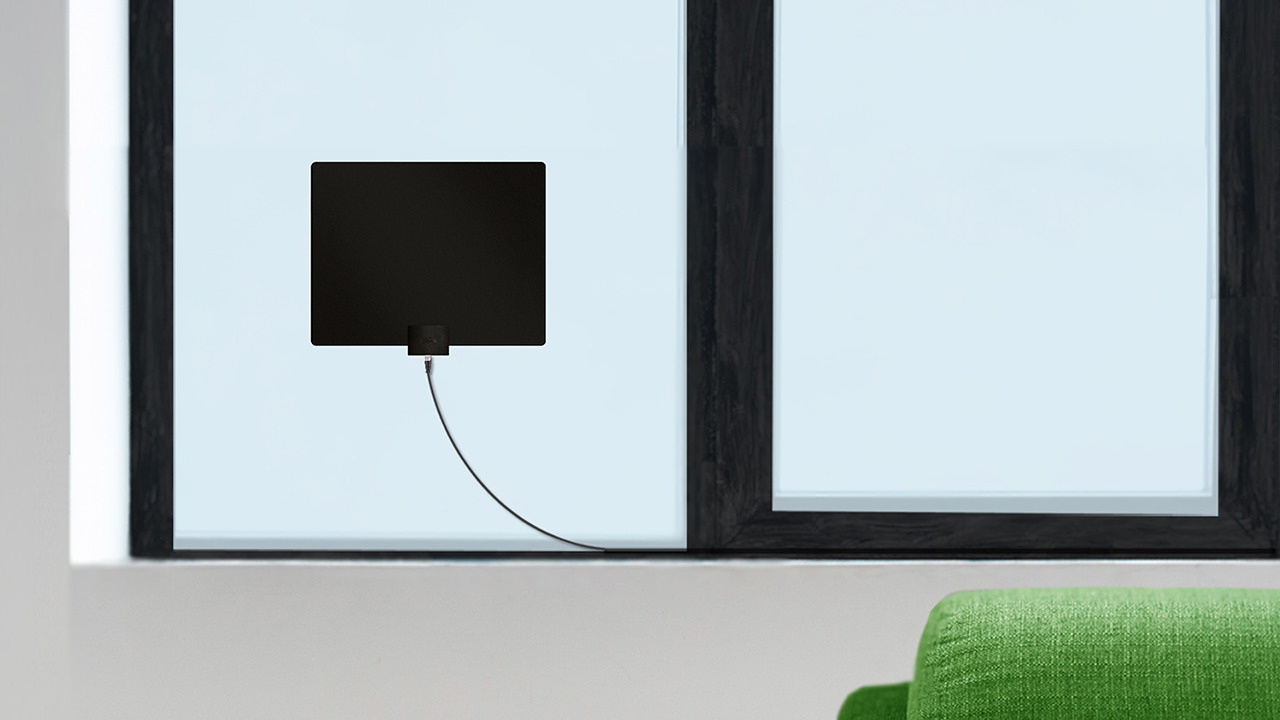
2. Choose the right location: Position your antenna near a window or on an exterior wall facing the broadcast towers. This will help maximize the signal reception. If you have an outdoor antenna, mount it securely using the appropriate hardware. Avoid placing the antenna near any obstructions such as metal objects, large appliances, or thick walls that could interfere with the signal.
3. Experiment with placement: Start by placing the antenna in different spots and angles. Try both horizontal and vertical positions to see which provides the best signal strength. It may require some trial and error to find the optimal placement.
4. Run channel scan: Once you have positioned the antenna, run a channel scan on your smart TV. This will allow the TV to detect and store the available channels. Refer to your TV’s user manual for specific instructions on how to run a channel scan. Depending on your location and the number of available channels, this process may take a few minutes.
5. Fine-tune antenna position: After the initial channel scan, check the signal strength and quality of the received channels. If you notice any weak signals or interference, adjust the position and orientation of the antenna accordingly. Small adjustments can make a significant difference in signal reception.
6. Repeat channel scan if needed: If you have made significant changes to the antenna position, it’s advisable to run another channel scan to ensure you’re receiving all available channels. Repeat this step until you achieve optimal signal strength and a clear reception on all desired channels.
By carefully positioning and adjusting your antenna, you can enhance the signal reception and enjoy a better TV viewing experience. Take the time to find the best possible location before moving on to the next step of scanning for available channels.
Step 5: Scan for available channels
Now that you have positioned and adjusted your antenna, it’s time to scan for available channels on your smart TV. By running a channel scan, you allow your TV to detect and store the available channels in your area. Follow these steps to scan for channels:
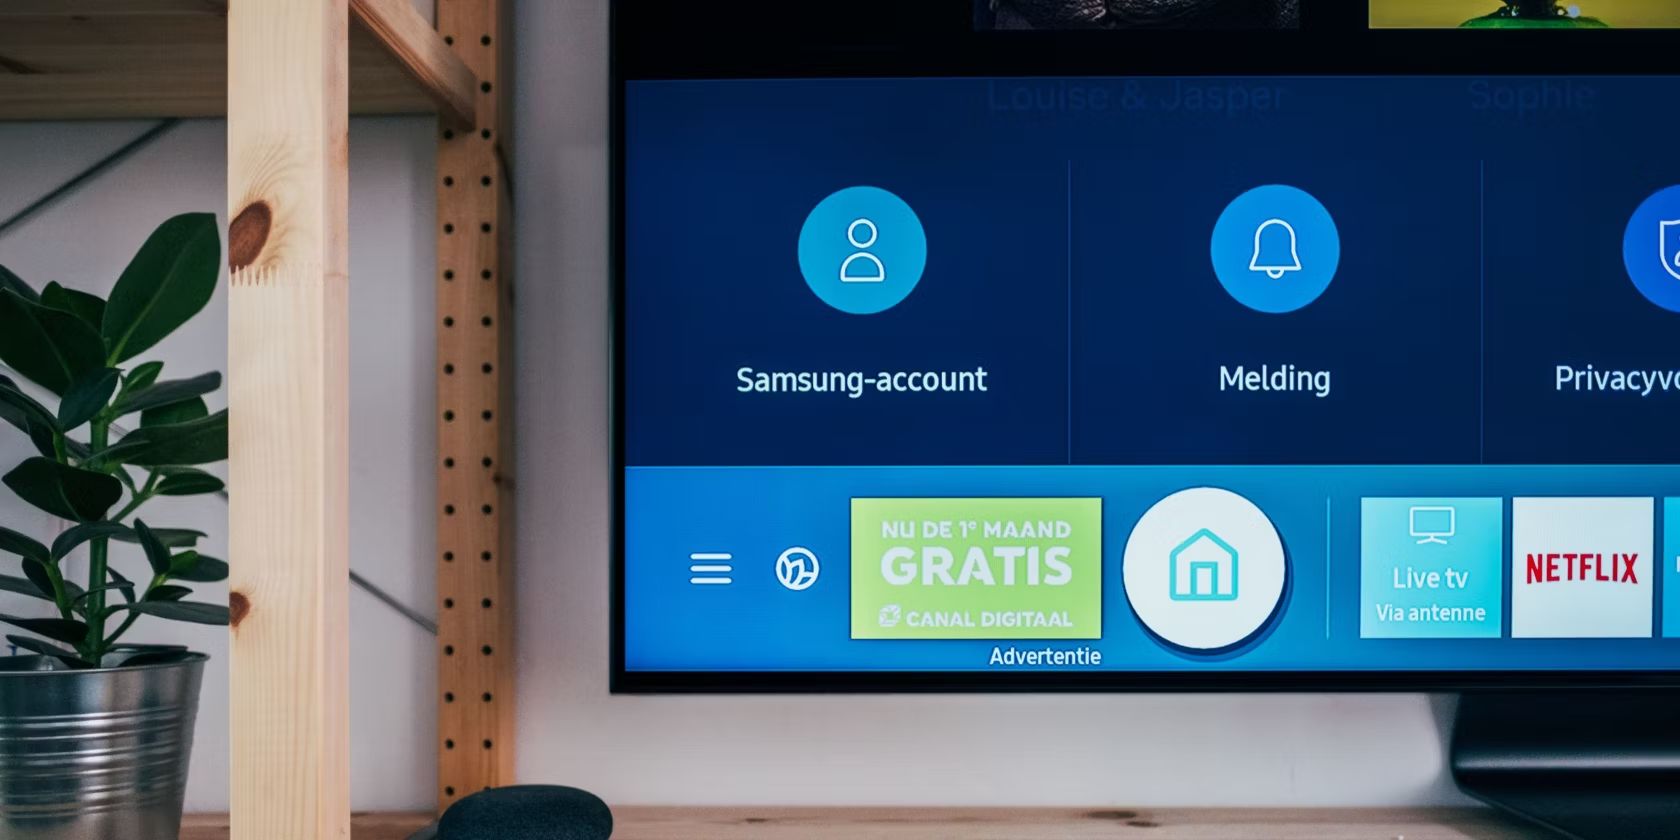
1. Access the TV menu: Using your TV remote control, navigate to the menu or settings options on your smart TV. The exact location of these options may vary depending on the TV brand and model.
2. Find the channel or tuner settings: Look for the channel or tuner settings within the TV menu. This is where you will find the option to run a channel scan. It may be labeled as “Channel Setup,” “Auto Tune,” or something similar.
3. Select the appropriate scan option: Once you have accessed the channel or tuner settings, choose the option for “Channel Scan,” “Auto Scan,” or “Auto Program.” This will initiate the scan to detect available channels.
4. Start the channel scan: Confirm your selection and start the channel scan. The TV will begin scanning for channels using your connected antenna. This process may take a few minutes, depending on the number of channels available in your area.
5. Wait for the scan to complete: Allow the TV to complete the channel scan without interrupting or turning off the TV. During the scan, the TV will display a progress indicator or show the number of channels found.
6. Review the channel list: Once the scan is complete, your smart TV will display a list of the detected channels. Take some time to review the channel list to ensure that all the desired channels are included. If any channels are missing or have a weak signal, you may need to reposition or adjust your antenna.
By scanning for available channels, you enable your smart TV to tune in to the local over-the-air broadcasts. This step ensures that you can access a variety of free TV channels without the need for a cable or satellite subscription. Once the scan is complete, you’re ready to enjoy your favorite TV shows and programs using your newly installed antenna.
Step 6: Enjoy your favorite TV shows with your antenna
After completing the channel scan, you’re now ready to sit back, relax, and enjoy your favorite TV shows and programs with your antenna-connected smart TV. Here are a few tips to enhance your television viewing experience:
1. Browse through available channels: Take some time to explore the channels that were detected during the channel scan. Use the remote control to navigate through the channels and see what’s on. You may discover new local channels or niche programming that you didn’t have access to before.
2. Bookmark your favorite channels: If your smart TV has the option to bookmark channels, consider organizing your favorite channels into a personalized list. This feature can make it easier to access the channels you love without having to manually search through the entire channel lineup.
3. Adjust picture and sound settings: Fine-tune the picture and sound settings on your smart TV to suit your preferences. Play around with options such as brightness, contrast, color, and audio settings to optimize the viewing experience for your specific environment.
4. Keep an eye on signal strength: While enjoying your favorite shows, periodically check the signal strength indicator on your TV. If you notice any degradation in the signal strength or quality, it may be a sign to reposition or adjust your antenna for optimal reception.
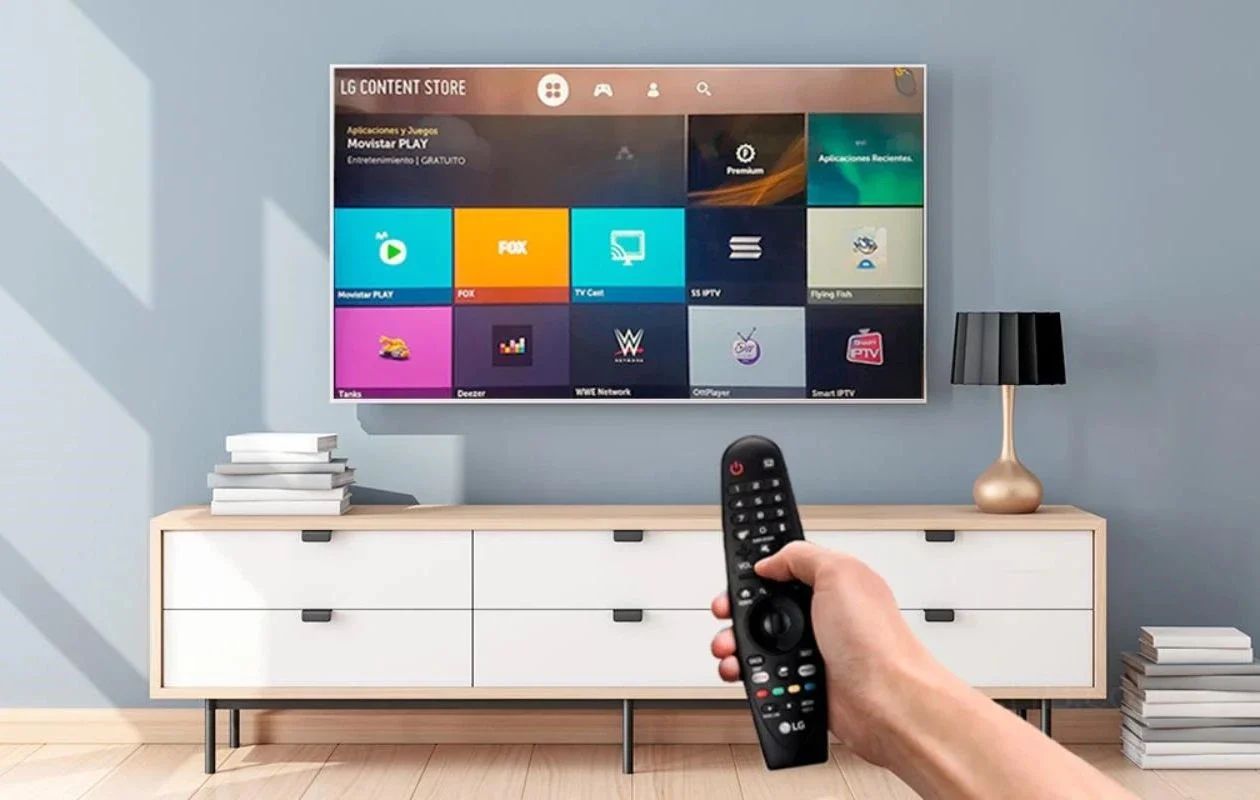
5. Utilize additional TV features: Smart TVs offer a range of additional features and apps that can enhance your TV-watching experience. Explore streaming services, on-demand content, and other apps that may be available on your smart TV. This way, you can enjoy a mix of live broadcasts and streaming content all in one place.
6. Stay up to date with channel rescan: Remember to occasionally run a channel rescan on your smart TV, especially if you experience any changes to your local broadcast lineup or if you move to a new location. This will ensure that you are always accessing the most up-to-date channel offerings.
By following these steps and tips, you can fully embrace the benefits of using an antenna with your smart TV. Enjoy the freedom of accessing a wide range of TV channels without the burden of expensive subscription fees. Grab some snacks, find your favorite spot on the couch, and indulge in the world of television entertainment right at your fingertips. Happy viewing!