Introduction
Welcome to the world of smart TVs! With their advanced features and internet connectivity, smart TVs have revolutionized the way we consume entertainment. From streaming movies and TV shows to playing games, these devices offer a plethora of options to cater to our entertainment needs. However, even with all the cutting-edge technology, there’s still something charming about good old-fashioned over-the-air broadcasting.
Connecting a TV antenna to your smart TV allows you to access free local channels and enjoy high-definition content without the need for a cable or satellite subscription. This not only saves you money but also gives you access to a wide range of channels that might not be available through streaming services.
In this guide, we will take you through the simple steps to connect a TV antenna to your smart TV, bringing back the nostalgic experience of flipping through channels and enjoying live television. Whether you are upgrading your existing TV or setting up your new smart TV, this guide will help you get started.
Before we dive into the process, let’s ensure we have all the necessary equipment ready.
Step 1: Gather the necessary equipment
Before you can connect a TV antenna to your smart TV, you will need to gather a few essential pieces of equipment. Here’s what you’ll need:
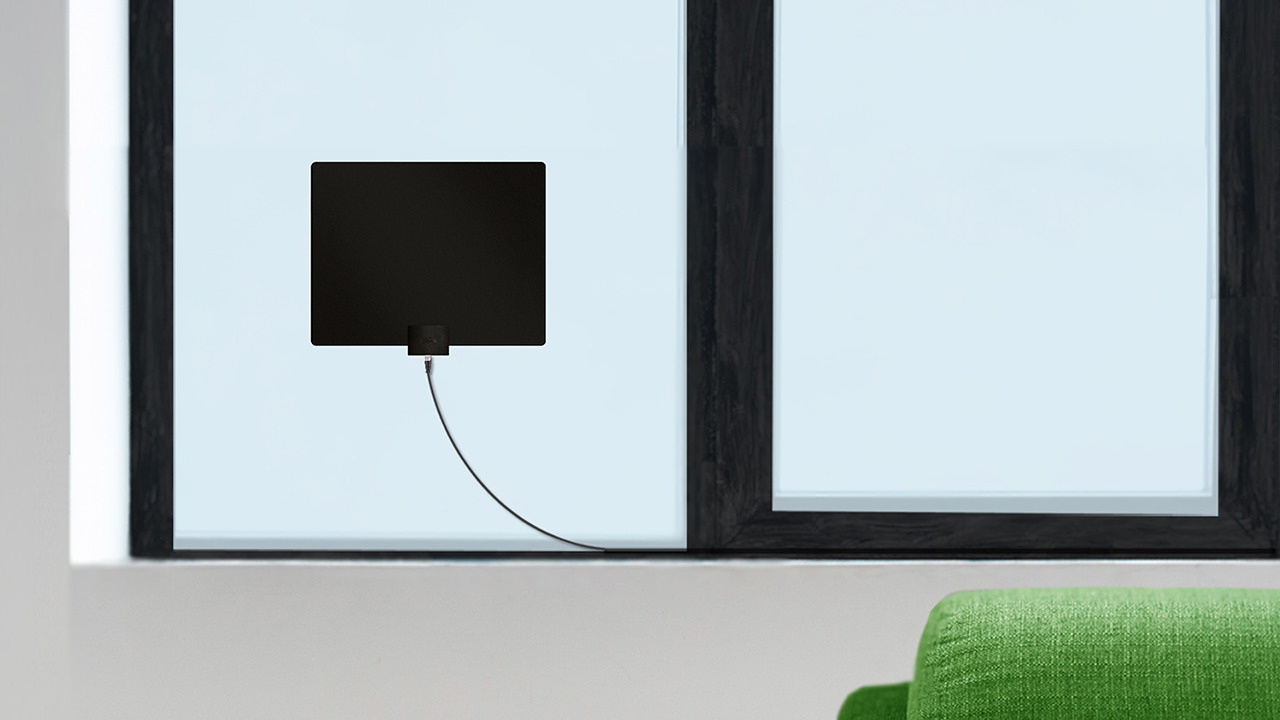
- TV antenna: Choose a TV antenna that suits your needs. There are various types available, including indoor and outdoor antennas. Consider factors such as your location, signal strength, and the distance from the broadcasting towers when selecting an antenna.
- Coaxial cable: A coaxial cable is used to connect the antenna to your smart TV. Ensure that you have a cable that is long enough to reach your TV from where you plan to install your antenna.
- Adapter (if necessary): Depending on the type of antenna you choose and the ports available on your smart TV, you might need an adapter to connect the coaxial cable to your TV. These adapters are readily available at electronics stores or online.
Once you have gathered all the necessary equipment, you are ready to move on to the next step and connect the antenna to your smart TV. Make sure you have everything within reach and set aside some time to complete the process without interruptions.
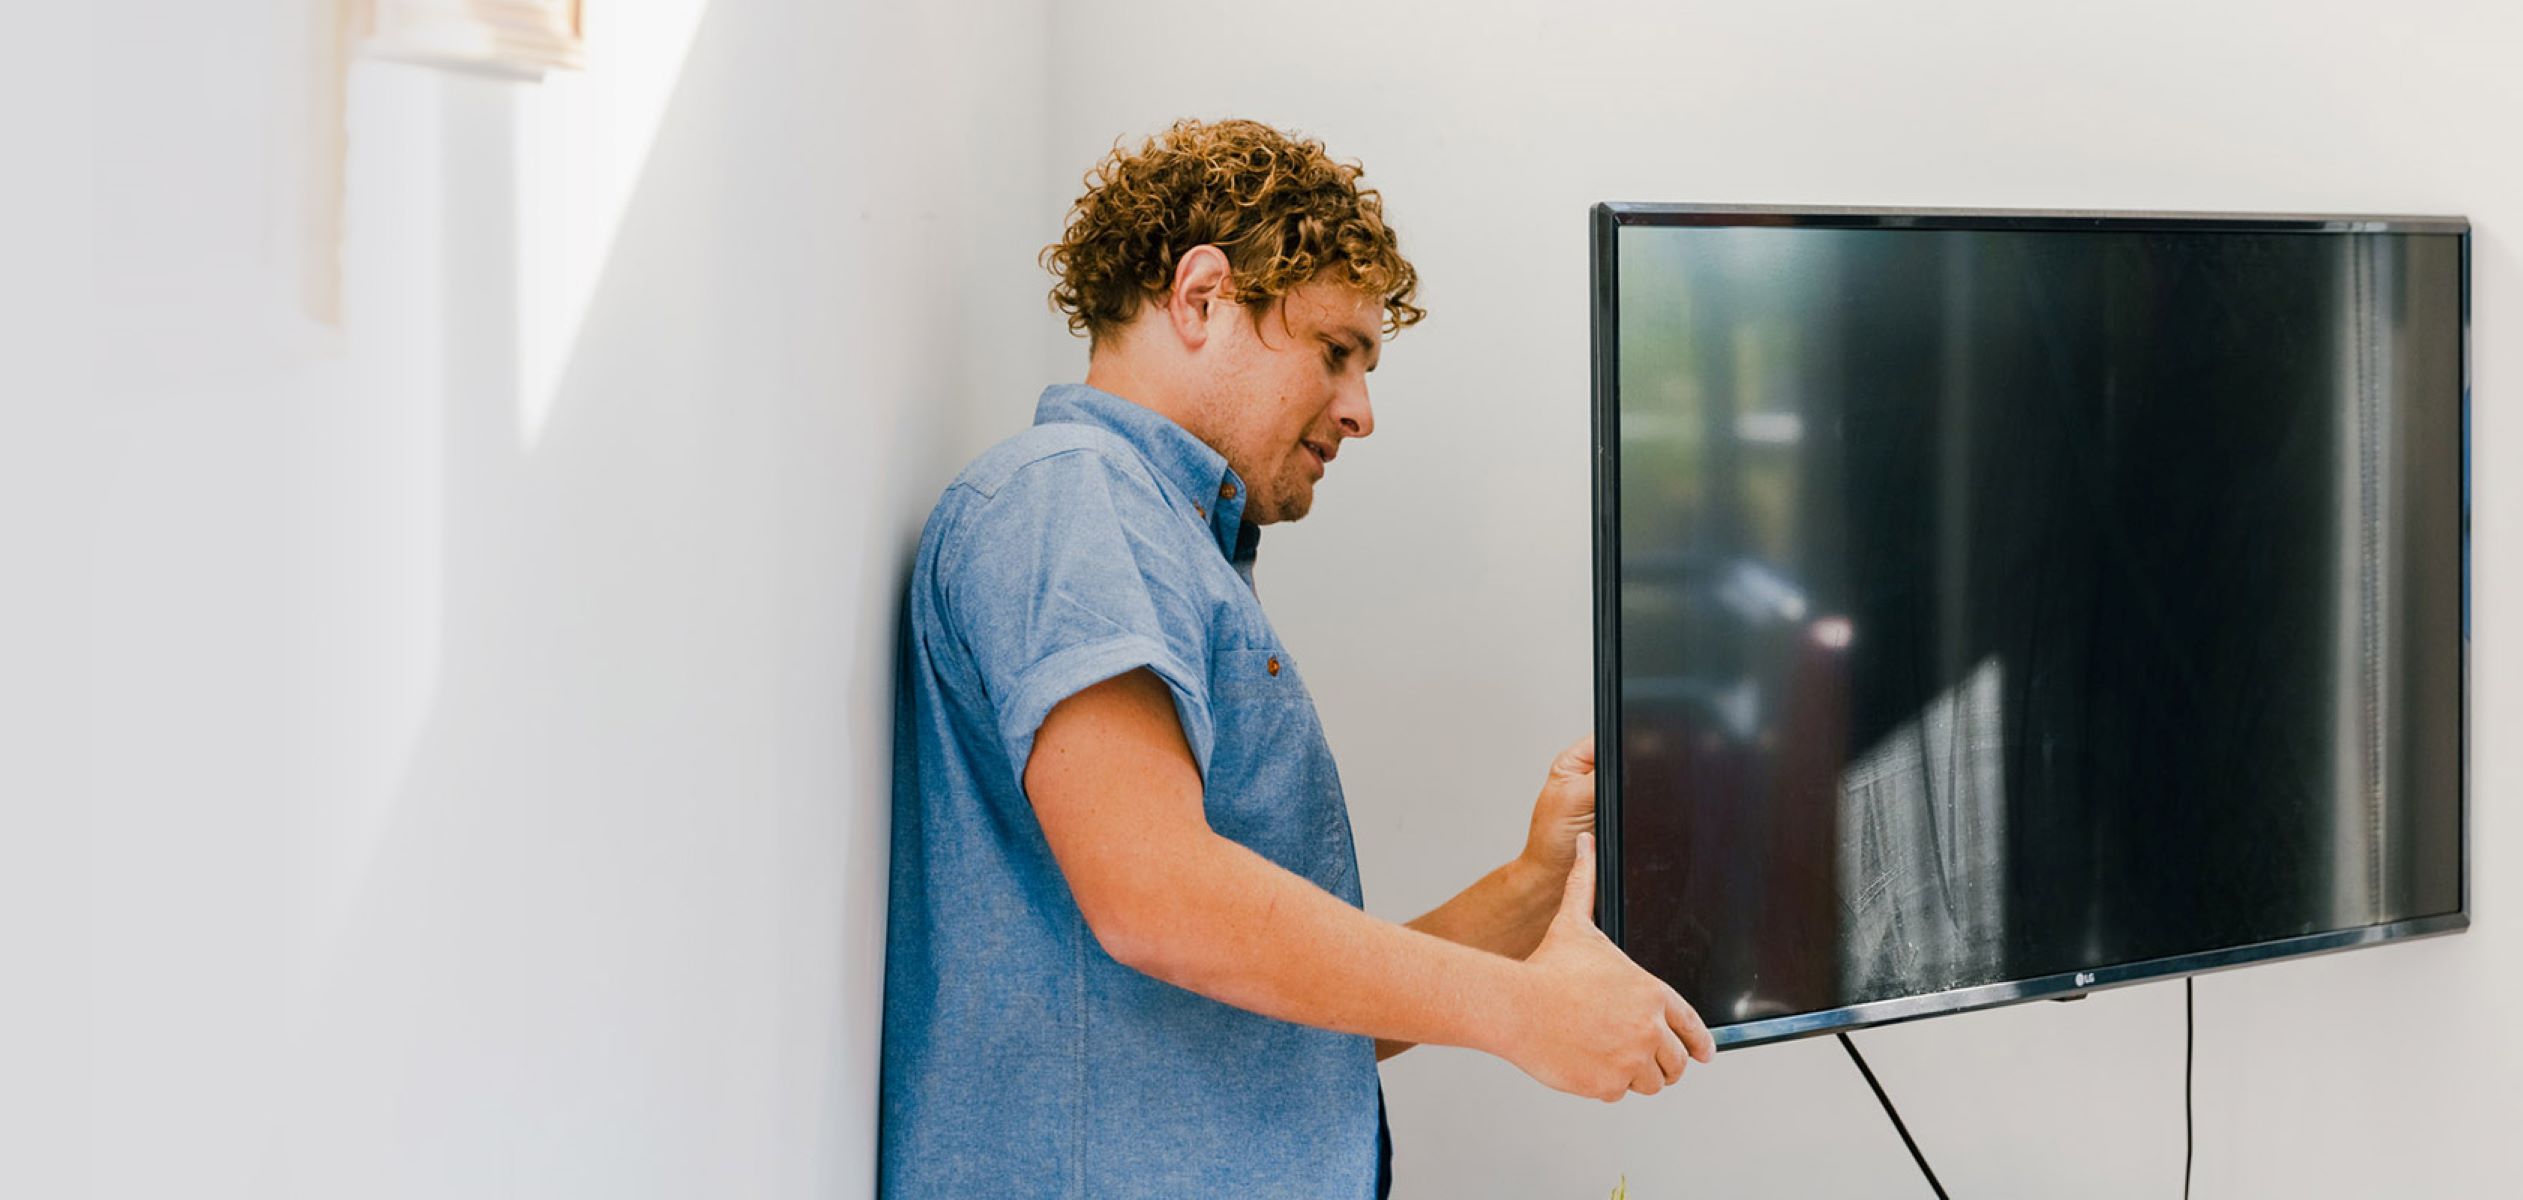
Step 2: Locate the antenna input on your smart TV
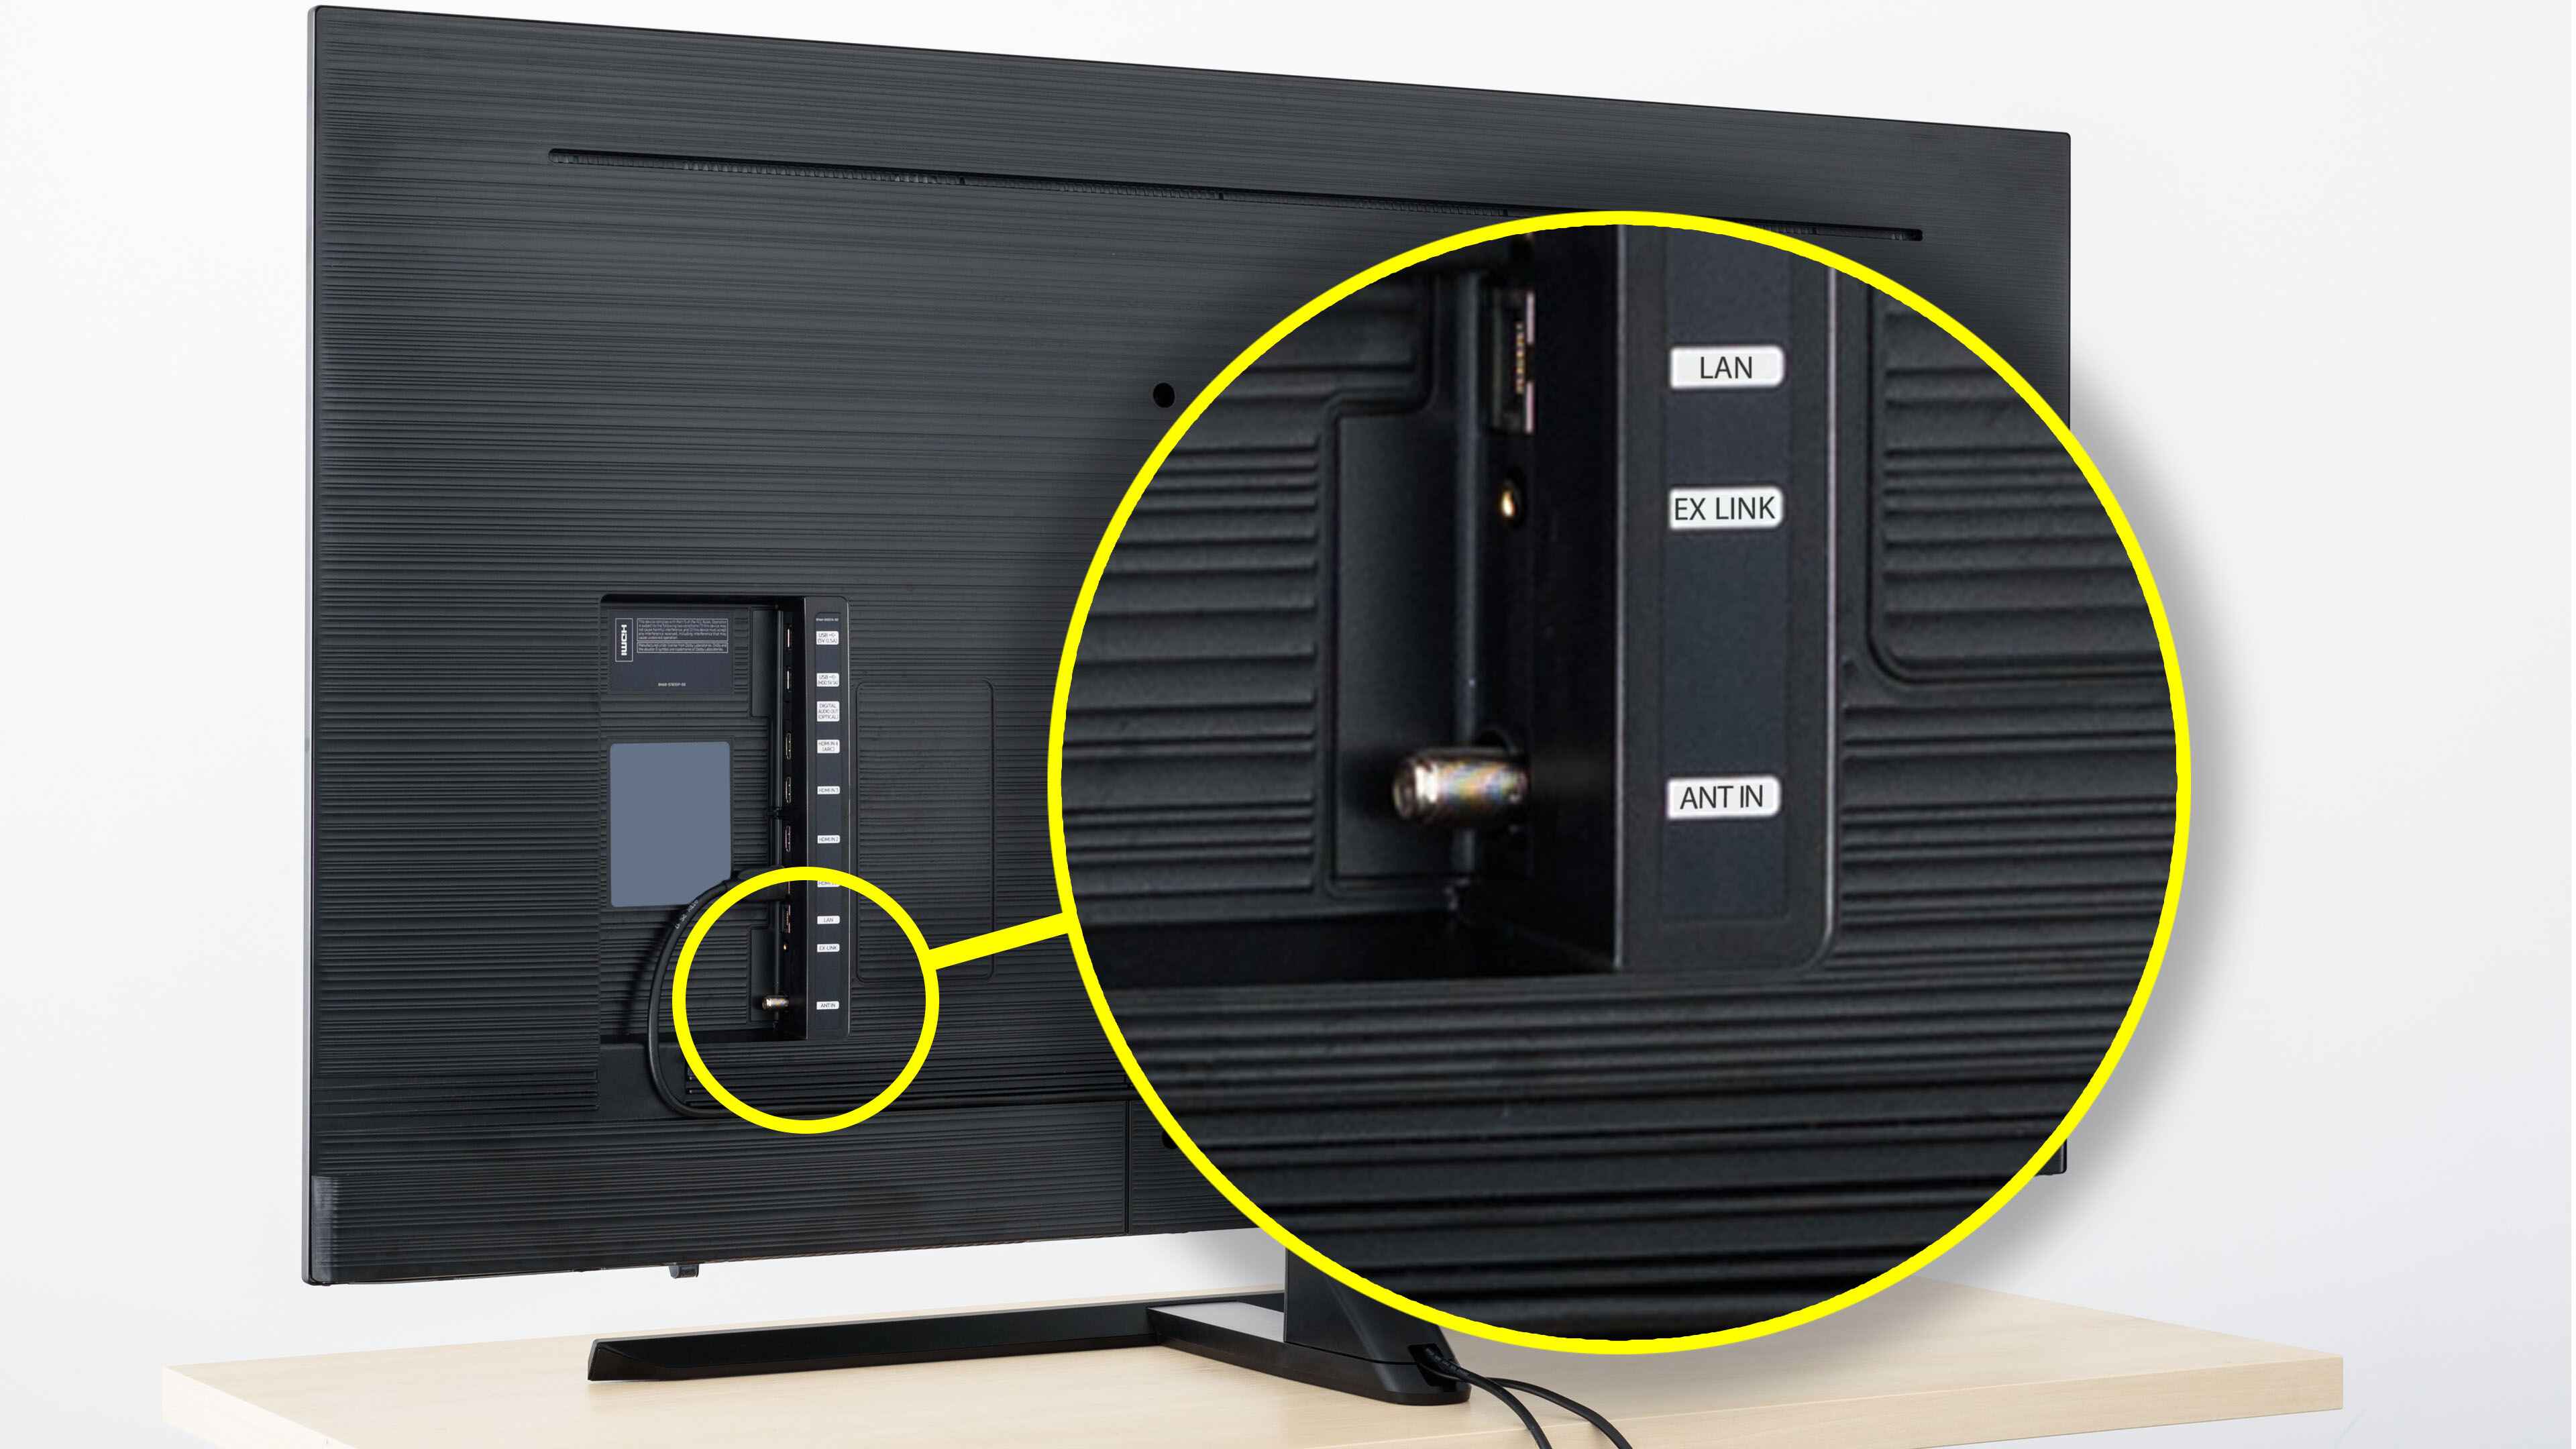
Before you can connect your TV antenna, you need to locate the antenna input on your smart TV. The location of the antenna input may vary depending on the brand and model of your TV, but it is typically labeled as “ANT” or “ANTENNA”.
Here’s how you can find the antenna input:
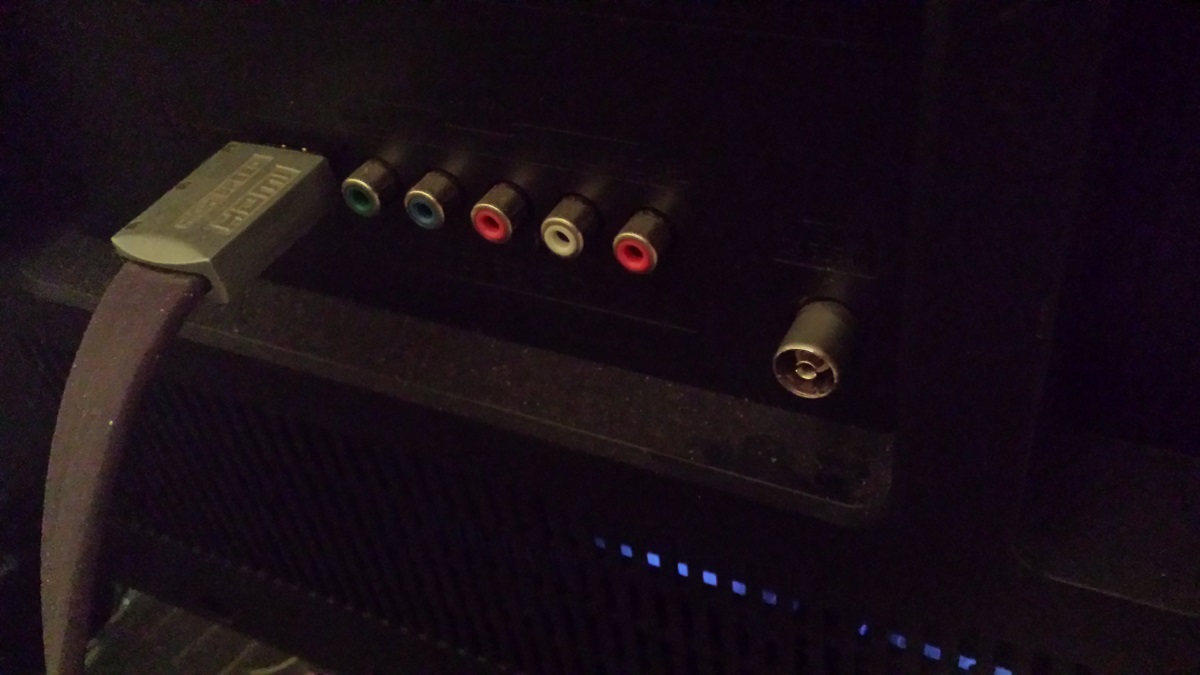
- Check the back of your TV: Most smart TVs have their antenna input located at the back of the device. Look for a small threaded coaxial connector that resembles the connector on your coaxial cable.
- Check the sides or bottom of your TV: In some cases, the antenna input may be located on the sides or bottom of the TV. Look for any labeled ports or connectors that match the size and shape of your coaxial cable.
- Check the TV’s manual: If you’re having trouble locating the antenna input, refer to the TV’s manual or user guide. These resources often include diagrams or descriptions that can help you locate the input more easily.
Once you have identified the antenna input, you are ready to proceed to the next step and connect the coaxial cable from the antenna to your smart TV. Remember to handle the cables with care to prevent any damage.
Step 3: Connect the coaxial cable from the antenna to the TV
Now that you have located the antenna input on your smart TV, it’s time to connect the coaxial cable from the antenna to the TV. Follow these steps:
- Ensure your TV is turned off: Before connecting any cables, make sure your smart TV is turned off and unplugged from the power source. This will help prevent any damage to the TV or the antenna.
- Locate the coaxial connector: Take the coaxial cable and screw one end of it onto the threaded coaxial connector on the back, side, or bottom of your TV. Twist it gently until it is securely connected.
- Connect the other end to the antenna: Take the other end of the coaxial cable and connect it to the coaxial output on your TV antenna. Again, twist it gently until it is securely connected.
- Ensure a tight connection: Once both ends of the coaxial cable are connected, ensure that they are tightened securely. This will help maintain a strong and reliable connection between the antenna and your smart TV.
After you have connected the coaxial cable, double-check that all connections are secure. Ensure that the cable is not twisted or damaged, as this can affect the quality of the signal. With the cable properly connected, you are now ready to move on to the next step and set up the antenna for optimal reception.
Step 4: Set up the antenna for optimal reception
Now that you have connected the coaxial cable from the antenna to your smart TV, it’s time to set up the antenna for optimal reception. Follow these steps to ensure the best possible signal:
- Position the antenna: Determine the best location to place your antenna. If you have an indoor antenna, try to position it near a window or in a room with minimal obstructions. If you have an outdoor antenna, mount it on a rooftop or in a high location where it can receive a clear line of sight to the broadcasting towers.
- Adjust the antenna direction: Experiment with the direction of the antenna to find the best signal. Start with it facing toward the broadcasting towers in your area, which you can find using online tools or TV signal maps. Use a compass or your smart TV’s signal strength indicator to help you determine the optimal direction.
- Elevate the antenna: If you’re using an indoor antenna, try elevating it by placing it on a shelf or using a stand. This can help improve the antenna’s reception by reducing interference from nearby objects.
- Avoid interference: Keep the antenna away from other electronic devices that can cause interference, such as routers, cordless phones, or microwaves. These devices can disrupt the antenna’s signal and affect the quality of your reception.
- Consider a signal amplifier: If you’re in an area with weak signal reception, you may want to consider using a signal amplifier or a preamplifier. These devices can boost the signal strength and improve the overall reception quality.
Take your time to experiment with different antenna positions and fine-tune the setup until you achieve the best signal reception. This will ensure that you can enjoy a clear and uninterrupted viewing experience on your smart TV.
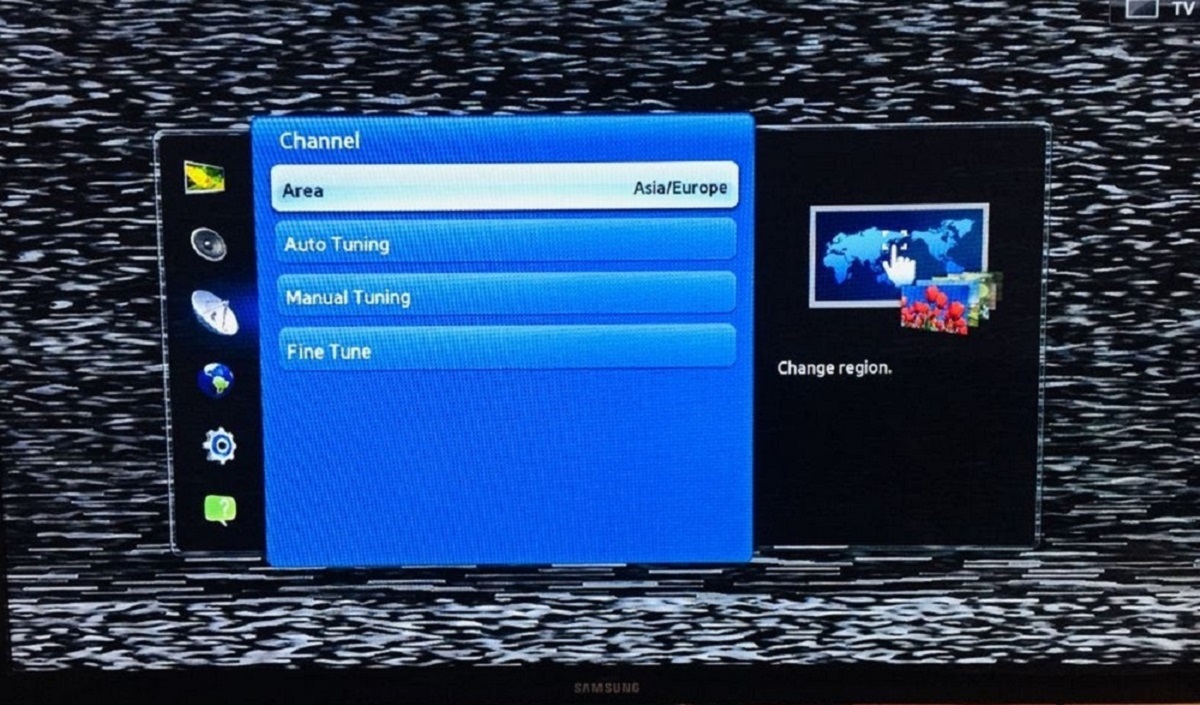
Step 5: Scan for channels on your smart TV
Now that you have set up your antenna, it’s time to scan for channels on your smart TV. The scanning process allows your TV to detect and save the available channels in your area. Here’s how to do it:
- Turn on your smart TV: Make sure your TV is turned on and connected to a power source.
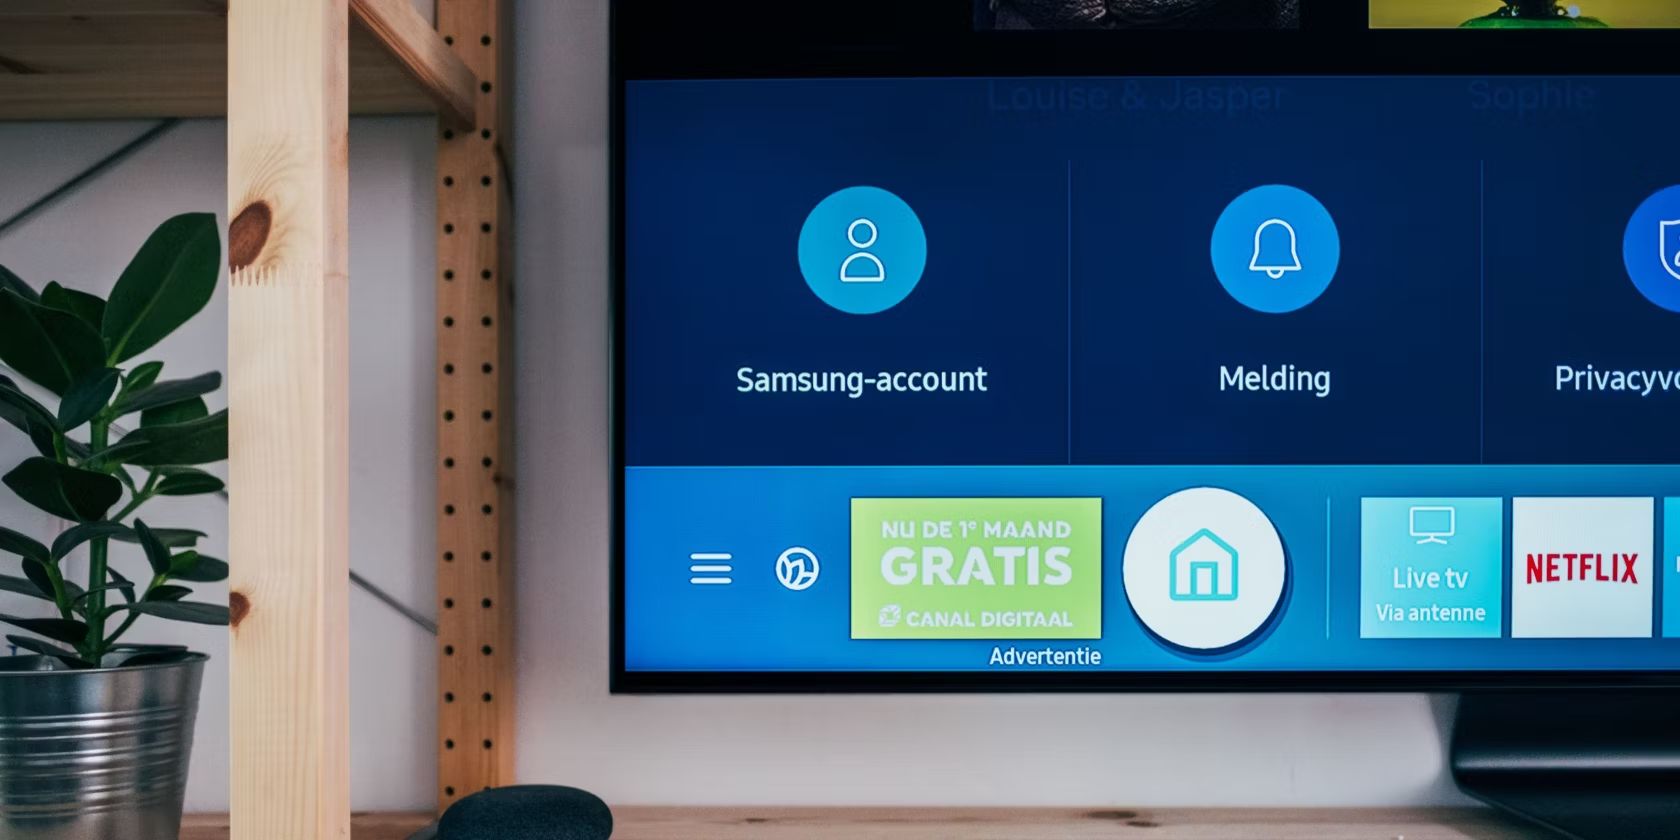
- Access the menu: Use your remote control to access the main menu of your smart TV. The location and appearance of the menu may vary depending on the brand and model of your TV, but it’s usually accessible through a button on the remote.
- Go to the settings: Within the menu, navigate to the settings or setup options. Look for options related to channels or antenna settings.
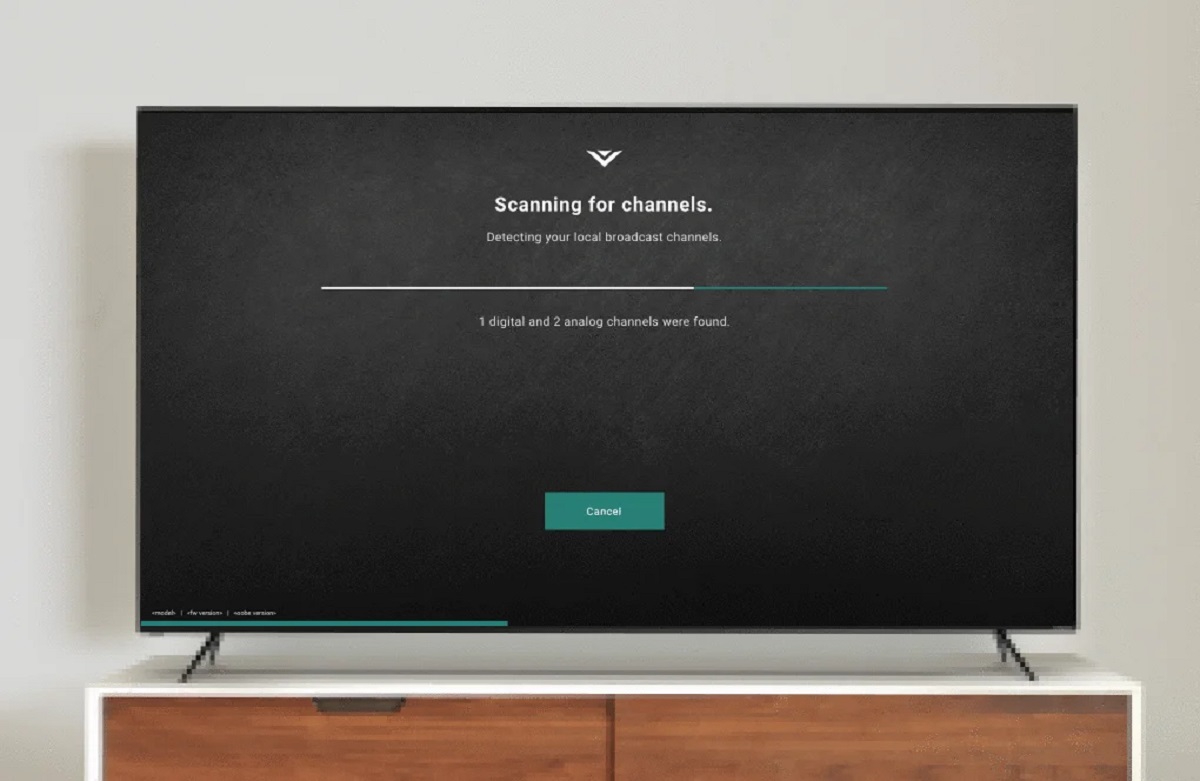
- Select “Scan” or “Auto-Tune”: In the channel or antenna settings, choose the option to scan for channels or auto-tune. This will start the scanning process, during which your TV will search for available channels.
- Wait for the scan to complete: The scanning process may take a few minutes to complete. During this time, ensure that your antenna is connected properly and that your TV is not interrupted or turned off.
- Save the channels: Once the scan is complete, your TV will display a list of available channels. Follow the prompts on your TV screen to save the channels and organize them in your channel lineup.
After the scanning process, you should now have access to a range of free over-the-air channels on your smart TV. Take some time to explore the channels and enjoy the diverse content available.
If you ever need to rescan for channels in the future, simply repeat this step to update your channel lineup and discover any newly available channels.
Step 6: Enjoy free over-the-air broadcasting on your smart TV
Congratulations! You have successfully connected your TV antenna to your smart TV and completed the setup process. Now it’s time to sit back, relax, and enjoy free over-the-air broadcasting on your smart TV. Here’s how:
- Switch to antenna input: Use the input or source button on your remote control to switch your smart TV to the antenna input. This will allow you to access the channels you scanned for in the previous step.
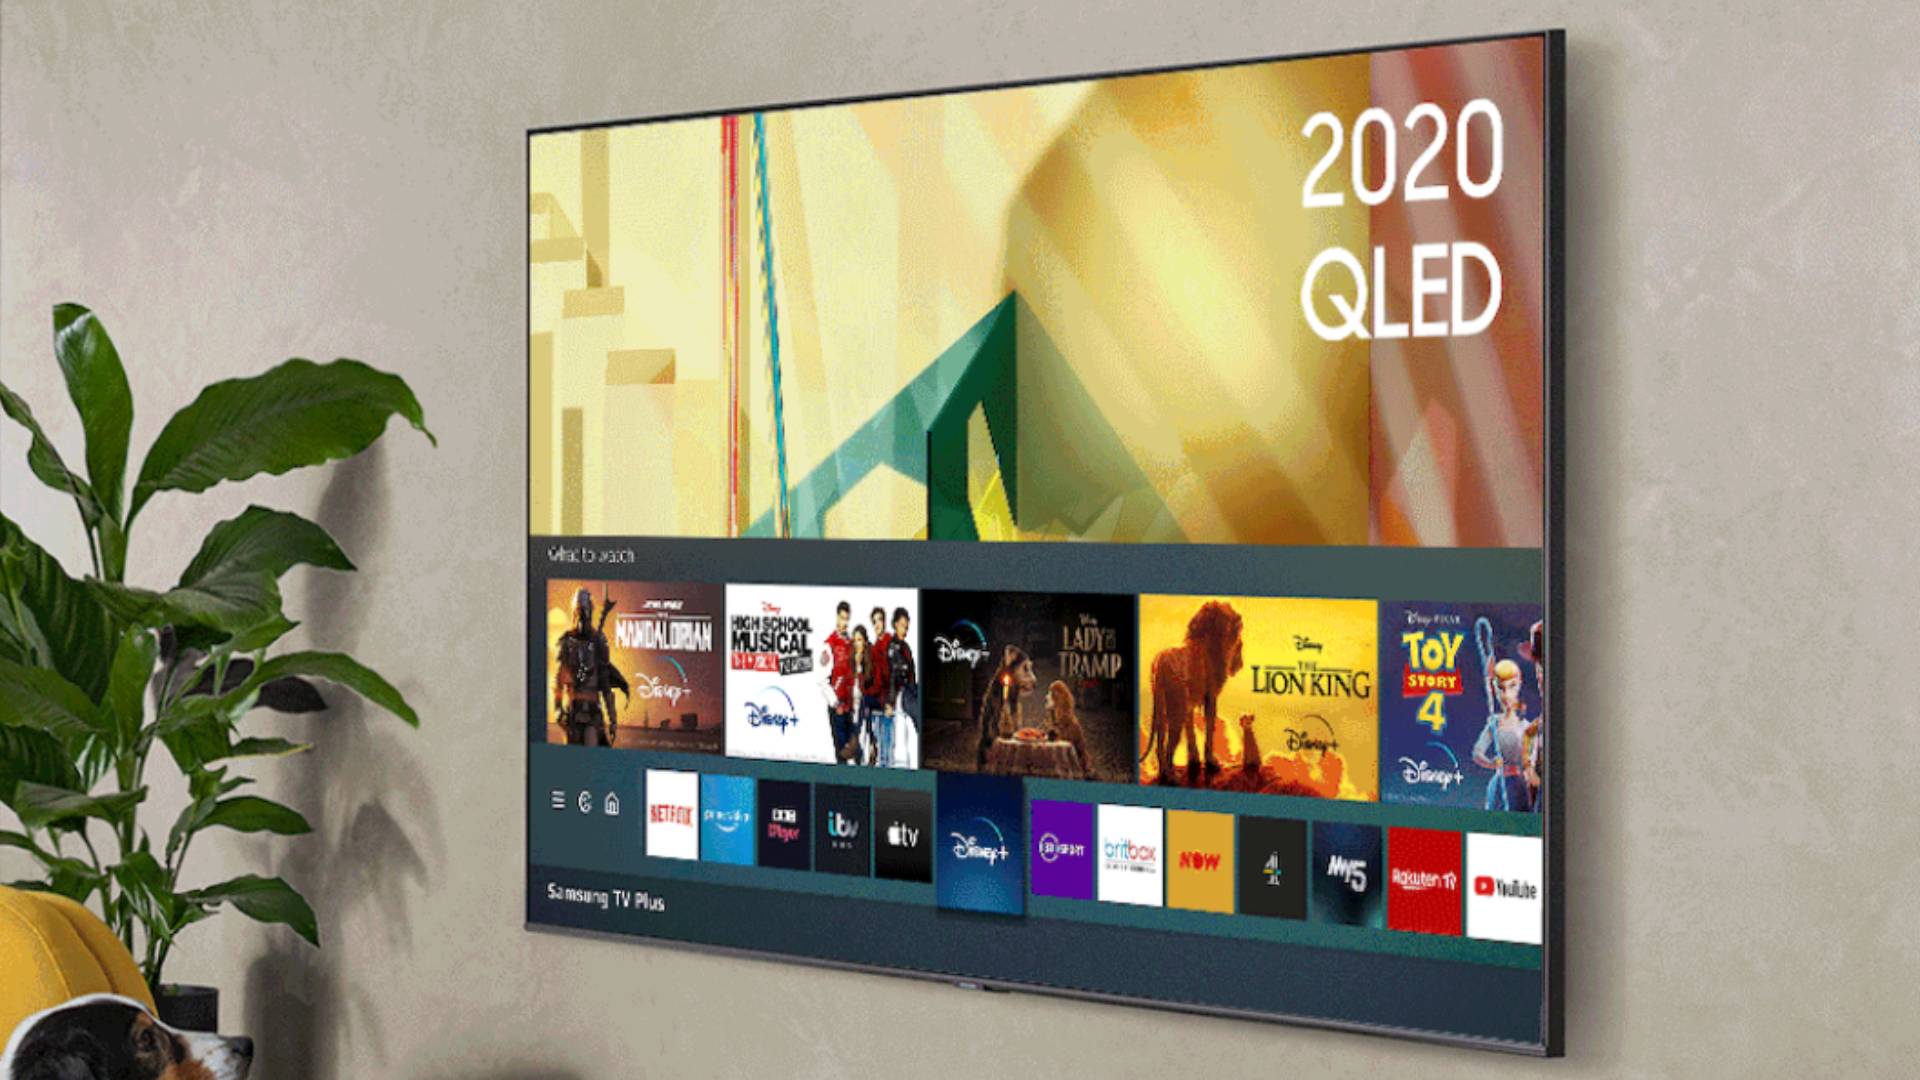
- Browse and select channels: Use your TV’s remote control to browse through the available channels. With over-the-air broadcasting, you can enjoy a variety of local channels that offer news, sports, entertainment, and more.
- Explore additional features: Depending on your smart TV model, you may have additional features and options to enhance your viewing experience. These can include features like electronic program guides (EPGs), digital video recording (DVR), or interactive apps. Explore these features to make the most out of your smart TV’s capabilities.
- Adjust picture and sound settings: If needed, adjust the picture and sound settings on your smart TV to suit your preferences. You can usually find these settings in the TV’s menu under display or audio options.
- Stay updated with channel scans: It’s a good practice to occasionally rescan for channels on your smart TV. This will ensure that you have access to any newly added channels and maintain optimal reception.
By connecting a TV antenna to your smart TV, you have unlocked a world of free over-the-air broadcasting. Enjoy the local programming and immerse yourself in the live TV experience without relying on cable or satellite subscriptions.
Whether you want to catch up on the latest news, watch your favorite sports teams in action, or simply unwind with your favorite TV shows, free over-the-air broadcasting offers a wide range of content for your entertainment pleasure.
So grab your remote control, settle into your favorite spot on the couch, and enjoy the convenience and cost savings of free over-the-air broadcasting on your smart TV.
Conclusion
Congratulations, you have successfully connected a TV antenna to your smart TV and unlocked the world of free over-the-air broadcasting. By following the steps outlined in this guide, you can now enjoy a wide range of local channels and high-definition content without the need for a cable or satellite subscription.
Connecting a TV antenna to your smart TV not only saves you money, but it also provides access to a diverse array of channels that may not be available through streaming services. Whether you want to watch news, sports, entertainment, or educational programs, over-the-air broadcasting offers a wealth of content to cater to your interests.
Remember to position your antenna for optimal reception, adjust the direction and elevation, and avoid interference to ensure a clear and uninterrupted signal. Additionally, periodically rescan for channels to stay updated on any newly added options in your area.
With your smart TV and TV antenna setup, you can now enjoy a seamless transition between streaming content and live TV. Take advantage of the additional features and options available on your smart TV to enhance your viewing experience, such as electronic program guides or digital video recording.
Now sit back, relax, and immerse yourself in the world of free over-the-air broadcasting. Whether you’re catching up on the latest news, cheering for your favorite sports team, or indulging in your favorite TV shows, you can enjoy the convenience and cost savings of over-the-air channels on your smart TV.
So grab your remote, explore the channels, and embrace the nostalgia of flipping through live TV. Say hello to free over-the-air broadcasting and bid farewell to expensive cable or satellite subscriptions. Happy viewing!