Introduction
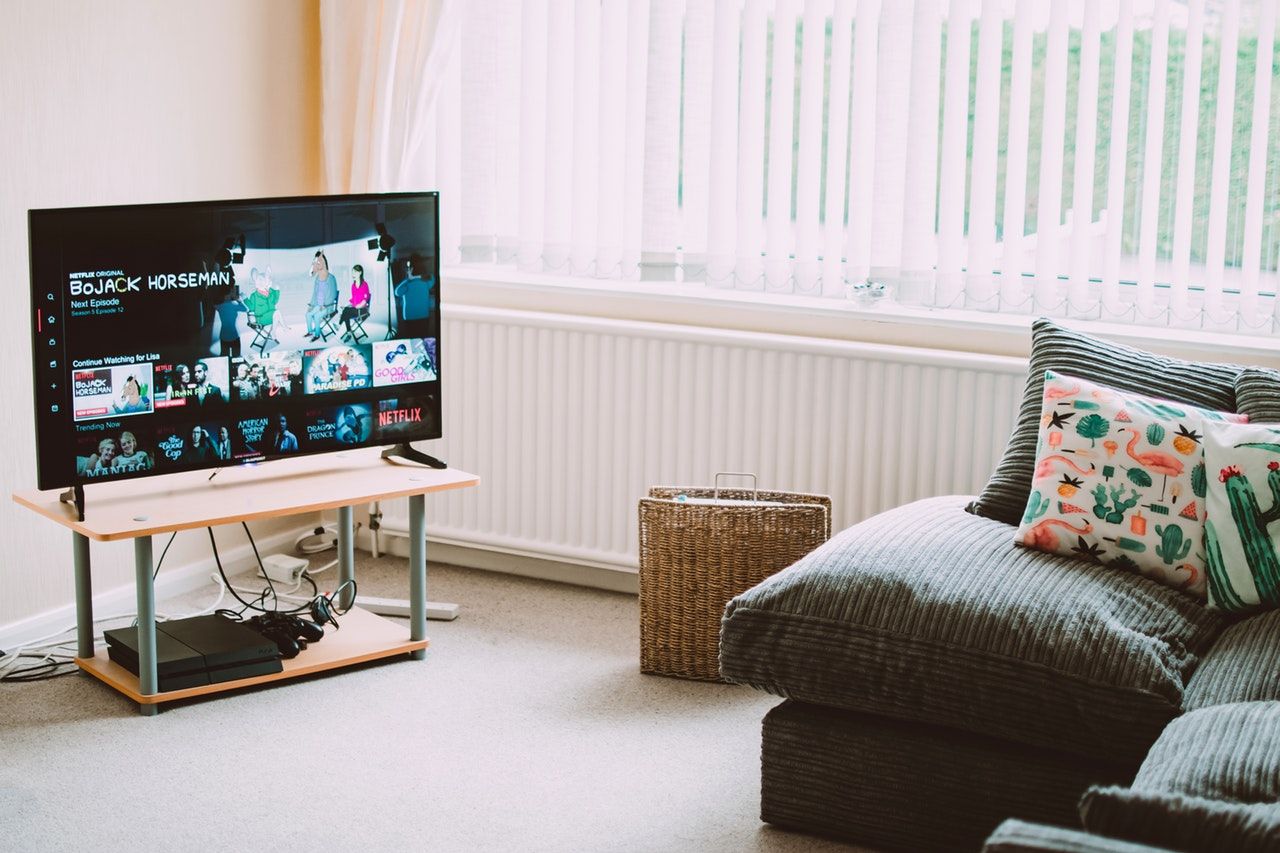
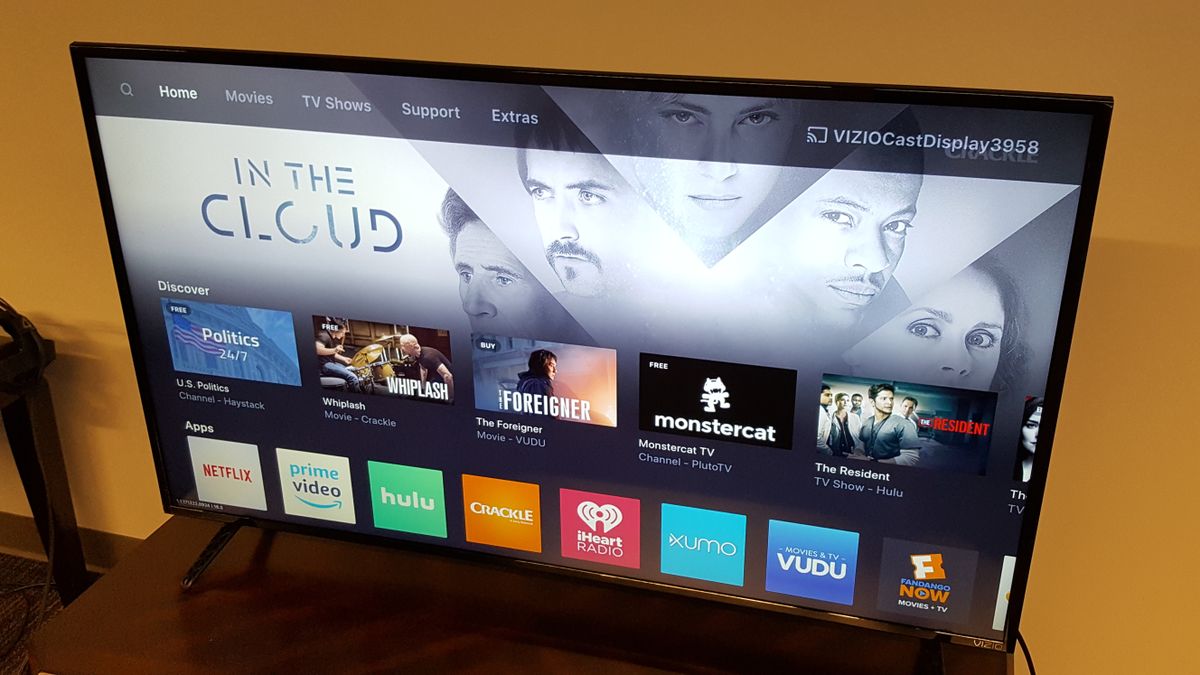
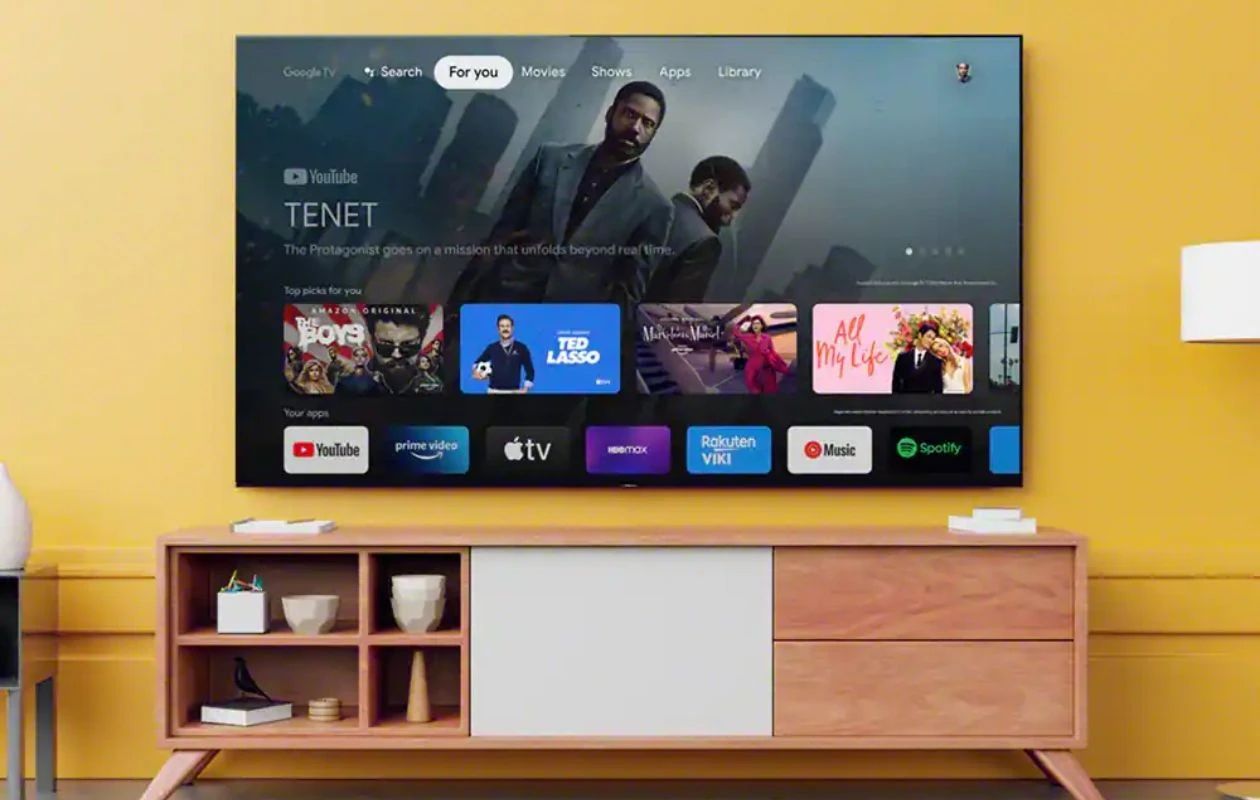
Welcome to the world of Smart TVs, where you can enjoy a wide range of entertainment options right from the comfort of your living room. While streaming services like Netflix and Hulu provide access to a plethora of content, you may still want to tune in to local channels for news, sports, and other local programming. Thankfully, with a few simple steps, you can easily access local channels on your Smart TV.
Local channels play a crucial role in providing valuable information about your community, including local news, weather updates, and special events. Whether you’re looking to catch up on the latest local news or cheer for your favorite local sports teams, having access to these channels on your Smart TV can enhance your entertainment experience.
It’s important to note that the availability of local channels on your Smart TV may vary based on your location and the type of TV you own. In some cases, you may need to invest in additional equipment, such as an antenna, to receive local channels.
In this article, we will guide you through the process of seeing local channels on your Smart TV. We will explain the importance of understanding local channels, provide information on getting an antenna, and guide you through the process of connecting the antenna to your Smart TV. Furthermore, we will cover the steps to set up a channel scan and share troubleshooting tips to ensure a seamless viewing experience. Let’s get started!
Understanding Local Channels
Local channels are television stations that broadcast content to a specific geographic area. These channels are often affiliated with major networks like ABC, CBS, NBC, and FOX, and they provide local news, sitcoms, dramas, sports events, and other locally produced programs. Understanding local channels is essential for accessing the content that matters most to you.
Local channels can be received over-the-air via an antenna or through a cable, satellite, or internet TV service provider. The method you choose will depend on your preferences and the availability of services in your area.
If you have a Smart TV, it likely has a built-in tuner that allows you to receive over-the-air broadcasts. However, not all Smart TVs are created equal, and some may not have the necessary hardware or capabilities to pick up local channels. Additionally, some Smart TVs may require an external device, such as an antenna or a streaming device, to access local channels.
It’s also important to consider your location. The distance between your home and the local TV broadcast towers can impact the quality of the signal you receive. In urban areas, local channels are generally more accessible, while in rural or remote areas, a stronger antenna may be required to capture the signal.
By understanding the technical aspects of local channels and considering your specific location and TV setup, you can make informed decisions on how to access and optimize your viewing experience.
Next, we will explore the different options for obtaining an antenna to receive local channels on your Smart TV.
Getting an Antenna
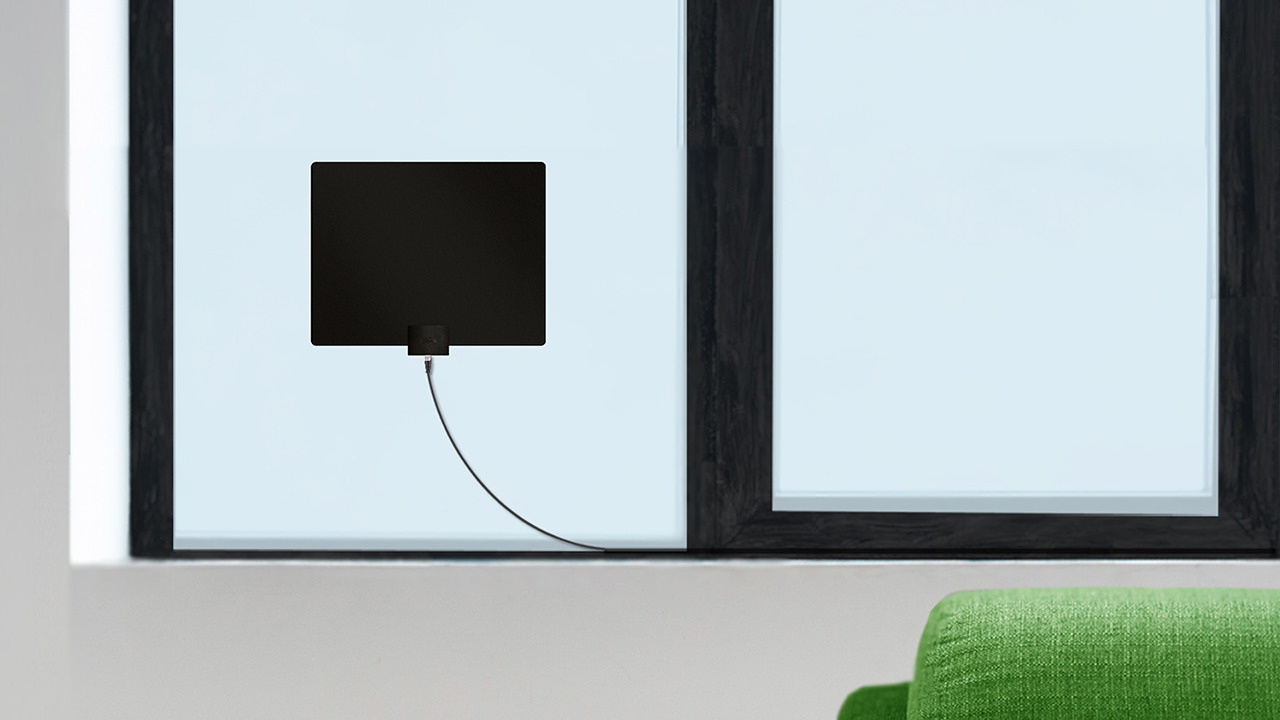
If you want to access local channels on your Smart TV, you’ll need an antenna to capture the over-the-air signals. Here are a few steps to help you get started:
1. Determine the type of antenna: There are two main types of antennas: indoor and outdoor. Indoor antennas are compact and easy to install, making them ideal for those who live closer to broadcast towers or in densely populated areas. Outdoor antennas, on the other hand, offer a higher range and can capture signals from further distances, making them suitable for those who live in rural areas or further away from broadcast towers.
2. Research the available channels: Before purchasing an antenna, it’s helpful to research what local channels are available in your area. Websites like AntennaWeb and TV Fool can provide you with a list of channels you can expect to receive based on your location.
3. Determine the range and direction: Depending on your location, you may need to consider the range and direction of the broadcast towers. This information will help you select the appropriate antenna that can capture the signals effectively.
4. Consider signal amplification: If you are located far from broadcast towers or experience weak signal strength, you may want to consider an antenna with built-in signal amplification. These antennas boost the signal reception, allowing for more reliable access to local channels.
5. Purchase and install the antenna: Once you’ve determined the type and specifications of the antenna you need, you can purchase it either online or at a local electronics store. When installing the antenna, follow the manufacturer’s instructions carefully to ensure optimal performance.
Getting an antenna is a crucial step in accessing local channels on your Smart TV. By choosing the right type of antenna and installing it correctly, you can enjoy high-quality broadcasts of your favorite local programs.
Next, we will discuss how to connect the antenna to your Smart TV for seamless viewing.
Connecting the Antenna to Your Smart TV
Once you’ve obtained the appropriate antenna for your needs, the next step is to connect it to your Smart TV. Follow these steps to ensure a successful setup:
1. Locate the antenna input: Look for the antenna input on the back of your Smart TV. It is usually labeled as “Antenna In” or “RF In” and looks similar to a coaxial cable input.
2. Unpack and assemble the antenna: If you have purchased an indoor antenna, unpack it from its packaging and assemble it according to the manufacturer’s instructions. Outdoor antennas may require additional steps such as mounting and grounding, so refer to the instructions specific to your model.
3. Connect the antenna to your Smart TV: Using a coaxial cable, connect one end to the antenna’s output and the other end to the antenna input on your Smart TV. Ensure a secure connection by tightening the connectors in a clockwise direction.
4. Position the antenna: For indoor antennas, position it near the window or in an area with the least obstruction to capture the best signal. Outdoor antennas should be installed in a high location, such as a rooftop or attic, with a clear line of sight to the broadcast towers.
5. Power on the TV and antenna: Power on your Smart TV and navigate to the input/source menu using your remote control. Select the appropriate input that corresponds to the antenna connection. This may be labeled as “Antenna,” “TV,” or “Air.”
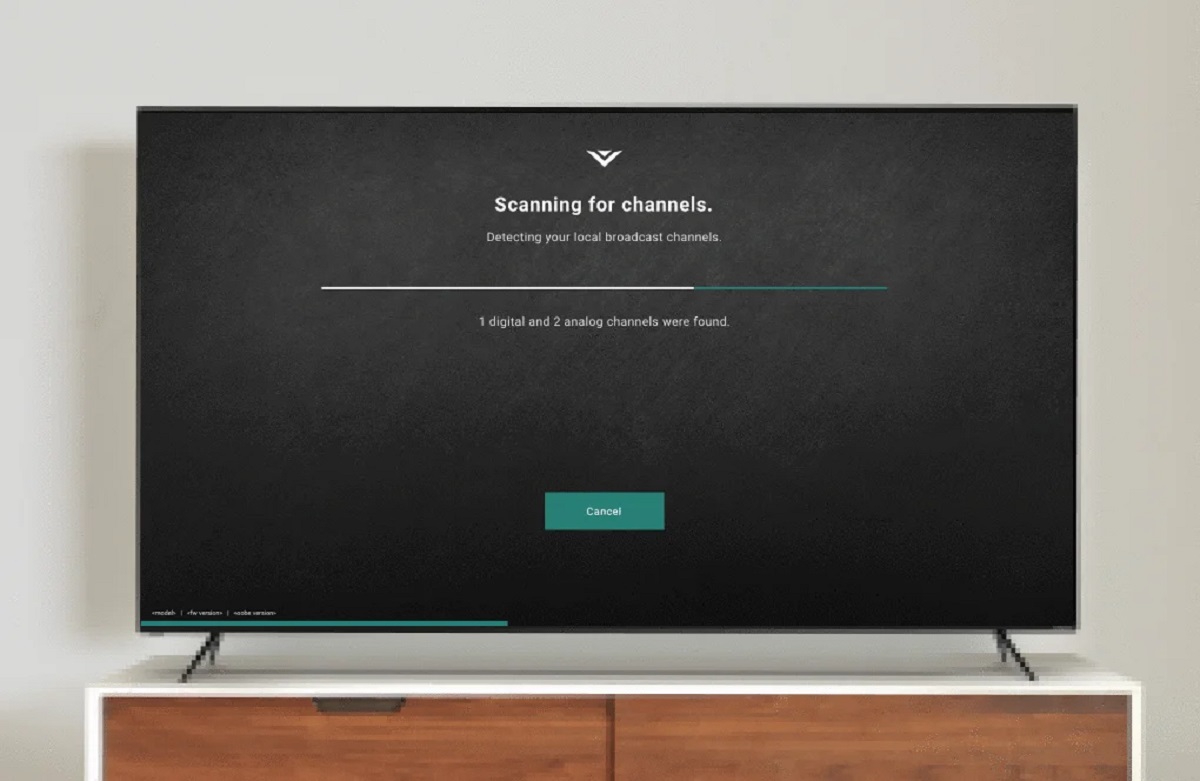
6. Tune for channels: Now that your antenna is connected, perform a channel scan on your Smart TV. This process will scan for available channels and store them in your TV’s memory. Refer to your TV’s user manual for specific instructions on how to initiate a channel scan.
7. Enjoy local channels: Once the channel scan is complete, you can start enjoying local channels on your Smart TV. Use the TV’s remote control to navigate between channels and adjust the volume as desired.
Connecting the antenna to your Smart TV is a relatively straightforward process that can greatly expand your entertainment options. By following these steps, you’ll be well on your way to enjoying local programming in no time!
Next, we will discuss the necessary steps to set up the channel scan on your Smart TV.
Setting Up the Channel Scan
Setting up the channel scan on your Smart TV is crucial to ensure that you can access all available local channels in your area. Follow these steps to complete the channel scan:
1. Access the menu: Using your Smart TV remote control, access the main menu of your television. The location of the menu may vary depending on the brand and model of your TV, but it is typically accessible by pressing the “Menu” or “Settings” button.
2. Navigate to the channel setup: Within the main menu, look for the “Channel” or “TV Setup” option. Use the arrow keys on your remote control to navigate through the menu options and select the channel setup.
3. Start the channel scan: Once you have accessed the channel setup, look for the option to start the channel scan. It may be labeled as “Auto Scan,” “Channel Search,” or “Program Channels.” Select this option to initiate the scan.
4. Choose the scan type: Your Smart TV may offer different scan types, such as “Antenna” or “Cable.” Select the appropriate scan type based on the antenna connection you have made. If you are using an antenna, choose the “Antenna” option.
5. Begin the scan: Once you have selected the scan type, begin the scan by pressing the “Start” or “Scan” button. Your Smart TV will now search for available channels in your area. This process may take a few minutes to complete.
6. Save the channels: After the scan is finished, your Smart TV will display a list of detected channels. Review the list to ensure that all the desired local channels are included. Select the option to save or store the channels to your TV’s memory.
7. Organize the channel list (optional): If your Smart TV allows it, you can organize the channel list by rearranging or deleting channels. This can help you prioritize your favorite local channels for easier navigation.
Once you have completed the channel scan, you can exit the menu and start exploring the local channels on your Smart TV. Use the channel up/down buttons on your remote control to switch between channels, or directly input the channel numbers using the numeric keypad.
Next, we will provide some troubleshooting tips to help you overcome common issues when setting up local channels on your Smart TV.
Troubleshooting Tips
While setting up local channels on your Smart TV, you may encounter some common issues. Here are a few troubleshooting tips to help you overcome these challenges:
1. Check your antenna placement: Ensure that your antenna is positioned correctly and has a clear line of sight to the broadcast towers. Adjust the antenna’s position or move it to a different location, if necessary, to improve signal reception.
2. Re-scan for channels: If you notice that some local channels are missing after the initial channel scan, try re-scanning for channels. Sometimes, new channels may become available, or there may have been interference during the initial scan.
3. Upgrade your antenna: If you are experiencing weak or pixelated signal reception, consider upgrading to a more powerful or amplified antenna. This can help improve the quality and strength of the received signals, resulting in a better viewing experience.
4. Adjust your TV’s settings: Explore your TV’s settings menu and check if there are any options related to antenna reception or signal optimization. Adjusting these settings, such as the noise reduction or picture mode, may help enhance the quality of the received signal.
5. Check the cables and connections: Ensure that all cables are securely connected to both the antenna and the TV. Loose or faulty connections can disrupt the signal transmission. Consider replacing any damaged or worn-out cables for optimal performance.
6. Update your TV’s firmware: Check if there are any available firmware updates for your Smart TV and install them. Updating the firmware can resolve software-related issues and improve the overall performance and compatibility of your TV.
7. Consult the TV’s user manual or manufacturer support: If you encounter persistent issues or need more guidance, refer to your TV’s user manual or contact the manufacturer’s support. They can provide specific troubleshooting steps or recommendations based on your TV model.
By following these troubleshooting tips, you can overcome common issues and ensure a smooth setup and viewing experience of local channels on your Smart TV.
Next, let’s wrap up this article with a summary of the key points discussed.
Conclusion
Accessing local channels on your Smart TV can significantly enhance your entertainment experience by providing access to local news, sports, and other community-oriented content. Understanding the process and taking the necessary steps to set up local channels is essential for maximizing the capabilities of your Smart TV.
In this article, we discussed the importance of understanding local channels and how they provide valuable information about your community. We explored the process of getting an antenna suitable for your needs and connecting it to your Smart TV. Additionally, we provided guidance on setting up the channel scan and shared troubleshooting tips to overcome common issues.
Remember, it’s crucial to choose the right type of antenna for your location and TV setup, as well as to position it properly to capture the best signal reception. Following the manufacturer’s instructions and performing a channel scan will allow you to enjoy a wide range of local channels on your Smart TV.
If you encounter any issues during the setup process, refer to the troubleshooting tips provided and seek further assistance from your TV’s user manual or manufacturer support. By taking these steps, you can optimize your viewing experience and make the most of your Smart TV’s capabilities.
We hope this guide has been helpful in helping you understand how to see local channels on your Smart TV. Now, sit back, relax, and enjoy the wealth of local programming available to you.