Introduction
Welcome to the world of digital television! If you’re tired of paying hefty cable bills and want to enjoy an array of free channels with excellent picture quality, then hooking up a digital antenna to your smart TV is the way to go. With just a few simple steps, you can access local broadcasts, network shows, and even some specialty channels without the need for a cable or satellite subscription.
With the advancement of technology, the digital TV transition has made it possible to enjoy high-definition content for free. Digital antennas capture over-the-air broadcasts, allowing you to access a wide variety of channels and content available in your area. Whether you’re a sports enthusiast, a news junkie, or a fan of classic movies, a digital antenna opens up a world of entertainment options.
In this comprehensive guide, we will walk you through the process of hooking up a digital antenna to your smart TV. You’ll learn everything you need to know, from assessing the signal strength in your area to finding the best antenna placement for optimal reception. Whether you’re tech-savvy or just dipping your toes into the world of cord-cutting, this guide will make the setup process a breeze.
Before we get started, it’s essential to understand that the success of your digital antenna setup depends on several factors, including your location, the availability of local channels, and the quality and placement of your antenna. By following the steps and tips outlined in this guide, you’ll be well on your way to enjoying free digital television!
Equipment Needed
Before you start connecting a digital antenna to your smart TV, make sure you have the necessary equipment on hand. Here’s a list of items you’ll need:
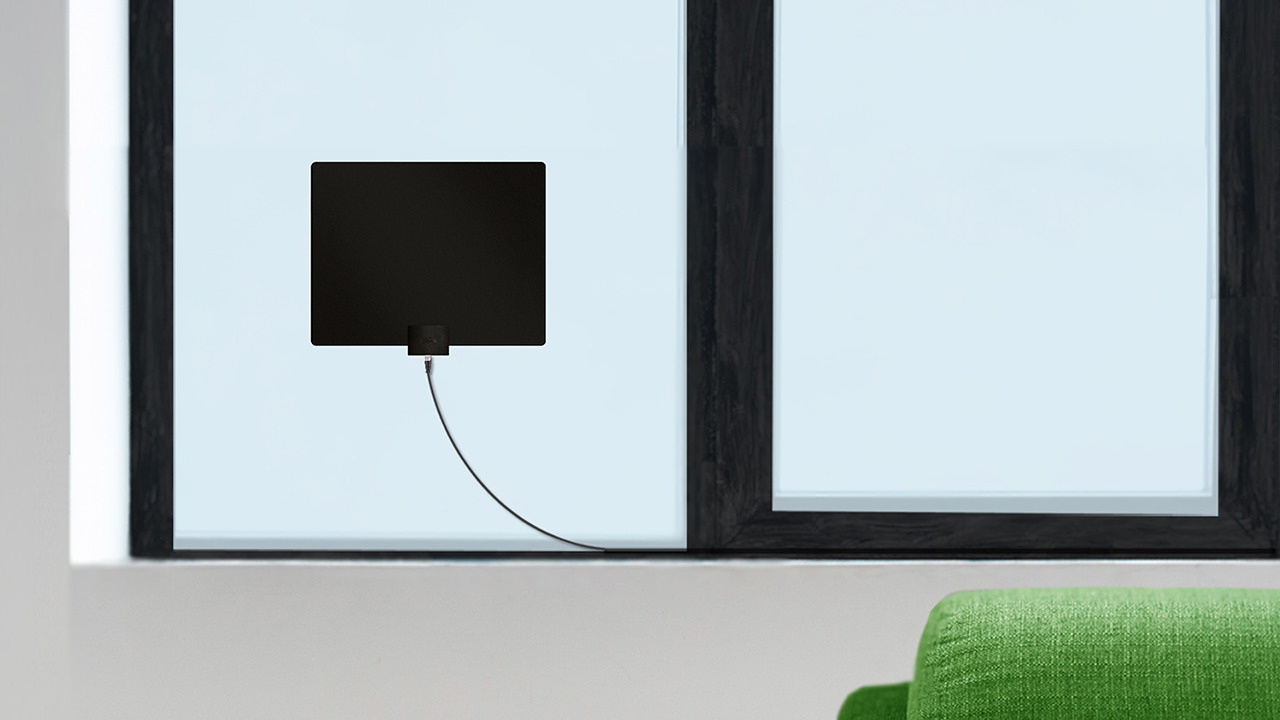
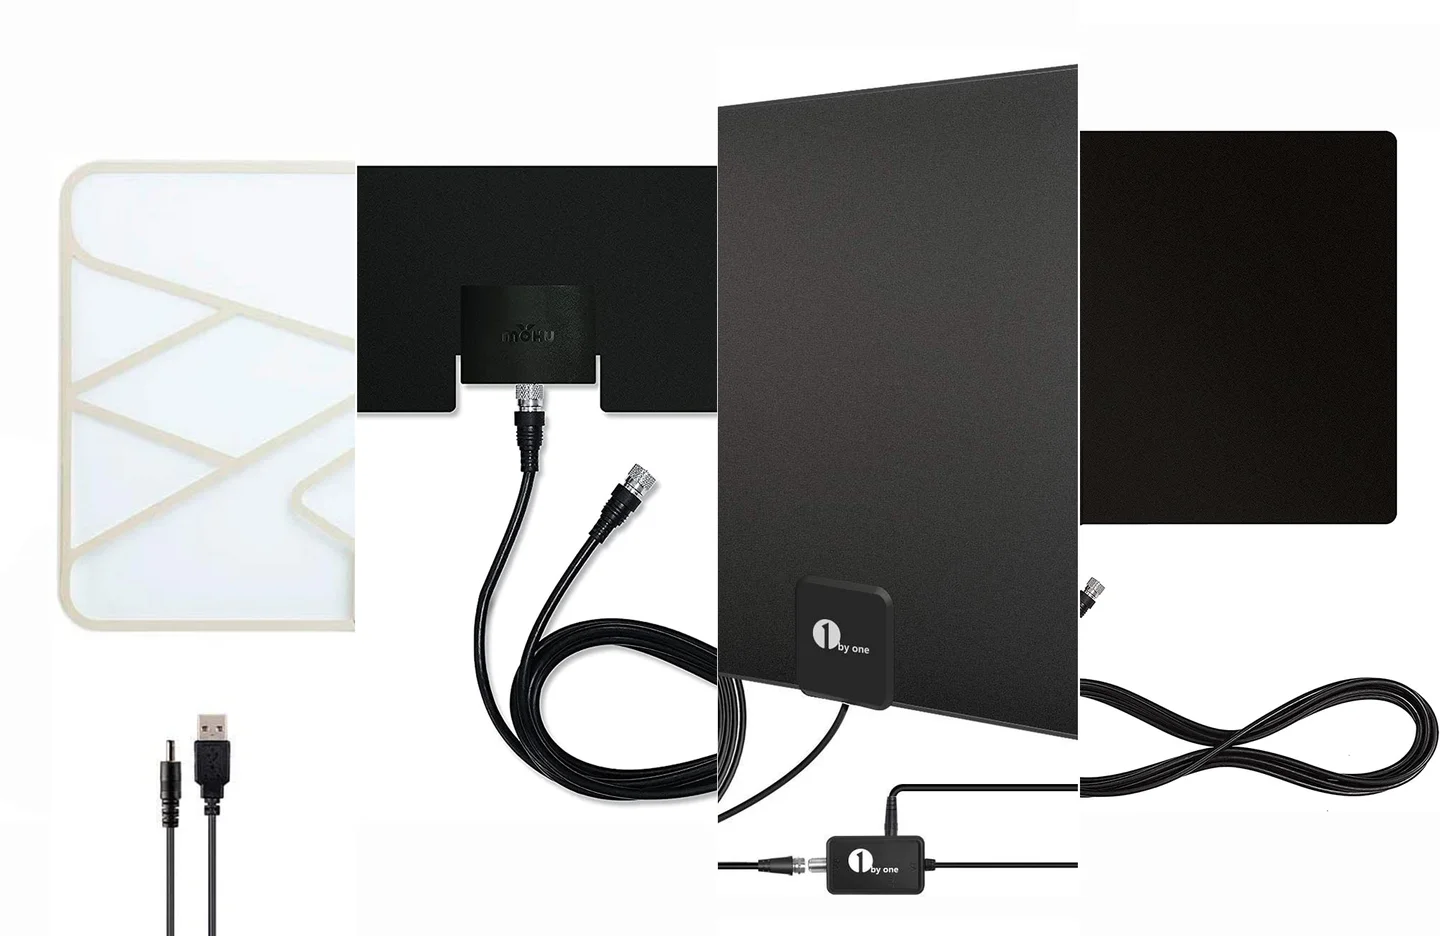
- Digital Antenna: Choose a high-quality digital antenna that is compatible with your TV. There are various types of antennas available, such as indoor antennas, outdoor antennas, and amplified antennas. Consider factors like signal strength in your area and the distance between your home and transmission towers when selecting the right antenna.
- Coaxial Cable: A coaxial cable is used to connect the antenna to your smart TV. Ensure that the cable is long enough to reach from the antenna to your TV, and check that it is in good condition without any fraying or damage.
- Mounting Hardware (if applicable): If you choose an outdoor antenna, you may need mounting hardware, such as brackets, screws, and a mast. This will allow you to securely install the antenna on your roof, attic, or another suitable location.
- Smart TV with a Digital Tuner: Ensure that your smart TV has a built-in digital tuner. Most modern smart TVs come with a digital tuner, but older models may require an external digital tuner or a set-top box to receive over-the-air broadcasts.
- Power Adapter (if applicable): Some amplified antennas require a power source. If you opt for an amplified antenna, check if it comes with a power adapter and make sure you have access to an electrical outlet near your TV.
- Optional Accessories: While not essential, you may also consider investing in a signal amplifier or a signal meter to enhance reception and accurately determine signal strength during setup.
Having these essential items ready before you start will ensure a smooth and hassle-free installation process. Now that you’ve gathered all the necessary equipment, it’s time to move on to the next step: determining the signal strength in your area.
Step 1: Determine the Signal Strength in Your Area
Before you install your digital antenna, it’s important to assess the signal strength in your area. This will help you determine the type of antenna you need and the number of channels you can expect to receive. Fortunately, there are several online resources and mobile apps available that make it easy to check signal strength and channel availability. Here’s what you need to do:
- Research Online: Visit websites that provide coverage maps and information about local broadcast towers. These sites use your zip code or address to provide a detailed report of the available channels in your area, including signal strength and tower locations. Popular websites such as AntennaWeb.org or TV Fool are excellent resources for this purpose.
- Mobile Apps: Download signal strength apps on your smartphone. These apps use your device’s GPS to locate nearby broadcast towers and provide real-time signal strength data. Examples of such apps include “Antenna Point” for Android and “My Signal” for iOS.
- Ask Neighbors: If you have neighbors who use digital antennas, talk to them about their experience. They can provide valuable insights into the signal quality and the number of channels they receive.
Remember, signal strength can vary depending on your location, the distance from broadcast towers, and any physical obstructions like buildings or mountains. By determining the signal strength, you’ll be able to choose the right type of antenna and determine the optimal placement for the best possible reception.
Now that you have an idea of the signal strength in your area, it’s time to move on to the next step: choosing the right digital antenna for your smart TV.
Step 2: Choose the Right Digital Antenna
Choosing the right digital antenna is crucial for optimal reception and channel availability. Here are some factors to consider when selecting the right antenna:
- Indoor or Outdoor: Determine whether you need an indoor or outdoor antenna. Indoor antennas are compact and easy to set up but may have limitations in terms of signal range. Outdoor antennas, on the other hand, offer a wider range and better reception but require installation and protection from the elements.
- Signal Range: Consider the distance between your home and the nearest broadcast towers. If you live in a remote or rural area, you may need a more powerful antenna with a longer signal range. Conversely, if you’re in close proximity to broadcast towers, a basic indoor antenna may suffice.
- Amplified or Non-Amplified: Amplified antennas are equipped with a built-in signal booster, making them suitable for areas with weak or distant signals. Non-amplified antennas are sufficient if you have strong signal strength in your area. Keep in mind that amplified antennas require a power source, so ensure you have access to an electrical outlet nearby.
- Multipath Interference: If you live in a densely populated area or near tall buildings, multipath interference may affect your signal. In such cases, consider a multidirectional antenna that can receive signals from multiple angles and reduce interference.
- Antenna Placement: Take into account the space available for antenna placement. Indoor antennas can be discretely placed near your TV, while outdoor antennas require suitable mounting options like roofs, attics, or even masts.
Once you have considered these factors, research and compare different antenna models to find the one that meets your needs. Reading customer reviews and expert recommendations can provide valuable insights into the performance and reliability of specific antenna brands and models. Additionally, consult the information obtained in the previous step (signal strength in your area) to make an informed decision.
By choosing the right digital antenna, you’ll ensure a better viewing experience, increased channel availability, and improved reception quality. With your antenna selected, it’s time to move on to the next step: finding the optimal antenna placement for maximum signal reception.
Step 3: Find the Optimal Antenna Placement
Once you have chosen the right digital antenna, the next step is to find the optimal placement for maximum signal reception. The ideal antenna placement largely depends on factors such as signal strength, physical obstructions, and the type of antenna you have. Follow these steps to find the best antenna placement:
- Locate Broadcast Towers: Use the information obtained in Step 1 to identify the direction of the nearest broadcast towers. This will give you an idea of where to aim your antenna for optimum reception.
- Keep Height in Mind: In general, placing your antenna higher up will improve signal reception. If you have an outdoor antenna, consider mounting it on your roof, attic, or wall. For indoor antennas, experiment with placing it on a higher shelf or near a window.
- Minimize Obstructions: Obstructions like trees, buildings, or large metal objects can block or weaken your antenna signal. Try to position your antenna in a location with minimal obstructions or find ways to minimize their impact on signal reception.
- Try Different Directions: Since broadcast towers may be located in different directions, your antenna may need to be oriented accordingly. Start by aiming the antenna towards the nearest tower, and if the signal is not optimal, try adjusting the direction slightly to fine-tune reception.
- Experiment and Run Channel Scans: It may take some trial and error to find the best antenna placement. Experiment with different heights, orientations, and locations. After each adjustment, run a channel scan on your TV to see if the reception has improved. This will help you identify the optimal placement that provides the maximum number of channels.
It’s important to note that finding the optimal antenna placement may require a bit of patience and experimentation. Factors like geographical location, nearby environmental conditions, and building materials can all influence signal reception. Take your time to ensure the best possible positioning for your antenna.
Once you are satisfied with the antenna placement, it’s time to move on to the next step: connecting the antenna to your smart TV.
Step 4: Connect the Antenna to Your Smart TV
Now that you have found the optimal placement for your digital antenna, it’s time to connect it to your smart TV. Follow these steps for a seamless connection:
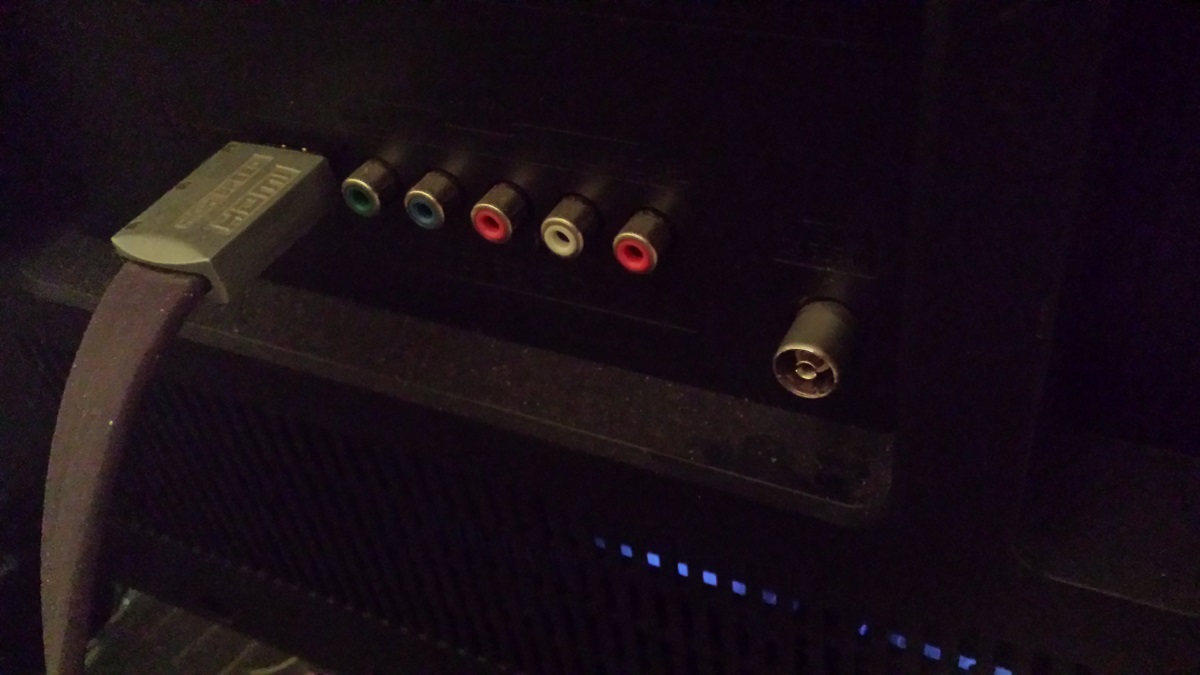
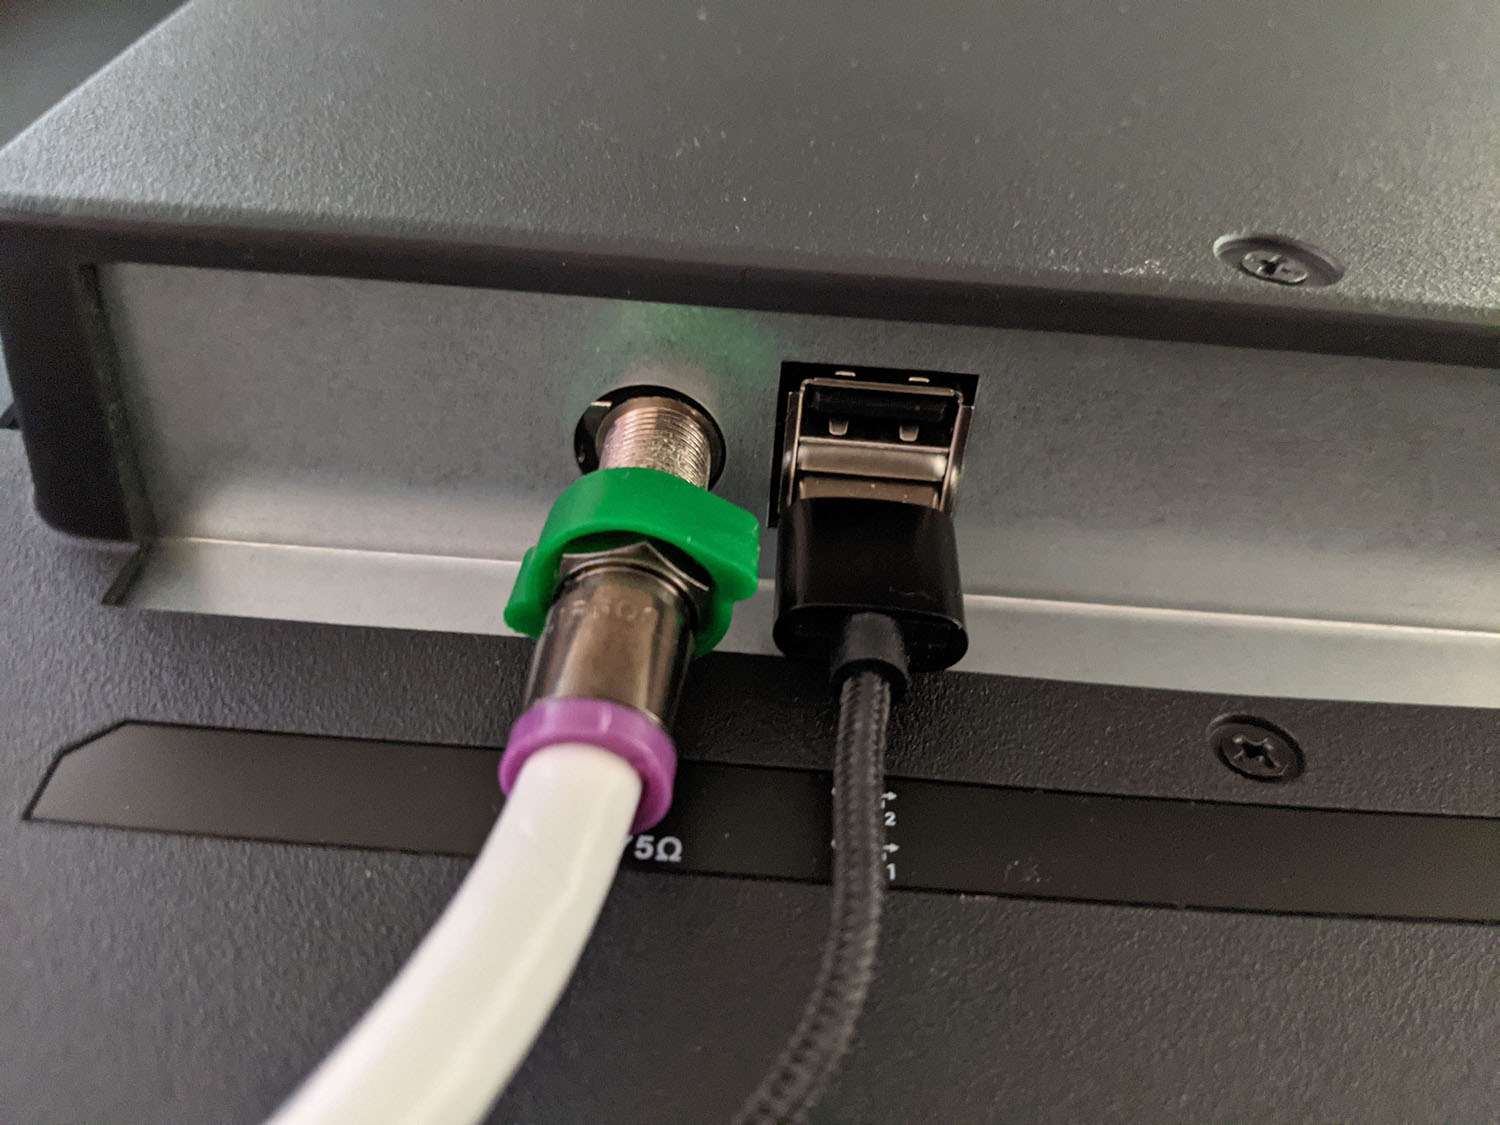
- Locate the Antenna Input: On the back of your smart TV, locate the input specifically labeled for antennas. It is usually labeled as “ANT IN” or “RF IN”. Make sure your TV is powered off before proceeding.
- Connect the Coaxial Cable: Take one end of the coaxial cable and connect it to the antenna output or port of your digital antenna. Be sure to secure the connection by tightening the connector clockwise.
- Connect the Other End: Connect the other end of the coaxial cable to the antenna input on your smart TV. Again, ensure a secure connection by tightening the connector clockwise.
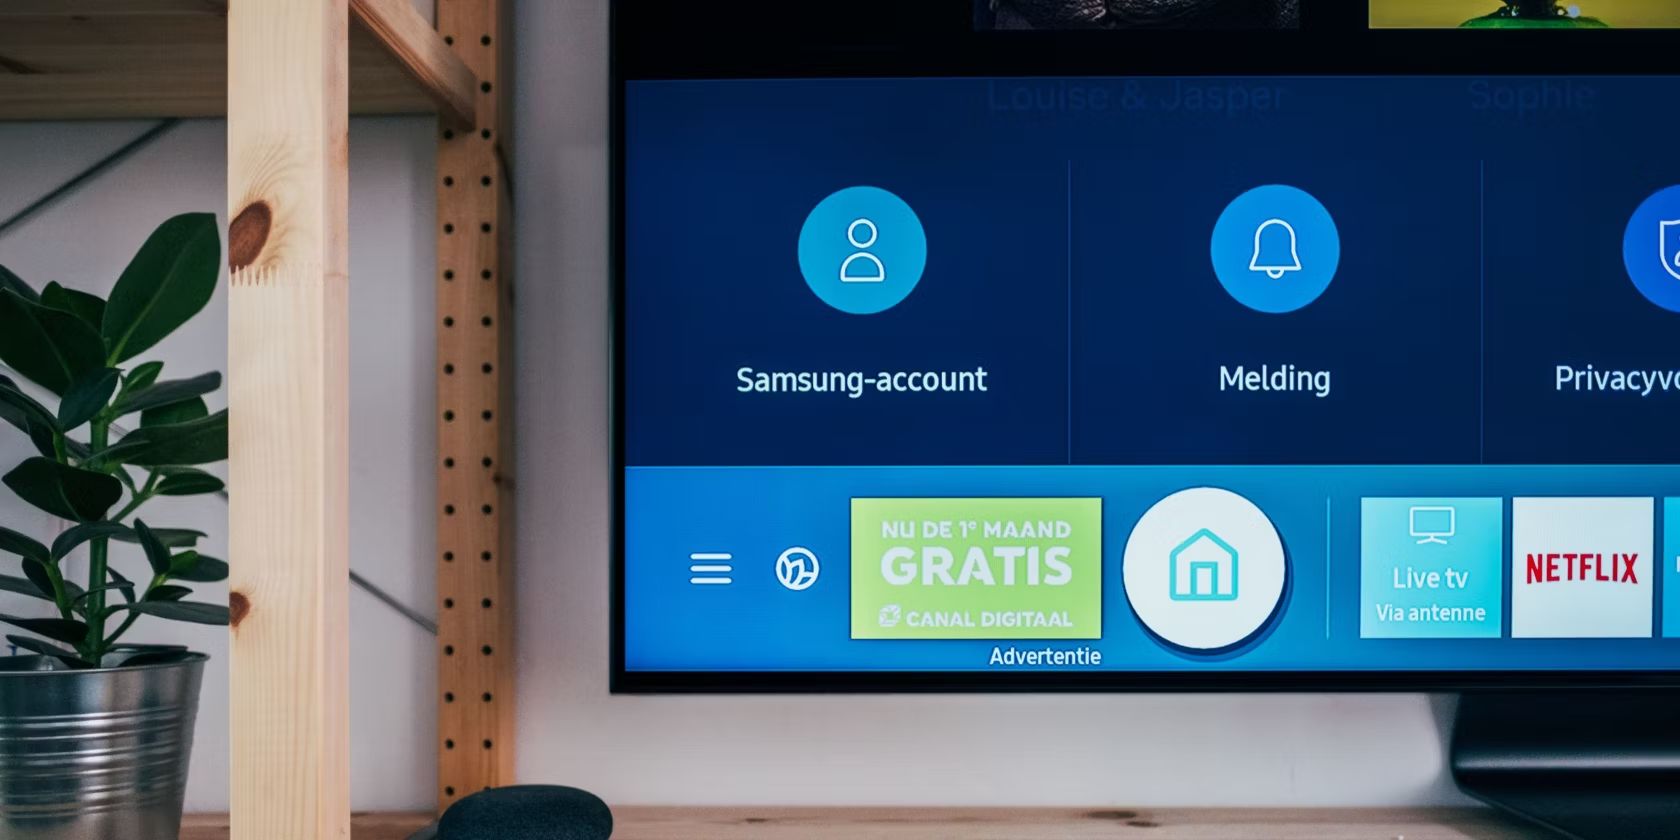
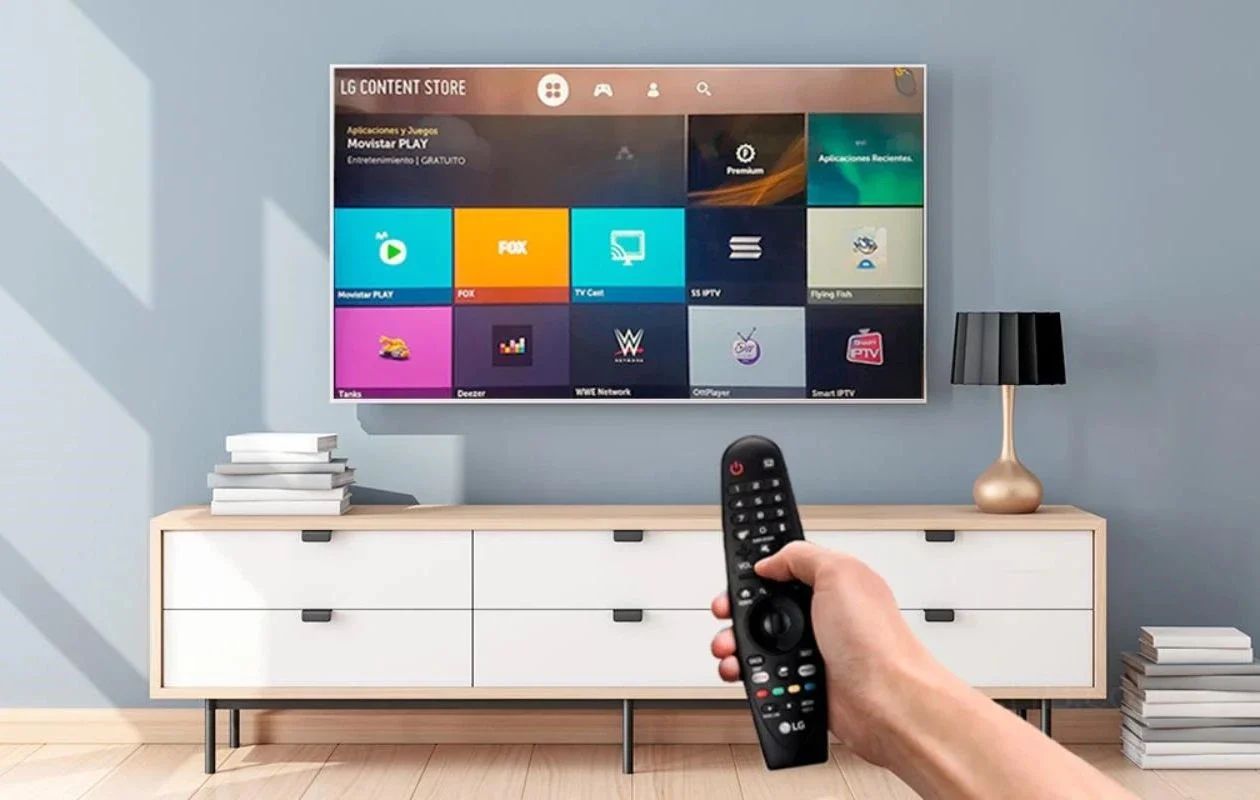
- Power on Your TV: Once the antenna is connected, power on your smart TV. Navigate to the TV’s settings menu, and look for the option to scan or search for channels.
- Run a Channel Scan: Initiate a channel scan on your smart TV by selecting the appropriate option in the settings menu. This will allow your TV to search for and store all available digital channels that the antenna can receive.
- Wait for the Scan to Complete: The scanning process may take a few minutes. Allow your TV to complete the scan and detect all the available channels in your area.
- Save the Channels: Once the scan is complete, save the channels found by your smart TV. This will ensure that you can easily navigate through the available channels using your TV’s remote control or on-screen interface.
After completing these steps, your digital antenna is successfully connected to your smart TV, and you should now have access to a variety of free, over-the-air channels. Remember to periodically re-scan for channels, as new channels or improvements in reception may occur over time.
If you encounter any issues during the setup process, refer to your TV’s user manual or consult the manufacturer’s website for troubleshooting tips specific to your smart TV model.
Now that your antenna is connected and channels are saved, you can sit back, relax, and enjoy your favorite TV shows, news, sports, and more without the need for a cable or satellite subscription.
Step 5: Run a Channel Scan
Now that you have connected your digital antenna to your smart TV, it’s time to run a channel scan to discover the available over-the-air channels in your area. A channel scan allows your TV to search for and store all the digital channels that the antenna can receive. Follow these steps to perform a channel scan:
- Access Your TV’s Settings: Using your smart TV remote, navigate to the settings menu. The location of this menu may vary depending on your TV’s brand and model, but it is usually accessible through a dedicated button on the remote or by pressing the “Menu” button.
- Select the Channel Scan Option: Look for the option that allows you to scan for channels. This may be found under the “Channel” or “Setup” section of the settings menu. Different TV brands may use different terminology, such as “Auto Program,” “Auto Tuning,” or “Channel Search.”
- Choose the Antenna Input: When prompted to select the input source, choose the antenna input that you connected earlier. This ensures that the scan focuses on the antenna input to detect over-the-air channels.
- Initiate the Scan: Begin the channel scan by selecting the “Scan” or “Start” option. Your smart TV will now start scanning for available channels.
- Wait for the Scan to Complete: The scanning process may take a few minutes. Allow your TV to complete the scan and detect all the available digital channels in your area.
- Save the Channels: Once the scan is complete, your TV will display a list of channels that it has detected. Save the channels to your TV’s memory by selecting the “Save” or “Store” option. This will ensure that you can easily access and navigate through the available channels using your TV’s remote control or on-screen interface.
It’s important to note that you may need to repeat the channel scan periodically, especially if you move your antenna or if new channels become available in your area. Refer to your TV’s user manual or the manufacturer’s website for specific instructions on how to perform a channel scan on your particular model.
Once the channel scan is complete and the channels are saved, you can start enjoying a wide range of free and high-quality content available over the air. From local news and live sports to popular network shows and more, you now have access to plenty of entertainment options without the need for a cable or satellite subscription.
Step 6: Troubleshooting Tips
While setting up a digital antenna and running a channel scan is usually a straightforward process, you may encounter some common issues along the way. Here are some troubleshooting tips to help you overcome any challenges:
- No Signal or Weak Signal: If you’re experiencing a no signal or weak signal message on your TV, ensure that your antenna is properly connected to the TV’s antenna input. Check the coaxial cable for any damage or loose connections. Additionally, make sure your antenna is positioned correctly for optimal signal reception.
- Channel Dropouts or Pixelation: If you’re receiving channels with intermittent dropouts or pixelation, it may be due to signal interference. Check for any nearby devices or appliances that could be causing interference, such as microwave ovens, cordless phones, or Wi-Fi routers. Try moving your antenna away from these sources to improve signal quality.
- Missing Channels: If you’re missing certain channels during the channel scan, it could be due to several reasons. Ensure that your antenna is capable of receiving the frequency range of the missing channels. Additionally, double-check that your antenna is aimed towards the correct broadcast towers and that there are no obstructions blocking the signal.
- Outdated Firmware: Occasionally, TV manufacturers release firmware updates that improve the performance and compatibility of their devices. Check if there are any available firmware updates for your smart TV and install them according to the manufacturer’s instructions.
- Signal Amplification: If you’re located far from broadcast towers or in an area with weak signal reception, consider using a signal amplifier. A signal amplifier can boost the signal strength and improve the overall reception quality of your digital antenna system.
- Antenna Placement Adjustment: If you’re not satisfied with the number of channels or the quality of reception, try adjusting the placement of your antenna. Experiment with different orientations, heights, and locations to find the optimal position for maximum signal reception.
If you’ve tried troubleshooting using these tips and are still experiencing issues, it may be helpful to consult the user manual for your smart TV or contact the manufacturer’s customer support for further assistance. They can provide specific guidance based on your TV model and help resolve any technical problems you may encounter. Remember, patience and persistence are key when troubleshooting digital antenna setup, and a little effort can go a long way in enjoying a smooth and hassle-free viewing experience.
Conclusion
Congratulations! You have successfully learned how to hook up a digital antenna to your smart TV. By following the steps outlined in this guide, you can now enjoy a wide range of free over-the-air channels with excellent picture quality and without the need for a cable or satellite subscription.
Throughout the process, you have learned how to determine the signal strength in your area, choose the right digital antenna, find the optimal placement, and connect the antenna to your smart TV. Additionally, running a channel scan and troubleshooting any potential issues has equipped you with the knowledge and skills to overcome common challenges.
Remember, digital antennas provide access to local broadcasts, network shows, and even specialty channels, offering a diverse range of entertainment options. Whether you’re a sports enthusiast, a news junkie, or a fan of classic movies, cutting the cord and embracing digital television opens up a world of possibilities.
As technology continues to advance, being able to set up and utilize a digital antenna is an invaluable skill. Not only does it provide cost savings by eliminating the need for a monthly cable bill, but it also offers the freedom to watch your favorite shows and movies at your convenience.
We hope that this guide has been helpful in simplifying the process of connecting a digital antenna to your smart TV. Remember to periodically re-scan for channels and consider using signal amplifiers or adjusting the antenna placement if you encounter any reception issues.
Now, sit back, relax, and enjoy the abundance of free digital content available over the air. Happy viewing!