Introduction
Welcome to our guide on how to connect an antenna to your Samsung Smart TV. If you enjoy watching over-the-air channels and want to explore the world of free local broadcasts, connecting an antenna to your Smart TV is the way to go. With an antenna, you can access a wide range of high-definition channels and enjoy crystal-clear picture quality without the need for a cable or satellite subscription.
Connecting an antenna to your Samsung Smart TV is a straightforward process that allows you to access a vast selection of free broadcast channels, including local news, sports, and entertainment. In this guide, we will walk you through the step-by-step process of connecting your antenna to your Samsung Smart TV, ensuring that you can start enjoying your favorite channels in no time.
Whether you are a cord-cutter, looking to save money on cable bills, or simply want to supplement your streaming services with local networks, connecting an antenna to your Samsung Smart TV is a great option. So, let’s dive in and discover how you can easily connect your antenna to your Smart TV and unlock a whole new world of free, high-quality programming.
Step 1: Gather the necessary equipment
Before you begin the process of connecting an antenna to your Samsung Smart TV, it’s important to gather all the necessary equipment. Here’s a list of what you’ll need:
- Antenna: Choose a high-quality antenna that supports both VHF (Very High Frequency) and UHF (Ultra High Frequency) frequencies. There are many types of antennas available, including indoor and outdoor options. Select the one that best suits your needs and the reception quality in your area.
- Coaxial cable: Ensure you have a coaxial cable long enough to connect your antenna to the TV. The length will depend on the distance between your TV and the antenna.
- Power supply (if applicable): Some antennas require power for built-in amplification or rotation. If your antenna needs power, make sure you have the necessary power supply and cables.
- Remote control (if applicable): If you have a motorized antenna or one with a built-in signal amplifier, you might need a remote control to adjust the antenna’s direction or settings. Check if your antenna comes with a remote control and have it handy.
- Manual or instructions: Keep the antenna’s manual or instructions nearby. While most antennas are easy to install, having the instructions readily available can be helpful, especially if you encounter any difficulties during the setup process.
Once you have gathered all the necessary equipment, you’re ready to move on to the next step: locating the antenna input on your Samsung Smart TV.
Step 2: Locate the antenna input on your Samsung Smart TV
Now that you have gathered the necessary equipment, the next step is to locate the antenna input on your Samsung Smart TV. Follow these steps to find the antenna input:
- Turn on your Samsung Smart TV and ensure it is connected to a power source.
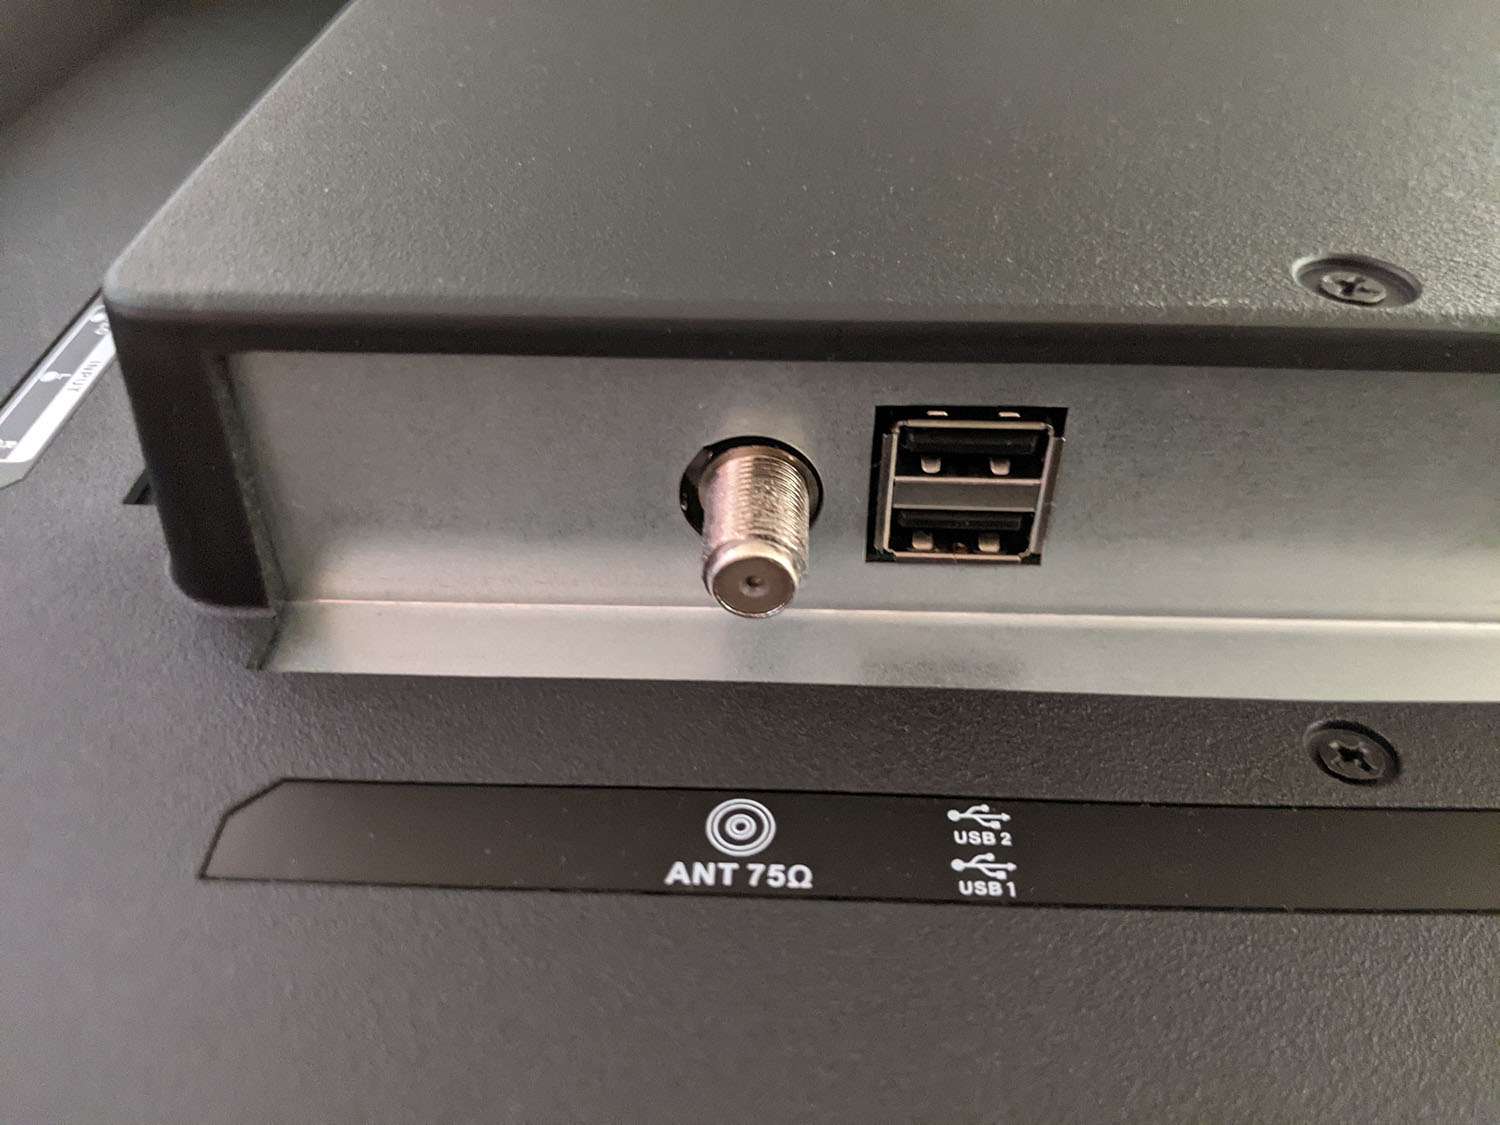
- Locate the back of your TV and look for the antenna input. It is usually labeled as “Antenna,” “RF In,” or “Ant/Cable” and is represented by a coaxial connector.
- If you are unable to find the antenna input on the back of your TV, consult the user manual or refer to the manufacturer’s website for more specific instructions.
Once you have located the antenna input on your Samsung Smart TV, you are ready to move on to the next step: connecting the antenna to your TV.
Step 3: Connect the antenna to the TV
With the antenna input located on your Samsung Smart TV, it’s time to connect the antenna. Follow these simple steps:
- Ensure that your TV is turned off and disconnected from the power source to avoid any electrical mishaps.
- Take one end of the coaxial cable and connect it securely to the antenna output on the antenna. Make sure it is tightly screwed on to provide a stable connection.
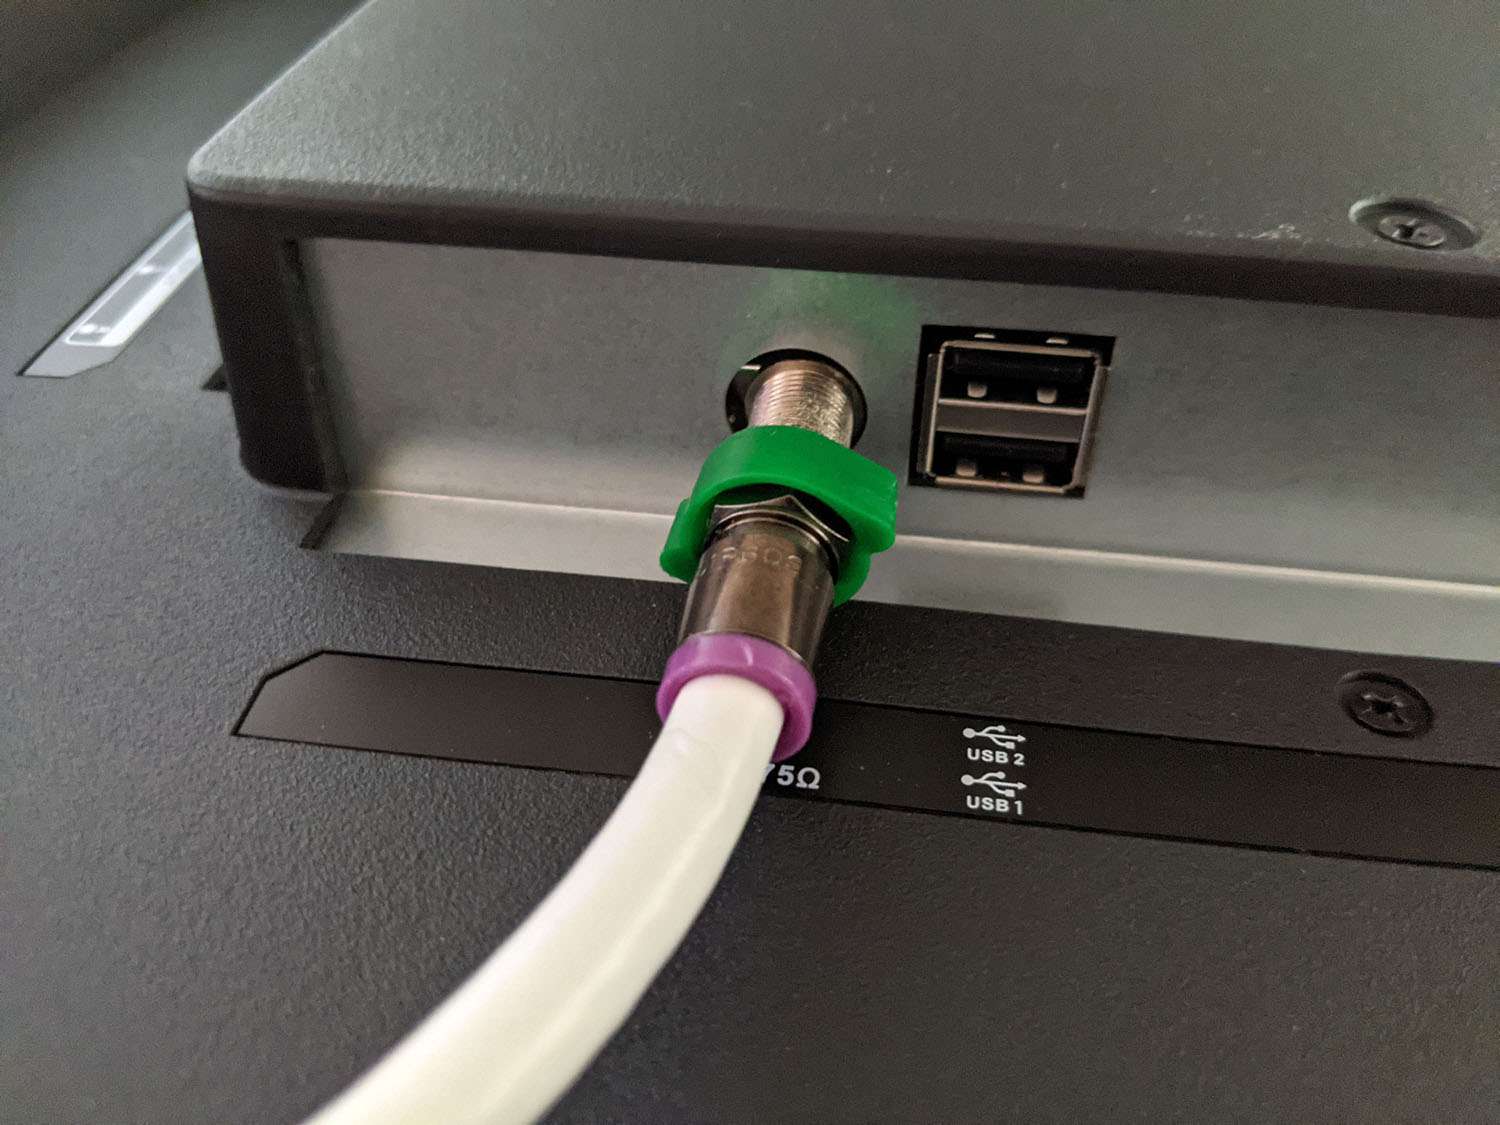
- Take the other end of the coaxial cable and insert it into the antenna input on your Samsung Smart TV. Again, ensure that it is securely connected by tightening the connector.
- Once both ends of the coaxial cable are connected, you can now plug your TV back into the power source and turn it on.
- If your antenna requires power, make sure to connect the power supply to the designated port on the antenna and plug it into a power outlet.
It’s important to note that the exact steps may vary depending on the type of antenna you have. Always refer to the manufacturer’s instructions for any specific guidelines when connecting your antenna to your Samsung Smart TV.
With the antenna successfully connected to your TV, it’s time to move on to the next step: adjusting the antenna for optimal reception.
Step 4: Adjust the antenna for optimal reception
After connecting the antenna to your Samsung Smart TV, it’s essential to adjust it for optimal reception. Follow these steps to ensure that you get the best possible signal:
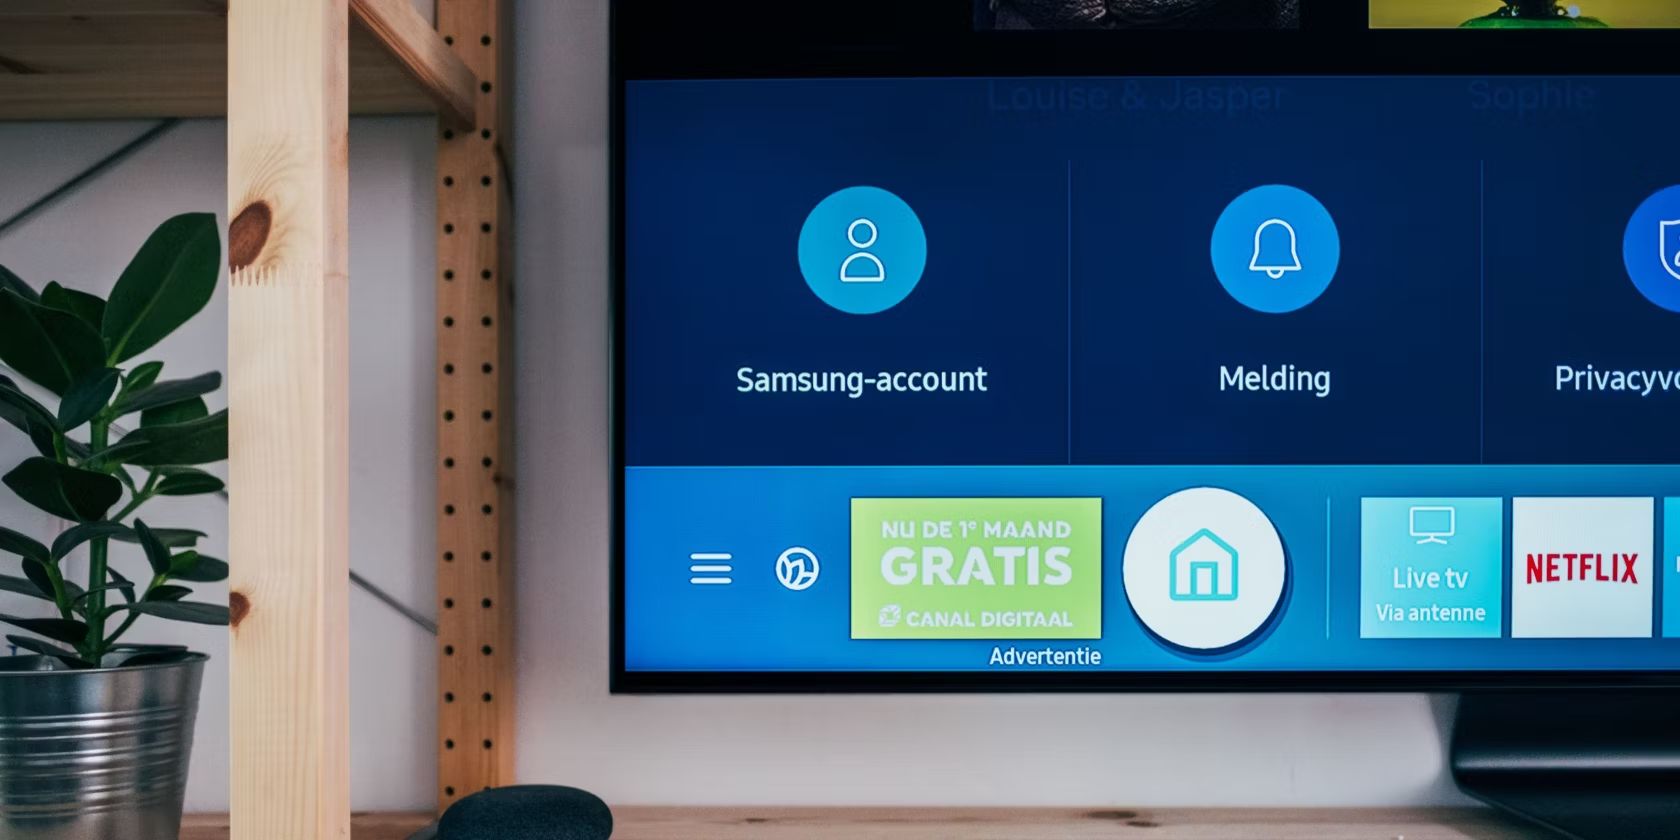
- Begin by accessing the “Settings” menu on your Samsung Smart TV. You can usually find the “Settings” button on your remote control.
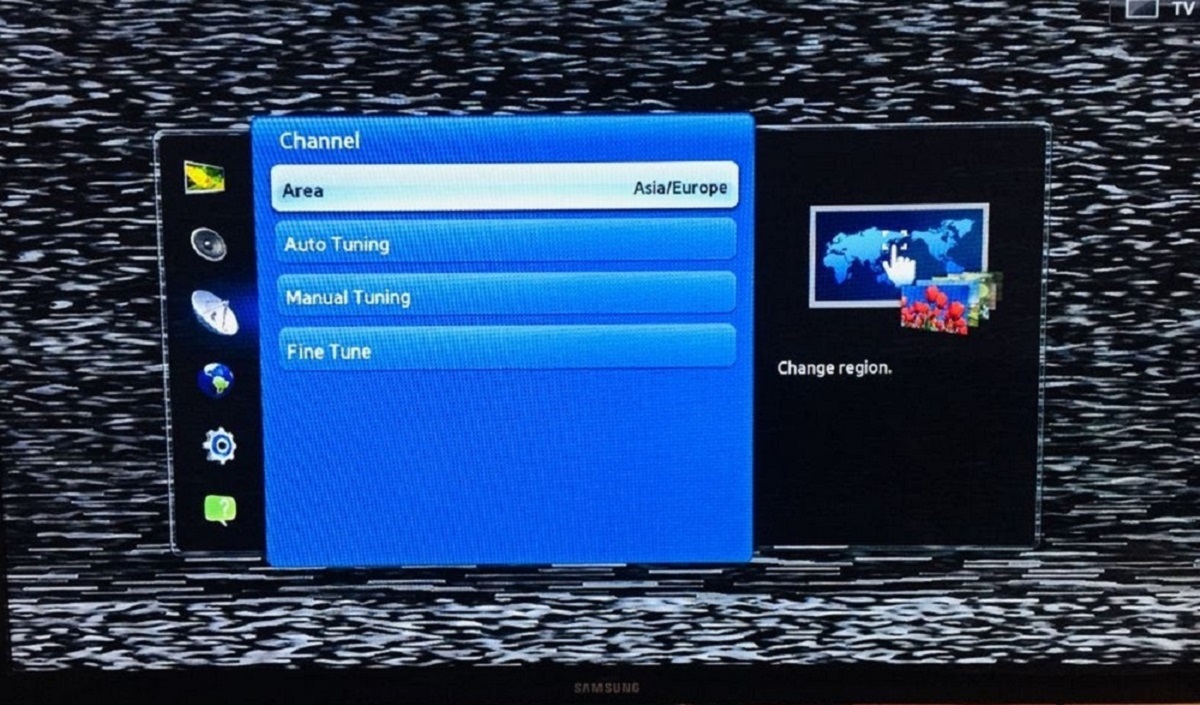
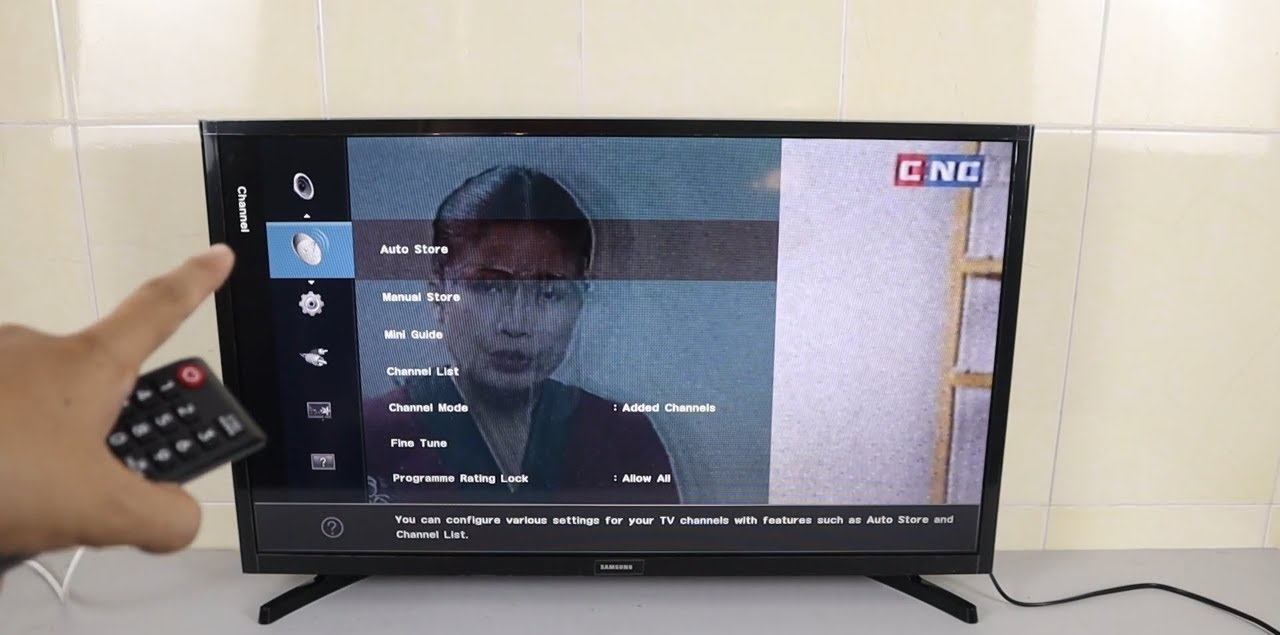
- Navigate to the “Channels” or “Broadcast” settings and select “Auto-tuning” or “Auto-scan” to initiate a channel scan.
- Allow the TV to scan for available channels. This process may take a few minutes as the TV searches for and saves all the channels with strong signal strength.
- Once the channel scan is complete, go through the saved channels to ensure that the signal is strong and the picture quality is optimal. If you notice any weak signals or fuzzy channels, you may need to adjust the antenna’s position.
- Try different orientations and positions for the antenna to find the best reception. This may involve rotating or repositioning the antenna itself or adjusting its height or angle.
- Keep an eye on the signal strength or quality indicator on your TV as you make adjustments. This will help you gauge the effect of each adjustment on the reception.
- Continue making small adjustments until you find the optimal position that offers the best possible signal strength and picture quality for the channels you want to watch.
It’s important to note that the ideal antenna position may vary depending on factors such as your location, proximity to broadcasting towers, and any potential obstructions. Experimenting with different positions and orientations will help you find the best setup for your specific situation.
Once you have adjusted the antenna for optimal reception, proceed to the next and final step: scanning for channels on your Samsung Smart TV.
Step 5: Scan for channels on your Samsung Smart TV
Now that you have connected and adjusted the antenna on your Samsung Smart TV, the final step is to scan for channels. Follow these steps to complete the channel scanning process:
- Ensure that your TV is turned on and navigate to the “Settings” menu using your remote control.
- Select the “Channels” or “Broadcast” settings option.
- Choose the “Auto-tuning” or “Auto-scan” function. This will initiate the scanning process, in which your Samsung Smart TV will search for available channels.
- Wait for the TV to complete the channel scan. This process may take a few minutes as the TV scans through different frequencies to identify the available channels.
- Once the scan is complete, your Samsung Smart TV will display a list of channels it has detected. This list may include both digital and analog channels, depending on your location and the capabilities of your TV.
Take the time to go through the list of detected channels and ensure that all the desired channels are present. If any channels are missing, it may be necessary to reposition the antenna or perform the channel scan again to improve reception.
Once you have confirmed that all the desired channels are available, you can start enjoying the free, over-the-air broadcasts on your Samsung Smart TV. Sit back, relax, and enjoy a wide variety of programming without the need for a cable or satellite subscription.
Remember to periodically rescan for channels, especially if you relocate your antenna or if there are changes to the broadcasting frequencies in your area. This will ensure that you continue to receive all available channels and maintain optimal reception.
Congratulations! You have successfully connected and scanned for channels on your Samsung Smart TV. By following these simple steps, you can now enjoy a vast selection of free, high-quality channels without relying on cable or satellite services.
Conclusion
Connecting an antenna to your Samsung Smart TV is a great way to access free, high-quality local channels without the need for a cable or satellite subscription. By following the steps outlined in this guide, you can easily set up and enjoy a wide range of over-the-air broadcasts.
We began by gathering the necessary equipment, including an antenna, coaxial cable, and any additional items such as a power supply or remote control. Locating the antenna input on your Samsung Smart TV was the next step, ensuring that you can make a secure connection.
After connecting the antenna, it was crucial to adjust it for optimal reception. By accessing the settings menu on your TV and performing a channel scan, you can fine-tune the position of the antenna to ensure that you receive the best signal and picture quality.
Finally, we discussed scanning for channels on your Samsung Smart TV. The auto-tuning or auto-scan function helps identify and save all available channels, allowing you to explore a diverse range of programming.
By following these steps, you have successfully connected an antenna to your Samsung Smart TV and unlocked a world of free local broadcasts. Enjoy watching your favorite shows, news, sports, and more without the constraints of a cable or satellite subscription.
Remember to periodically rescan for channels to stay up-to-date with any changes in broadcasting frequencies or antenna positioning. With proper maintenance, you can continue to enjoy a seamless viewing experience.
Thank you for using this guide, and we hope that you find it helpful in enhancing your TV-watching experience. Happy channel surfing!