Introduction
When it comes to enjoying free over-the-air TV channels, connecting an antenna to your Samsung Smart TV is a must. With the right setup, you can access a wide range of local broadcasts in high-definition quality. Whether you want to watch your favorite sitcoms, catch live sporting events, or stay updated with the latest news, setting up an antenna is a simple and cost-effective solution.
In this guide, we will walk you through the step-by-step process of connecting an antenna to your Samsung Smart TV. You don’t need to be a tech expert or spend hours figuring it out. Just follow these easy instructions, and you’ll be enjoying free TV channels in no time.
Before we dive into the steps, it’s important to note that different Samsung Smart TV models may have slightly different configurations or ports. However, the general process remains the same. So, as you follow along, make sure to consult your TV’s user manual for any model-specific instructions that may be relevant.
Now, let’s gather the necessary materials and begin the antenna setup process.
Step 1: Gather the necessary materials
Before you begin setting up the antenna for your Samsung Smart TV, it’s important to ensure you have all the required materials. Here’s a list of items you’ll need:
- Indoor or outdoor antenna: Choose an antenna that suits your needs and location. For areas with strong signal reception, an indoor antenna may suffice. However, if you live in a rural area or have weak signal strength, an outdoor antenna may be necessary.
- Coaxial cable: This is the cable that connects the antenna to your TV. Make sure you have a good quality coaxial cable that is long enough to reach the TV from the antenna location.
- Antenna amplifier (optional): If you’re experiencing weak signal reception, an antenna amplifier can boost the signal strength and improve picture quality. This is particularly useful if you’re using a long coaxial cable or have multiple TVs connected to one antenna.
- Power source (for outdoor antennas): If you opt for an outdoor antenna, you may need a power source for the amplifier. This can be a nearby electrical outlet or a power inserter specifically designed for antenna systems.
Once you have gathered these materials, you’re ready to move on to the next step: locating the antenna input on your Samsung Smart TV.
Step 2: Locate the antenna input on your Samsung Smart TV
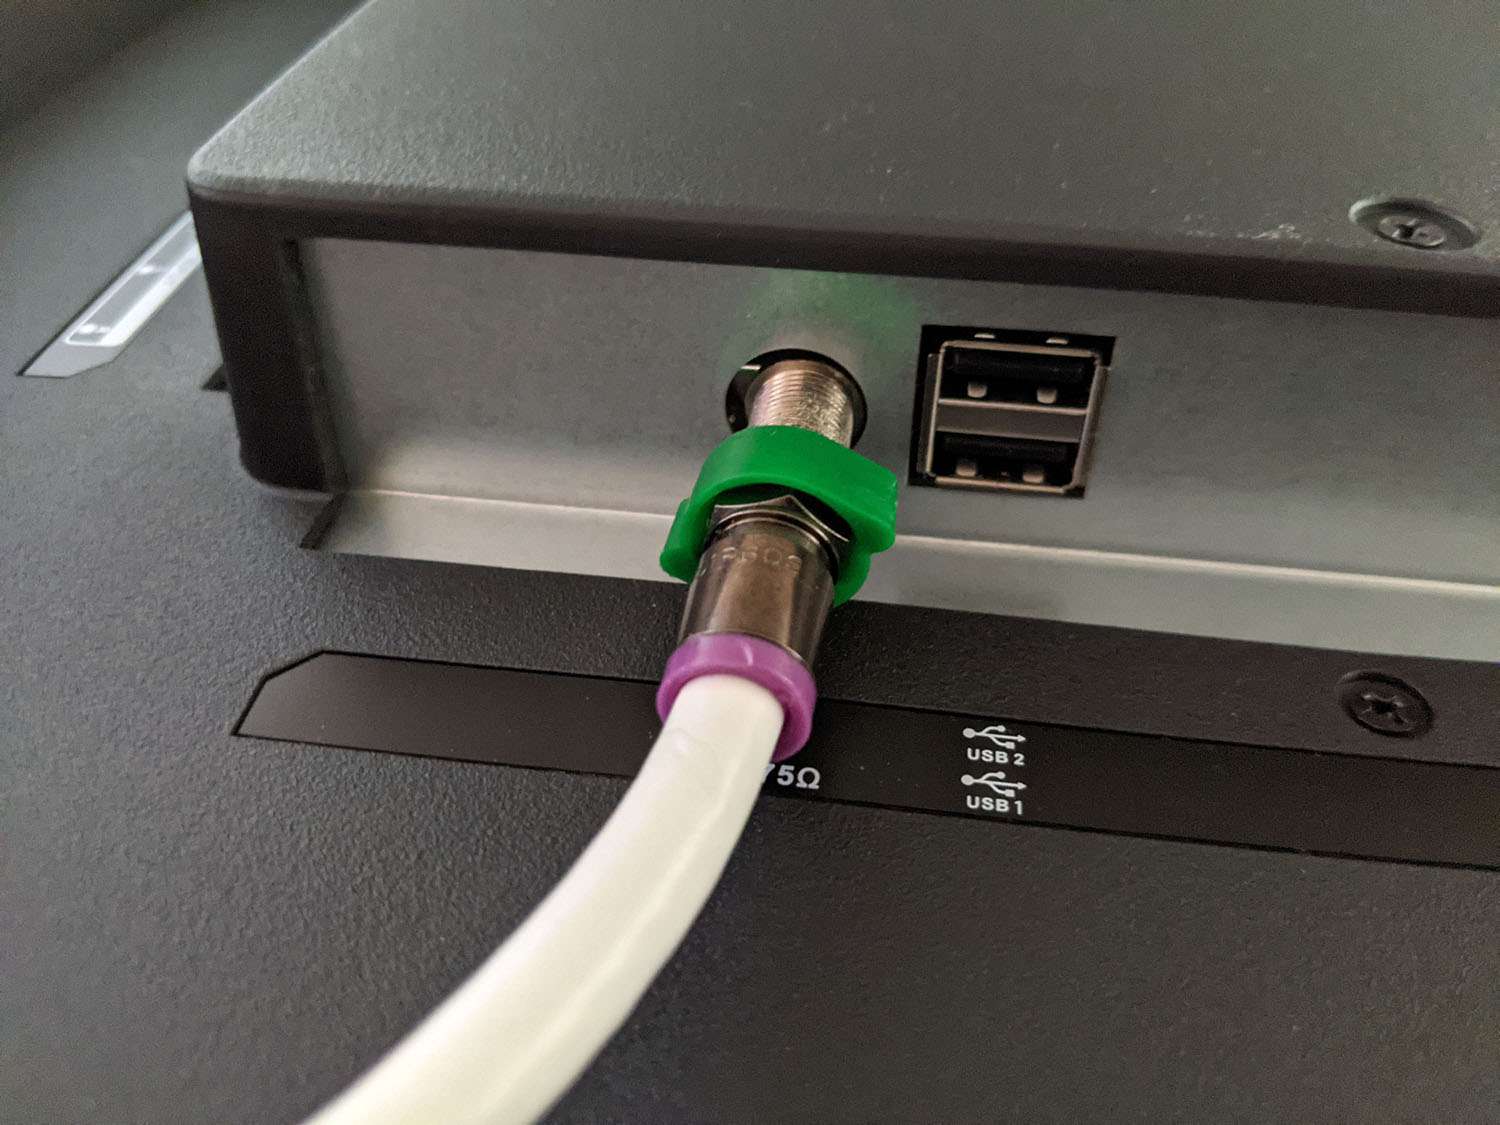
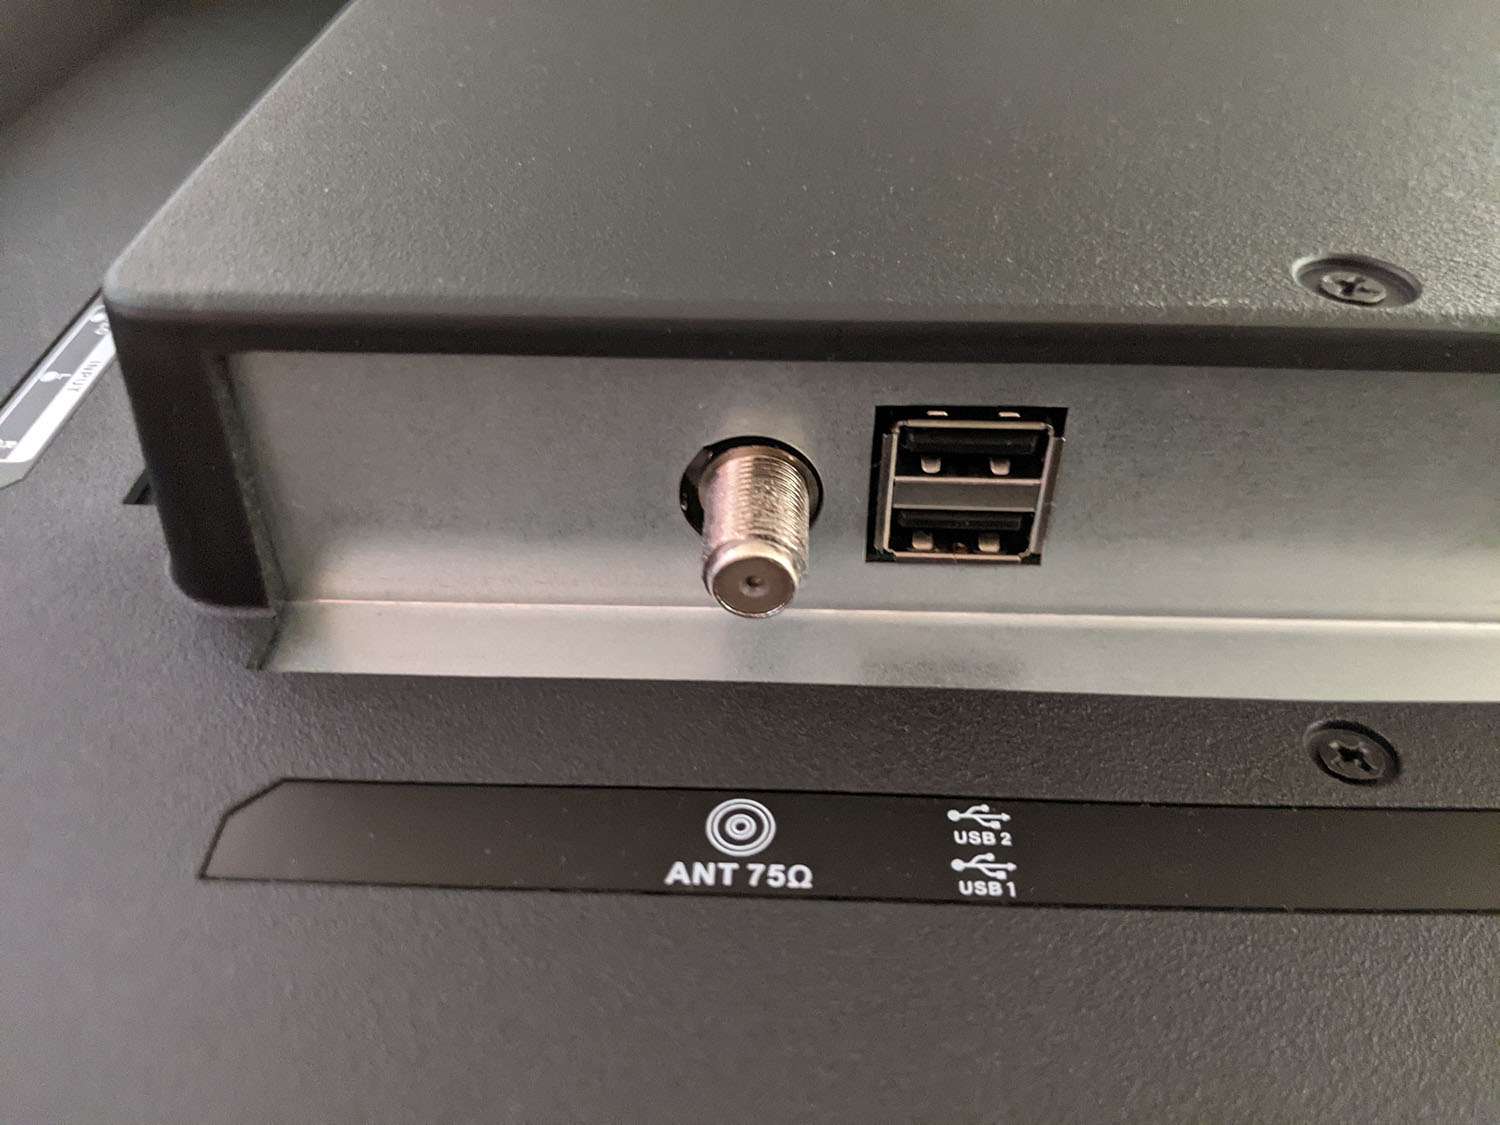
Before you can connect your antenna to your Samsung Smart TV, you’ll need to locate the antenna input. The location of this input might vary slightly depending on your TV model, but it’s typically labeled “Antenna” or “RF Input”. Here’s a step-by-step guide to help you find it:
- Look for a small threaded coaxial connector on the back or side of your TV. This is where you’ll plug in the coaxial cable from your antenna.
- Read the labels around the connector ports. The antenna input is usually labeled with “Antenna”, “RF”, or a similar term. It may also have a small icon that resembles an antenna.
- If you’re having trouble locating the antenna input, refer to your TV’s user manual. It will provide detailed instructions and illustrations specific to your TV model.
Once you’ve identified the antenna input, you’re ready to proceed with connecting the antenna to your Samsung Smart TV. Move on to the next step for detailed instructions on how to do this.
Step 3: Connect the antenna to the TV
Now that you’ve located the antenna input, it’s time to connect the antenna to your Samsung Smart TV. Follow these simple steps:
- Take the coaxial cable and connect one end to the antenna’s coaxial output.
- Insert the other end of the coaxial cable into the antenna input on your Samsung Smart TV. Make sure it is securely inserted and tightened by turning it clockwise.
- If you are using an antenna amplifier, connect the amplifier to the coaxial cable before inserting it into the TV’s antenna input. The amplifier typically has its own power cable that needs to be plugged into a power source.
Once you’ve completed these steps, you have successfully connected the antenna to your Samsung Smart TV. The next step involves adjusting the antenna for optimal reception, so keep reading!
Step 4: Adjust the antenna for optimal reception
After connecting the antenna to your Samsung Smart TV, it’s important to adjust it for optimal reception. This will ensure that you receive the best possible signal and enjoy clear, uninterrupted TV channels. Here’s what you need to do:
- Position the antenna: Depending on whether you have an indoor or outdoor antenna, find the best location to place it. For indoor antennas, try positioning it near a window or towards the direction of the broadcast towers. For outdoor antennas, mount them as high as possible and with clear line-of-sight towards the towers.
- Adjust the antenna direction: If you’re using an outdoor antenna, you can rotate it to improve signal reception. Refer to a signal strength indicator on your TV’s menu (usually accessed through the settings) to help you determine the best direction to point the antenna.
- Experiment with antenna height: For outdoor antennas, the height can also play a role in signal reception. Gradually adjust the antenna height by moving it higher or lower to find the sweet spot that provides the best signal strength.
- Minimize interference: Keep your antenna away from potential sources of interference such as large metal objects, electronic devices, and dense foliage. These can weaken the signal and affect reception quality.
By carefully adjusting the position, direction, and height of your antenna, you can optimize signal reception and enhance your viewing experience. Once you’re satisfied with the antenna adjustment, it’s time to move on to the next step: scanning for available channels.
Step 5: Scan for available channels
Now that you’ve connected and adjusted the antenna, it’s time to scan for available channels on your Samsung Smart TV. The scanning process allows your TV to search and store all the channels that are available in your area. Here’s how you can do it:
- Turn on your Samsung Smart TV and grab your remote control.
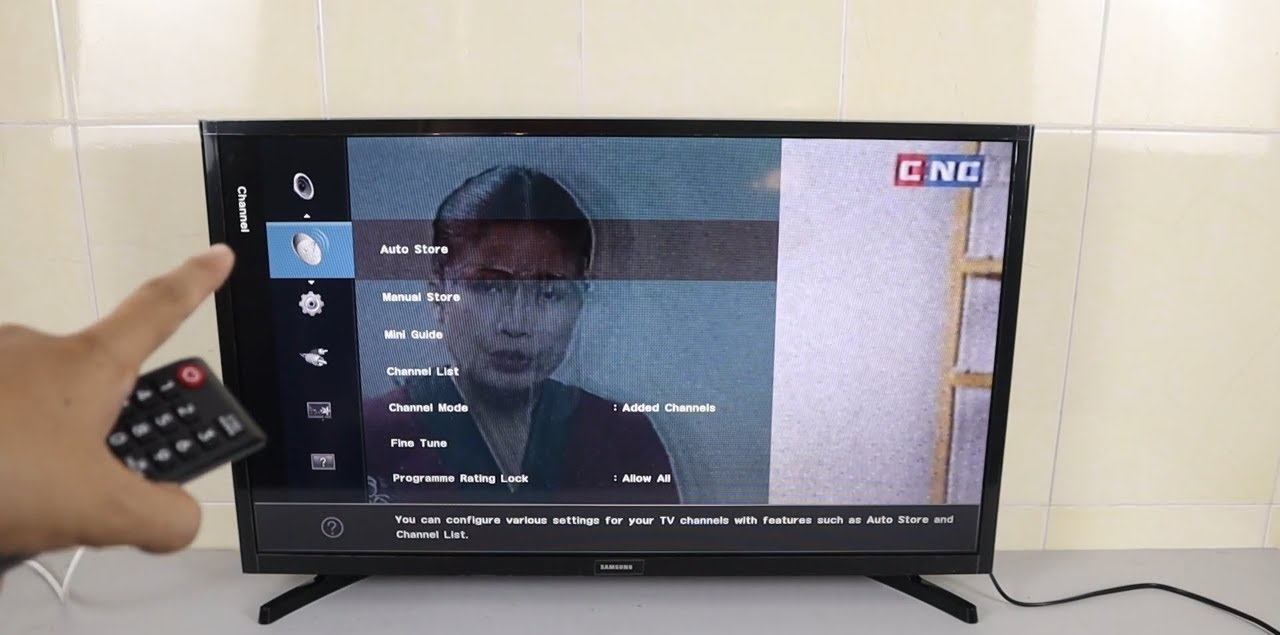
- Press the “Menu” button on the remote to access the TV’s menu options.
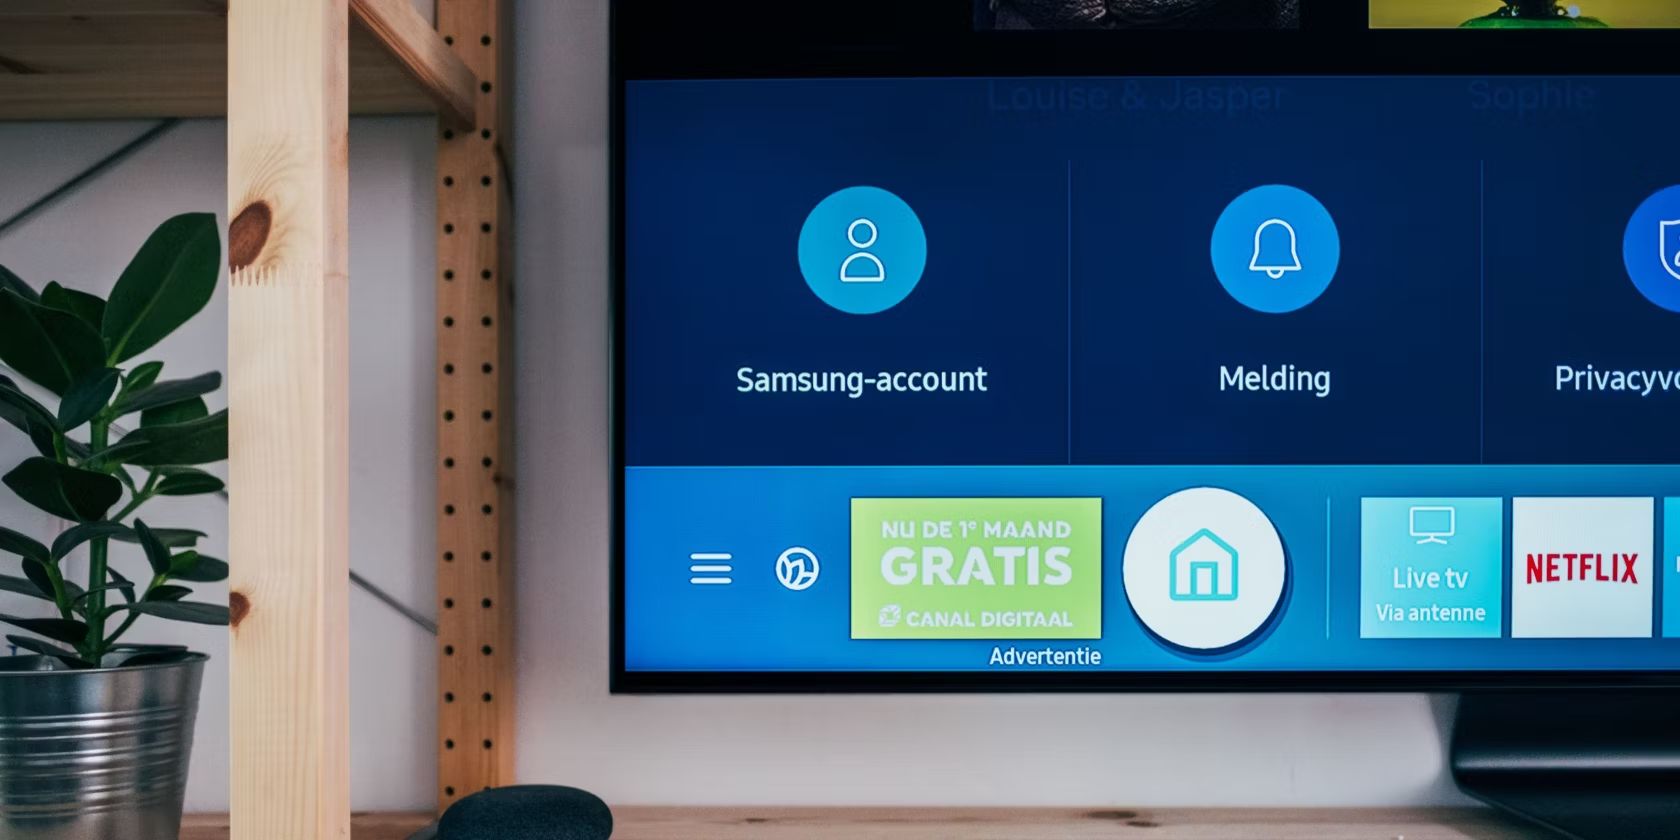
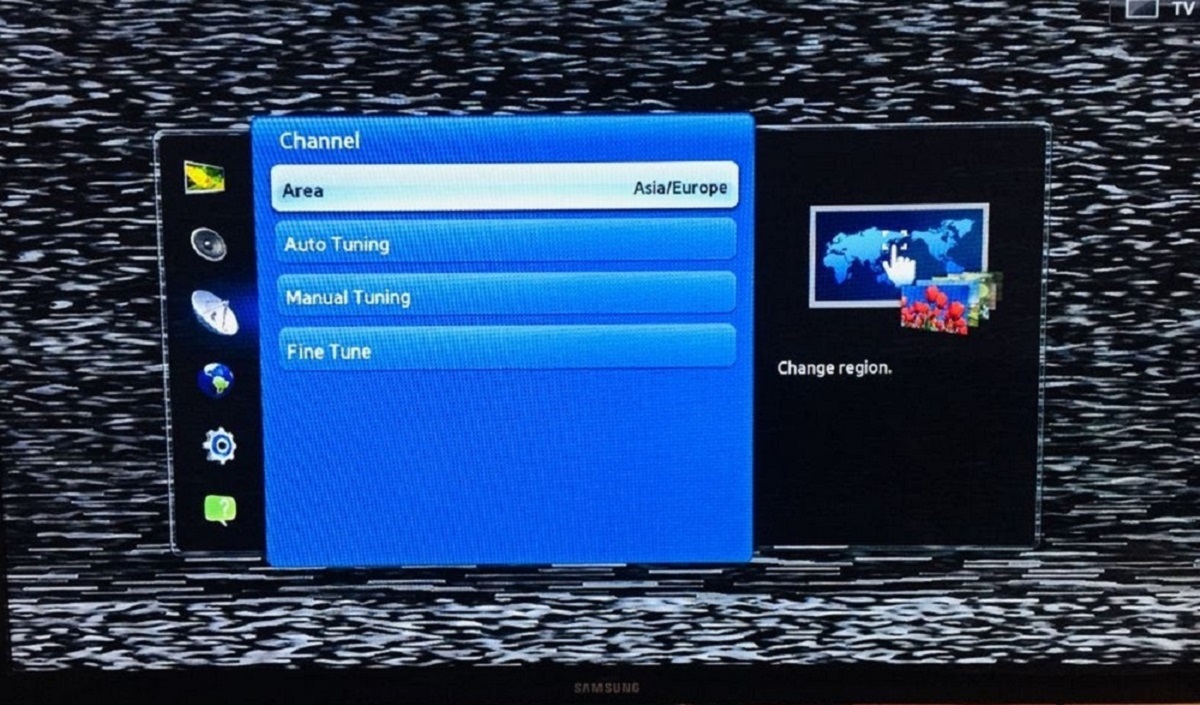
- Navigate to the “Settings” or “Setup” menu and select “Channel Setup” or “Broadcast Setup”. The exact terminology may vary depending on your TV model.
- Choose the “Antenna” or “Air/Cable” option to indicate that you’re using an antenna for reception.
- Select the “Auto Scan” or “Auto Program” option to initiate the scanning process. Your TV will now search for available channels and store them in its memory.
- Wait for the scanning process to complete. It may take a few minutes, so be patient.
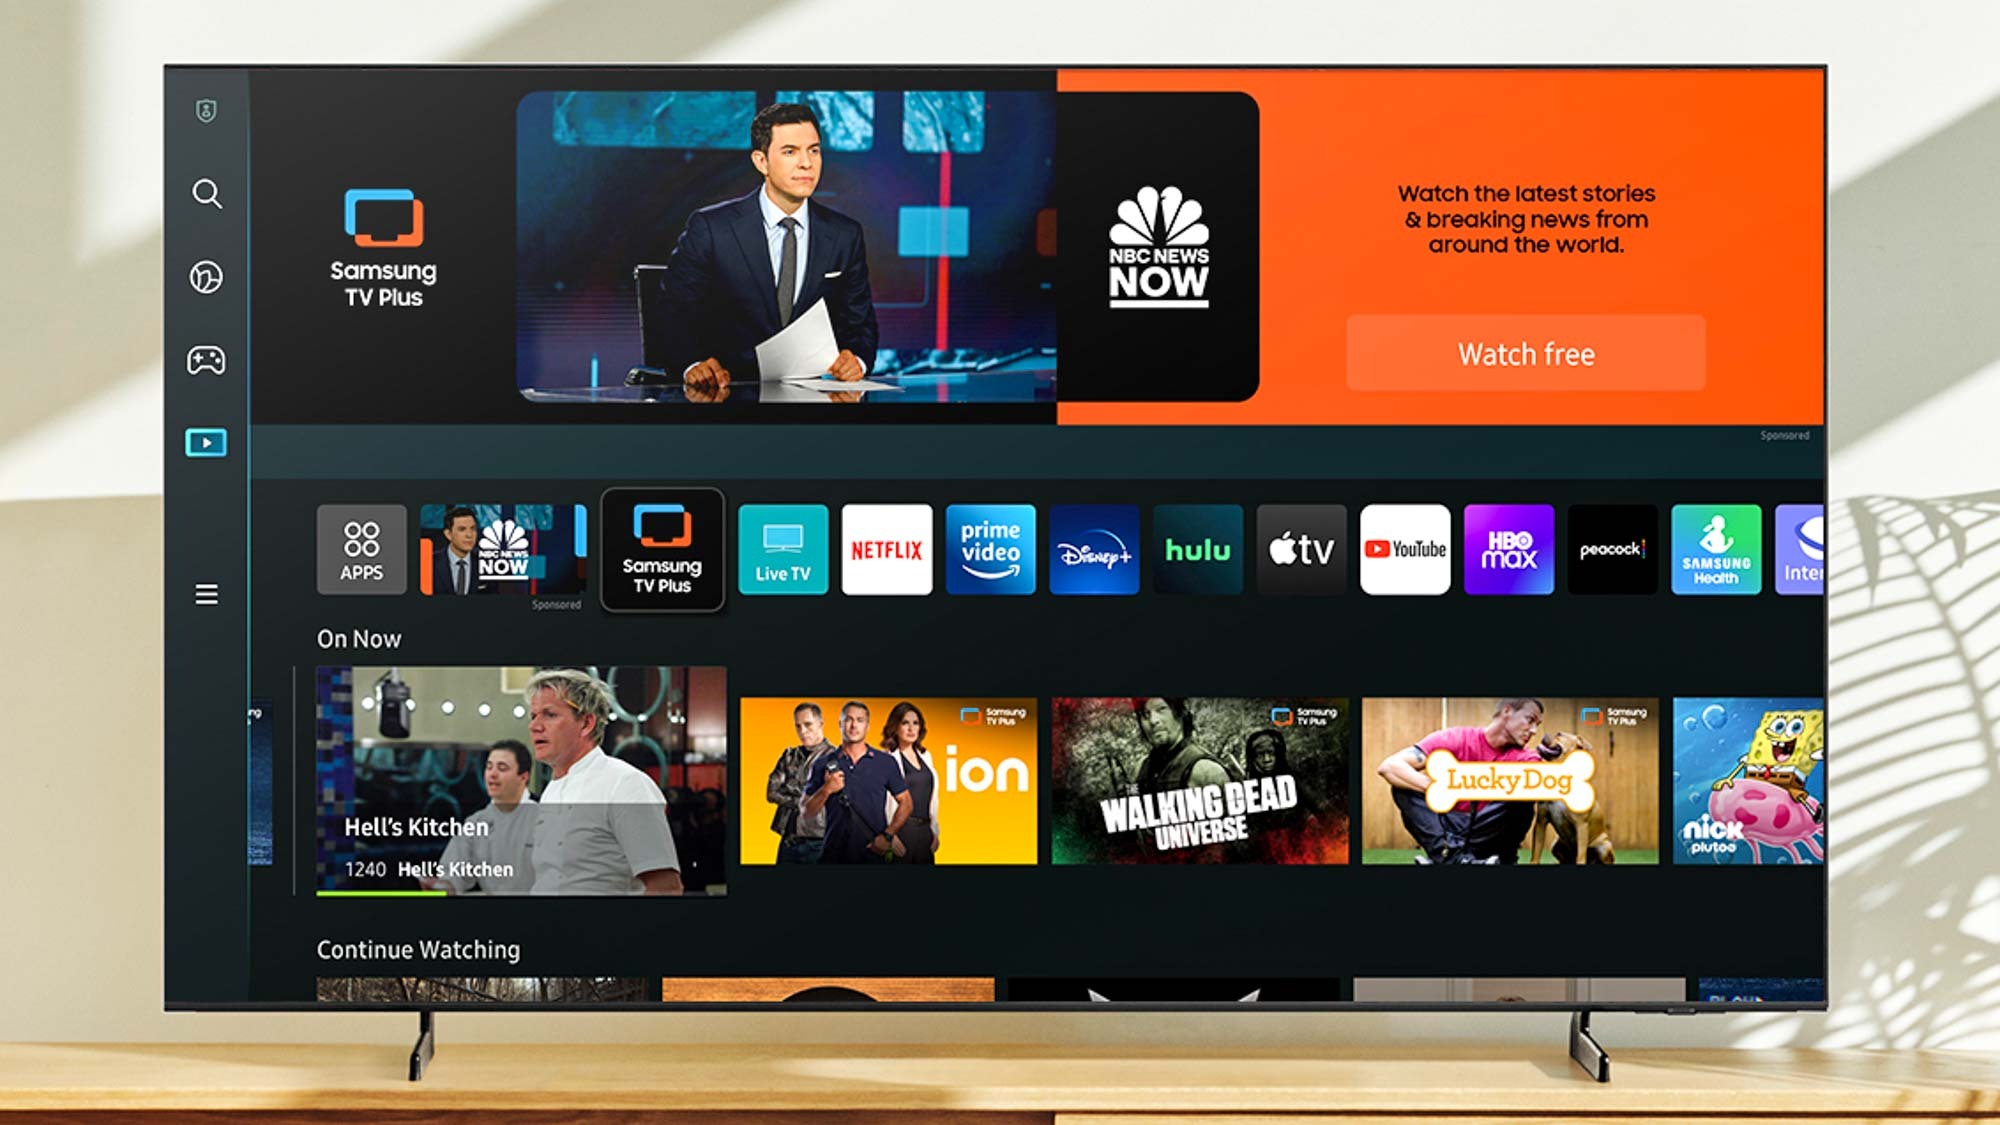
Once the scanning is finished, your Samsung Smart TV will display a list of all the channels it has found. You can now browse through the channels and start enjoying free over-the-air broadcasts!
If you later wish to rescan for channels or update your channel list, you can follow the same steps outlined above.
Now that you’ve successfully scanned for channels, it’s time to troubleshoot any potential issues that may arise while setting up your antenna. Read on for some helpful tips to overcome common challenges.
Step 6: Troubleshooting tips
During the antenna setup process, you may encounter certain issues or experience less-than-optimal reception. Don’t worry! Here are some troubleshooting tips to help you overcome common challenges:
- Reposition the antenna: If you’re experiencing weak or pixelated signals, try moving the antenna to a different location. Experiment with different positions and heights to find the best signal strength.
- Check the antenna connections: Ensure that the coaxial cable is securely connected to both the antenna and the TV. Loose or faulty connections can affect signal reception.
- Try a different coaxial cable: If you suspect that the coaxial cable is damaged or of poor quality, try using a different cable to see if it improves the signal quality.
- Consider an antenna amplifier: If you’re located in an area with weak signal strength, an antenna amplifier can boost the signal and enhance reception. Connect the amplifier between the antenna and the TV for better results.
- Rescan for channels: If you’ve made any changes to the antenna setup or adjusted its position, it’s a good idea to rescan for channels to ensure you’re receiving the most up-to-date channel lineup.
- Check for interference: Nearby electronic devices, tall buildings, or other obstructions can interfere with the antenna’s reception. Try to minimize interference by keeping the antenna away from such sources.
If you’ve tried these troubleshooting tips and are still experiencing issues, consider consulting a professional antenna installer or reaching out to the manufacturer for further assistance.
By following these steps and troubleshooting tips, you should be able to successfully connect an antenna to your Samsung Smart TV and enjoy a wide range of free TV channels. Sit back, relax, and enjoy your favorite shows and broadcasts!
Conclusion
Connecting an antenna to your Samsung Smart TV is a straightforward process that opens up a world of free over-the-air TV channels. By following the steps outlined in this guide, you can easily set up your antenna and enjoy high-definition broadcasts without the need for any subscriptions or additional devices.
We began by gathering the necessary materials, including an antenna, coaxial cable, and optional amplifier. Then, we located the antenna input on your Samsung Smart TV, ensuring a smooth connection. With the antenna successfully connected, we moved on to adjusting it for optimal reception, considering factors such as position, direction, height, and interference.
Next, we scanned for available channels on your TV, allowing it to store all the available broadcasts in your area. By following the simple menu options, you can easily update your channel list whenever needed.
If you run into any issues during the setup process or experience less-than-ideal reception, our troubleshooting tips can help you overcome common challenges. From repositioning the antenna to checking connections and considering an amplifier, these steps will help optimize your viewing experience.
Remember, while this guide provides general instructions, it’s essential to refer to your Samsung Smart TV’s user manual for any model-specific instructions or features.
With your antenna successfully connected and channels scanned, you can now sit back and enjoy endless hours of entertainment with the variety of free over-the-air TV channels available to you. Say goodbye to monthly cable bills and take control of your TV viewing experience with an antenna and your Samsung Smart TV!