Introduction
Welcome to the world of over-the-air (OTA) broadcasting! Are you tired of paying hefty cable or satellite bills? Do you want to enjoy free, high-quality television content? Setting up an antenna on your Samsung Smart TV is a great way to access a wide range of local channels for free.
By connecting an antenna to your Samsung Smart TV, you can enjoy network channels, local news, sports events, and much more without the need for a cable or satellite subscription. Whether you’re a cord-cutter or simply looking for additional entertainment options, setting up an antenna is a simple and cost-effective solution.
In this guide, we’ll take you through the step-by-step process of setting up an antenna on your Samsung Smart TV. From gathering the necessary equipment to fine-tuning the reception, we’ll cover it all. So, grab your remote and let’s get started!
Please note: The instructions provided here are general guidelines and may vary depending on the model of your Samsung Smart TV. It is always recommended to consult the user manual or visit the official Samsung support website for specific instructions related to your TV model.
Now, without further ado, let’s dive into the exciting world of OTA television and set up your antenna on your Samsung Smart TV!
Step 1: Gather the necessary equipment
Before you can start setting up your antenna on your Samsung Smart TV, you’ll need to gather a few essential pieces of equipment. Here’s a list of what you’ll need:
- Antenna: Choose an antenna that suits your needs. There are several types available, including indoor antennas and outdoor antennas. Consider factors such as your location, signal strength, and local regulations when selecting an antenna.
- Coaxial cable: Ensure you have a coaxial cable of sufficient length to connect the antenna to your TV. The cable should have connectors compatible with both the antenna and the TV.
- Power source: Some antennas require power to amplify the signal. If your chosen antenna falls into this category, check whether you need a power supply or if it can be connected directly to the TV’s USB port.
- Remote control and batteries: Make sure you have the remote control for your Samsung Smart TV and ensure the batteries are working properly.
Once you’ve gathered all the necessary equipment, you’ll be ready to move on to the next step: locating the antenna input on your Samsung Smart TV. So, let’s proceed to the next section and get one step closer to setting up your antenna!
Step 2: Locate the antenna input on your Samsung Smart TV
Before you can connect your antenna to your Samsung Smart TV, you’ll need to locate the antenna input. The location of the input may vary depending on the model of your TV, but here are a few common places where you can find it:
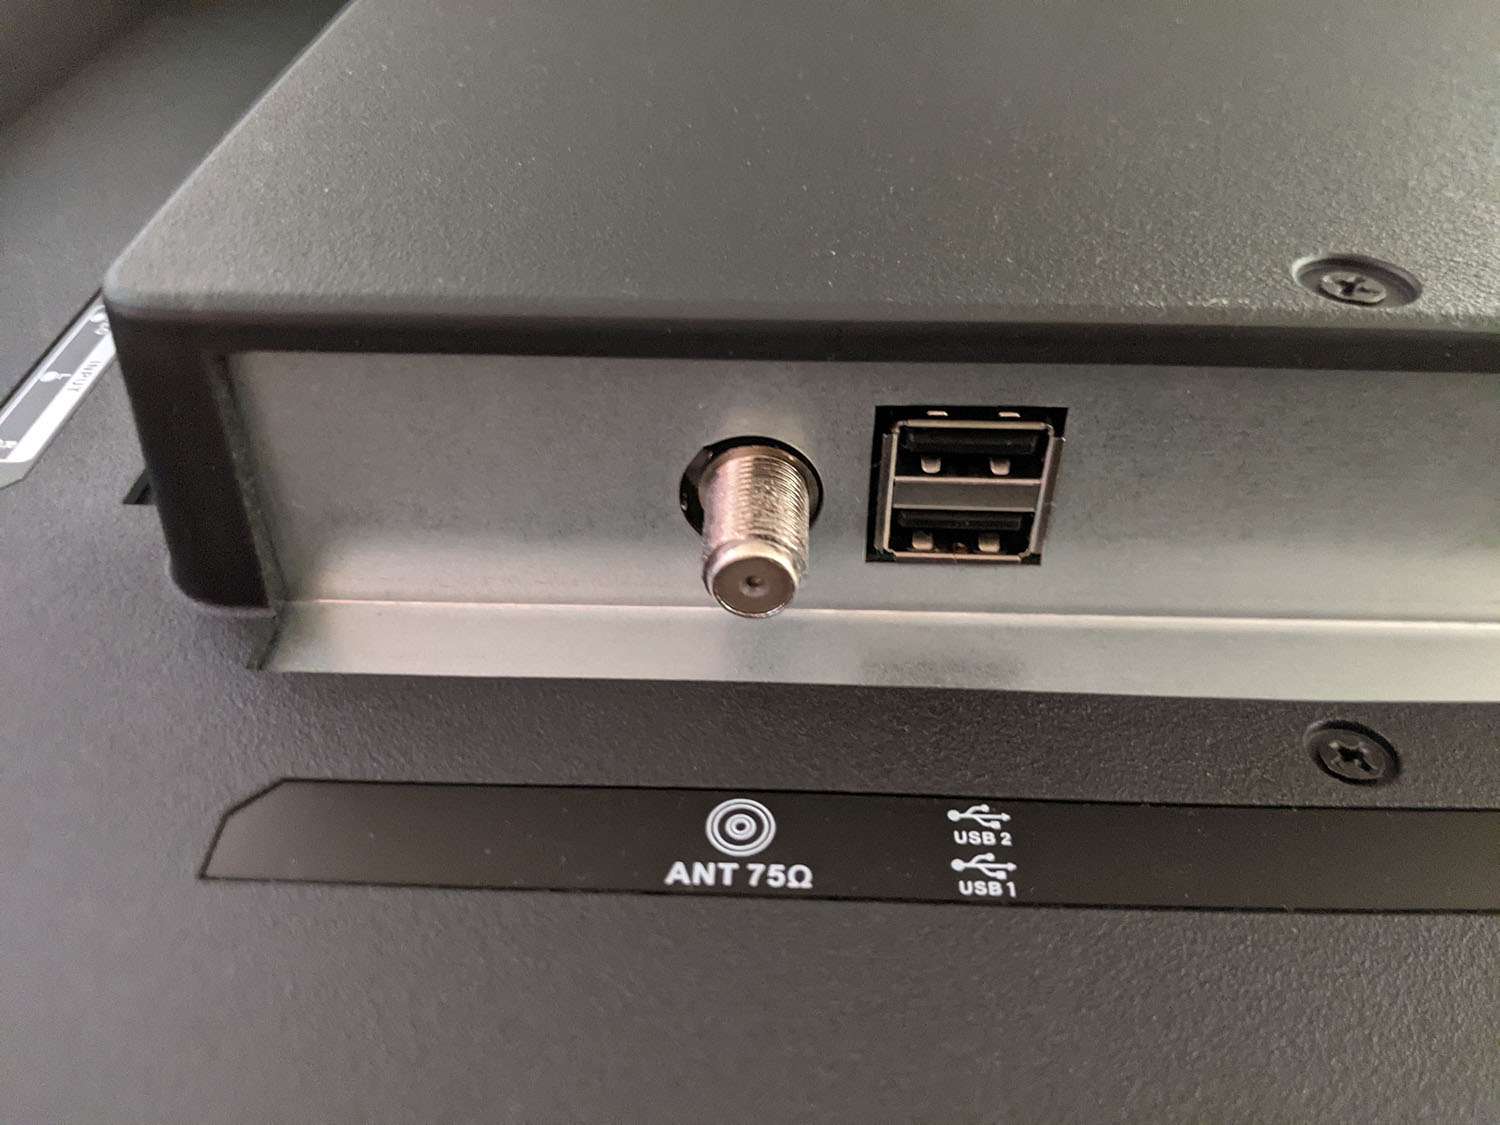
- Back panel: Check the back panel of your Samsung Smart TV for an “ANT IN” or “RF IN” port. It is typically labeled with an antenna symbol or “ANT/CABLE”.
- Side panel: In some models, the antenna input may be located on the side panel of the TV. Look for a small opening with an “ANT IN” or “RF IN” label.
- One Connect box: If your Samsung Smart TV uses the One Connect box, the antenna input may be located on the back of the box rather than directly on the TV. Check both the TV and the One Connect box for the antenna input.
Once you’ve identified the antenna input, take note of its location. This will be where you connect the coaxial cable from your antenna in the following steps. If you’re unsure about the location or have trouble finding the antenna input, refer to your TV’s user manual or visit the Samsung support website for specific instructions related to your TV model.
With the antenna input located, you’re now ready to move on to the next step: connecting the antenna to your Samsung Smart TV. Let’s proceed to the next section and continue the setup process!
Step 3: Connect the antenna to the TV
Now that you’ve located the antenna input on your Samsung Smart TV, it’s time to connect the antenna. Follow these steps to ensure a proper connection:
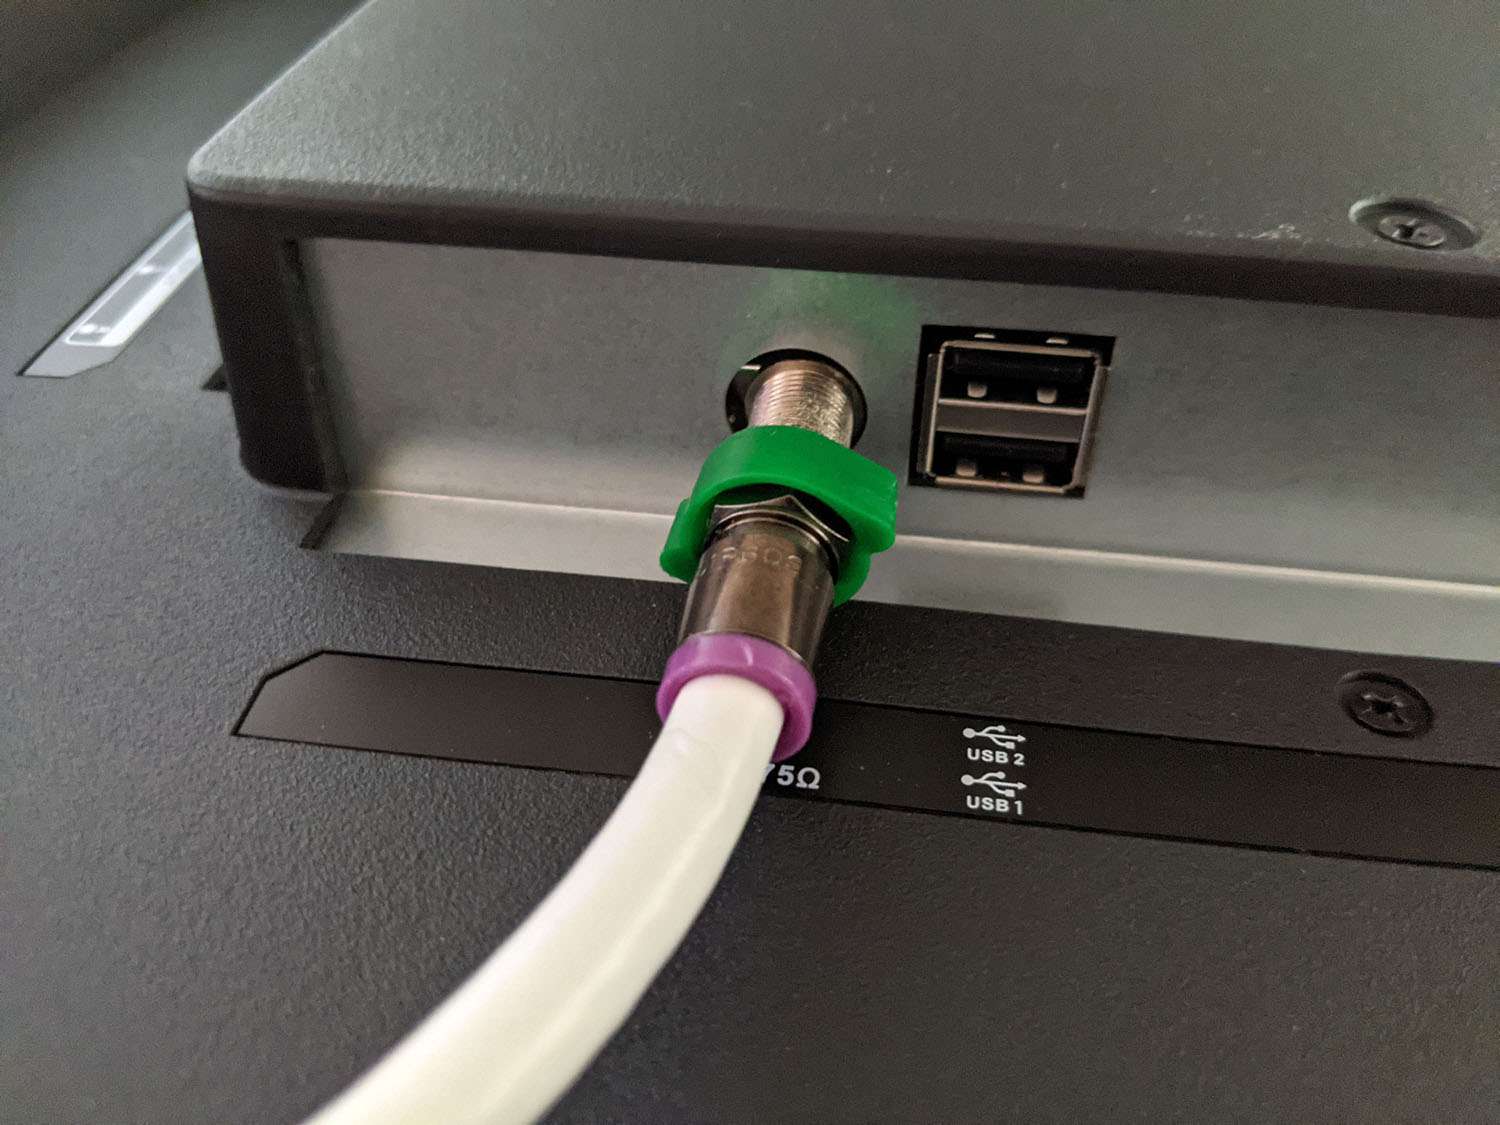
- Take the coaxial cable and connect one end to the antenna’s output port.
- Take the other end of the coaxial cable and connect it to the antenna input on your Samsung Smart TV.
- Ensure the connections are secure, tightening any loose connectors if necessary.
Once the antenna is connected to the TV, you’re one step closer to enjoying free over-the-air channels. However, before you can start watching those channels, you’ll need to adjust the TV’s input settings, which we’ll cover in the next step.
Note: If you’re using an indoor antenna, it’s important to place it in a location where it can receive a strong signal. Experiment with different positions and angles to find the optimum placement for the best reception.
Now that your antenna is connected to the TV, let’s move on to the next step and adjust the TV’s input settings to prepare for channel scanning. Keep reading to learn more!
Step 4: Adjust the TV’s input settings
After connecting the antenna to your Samsung Smart TV, it’s time to adjust the input settings to ensure a smooth and seamless viewing experience. Here’s what you need to do:
- Turn on the TV and grab the remote control.
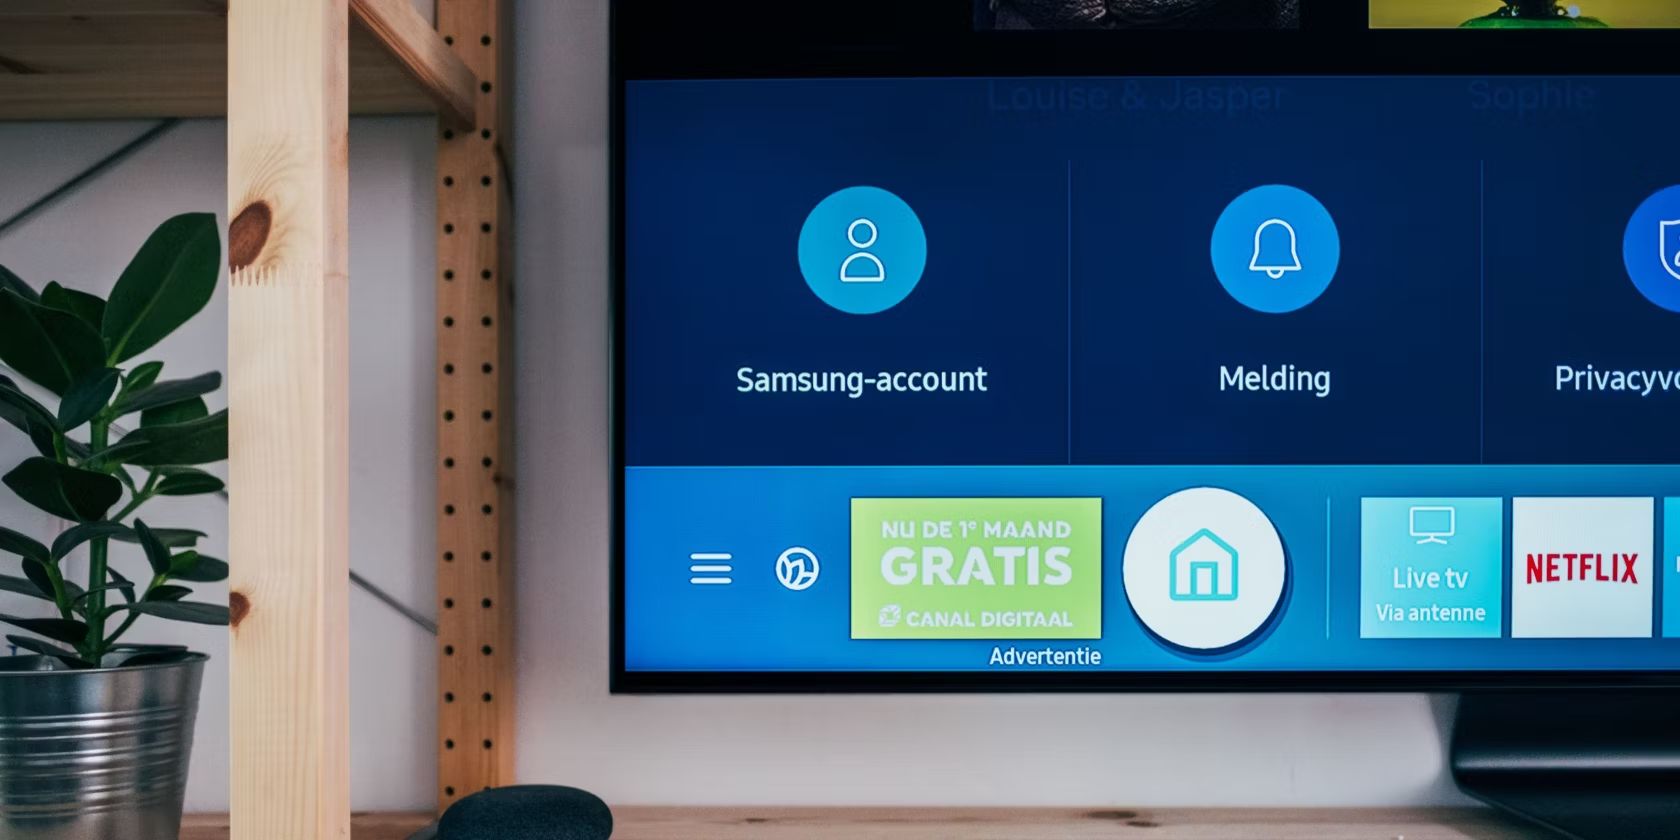
- Press the “Menu” button on the remote control to access the TV’s main menu.
- Navigate to the “Settings” option and select it.
- In the settings menu, look for the “Inputs” or “Source” option and choose it.
- Select the input source corresponding to the antenna input. It may be labeled as “Antenna”, “TV”, or “Air”.
- Ensure that the selected input is set as the default source for the antenna.
By adjusting the TV’s input settings, you’re telling the TV to prioritize the antenna input for receiving OTA signals. This step is crucial as it allows the TV to recognize and scan for available channels from the connected antenna.
Note: The process of adjusting input settings may vary depending on the model of your Samsung Smart TV. If you’re uncertain about the exact steps, refer to the user manual or visit the official Samsung support website for detailed instructions tailored to your TV model.
Now that you’ve set the input source to the antenna, it’s time to move on to the next step: scanning for available channels. Keep reading to learn how you can discover and access local channels using your antenna and Samsung Smart TV.
Step 5: Scan for available channels
With the antenna connected and the input settings adjusted, it’s time to scan for available channels on your Samsung Smart TV. Follow these steps to initiate the channel scanning process:
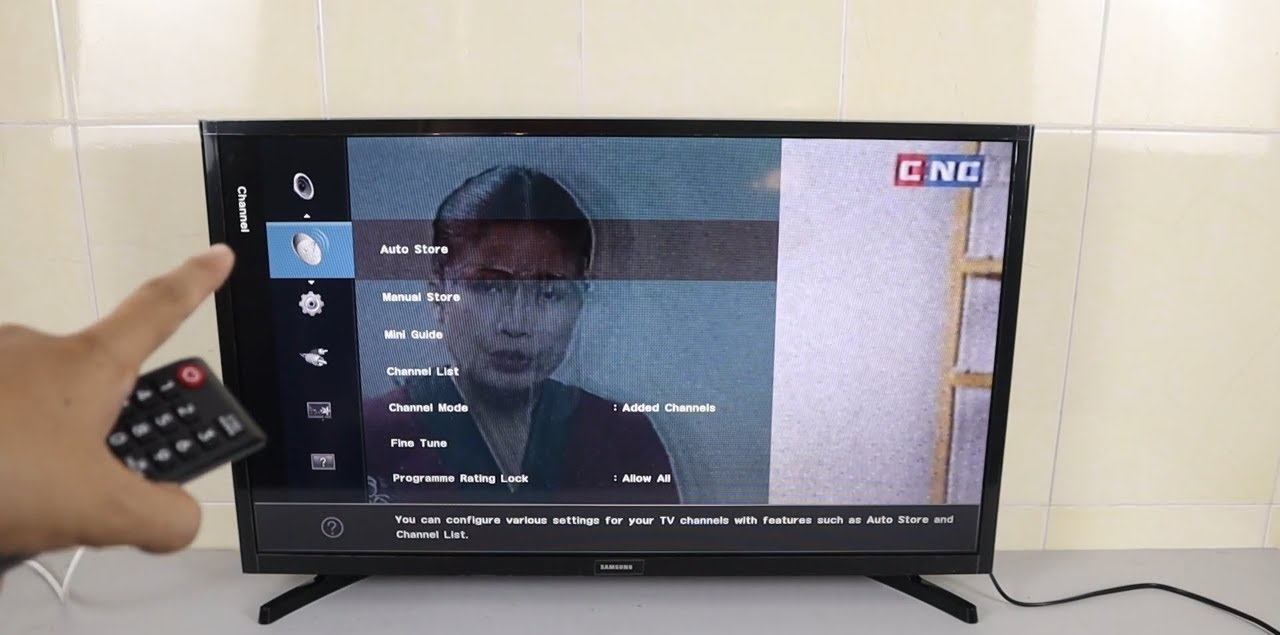
- On your remote control, press the “Menu” button to access the TV’s main menu.
- Navigate to the “Settings” option and select it.
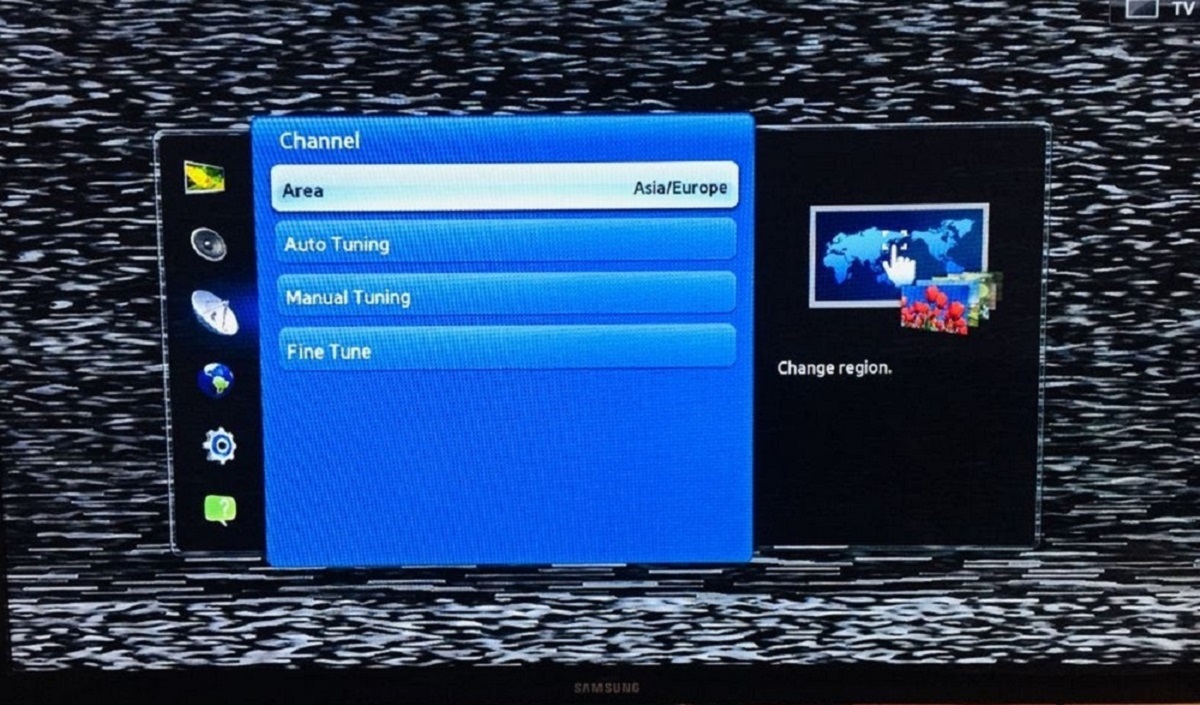
- In the settings menu, look for the “Channels” or “Broadcast” option and choose it.
- Select the “Auto Program” or “Channel Scan” option.
- Choose the antenna as the source for scanning.
- Start the scanning process by selecting the “Scan” or “Start” option.
During the scanning process, your Samsung Smart TV will search for available channels and store them in its memory. The duration of the scan may vary depending on factors such as the strength of the signal and the number of channels available in your location.
Once the scanning process is complete, your TV will display a list of the channels it has detected. You can navigate through the channels using the channel up/down buttons on your remote control.
If some channels are missing or the reception is weak, you can fine-tune the reception in the next step. But before we move on, take a moment to celebrate the successful channel scan and the new world of free OTA TV that’s now available to you!
Note: If you’re scanning for channels for the first time, it’s recommended to periodically re-scan to ensure your TV has the most up-to-date list of available channels.
Now that you’ve scanned for available channels, let’s move on to the next step and learn how to fine-tune the reception for optimal viewing. Keep reading to find out more!
Step 6: Fine-tune the reception
After scanning for available channels, you might find that some channels have a weak signal or experience poor reception. In this step, you’ll learn how to fine-tune the reception on your Samsung Smart TV to improve the picture and audio quality. Follow these steps:
- Access the TV’s main menu by pressing the “Menu” button on your remote control.
- Navigate to the “Settings” option and select it.
- Look for the “Channels” or “Broadcast” option in the settings menu and choose it.
- Select the “Manual Tuning” or “Channel Edit” option.
- Choose the channel that is experiencing reception issues.
- Adjust the “Fine-Tuning” or “Signal Strength” option to improve the signal quality. You can do this by small increments until the channel’s reception improves.
- Repeat the process for any other channels that require fine-tuning.
By fine-tuning the reception, you’re making small adjustments to the signal strength to improve the overall viewing experience. This can help eliminate pixelation, distortion, or audio/video synchronization issues.
If you’re facing persistent reception issues, consider repositioning the antenna to different locations or angles to maximize signal strength. Experiment until you find the optimal placement for the best reception.
Remember, the process of fine-tuning reception may vary depending on the specific model of your Samsung Smart TV. Consult the user manual or visit the Samsung support website for accurate guidelines tailored to your TV model.
Now that you’ve fine-tuned the reception, it’s time to sit back, relax, and enjoy your favorite TV channels with improved picture quality and audio clarity.
Next, we’ll move on to the final step of setting up the antenna on your Samsung Smart TV. So stay tuned!
Step 7: Enjoy your new antenna setup
Congratulations! You’ve successfully set up your antenna on your Samsung Smart TV. Now it’s time to sit back, relax, and enjoy a wide range of free channels and content. Here are a few tips to enhance your viewing experience:
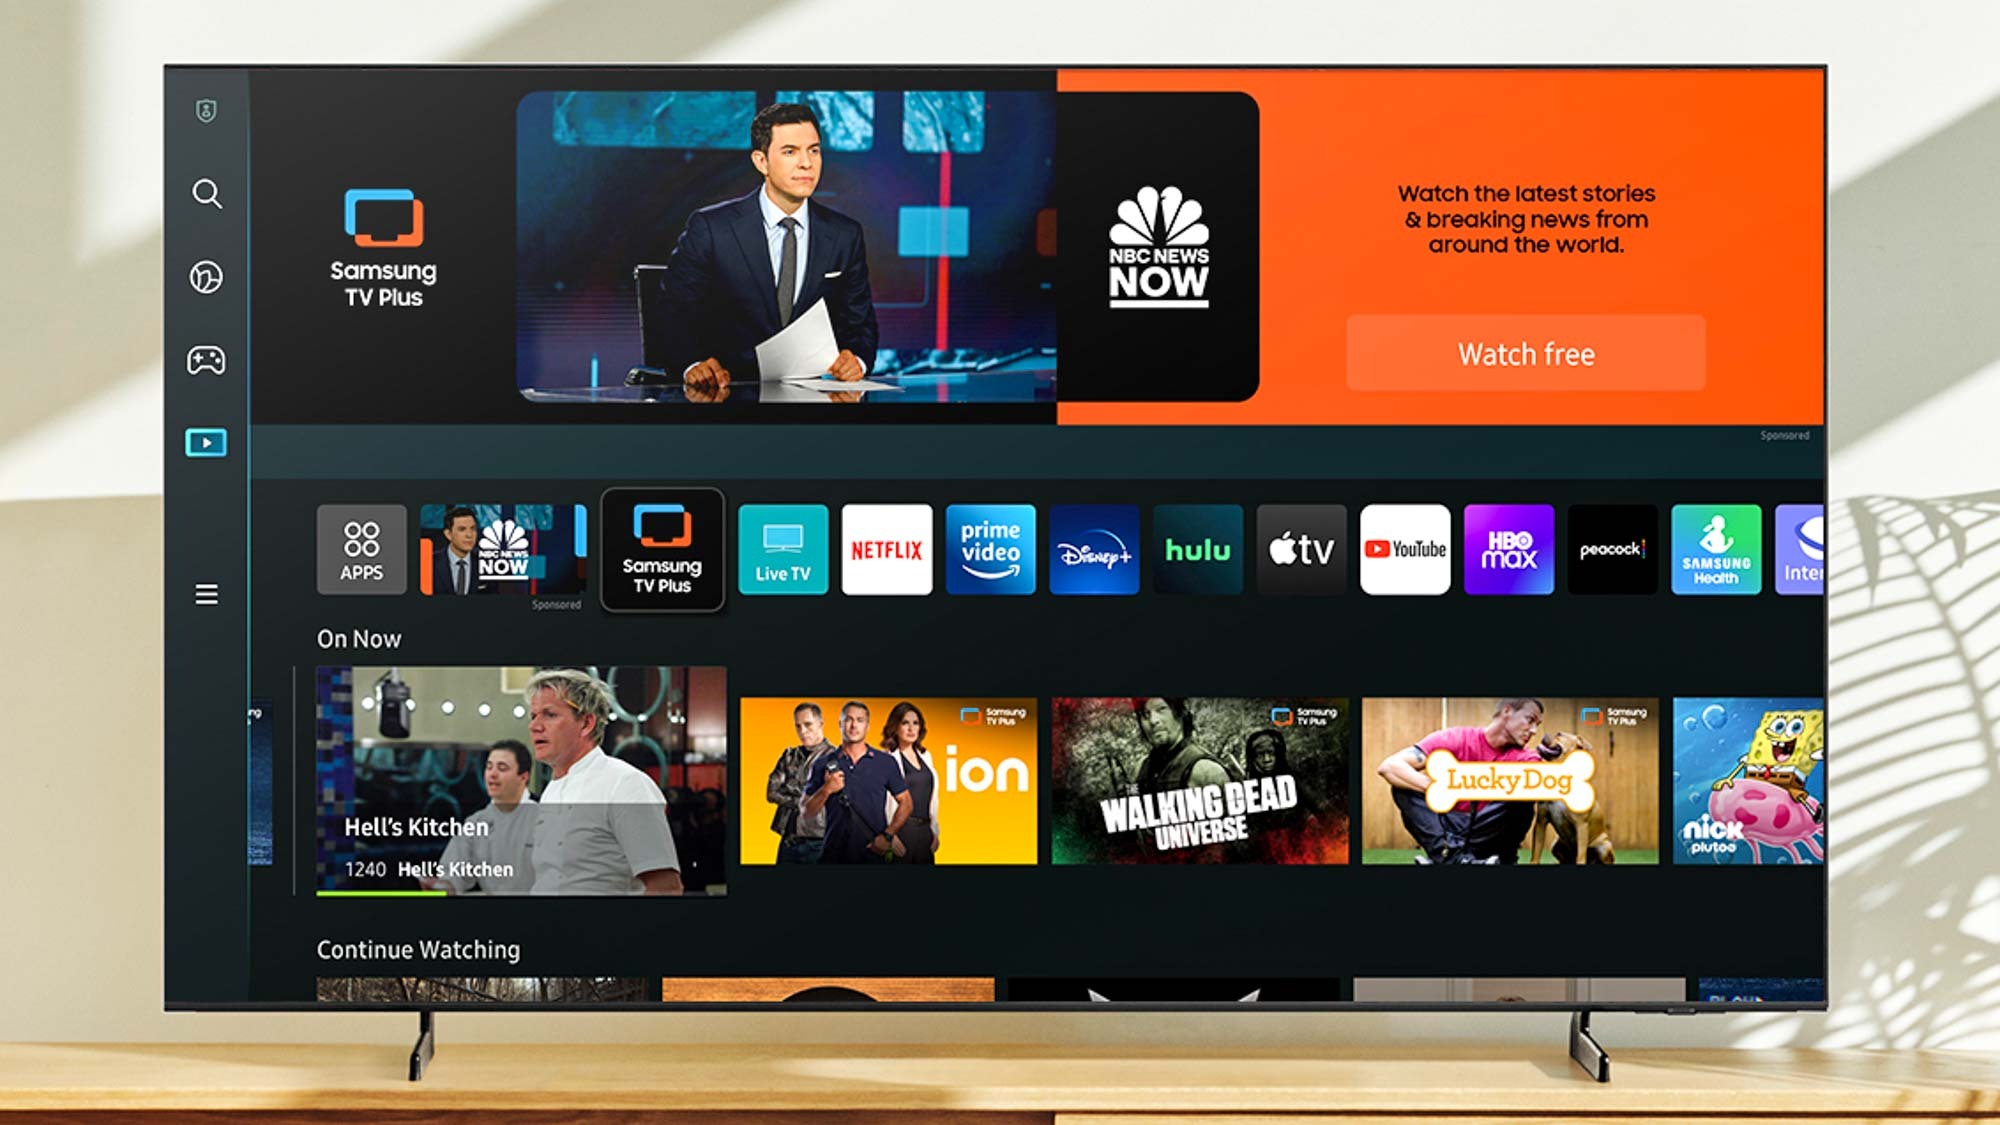
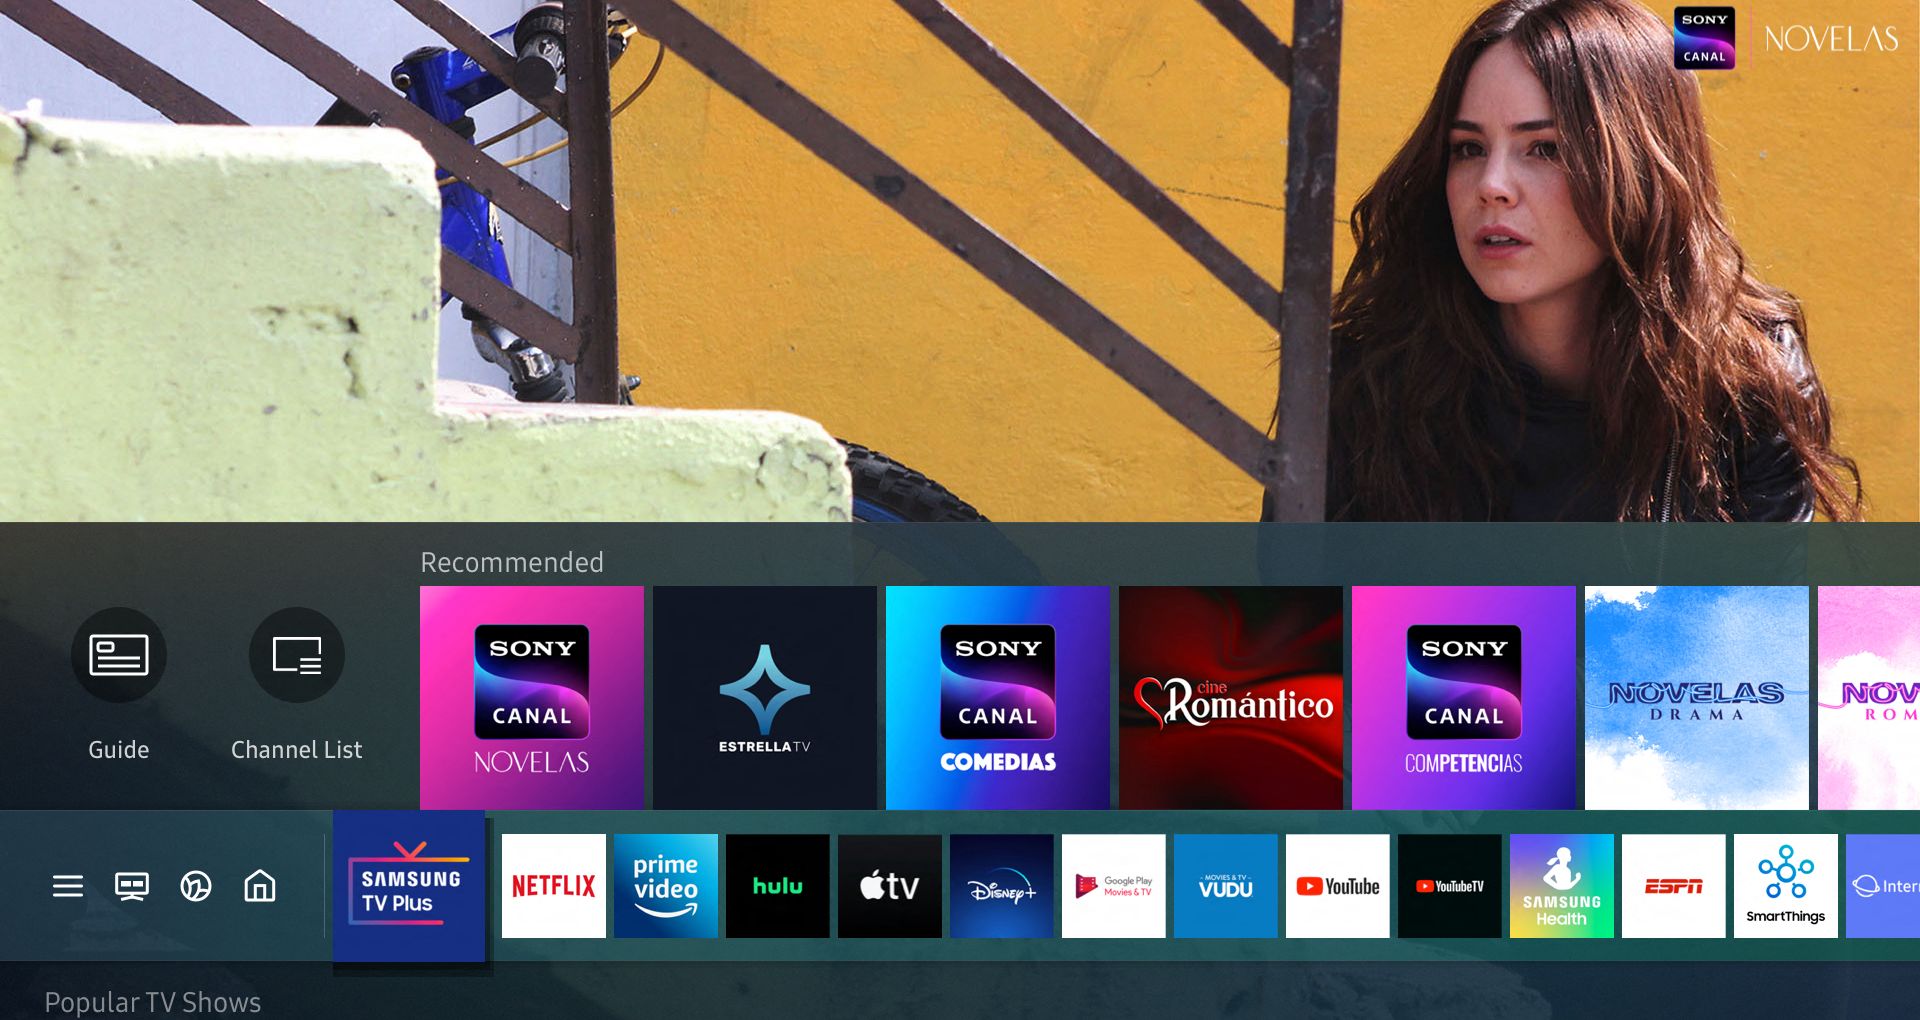
- Explore the channels: Use your TV’s remote control to navigate through the available channels. Discover local news, live sports events, popular TV shows, and more.
- Organize your channels: Many Samsung Smart TVs allow you to rearrange the channel list and create a personalized channel lineup. Take advantage of this feature to make browsing and switching between your favorite channels easier.
- Check for software updates: Periodically check for software updates for your Samsung Smart TV. Updates can bring new features, bug fixes, and improvements to your TV’s performance.
- Experiment with picture and sound settings: Adjust the picture and sound settings on your TV to suit your preferences. Play around with brightness, contrast, color, and audio settings to enhance your viewing and listening experience.
- Explore additional features: Samsung Smart TVs often come with additional features such as smart apps, voice control, and screen mirroring. Take the time to explore these features and make the most out of your TV.
Remember, the availability and quality of OTA channels can vary depending on your location and signal strength. If you want to access more channels or have specific content preferences, you may consider upgrading to a more powerful antenna or exploring additional streaming options.
With your antenna setup, you can enjoy local TV programming, stay updated with the latest news, and indulge in entertainment without having to rely on a cable or satellite subscription.
So grab the popcorn, settle into your favorite spot on the couch, and enjoy the wonderful world of free television through your new antenna setup on your Samsung Smart TV!
Thank you for following this guide, and we hope you find it helpful. If you have any further questions or need assistance, don’t hesitate to consult the user manual or reach out to Samsung’s customer support. Happy viewing!
Conclusion
Setting up an antenna on your Samsung Smart TV is a fantastic way to access a wide range of free local channels, enjoy live sports events, stay updated with the latest news, and indulge in entertainment without the need for a cable or satellite subscription. By following the steps outlined in this guide, you’ve successfully set up your antenna and fine-tuned the reception for optimal viewing.
Remember, the key steps in setting up your antenna on a Samsung Smart TV include gathering the necessary equipment, locating the antenna input, connecting the antenna, adjusting the TV’s input settings, scanning for available channels, fine-tuning the reception, and finally, enjoying the vast selection of content that OTA broadcasting has to offer.
Keep in mind that the specific steps and options may vary depending on your Samsung Smart TV model. It’s always a good idea to consult the user manual or visit the Samsung support website for detailed instructions tailored to your TV.
Now that you’re all set up, it’s time to sit back, relax, and enjoy your new antenna setup. Explore the variety of free channels, personalize your channel lineup, and make the most out of your viewing experience by adjusting picture and sound settings to your liking.
Don’t forget to periodically check for software updates for your Samsung Smart TV, as they can bring new features and improvements. Additionally, keep in mind that the quality and availability of OTA channels may vary depending on your location and signal strength.
Thank you for following this guide, and we hope it has been helpful in assisting you with setting up your antenna on your Samsung Smart TV. If you have any further questions or need additional support, don’t hesitate to consult the user manual or reach out to Samsung’s customer support. Enjoy your newfound access to free television!