Intro
Welcome to the world of smart TVs, where you can stream your favorite shows and movies with ease. But what about those moments when you want to enjoy some local broadcast channels without relying on streaming services? That’s where an antenna comes into play. By hooking up an antenna to your smart TV, you can gain access to free over-the-air television channels, expanding your viewing options even further.
In this guide, we will walk you through the process of connecting your antenna to your smart TV step by step. You don’t need to be a tech expert to follow along – just gather your equipment, prepare your antenna, and in no time, you’ll be enjoying a variety of local channels at no extra cost.
Whether you’re a cord-cutter looking to supplement your streaming services or simply want to enjoy some local news or live sports, hooking up an antenna to your smart TV is a straightforward process that won’t take up much of your time. Let’s dive in!
Step 1: Gather the necessary equipment
Before you can connect an antenna to your smart TV, make sure you have the following equipment ready:
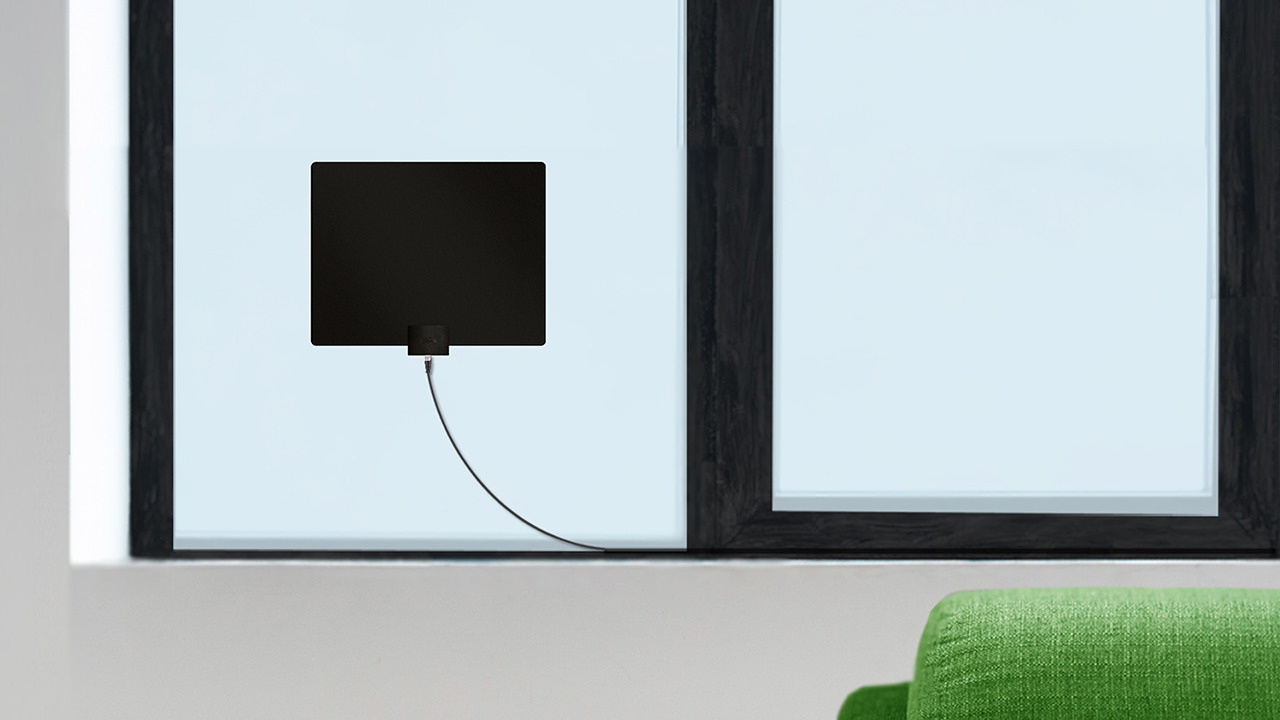
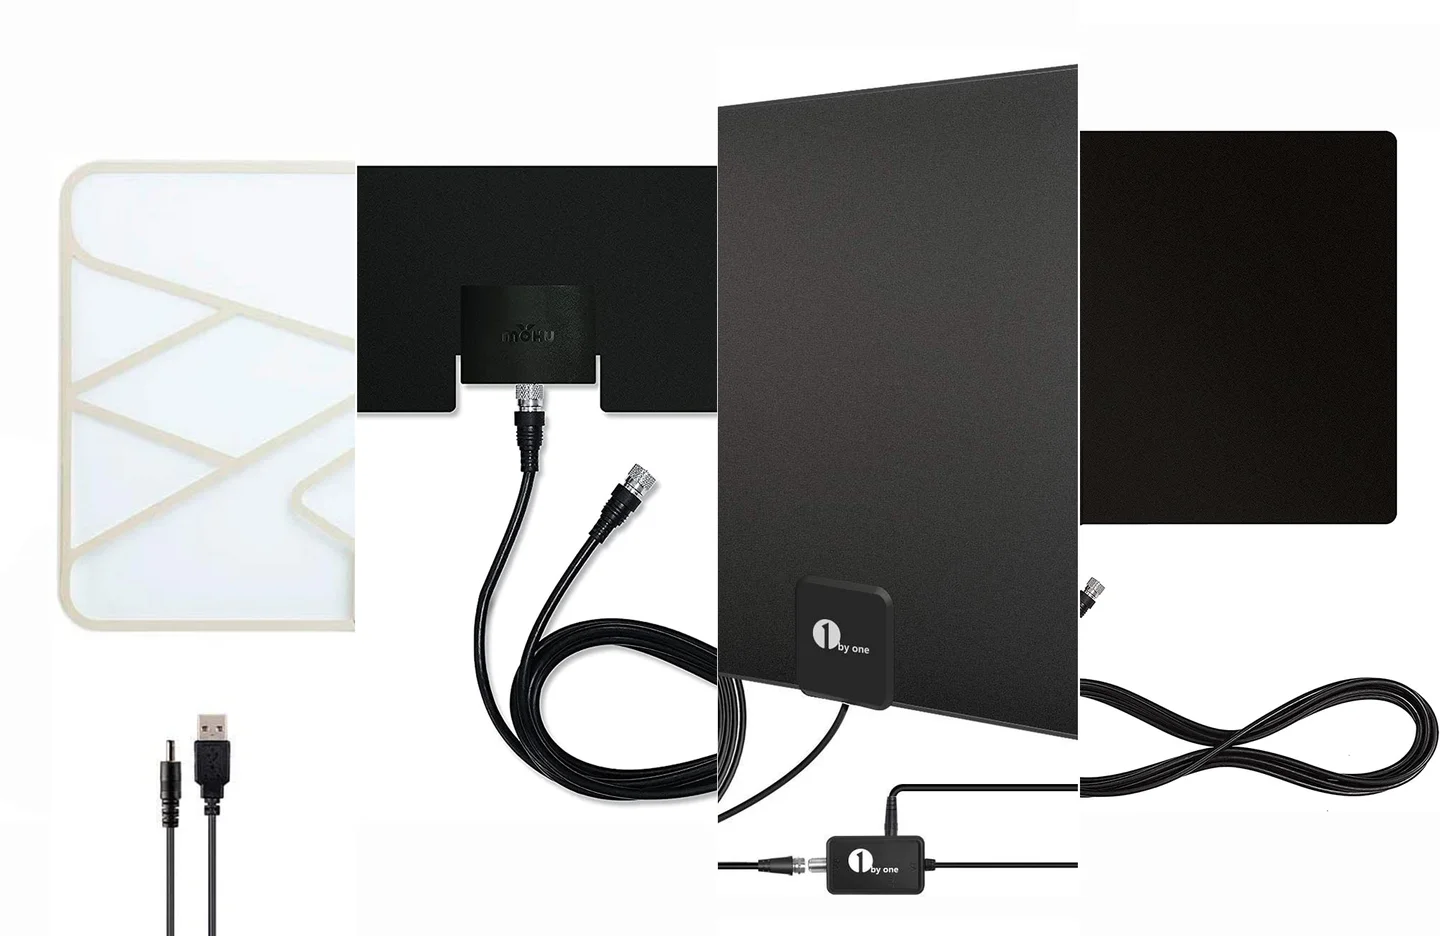
- Antenna: Choose an antenna that suits your needs. There are various types available, such as indoor antennas or outdoor antennas. Consider factors like your location, signal strength, and range when selecting the right antenna for your smart TV.
- Coaxial cable: This cable will be used to connect the antenna to your smart TV. Ensure that it is long enough to reach from your TV to the antenna location.
- Smart TV: Of course, you’ll need a smart TV that has an available antenna input. Most modern smart TVs come with this feature, but double-check the back of your TV to confirm.
- Power source: If you’re using an amplified antenna, make sure you have a nearby power source to connect the antenna’s power adapter.
- Remote Control: Keep your TV’s remote control handy for the channel scanning process that will be done later.
Gathering these essential items ahead of time will ensure a smooth and successful installation of your antenna and help you avoid any unnecessary delays or interruptions during the process.
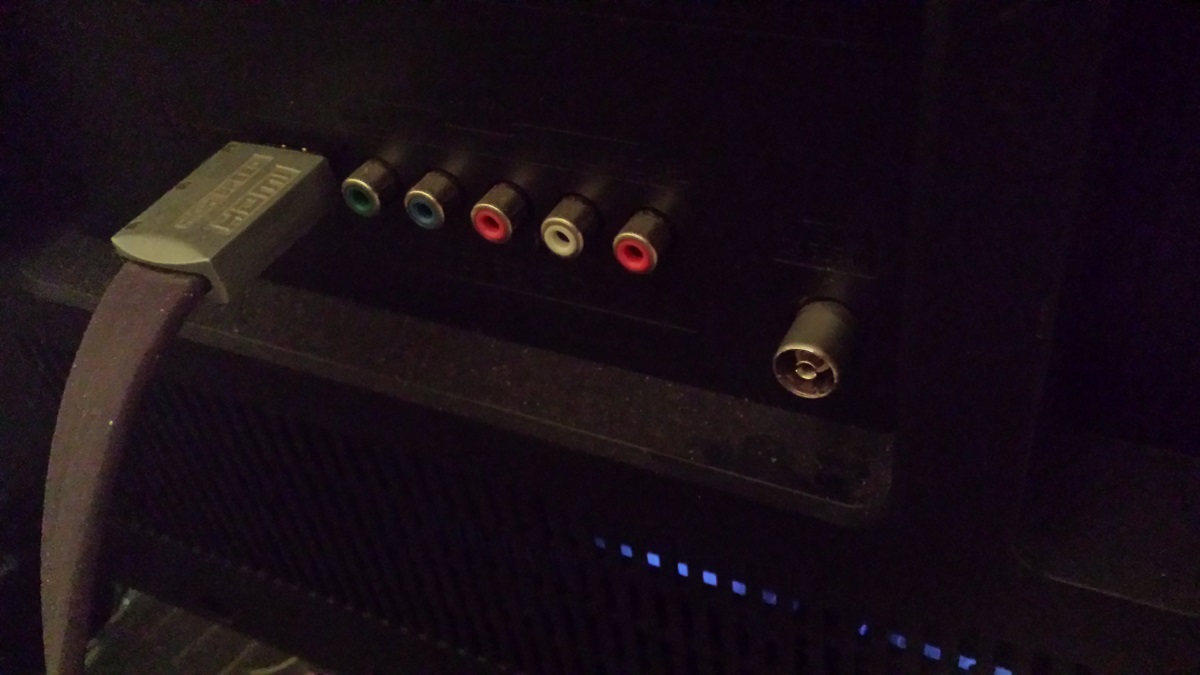
Step 2: Identify the antenna connector on your smart TV
Before you can connect your antenna to your smart TV, you need to locate the antenna connector on the back or side of your TV. It is usually marked with the word “ANT” or “ANTENNA”.
Here are a few common types of antenna connectors you might come across:
- Coaxial connector: This is the most common antenna connector, also known as an “F-type” connector. It resembles a small cylinder with a hole in the center, surrounded by a threaded metal collar.
- Antenna terminal screws: Some older TVs may have antenna terminal screws instead of a coaxial connector. These are two screws, usually gold or silver in color, that are meant to connect wires.
If you’re unsure about the type of connector on your smart TV, refer to the TV’s manual or consult the manufacturer’s website for more information.
Once you have identified the antenna connector, you are one step closer to enjoying free over-the-air channels on your smart TV. The next step is preparing the antenna for connection.
Step 3: Prepare the antenna
Now that you’ve identified the antenna connector on your smart TV, it’s time to prepare your antenna for the connection. Here’s what you need to do:
- Unbox the antenna: Carefully remove the antenna from its packaging, ensuring you don’t damage any parts.
- Choose the right location: Depending on the type of antenna you have, you may need to decide on the most suitable location for optimal signal reception. Indoor antennas can be placed near a window or higher up on a wall, while outdoor antennas require mounting on a roof or pole outside. Consider factors like the proximity to broadcast towers and any potential obstructions.
- Assemble if necessary: Some antennas may require assembly. Follow the instructions provided with your antenna to put it together correctly.
- Extend or position the antenna: If you have an indoor antenna with adjustable elements, extend or adjust them to maximize signal reception. For outdoor antennas, position it according to your chosen location and secure it in place.
- Connect the coaxial cable: Attach one end of the coaxial cable to the antenna’s coaxial output, ensuring it is securely connected. Leave the other end loose for now, as you will connect it to your smart TV in the following step.
By properly preparing your antenna, you can ensure a strong and clear signal reception, which translates into better-quality television channels on your smart TV. Once you’ve prepared the antenna, it’s time to move on to the next step of connecting it to your smart TV.
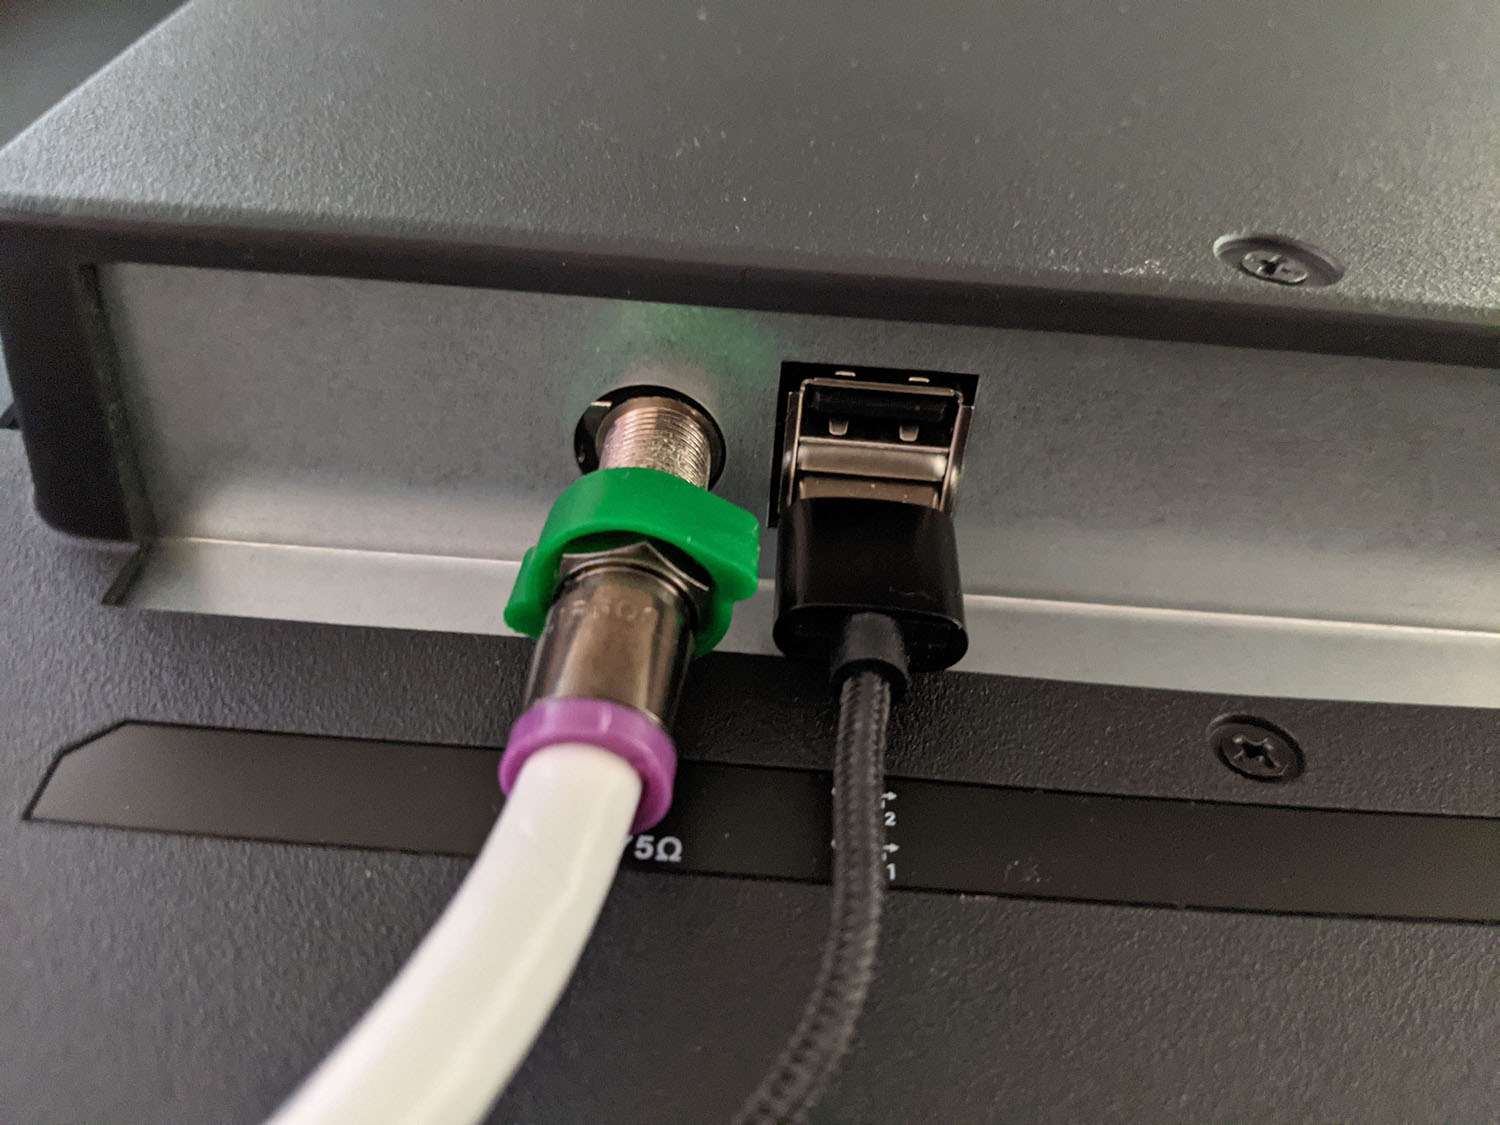
Step 4: Connect the antenna to your smart TV
With your antenna prepared, it’s time to connect it to your smart TV. Follow these steps:
- Locate the antenna connector: Find the antenna connector on the back or side of your smart TV. It is usually marked with the word “ANT” or “ANTENNA”.
- Insert the coaxial cable: Take the loose end of the coaxial cable that is connected to your antenna and insert it into the antenna connector on your smart TV. For coaxial connectors, simply push the plug into the socket until it is securely in place. If you have antenna terminal screws, unscrew them slightly, insert the ends of the wires, and tighten the screws.
- Hand-tighten or secure the connection: Once the cable is inserted, hand-tighten the threaded collar on the coaxial connector to ensure a snug fit. If you’re using antenna terminal screws, make sure the wires are securely fastened and tightened.
By connecting your antenna to your smart TV, you’re establishing the link that will allow the TV to receive the broadcast signals and translate them into the free over-the-air channels you want to access.
With the antenna connected, you’re almost ready to start enjoying your favorite local channels on your smart TV. The next step is to run a channel scan to search for the available channels.
Step 5: Run a channel scan
Now that you’ve connected your antenna to your smart TV, it’s time to run a channel scan to detect and store all the available channels. Follow these steps:
- Access the settings menu: Use your smart TV remote control to navigate to the settings menu. The location and layout of the menu may vary depending on your TV brand and model.
- Find the channel scan option: Look for an option related to “channels”, “tuner”, or “antenna” within the settings menu. It might be listed as “auto-tuning” or “auto-scan” as well.
- Select the appropriate scan type: Choose the option that performs a scan for over-the-air channels or antenna channels. Make sure to avoid any cable or satellite options, as those are not relevant for this purpose.
- Start the scan: Initiate the channel scan process and wait for your smart TV to automatically search for available channels. This may take a few minutes, so be patient.
- Save the channels: Once the channel scan is complete, your smart TV will display a list of detected channels. Follow the on-screen instructions to save these channels to your TV’s memory.
Running a channel scan is a crucial step as it allows your smart TV to recognize and store the available over-the-air channels picked up by your antenna. Without a proper channel scan, you won’t be able to access and enjoy these channels on your TV.
Once you’ve completed the channel scan, you’re one step closer to experiencing the wide range of free television channels available to you. However, to optimize your reception, you may need to fine-tune the placement of your antenna. Let’s move on to the next step.
Step 6: Fine-tune the antenna placement
Now that you’ve completed the channel scan, it’s time to fine-tune the placement of your antenna to optimize signal reception. Follow these tips to get the best possible reception:
- Experiment with different locations: If you’re using an indoor antenna, try placing it near a window or higher up on a wall to minimize obstructions. For outdoor antennas, adjust the position and direction to maximize signal strength.
- Consider the direction of broadcast towers: Research the locations of broadcast towers in your area. Point your antenna towards these towers to enhance signal reception. You can use online tools or smartphone apps to help you determine the precise direction.
- Minimize interference: Keep your antenna away from electronic devices, appliances, and metal objects that may interfere with the signal. These can include routers, microwaves, and metallic furniture.
- Adjust antenna elements: If you have an indoor antenna with adjustable elements, experiment with their positioning. Extend or retract the elements to different lengths to find the best reception.
- Scan for channels again: After making adjustments to your antenna placement, run a channel scan again to see if you’ve improved the signal reception. This will help you verify if the changes you’ve made have positively impacted the channel availability.
By fine-tuning the placement of your antenna, you can significantly enhance the reception quality and ensure a better viewing experience of the available free over-the-air channels on your smart TV.
Once you’re satisfied with the antenna placement, it’s time to sit back, relax, and enjoy the multitude of channels available to you on your smart TV.
Step 7: Enjoy free television channels on your smart TV
Congratulations! You’ve successfully connected and set up your antenna on your smart TV. Now, it’s time to sit back, relax, and enjoy the plethora of free television channels that are available to you. Here’s how you can make the most of this newfound access:
- Explore the channel lineup: Take some time to explore the channels you have access to. You may discover local news, sports, educational programs, and other entertaining content that you may not have been aware of before.
- Organize your favorite channels: If your smart TV allows it, use the channel management features to create a custom list of your favorite channels. This way, you can easily navigate and access them whenever you want.
- Look for additional features: Depending on your smart TV model, you might have access to additional features like smart guides, program recommendations, or DVR capabilities. Explore these features to enhance your viewing experience further.
- Keep your antenna setup optimized: Occasionally, check your antenna setup to ensure it remains in the optimal position. Changes in weather or nearby obstructions might affect signal reception, so it’s a good idea to make adjustments if necessary.
- Consider amplification: If you find that your signal strength is weak or you’re having trouble receiving certain channels, you may want to consider using an amplifier with your antenna. An amplifier can boost the signal strength and improve reception.
By following these steps and making the most of the free television channels available to you, you can enhance your entertainment options and enjoy a wide range of content without relying solely on streaming services.
So grab your remote control, tune in to your favorite channel, and start enjoying the world of free television on your smart TV!
Conclusion
Connecting an antenna to your smart TV opens up a whole new world of free television channels, providing you with a diverse range of entertainment options. By following the step-by-step guide outlined in this article, you can easily set up your antenna and start enjoying local broadcast channels without relying solely on streaming services.
From gathering the necessary equipment to fine-tuning the antenna placement, each step is essential to ensure optimal signal reception and a seamless viewing experience. With a little patience and experimentation, you’ll find the perfect antenna setup that suits your location, allowing you to access a wide range of free over-the-air channels.
Remember, it’s important to run a channel scan after connecting your antenna to your smart TV to ensure that all available channels are detected and stored. Additionally, periodically checking and adjusting the antenna placement will help maintain optimal signal reception for the best possible viewing experience.
So go ahead, explore the channels, create a personalized lineup of your favorites, and make the most of the free television channels available to you. With the convenience and versatility of a smart TV combined with the versatility of over-the-air channels, you’ll never be short on entertainment options. Happy viewing!