Introduction
Connecting a Samsung Soundbar to a Samsung Smart TV is a great way to enhance your home entertainment experience. By hooking up the soundbar, you can enjoy immersive sound quality and make your favorite movies, TV shows, and music sound even better. Whether you want to create a theater-like atmosphere or simply enhance the audio output of your TV, this guide will walk you through the steps to successfully connect your Samsung Soundbar to your Samsung Smart TV.
Before we delve into the detailed steps, let’s take a moment to discuss the benefits of connecting a Samsung Soundbar to your Samsung Smart TV. Firstly, it allows you to enjoy a richer and more immersive audio experience. The soundbar is designed to deliver enhanced sound quality, with clear dialogue, impactful bass, and immersive surround sound features. This means you can hear every whisper, musical note, and explosive sound effect with exceptional clarity.
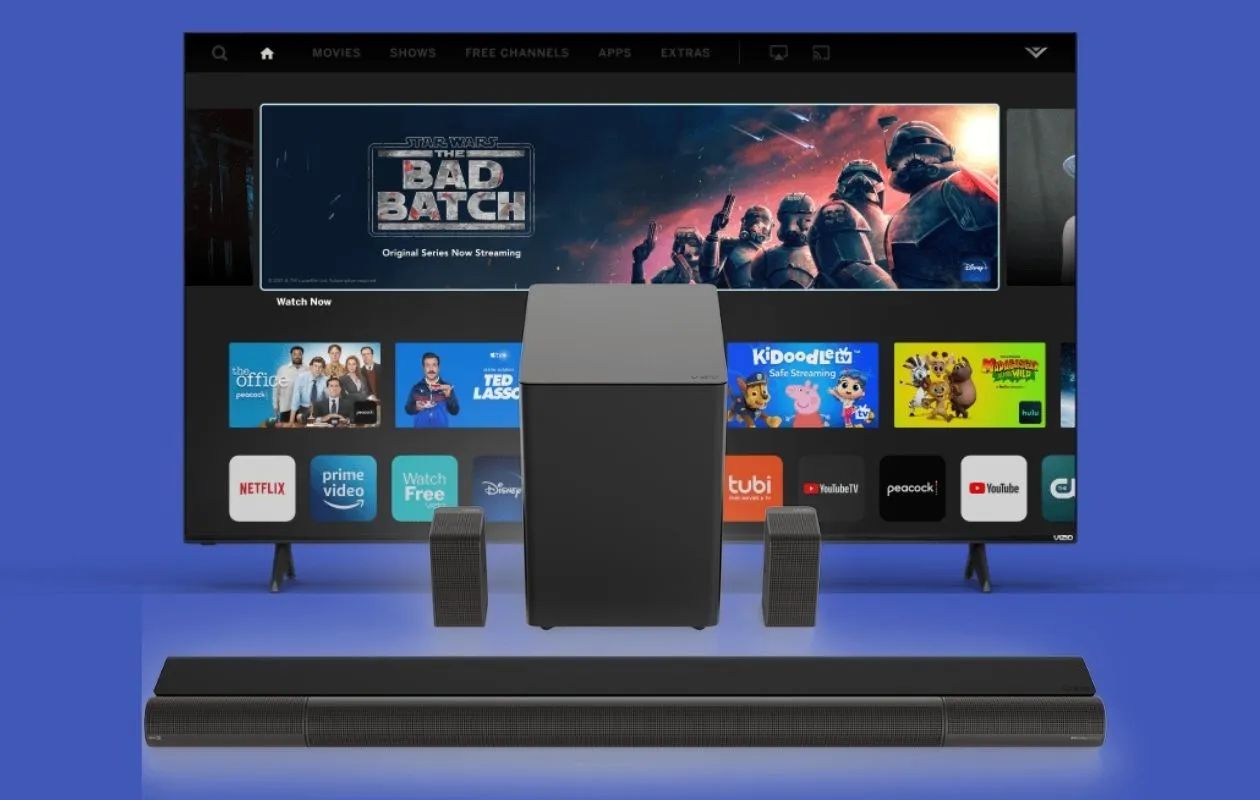
Secondly, connecting a soundbar to your TV eliminates the need for separate speakers and messy wiring. The soundbar serves as an all-in-one audio system, combining speakers, amplifiers, and signal processors in a sleek and compact design. This not only saves space in your living room but also reduces the clutter of cables, resulting in a cleaner and more aesthetically pleasing setup.
Lastly, connecting a soundbar to your Samsung Smart TV opens up a world of audio streaming possibilities. With built-in Bluetooth connectivity, you can wirelessly stream music, podcasts, and other audio content from your smartphone, tablet, or other compatible devices directly to the soundbar. This provides you with a convenient and seamless way to enjoy your favorite audio content without the need for additional devices or cables.
Now that we understand the advantages of connecting a Samsung Soundbar to a Samsung Smart TV, let’s move on to the step-by-step instructions to help you set up the soundbar and enjoy a superior audio experience.
Step 1: Check the Compatibility
Before you begin the setup process, it’s crucial to ensure that the Samsung Soundbar you have is compatible with your Samsung Smart TV. Compatibility is essential to ensure smooth communication between the two devices, allowing them to work together seamlessly.
Firstly, check the model numbers of both your Samsung Soundbar and your Samsung Smart TV. Refer to the user manuals of both devices or visit the manufacturer’s website to find the exact model numbers. Ensure that the soundbar and the TV are compatible in terms of audio output and input options. Look for HDMI ARC (Audio Return Channel) compatibility, as this is the most convenient and efficient way to connect the soundbar to your TV.
Next, confirm the audio formats supported by both the soundbar and the TV. The soundbar should be capable of decoding popular audio formats such as Dolby Digital and DTS, while the TV should be able to transmit these formats through its audio outputs. This ensures that you can enjoy high-quality audio without any compatibility issues.
If you’re unsure about the compatibility, reach out to the manufacturer’s customer support or check online forums and communities to see if any other users have successfully connected the same soundbar model to a Samsung Smart TV.
It’s also worth checking if there are any firmware updates available for both the soundbar and the TV. Firmware updates often contain bug fixes and improvements, including enhanced compatibility with new devices. Check the manufacturer’s website or use the firmware update feature on your devices to ensure you have the latest software installed.
By verifying compatibility and ensuring that both your Samsung Soundbar and Samsung Smart TV are capable of working together, you can proceed with confidence to the next steps of the setup process.
Step 2: Unboxing and Inspecting the Soundbar
Once you have confirmed the compatibility between your Samsung Soundbar and Samsung Smart TV, it’s time to unbox and inspect the soundbar. This step ensures that all the necessary components are included and in good condition.
Start by carefully opening the packaging of the soundbar. Remove any protective covering and packaging material. Take a moment to familiarize yourself with the design and layout of the soundbar. Pay attention to the various ports, buttons, and indicators present on the soundbar.
Next, carefully inspect each component included in the package. This typically includes the main soundbar unit, a power cable, a remote control, batteries for the remote, a wall-mount bracket (if applicable), and any additional cables or accessories that may have been included.
Check the condition of each component, ensuring that there are no visible signs of damage or defects. If you notice any issues or missing items, contact the manufacturer or retailer immediately to address the problem. It’s important to conduct this inspection before proceeding to the setup process to ensure a smooth and hassle-free experience.
Read the user manual provided with the soundbar. This will provide valuable information regarding the setup process, as well as additional features and functionalities of the soundbar. Familiarize yourself with the instructions, as they will guide you through the subsequent steps of connecting the soundbar to your Samsung Smart TV.
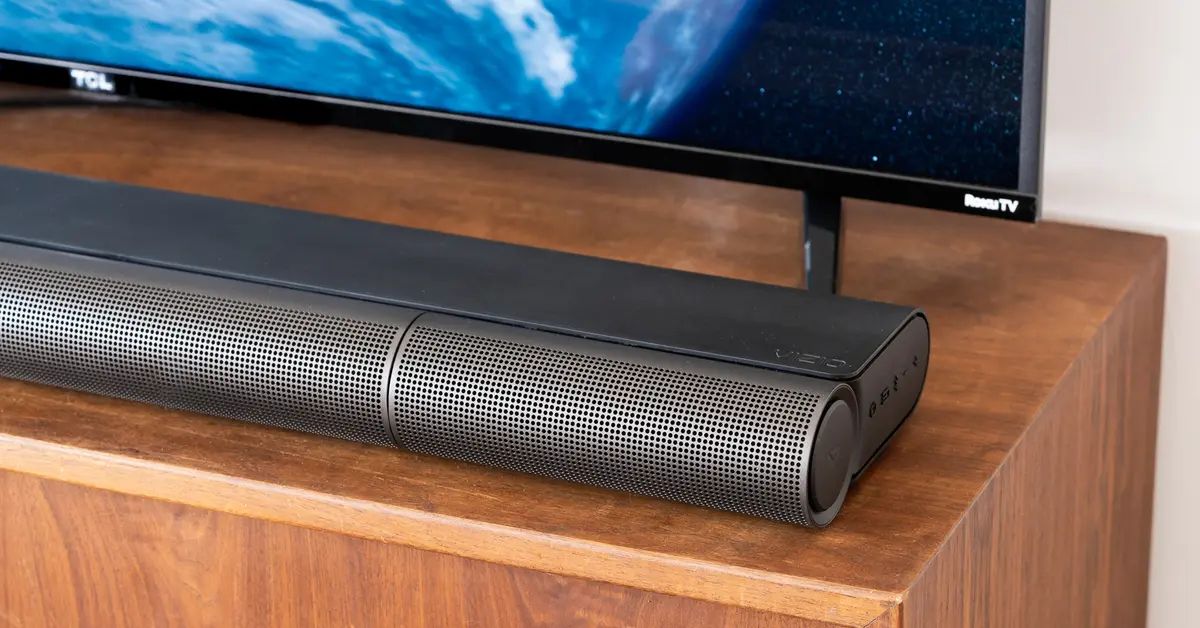
Finally, find an ideal location for your soundbar. Consider factors such as the layout of your room, the placement of your TV, and the optimal listening position. You can choose to place the soundbar in front of the TV, on a shelf below the TV, or mount it on a wall using the provided bracket. Ensure that the soundbar is positioned at an appropriate height and angle to deliver the best sound quality.
By unboxing and inspecting the soundbar, you can confirm that all necessary components are present and in good condition. This ensures a smooth setup process and sets the foundation for a great audio experience with your Samsung Smart TV.
Step 3: Connecting the Soundbar to the Power Outlet
Now that you have unboxed and inspected the Samsung Soundbar, it’s time to connect it to a power source. This step is essential to ensure that the soundbar has the necessary power to function properly.
Locate the power cable included in the package. It is usually a standard power cord with a plug on one end and a connector that goes into the soundbar on the other end. Plug the power cord into a suitable power outlet near the soundbar.
Make sure that the power outlet is easily accessible and not blocked by any furniture or wall-mounted TVs. Ensure that the power outlet is in working condition by plugging in a different device, such as a lamp or phone charger, to test it.
Once the power cable is connected to the soundbar, check the power indicator on the soundbar to verify that it is receiving power. This indicator is typically a small LED light on the front or top of the soundbar. It may light up or change color to indicate that the soundbar is powered on.
Ensure that the soundbar is turned on by locating the power button on the soundbar or the remote control. Press the power button to switch on the soundbar. If the soundbar has a display panel, it should light up, showing a welcome message or the current input source.
It is important to note that some soundbars may have a standby mode. In this case, the soundbar may not turn on immediately after connecting it to the power source. Refer to the user manual to understand whether your soundbar has this feature and how to activate it.
By connecting the soundbar to a power outlet, you have ensured that it is receiving the necessary power to function. The next step will be to connect the soundbar to your Samsung Smart TV using an HDMI ARC connection, which will be covered in the next step.
Step 4: Connecting the Soundbar to the TV using HDMI ARC
Connecting your Samsung Soundbar to your Samsung Smart TV using HDMI ARC (Audio Return Channel) is the most efficient and convenient method. HDMI ARC allows for both audio and video to be transmitted through a single HDMI cable, simplifying the setup process.
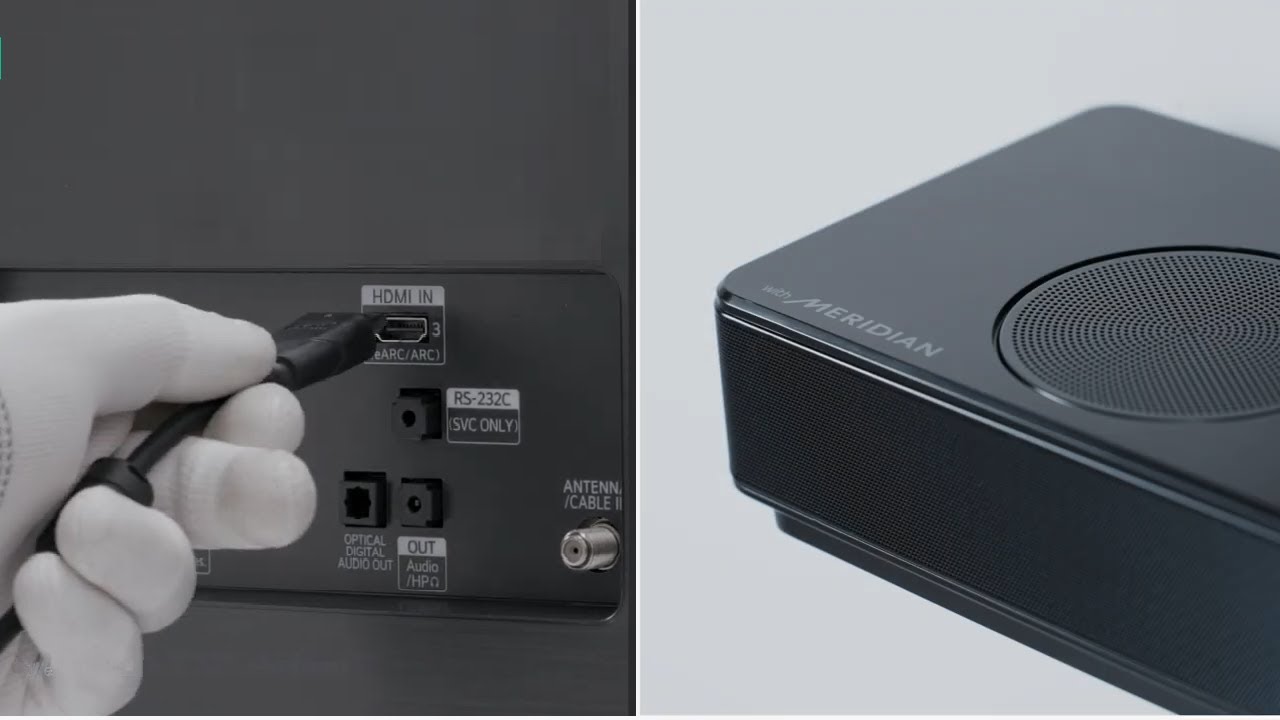
Start by locating the HDMI ARC port on both your soundbar and your TV. These ports are usually labeled “HDMI ARC” or “ARC” and are typically found on the back of the devices. Ensure that both devices have HDMI ARC capabilities and that the ports are not occupied by other devices.
Take an HDMI cable and plug one end into the HDMI ARC port on the soundbar. Make sure the HDMI cable is firmly connected to the port to ensure a stable and secure connection.
Next, connect the other end of the HDMI cable into the HDMI ARC port on your Samsung Smart TV. Again, ensure that the cable is securely inserted into the port.
Once the HDMI cable is properly connected, turn on your Samsung Smart TV and navigate to the settings menu. Look for the audio settings or sound settings options.
In the audio settings, locate the option for audio output or audio format. From the available options, select HDMI ARC as the audio output. This will ensure that the sound from your TV is routed through the HDMI ARC connection to your soundbar.
Some Samsung Smart TVs may require you to enable the HDMI-CEC (Consumer Electronics Control) feature to allow for seamless communication between the TV and the soundbar. HDMI-CEC enables volume control and other audio functions to be synchronized between devices. Refer to the user manual of your TV to enable HDMI-CEC, if necessary.
Once the HDMI ARC connection and the appropriate settings have been configured, test the audio by playing content on your TV. You should now hear the sound coming from the Samsung Soundbar, indicating that the connection has been successfully established.
In some cases, the soundbar may not automatically switch to the ARC input. If this happens, use the remote control or the physical buttons on the soundbar to manually select the ARC input. Refer to the user manual for instructions on how to switch to the HDMI ARC input on your specific soundbar model.
By connecting the soundbar to your Samsung Smart TV using HDMI ARC, you have established a seamless audio and video connection. In the next step, we will explore how to set the TV to output audio via HDMI ARC.
Step 5: Setting the TV to Output Audio via HDMI ARC
Once you have successfully connected your Samsung Soundbar to your Samsung Smart TV using the HDMI ARC connection, the next step is to configure the TV’s audio settings to output audio through the soundbar.
Start by turning on your Samsung Smart TV and accessing the settings menu. The exact process may vary depending on the model and software version of your TV, but it is typically accessible through the remote control or the TV’s on-screen menu.
In the settings menu, navigate to the audio or sound settings. Look for an option related to audio output or audio devices. This is where you can select the audio output source for your TV.
Select the HDMI ARC option as the audio output source. This will ensure that the audio from your TV is routed through the HDMI ARC connection to the soundbar. The TV will now send audio signals to the soundbar for playback.
Some Samsung Smart TVs may have additional audio settings that can be adjusted to optimize the audio output. These settings may include equalizer presets, surround sound options, and audio enhancements. You can experiment with these settings to find the audio configuration that suits your preferences.
Once you have made the necessary audio output settings, test the audio by playing content on your TV. You should hear the sound coming from your Samsung Soundbar, indicating that the audio is being successfully transmitted through the HDMI ARC connection.
If you encounter any issues with the audio output or if the sound is not coming from the soundbar, double-check the HDMI ARC connection and the audio settings on both the TV and the soundbar. Ensure that all settings are properly configured and that the HDMI cable is securely connected.
It’s also worth noting that some Samsung Smart TVs may require a separate step to enable the HDMI-CEC (Consumer Electronics Control) feature. HDMI-CEC allows for synchronized control of devices connected via HDMI, including volume control. Refer to your TV’s user manual or settings menu to enable HDMI-CEC, if necessary.
By setting the TV to output audio via HDMI ARC, you have ensured that the audio from your Samsung Smart TV is being transmitted to your soundbar for enhanced sound quality. In the next step, we will explore how to pair the soundbar with the TV through Bluetooth.
Step 6: Pairing the Soundbar with the TV through Bluetooth
In addition to the HDMI ARC connection, many Samsung Soundbars also offer the option to connect to your Samsung Smart TV via Bluetooth. Pairing the soundbar with the TV through Bluetooth enables wireless audio streaming from the TV to the soundbar, allowing you to enjoy a hassle-free listening experience.
Start by ensuring that both your Samsung Soundbar and Samsung Smart TV have Bluetooth capabilities. Check the user manuals of both devices or visit the manufacturer’s website for confirmation.
On your Samsung Smart TV, access the settings menu and navigate to the Bluetooth settings. Activate the Bluetooth function on the TV and allow it to scan for nearby Bluetooth devices.
On your Samsung Soundbar, activate the Bluetooth function. This can usually be done by pressing the Bluetooth button on the soundbar or using the remote control to access the Bluetooth settings. Put the soundbar in pairing mode, which allows it to be discovered by other Bluetooth devices.
Once the TV detects the soundbar, select it from the list of available devices. The TV may prompt you to enter a passkey or confirm a pairing code. Follow the on-screen instructions to complete the pairing process.
After successful pairing, the soundbar should appear as a connected Bluetooth device in the TV’s settings menu. The TV will now be able to stream audio wirelessly to the soundbar.
To test the audio streaming, play content on your Samsung Smart TV and ensure that the sound is coming from the paired soundbar. You may need to adjust the TV’s audio settings to ensure that the audio is routed to the paired Bluetooth device.
Keep in mind that the range of Bluetooth connectivity may vary depending on the devices and the environment. Ensure that the TV and the soundbar are within a reasonable distance for optimal Bluetooth connectivity.
If you encounter any issues with the Bluetooth connection or if the sound is not streaming to the soundbar, check that both devices are properly powered on, that Bluetooth is enabled on both devices, and that they are within range of each other. You may also need to restart the devices or consult the user manuals for troubleshooting specific to your models.
By pairing the soundbar with your Samsung Smart TV through Bluetooth, you can enjoy the convenience of wireless audio streaming. In the next step, we will explore how to adjust the soundbar settings to optimize your audio experience.
Step 7: Adjusting the Soundbar Settings
After connecting your Samsung Soundbar to your Samsung Smart TV, it’s important to adjust the soundbar settings to optimize your audio experience. By making small adjustments, you can tailor the sound output to your preferences and enhance your overall viewing and listening enjoyment.
Start by accessing the soundbar settings. This can often be done using the remote control that came with the soundbar or by using the buttons on the soundbar itself. Consult the user manual if you are unsure of the specific steps for your soundbar model.
One of the key settings to adjust is the equalizer or sound modes. Most soundbars offer different sound profiles or equalizer presets, such as Movie, Music, Sports, or Game modes. These presets are designed to enhance specific types of content and provide a tailored audio experience. Experiment with different modes to find the one that best complements the type of content you are watching.
Additionally, some soundbars offer adjustable bass and treble levels. This allows you to fine-tune the soundbar’s output to match your personal preferences. Increase the bass for a more impactful, immersive experience, or decrease it for a more balanced sound. Adjust the treble to enhance clarity and detail in the higher frequency range.
Another setting to consider is the volume leveling or dynamic range control. These settings help to balance the audio levels and prevent sudden jumps in volume between different sources or within a particular program. Adjusting these settings can provide a more consistent and comfortable listening experience.
If your soundbar is equipped with surround sound capabilities, such as virtual surround or simulated surround, ensure that these features are activated if you desire a more immersive audio experience. Some soundbars may also have additional audio enhancements, such as dialogue enhancement or night mode, which can be adjusted to suit your preferences and viewing conditions.
Take the time to experiment with different settings and options to find the audio configuration that suits your needs. It’s a personal preference, so don’t be afraid to fine-tune the settings until you’re satisfied with the sound quality.
Remember to also consider the size and layout of your room when adjusting the soundbar settings. Large rooms may require higher volume levels or adjustments to the sound field settings to ensure optimal sound distribution. If you have any specific audio preferences or requirements, refer to the user manual or the manufacturer’s website for further guidance.
By adjusting the soundbar settings, you can tailor the audio output to your liking and enhance your overall viewing and listening experience with your Samsung Smart TV. In the next step, we will address some common troubleshooting steps for potential issues you may encounter during the setup process.
Step 8: Troubleshooting Common Issues
While setting up your Samsung Soundbar with your Samsung Smart TV, you may encounter some common issues. In this step, we will address these issues and provide troubleshooting tips to help you overcome them.
No sound from the soundbar: Ensure that the soundbar is properly connected to the TV via HDMI ARC or Bluetooth. Check if the volume level on both the soundbar and the TV is set to an audible level. Confirm that the soundbar is turned on and not in mute mode. If the issue persists, try restarting both the soundbar and the TV, and double-check the audio settings on the TV to ensure the correct audio output source is selected.
Poor sound quality or distorted audio: Adjust the equalizer settings on the soundbar to optimize the audio output. Experiment with different sound modes to find the one that suits your preferences. Check the audio settings of the TV to ensure that any audio enhancements, such as virtual surround or audio leveling, are properly configured. If using HDMI ARC, ensure that the HDMI cable is securely connected and of good quality.
Bluetooth pairing issues: Make sure that both the soundbar and the TV have Bluetooth capabilities and that they are within range. Ensure that Bluetooth is activated on both devices and that they are in pairing mode. Check that the soundbar is not already connected to another device, as it can only pair with one device at a time. If the pairing fails, restart both devices, clear any previous connections, and try again.
Audio delay or synchronization issues: Occasionally, there may be a delay between the audio and the video when using the soundbar. Check the audio settings on the TV for any audio delay or lip-sync adjustment options and make the necessary adjustments. If available, enable the HDMI-CEC feature on both the soundbar and the TV, as this can help synchronize the audio and video playback.
Remote control issues: If you are experiencing difficulties with the soundbar remote control, ensure that the batteries are properly inserted and have sufficient charge. If the remote control still doesn’t work, try repositioning the soundbar to eliminate any line-of-sight obstructions. If the issue persists, consider contacting the manufacturer’s customer support for further assistance or troubleshooting steps.
If you continue to experience issues or encounter other problems during the setup process, refer to the user manuals of both the soundbar and the TV. These manuals often contain specific troubleshooting steps and solutions for common issues. You can also reach out to the manufacturer’s customer support for further assistance and guidance.
By troubleshooting common issues, you can overcome any hurdles that may arise during the setup process and ensure a smooth and enjoyable audio experience with your Samsung Soundbar and Samsung Smart TV.
Conclusion
Connecting your Samsung Soundbar to your Samsung Smart TV can significantly enhance your home entertainment experience. By following the step-by-step instructions provided in this guide, you can easily set up and enjoy immersive sound quality in your living room.
We started by checking the compatibility between the soundbar and the TV, ensuring they are capable of working together. Then, we unboxed and inspected the soundbar to ensure all components are present and in good condition.
Next, we connected the soundbar to a power outlet to provide it with the necessary power. We then established the connection between the soundbar and the TV using HDMI ARC, enabling seamless audio and video transmission.
We also explored the option of pairing the soundbar with the TV through Bluetooth, allowing for wireless audio streaming. Adjusting the soundbar settings, such as the equalizer and audio presets, helped optimize the audio output to match personal preferences.
In the event of common issues, we provided troubleshooting tips to help resolve them, ensuring a smooth setup process. By addressing these issues, such as no sound, poor sound quality, or Bluetooth pairing problems, we helped overcome potential obstacles.
Remember, it’s essential to consult the user manuals of your specific soundbar and TV models for detailed instructions and guidance. Additionally, reaching out to the manufacturer’s customer support can provide further assistance if needed.
With your Samsung Soundbar successfully connected to your Samsung Smart TV, you can now enjoy immersive sound, enhanced dialogue clarity, and a more enjoyable overall viewing experience.
So, go ahead and sit back, relax, and immerse yourself in a world of superior audio quality with your Samsung Soundbar and Samsung Smart TV.