Introduction
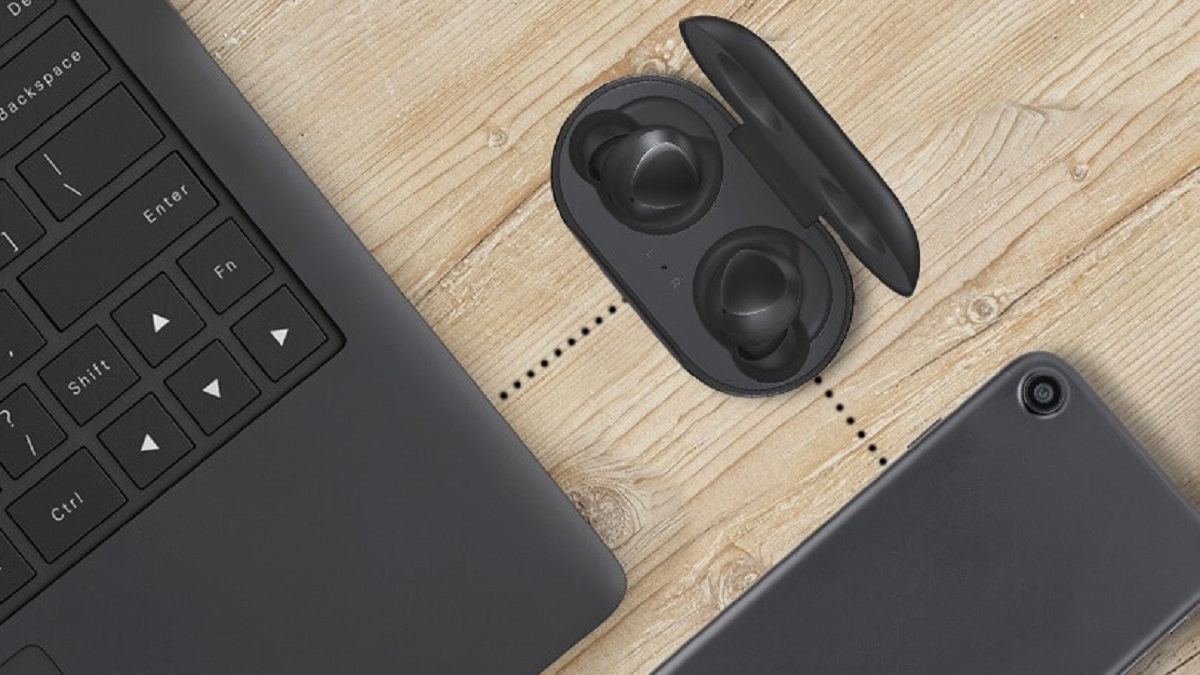
Welcome to our guide on how to connect wireless earbuds to a laptop! With the increasing popularity of wireless technology, many people are opting for the convenience and freedom that wireless earbuds offer. Whether you want to listen to music, watch movies, or engage in video calls without the hassle of tangled wires, connecting your wireless earbuds to your laptop is a great way to enjoy a seamless audio experience.
Before we dive into the step-by-step process of connecting your wireless earbuds to your laptop, it’s important to note that not all laptops have built-in Bluetooth capability. Bluetooth is the wireless technology that allows devices to connect and communicate with each other over short distances. So, the first step is to ensure that your laptop is Bluetooth-enabled. If your laptop doesn’t have Bluetooth, don’t worry! We’ll also provide alternative options for connecting your wireless earbuds.
Once you have confirmed that your laptop has Bluetooth capability, the next step is to turn on Bluetooth on your laptop. This will allow your laptop to search for and connect to nearby Bluetooth devices. After turning on Bluetooth, you’ll need to turn on your wireless earbuds as well. Most wireless earbuds have a power button or a switch that you can press or slide to turn them on.
Before connecting your wireless earbuds to your laptop, you’ll need to put them in pairing mode. Pairing mode is a state in which your earbuds are ready to be discovered and connected to a device. The method for entering pairing mode can vary depending on the brand and model of your earbuds, so be sure to check the user manual or the manufacturer’s website for specific instructions.
Once your wireless earbuds are in pairing mode, it’s time to connect them to your laptop. The process of connecting earbuds to a laptop may vary slightly depending on the operating system you’re using (Windows, macOS, etc.), but the general steps remain the same. We’ll provide instructions for connecting earbuds on the most common operating systems.
Finally, it’s crucial to test the connection between your wireless earbuds and your laptop. You can play some music or a video to ensure that the audio is being transmitted properly. If the connection is successful, congratulations! You can now enjoy your favorite audio content without the hassle of wires.
In this guide, we’ll walk you through each step of the process in detail, providing additional tips and troubleshooting advice along the way. So, let’s get started on connecting your wireless earbuds to your laptop!
Step 1: Make sure your laptop has Bluetooth capability
The first step in connecting wireless earbuds to your laptop is to ensure that your laptop has Bluetooth capability. Bluetooth is a wireless technology that allows devices to connect and communicate with each other over short distances.
Not all laptops come with built-in Bluetooth functionality, especially older models. To check if your laptop has Bluetooth capability, follow these steps:
- Go to the Start menu or the search bar on your laptop
- Type “Device Manager” and click on the search result
- In the Device Manager window, look for a category called “Bluetooth” or “Bluetooth Radios”
- If you see the category, it means that your laptop has Bluetooth capability
- If you don’t see the category, it means that your laptop doesn’t have built-in Bluetooth
If your laptop doesn’t have built-in Bluetooth, don’t worry! There are still options available to connect your wireless earbuds:
- Use a Bluetooth dongle: A Bluetooth dongle is a small device that can be plugged into a USB port on your laptop to provide Bluetooth functionality. Simply insert the dongle into the USB port, and your laptop will have Bluetooth capability.
- Use an audio transmitter: If your wireless earbuds come with a separate audio transmitter, you can connect the transmitter to your laptop using a USB cable or an audio jack. The transmitter will then establish a Bluetooth connection with your earbuds.
- Consider alternative wireless technologies: If Bluetooth is not an option, there are other wireless technologies available, such as RF (Radio Frequency) or NFC (Near Field Communication). However, keep in mind that these technologies may have limitations in terms of audio quality or range.
Before proceeding to connect your wireless earbuds, it’s crucial to ensure that your laptop has Bluetooth capability or to explore alternate options. Once you have confirmed Bluetooth functionality on your laptop or implemented one of the alternatives mentioned above, you can proceed to the next step and turn on Bluetooth on your laptop.
Step 2: Turn on Bluetooth on your laptop
Now that you have confirmed that your laptop has Bluetooth capability, it’s time to turn on Bluetooth so that your laptop can start searching for nearby Bluetooth devices, including your wireless earbuds. Here’s how to turn on Bluetooth on different operating systems:
Windows:
- Click on the Start menu and open the Settings app (you can also press the “Windows key + I” shortcut on your keyboard to directly open the Settings app)
- In the Settings window, click on the “Devices” option
- In the left sidebar, click on the “Bluetooth & other devices” tab
- Toggle the switch labeled “Bluetooth” to the “On” position
Once Bluetooth is enabled on your Windows laptop, it will start searching for nearby Bluetooth devices, including your wireless earbuds. Be sure to keep your earbuds in pairing mode (refer to the manufacturer’s instructions) so that they can be easily discovered by your laptop.
macOS:
- Click on the Apple menu and open “System Preferences”
- In the System Preferences window, click on the “Bluetooth” icon
- In the Bluetooth settings, make sure that the Bluetooth switch is turned on
Once Bluetooth is turned on, your macOS laptop will begin scanning for nearby Bluetooth devices, including your wireless earbuds. Keep your earbuds in pairing mode during this process.
Linux:
Bluetooth settings can vary depending on the distribution of Linux you are using. In many cases, you can find the Bluetooth settings in the system settings menu or the taskbar. Look for the Bluetooth icon and make sure it is enabled. If you’re unable to locate the Bluetooth settings, try searching for specific instructions based on your Linux distribution.
By turning on Bluetooth on your laptop, you are now ready to connect your wireless earbuds. However, before proceeding to the next step, make sure that your wireless earbuds are turned on and in pairing mode. This will allow your laptop to connect to them seamlessly.
Step 3: Turn on your wireless earbuds
Now that Bluetooth is enabled on your laptop, it’s time to turn on your wireless earbuds. This step will ensure that your earbuds are discoverable and can establish a connection with your laptop. Here’s how to turn on wireless earbuds:
- Locate the power button or switch on your wireless earbuds. This can typically be found on one of the earpieces or on the control module.
- Press and hold the power button or switch until you see a power indicator light or hear a confirmation tone. This indicates that your earbuds have been successfully turned on.
Each wireless earbud model may have a different method for turning them on, so it’s essential to refer to the user manual or the manufacturer’s website for specific instructions.
Once your wireless earbuds are powered on, they will be in standby mode, waiting to connect to a compatible device. It’s important to note that if your earbuds are already connected to another device, you may need to disconnect them or reset the connection before attempting to pair them with your laptop.
Make sure to keep your wireless earbuds close to your laptop to establish a stable connection. The typical Bluetooth range is around 30 feet (10 meters), but it can vary depending on various factors such as obstructions and interference.
Now that your wireless earbuds are turned on and ready for pairing, let’s move on to the next step and put them in pairing mode so that your laptop can discover and connect to them.
Step 4: Put your wireless earbuds in pairing mode
In order for your laptop to establish a connection with your wireless earbuds, you need to put your earbuds in pairing mode. Pairing mode is a state in which your earbuds are ready to be discovered and connected to a device. The method for entering pairing mode can vary depending on the brand and model of your wireless earbuds, so it’s important to consult the user manual or the manufacturer’s website for specific instructions. Here are some general steps to put your wireless earbuds in pairing mode:
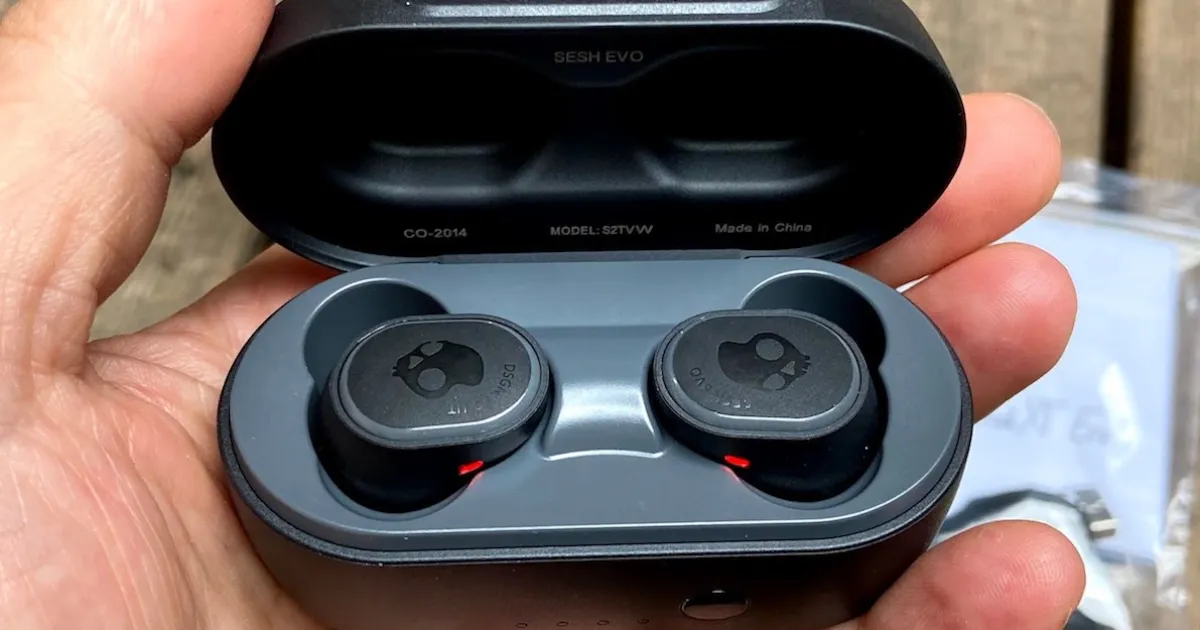
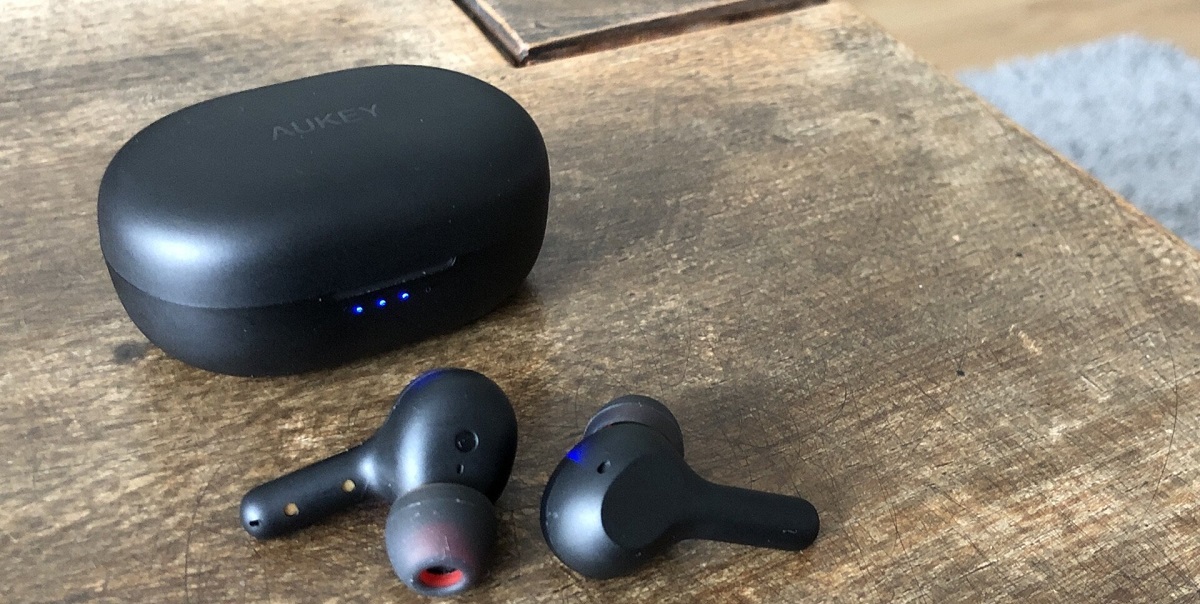
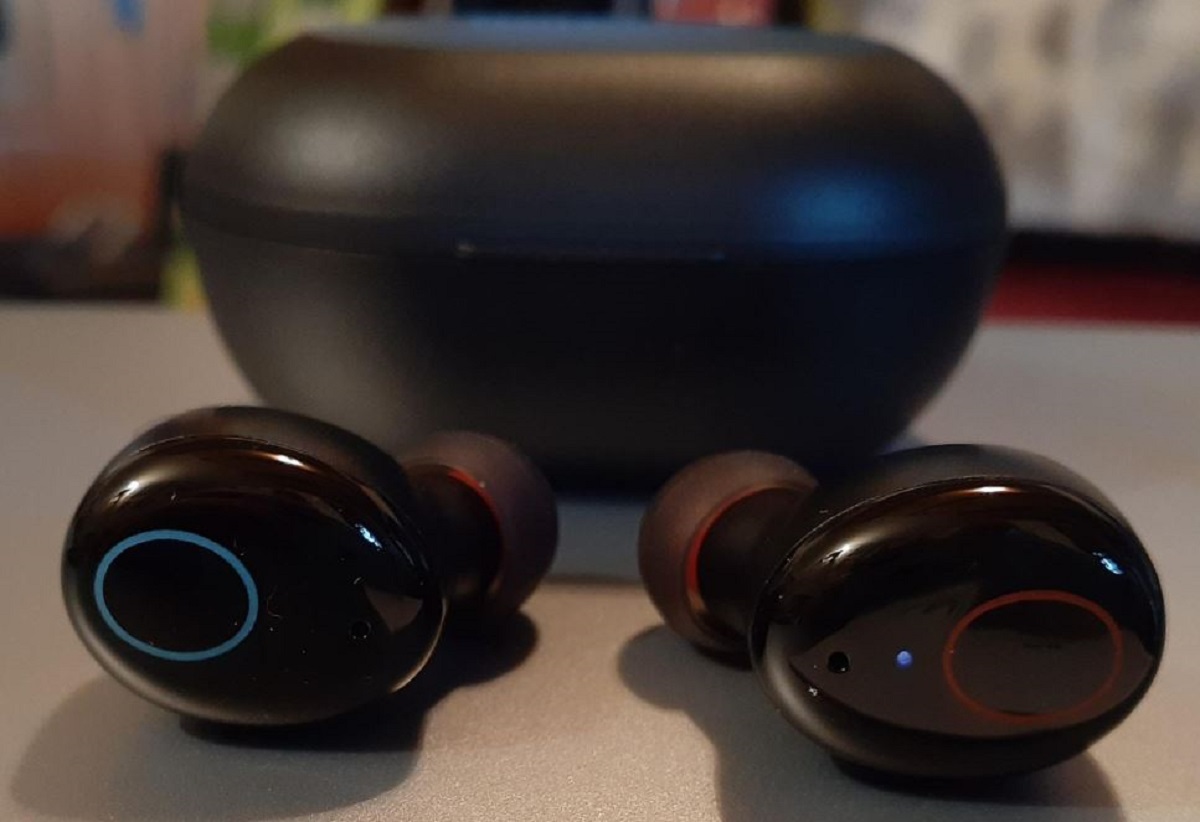
- If your wireless earbuds have an LED indicator light, check if it’s flashing or displaying any specific color. This is often an indication that they are in pairing mode.
- Some earbuds have a dedicated pairing button or feature. Press and hold this button until the LED indicator light starts flashing, indicating that they are in pairing mode.
- For touch-enabled wireless earbuds, consult the user manual or the manufacturer’s website to learn how to activate pairing mode by specific touch gestures.
- If your earbuds have a mobile app, open the app and follow the instructions to activate pairing mode.
- If you can’t find the specific method for entering pairing mode, try turning off your earbuds and then turning them back on while holding the power button for an extended period of time.
Be patient as you try different methods to put your earbuds in pairing mode, and make sure to follow the manufacturer’s instructions precisely. When your earbuds are in pairing mode, they are actively searching for devices to connect to, including your laptop.
Once your wireless earbuds are in pairing mode, you can proceed to the next step and connect them to your laptop. The connection process may vary slightly depending on your laptop’s operating system, so let’s explore that in the next step.
Step 5: Connect your wireless earbuds to your laptop
With your laptop’s Bluetooth turned on, your wireless earbuds powered on, and your earbuds in pairing mode, it’s time to connect them to your laptop. The process for connecting wireless earbuds to a laptop may vary slightly depending on the operating system you’re using, but the general steps remain the same. Here’s how to connect your wireless earbuds to your laptop:
Windows:
- Click on the Start menu and open the Settings app (you can also press the “Windows key + I” shortcut on your keyboard to directly open the Settings app)
- In the Settings window, click on the “Devices” option
- In the left sidebar, click on the “Bluetooth & other devices” tab
- Click on the “Add Bluetooth or other device” button
- In the popup window, select the “Bluetooth” option
- Your laptop will start searching for nearby Bluetooth devices, including your wireless earbuds
- Once your earbuds appear in the list, click on them to initiate the pairing process
- Follow any additional on-screen prompts to complete the pairing process
- Your wireless earbuds will now be connected to your laptop, and you can start enjoying your audio wirelessly
macOS:
- Click on the Apple menu and open “System Preferences”
- In the System Preferences window, click on the “Bluetooth” icon
- In the Bluetooth settings, you’ll see a list of available Bluetooth devices
- Find your wireless earbuds in the list and click on the “Connect” button next to them
- Follow any additional on-screen prompts to complete the pairing process
- Your wireless earbuds will now be connected to your laptop, and you can start enjoying your audio wirelessly
Linux:
Bluetooth settings can vary depending on the distribution of Linux you are using. In many cases, you can find the Bluetooth settings in the system settings menu or the taskbar. Look for the Bluetooth icon and click on it to open the Bluetooth settings. Follow the on-screen instructions to scan for your wireless earbuds and initiate the pairing process.
Once your wireless earbuds are successfully connected to your laptop, you can test the connection by playing some music or a video. Make sure the sound is coming through your earbuds and adjust the volume if needed. Congratulations! You have now connected your wireless earbuds to your laptop and can enjoy the freedom of wireless audio.
Step 6: Test the connection and enjoy!
After successfully connecting your wireless earbuds to your laptop, it’s essential to test the connection to ensure everything is working correctly. Here’s how you can test the connection and start enjoying your wireless audio experience:
- Open your preferred audio or video application on your laptop. It could be a music player, streaming service, or video conferencing platform.
- Play a sample song or video to test the audio output. Make sure the sound is coming through your wireless earbuds and not from the laptop’s built-in speakers.
- Adjust the volume on your earbuds or the laptop to achieve the desired sound level.
- Move around and ensure that the connection remains stable. Bluetooth typically has a range of around 30 feet (10 meters), but the signal strength can vary based on the environment.
If you encounter any issues during the testing phase, here are some troubleshooting tips:
- Ensure that both your laptop and wireless earbuds have sufficient battery levels.
- Make sure there are no obstacles or interference between your laptop and the earbuds that could disrupt the Bluetooth connection.
- Try disconnecting and then reconnecting the earbuds to your laptop.
- Restart your laptop and earbuds before attempting to connect again.
- Refer to the user manual or contact the manufacturer’s support if you continue to experience issues.
Once you have tested the connection and everything is working as expected, you can now enjoy the freedom and convenience of wireless audio on your laptop. Whether you’re listening to your favorite music, watching movies, or participating in video conferences, wireless earbuds offer a tangle-free and immersive audio experience.
Remember to properly disconnect your wireless earbuds from your laptop when you’re done using them to preserve battery life. You can do this by turning off Bluetooth on your laptop or using the device’s settings to disconnect the earbuds.
Now that you know how to connect wireless earbuds to your laptop, you can enjoy seamless audio anytime and anywhere. So sit back, relax, and immerse yourself in your favorite audio content!


