Introduction
Welcome to the ultimate guide on how to connect your Skullcandy wireless earbuds! In today’s fast-paced world, wireless earbuds have become a must-have accessory for those who enjoy music on the go. Skullcandy is a renowned brand known for its high-quality audio products, and their wireless earbuds are no exception.
With the advancement of technology, connecting wireless earbuds to various devices has become effortless. Whether you own a smartphone, tablet, laptop, or any other Bluetooth-enabled device, you can easily pair your Skullcandy wireless earbuds to enjoy your favorite music, podcasts, or even take calls without the hassle of tangled wires.
In this guide, we will walk you through the step-by-step process of connecting your Skullcandy wireless earbuds to your compatible devices. We will cover everything from charging the earbuds to pairing them and adjusting the Bluetooth settings. Whether you’re a tech-savvy individual or new to the wireless earbud experience, this guide has got you covered.
Before diving into the connection process, it’s important to note that Skullcandy wireless earbuds are compatible with a wide range of devices, including smartphones, tablets, and computers. So, no matter which device you own, there’s a good chance that you can take advantage of the wireless freedom offered by your Skullcandy earbuds. Now, let’s get started and unleash the full potential of your wireless listening experience!
Compatible Devices
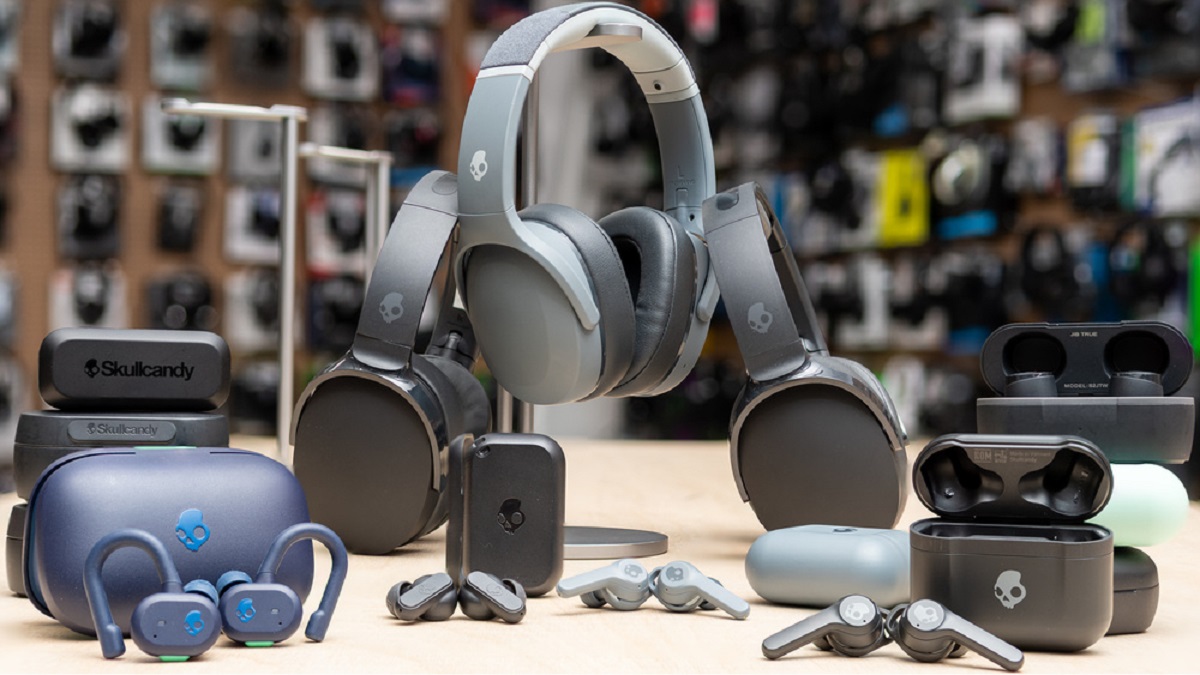
Skullcandy wireless earbuds are designed to work seamlessly with a variety of devices. Whether you’re an iPhone enthusiast, an Android user, or a loyal Windows user, you can connect your earbuds to your device effortlessly. Here’s a list of some compatible devices:
- Smartphones: Whether you have an iPhone, Samsung Galaxy, Google Pixel, or any other smartphone brand, you can connect your Skullcandy wireless earbuds to enjoy high-quality audio.
- Tablets: If you prefer a larger screen for watching movies, streaming music, or playing games, you can connect your earbuds to tablets such as iPads, Samsung Galaxy Tabs, or Amazon Fire tablets.
- Laptops and Computers: Skullcandy wireless earbuds are compatible with both Mac and Windows computers. Whether you want to listen to music, watch videos, or make video calls, you can enjoy a wire-free experience.
- Smart TVs: If you have a smart TV with built-in Bluetooth capabilities, you can connect your Skullcandy earbuds to enhance your TV-watching experience without disturbing others.
- Gaming Consoles: Gamers can rejoice as Skullcandy wireless earbuds can be connected to gaming consoles such as PlayStation and Xbox, allowing for an immersive audio experience.
It’s worth noting that compatibility may vary depending on the specific model of your earbuds and the device you’re trying to connect to. Make sure to check the product manual or consult Skullcandy’s website for more detailed information on device compatibility.
No matter which device you own, connecting your Skullcandy wireless earbuds will amplify your audio experience and give you the freedom to enjoy your favorite entertainment without the hassle of wires. Now that you know which devices are compatible, let’s move on to the next step: charging your earbuds.
Charging the Earbuds
Before you can enjoy the wireless bliss of your Skullcandy earbuds, you’ll need to make sure they are fully charged. Here’s how to charge your earbuds:
- Locate the charging port on your Skullcandy earbuds. The charging port is typically located on the bottom or side of the earbuds, depending on the model.
- Connect the charging cable to the port. The charging cable should have a USB end that you can connect to a power source, such as a computer, wall adapter, or power bank.
- Ensure that the power source is turned on and supplying power.
- Gently insert the other end of the charging cable into the charging port of your Skullcandy earbuds. You’ll feel a satisfying click when it’s properly inserted.
- Once connected, the earbuds’ LED indicator light will start flashing or turn a solid color, indicating that charging has begun.
- Leave the earbuds connected to the power source until they are fully charged. The duration of charging may vary depending on the model, but it generally takes around 1-2 hours.
- While charging, avoid using the earbuds to preserve battery life and ensure a quick and efficient charging process.
- Once fully charged, disconnect the charging cable from the earbuds and the power source.
It’s essential to keep your Skullcandy earbuds charged regularly to enjoy uninterrupted wireless listening. A fully charged battery ensures optimal performance and longevity. Make it a habit to charge your earbuds when not in use, so they are ready whenever you want to dive into music, podcasts, or calls.
Now that your earbuds are charged and ready to go, it’s time to pair them with your device. Let’s move on to the next section and explore how to pair your Skullcandy wireless earbuds.
Pairing the Earbuds
Now that your Skullcandy earbuds are fully charged, it’s time to pair them with your device. Follow these steps to pair your earbuds:
- Ensure that Bluetooth is enabled on your device. You can usually find the Bluetooth settings in the device’s settings menu.
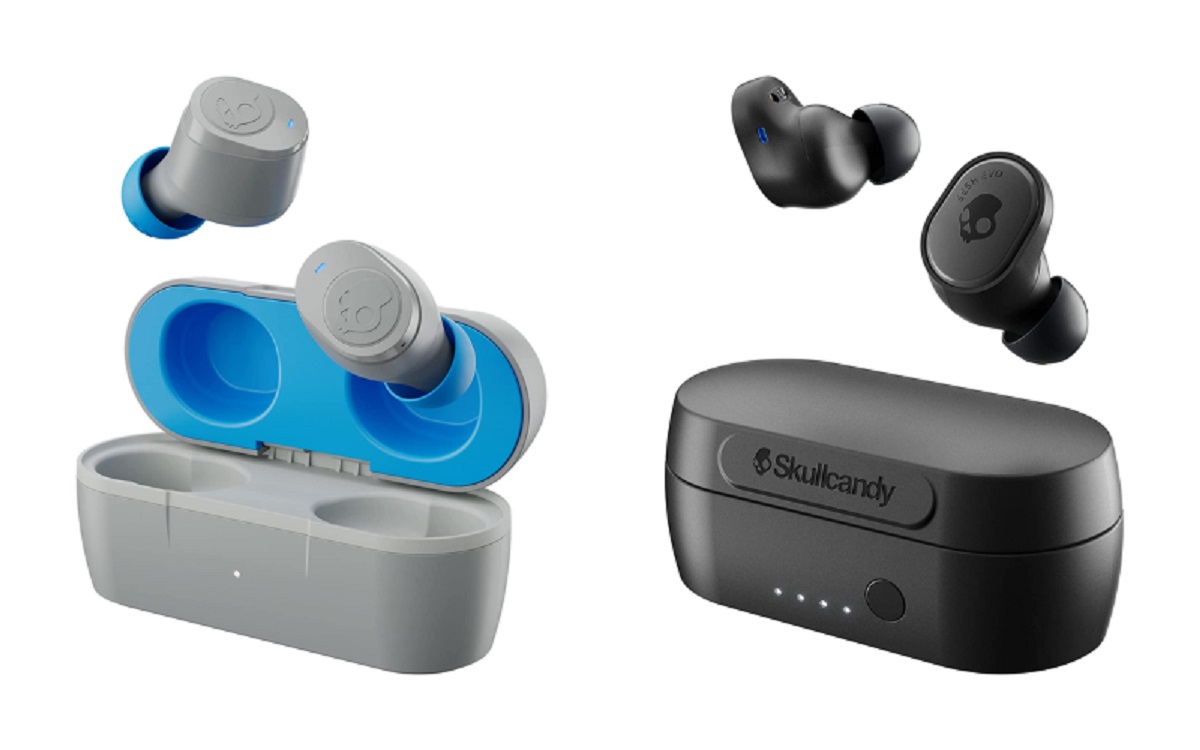
- Remove the earbuds from the charging case, if applicable, and power them on. Most Skullcandy earbuds have a power button on one or both of the earpieces. Press and hold the power button until the LED indicator light starts flashing, indicating that the earbuds are in pairing mode.
- On your device, navigate to the Bluetooth settings and search for available devices. The specific method may vary depending on the device, but it’s usually found in the settings menu under “Bluetooth” or “Connections.”
- Once your Skullcandy earbuds appear in the list of available devices, select them to initiate the pairing process. The LED indicator on the earbuds will usually stop flashing and turn a solid color to indicate a successful connection.
- If prompted, enter the pairing code provided by your device. In most cases, you can use the default code “0000” or “1234.”
- Once the pairing is successful, your Skullcandy earbuds will be connected to your device. You can now begin enjoying wireless audio!
- For subsequent connections, your earbuds will automatically pair with the last connected device if its Bluetooth is enabled. If you want to switch to a different device, you may need to unpair the earbuds from the current device and follow the pairing steps outlined above.
Remember, the pairing process may vary slightly depending on the model of your Skullcandy earbuds or the device you’re connecting to. It’s always a good idea to refer to the user manual for specific instructions tailored to your earbuds.
Congratulations! You have successfully paired your Skullcandy wireless earbuds with your device. Now that your earbuds are connected, let’s explore some useful Bluetooth settings and features in the next section.
Bluetooth Settings
Once your Skullcandy earbuds are paired with your device, you can further enhance your wireless listening experience by exploring the Bluetooth settings. Here are some useful Bluetooth settings and features to consider:
- Equalizer Settings: Some devices offer an equalizer feature that allows you to customize the audio output. You can adjust the bass, treble, and other audio frequencies to suit your preferences and enhance the sound quality of your Skullcandy earbuds.
- Device Name: You can rename your Skullcandy earbuds to make them easily identifiable when connecting to multiple devices. This is particularly helpful if you use the earbuds with multiple devices and want to quickly select the appropriate one.
- Auto Connect: Many devices have an option to automatically connect to previously paired Bluetooth devices. Enabling this feature will allow your device to automatically connect to your Skullcandy earbuds whenever they are in range and powered on.
- Control Options: Some devices offer control options that allow you to customize the functions of the earbuds. You may be able to customize play/pause, skip tracks, volume control, or even activate voice assistants like Siri or Google Assistant.
- Battery Status: Certain devices can display the battery status of your Skullcandy earbuds. This is particularly useful to monitor the battery level and ensure you have enough charge for your listening sessions.
Exploring these Bluetooth settings and features can greatly enhance your overall experience with your Skullcandy earbuds. Keep in mind that the availability of these features may vary depending on the device you’re using. Check your device’s user manual or settings menu to access these Bluetooth settings.
Now that you’re familiar with the various Bluetooth settings, you can personalize your Skullcandy earbuds to suit your preferences and make the most out of your wireless audio experience. In case you face any issues or challenges, don’t worry. We have some troubleshooting tips in the next section to help you resolve common problems.
Troubleshooting
While connecting and using your Skullcandy wireless earbuds is generally smooth, you may encounter some common issues that can be easily resolved. Here are some troubleshooting tips to help you overcome any hurdles:
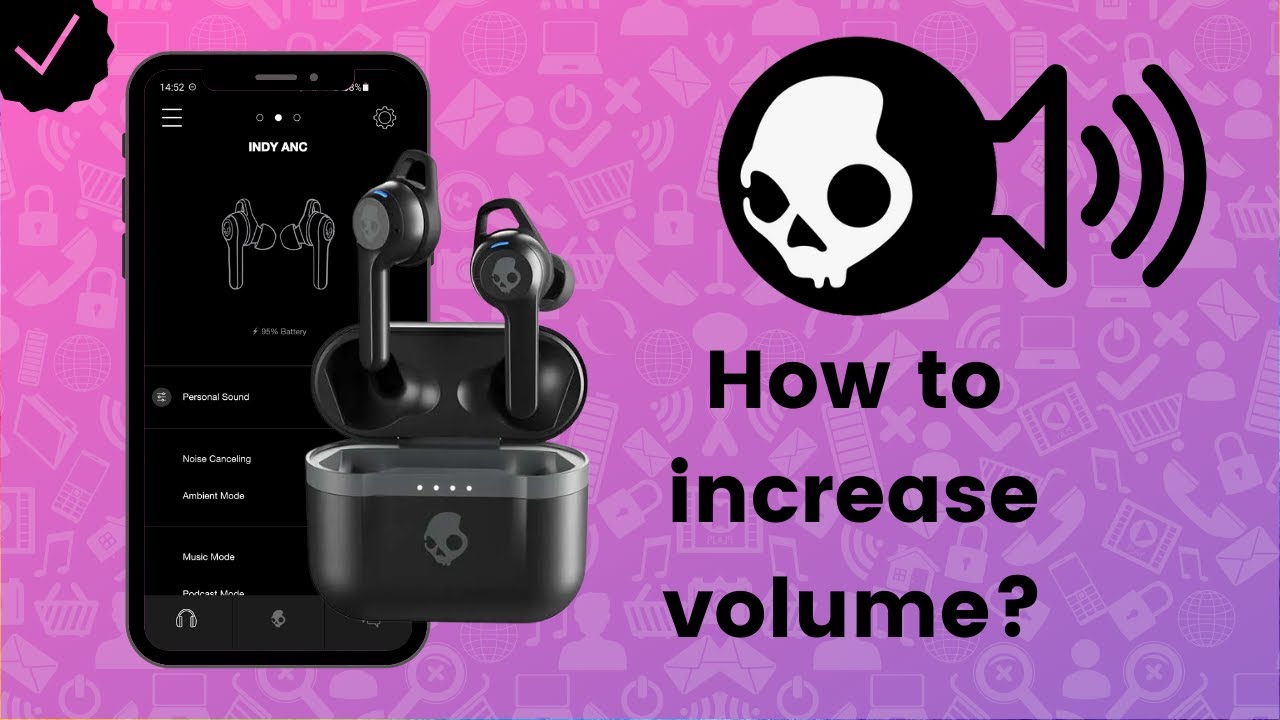
- No Sound or Low Volume: If you’re not hearing any sound or experiencing low volume, first ensure that the volume on both your device and earbuds is turned up. Additionally, check if the earbuds are properly inserted into your ears for a secure fit. If the issue persists, try cleaning the earbuds’ speaker grilles with a soft, dry cloth to remove any debris or wax buildup.
- Problems with Connectivity: If you’re experiencing frequent disconnections or issues with connectivity, make sure your earbuds are charged properly. Additionally, ensure the earbuds and your device are within the Bluetooth range. Interference from other electronic devices or physical obstacles might also affect connectivity, so try moving closer to your device or away from potential sources of interference.
- Poor Call Quality: If you’re having difficulty hearing or being heard during phone calls, ensure that your earbuds’ microphone is not covered or obstructed. Adjust the position of the earbuds in your ears to find the optimal microphone placement. If the problem persists, try disconnecting and reconnecting the earbuds or resetting them according to the manufacturer’s instructions.
- Earbuds Not Charging: If you’re having trouble charging your earbuds, check if the charging cable is securely connected to both the earbuds and the power source. Ensure that the charging ports are clean and free from any lint or debris. If the issue persists, try using a different charging cable or power source to rule out any potential problems.
- Resetting the Earbuds: If you’re still experiencing issues, you can try resetting your Skullcandy earbuds. Refer to the user manual or manufacturer’s website for specific instructions on how to perform a reset. This can often resolve various technical glitches and restore the earbuds to their default settings.
If the troubleshooting steps above do not resolve the issues you are facing, it is recommended to reach out to Skullcandy customer support for further assistance. They have a dedicated team of experts who can provide personalized solutions to help you get the most out of your earbuds.
By following these troubleshooting tips, you can overcome common challenges and ensure a seamless experience with your Skullcandy wireless earbuds. Now, let’s wrap up this guide and summarize what we’ve covered so far.
Conclusion
Congratulations on completing this comprehensive guide on how to connect your Skullcandy wireless earbuds! We hope this guide has provided you with the information you need to successfully pair your earbuds with your devices and troubleshoot any common issues you may encounter.
Remember, Skullcandy earbuds are compatible with a wide range of devices, including smartphones, tablets, laptops, smart TVs, and gaming consoles. With the freedom of wireless connectivity, you can enjoy your favorite music, podcasts, and calls without the hassle of tangled wires.
Before connecting your earbuds, make sure to charge them fully by following the instructions provided by Skullcandy. Once charged, the pairing process is usually straightforward – simply enable Bluetooth on your device, put the earbuds in pairing mode, and select them on your device to establish the connection.
Exploring the Bluetooth settings on your device and customizing the audio output can further enhance your listening experience. Additionally, familiarize yourself with troubleshooting steps to overcome any common issues such as connectivity problems, low volume, or charging difficulties.
If you encounter any persistent issues or have questions specific to your Skullcandy earbuds model, it is always advisable to consult the user manual or contact Skullcandy customer support for further assistance.
Now that you have mastered the art of connecting your Skullcandy wireless earbuds, it’s time to immerse yourself in the world of wireless audio and enjoy the convenience, freedom, and exceptional sound quality that these earbuds provide.
Happy listening!