Introduction
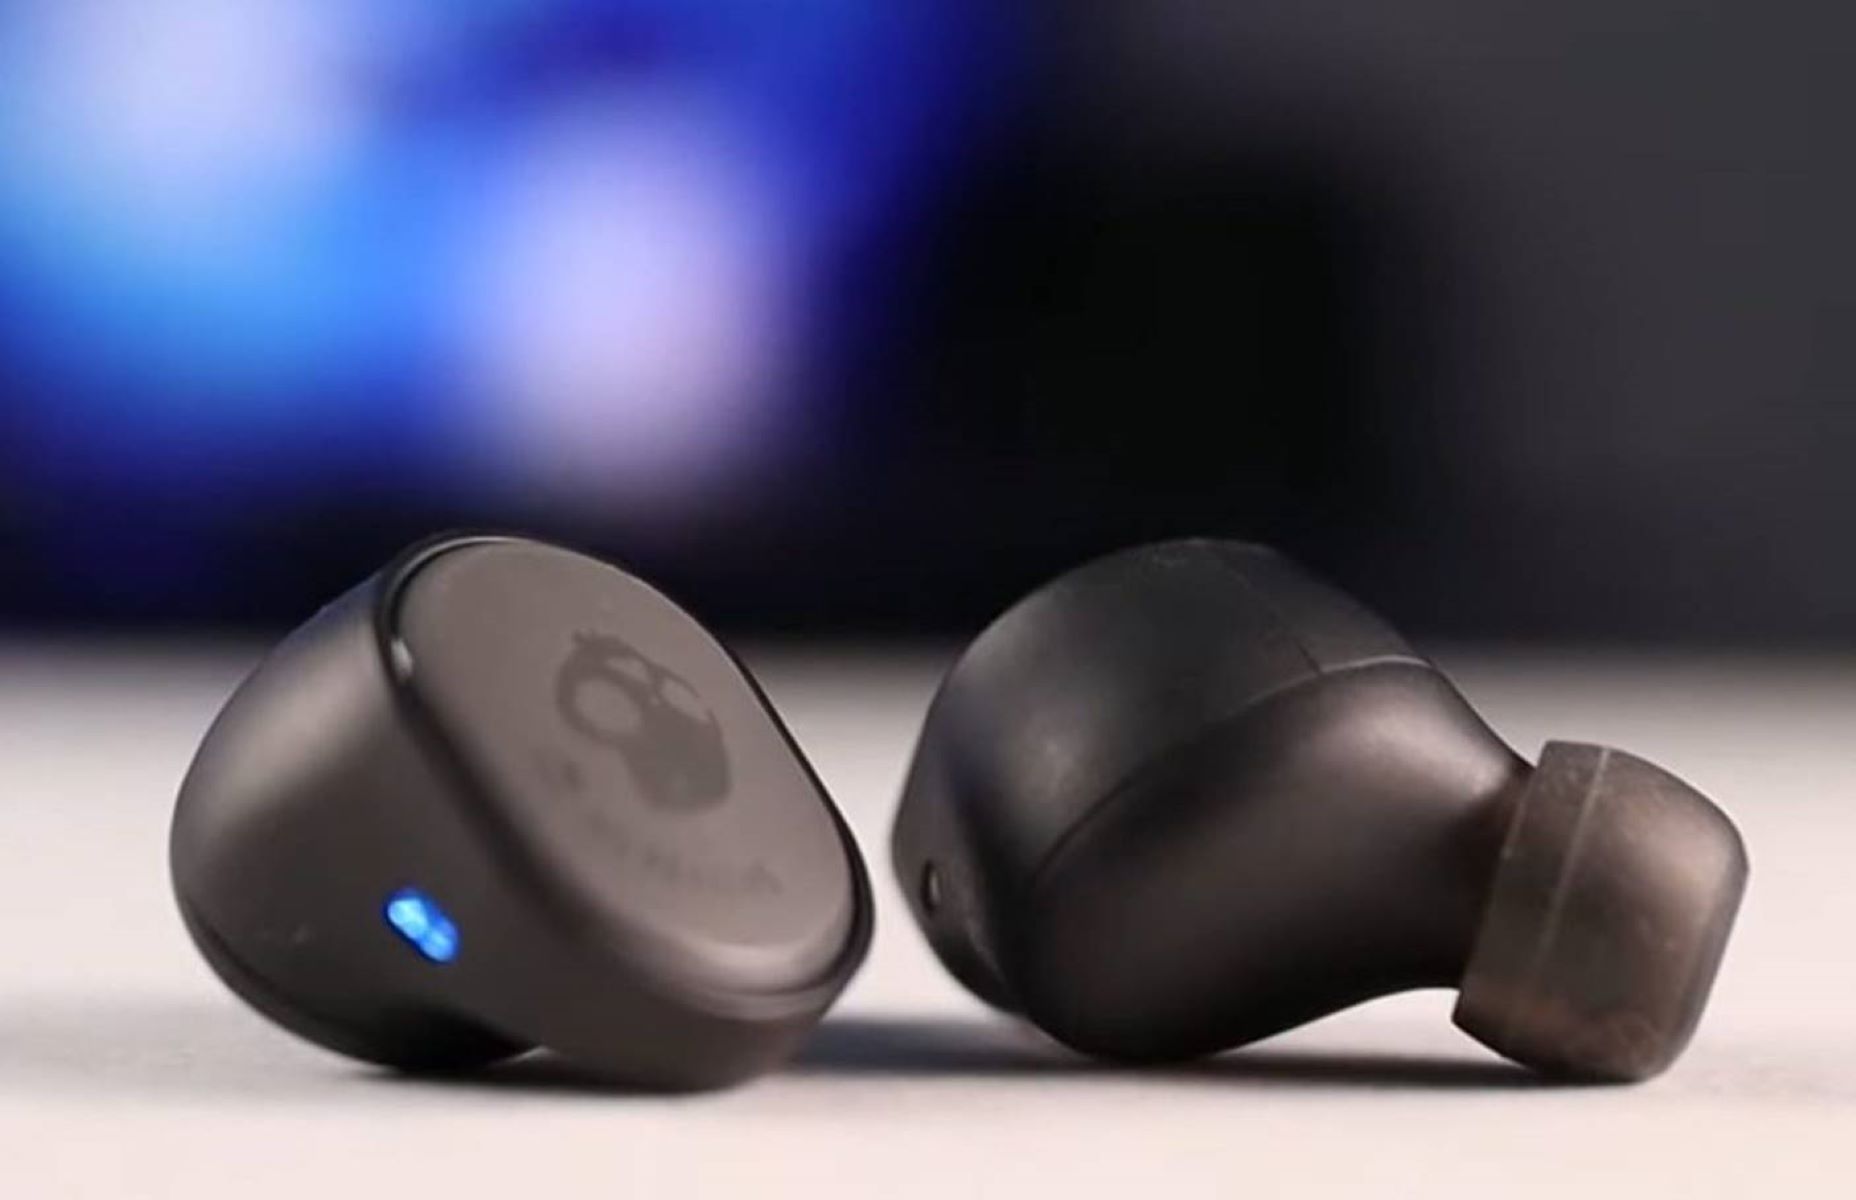
Skullcandy Sesh wireless earbuds are the perfect companions for music enthusiasts looking for a wire-free audio experience. With their sleek design and impressive sound quality, these earbuds offer convenience and style for on-the-go listening. Whether you’re hitting the gym, going for a run, or simply relaxing at home, you can enjoy your favorite music or take calls without the hassle of tangled wires.
In this article, we will guide you through the process of pairing your Skullcandy Sesh wireless earbuds with various devices, including mobile phones, computers, and laptops. We will also cover how to charge the earbuds and how to use them for music playback and phone calls. So, if you’ve just purchased a pair of Skullcandy Sesh wireless earbuds or are considering getting one, read on to learn how to get started with this fantastic audio accessory.
Before we dive into the pairing process, it’s important to note that different devices may have slight variations in the steps required to pair with the Skullcandy Sesh earbuds. However, the overall process remains similar across most devices. Make sure to follow the manufacturer’s instructions specific to your device for the most accurate pairing process.
Now, without further ado, let’s get started and discover how to unlock the full potential of your Skullcandy Sesh wireless earbuds!
Step 1: Check the package contents
Before diving into the pairing process, it’s essential to ensure that you have all the necessary components that come with the Skullcandy Sesh wireless earbuds. Checking the package contents will help you verify if everything is included and ready for use.
Here are the items you should find inside the package:
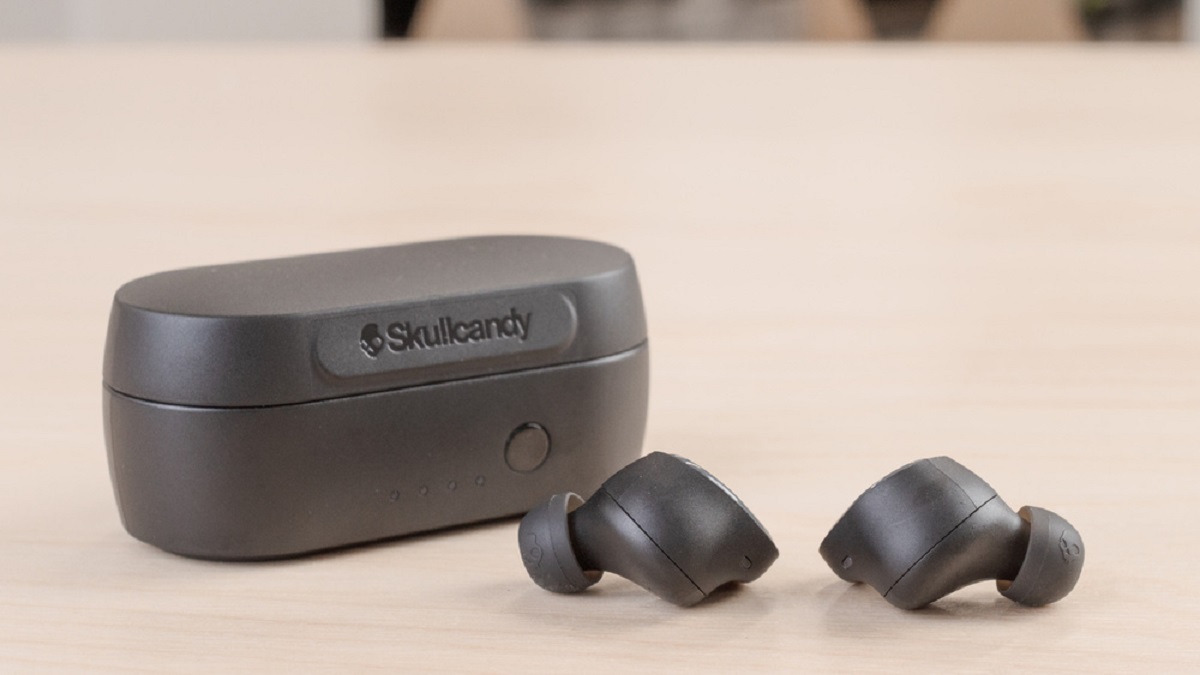
- Skullcandy Sesh wireless earbuds: The star of the show, these compact earbuds come in a sleek and stylish design.
- Charging case: This case not only stores and protects the earbuds but also serves as a portable charging station.
- Charging cable: A USB charging cable is provided to recharge the earbuds and the charging case.
- Ear tips: Different sizes of ear tips are included to ensure a comfortable and secure fit for all users.
- User manual: Don’t forget to locate the user manual, as it contains valuable information on how to operate and troubleshoot the earbuds.
Once you have confirmed that all these items are present, you can proceed to the next step of charging the Skullcandy Sesh wireless earbuds.
Please note that if any of the items are missing or damaged, it is recommended to reach out to the retailer or Skullcandy’s customer support for assistance. Having all the necessary components will ensure a seamless user experience with the earbuds.
Step 2: Charging the earbuds
Before you can start using your Skullcandy Sesh wireless earbuds, it’s important to fully charge them. The charging process is simple and straightforward, and it ensures that you have enough battery life for uninterrupted listening pleasure.
Follow these steps to charge your Skullcandy Sesh wireless earbuds:
- Open the charging case: Gently open the lid of the charging case to reveal the slots for the earbuds.
- Insert the earbuds into the charging slots: Carefully place each earbud into its corresponding slot, making sure they are properly aligned with the charging connectors.
- Connect the charging cable: Plug one end of the USB charging cable into the charging case and the other end into a power source, such as a USB port on your computer or a wall adapter.
- Monitor the charging status: Look for the LED indicators on the charging case. These lights will show the charging progress. It’s important to note that when the earbuds are charging, the LED lights will flash or remain steady.
- Wait for the earbuds to fully charge: The time it takes for the earbuds to fully charge can vary, but it usually takes around 1 to 2 hours. During this time, make sure to keep the charging case connected to the power source.
- Verify the charging status: Once the earbuds are fully charged, the LED indicators on the charging case will turn solid or go off, indicating that the charging process is complete.
- Remove the earbuds from the case: Once the earbuds are charged, carefully remove them from the charging case. They are now ready to be paired with your device.
It’s important to ensure that the earbuds are charged before using them for the first time or after prolonged periods of non-use. Keeping the earbuds charged will prolong their battery life and ensure optimal performance.
Now that you have successfully charged your Skullcandy Sesh wireless earbuds, it’s time to move on to the next step—pairing them with your mobile device.
Step 3: Pairing with a mobile device
Pairing your Skullcandy Sesh wireless earbuds with a mobile device allows you to enjoy your favorite music and take calls wirelessly. The process may vary slightly depending on the operating system of your device, but the general steps remain the same.
Follow these steps to pair your Skullcandy Sesh wireless earbuds with a mobile device:
- Reset the earbuds: If you have previously connected the earbuds to another device, it’s recommended to reset them before pairing with a new device. To reset the earbuds, place them in the charging case, then press and hold the button on the case for about 10 seconds until the LED lights on the earbuds start flashing.
- Enable Bluetooth: On your mobile device, go to the Settings menu and navigate to the Bluetooth settings. Toggle the Bluetooth option to turn it on.
- Put the earbuds in pairing mode: Take the earbuds out of the charging case and make sure they are turned on. Typically, the earbuds will automatically enter pairing mode when they are removed from the case and don’t have a device already connected. If not, refer to the user manual to manually activate pairing mode.
- Locate the earbuds in the Bluetooth settings: In the Bluetooth settings of your mobile device, you should see a list of available devices. Look for the name “Skullcandy Sesh” or a similar identifier and tap on it to initiate the pairing process.
- Complete the pairing process: Once you have selected the Skullcandy Sesh earbuds in the Bluetooth settings, follow any on-screen prompts to complete the pairing process. This may involve confirming a passcode or accepting a pairing request.
- Confirmation and notification: After successfully pairing, you will usually receive a notification on your mobile device confirming the connection. Additionally, the LED lights on the earbuds will stop flashing and remain solid.
Now that your Skullcandy Sesh wireless earbuds are paired with your mobile device, you can enjoy wireless audio and hands-free calling. Remember, the specific steps may vary slightly depending on your device, so it’s always a good idea to refer to the user manual for more detailed instructions.
Next, we will explore how to pair the earbuds with a computer or laptop.
Step 4: Pairing with a computer or laptop
In addition to pairing your Skullcandy Sesh wireless earbuds with a mobile device, you can also connect them to your computer or laptop for a seamless audio experience. Whether you want to listen to music, watch videos, or take online meetings, pairing with your computer can enhance your audio quality and provide greater flexibility.
Here’s how to pair your Skullcandy Sesh wireless earbuds with a computer or laptop:
- Enable Bluetooth on your computer: Go to the settings menu on your computer or laptop and turn on the Bluetooth functionality. The process may vary depending on the operating system and interface of your device, so refer to the user manual if needed.
- Put the earbuds in pairing mode: Make sure the earbuds are removed from the charging case and turned on. If they are already paired with another device, reset them by placing them in the case and pressing and holding the button until the LED lights start flashing.
- Locate the earbuds in the Bluetooth settings: In the Bluetooth settings of your computer, you should see a list of available devices. Look for the name “Skullcandy Sesh” or a similar identifier and click on it to initiate the pairing process.
- Complete the pairing process: Follow any on-screen prompts that appear to complete the pairing process. This may involve entering a passcode or accepting a pairing request. Be patient as the pairing process may take a few moments.
- Confirmation and notification: Once the pairing is successful, you will usually receive a notification on your computer confirming the connection. The LED lights on the earbuds may also stop flashing and remain solid, indicating the successful pairing.
Depending on your computer’s settings, you may need to adjust the audio output settings to ensure that the sound is routed through your Skullcandy Sesh earbuds. Consult your computer’s audio settings or sound control panel for this option.
With your Skullcandy Sesh wireless earbuds successfully paired with your computer or laptop, you can now enjoy high-quality audio for your work or leisure activities.
Next, let’s explore how to use the earbuds for calls or music playback.
Step 5: Using the earbuds for calls or music playback
Now that you have successfully paired your Skullcandy Sesh wireless earbuds with your mobile device or computer, it’s time to start using them for calls or music playback. These versatile earbuds offer convenient controls and impressive sound quality, allowing you to enjoy your favorite audio content with ease.
Here’s how to use your Skullcandy Sesh wireless earbuds for calls and music playback:
Music Playback:
- Open the audio player or streaming app on your mobile device or computer.
- Play your desired audio content, whether it’s a playlist, album, or podcast episode.
- Control the playback using the buttons or touch controls on the earbuds. Depending on the model, you can pause/play, skip tracks, adjust volume, and even access voice assistant functionality.
- When you’re done listening, simply pause the audio or remove the earbuds to automatically pause playback.
Call Functions:
- When you receive an incoming call, you will hear a ringtone in your earbuds.
- To answer the call, press the designated button or touch control on the earbuds. You can then speak through the built-in microphone.
- If you want to end the call, press the button or control again.
- To reject an incoming call, press and hold the button or control until you hear a beep.
Depending on the model and device compatibility, you may also have access to additional features such as voice command activation, calling virtual assistants, or toggling between audio sources. Refer to the user manual for specific instructions on these advanced functions.
It’s important to note that some mobile devices or computers may have additional settings, such as call audio routing or media control permissions. Explore the settings of your device to customize the audio experience to your preferences.
With these controls and functionalities, your Skullcandy Sesh wireless earbuds provide a seamless and enjoyable audio experience for both calls and music playback.
Congratulations! You have now successfully paired your Skullcandy Sesh wireless earbuds and learned how to use them for calls and music playback. Enjoy the wireless freedom and immersive sound quality that these earbuds offer.
Conclusion
Congratulations! You have successfully learned how to pair and use your Skullcandy Sesh wireless earbuds. These stylish and convenient earbuds provide a wire-free audio experience, allowing you to enjoy your favorite music and take calls with ease.
In this article, we covered the essential steps to ensure a seamless setup and connectivity:
- Checking the package contents to make sure you have all the necessary components.
- Charging the earbuds to ensure they have sufficient battery life for uninterrupted listening.
- Pairing the earbuds with your mobile device for a wireless music and calling experience.
- Pairing the earbuds with your computer or laptop to enhance your audio while working or leisure activities.
- Using the earbuds for calls and music playback, along with the various controls and features they offer.
Remember, the specific steps and functionalities may vary depending on your device and the Skullcandy Sesh model you own. Always consult the user manual for detailed instructions and troubleshooting tips specific to your earbuds.
With your Skullcandy Sesh wireless earbuds, you can now enjoy high-quality audio, freedom from tangled wires, and the convenience of hands-free communication. Whether you’re exercising, commuting, or simply relaxing, these earbuds will be your perfect companions.
So go ahead, put on your Skullcandy Sesh wireless earbuds, and immerse yourself in your favorite tunes or take crystal-clear phone calls, all without the hassle of wires. Enjoy the ultimate wireless audio experience!