Introduction
Welcome to the world of wireless earbuds! With the rising popularity of portable music and the need for hassle-free audio experiences, wireless earbuds have become a go-to accessory for many. These compact and convenient devices offer freedom of movement without the hassle of tangled wires.
However, one common question that arises is: how do you know if wireless earbuds are charged? This is a crucial aspect to consider, as nobody wants to be left with a dead battery in the middle of their favorite song or podcast.
In this article, we will guide you through the various indicators and methods to ensure that your wireless earbuds are charged and ready to go. Whether you have just purchased a brand-new pair or have been using them for a while, this information will be valuable in keeping your earbuds powered up and functioning optimally.
So, let’s dive into the world of wireless earbuds and discover the different ways to determine if they are charged or not!
Checking the Battery Level
One of the first things to do when trying to determine if your wireless earbuds are charged is to check the battery level. Most wireless earbuds come with built-in battery indicators that provide a clear indication of the remaining power. Here are a few common methods to check the battery level:
- Mobile App: Many wireless earbud manufacturers provide companion mobile apps that allow users to monitor the battery level. Simply download the app, connect your earbuds, and open the app to view the battery status.
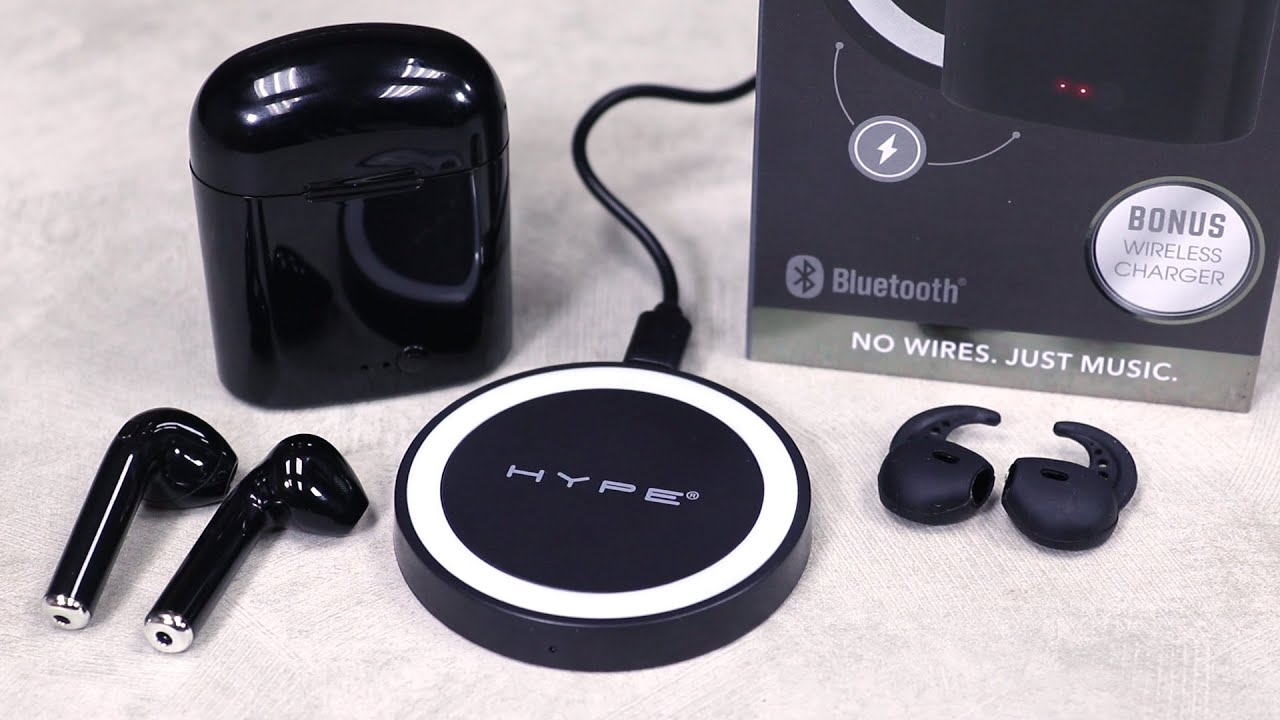
- LED Lights: Most wireless earbuds feature LED lights that indicate the battery level. These lights may be located on the earbuds themselves or on the charging case. Typically, different colors or blinking patterns of the LED lights represent different battery levels. Refer to the user manual or the manufacturer’s website for a detailed explanation of what each LED light color or pattern means.
- Voice Prompts: Some wireless earbuds have voice prompts that audibly inform you of the battery status when you power them on or off, or when you press a specific button. These voice prompts can be helpful in knowing whether your earbuds need to be charged or not.
- Compatibility with Devices: Certain devices, like smartphones or smartwatches, can display the battery level of connected Bluetooth devices. Check if your wireless earbuds are compatible with such devices and if they provide battery level information.
By utilizing these methods, you can easily determine the battery level of your wireless earbuds and take appropriate action to recharge them if needed. It’s important to familiarize yourself with the specific features and indicators of your earbuds to make the most out of the battery monitoring options available.
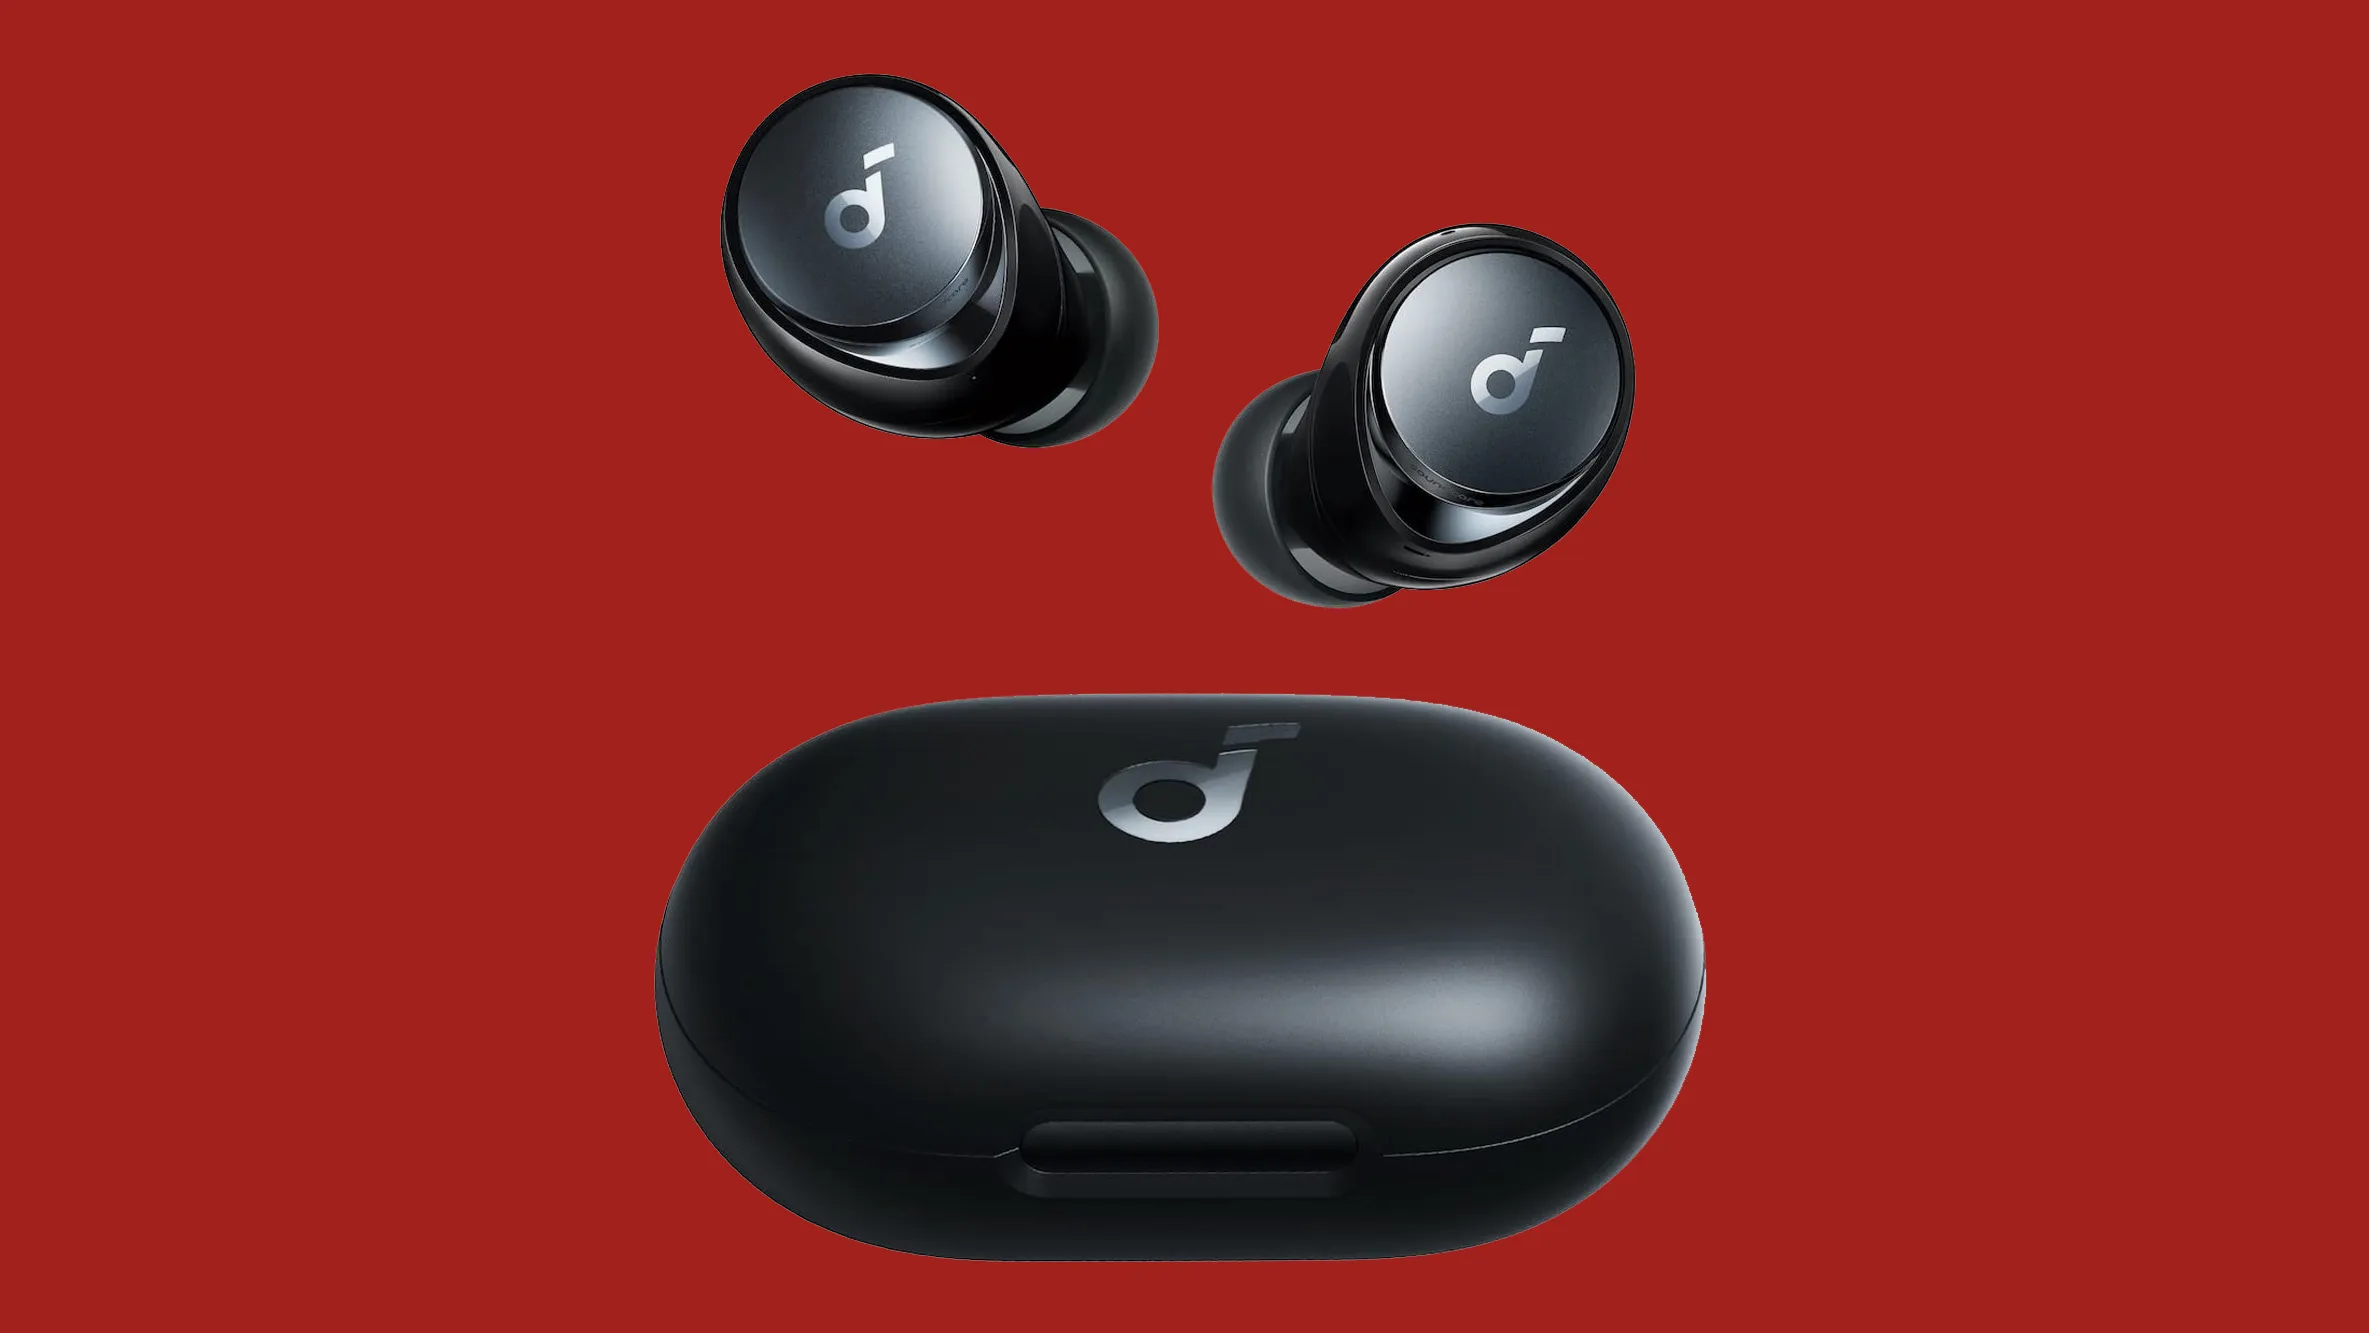
Indicator Lights
Indicator lights are a common feature in wireless earbuds, serving as a visual way to check the battery status. The lights may be located on the earbuds themselves or on the charging case. Understanding the meaning behind these indicator lights is essential in determining if your wireless earbuds are charged. Here are some common color codes and patterns:
- Green: A steady green light usually indicates that the earbuds are fully charged or have a high battery level. It means you can enjoy extended listening sessions without worrying about the battery running out.
- Yellow/Amber: An amber or yellow light typically signifies a medium battery level. It suggests that you still have a decent amount of power left but may need to consider charging soon to avoid a sudden battery drain.
- Red: A red light is a clear indication that the battery level is low. It’s a signal that you need to recharge your earbuds as soon as possible to prevent them from shutting down during use.
- Flashing/Blinking Lights: Different blinking patterns can also provide valuable information about the battery status. For instance, a slow blinking light might signify that the earbuds are charging, while a fast blinking light could indicate a low battery level.
Keep in mind that these color codes and patterns may vary among different wireless earbud models. Therefore, it is crucial to consult the user manual or manufacturer’s website specific to your device to understand the exact meaning behind the indicator lights.
By paying attention to the indicator lights, you can easily assess the battery status of your wireless earbuds and take appropriate action, such as charging them when necessary or adjusting your usage to conserve battery life.
Power On and Off
Knowing how to power on and off your wireless earbuds correctly is essential for ensuring they are charged and ready to use. Here are some general steps to follow:
- Powering On: To turn on your wireless earbuds, usually, you need to press and hold the power button on the earbuds or the charging case. Sometimes, this button may also serve as a multifunction button for other features like play/pause or answering calls. Upon powering on, you may hear a startup sound or receive voice prompts indicating that your earbuds are ready for use.
- Powering Off: Turning off your wireless earbuds is equally important to preserve battery life. Many earbuds automatically power off when placed back in the charging case, while others require you to press and hold the power button for a few seconds. It’s crucial to refer to the user manual or manufacturer’s instructions to understand the specific power-off procedure for your earbuds.
- Auto Power Off: Some wireless earbuds come with an auto power-off feature to conserve battery life. If you leave your earbuds disconnected or inactive for a certain period, they will automatically power off. This feature helps in preventing unnecessary battery drain and ensures that your earbuds are charged when you need them.
By correctly powering on and off your wireless earbuds, you can ensure that they are fully charged and ready for use when you need them. Remember to follow the instructions provided by the manufacturer for your specific earbud model to maximize battery life and optimize the charging process.
Connecting to a Device
Once you have ensured that your wireless earbuds are charged, the next step is to connect them to a device, such as a smartphone, tablet, or computer. The process may vary slightly depending on the earbud model, but here are some general steps to follow:
- Enable Bluetooth: Make sure that the Bluetooth feature is enabled on the device you want to connect your earbuds to. This can usually be done through the device’s settings menu.
- Put Your Earbuds in Pairing Mode: To establish the initial connection, you may need to put your earbuds in pairing mode. This is typically done by pressing and holding a dedicated button on the earbuds or the charging case. The LED lights may flash or change color to indicate that the earbuds are in pairing mode.
- Select the Earbuds: On your device, navigate to the Bluetooth settings and look for the name of your earbuds in the list of available devices. Select the name to initiate the pairing process.
- Follow the Prompts: Depending on the device, you may be prompted to enter a passcode or confirm the pairing request. Follow the on-screen instructions to complete the pairing process.
- Successful Connection: Once the pairing process is complete, you should see a notification on your device confirming the successful connection. The LED lights on the earbuds may also change to indicate a connected status.
It’s important to note that some wireless earbud models may have additional features or specific pairing procedures. Refer to the user manual or manufacturer’s instructions for detailed information on how to connect your specific earbuds to your device.
By successfully connecting your wireless earbuds to a device, you can enjoy your favorite music, podcasts, or videos wirelessly and without interruption. Remember to disconnect or turn off Bluetooth when you are not using your earbuds to preserve battery life.
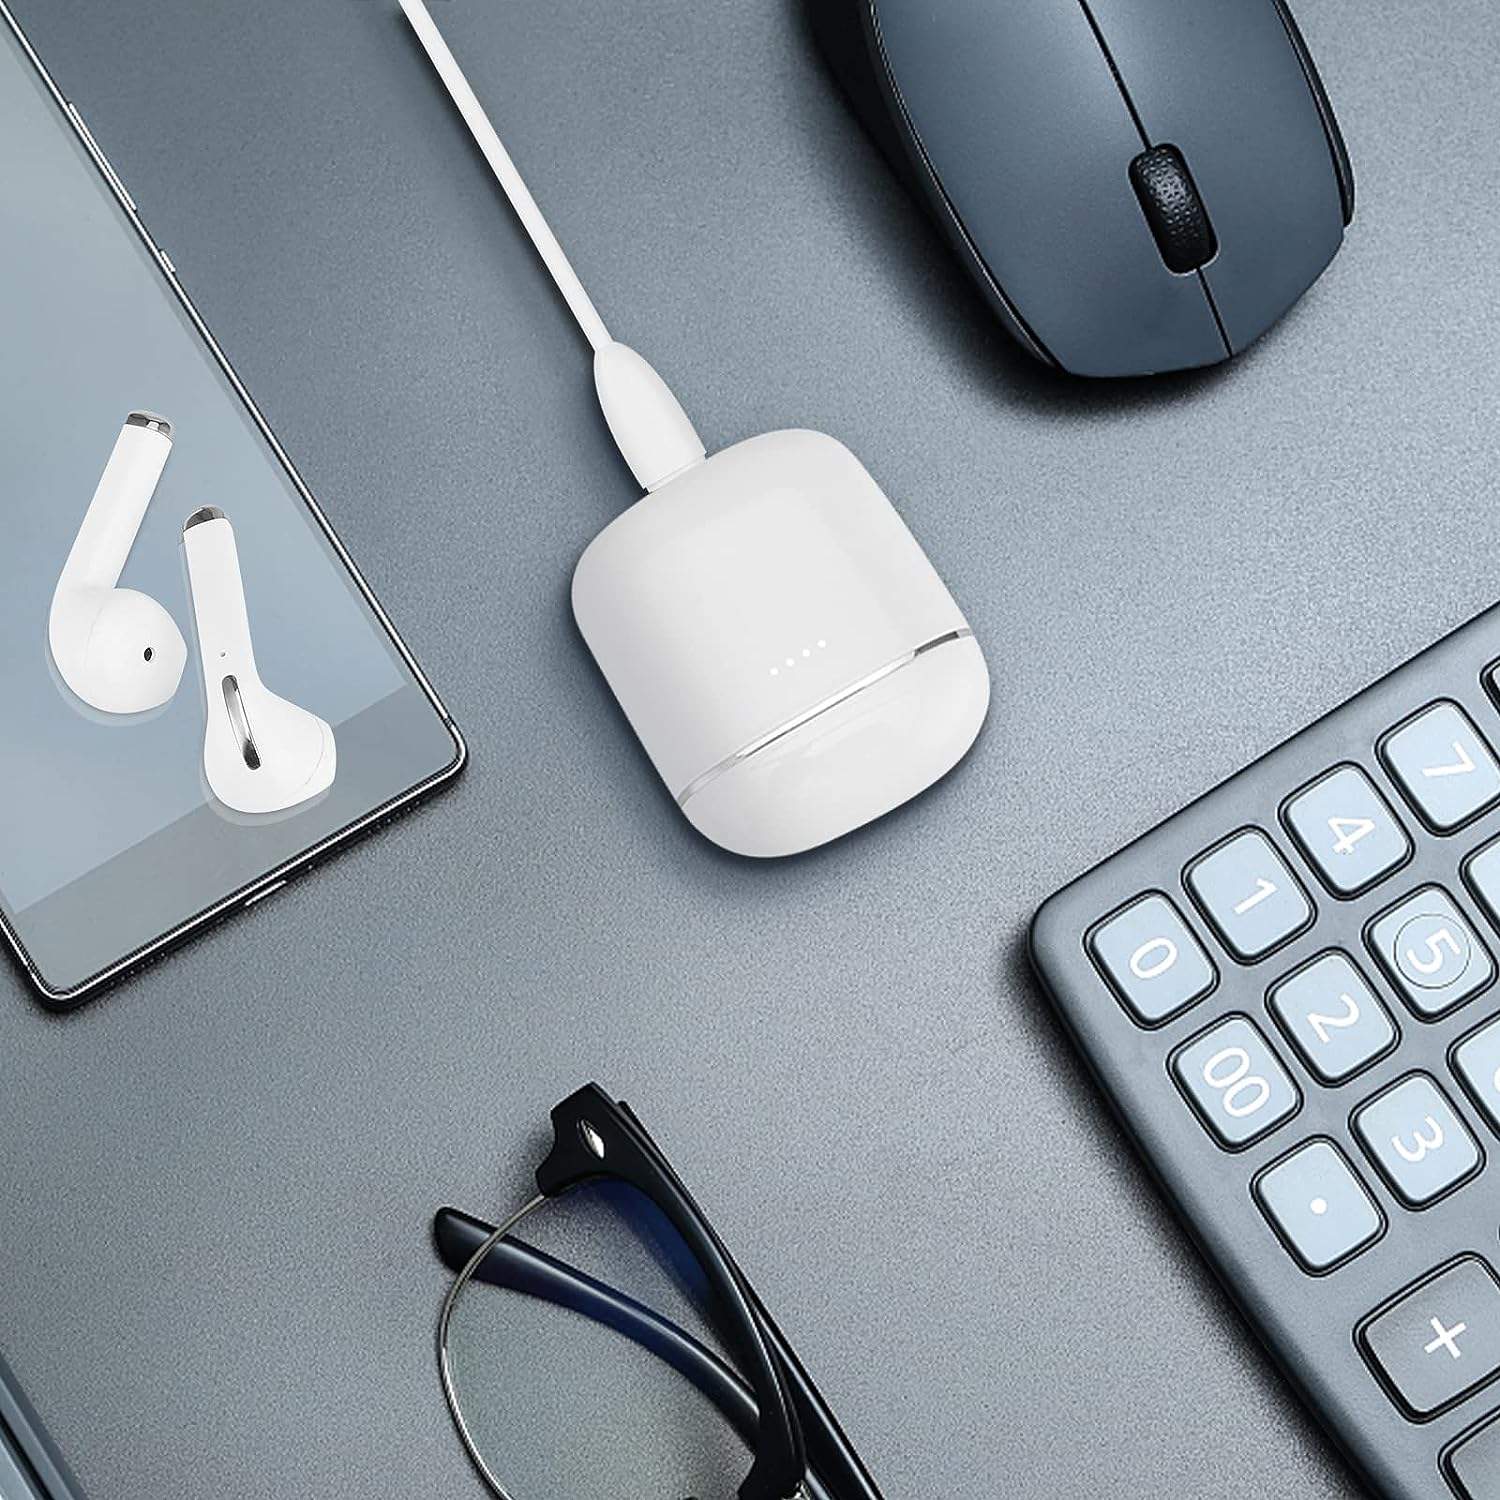
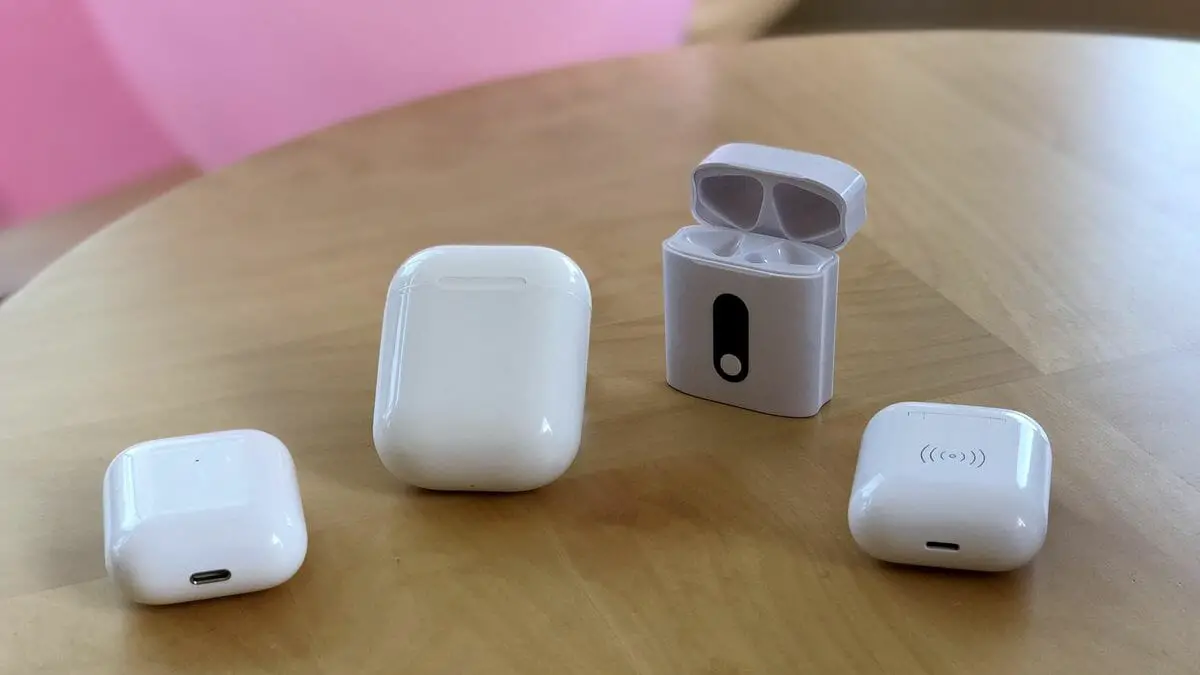
Using the Charging Case
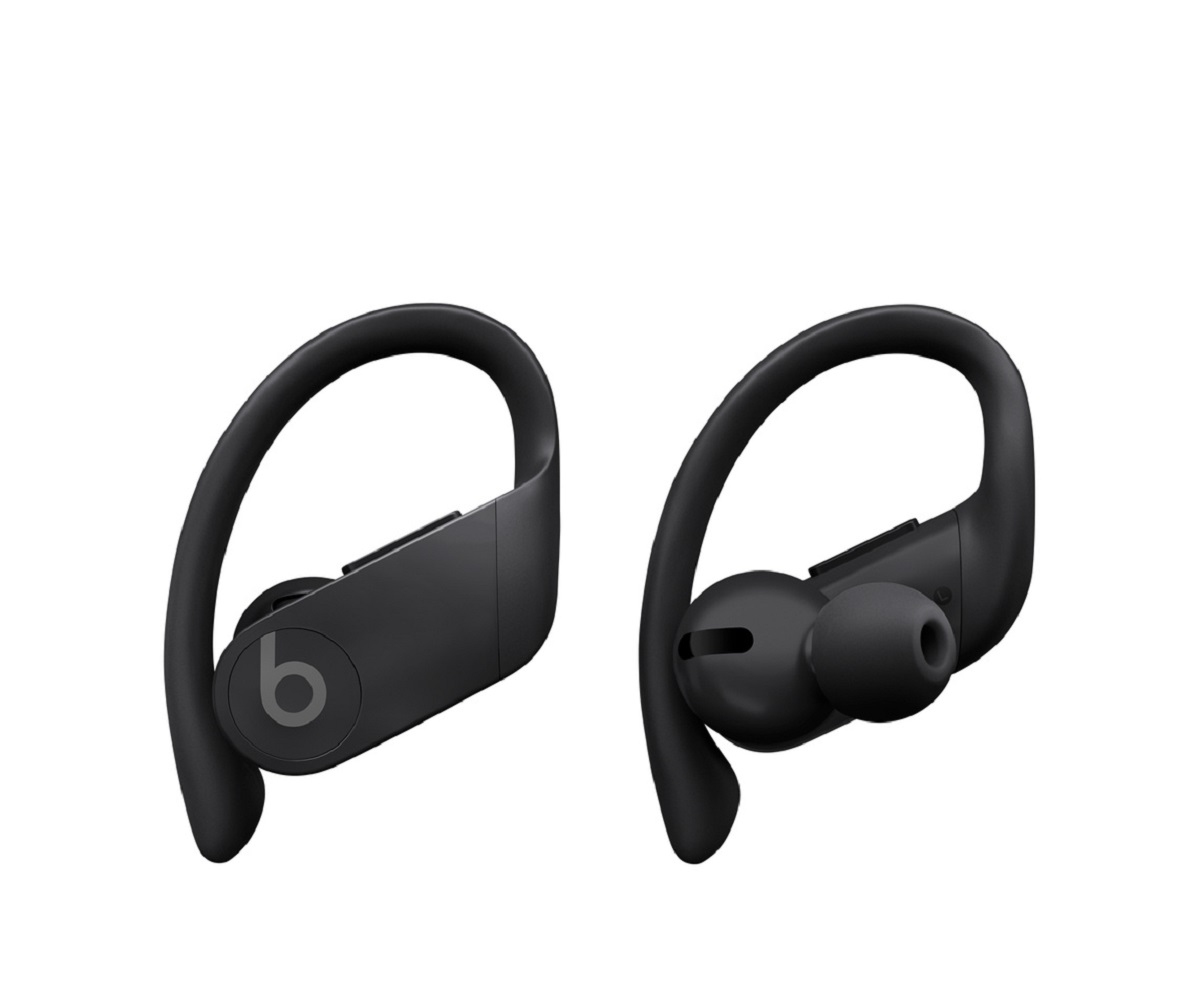
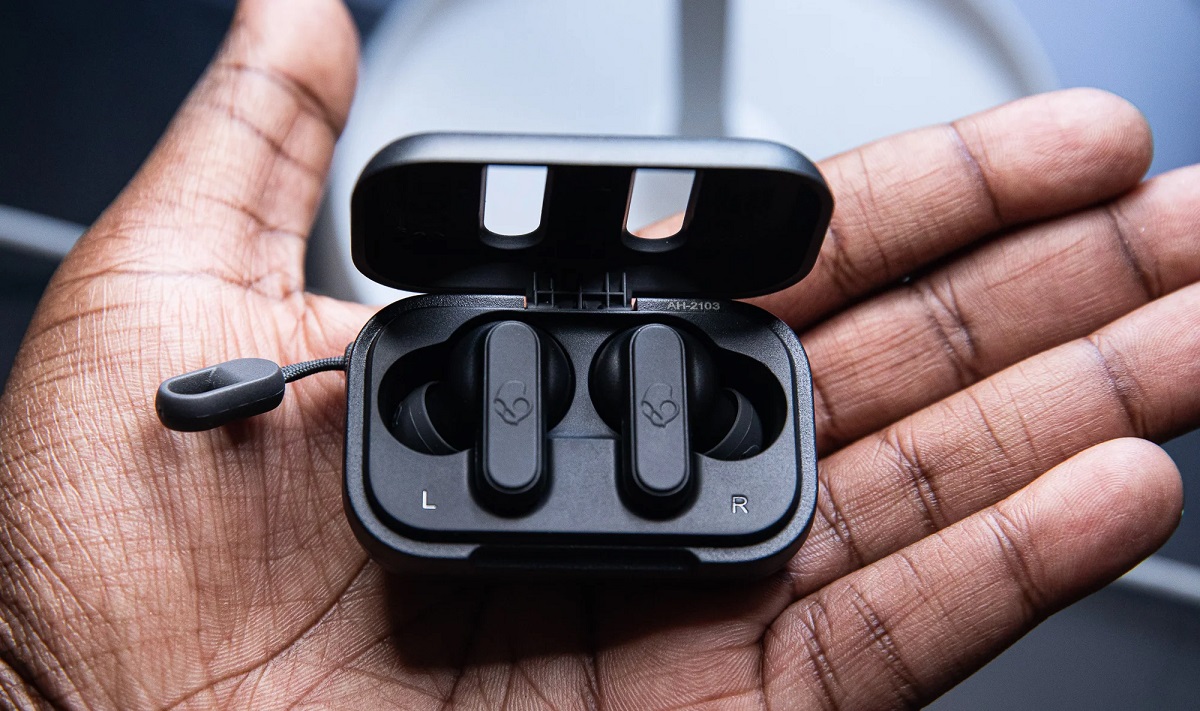
The charging case is an essential accessory that comes with most wireless earbuds. It serves two purposes: providing a safe storage space for your earbuds when not in use and recharging their batteries. Here are some key points to keep in mind when using the charging case:
- Proper Placement: When you’re done using your wireless earbuds, place them inside the charging case. Make sure they are properly aligned with the charging pins or contacts to establish a connection for charging.
- Charging Indicators: The charging case usually features its own set of LED lights to indicate the charging status. These lights may be located on the case itself or on the lid. Different colors or blinking patterns can represent various charging states, such as charging in progress, a full charge, or low battery.
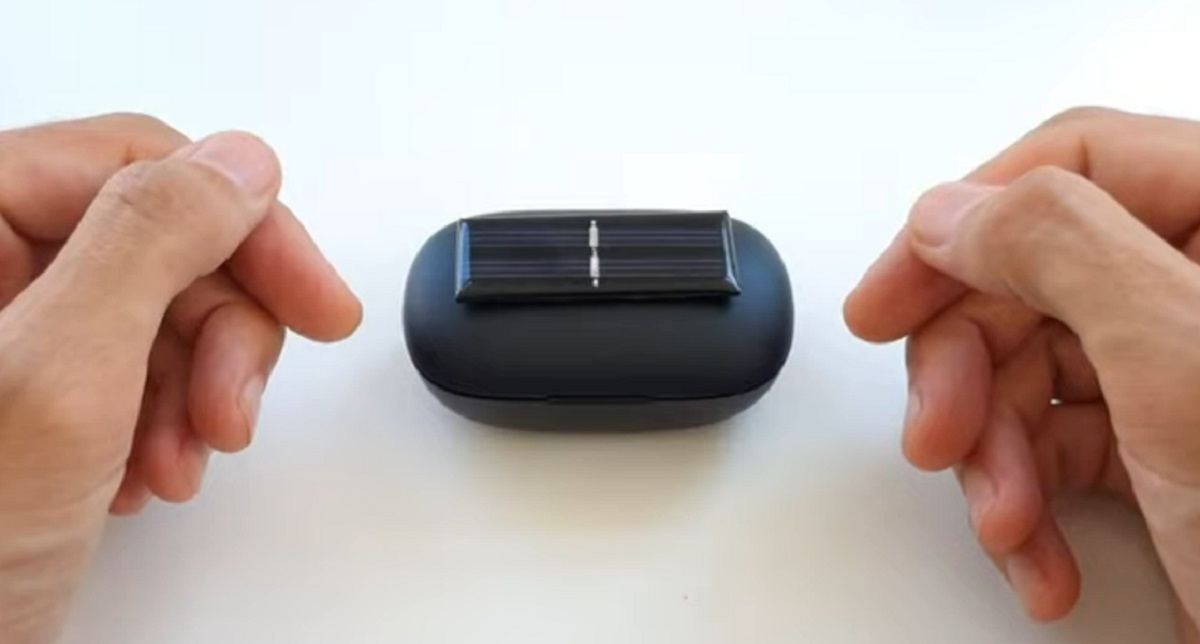
- Charging the Case: The charging case typically has its own battery that needs to be periodically charged. This is usually done by connecting the case to a power source using a USB cable or by placing it on a wireless charging pad if it supports wireless charging. Refer to the user manual for instructions specific to your charging case.
- Portable Power Bank: In addition to charging your earbuds, some charging cases also function as portable power banks. This means you can use the case to charge your smartphone or other devices when you’re on the go, utilizing the stored power within the case.
- Storage and Protection: Apart from charging, the case serves as a protective storage solution for your earbuds. It helps prevent damage to the earbuds and keeps them safe from dust, moisture, and scratches. Make sure to keep the case clean and free from any debris that could interfere with the charging process.
By utilizing the charging case properly, you can ensure that your wireless earbuds are always conveniently stored and ready for use. Additionally, regularly charging the case will ensure that both the case and the earbuds have sufficient power for your on-the-go audio needs.
Charging Status Notifications
When it comes to charging wireless earbuds, having clear and informative notifications about the charging status is crucial. Here are some common methods through which charging status notifications are provided:
- Voice Prompts: Many wireless earbuds include voice prompts that audibly inform you about the charging status when you connect them to a power source. These prompts may indicate that the earbuds are charging, fully charged, or if there’s an issue with the charging process.
- LED Lights: As mentioned earlier, LED lights on the earbuds or the charging case are often used to indicate the battery level and charging status. This includes blinking or solid lights to signify whether the earbuds are charging, fully charged, or encountering any charging errors.
- Mobile App Notifications: Some wireless earbud manufacturers provide companion mobile apps that can send notifications to your smartphone or device. These notifications can provide real-time updates on the charging status, including the battery percentage and estimated charging time remaining.
- Popup Notifications: Depending on the device you have connected your earbuds to, you may receive pop-up notifications on the screen indicating the charging status. These notifications can help you stay informed about the battery level while you’re using your device.
Having access to charging status notifications is important as it allows you to monitor and plan your usage accordingly. By paying attention to these notifications, you can ensure that your wireless earbuds are sufficiently charged for extended use or that you recharge them when needed to avoid any inconvenience.
Remember to consult the user manual or manufacturer’s instructions to fully understand the charging status notifications specific to your wireless earbuds. This will help you make the most out of this valuable feature and ensure that your earbuds are always charged and ready to go.
Battery Life and Usage Time
Understanding the battery life and usage time of your wireless earbuds is essential for managing your listening sessions and ensuring uninterrupted enjoyment. Here are some important factors to consider:
- Battery Life: The battery life refers to the total amount of time your earbuds can last on a single charge. This can vary depending on the brand, model, and usage factors. Some earbuds offer a battery life of 4-6 hours, while others can last 8-10 hours or even longer. Check the specifications or user manual provided by the manufacturer to determine the battery life of your specific earbud model.
- Charging Time: The charging time corresponds to how long it takes to fully charge the battery of your wireless earbuds. It’s important to have an idea of the charging time needed to plan your charging routine. Some earbuds can be fully charged in as little as 1-2 hours, while others may require 3-4 hours or even longer depending on their battery capacity.
- Usage Time: The usage time refers to the duration of continuous playback or talk time you can get from your fully charged earbuds. This can vary based on factors such as volume levels, active noise cancellation, and other features in use. It’s important to note that the actual usage time may be slightly lower than the specified battery life due to these factors.
- Case Charging: The charging case plays a vital role in extending the overall battery life of your earbuds. It serves as a portable charging station that can recharge your earbuds multiple times on the go. The charging case itself needs to be periodically charged through a power source or a wireless charging pad to keep it ready for use.
- Conserving Battery Life: To make the most out of your wireless earbuds’ battery life, consider implementing some battery-saving practices. For example, reducing volume levels, disabling unnecessary features like active noise cancellation when not needed, and properly powering off or placing the earbuds in the charging case when not in use can help conserve battery power.
By understanding the battery life and usage time of your wireless earbuds, you can plan your listening sessions accordingly and ensure that your earbuds are charged and ready for extended use. Practice good charging habits to maximize battery performance and enjoy uninterrupted audio experiences whenever you need them.
Troubleshooting Common Issues
While wireless earbuds offer convenience and freedom, they can occasionally encounter common issues. Here are some troubleshooting tips to help you resolve these problems:
- Poor Battery Life: If you notice that your earbuds’ battery life is significantly lower than expected, try reducing the volume level or disabling power-hungry features like active noise cancellation. Additionally, ensure that your earbuds are fully charged before each use and that you’re using a reliable power source for recharging.
- Connectivity Issues: If your earbuds are struggling to connect to your device or experiencing frequent dropouts, try resetting the earbuds and re-pairing them with your device. Make sure that your earbuds and device are within close proximity and free from any physical obstructions.
- Poor Audio Quality: If the audio quality of your wireless earbuds is distorted or lacking clarity, check for any debris or earwax buildup in the earbuds’ speaker mesh or ear tips. Cleaning them gently with a soft cloth or a cotton swab can often resolve this issue. Additionally, try adjusting the positioning of the earbuds in your ears to achieve a better seal and improve sound quality.
- Charging Issues: If you’re experiencing difficulties with charging your earbuds, ensure that the charging pins or contacts are clean and free from any debris or dirt. Also, verify that the charging case or cable you’re using is compatible with your earbuds. If the problem persists, contact the manufacturer for further assistance.
- Software Updates: Check for any available firmware or software updates for your wireless earbuds. Manufacturers often release updates to improve performance, fix bugs, and provide new features. Make sure to follow the instructions provided by the manufacturer to update your earbuds’ software.
If you encounter any persistent issues or if the troubleshooting tips mentioned above do not resolve the problem, it is recommended to reach out to the manufacturer’s customer support for further assistance. They will have specialized knowledge and resources to help you overcome any technical challenges you may face with your wireless earbuds.
By following these troubleshooting steps, you can effectively address common issues with your wireless earbuds and enjoy a seamless and uninterrupted audio experience.
Conclusion
Wireless earbuds have revolutionized the way we enjoy audio on the go, providing convenience, mobility, and freedom from tangled wires. However, ensuring that your wireless earbuds are charged and ready for use is crucial to have uninterrupted listening experiences.
In this article, we have explored various methods to determine if your wireless earbuds are charged. We discussed checking the battery level through mobile apps, indicator lights, voice prompts, and compatibility with devices. Additionally, we explored how to power on and off wireless earbuds, connect them to your device, use the charging case effectively, and understand charging status notifications.
Understanding important factors such as battery life, usage time, and troubleshooting common issues can also greatly enhance your wireless earbud experience. By implementing proper charging habits, following troubleshooting steps, and utilizing the features and indicators specific to your earbuds, you can maximize battery performance and resolve any issues that may arise.
Remember to consult the user manual or manufacturer’s instructions for detailed information on how to charge, use, and maintain your specific wireless earbuds. This will ensure that you get the most out of your earbuds and enjoy high-quality audio for your favorite music, podcasts, and videos.
So, keep your wireless earbuds charged, put them on, and immerse yourself in a world of audio enjoyment!