Introduction
Bluetooth earbuds have become increasingly popular due to their convenience and wireless capabilities. Whether you use them for listening to music, taking calls, or working out, these portable audio devices have revolutionized the way we enjoy audio on the go.
However, just like any technology, Bluetooth earbuds can sometimes encounter issues or glitches that require troubleshooting. One common solution is to perform a reset, which can help resolve issues such as connectivity problems, audio distortion, or syncing errors.
But why would you need to reset Bluetooth earbuds in the first place? Well, there are several reasons. Sometimes, your earbuds might not be connecting to your device properly or experiencing connectivity issues. In other cases, you might have encountered a software glitch that’s affecting the performance of your earbuds. Resetting them can often resolve these issues and restore them to their default settings.
In this guide, we’ll walk you through the step-by-step process of resetting Bluetooth earbuds. We’ll cover both soft resets, which are simple and non-destructive, and hard resets, which will completely restore your earbuds to their factory settings.
It’s important to note that the method of resetting Bluetooth earbuds may vary depending on the brand and model. Therefore, later in this article, we’ll provide specific instructions for resetting popular Bluetooth earbud brands such as Apple AirPods, Samsung Galaxy Buds, Jabra Elite 75t, Bose SoundSport Free, and Sony WF-1000XM3.
So, if you’re experiencing any issues with your Bluetooth earbuds or simply want to start fresh, read on to learn how to reset them effectively.
Why Reset Bluetooth Earbuds?
Resetting Bluetooth earbuds can be a useful troubleshooting technique when you encounter various issues with your wireless audio devices. Let’s delve into some of the key reasons why resetting your Bluetooth earbuds might be necessary:
1. Connectivity Problems: At times, your Bluetooth earbuds may fail to connect to your device or experience frequent disconnections. This can be frustrating, especially when you’re in the middle of a phone call or enjoying your favorite music. Resetting your earbuds can often help resolve these connectivity issues by clearing any temporary glitches or misconfigurations.
2. Audio Distortion: If you notice that the audio quality from your Bluetooth earbuds has suddenly degraded, with distorted or muffled sound, a reset may help. Sometimes, firmware or software issues can cause audio problems. Resetting your earbuds can refresh their settings and eliminate any temporary issues that are impacting the sound quality.
3. Syncing Errors: Bluetooth earbuds are often designed to work seamlessly with your devices, syncing audio and controls effortlessly. However, there can be instances where the syncing process doesn’t work as intended, resulting in delayed or mismatched audio. Resetting your earbuds can recalibrate the syncing settings and ensure smooth synchronization.
4. Battery Drainage: If you notice that the battery life of your Bluetooth earbuds has substantially reduced, a reset can help address this issue. Sometimes, background processes or software glitches can cause excessive battery drainage. By resetting your earbuds, you can clear any unnecessary processes and potentially improve the battery performance.
5. Software Glitches: Just like any other electronic device, Bluetooth earbuds can encounter software glitches or bugs. These issues can impact their overall performance and functionality. Performing a reset can help resolve these glitches and restore your earbuds to their default settings.
6. Factory Settings: Lastly, resetting Bluetooth earbuds allows you to return them to their original factory settings. This can be beneficial if you want to start fresh with a clean slate, remove any customizations or preferences you’ve made, or prepare your earbuds for a new user.
By understanding these common scenarios where resetting your Bluetooth earbuds can be advantageous, you’ll be better equipped to troubleshoot any issues that may arise. Now, let’s dive into the step-by-step process of soft reset and hard reset methods for various Bluetooth earbud brands.
Resetting Bluetooth Earbuds: Step-by-Step Guide
Resetting your Bluetooth earbuds can vary depending on the brand and model. In this section, we will provide you with a general step-by-step guide that will help you perform a soft or hard reset on your earbuds.
Step 1: Start by turning off your Bluetooth earbuds completely. Ensure that they are not paired or connected to any device.
Step 2: For a soft reset, simply disconnect the earbuds from any charging cables or devices. Leave them alone for a few minutes to allow any temporary cached data or settings to clear up.
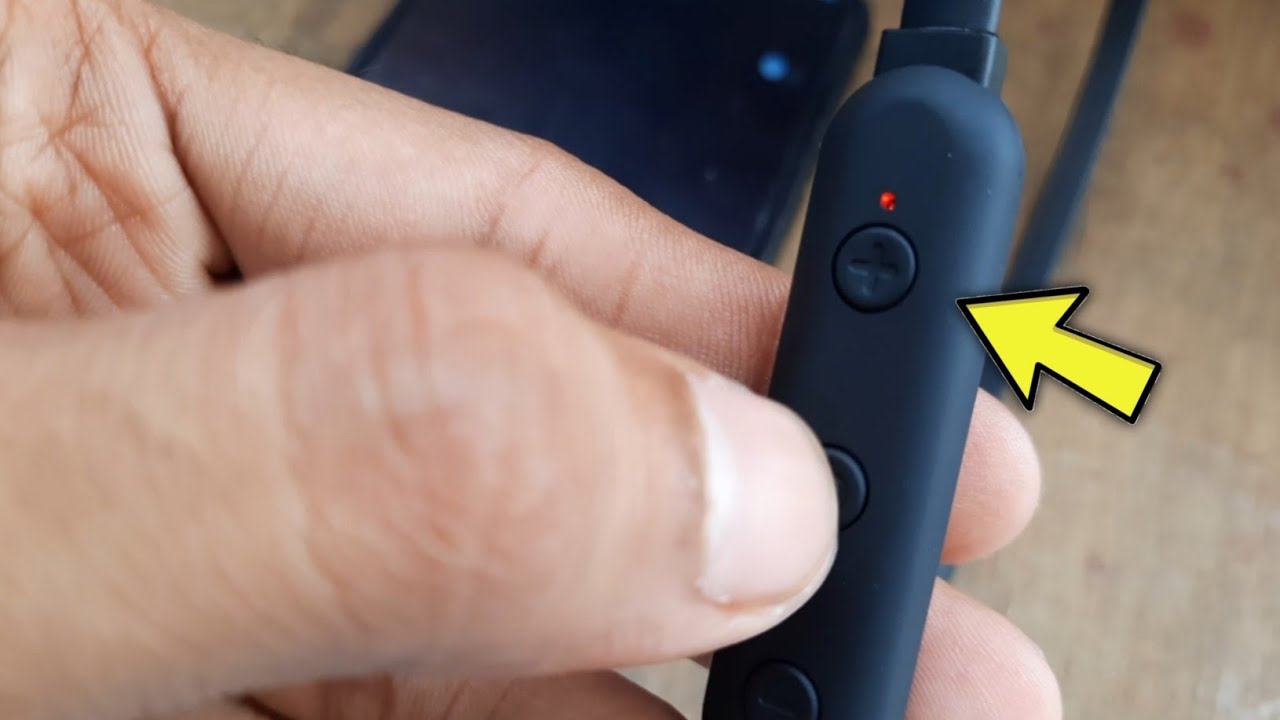
Step 3: If a soft reset did not resolve the issue, you may need to perform a hard reset. Look for a small reset button or pinhole on your Bluetooth earbuds. Use a small pin or toothpick to press and hold the reset button for about 10-15 seconds. This will usually restore the earbuds to their default factory settings.
Step 4: After releasing the reset button, your earbuds will power on and enter pairing mode. Follow the manufacturer’s instructions to pair them with your device again.
Step 5: Test your Bluetooth earbuds to see if the issue has been resolved. Check for connectivity, audio quality, and any other issues you were experiencing.
If the problem persists even after a reset, consult the user manual or the official website of the earbuds’ manufacturer for specific troubleshooting steps.
Remember that the above steps are general guidelines, and the exact method may vary for different models. Now, let’s dive into the specific instructions for resetting popular brands of Bluetooth earbuds.
Soft Reset
A soft reset is a simple and non-destructive method to troubleshoot common issues with Bluetooth earbuds. It helps clear any temporary glitches or cached data, which can sometimes interfere with the earbuds’ performance. Follow these steps to perform a soft reset on your Bluetooth earbuds:
Step 1: Turn off your Bluetooth earbuds and ensure they are not connected or paired with any other device.
Step 2: Disconnect the earbuds from any charging cables or devices. This ensures that the earbuds are not receiving any power during the reset process.
Step 3: Leave the earbuds alone for a few minutes. This allows any temporary settings or cached data to clear up.
Step 4: After a few minutes, power on your earbuds and attempt to pair them with your device again.
At this point, the soft reset process should be complete. Test your Bluetooth earbuds to see if the issues you were experiencing have been resolved. Check for connectivity, audio quality, and any other issues you were facing.
If the soft reset did not solve the problem, you may need to proceed with a hard reset, which will restore the earbuds to their factory default settings. Refer to the manufacturer’s instructions or specific brand sections later in this article to learn how to perform a hard reset on your Bluetooth earbuds.
It’s important to note that performing a soft reset will not delete any saved preferences or customizations you have made to the earbuds. However, if you want to start fresh or address more complex issues, a hard reset may be required. Now, let’s explore the steps for resetting specific brands of Bluetooth earbuds.
Hard Reset
A hard reset is a more comprehensive method of resetting Bluetooth earbuds that restores them to their factory default settings. This can be useful when you are facing persistent issues or want to remove any saved preferences or customizations. Follow the steps below to perform a hard reset on your Bluetooth earbuds:
Step 1: Ensure that your Bluetooth earbuds are turned off and not connected or paired with any other device.
Step 2: Look for a small reset button or pinhole on your Bluetooth earbuds. The location of the reset button may vary depending on the brand and model.
Step 3: Using a small pin or toothpick, press and hold the reset button for about 10-15 seconds. Make sure to apply gentle pressure to avoid damaging the earbuds.
Step 4: After holding the reset button, you may notice some indication, such as flashing lights or a power-off sequence. This means that your earbuds are being reset to their default settings.
Step 5: Release the reset button and power on your earbuds. They will now enter pairing mode.
Step 6: Follow the manufacturer’s instructions to pair your earbuds with your device again. This typically involves accessing the Bluetooth settings on your device and selecting the earbuds from the available devices list.
Once the hard reset is complete, your Bluetooth earbuds will be restored to their factory default settings. This means that any preferences, customizations, or saved settings will be erased. You will need to set them up again according to your preferences.
Remember to consult the user manual or the official website of the earbuds’ manufacturer for specific instructions on performing a hard reset, as the steps may vary for different models.
Now that you have learned how to perform both soft and hard resets on Bluetooth earbuds, let’s move on to the next section, where we will provide specific instructions for resetting popular brands of Bluetooth earbuds.
Resetting Specific Brands of Earbuds
In this section, we will provide specific instructions for resetting popular brands of Bluetooth earbuds. Please note that the steps may vary slightly depending on the exact model you are using. Always refer to the user manual or the official website of the earbuds’ manufacturer for the most accurate and up-to-date instructions.
Apple AirPods
To reset your Apple AirPods, follow these steps:
- Put both AirPods in the charging case and close the lid.
- Wait for about 30 seconds, then open the lid of the charging case.
- Press and hold the button on the back of the charging case until the LED light on the front begins to flash white.
- Your AirPods have now been reset and are ready to be paired with your device again.
Samsung Galaxy Buds
To perform a reset on your Samsung Galaxy Buds, follow these steps:
- Open the Galaxy Wearable app on your connected device.
- Navigate to the “About earbuds” or “About earphones” section.
- Select “Reset earbuds.”
- Follow the on-screen instructions to complete the reset process.
Jabra Elite 75t
To reset your Jabra Elite 75t earbuds, follow these steps:
- Ensure that the earbuds are turned on.
- Press and hold the button on the right earbud for about 10 seconds until the LED light flashes purple.
- Your Jabra Elite 75t earbuds have now been reset and are ready to be paired with your device again.
Bose SoundSport Free
To reset your Bose SoundSport Free earbuds, follow these steps:
- Turn on your earbuds. If they are already on, turn them off and then turn them on again.
- Press and hold the button on the right earbud until the LED light on the left earbud flashes white.
- Your Bose SoundSport Free earbuds have now been reset and are ready to be paired with your device again.
Sony WF-1000XM3
To perform a reset on your Sony WF-1000XM3 earbuds, follow these steps:
- Put both earbuds back into the charging case.
- Close the lid of the charging case.
- Press and hold the button on the back of the charging case for about 20 seconds.
- Open the lid of the charging case and remove the earbuds.
- Your Sony WF-1000XM3 earbuds have now been reset and are ready to be paired with your device again.
These are just a few examples of popular Bluetooth earbuds brands and their respective reset procedures. Remember to always refer to the official documentation for your specific earbud model to perform a successful reset.
Now that you have learned how to reset Bluetooth earbuds from different brands, you can easily troubleshoot common issues and enjoy a seamless audio experience with your favorite wireless earbuds.
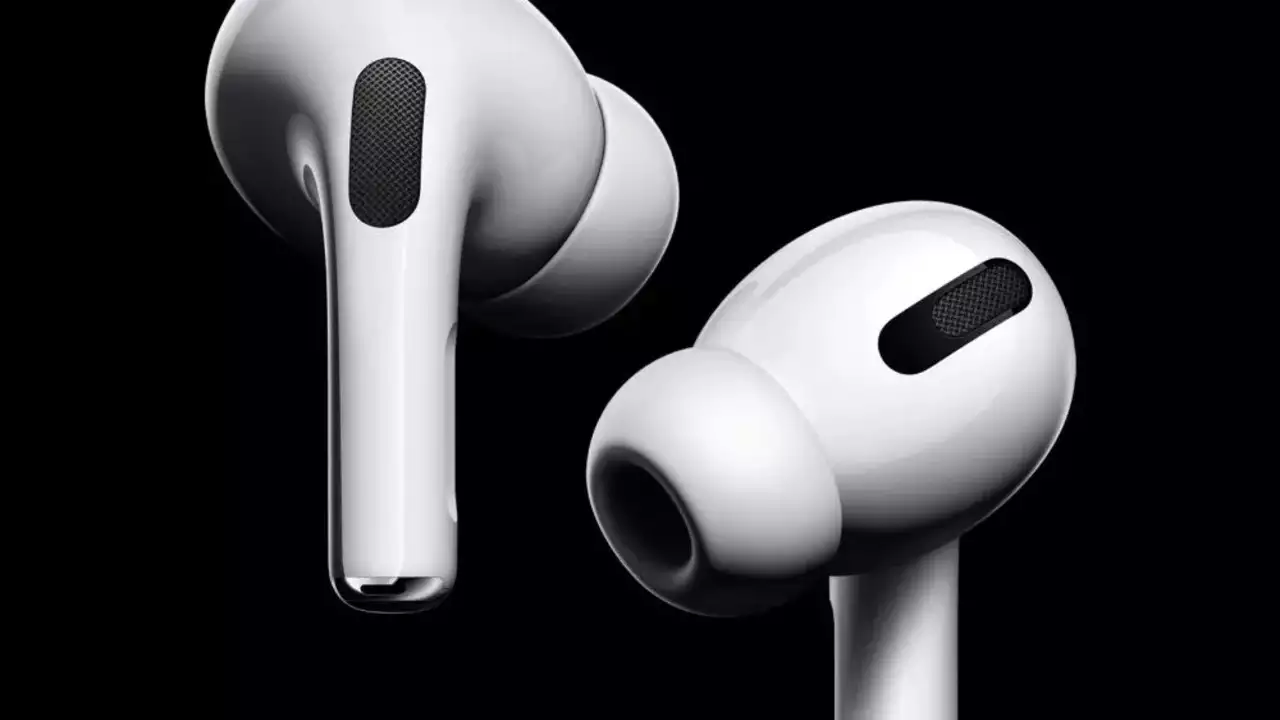
Apple AirPods
Apple AirPods are incredibly popular wireless earbuds, known for their seamless connectivity and user-friendly features. If you’re experiencing issues with your AirPods, performing a reset can often resolve them. Here are the steps to reset your Apple AirPods:
- Put both AirPods in the charging case and close the lid.
- Wait for about 30 seconds, then open the lid of the charging case.
- Press and hold the button on the back of the charging case until the LED light on the front begins to flash white.
- Your AirPods have now been reset and are ready to be paired with your device again.
By following these steps, you can reset your AirPods and potentially resolve any connectivity issues, audio problems, or other glitches you may have been facing. It’s important to note that resetting AirPods will not erase any of your personal preferences or settings. However, you may need to re-pair them with your device after the reset.
If you’re still encountering issues with your AirPods even after resetting them, ensure that both your AirPods and your device’s software are up to date. Additionally, check for any physical damage, dirt, or debris that may be affecting the performance of your AirPods or their charging case. If the problems persist, it’s advisable to reach out to Apple Support for further assistance.
Remember, the process mentioned above is specifically for Apple AirPods. Different models or generations of AirPods may have variations in the reset process, so always refer to the official Apple support documentation or the user manual for your specific AirPods model to ensure accurate instructions.
Now that you know how to reset Apple AirPods, you can troubleshoot any issues you encounter and continue enjoying the seamless wireless experience they provide.
Samsung Galaxy Buds
Samsung Galaxy Buds are popular wireless earbuds known for their great sound quality and stylish design. If you’re experiencing any issues with your Galaxy Buds, performing a reset can often help resolve them. Here’s how to reset your Samsung Galaxy Buds:
- Open the Galaxy Wearable app on your connected device.
- Navigate to the “About earbuds” or “About earphones” section.
- Select “Reset earbuds.”
- Follow the on-screen instructions to confirm the reset process.
By following these steps, your Galaxy Buds will be reset to their default settings. This can help resolve issues such as connectivity problems, audio distortion, or syncing errors you may have been facing.
Keep in mind that a reset will not erase any software updates or firmware changes made to your Galaxy Buds. However, you may need to re-pair them with your device and customize your preferred settings after the reset.
If you continue to experience issues with your Galaxy Buds even after resetting them, make sure that your earbuds and connected device are running the latest software updates. Additionally, ensure that the earbuds are clean and free from any dirt or debris that might be affecting their performance.
If the problems persist, it’s recommended to consult the official Samsung support documentation or contact their customer support for further assistance.
Remember, the instructions provided for resetting Samsung Galaxy Buds are generally applicable. However, different models or variations of the Galaxy Buds may have slight variations in the reset process. Therefore, it’s advisable to refer to the official Samsung documentation or the user manual specific to your Galaxy Buds model to ensure accurate steps.
Now that you know how to reset your Samsung Galaxy Buds, you can troubleshoot any issues and get back to enjoying your music, calls, and audio experience with these stylish wireless earbuds.
Jabra Elite 75t
Jabra Elite 75t is a popular choice among wireless earbuds, offering excellent sound quality and a comfortable fit. If you’re experiencing any issues with your Jabra Elite 75t, performing a reset can often help resolve them. Follow these steps to reset your Jabra Elite 75t:
- Ensure that the earbuds are turned on.
- Press and hold the button on the right earbud for about 10 seconds until the LED light flashes purple.
- Your Jabra Elite 75t earbuds have now been reset and are ready to be paired with your device again.
By performing this reset, you can address connectivity problems, audio disruptions, or any other issues you may have been encountering with your Jabra Elite 75t earbuds. It’s important to note that resetting the earbuds to their default settings will not affect any firmware updates or software changes you may have made.
Once the reset is complete, you will need to re-pair your Jabra Elite 75t with your device. Follow the initial pairing process as outlined in the user manual or on the official Jabra website to establish a new connection.
If the reset does not resolve the issues you’re facing, make sure that both the earbuds and your connected device have the latest firmware updates installed. Additionally, clean the earbuds’ charging contacts and ensure they fit securely in your ears for optimal performance.
If the problems persist, reach out to Jabra’s customer support for further assistance or consult the official support documentation specific to the Jabra Elite 75t model.
It’s important to keep in mind that the steps provided are generally applicable for resetting Jabra Elite 75t earbuds. However, there may be slight variations in the reset process for different models or firmware versions. Therefore, always refer to the official Jabra documentation for your specific earbuds model for accurate instructions.
Now that you know how to reset your Jabra Elite 75t earbuds, you can easily troubleshoot any issues and resume enjoying your wireless audio experience with these high-quality earbuds.
Bose SoundSport Free
Bose SoundSport Free is a popular choice for athletes and fitness enthusiasts, providing excellent sound quality and a comfortable, secure fit. If you’ve encountered any issues with your Bose SoundSport Free earbuds, performing a reset can often help resolve them. Here’s how to reset your Bose SoundSport Free earbuds:
- Turn on your earbuds. If they are already on, turn them off and then turn them on again.
- Press and hold the button on the right earbud until the LED light on the left earbud flashes white.
- Your Bose SoundSport Free earbuds have now been reset and are ready to be paired with your device again.
By following these steps, you can effectively address connectivity problems, audio disruptions, or any other issues you may have been experiencing with your Bose SoundSport Free earbuds. Resetting the earbuds to their factory default settings will not impact any firmware updates or software changes that you may have made previously.
After the reset, you will need to pair your Bose SoundSport Free earbuds with your device again. Refer to the user manual or official Bose support documentation for the specific pairing process for your device.
If the issues persist after the reset, make sure that both the earbuds and your connected device have the latest firmware updates installed. Additionally, clean the earbuds’ charging contacts and ensure that they fit securely in your ears for optimal performance.
If the problems persist, consider contacting Bose customer support for further assistance. They can provide personalized guidance and address any specific issues you may be facing with your Bose SoundSport Free earbuds.
It’s worth noting that the steps provided above offer a general guideline for resetting Bose SoundSport Free earbuds. However, please consult the official documentation for your specific model to ensure accurate instructions.
Now that you know how to reset your Bose SoundSport Free earbuds, you can easily troubleshoot any issues and continue enjoying your wireless audio experience during your workouts and activities.
Sony WF-1000XM3
Sony WF-1000XM3 is a popular choice for those seeking high-quality wireless earbuds with exceptional noise-canceling capabilities. If you’re experiencing any issues with your Sony WF-1000XM3 earbuds, performing a reset can often help resolve them. Follow these steps to reset your Sony WF-1000XM3:
- Put both earbuds back into the charging case.
- Close the lid of the charging case.
- Press and hold the button on the back of the charging case for about 20 seconds.
- Open the lid of the charging case and remove the earbuds.
- Your Sony WF-1000XM3 earbuds have now been reset and are ready to be paired with your device again.
By following these steps, you can effectively address connectivity issues, audio disruptions, or any other problems you may have been experiencing with your Sony WF-1000XM3 earbuds. Resetting the earbuds to their factory default settings will not erase any firmware updates or software changes that you may have made.
After the reset, you will need to pair your Sony WF-1000XM3 earbuds with your device again. Refer to the user manual or official Sony support documentation for the specific pairing instructions for your device.
If the issues persist after the reset, ensure that both the earbuds and your connected device have the latest firmware updates installed. Also, clean the earbuds’ charging contacts and make sure they fit securely in your ears for optimal audio performance and noise cancellation.
If the problems persist, it’s recommended to reach out to Sony customer support for further assistance. They can provide specific guidance and troubleshooting steps based on your particular situation.
Keep in mind that the steps provided above are generally applicable for resetting Sony WF-1000XM3 earbuds. However, there may be slight variations in the reset process for different firmware versions or specific models. Therefore, always refer to the official Sony documentation for your specific earbuds model to ensure accurate instructions.
Now that you know how to reset your Sony WF-1000XM3 earbuds, you can easily troubleshoot any issues and continue enjoying your wireless audio experience with exceptional sound quality and noise cancellation.
Conclusion
Resetting Bluetooth earbuds can be a valuable troubleshooting technique when encountering issues such as connectivity problems, audio distortion, syncing errors, or other glitches. Whether you own Apple AirPods, Samsung Galaxy Buds, Jabra Elite 75t, Bose SoundSport Free, or Sony WF-1000XM3, knowing how to reset your specific brand and model can help you resolve common issues and get back to enjoying seamless wireless audio.
By following the step-by-step guide, you can perform a soft reset to clear temporary settings or a hard reset to restore your earbuds to their factory default settings. Soft resets are typically non-destructive and can often resolve minor issues. On the other hand, hard resets are more comprehensive and can eliminate more persistent problems, but it’s important to note that they erase any customized preferences or settings.
Remember to consult the user manual or the official documentation provided by the manufacturer for your specific earbuds model. It ensures that you have the most accurate and up-to-date instructions for resetting your Bluetooth earbuds.
If you’re still experiencing issues after a reset, consider checking for software updates for both your earbuds and your connected device. Additionally, ensure that you clean your earbuds and their charging contacts to maintain optimal performance.
If the problems persist, don’t hesitate to reach out to the customer support of your earbuds’ manufacturer for further assistance. They can provide personalized guidance and troubleshooting steps to help you address any specific issues.
So, the next time you encounter connectivity issues, audio disruptions, or other problems with your Bluetooth earbuds, refer back to this guide and follow the appropriate reset steps for your brand and model. Resetting can be an effective tool in maintaining the optimal performance and functionality of your wireless earbuds.