Troubleshooting Steps to Fix Your Wireless Earbuds
If you’ve encountered the frustrating situation of one of your wireless earbuds suddenly stopping working, don’t worry – there are several troubleshooting steps you can take to try and fix the issue. Before giving up on your earbuds, it’s worth trying these simple solutions to get them back up and running. Here are some troubleshooting steps to help you fix your wireless earbuds:
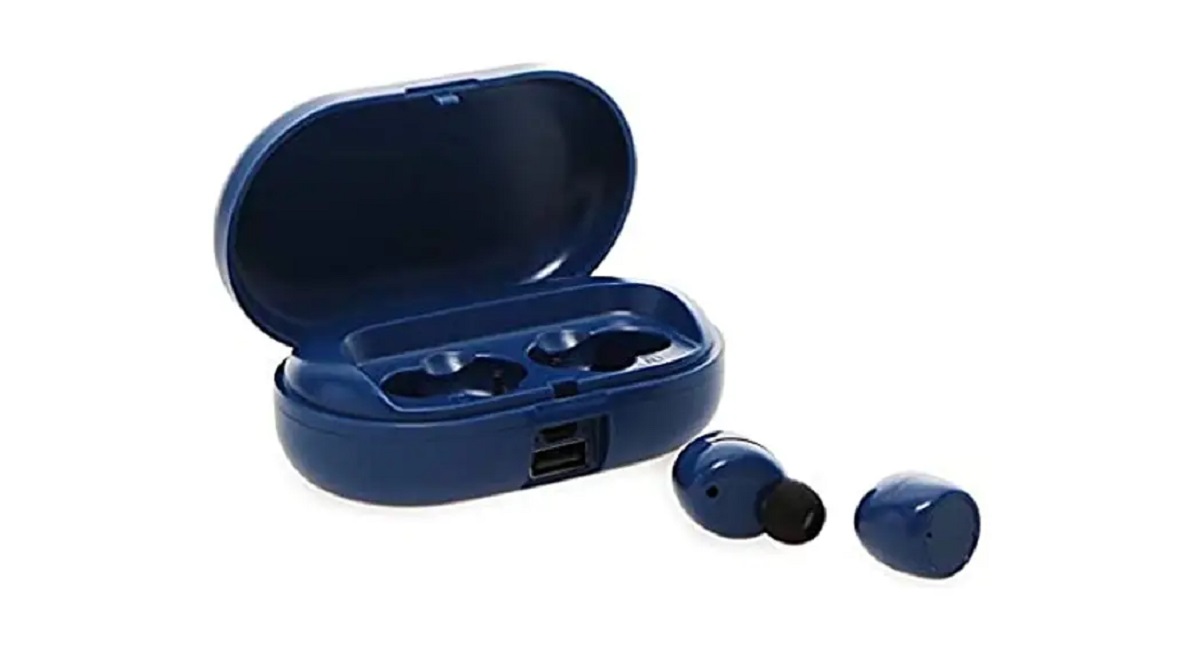
- Check the Battery: The first thing to do is ensure that the battery on your wireless earbuds is not depleted. If one of the earbuds has stopped working, it may be because its battery has run out while the other one is still functioning. Place your earbuds in their charging case and make sure they are properly connected and charging.
- Reset the Earbuds: If checking the battery doesn’t solve the issue, try resetting your wireless earbuds. Each brand and model might have a different method for resetting, so refer to the user manual or the manufacturer’s website for specific instructions. Resetting can often resolve minor connectivity or performance issues.
- Clean the Earbuds: Over time, earwax or other debris can accumulate on the earbuds, interfering with their functionality. Gently clean the earbuds with a soft, lint-free cloth or a cotton swab dipped in a small amount of rubbing alcohol. Be careful not to get any liquid inside the earbuds, as it may damage the internal components.
- Update Firmware and Software: Manufacturers often release firmware or software updates to improve the performance and compatibility of wireless earbuds. Check if there are any available updates for your specific earbuds and install them following the provided instructions. Updating the firmware or software may resolve any bugs or compatibility issues.
- Pairing and Connecting Issues: Sometimes, the problem lies in the pairing or connection between your earbuds and the device you are using. Disconnect and forget the earbuds from your device’s Bluetooth settings, then restart both the device and the earbuds. Re-pair them following the correct pairing procedure outlined in the user manual.
- Contact Manufacturer or Support: If none of the above steps work, it’s recommended to reach out to the manufacturer’s customer support. They will have specialized knowledge and troubleshooting techniques specific to your earbuds. Provide them with detailed information about the issue and any steps you have already taken. They may be able to provide further guidance or offer a solution.
By following these troubleshooting steps, you can increase the chances of fixing your wireless earbuds and avoid the need for expensive replacements. Remember to always refer to the user manual or the manufacturer’s website for specific instructions related to your earbuds’ model and brand. So, don’t let a single malfunctioning earbud dampen your listening experience – give these troubleshooting steps a try!
Check the Battery
When one of your wireless earbuds stops working, the first thing you should do is check the battery. It’s possible that the battery on that particular earbud has been depleted while the other one is still functioning. Here are some steps to follow to check and troubleshoot the battery:
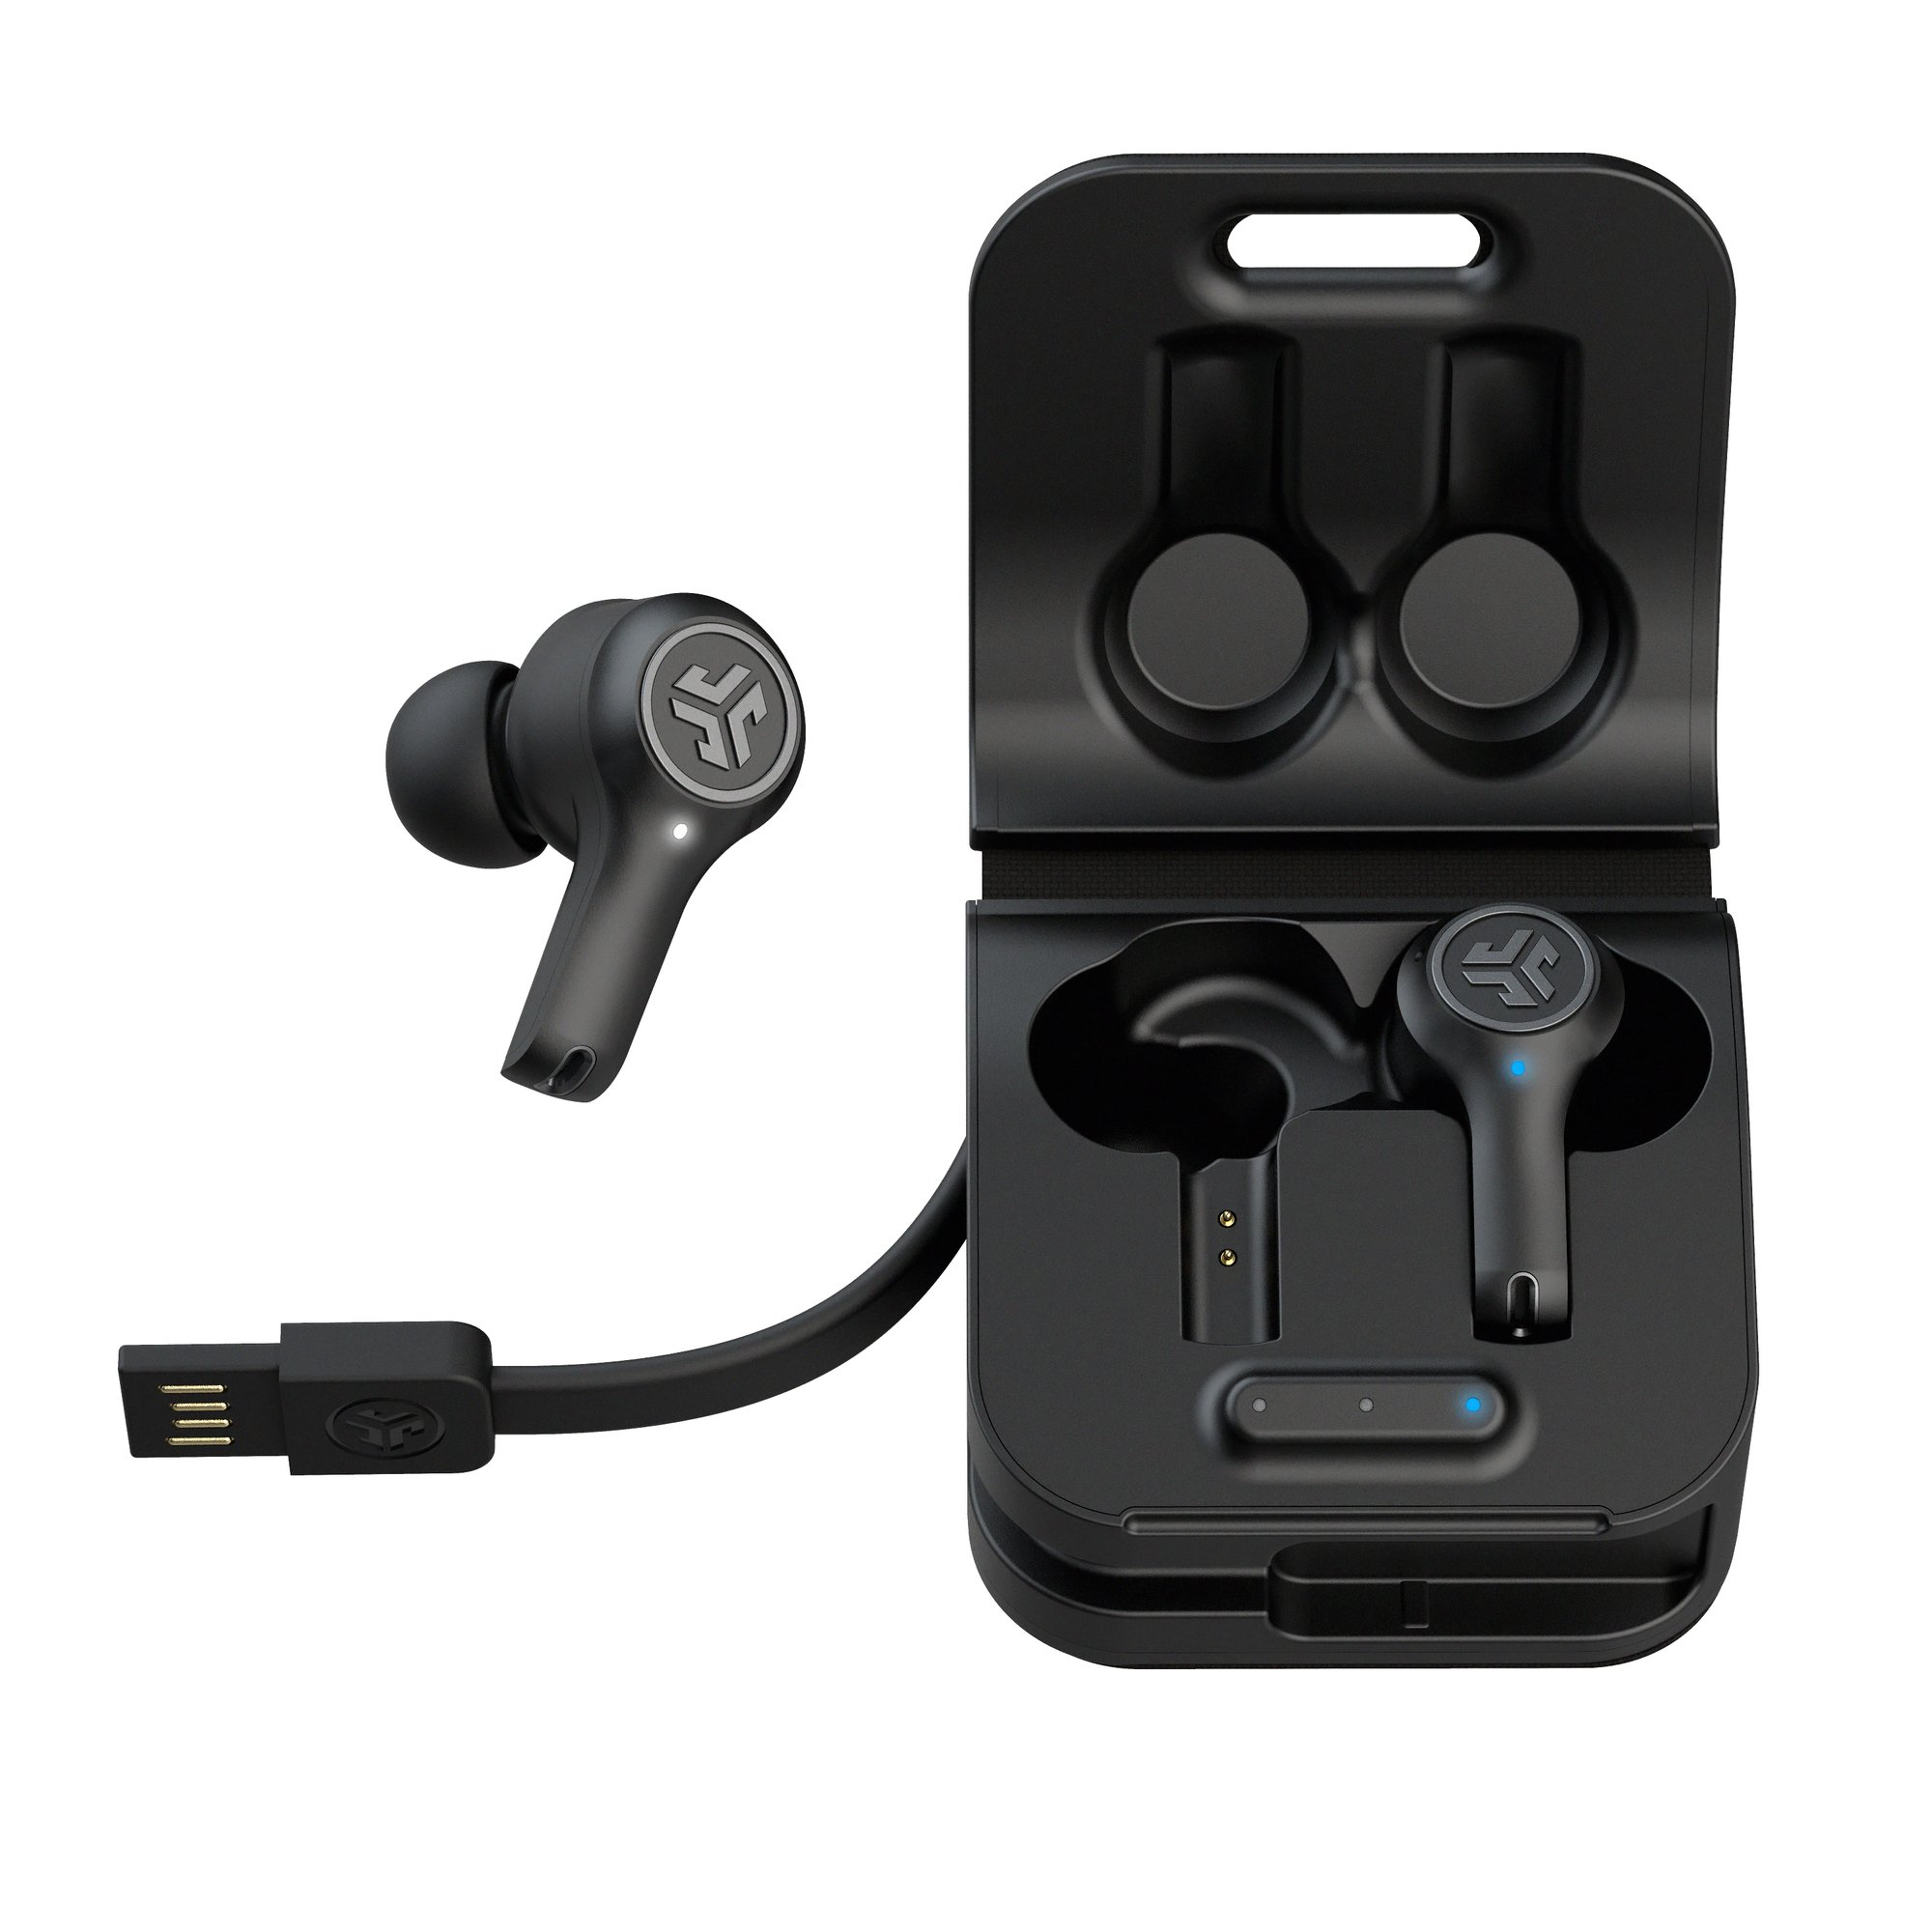
- Place your earbuds in the charging case: Start by ensuring that both earbuds are properly placed in their charging case. This will allow them to start charging and potentially resolve any power-related issues.
- Confirm the connection: Make sure the charging case is connected to a power source. Double-check if the case is charging by looking for the LED indicators or any other indication provided by the manufacturer.
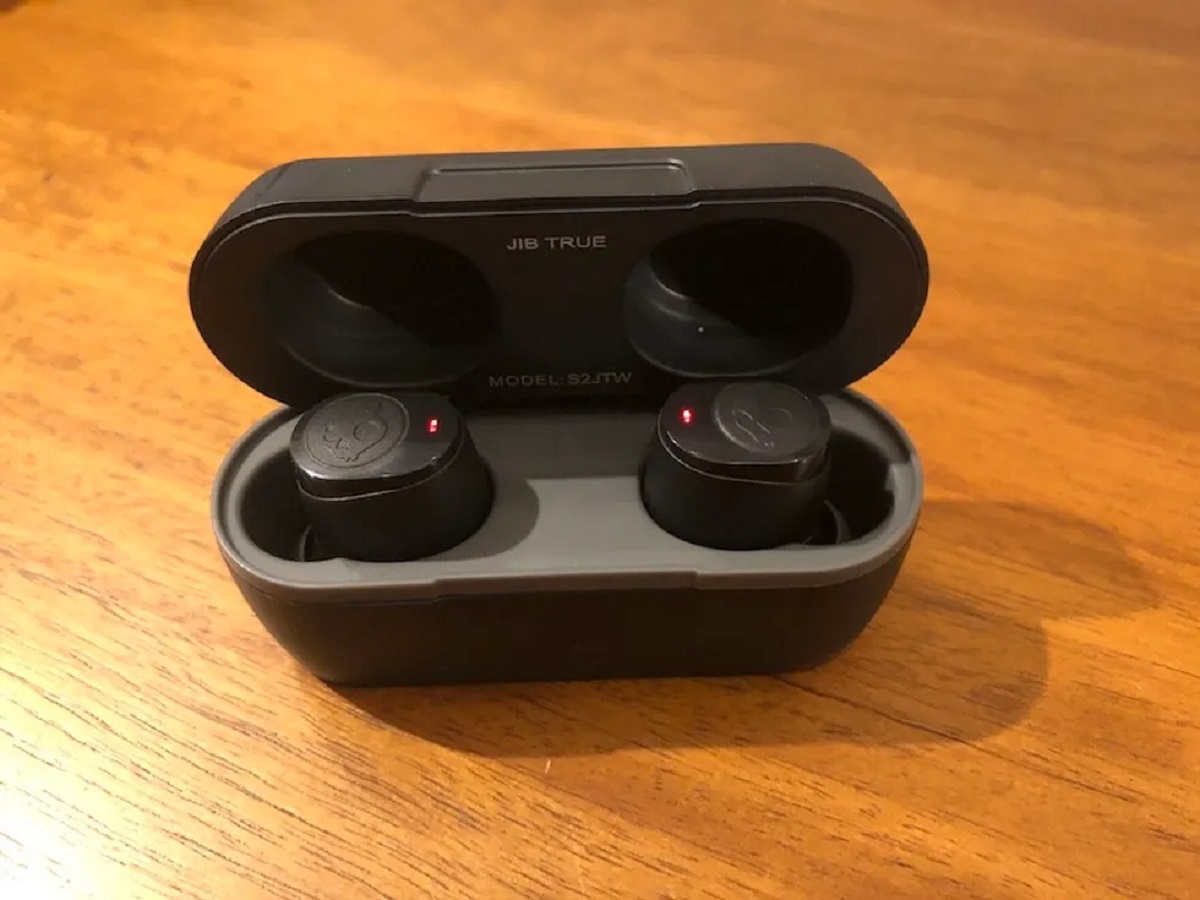
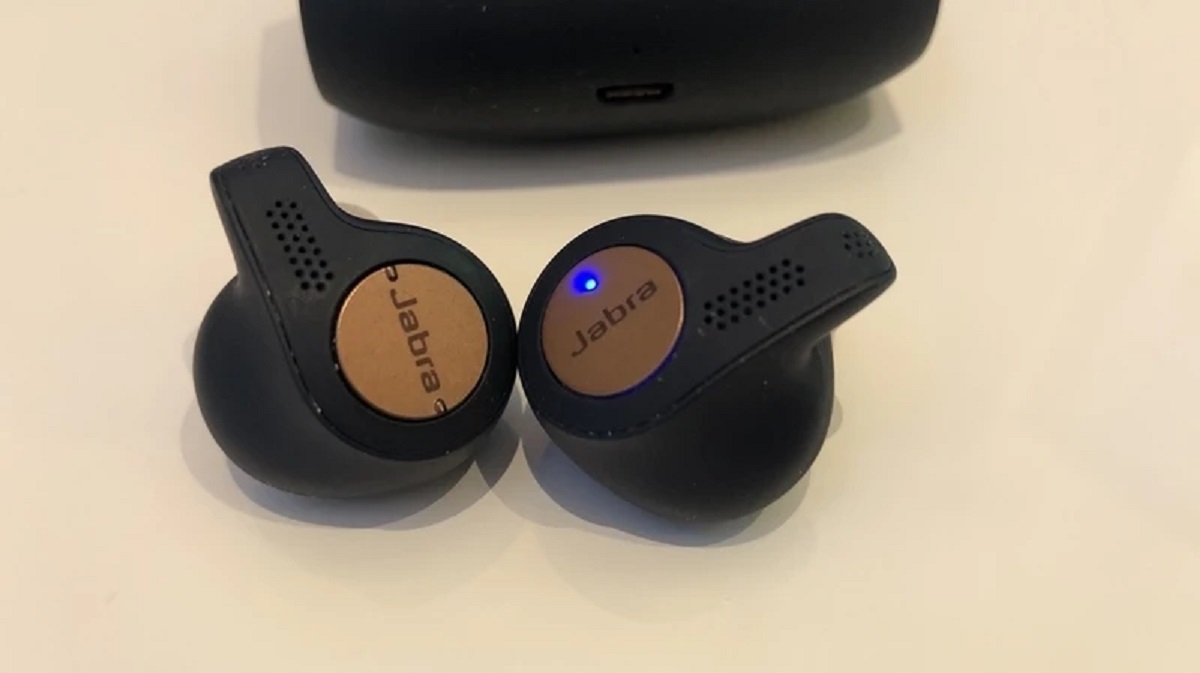
- Check the earbud indicators: Take a look at the earbuds themselves. Most wireless earbuds have LED indicators that light up when they are charging or when their battery levels are low. If the indicator is not showing any signs of life, it may suggest a dead battery.
- Swap the earbuds: If your wireless earbuds allow for interchangeable usage, try swapping them in the charging case. This will help determine if the issue lies with the earbud itself or if it’s related to the charging case or connection.
- Reset and reconnect: In case the battery seems fine but the earbud still won’t work, try resetting and reconnecting it. Consult the user manual or manufacturer’s website for the specific reset instructions. Once reset, attempt to pair and connect your earbuds again.
If the above steps don’t resolve the issue and the non-functioning earbud still fails to charge or power on, it’s possible that there is a hardware-related problem. In such cases, it’s advisable to contact the manufacturer’s customer support for further assistance or consider getting a replacement if it’s still within the warranty period.
Checking the battery is a crucial step in troubleshooting your wireless earbuds. It’s a simple task that can sometimes provide an immediate solution to the problem. So, make sure to always double-check the battery status before moving onto other troubleshooting steps.
Reset the Earbuds
If your wireless earbud is not functioning properly, resetting them can often resolve minor connectivity or performance issues. Here’s how you can reset your earbuds:
- Refer to the user manual: To ensure a proper reset, check the user manual or the manufacturer’s website for specific instructions. Different earbud models may have different reset methods.
- Power off the earbuds: Start by turning off the earbuds. If they’re already powered off, proceed to the next step.
- Place the earbuds in the charging case: Put both earbuds into the charging case and make sure they are properly aligned with the charging pins. Ensure that the case has enough charge to perform the reset.
- Reset the earbuds: Look for a reset button or a specific combination of button presses to perform the reset. Press and hold the reset button or perform the specified button combination as instructed. This action will vary depending on the model of your earbuds.
- Observe the reset process: Watch for any LED indicators or other signals that indicate the earbuds are being reset. The reset process usually involves the earbuds turning on and off or flashing different colors. Refer to the user manual for specific details on what to expect during the reset process.
- Reconnect the earbuds: After the reset is complete, take the earbuds out of the charging case and attempt to reconnect them to your device. Follow the pairing instructions provided in the user manual. This step will reestablish the connection between your earbuds and the device.
If the reset process is successful, your earbuds should now be functioning properly. However, if the problem persists or the earbuds fail to reset, it’s recommended to contact the manufacturer’s customer support for further assistance. They may offer additional troubleshooting steps or advise on potential solutions.
Resetting your earbuds is a simple yet effective method to resolve common issues. By following the correct reset procedure, you can often restore the functionality of your wireless earbuds and continue enjoying your music or calls without any interruptions.
Clean the Earbuds
If one of your wireless earbuds has stopped working, it’s possible that dirt, earwax, or other debris has accumulated on the earbuds, interfering with their functionality. Cleaning your earbuds can often resolve such issues. Here’s how to clean your earbuds effectively:
- Gently remove visible debris: Start by removing any visible debris or earwax buildup from the earbuds. Use a soft, lint-free cloth or a cotton swab to gently wipe away any dirt or wax without applying excessive force. Be careful not to push the debris further into the earbud’s openings.
- Use a cleaning solution: If the visible debris is stubborn or difficult to remove with a dry cloth or cotton swab, you can dampen the cloth or cotton swab with a small amount of water or rubbing alcohol. Do not use excessive moisture as it may damage the earbuds. Gently clean the exterior surfaces and openings of the earbuds.
- Clean the ear tips: Remove the ear tips from the earbuds if they are detachable. Wash them with warm water and mild soap, then rinse thoroughly and air dry. This step helps maintain hygiene and ensures a secure fit in your ears, which can improve overall sound quality.
- Clean the charging case: Don’t forget to clean the charging case as well. Wipe the exterior surfaces and the charging pins with a damp cloth. Remove any debris or dust that may have accumulated inside the case. Keeping the charging case clean can help maintain proper charging functionality.
- Allow everything to dry: After cleaning, make sure to let the earbuds, ear tips, and charging case dry completely before using them or placing the earbuds back in the case. Excess moisture can damage the electronics, so it’s essential to ensure they are fully dry before reconnecting and using them again.
Regularly cleaning your earbuds not only enhances their performance but also extends their lifespan. By removing earwax and debris, you can maintain clear audio quality and prevent any unnecessary issues with your wireless earbuds.
Note: It’s important to refer to the manufacturer’s instructions when cleaning your specific earbuds as some models may have additional cleaning considerations or unique materials.
Update Firmware and Software
Updating the firmware and software of your wireless earbuds can often resolve various issues and improve their overall performance. Manufacturers frequently release updates to address bugs, enhance features, and improve compatibility. Here’s how you can update the firmware and software of your earbuds:
- Check for updates: Start by visiting the manufacturer’s website or checking their official app for any available updates specific to your earbuds’ model. Look for firmware or software updates that are compatible with your device’s operating system.
- Download the update: Once you have identified an available update, follow the provided instructions to download it onto a compatible device. This may involve connecting your earbuds to a computer, smartphone, or tablet through a USB cable or using a dedicated app provided by the manufacturer.
- Install the update: After downloading the update, carefully follow the manufacturer’s instructions to install it on your earbuds. The process may vary depending on the device and the update method. Ensure that your earbuds are properly connected and have sufficient battery life during the installation process.
- Test the updated earbuds: Once the firmware or software update is complete, test your earbuds to ensure that they are functioning properly. Check if the previous issues have been resolved and if any new features or improvements have been implemented.
- Regularly check for updates: It’s essential to periodically check for updates to ensure that your earbuds are running on the latest firmware or software version. New updates may become available over time, offering additional enhancements and bug fixes for your earbuds.
Updating the firmware and software of your wireless earbuds is a proactive measure to optimize their performance and ensure compatibility with your devices. It’s recommended to visit the manufacturer’s website or app periodically to check for new updates and take advantage of any improvements they offer.
Remember to carefully read and follow the manufacturer’s instructions to avoid any potential issues during the update process. If you encounter any difficulties or have concerns, it’s always best to reach out to the manufacturer’s customer support for assistance.
Pairing and Connecting Issues
Experiencing pairing and connecting issues with your wireless earbuds can be frustrating, but there are steps you can take to troubleshoot and resolve these problems. Here’s what you can do when facing pairing and connecting issues:
- Ensure compatibility: Make sure that your wireless earbuds are compatible with the device you are trying to connect them to. Check the manufacturer’s specifications to confirm compatibility with your specific device, whether it’s a smartphone, tablet, computer, or another Bluetooth-enabled device.
- Clear existing pairings: If you are having trouble connecting your earbuds to a particular device, delete any existing pairings between the device and your earbuds. Go to the Bluetooth settings of your device, locate your earbuds, and select the option to forget or unpair them. This will allow you to start the pairing process from scratch.
- Put earbuds in pairing mode: Most wireless earbuds have a dedicated pairing mode that enables them to be discovered by other devices. Consult the user manual or the manufacturer’s website to find the specific method for activating pairing mode on your earbuds. Typically, this involves pressing and holding a button on the earbuds or their charging case.
- Make the device discoverable: Ensure that the device you are trying to pair with your earbuds is discoverable. Check the device’s Bluetooth settings and enable the option to make it visible or discoverable to other devices. This allows the earbuds to recognize and establish a connection with the device.
- Restart both devices: Sometimes, performing a simple restart of both your earbuds and the device you are trying to connect to can resolve pairing and connectivity issues. Turn off both devices, wait a few seconds, and then turn them back on. Once they are powered on, start the pairing process again.
- Update device software: Ensure that your device’s operating system and Bluetooth software are up to date. Outdated software can sometimes cause compatibility issues with wireless earbuds. Check for any available updates for your device and install them if necessary.
- Keep devices close: Ensure that your earbuds are in close proximity to the device you are trying to connect to. Bluetooth signals have a limited range, and obstacles such as walls or other electronic devices can interfere with the connection. Keep the earbuds and the device within a reasonable distance for a stronger and more stable connection.
If the above steps do not resolve the pairing or connecting issues, consult the user manual or contact the manufacturer’s customer support for further assistance. They may be able to provide specific troubleshooting steps or address any hardware or software-related issues.
Remember, patience is key when troubleshooting pairing and connecting issues. By following these steps and ensuring compatibility between your devices, you can increase the likelihood of establishing a successful and stable connection between your wireless earbuds and other Bluetooth-enabled devices.
Contact Manufacturer or Support
If you’ve gone through the troubleshooting steps to fix your wireless earbuds and are still experiencing issues, it may be time to reach out to the manufacturer or seek further support. Here’s what you can do:
- Refer to the user manual: Before contacting the manufacturer or support, review the user manual that came with your earbuds. It often contains valuable information and specific troubleshooting steps that can help resolve common issues.
- Visit the manufacturer’s website: Many manufacturers have dedicated websites with FAQs, troubleshooting guides, and forums where you can find answers to common questions and issues related to your wireless earbuds. Explore the support section of their website for information specific to your model.
- Reach out to customer support: If you couldn’t find a solution through self-help options, it’s time to contact the manufacturer’s customer support. They are trained to assist you with technical issues and can provide guidance tailored to your particular situation. Look for contact information, such as a phone number, email address, or live chat support, on the manufacturer’s website.
- Provide detailed information: When contacting customer support, be prepared to provide specific details about your earbuds, the issue you’re facing, and any troubleshooting steps you’ve already tried. This will help the support team understand your situation and provide accurate assistance.
- Warranty considerations: If your wireless earbuds are still under warranty and you’ve exhausted all troubleshooting options, inquire about a possible warranty claim. The manufacturer may offer a solution or provide a replacement if the problem is covered by the warranty terms.
- Community forums and online resources: Apart from official support channels, you can also consult online forums and communities dedicated to wireless earbuds. Fellow users may have experienced similar issues and can offer advice or workarounds that have worked for them. However, keep in mind that information from these sources may not always be validated or approved by the manufacturer.
By reaching out to the manufacturer or seeking further support, you tap into expert knowledge and resources specifically designed to address issues with your wireless earbuds. Their guidance can help you troubleshoot complex problems or determine if it’s necessary to seek repairs or replacements.
Remember, the manufacturer’s customer support team is there to assist you, so don’t hesitate to contact them if you require further assistance with your wireless earbuds. They have the expertise and experience to guide you towards a resolution and ensure that you can enjoy your wireless earbuds to their fullest potential.