Introduction
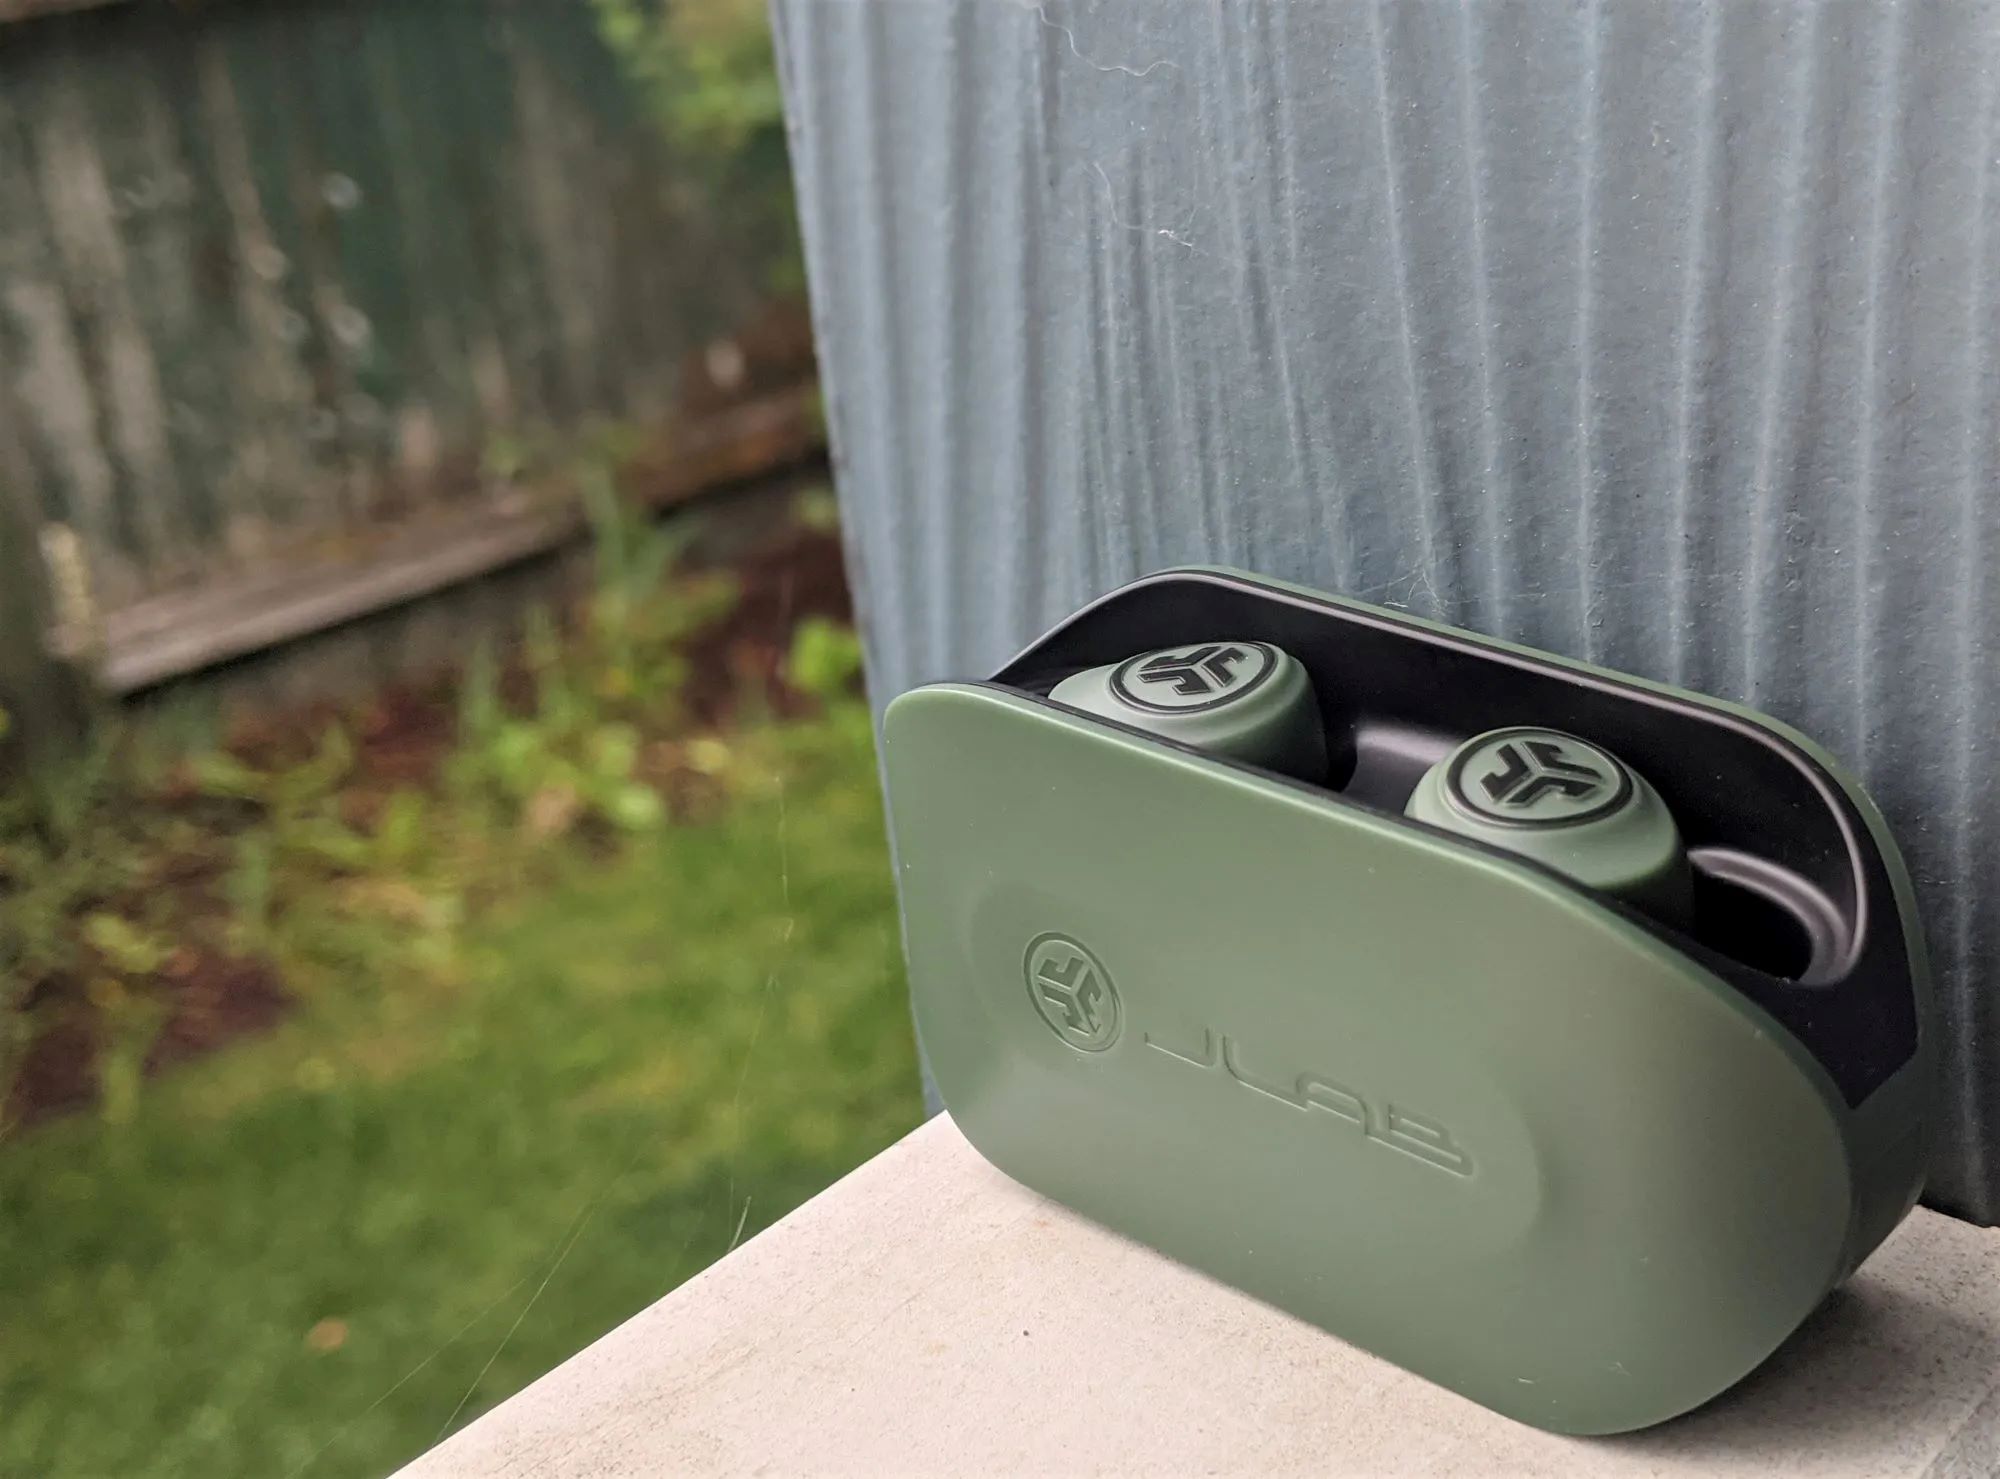
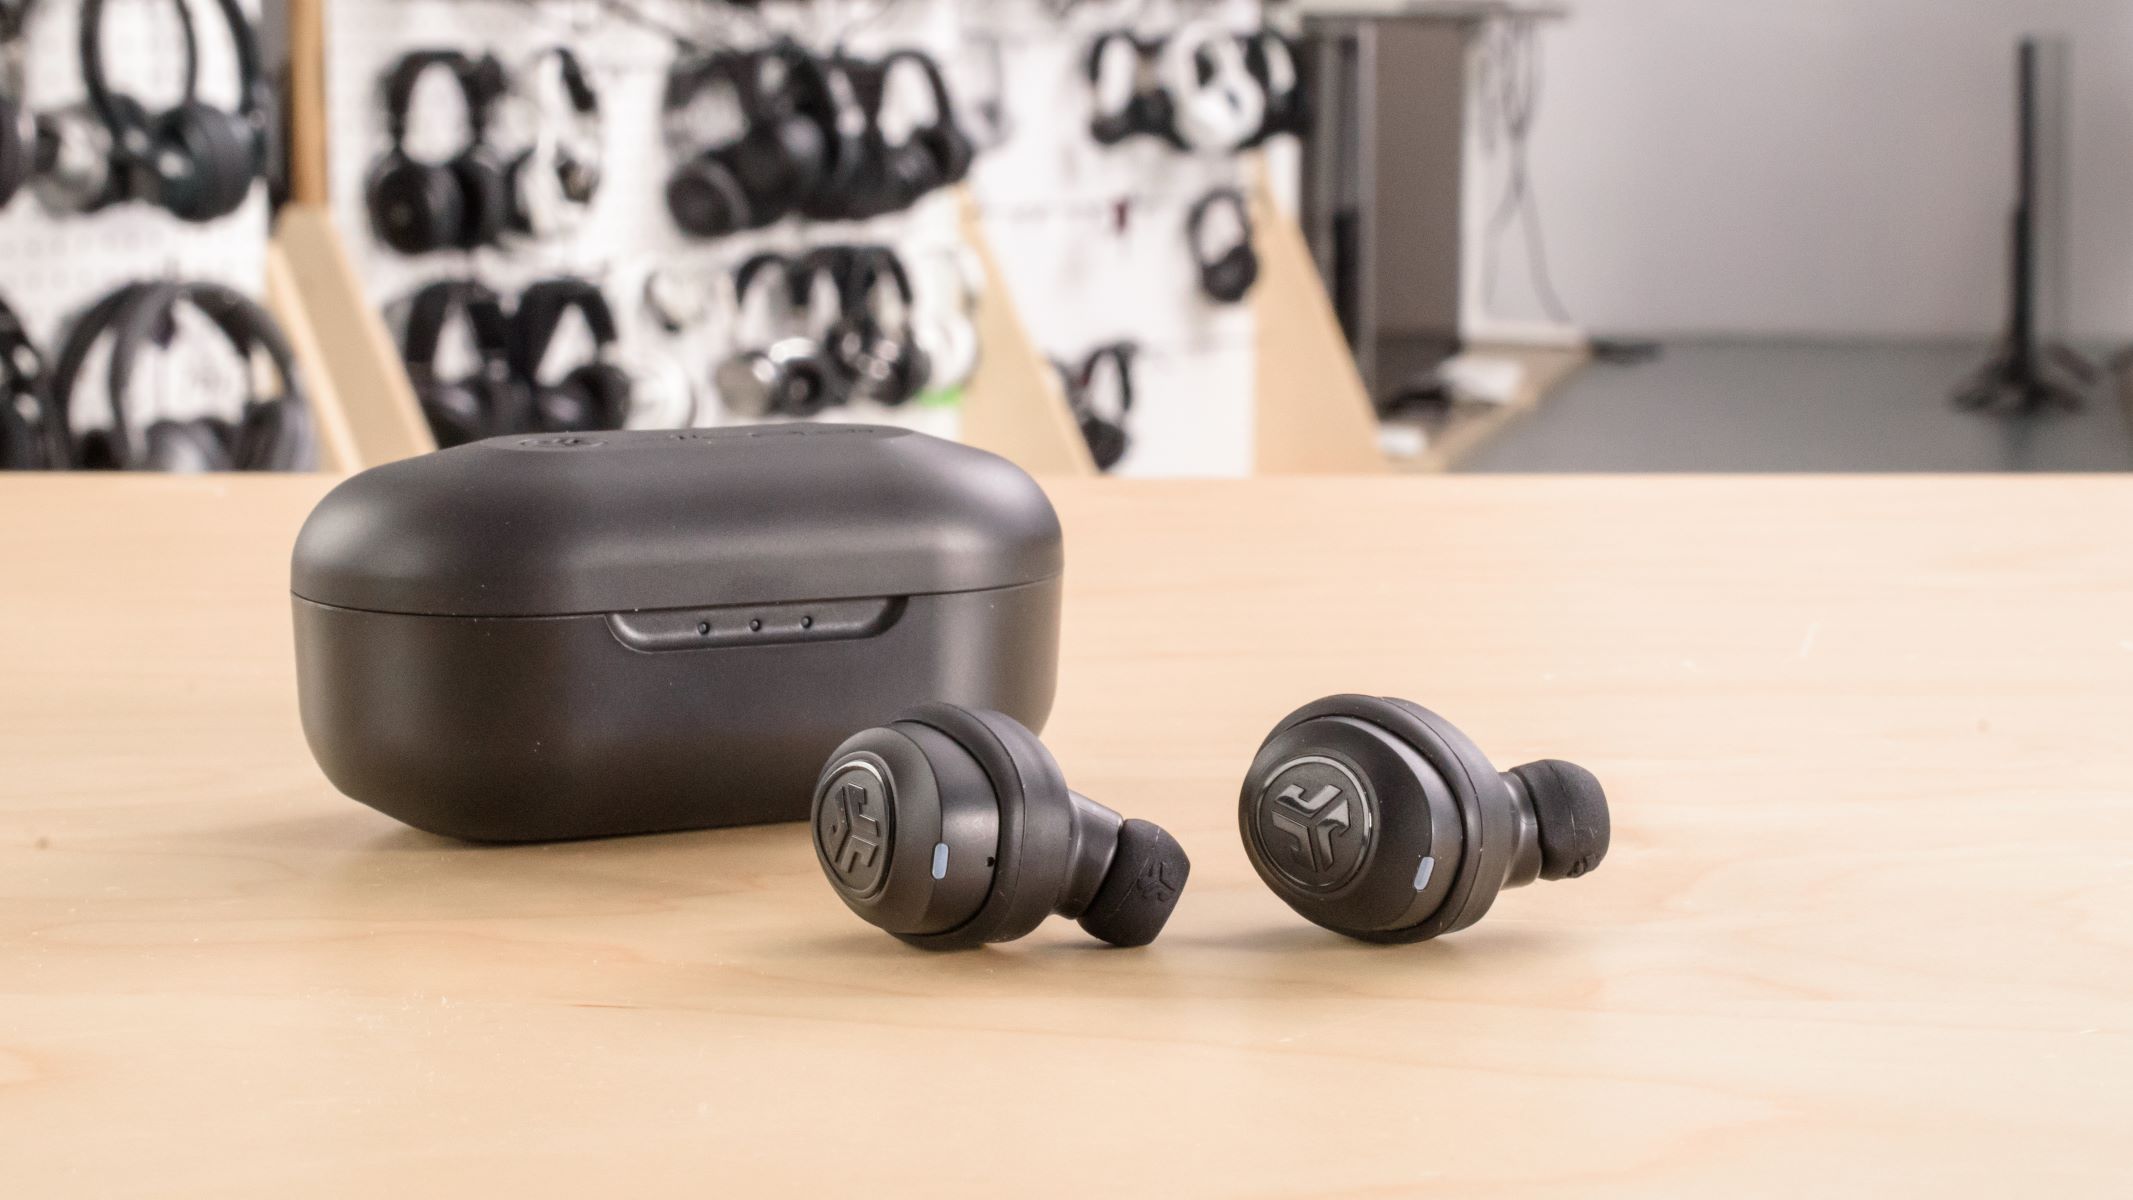
Welcome to the world of JLab wireless earbuds! With their seamless connectivity and impressive sound quality, JLab earbuds have become a popular choice for music enthusiasts and those constantly on the go. However, like any electronic device, these earbuds can occasionally experience syncing issues that may disrupt your listening experience. But fret not, as we are here to guide you through the process of resyncing your JLab wireless earbuds.
Syncing your earbuds is essential to ensure that both the left and right earbuds function properly and deliver the best audio performance. Whether your earbuds have lost connection with one another or are not pairing correctly with your device, this step-by-step guide will help you troubleshoot and resolve these issues.
In this article, we will walk you through the process of resyncing your JLab wireless earbuds. We will cover the step-by-step instructions to reset your earbuds, check the Bluetooth connection, update the firmware, pair the earbuds to your device, and finally, resync the left and right earbuds for optimal performance.
By following these steps, you can quickly get your JLab earbuds back on track and enjoy your favorite audio with crystal-clear sound, seamless connectivity, and enhanced listening experience. So, without further ado, let’s dive into troubleshooting the common issues and resync your JLab wireless earbuds!
Troubleshooting Common Issues
Before we delve into the process of resyncing your JLab wireless earbuds, it’s important to identify the common issues you might encounter. Understanding these issues will help you troubleshoot and resolve any syncing problems that may arise with your earbuds.
Here are some of the common issues you may encounter:
- One earbud not working: If only one earbud is producing sound while the other remains silent, there may be an issue with the connectivity or pairing.
- Earbuds not connecting to device: If you’re unable to pair your earbuds with your device via Bluetooth, it can hinder your listening experience.
- Intermittent sound dropouts: If you experience random sound dropouts or audio interruptions while listening, it may indicate a syncing issue between the earbuds.
- Audio lag: If there’s a noticeable delay between the audio playback and the visuals on your device, it can be attributed to a syncing problem.
If you’re facing any of these issues, don’t worry! The following steps will help you troubleshoot and resolve these problems, restoring the optimal performance of your JLab wireless earbuds.
Now that we have a clear understanding of the common issues, let’s move on to the step-by-step troubleshooting process to resync your JLab wireless earbuds and get them working seamlessly again.
Step 1: Resetting Your JLab Wireless Earbuds
If you’re experiencing any issues with your JLab wireless earbuds, the first step is to perform a reset. This will help clear any temporary glitches and restore the earbuds to their default settings.
Here’s how you can reset your JLab wireless earbuds:
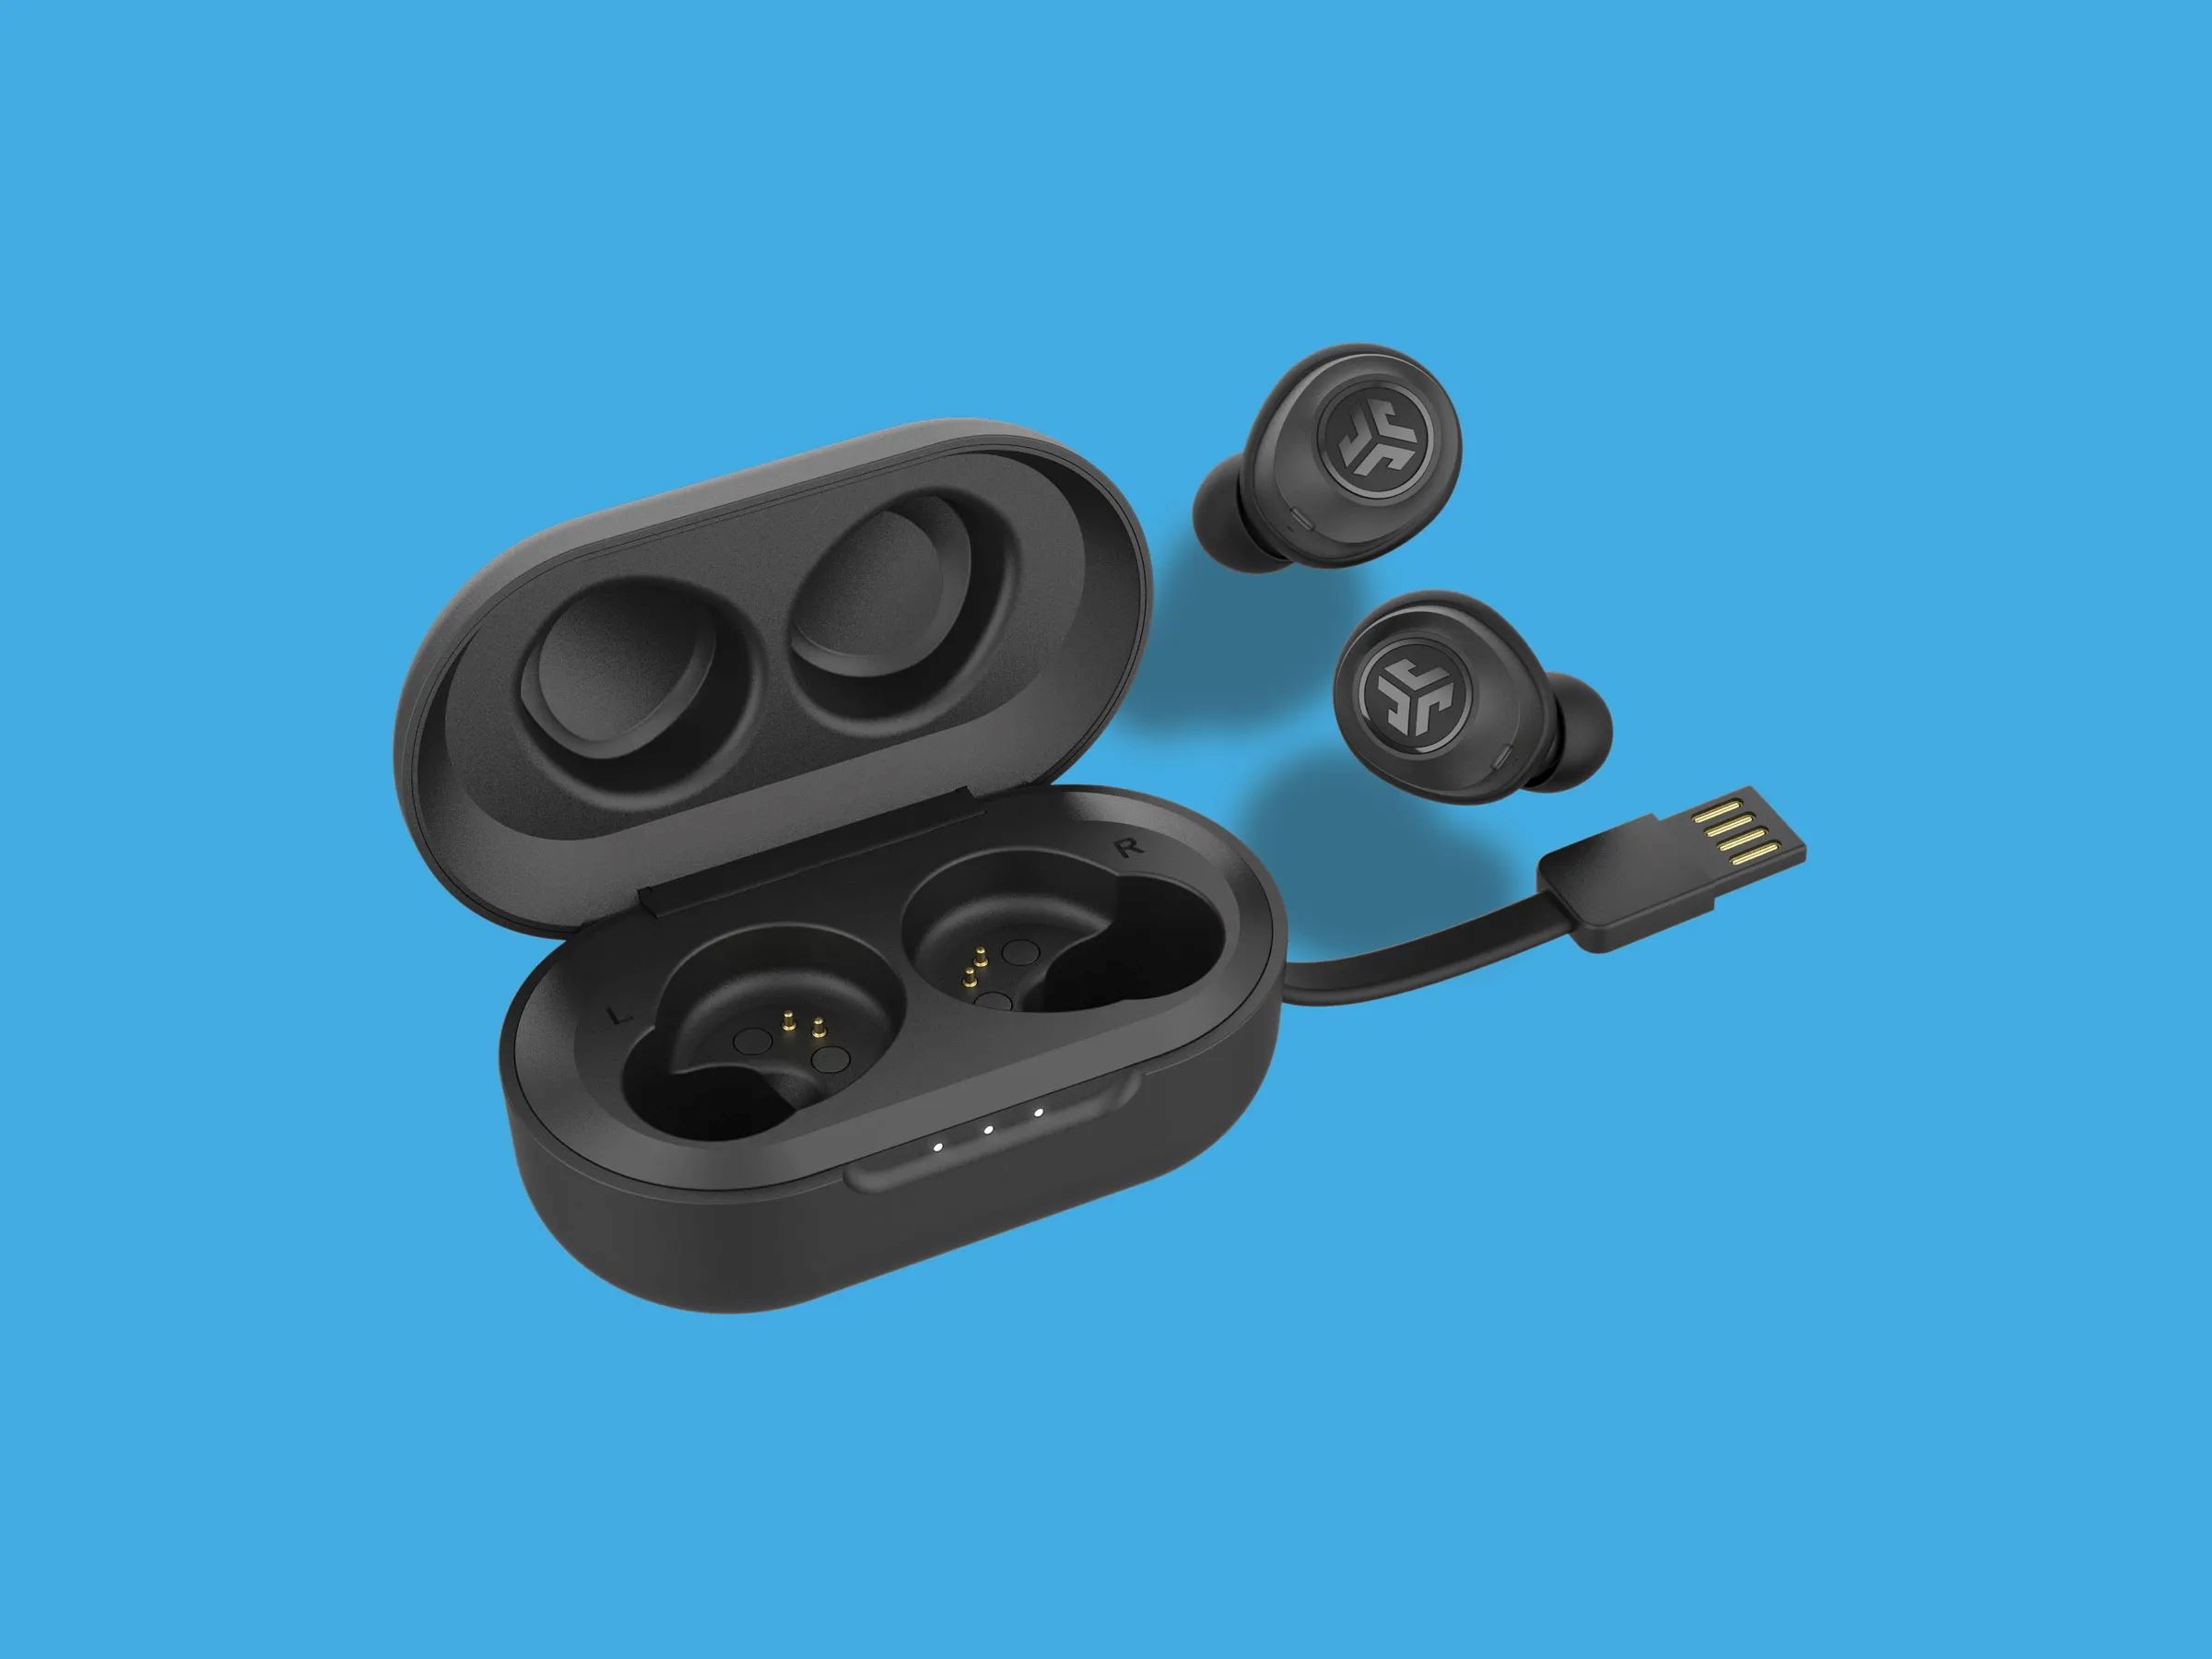
- Place your earbuds back into their charging case and ensure they are powered off.
- With the earbuds in the charging case, locate the reset button. It is usually a small button located on the inside or back of the case.
- Press and hold the reset button for about 10 seconds or until you see the LED lights on the earbuds flashing.
- Release the reset button and remove the earbuds from the charging case. They are now reset and ready for the next step.
By performing a reset, you have cleared any previous pairing information and restored the earbuds to their default settings. This will help resolve any minor issues and prepare them for reconnection and syncing.
If the reset process does not resolve the syncing issue, don’t worry. We will continue troubleshooting in the next steps to ensure your JLab wireless earbuds are functioning flawlessly again.
Step 2: Checking Bluetooth Connection
Once you have successfully reset your JLab wireless earbuds, the next step is to ensure that the Bluetooth connection between the earbuds and your device is stable. A weak or unstable Bluetooth connection can cause syncing issues and audio interruptions.
Follow these steps to check the Bluetooth connection:
- On your device, navigate to the Bluetooth settings.
- Ensure that Bluetooth is turned on.
- Locate the JLab wireless earbuds in the list of available devices and select them to establish a connection.
- If the earbuds were previously paired with your device, remove the pairing and then reconnect them.
- Once connected, play some audio on your device to test the Bluetooth connection with the earbuds.
If the Bluetooth connection appears to be weak or unstable, try the following troubleshooting tips:
- Keep your device and earbuds within close proximity, as distance can affect the Bluetooth signal strength.
- Avoid obstructions such as walls or other electronic devices that may interfere with the Bluetooth signal.
- Restart your device and try reconnecting the earbuds.
- If possible, test the earbuds with another Bluetooth-enabled device to determine if the issue lies with the earbuds or the initial device.
Ensuring a stable Bluetooth connection is crucial for the syncing and seamless functioning of your JLab wireless earbuds. If you have successfully established a strong connection, the next step involves updating the firmware of your earbuds.
Step 3: Updating Earbud Firmware
Keeping your JLab wireless earbuds up-to-date with the latest firmware is important for optimal performance and compatibility with your device. Firmware updates often include bug fixes, enhancements, and improvements that can potentially resolve syncing issues.
Here’s how you can update the firmware of your JLab wireless earbuds:
- Visit the official JLab website or download the JLab app on your smartphone.
- Look for the firmware update section or option.
- Follow the provided instructions to download and install the latest firmware version for your specific JLab earbud model.
- Once the firmware update is complete, restart your earbuds and attempt to re-sync them with your device.
Note: It is crucial to follow the instructions provided by JLab for firmware updates to avoid any potential damage or issues with your earbuds.
Updating the firmware of your JLab earbuds can often resolve compatibility issues and improve the overall performance. Make sure to check for firmware updates periodically to ensure that your earbuds are running on the latest version.
If your earbuds are already running on the latest firmware but are still experiencing syncing issues, proceed to the next step to pair them with your device.
Step 4: Pairing Earbuds to Your Device
Properly pairing your JLab wireless earbuds with your device is essential for seamless connectivity and syncing. If your earbuds are not appropriately paired, it can lead to issues such as audio interruptions or one earbud not working.
Follow these steps to pair your earbuds with your device:
- Ensure that Bluetooth is turned on in your device’s settings.
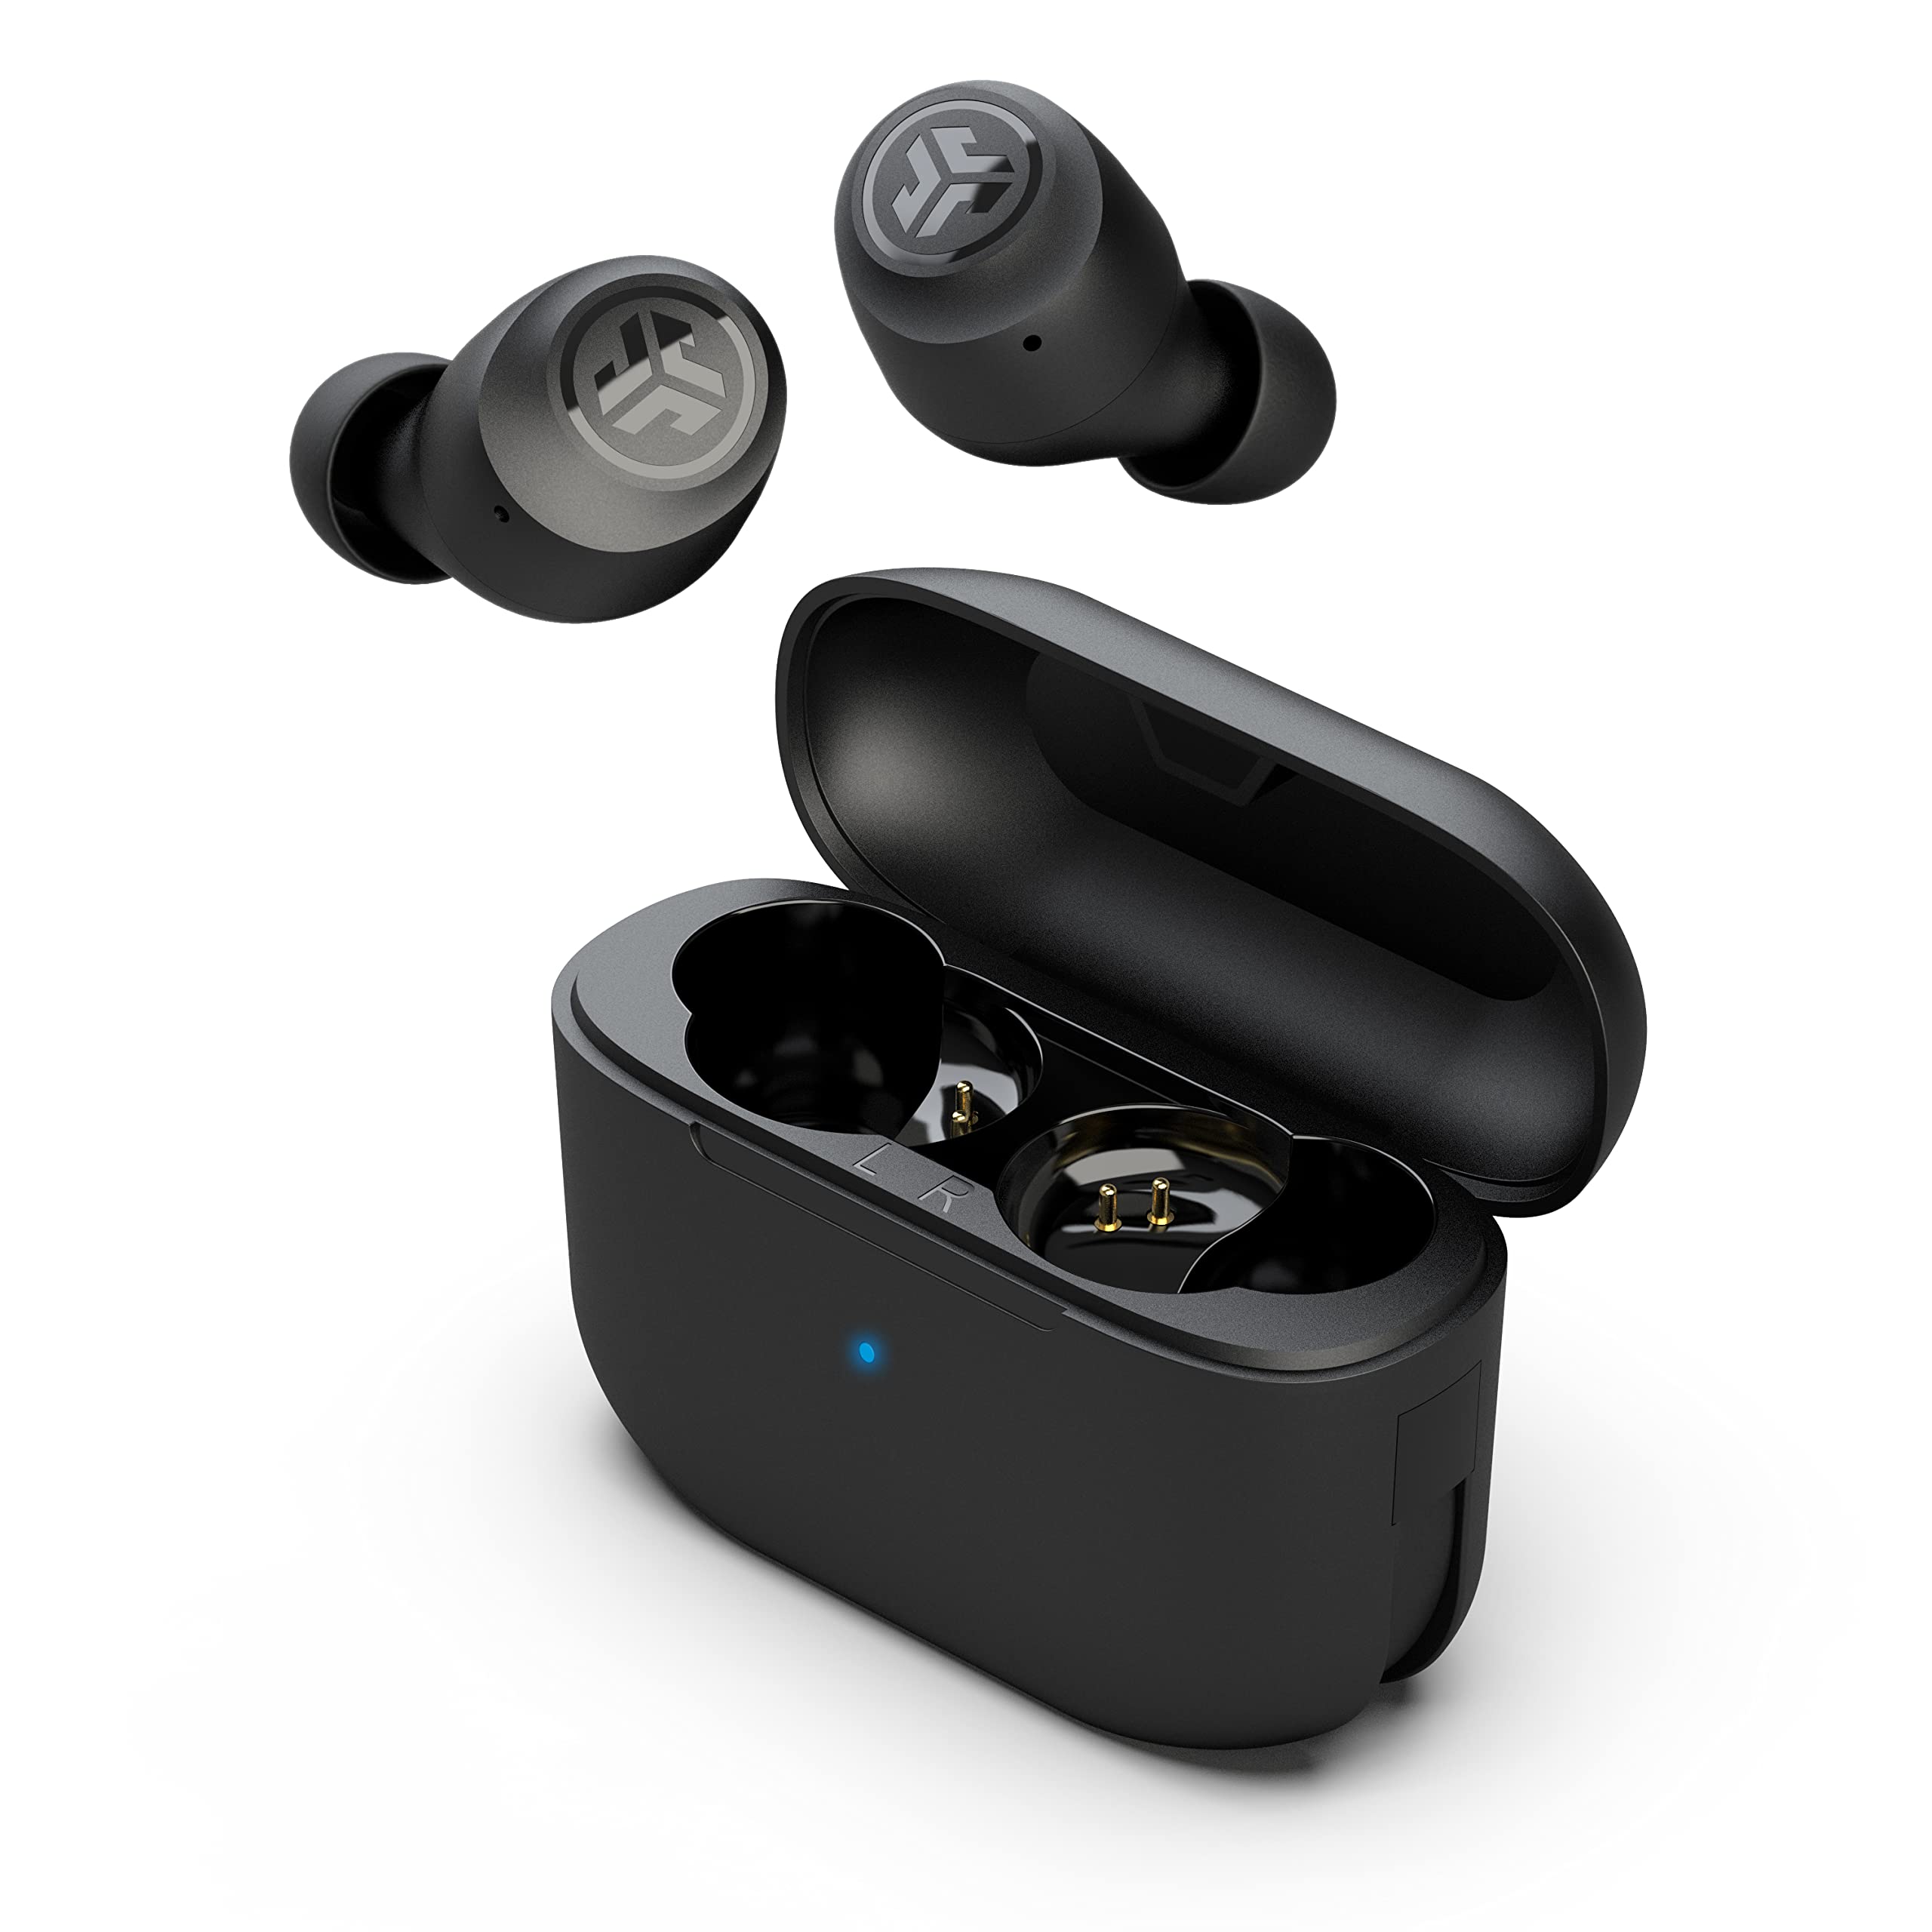
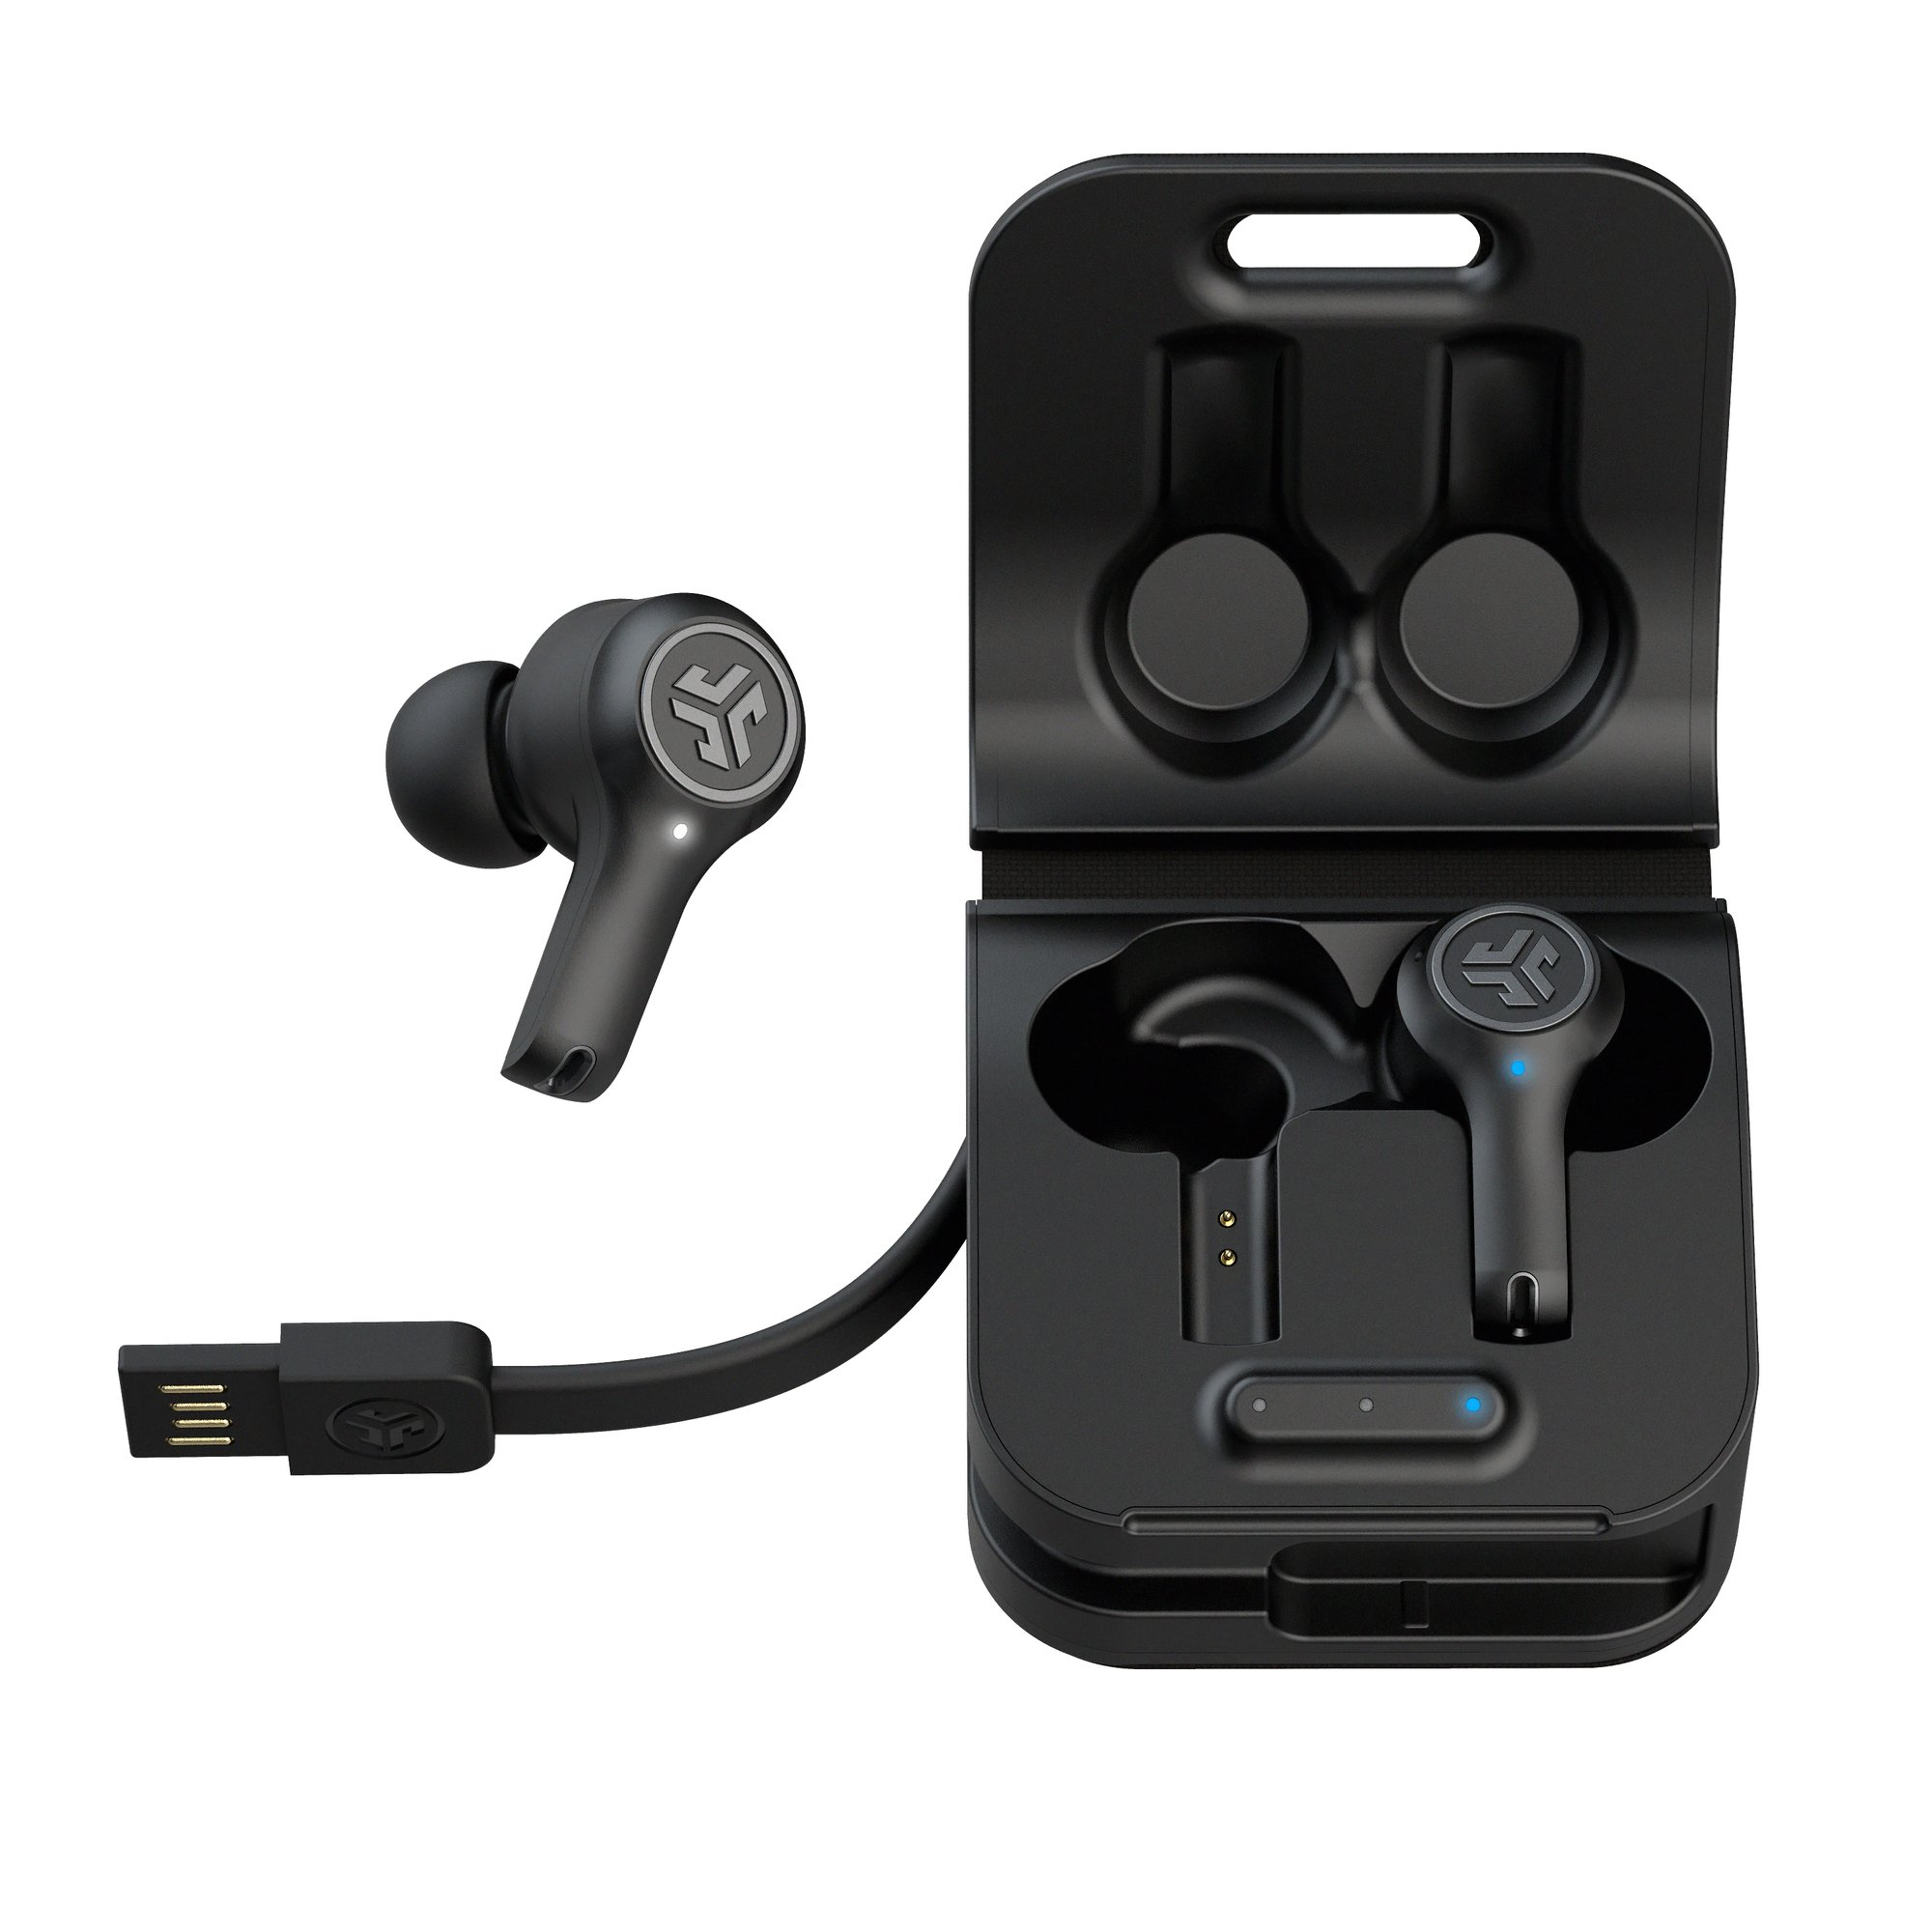
- Place the earbuds in the charging case and open the lid.
- Wait for the LED lights on the earbuds to start flashing, indicating that they are in pairing mode.
- On your device, navigate to the Bluetooth settings and search for available devices.
- Select the JLab earbuds from the list of available devices to initiate the pairing process.
- Follow any on-screen prompts or enter a passcode, if required, to complete the pairing process.
Once the pairing is successful, you should see a notification on your device confirming the connection. The earbuds may also emit a sound or have LED lights indicating a successful pairing.
If the pairing process does not work, try the following troubleshooting tips:
- Ensure that the earbuds are in pairing mode by placing them back in the charging case and removing them again.
- Restart your device and try the pairing process again.
- Remove any previous pairing information for the earbuds from your device’s Bluetooth settings and start the pairing process from scratch.
- Consult the user manual or visit the JLab website for specific instructions related to your earbud model.
Once your JLab wireless earbuds are successfully paired with your device, proceed to the next step to resync the left and right earbuds.
Step 5: Resyncing Left and Right Earbuds
If you’ve followed the previous steps and your JLab wireless earbuds are still not syncing correctly, it’s time to resync the left and right earbuds. This step is crucial to ensure that both earbuds are working in harmony and delivering the optimal audio experience.
Here’s how you can resync your JLab wireless earbuds:
- Place both earbuds back into the charging case and ensure they are powered off.
- Close the lid of the charging case.
- Press and hold the button on the charging case for about 10 seconds or until the LED lights start flashing.
- Open the charging case’s lid while continuing to hold the button.
- The LED lights on both earbuds will start flashing rapidly, indicating that the left and right earbuds are syncing with each other.
- Once the LED lights stop flashing and remain solid, the earbuds are successfully resynced.
Resyncing the left and right earbuds will ensure that they are seamlessly connected and working together as intended. This step can help resolve issues such as one earbud not working or audio imbalances.
If the resyncing process does not resolve the syncing issue, try placing both earbuds back into the charging case, closing the lid, and then removing them again to initiate the pairing process from scratch.
By resyncing your JLab wireless earbuds, you should now have resolved any syncing issues and restored the optimal performance of your earbuds.
Congratulations! You’ve successfully troubleshooted and resynced your JLab wireless earbuds. Enjoy your favorite audio with the crystal-clear sound and seamless connectivity that JLab earbuds offer!
Conclusion
Having trouble with the syncing of your JLab wireless earbuds can be frustrating, but with the troubleshooting steps outlined in this guide, you should be able to quickly resolve the issues and enjoy your audio seamlessly once again.
We started by introducing the common issues that you might encounter with your JLab wireless earbuds, such as one earbud not working, connectivity problems, sound dropouts, and audio lag. Understanding these issues allows you to pinpoint the specific problem and follow the appropriate steps to fix it.
We then walked you through a step-by-step process to troubleshoot and resync your earbuds. We began by resetting the earbuds to their default settings, followed by checking the Bluetooth connection to ensure it’s stable. Updating the firmware of your earbuds can often provide bug fixes and improvements that can resolve syncing issues.
We also covered the importance of properly pairing your earbuds with your device for seamless connectivity. Lastly, we discussed the process of resyncing the left and right earbuds to ensure they are working together harmoniously.
By following these steps, you can overcome common syncing issues and enjoy uninterrupted audio with your JLab wireless earbuds. Remember to regularly check for firmware updates and maintain a good Bluetooth connection for optimal performance.
If you continue to experience issues despite troubleshooting, don’t hesitate to reach out to JLab customer support for further assistance. They will be able to provide specific guidance and address any technical problems you may encounter.
We hope this guide has been helpful in troubleshooting and resolving the syncing issues with your JLab wireless earbuds. Now, put on your favorite music, sit back, and enjoy the immersive audio experience that JLab earbuds bring!