Introduction
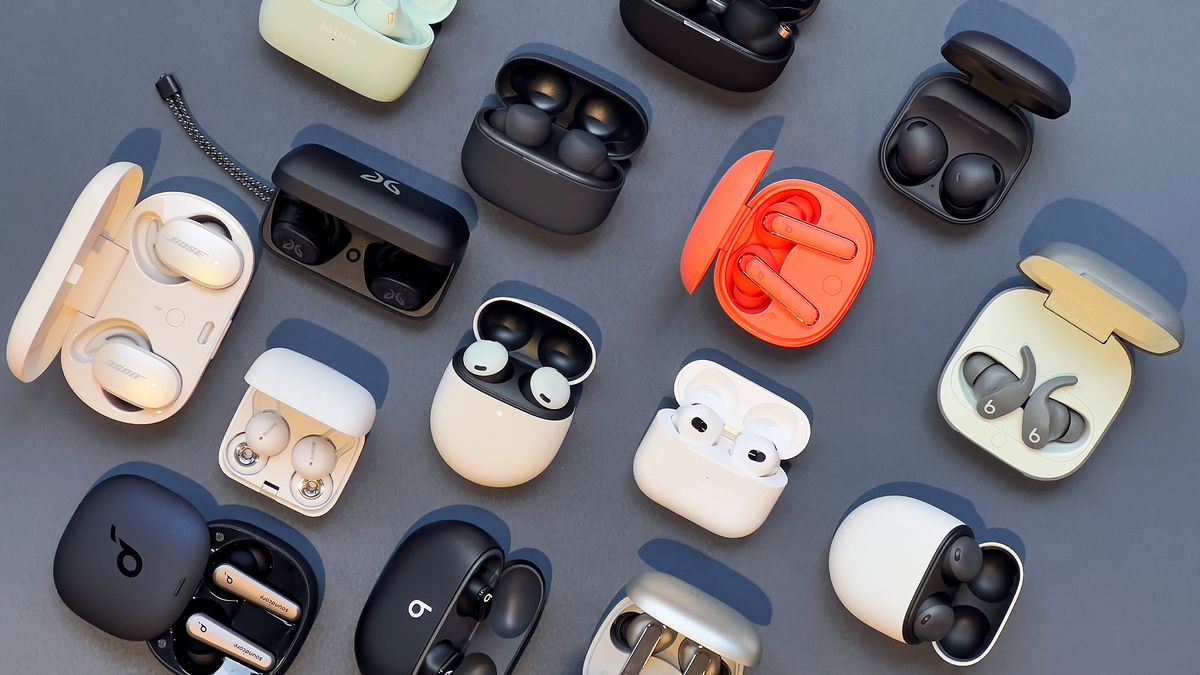
Welcome to this guide on how to pair your JLab wireless earbuds! Whether you’ve recently purchased a pair of JLab earbuds or are encountering some connectivity issues, this step-by-step tutorial will help you effortlessly pair your earbuds to your device and enjoy high-quality wireless audio.
JLab is known for its cutting-edge audio technology and sleek designs, making their wireless earbuds a popular choice for music enthusiasts and on-the-go individuals alike. With the convenience of Bluetooth connectivity, you can say goodbye to tangled wires and enjoy seamless audio playback.
Pairing your JLab wireless earbuds is a straightforward process, and this guide will walk you through each step. Before we dive in, make sure you have your JLab earbuds charged and the device you wish to connect them to handy. Let’s get started!
Note: The specific steps may vary slightly depending on the model of your JLab earbuds and the device you are pairing them with. However, the core principles of the pairing process remain the same.
Step 1: Power on the Earbuds
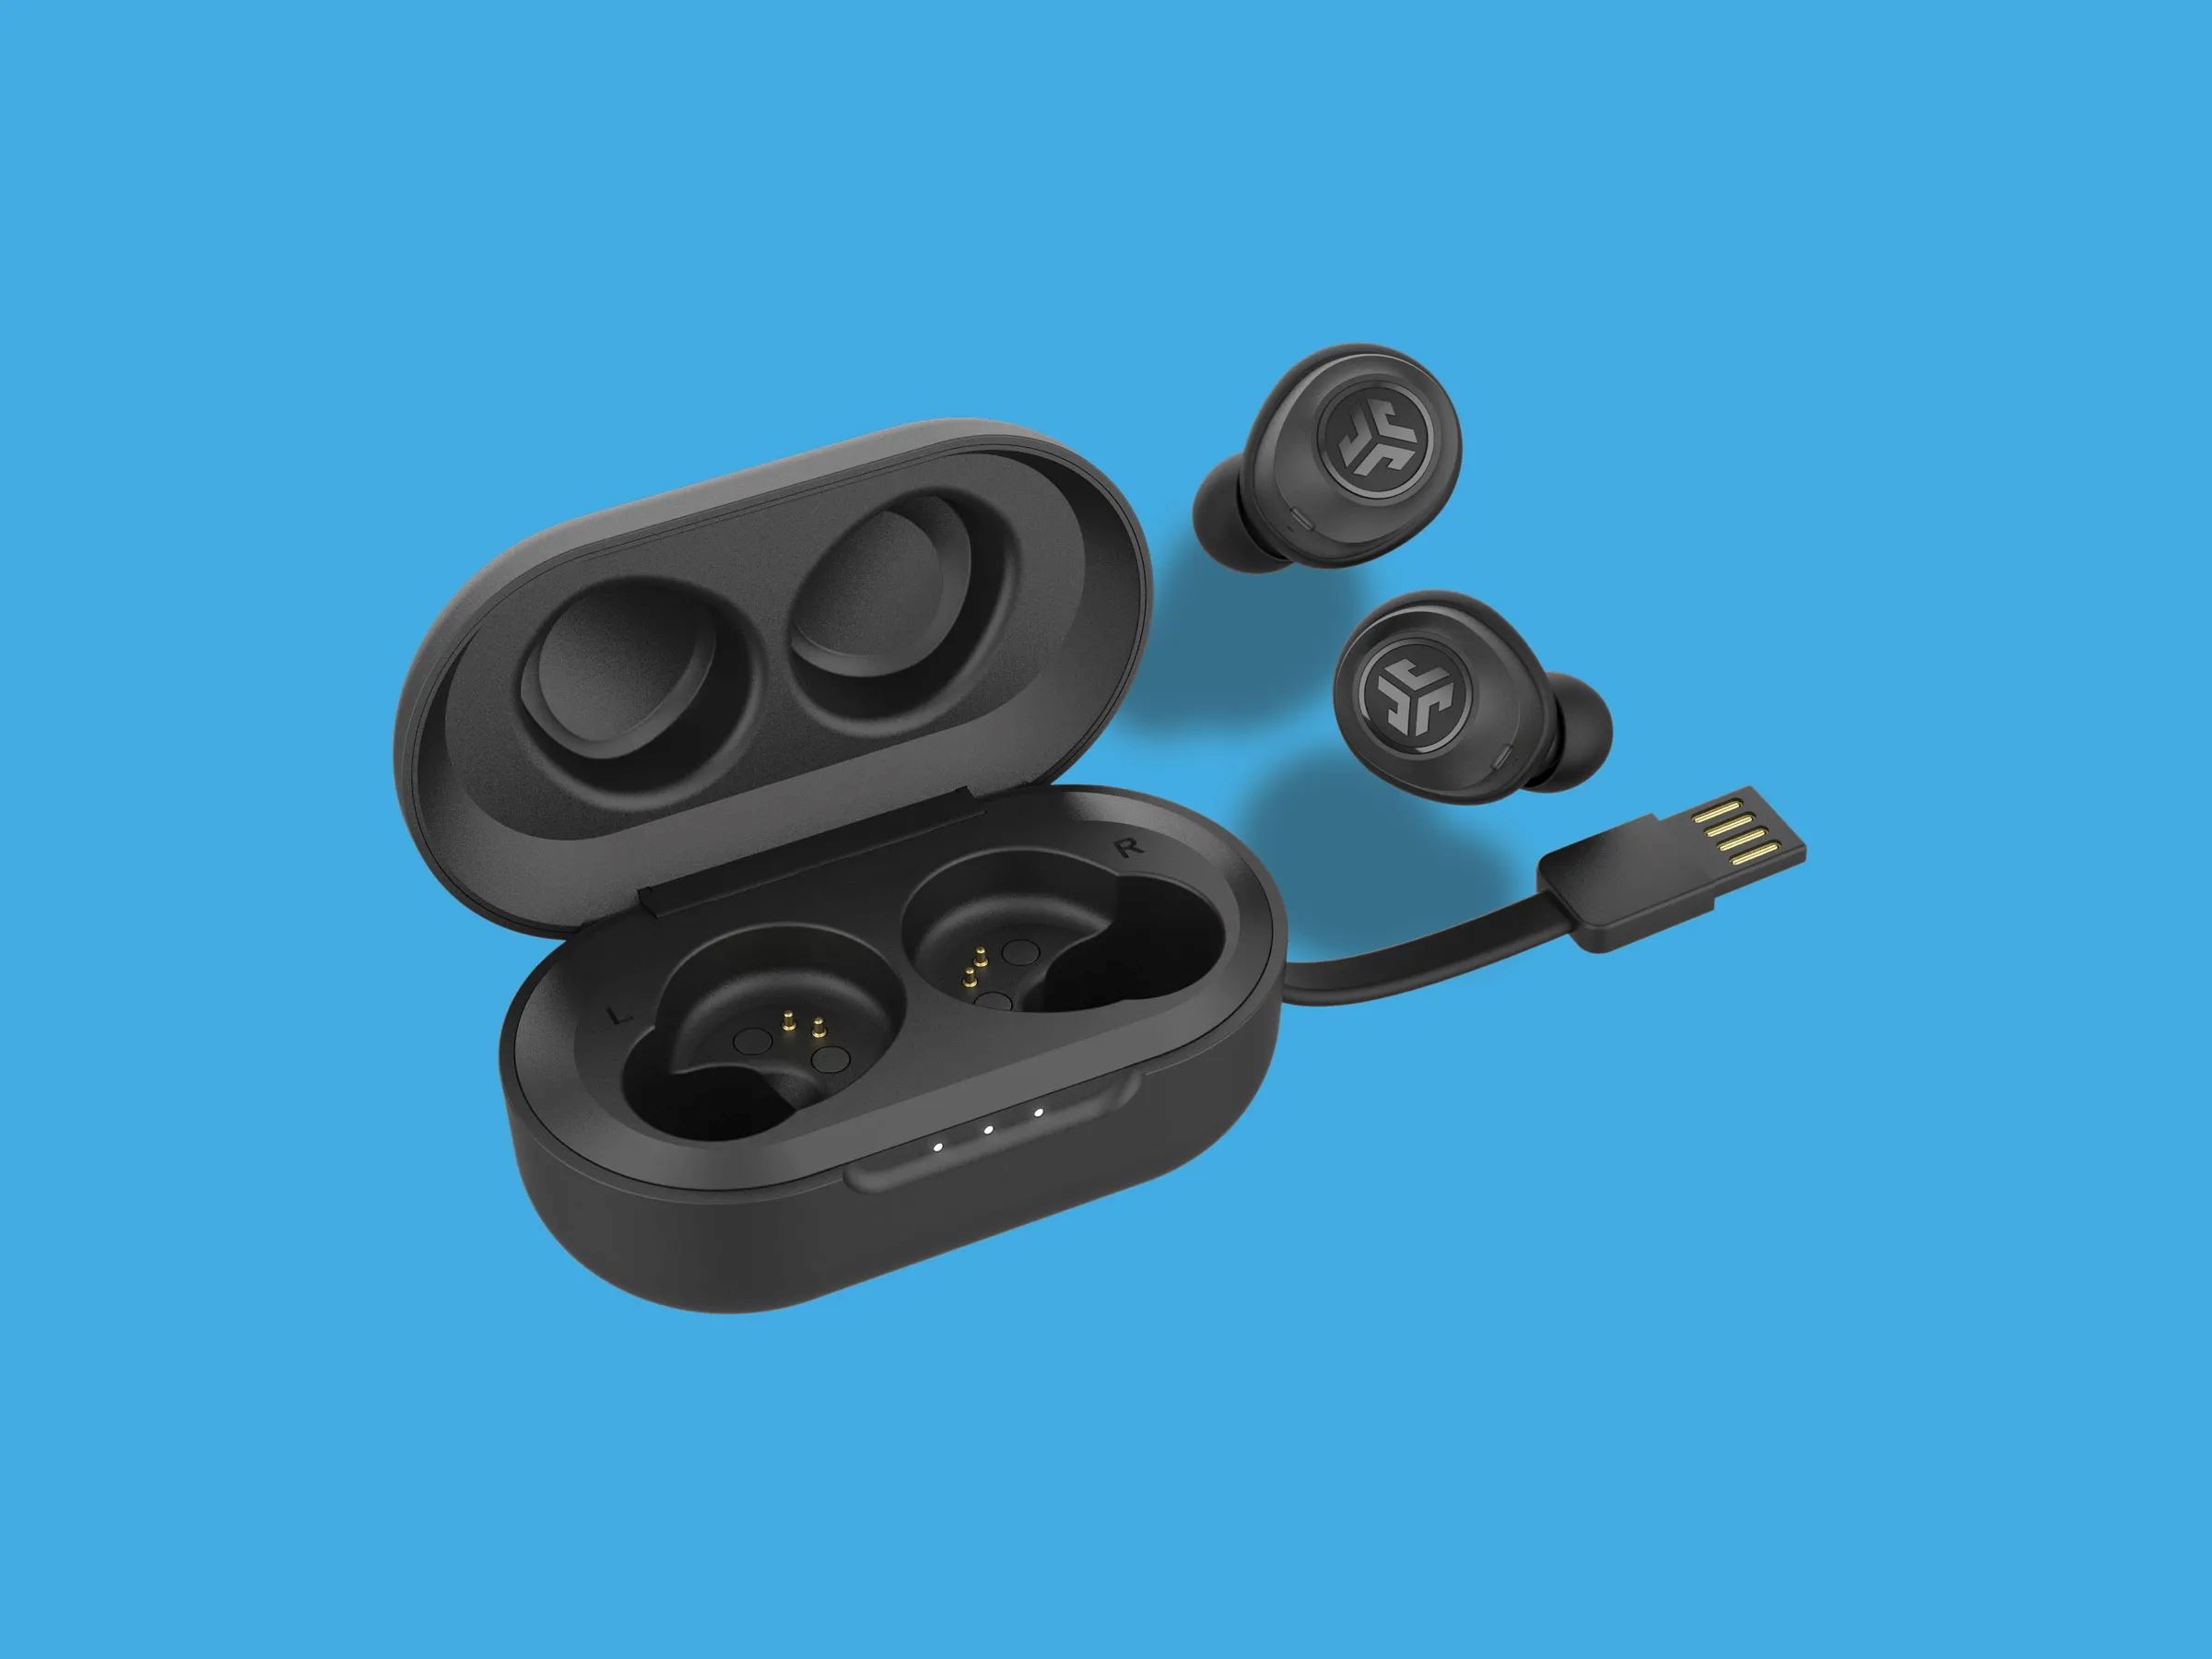
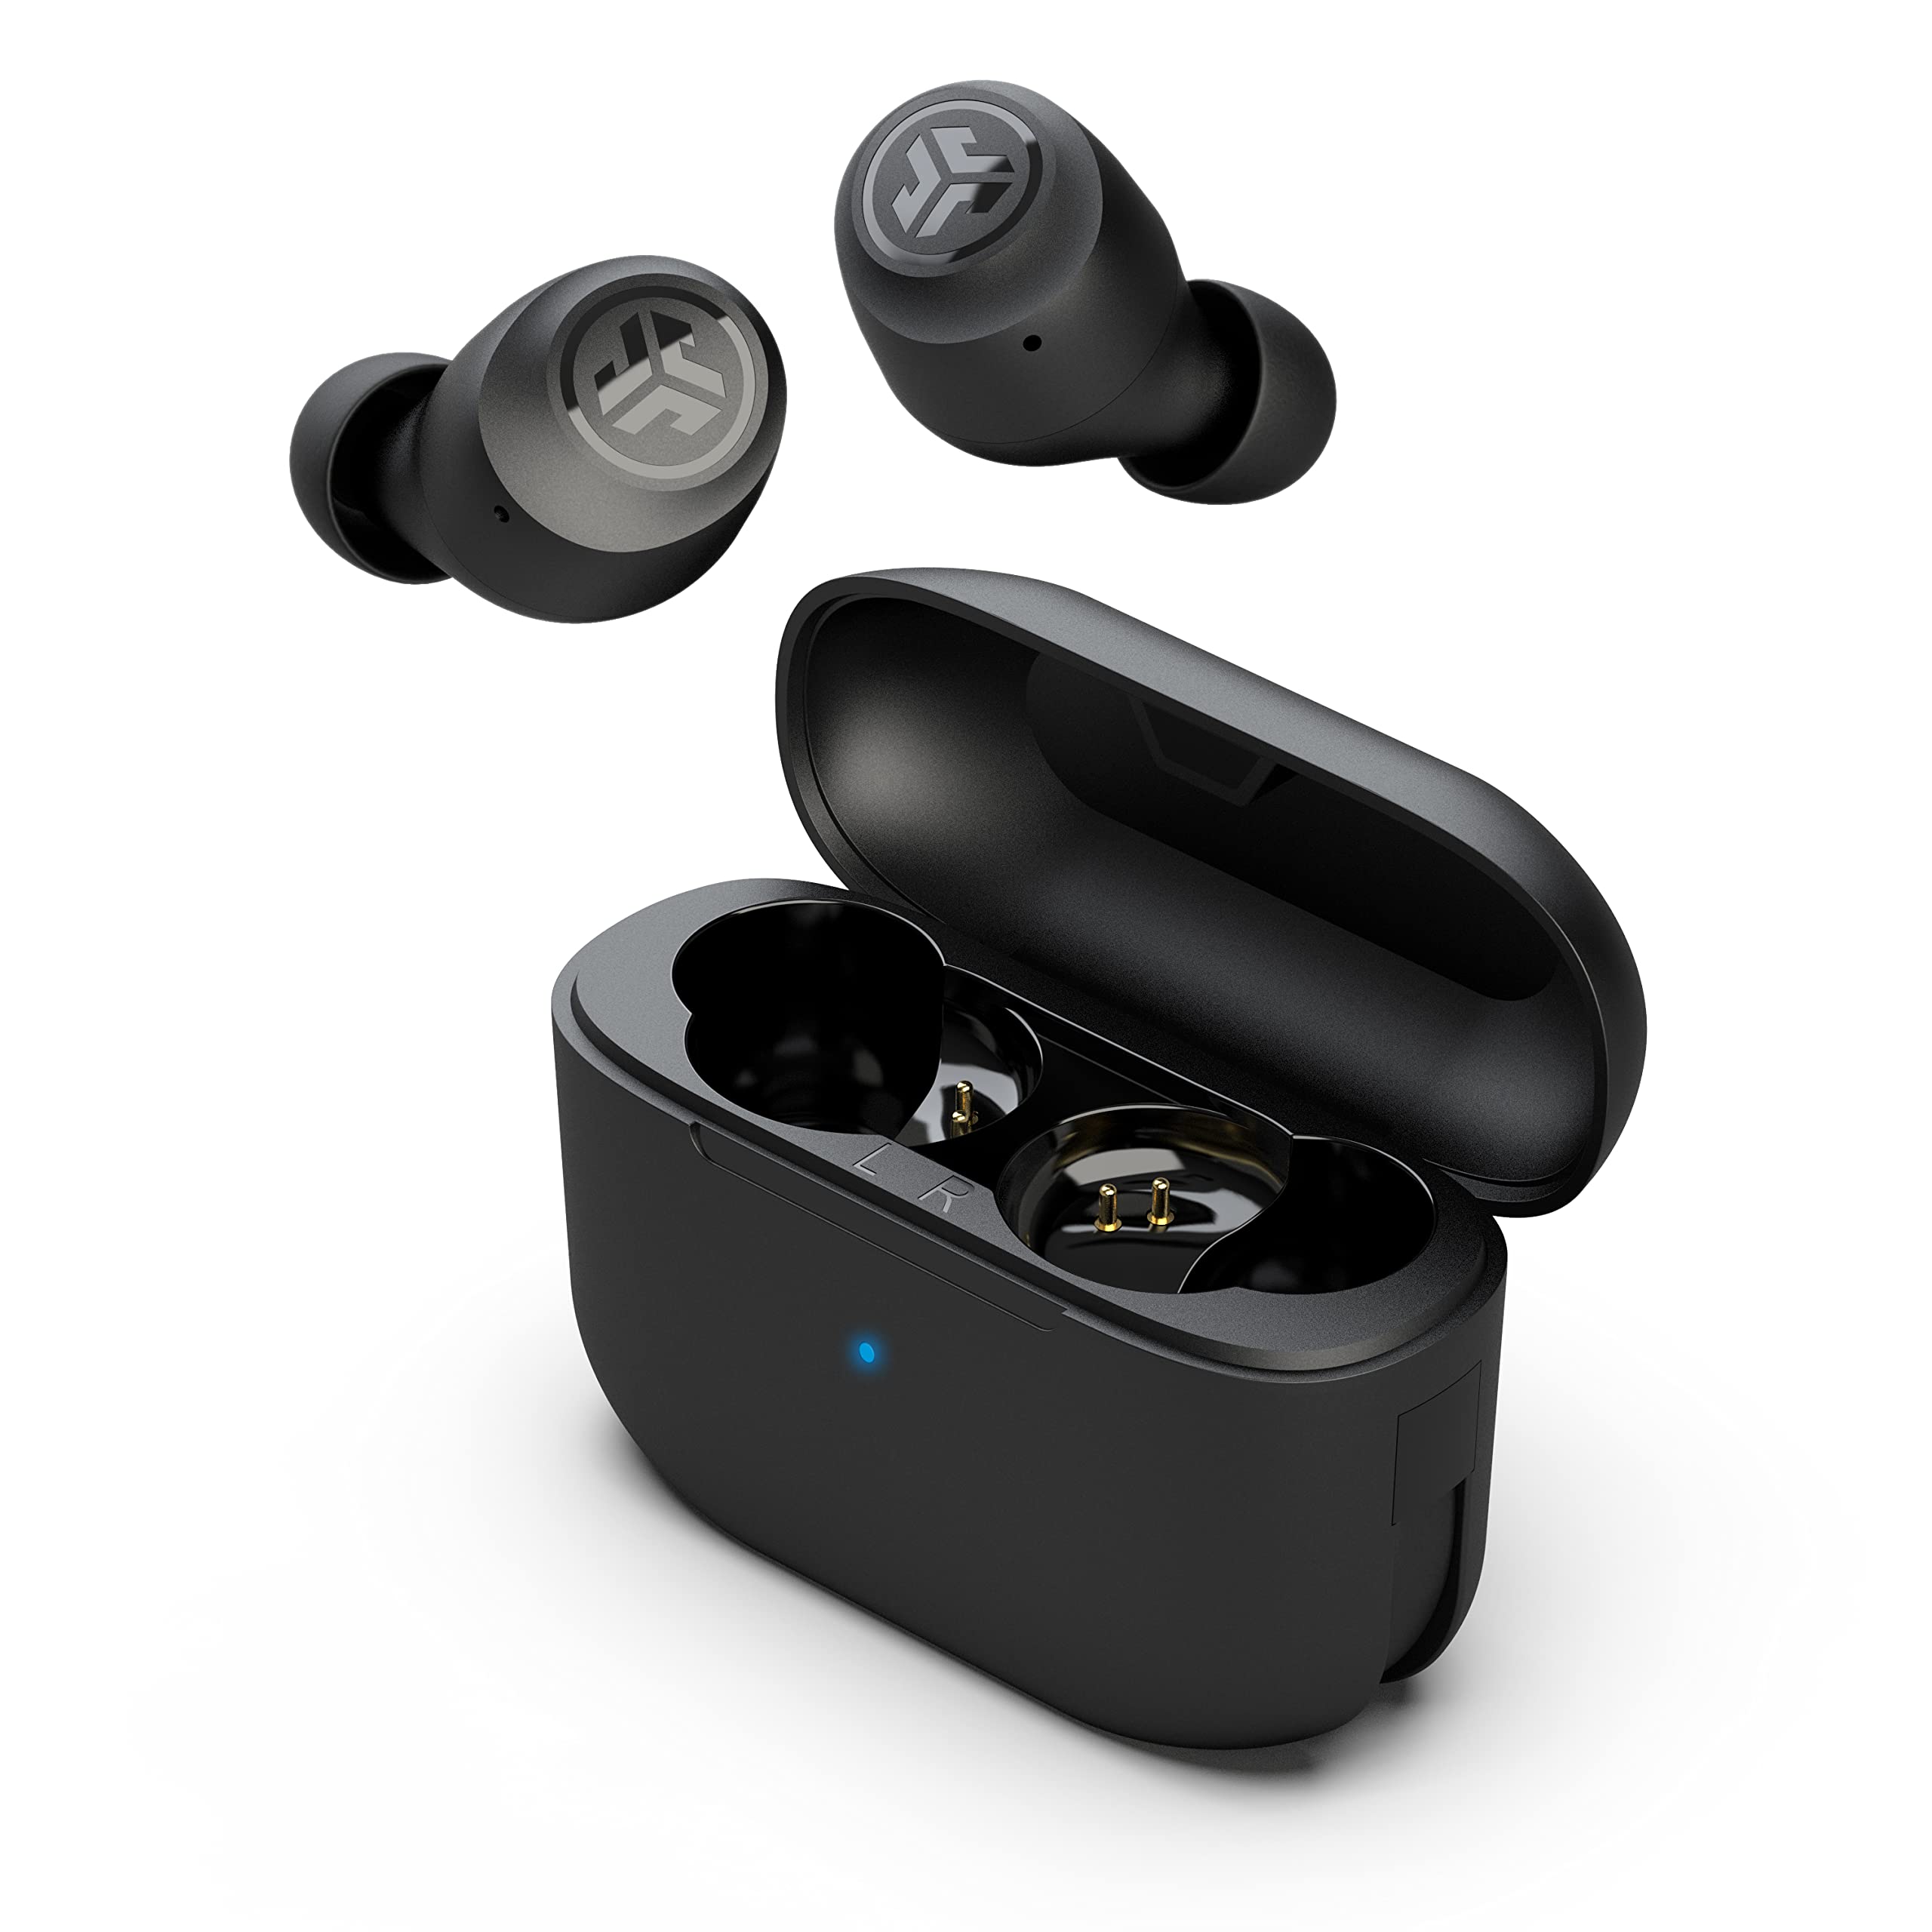
The first step in pairing your JLab wireless earbuds is to ensure they are powered on. Most JLab earbuds have a dedicated power button located either on the earbud itself or on the charging case. Here’s how you can power on your JLab earbuds:
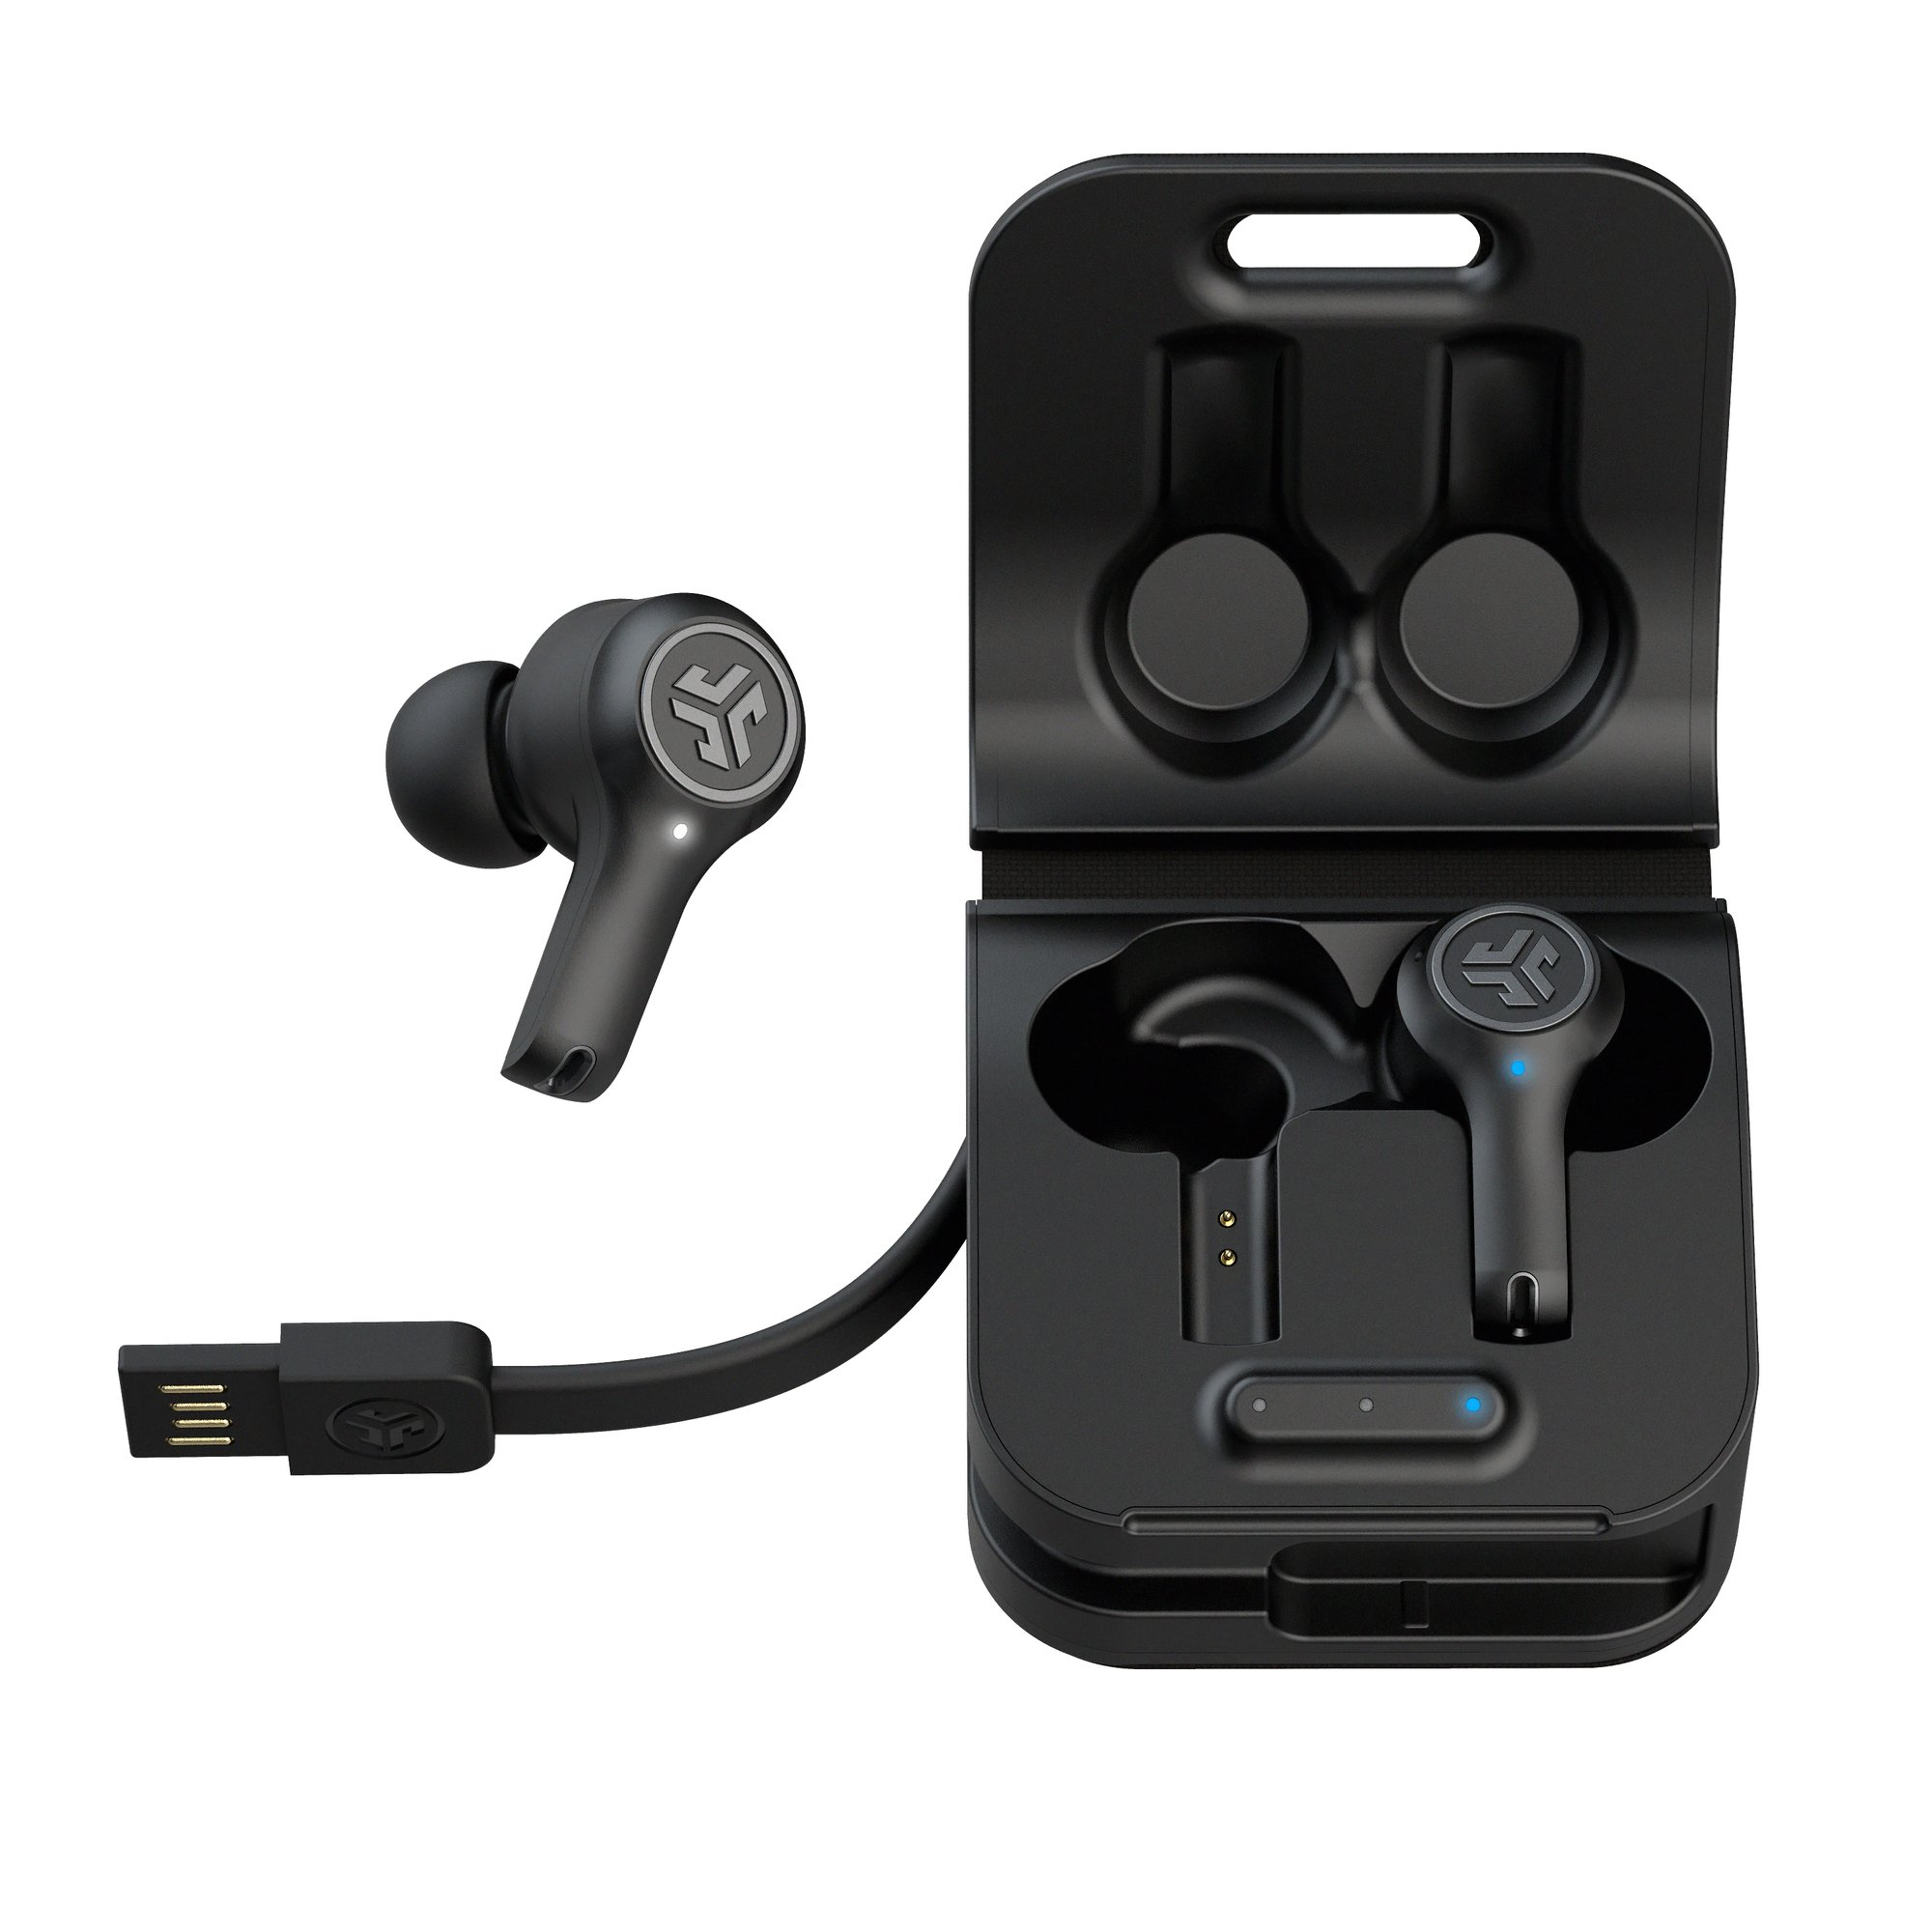
- For earbuds without a charging case: Locate the power button on one of the earbuds. Press and hold the power button until you see the LED indicator light up or hear an audible notification, indicating that the earbuds are now powered on.
- For earbuds with a charging case: Open the charging case and remove the earbuds. The earbuds will automatically power on when they are out of the charging case. Keep in mind that some JLab earbuds may require you to press and hold the power button on the earbuds to turn them on.
Once the earbuds are powered on, you are ready to proceed to the next step of the pairing process. Make sure to keep the earbuds within the effective range of your device to ensure a successful connection.
Remember, if you’re experiencing any issues with powering on your JLab earbuds, refer to the user manual that came with your specific model for detailed instructions.
Now that your JLab earbuds are powered on, let’s move on to the next step and enable Bluetooth on the device you wish to pair them with.
Step 2: Enable Bluetooth on the Device
In order to connect your JLab wireless earbuds to your device, you need to ensure that Bluetooth is enabled on the device. Bluetooth is a wireless technology that allows devices to communicate and establish a connection. Here’s how you can enable Bluetooth on your device:
- Open the Settings menu on your device. This may vary depending on whether you are using a smartphone, tablet, or computer.
- Navigate to the Bluetooth settings. Look for a Bluetooth icon or a menu option labeled “Bluetooth”.
- Toggle the Bluetooth switch to enable it. On some devices, you may need to slide a button or tap a toggle switch to turn Bluetooth on.
Once Bluetooth is enabled on your device, it will start scanning for nearby Bluetooth devices, including your JLab earbuds.
Note that the exact steps to enable Bluetooth may vary slightly depending on the operating system and device you are using. Refer to the device’s user manual or the manufacturer’s website for specific instructions if needed.
With Bluetooth now enabled on your device, let’s move on to the next step and put your JLab earbuds into pairing mode.
Step 3: Put the Earbuds in Pairing Mode
Putting your JLab earbuds into pairing mode allows them to be discovered and connected to your device. The specific method for entering pairing mode may vary depending on the model of your JLab earbuds. Follow the instructions below:
- Refer to the user manual that came with your JLab earbuds for the exact steps to enter pairing mode. This is especially important if you are using a specific model that has unique instructions.
- For most JLab earbuds, the typical way to enter pairing mode is to press and hold the power button or a dedicated pairing button on the earbuds. Keep holding until you see the LED indicator light flashing, indicating that the earbuds are now in pairing mode.
- Some JLab earbuds may have voice prompts to let you know when they are in pairing mode. Listen for any audio prompts or read the user manual to confirm.
It’s important to note that some JLab earbuds enter pairing mode automatically the first time they are powered on, while others require a manual activation. Make sure to follow the specific instructions for your earbuds to ensure successful pairing.
Now that your JLab earbuds are in pairing mode, it’s time to move on to the next step and select the earbuds on your device for the connection.
Step 4: Select the Earbuds on the Device
Now that your JLab earbuds are in pairing mode, it’s time to connect them to your device. Follow these steps to select the earbuds on your device:
- Go back to the Bluetooth settings on your device.
- Under the list of available devices, you should see your JLab earbuds listed. The name of the earbuds may vary depending on the specific model you have.
- Tap on the name of your JLab earbuds to select them for connection.
Once you have selected your JLab earbuds, your device will initiate the pairing process. It may take a few moments for the connection to be established, so be patient.
If prompted, you may need to enter a passcode or confirm a pairing request on both your device and the JLab earbuds. Follow any on-screen instructions to complete the pairing.
Note that some devices may automatically pair with the JLab earbuds without any additional steps. This will depend on the device’s settings and compatibility. If your device does not pair automatically, manually selecting the earbuds should prompt the connection.
Once your device successfully pairs with the JLab earbuds, you are ready to move on to the next step and complete the pairing process.
Step 5: Complete the Pairing Process
After selecting your JLab earbuds on your device, it’s time to complete the pairing process. Follow these steps to finalize the connection between your JLab earbuds and your device:
- Wait for your device to establish a connection with the selected JLab earbuds. This may take a few moments, so be patient and ensure that both devices are in close proximity.
- Once the connection is successfully established, you will typically see a notification or indication on your device confirming the pairing. This may include a “Connected” status or an icon indicating the earbuds are connected.
- At this point, your JLab earbuds should be ready to use with your device. You can now start enjoying your favorite music, podcasts, or any audio content wirelessly.
Remember that the pairing process may vary slightly depending on the device and JLab earbuds model. Consult the user manual or the manufacturer’s website for specific instructions tailored to your device and earbuds.
If you are unable to establish a connection or encounter any issues, don’t worry. The next step will provide some troubleshooting tips to help you resolve common pairing problems.
Now that the pairing process is complete, you can move on to the next step to test the connection and ensure everything is working as expected.
Step 6: Test the Connection
After successfully completing the pairing process between your JLab wireless earbuds and your device, it’s important to test the connection to ensure everything is working as expected. Follow these steps to test the connection:
- Play some audio on your device, such as a song or a podcast.
- Ensure that the audio is playing through your JLab earbuds and not through the device’s speakers. If you need to change the audio output, navigate to the audio settings on your device and select your JLab earbuds as the audio output device.
- Verify that the audio is clear and of good quality. Listen for any distortion, crackling, or connectivity issues.
- Test the range and stability of the Bluetooth connection by moving further away from your device. Ideally, the connection should remain strong and uninterrupted within a reasonable range, typically around 33 feet (10 meters).
- Try using the control buttons on your JLab earbuds, if available, to adjust the volume, play/pause, or skip tracks. Ensure that the controls are responsive and working properly.
If you encounter any issues during the testing phase, such as poor audio quality or a weak connection, refer to the troubleshooting tips in the next step to resolve common problems. Keep in mind that the specific troubleshooting steps may vary depending on the device and JLab earbuds model.
Once you have successfully tested the connection and confirmed that the audio is playing through your JLab earbuds without any issues, you can now enjoy the freedom of wireless audio on your device.
Now that you have tested the connection, let’s move on to the final step where we will provide some troubleshooting tips to help you resolve any potential issues.
Step 7: Troubleshooting Tips
While pairing and connecting your JLab wireless earbuds is usually a seamless process, you may encounter some common issues along the way. Here are some troubleshooting tips to help you resolve any potential problems:
- Make sure that your JLab earbuds are fully charged. Low battery levels can impact the stability and performance of the connection. Charge them fully before attempting to pair them with your device.
- Restart both your device and your JLab earbuds. Sometimes, a simple reboot can resolve connectivity issues and restore the pairing process.
- Ensure that both your device and the JLab earbuds are within the effective range of each other. Bluetooth signals have a limited range, typically around 33 feet (10 meters). Moving closer to your device can enhance the connection.
- Clear the Bluetooth cache on your device. This can help remove any conflicting or corrupted data that may be affecting the pairing process. Check your device’s settings for the option to clear the Bluetooth cache.
- If you have previously paired your JLab earbuds with another device, make sure that device’s Bluetooth is turned off or out of range. Sometimes, JLab earbuds can automatically connect to the last connected device, causing connectivity issues with a new device.
- Check for software updates for your device and JLab earbuds. Manufacturers often release firmware updates to improve stability and address connectivity issues. Updating both your device and earbuds to the latest software version may resolve any compatibility problems.
- If you are still experiencing issues, consult the user manual or contact JLab customer support for further assistance. They can provide personalized troubleshooting steps and help resolve any specific issues you may be facing.
By following these troubleshooting tips, you should be able to overcome common issues and enjoy a seamless connection between your JLab wireless earbuds and your device.
Now that you have familiarized yourself with the troubleshooting tips, you are equipped with the knowledge to resolve any potential issues that may arise during the pairing and connection process.
Conclusion
Congratulations! You have successfully learned how to pair your JLab wireless earbuds with your device. By following the step-by-step guide and troubleshooting tips provided in this article, you can now enjoy the freedom of wireless audio and immerse yourself in a high-quality listening experience.
JLab is committed to delivering cutting-edge audio technology, and their wireless earbuds provide seamless connectivity and impressive sound quality. Whether you’re a music enthusiast, a podcast lover, or someone who enjoys hands-free calling, these earbuds offer convenience and comfort.
Remember, the specific pairing process may vary depending on the model of your JLab earbuds and the device you are using. It’s always advisable to consult the user manual or the manufacturer’s website for detailed instructions tailored to your specific earbuds and device.
If you encounter any issues during the pairing process or while using your JLab earbuds, don’t hesitate to refer back to this guide or reach out to JLab customer support for further assistance. They are equipped to provide personalized troubleshooting and guidance.
Now that you have successfully paired your JLab earbuds, immerse yourself in your favorite music, podcasts, or audio content without the hassle of tangled wires. Enjoy the convenience, freedom, and exceptional sound provided by your JLab wireless earbuds.
Thank you for following this guide, and happy listening!