Introduction
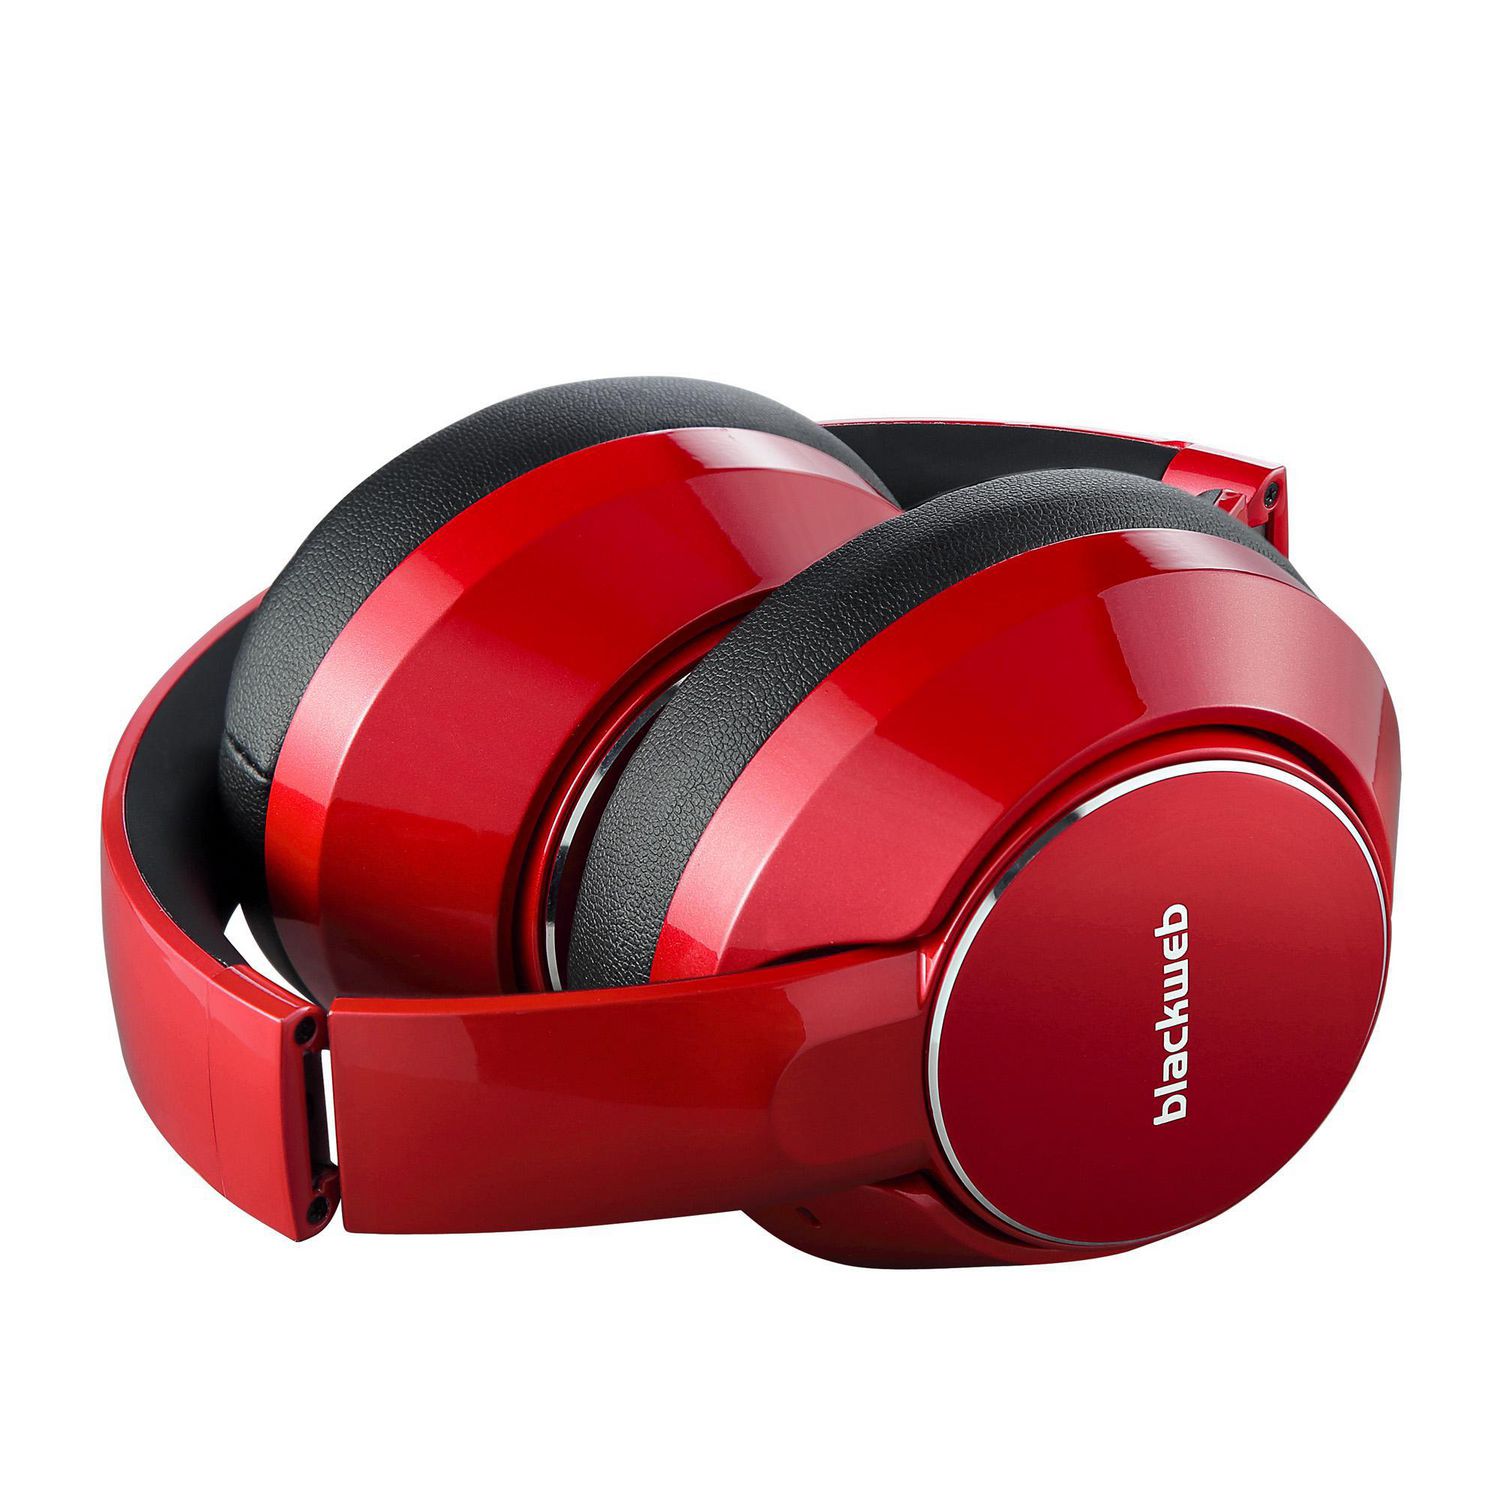
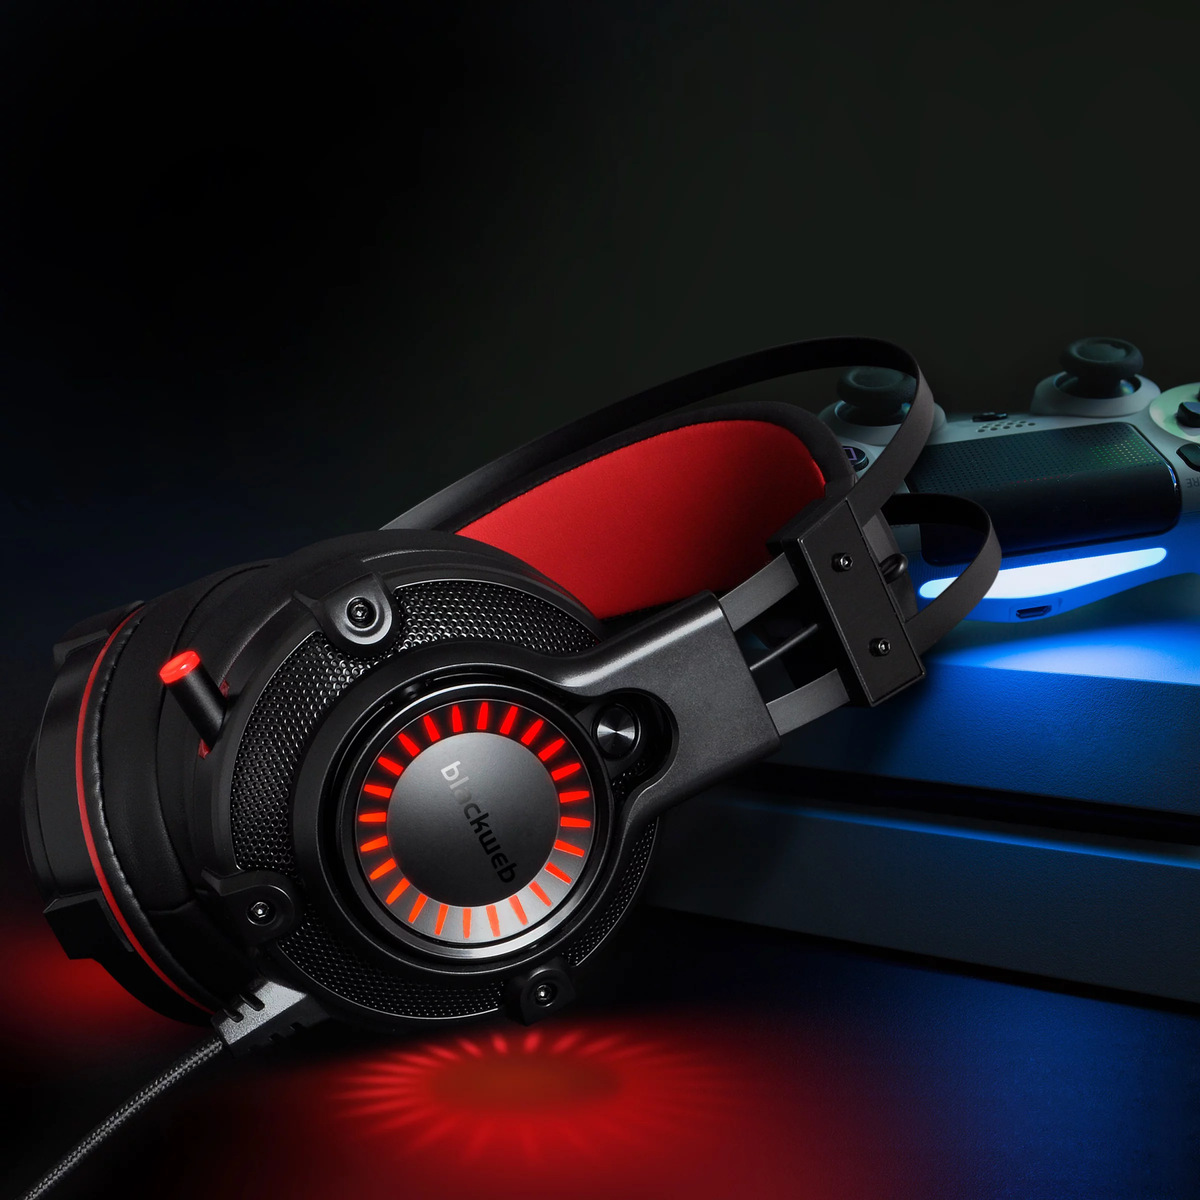
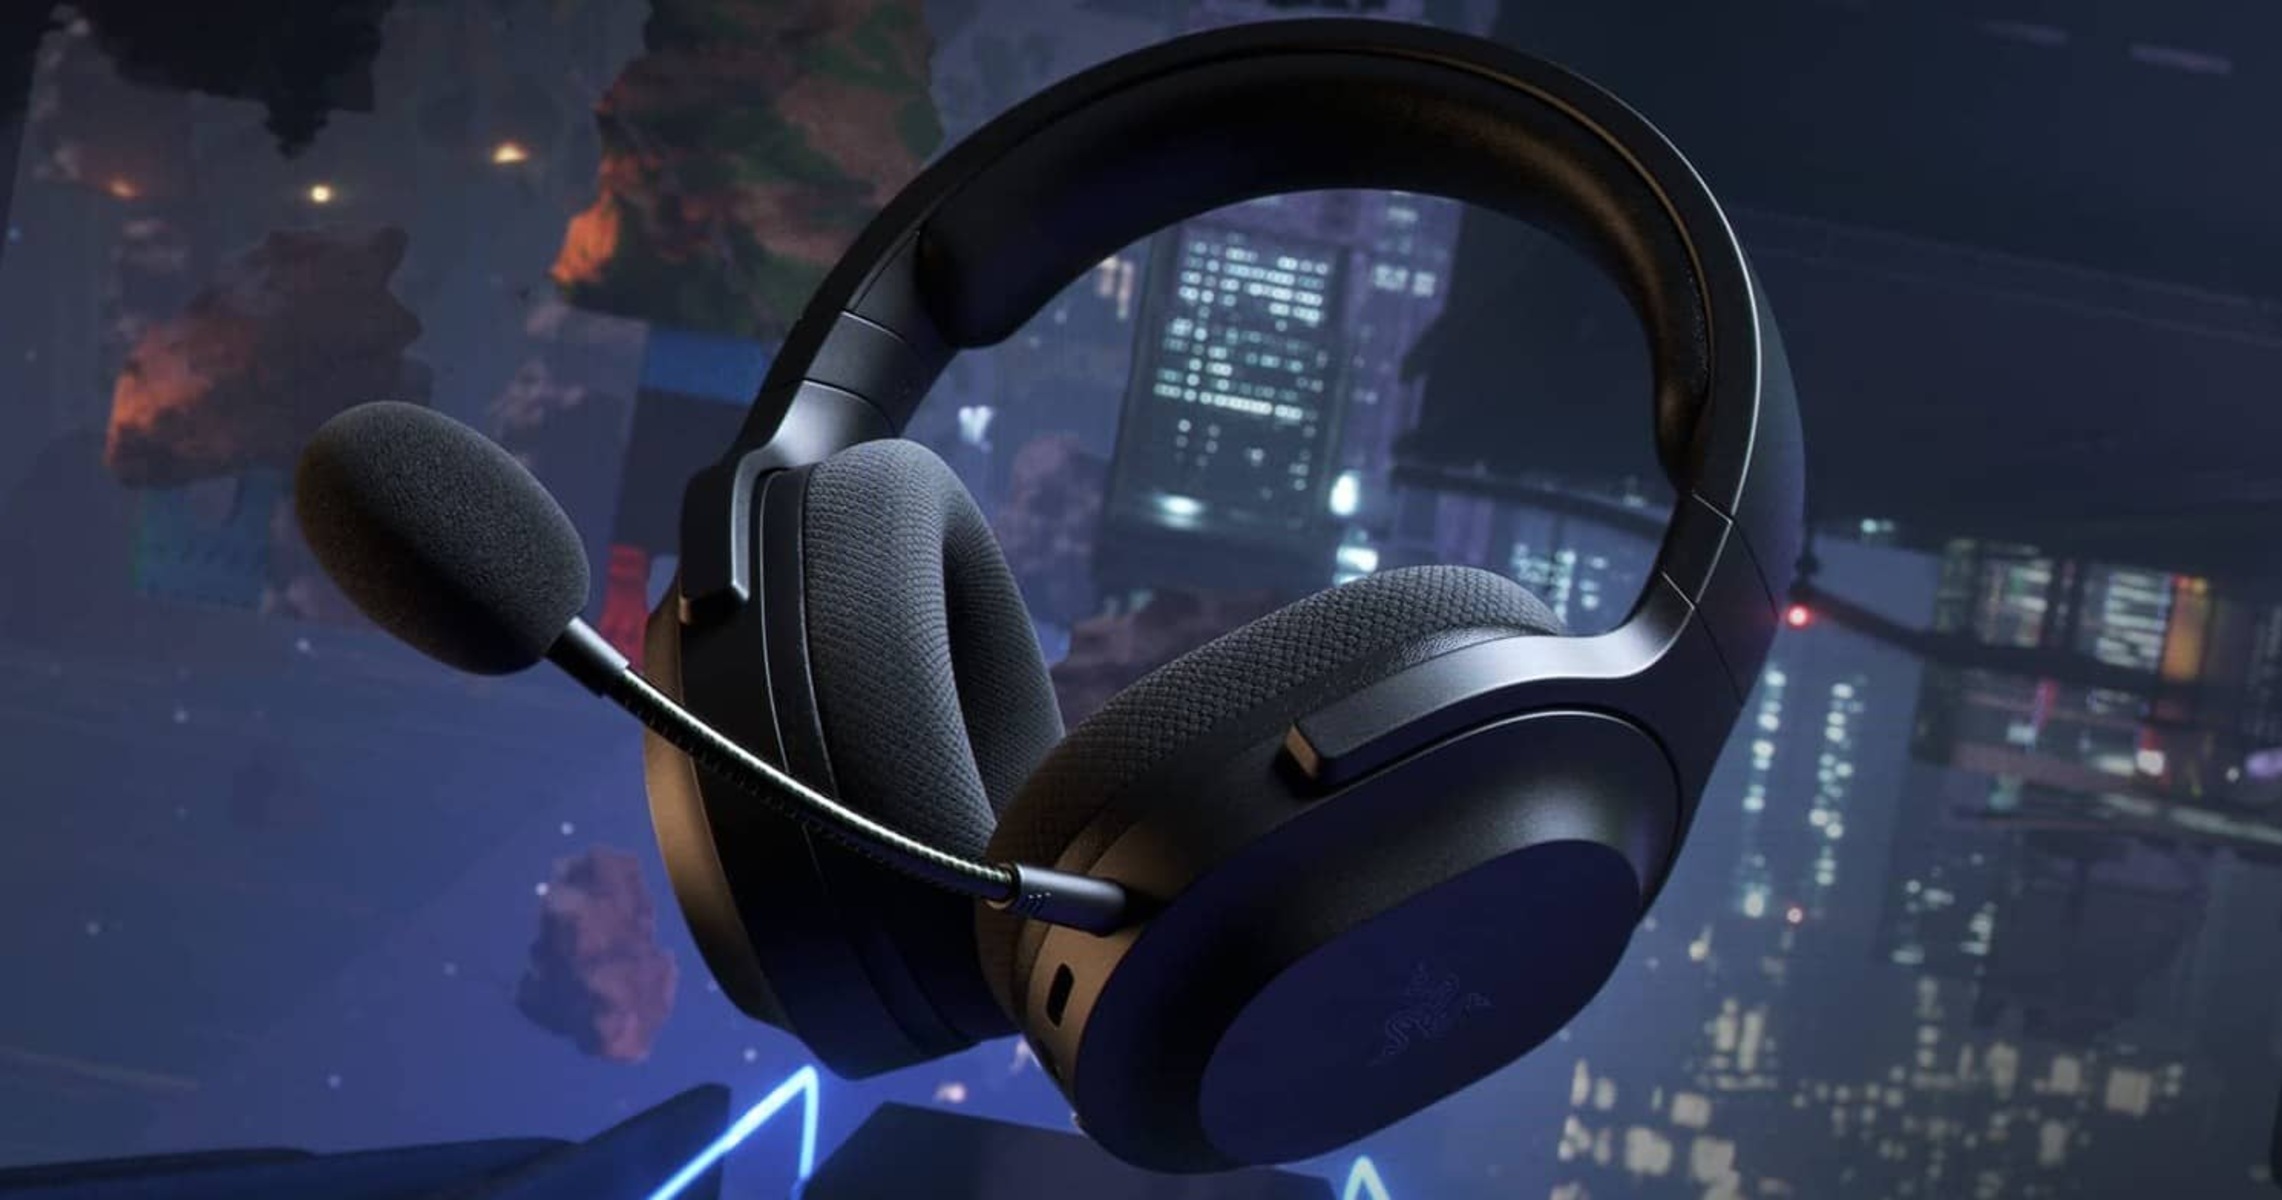
Welcome to the exciting world of gaming with your new Blackweb gaming headset! Whether you're a seasoned gamer or just starting out, having a reliable headset can greatly enhance your gaming experience. In this guide, we'll walk you through the process of setting up your Blackweb gaming headset on a Windows 7 computer. By the end of this tutorial, you'll be ready to immerse yourself in the captivating audio of your favorite games, communicate with fellow players, and enjoy an overall enhanced gaming experience.
The Blackweb gaming headset offers a range of features designed to elevate your gaming sessions, including high-quality audio output, a comfortable fit for extended wear, and a built-in microphone for clear communication. With its easy setup process, you'll be up and running in no time, ready to dive into the virtual worlds of your favorite games.
In the following steps, we will guide you through unboxing your new Blackweb gaming headset, connecting it to your Windows 7 computer, and configuring the settings to ensure optimal performance. Additionally, we'll provide tips for testing the headset to ensure everything is functioning as intended.
Whether you're gearing up for an intense multiplayer battle or immersing yourself in a captivating single-player adventure, having a reliable gaming headset is essential for fully experiencing the audio intricacies of your favorite games. With the Blackweb gaming headset and the guidance provided in this tutorial, you'll be well-equipped to elevate your gaming experience to new heights.
So, let's dive in and get your Blackweb gaming headset set up on your Windows 7 computer. Get ready to unleash the full potential of your gaming audio and communication capabilities with this impressive headset!
Step 1: Unboxing the Blackweb Gaming Headset
Before delving into the setup process, it’s essential to unbox your Blackweb gaming headset carefully. The packaging of the headset typically includes the headset itself, detachable microphone (if applicable), and any additional accessories such as an adapter or extension cable. Follow these steps to ensure a smooth unboxing experience:
- Inspect the Packaging: Carefully examine the packaging for any signs of damage during transit. Ensure that all the components are securely held in place within the box.
- Remove the Headset: Gently lift the headset from the packaging, taking care not to apply excessive force that may damage the product.
- Check for Accessories: Look for any additional accessories included with the headset, such as a detachable microphone, adapter, or extension cable. These components are essential for the complete functionality of the headset.
- Review the Documentation: Locate the user manual or setup guide provided with the headset. Reviewing the documentation can provide valuable insights into the features and setup requirements of the Blackweb gaming headset.
By unboxing the Blackweb gaming headset meticulously, you ensure that all the essential components are accounted for and in optimal condition. This initial step sets the stage for a seamless setup process, allowing you to proceed with connecting the headset to your Windows 7 computer with confidence.
Step 2: Connecting the Headset to Your Computer
Once you have unboxed the Blackweb gaming headset, the next crucial step is to connect it to your Windows 7 computer. The headset may utilize different connection methods, such as USB, 3.5mm audio jacks, or wireless connectivity. Follow these guidelines to establish a solid connection between the headset and your computer:
- Identify the Connection Port: Determine the type of connection supported by your Blackweb gaming headset. Whether it’s a USB connector, dual 3.5mm audio jacks, or a wireless receiver, identifying the correct port is essential for a successful connection.
- USB Connection: If your headset features a USB connector, simply insert it into an available USB port on your computer. Windows 7 should automatically recognize the new device and begin the installation process.
- 3.5mm Audio Jacks: For headsets with separate audio and microphone jacks, insert the corresponding plugs into the audio and microphone ports on your computer. These ports are typically color-coded, with the green jack for audio and the pink jack for the microphone.
- Wireless Connectivity: If your Blackweb gaming headset utilizes wireless connectivity, follow the manufacturer’s instructions to pair the headset with the wireless receiver or your computer’s built-in Bluetooth functionality.
- Driver Installation (if required): In some cases, Windows 7 may prompt you to install specific drivers for the headset. If prompted, follow the on-screen instructions to complete the driver installation process.
By carefully connecting the Blackweb gaming headset to your Windows 7 computer, you establish the foundation for seamless audio output and communication capabilities during your gaming sessions. Once the headset is successfully connected, you can proceed to configure the settings to ensure optimal performance and functionality.
Step 3: Setting Up the Headset on Windows 7
After connecting the Blackweb gaming headset to your Windows 7 computer, it’s essential to configure the settings to ensure that the headset functions seamlessly with your gaming setup. Windows 7 provides intuitive options for managing audio devices, including headsets, allowing you to customize the audio output and microphone input according to your preferences. Follow these steps to set up the headset on your Windows 7 system:
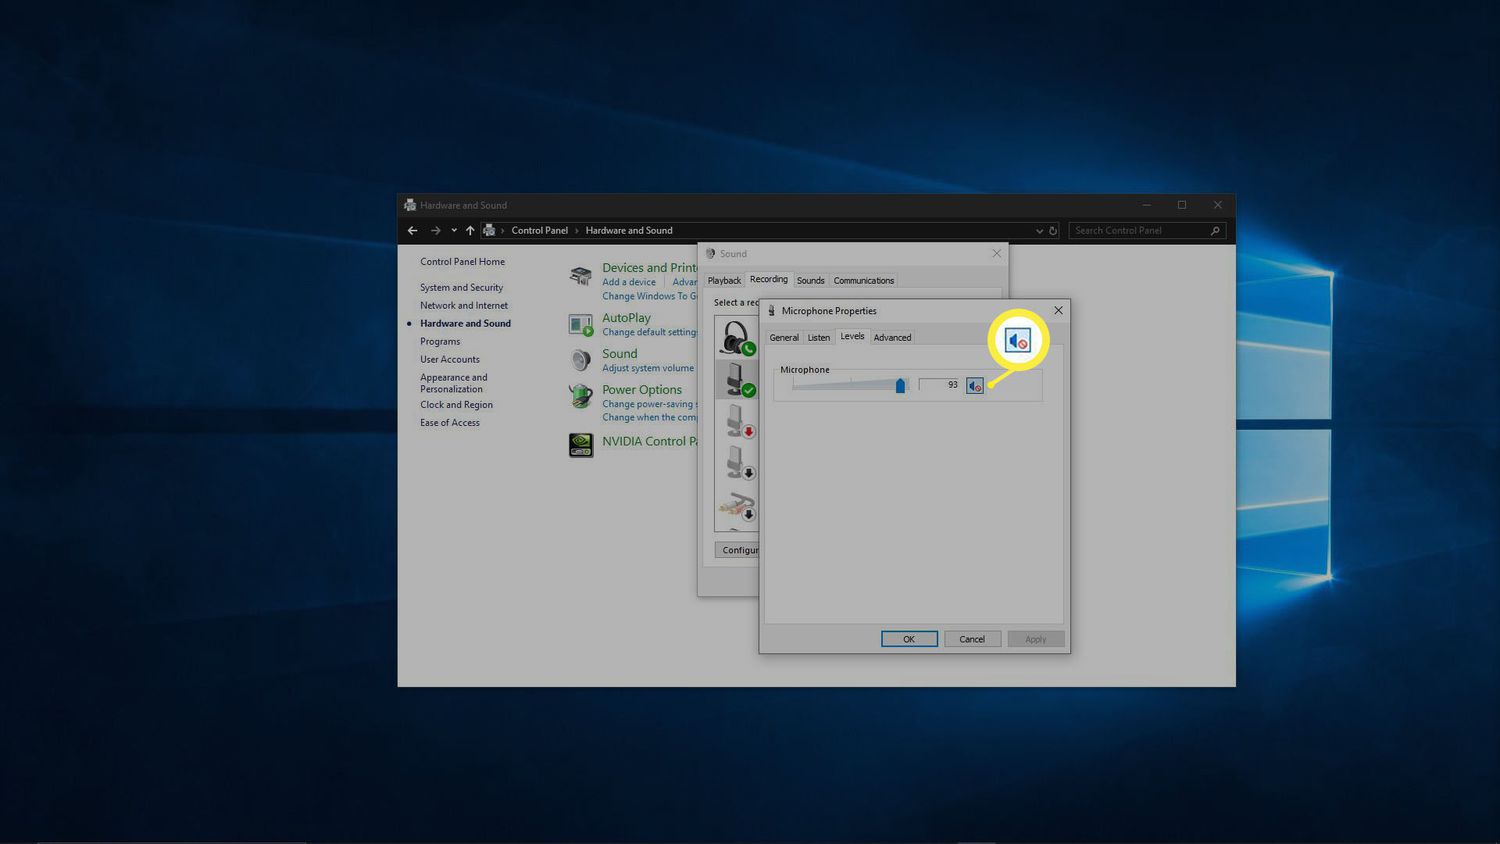
- Access Sound Settings: Click on the Windows “Start” button and navigate to the Control Panel. From the Control Panel, select “Hardware and Sound,” followed by “Sound.” This will open the Sound settings window.
- Set Default Playback Device: In the Sound settings window, navigate to the “Playback” tab. Locate your Blackweb gaming headset in the list of playback devices. Right-click on the headset and select “Set as Default Device.” This ensures that audio output is directed to the headset when it’s connected.
- Configure Microphone Settings: Switch to the “Recording” tab within the Sound settings window. Locate the Blackweb gaming headset’s microphone in the list of recording devices. Right-click on the microphone and choose “Set as Default Device” if you intend to use the headset’s microphone for communication during gaming.
- Adjust Audio Levels: To fine-tune the audio output and microphone input levels, right-click on the headset or microphone in the Sound settings window and select “Properties.” Navigate to the “Levels” tab to adjust the volume and microphone sensitivity according to your preferences.
- Test the Configuration: Once the settings are adjusted, click on the “Apply” and “OK” buttons to save the changes. Test the headset by playing audio and ensuring that the microphone input is functioning as expected. Make any necessary adjustments to achieve the desired audio and communication quality.
By setting up the Blackweb gaming headset within the Windows 7 system, you ensure that the headset is optimized for gaming, providing clear audio output and reliable microphone input. Configuring the playback and recording settings according to your preferences sets the stage for an immersive gaming experience, allowing you to fully utilize the capabilities of the headset during your gaming sessions.
Step 4: Testing the Headset
Once you have completed the setup process for your Blackweb gaming headset on Windows 7, it’s essential to conduct thorough testing to ensure that both the audio output and microphone input are functioning as expected. Testing the headset allows you to identify any potential issues and make necessary adjustments for an optimal gaming experience. Follow these steps to test the functionality of your headset:
- Audio Playback Test: Play a variety of audio content, such as music, game sound effects, and voice communication, to assess the quality of the audio output. Ensure that the sound is clear, balanced, and free from distortion or static, indicating that the headset is delivering high-quality audio.
- Microphone Test: Use built-in Windows 7 utilities or third-party communication applications to test the microphone input of the Blackweb gaming headset. Speak into the microphone and verify that your voice is captured clearly without any distortion or background noise. Additionally, test the microphone’s noise-cancellation capabilities by introducing background noise and assessing its impact on voice clarity.
- Gaming Experience Test: Engage in a gaming session that involves audio cues, communication with other players, and immersive sound effects. Evaluate how the headset enhances your gaming experience, providing spatial awareness, clear communication, and an overall heightened sense of audio immersion.
- Comfort and Fit Test: Wear the headset for an extended period to assess its comfort and fit. Ensure that the ear cups provide a snug yet comfortable seal, minimizing external noise and ensuring long-term wearability during extended gaming sessions.
By thoroughly testing the Blackweb gaming headset, you can confirm that it meets your expectations in terms of audio quality, microphone performance, and overall comfort during use. Any issues identified during testing can be addressed through further adjustments to the settings or by referring to the headset’s user manual for troubleshooting guidance. Once the headset passes the testing phase, you can confidently immerse yourself in your favorite games, leveraging the full capabilities of the Blackweb gaming headset for an exceptional gaming experience.
Conclusion
Congratulations on successfully setting up your Blackweb gaming headset on your Windows 7 computer! By following the steps outlined in this guide, you have ensured that your gaming headset is seamlessly integrated with your gaming setup, ready to deliver immersive audio and reliable communication capabilities during your gaming sessions.
Unboxing the headset and carefully inspecting its components set the stage for a smooth setup process, ensuring that all essential accessories are accounted for and in optimal condition. Connecting the headset to your computer using the appropriate method, whether USB, 3.5mm audio jacks, or wireless connectivity, established the vital link for audio output and microphone input.
Configuring the headset within the Windows 7 system allowed you to customize the audio playback and microphone settings, ensuring that the headset functions according to your preferences. By setting the default playback and recording devices and adjusting audio levels, you optimized the headset for an immersive gaming experience, fine-tuning the audio output and microphone input to meet your specific requirements.
Thoroughly testing the headset for audio playback, microphone performance, and comfort provided valuable insights into its capabilities, allowing you to address any potential issues and make necessary adjustments. By conducting these tests, you confirmed that the Blackweb gaming headset meets your expectations in terms of audio quality, communication clarity, and long-term wearability.
With your Blackweb gaming headset fully set up and tested, you’re now ready to embark on captivating gaming adventures, fully immersing yourself in the audio intricacies of your favorite games and engaging in clear communication with fellow players. The headset’s high-quality audio output, reliable microphone input, and comfortable fit are poised to elevate your gaming experience to new heights, enhancing your enjoyment and competitive edge in the virtual realms.
As you venture into the immersive worlds of gaming, remember that your Blackweb gaming headset is not just a peripheral, but a gateway to a richer, more immersive gaming experience. Embrace the audio nuances, communicate clearly with your teammates, and enjoy the comfort of extended gaming sessions, all made possible by your meticulously set up and tested Blackweb gaming headset.