Introduction
Removing and cleaning the keys on your Blackweb Centaur Gaming Keyboard can be a simple yet essential maintenance task to ensure the longevity and optimal performance of your keyboard. Over time, dust, crumbs, and other debris can accumulate beneath the keys, leading to sticky or unresponsive key presses. Additionally, regular cleaning can enhance the overall aesthetics of your keyboard, keeping it looking as good as new.
By following the step-by-step process outlined in this guide, you will be able to remove, clean, and replace the keys on your Blackweb Centaur Gaming Keyboard with ease. Whether you are an avid gamer, a professional typist, or simply a keyboard enthusiast, maintaining your keyboard in top condition is crucial for a seamless and enjoyable user experience.
Before diving into the process, it’s essential to gather the necessary tools to ensure a smooth and efficient key removal and cleaning process. With the right tools and a bit of patience, you can restore your keyboard to its pristine condition, ready for countless hours of uninterrupted use.
Tools Needed
Prior to embarking on the task of removing and cleaning the keys on your Blackweb Centaur Gaming Keyboard, it’s important to have the appropriate tools at your disposal. These tools will not only facilitate the key removal process but also ensure that the cleaning is thorough and effective. Here are the essential tools you will need:
- Keycap Puller: A keycap puller is a specialized tool designed to safely and easily remove the keycaps from your keyboard. It typically features wire loops or prongs that fit beneath the keycap, allowing you to pull it off without damaging the key or the keyboard’s switches.
- Compressed Air Duster: This tool is invaluable for removing dust, crumbs, and other debris from beneath the keycaps. A can of compressed air duster will help dislodge and blow away any particles that may be affecting the performance of your keyboard.
- Microfiber Cloth: A soft, lint-free microfiber cloth is ideal for wiping down and cleaning the keycaps and the keyboard’s surface. It effectively removes smudges, fingerprints, and other marks without leaving behind lint or scratches.
- Mild Cleaning Solution: A gentle cleaning solution, such as a mixture of water and mild dish soap, can be used to clean the keycaps and the keyboard’s surface. It’s important to use a solution that is safe for the materials used in the keyboard construction.
- Cotton Swabs: These are useful for reaching and cleaning tight spaces around the switches and beneath the keycaps. They can be dipped in the cleaning solution to effectively remove any stubborn grime.
By having these tools on hand, you’ll be well-prepared to tackle the task of removing, cleaning, and replacing the keys on your Blackweb Centaur Gaming Keyboard, ensuring that the process is efficient and the results are satisfying.
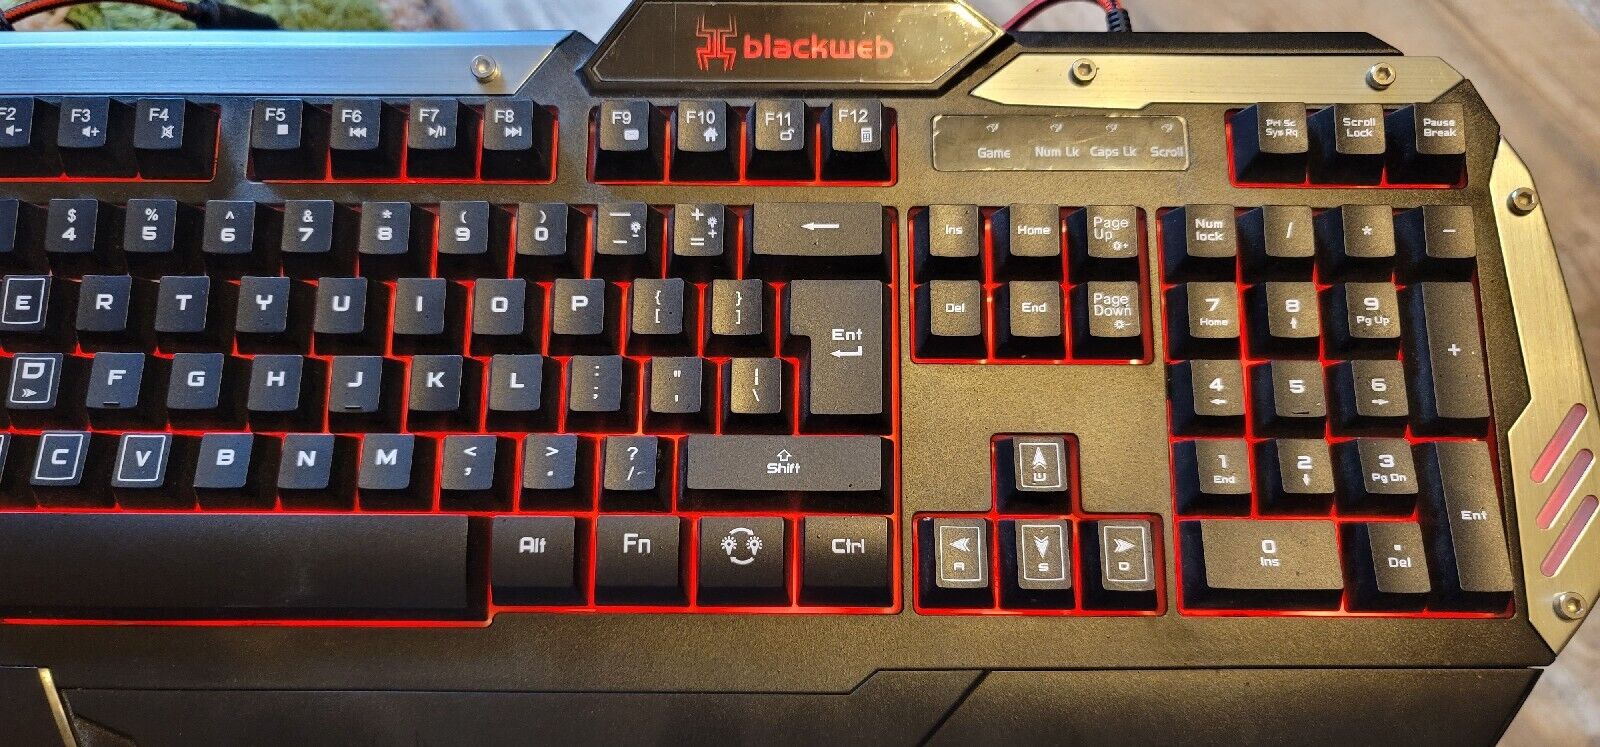
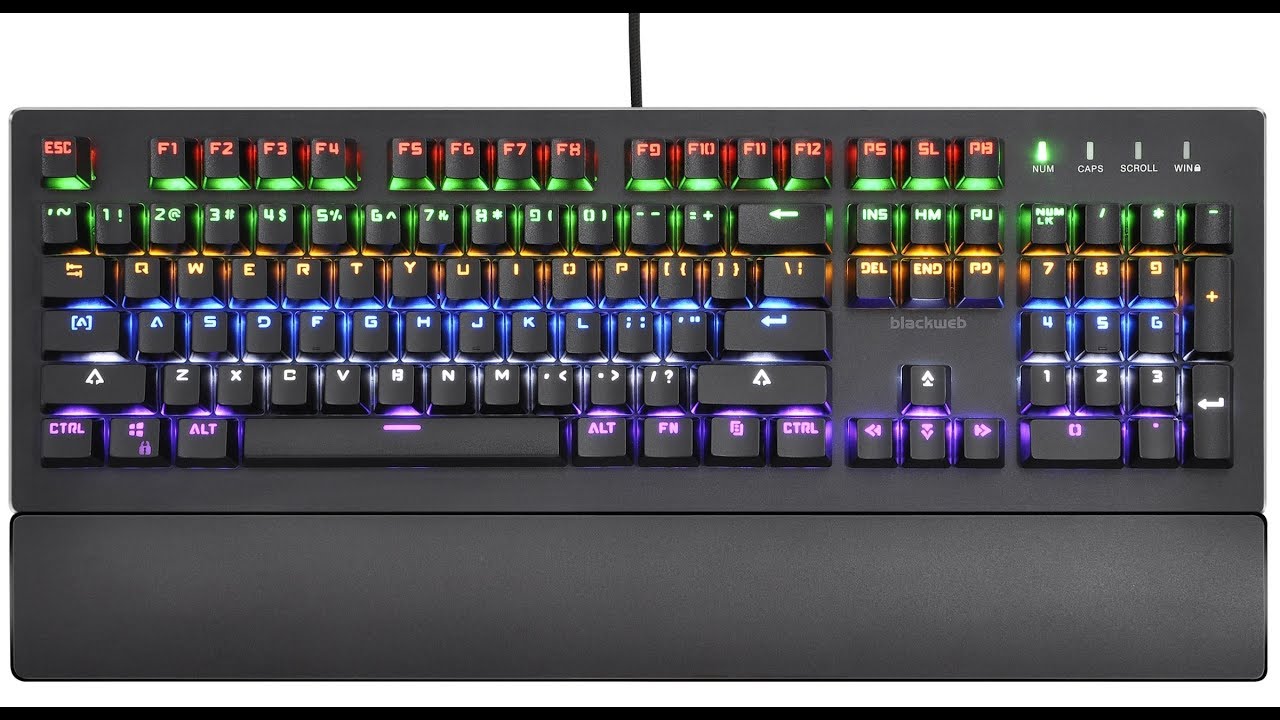
Removing Keys from Blackweb Centaur Gaming Keyboard
Removing the keys from your Blackweb Centaur Gaming Keyboard is a straightforward process that requires a gentle touch and the right technique to avoid damaging the keys or the keyboard’s switches. Here’s a step-by-step guide to removing the keys:
- Prepare Your Workspace: Find a clean, well-lit area to work on your keyboard. It’s a good idea to have a soft surface, such as a clean cloth or a mouse pad, to place the keyboard on to prevent scratches and provide a stable working surface.
- Use the Keycap Puller: Take the keycap puller and position its wire loops or prongs around the keycap you want to remove. Gently but firmly, pull upwards on the keycap puller to lift the keycap off the switch. It’s important to exert even pressure to avoid bending or damaging the keycap or the switch beneath it.
- Remove the Keycap: Once the keycap is lifted, carefully remove it from the key switch. Be mindful of any stabilizer bars or mechanisms that may be present on larger keys, such as the spacebar or the shift key.
- Repeat for Other Keys: Continue using the keycap puller to remove the desired keys, following the same gentle and deliberate process for each key. Take your time and avoid rushing to prevent any accidental damage.
It’s important to handle the keys with care and avoid using excessive force during the removal process. By taking your time and being mindful of the delicate components, you can safely remove the keys from your Blackweb Centaur Gaming Keyboard without causing any harm.
Cleaning the Keys
Once the keys have been removed from your Blackweb Centaur Gaming Keyboard, it’s time to give them a thorough cleaning to remove any accumulated dirt, grime, or residue. Here’s a detailed guide on how to clean the keys effectively:
- Inspect the Keycaps: Take a close look at each keycap to identify any visible dirt, stains, or residue. Pay special attention to the areas around the edges and the key’s surface, as these are common spots for debris to accumulate.
- Use Compressed Air: Holding the keycaps over a trash bin or a clean surface, use a can of compressed air duster to blow away any loose debris and dust. Ensure that the air is directed away from your face and towards the keycap to dislodge any particles effectively.
- Wipe with a Microfiber Cloth: Dampen a microfiber cloth with a mild cleaning solution or water and gently wipe each keycap to remove stubborn marks, smudges, or residue. Take care not to saturate the keycaps with excess liquid to prevent any potential damage.
- Clean the Keyboard Surface: While the keycaps are removed, take the opportunity to wipe down the exposed keyboard surface using the same microfiber cloth and cleaning solution. This will help remove any dirt or grime that may have accumulated around the switches and on the keyboard’s body.
- Dry the Keycaps: After cleaning, allow the keycaps to air dry thoroughly to ensure that no moisture remains before reattaching them to the keyboard. Ensure that they are completely dry to the touch before proceeding.
By following these steps, you can effectively clean the keycaps from your Blackweb Centaur Gaming Keyboard, ensuring that they are free from dirt and grime and restoring them to a pristine condition. Additionally, cleaning the keyboard’s surface can contribute to a more hygienic and visually appealing user experience.
Replacing the Keys
After the keys and keyboard surface have been thoroughly cleaned, it’s time to reassemble the Blackweb Centaur Gaming Keyboard by replacing the keys in their respective positions. Follow these steps to securely reattach the keycaps:
- Position the Keycap: Take a cleaned keycap and align it directly over the corresponding switch on the keyboard. Ensure that the keycap is oriented correctly and sits evenly over the switch housing.
- Apply Even Pressure: With the keycap aligned, gently press down on the center of the keycap using your fingers. Apply even pressure to ensure that the keycap snaps securely onto the switch without tilting or wobbling.
- Repeat for Other Keys: Proceed to replace the remaining keycaps by following the same alignment and gentle pressing process. Take care when replacing larger keys, such as the spacebar, and ensure that any stabilizer mechanisms are properly engaged.
- Test the Keys: Once all the keycaps have been reattached, test each key to ensure that it registers key presses accurately and returns to its neutral position smoothly. This will verify that the keycaps are securely in place and functioning as intended.
By methodically replacing the cleaned keycaps, you can restore the Blackweb Centaur Gaming Keyboard to its fully functional and aesthetically pleasing state. Taking the time to ensure that each keycap is securely attached will contribute to a satisfying and seamless typing or gaming experience.