Introduction
Setting up a Yamaha surround sound system to outdoor speakers can greatly enhance your outdoor entertainment experience. Imagine enjoying your favorite music or watching movies with immersive, high-quality sound while spending time in your backyard or hosting a backyard party. With the right equipment and proper setup, you can achieve a seamless audio experience that rivals indoor entertainment systems.
In this guide, we will walk you through the step-by-step process of setting up your Yamaha surround sound system to outdoor speakers. Whether you’re a tech-savvy individual or a beginner, this guide will help you in navigating the setup process with ease.
Before we dive into the setup instructions, it’s important to note that this guide assumes you already have a Yamaha surround sound receiver and a set of outdoor speakers. If you haven’t purchased these components yet, be sure to choose a receiver that supports outdoor speaker connections and select weatherproof outdoor speakers that are designed to withstand outdoor conditions.
Now, let’s get started with the setup process and transform your outdoor entertainment space into a theater-like experience.
Step 1: Gathering the Necessary Equipment
Before beginning the setup process, it’s essential to gather all the necessary equipment. Here’s a list of items you’ll need:
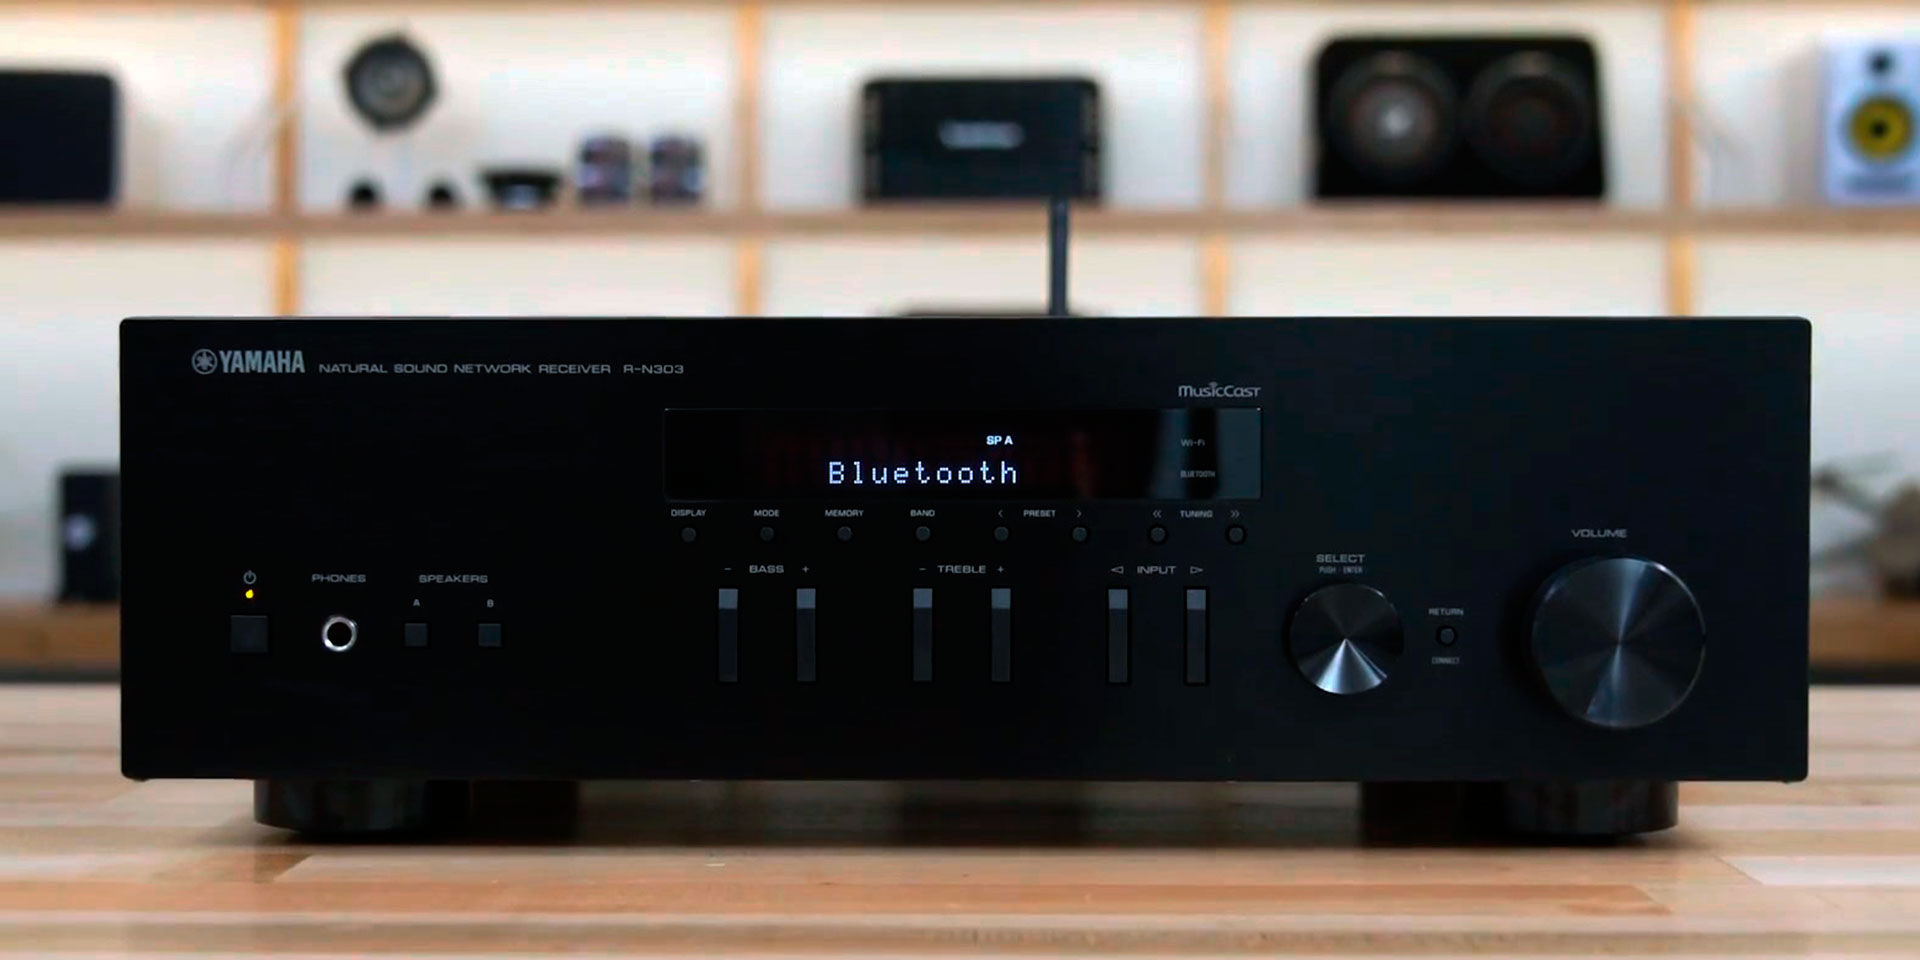
- Yamaha Surround Sound Receiver: Ensure you have a Yamaha surround sound receiver that is compatible with outdoor speaker connections. If you don’t have one yet, consider purchasing a receiver with the appropriate features and capabilities.
- Outdoor Speakers: Choose weatherproof outdoor speakers that are designed to handle outdoor elements. Look for speakers that offer a good balance of sound quality and durability.
- Speaker Wire: Get enough speaker wire to connect the speakers to the receiver. Measure the distance between the receiver and the speakers to determine the required length.
- Audio Source: Decide on the audio source you’ll be using. It could be a media player, streaming device, or even a Bluetooth-enabled device for wireless connectivity.
- Audio Cables: Depending on your audio source, you might need audio cables such as HDMI, RCA, or optical cables to connect the source to the receiver.
- Power Extension Cord: If the outdoor speakers are located far from a power source, ensure you have a power extension cord to connect the speakers to a power outlet.
By gathering all the necessary equipment beforehand, you’ll avoid any delays or interruptions during the setup process. It’s important to have everything ready so that you can proceed smoothly with setting up your Yamaha surround sound system to outdoor speakers.
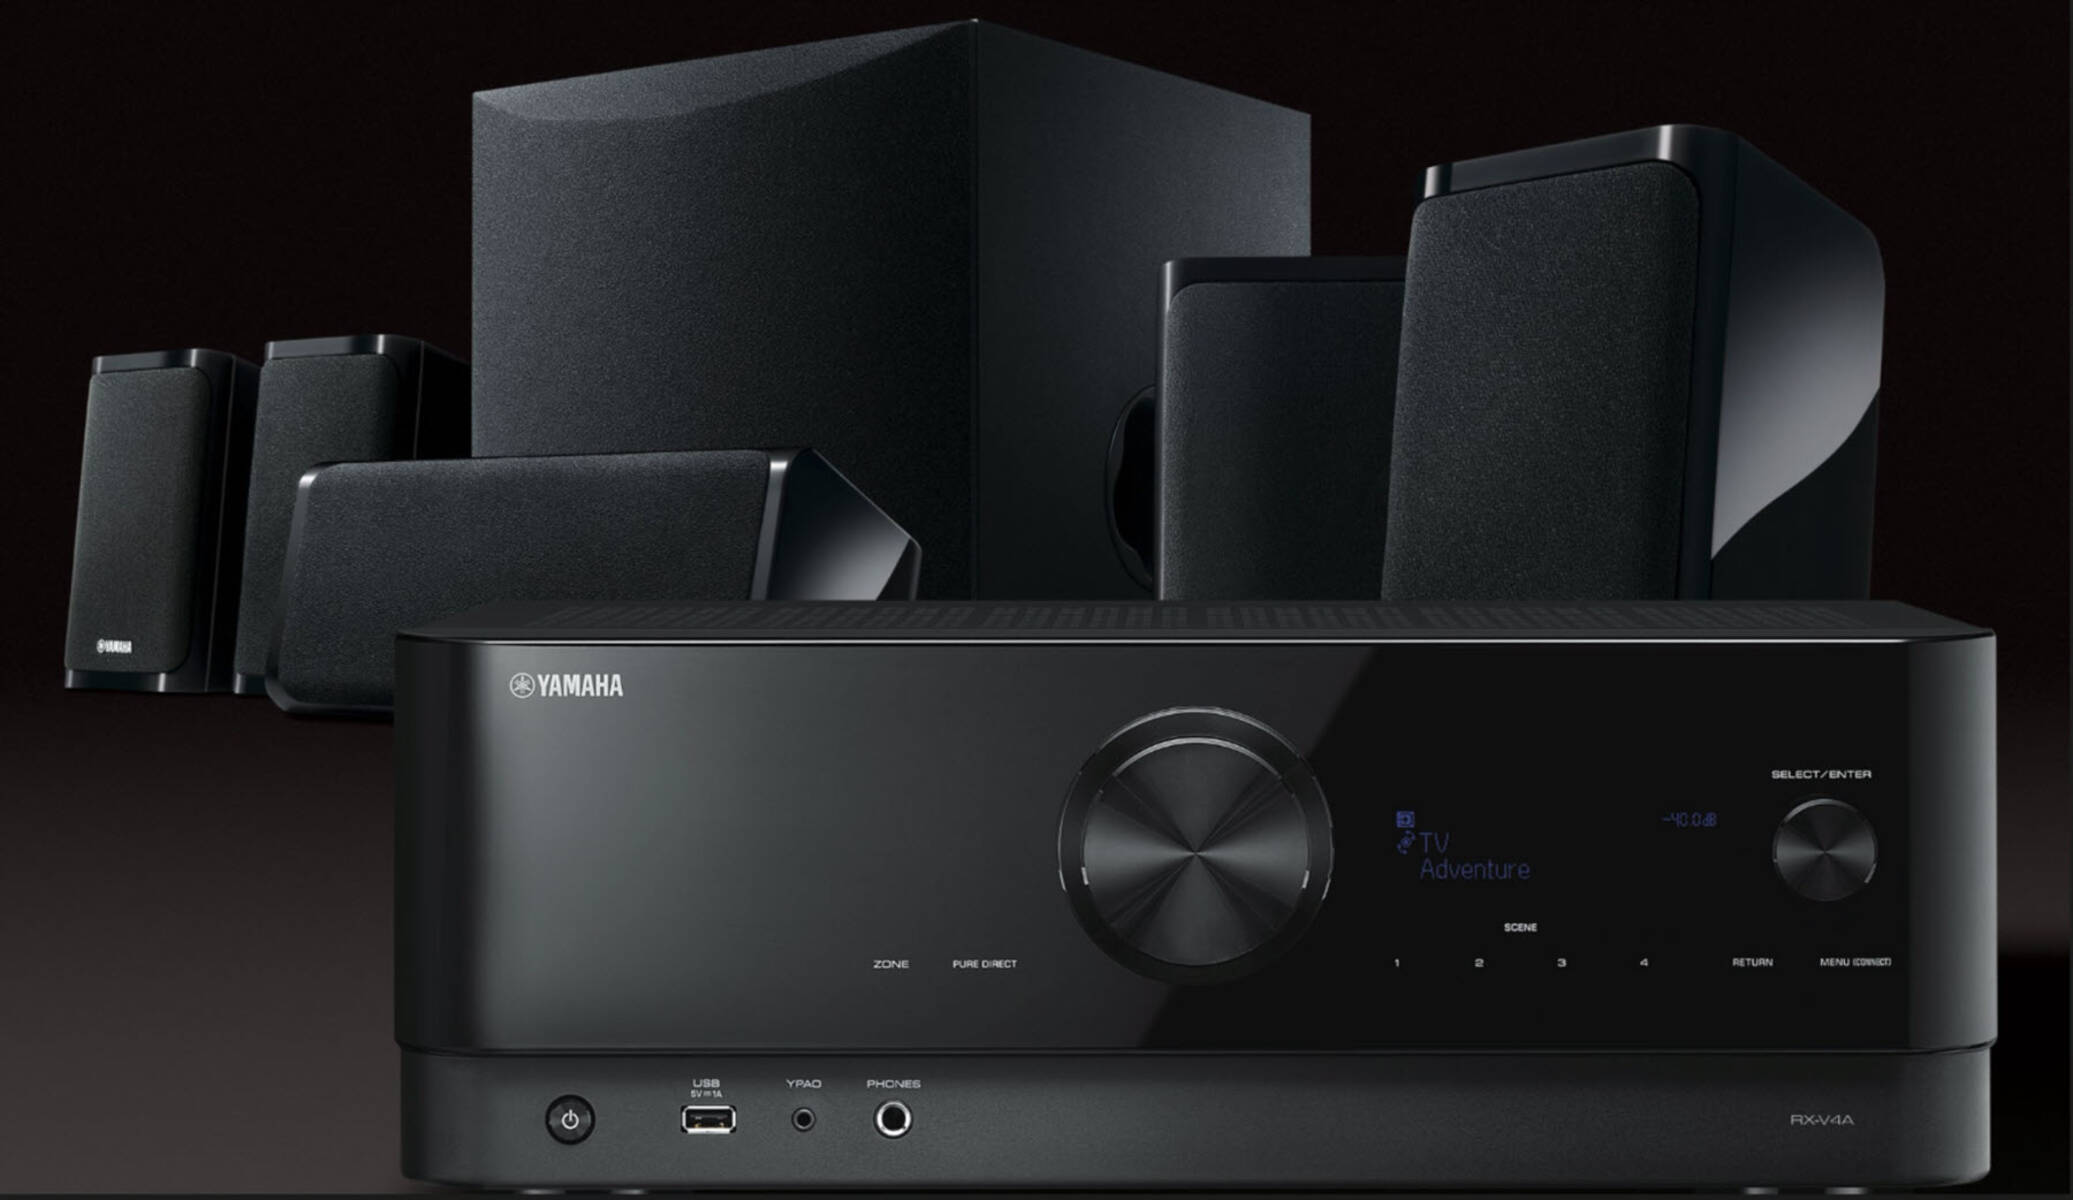
Step 2: Setting up the Yamaha Surround Sound Receiver
Once you have gathered all the necessary equipment, it’s time to set up your Yamaha surround sound receiver. Follow these steps:
- Choose the Ideal Location: Find a suitable location for your Yamaha surround sound receiver. Ensure it is well-ventilated and has enough space for proper airflow to prevent overheating. Also, consider accessibility for making connections and adjusting settings.
- Connect the Power Cord: Plug one end of the power cord into the receiver and the other end into a power outlet. Make sure the power cord is securely connected.
- Connect the Audio Source: Depending on your audio source, connect it to the appropriate input on the receiver using the corresponding audio cable (HDMI, RCA, or optical). Ensure the connections are secure.
- Connect the Speakers: Take the speaker wire and strip around 0.5 inches of insulation from the ends. Connect each speaker wire to the corresponding speaker output terminals on the back of the receiver. Ensure the polarity (+/-) is matched correctly.
- Configure Speaker Settings: Access the receiver’s settings menu and configure the speaker setup. Specify the number of speakers in your setup (e.g., 2.0, 5.1, 7.1) and any additional settings such as crossover frequency and subwoofer configuration. Refer to the receiver’s manual for detailed instructions.
- Perform a Test Setup: To ensure everything is connected properly, perform a test setup. Play audio from your selected audio source and check if sound is coming through all the connected speakers. Adjust the volume levels as needed.
By following these steps, you will successfully set up your Yamaha surround sound receiver, laying the foundation for connecting your outdoor speakers in the next steps. Take your time to ensure all the connections are secure and the settings are properly configured for optimal performance.
Step 3: Connecting the Receiver to the Outdoor Speakers
Now that your Yamaha surround sound receiver is set up, it’s time to connect it to your outdoor speakers. Follow these steps:
- Determine Speaker Placement: Before making any connections, decide where you want to place your outdoor speakers. Consider factors such as the size and layout of your outdoor space, as well as the direction you want the sound to project.
- Connect Speaker Wires: Take the speaker wire and strip around 0.5 inches of insulation from the ends. Connect one end of each speaker wire to the speaker output terminals on the back of the receiver, following the labeled channels (e.g., Front Left, Front Right). Ensure the polarity (+/-) is matched correctly.
- Run Speaker Wires: Carefully run the speaker wires from the receiver to each outdoor speaker’s location. Conceal the wires along the walls, under rugs, or use cable management systems to maintain a neat appearance and avoid tripping hazards.
- Connect Speaker Wires to Outdoor Speakers: Attach the other end of each speaker wire to the respective terminals on the outdoor speakers. Ensure a tight and secure connection to maintain good audio quality.
- Secure Speaker Wires: Use clips, tape, or cable ties to secure the speaker wires along their route to prevent them from being accidentally pulled or damaged. This will also help maintain a clean and organized setup.
Once you have followed these steps and connected the receiver to your outdoor speakers, you have completed the crucial step of establishing the audio connection. As you move on to the next steps, you will focus on positioning the outdoor speakers for optimal sound dispersion and making further adjustments to fine-tune the audio experience.
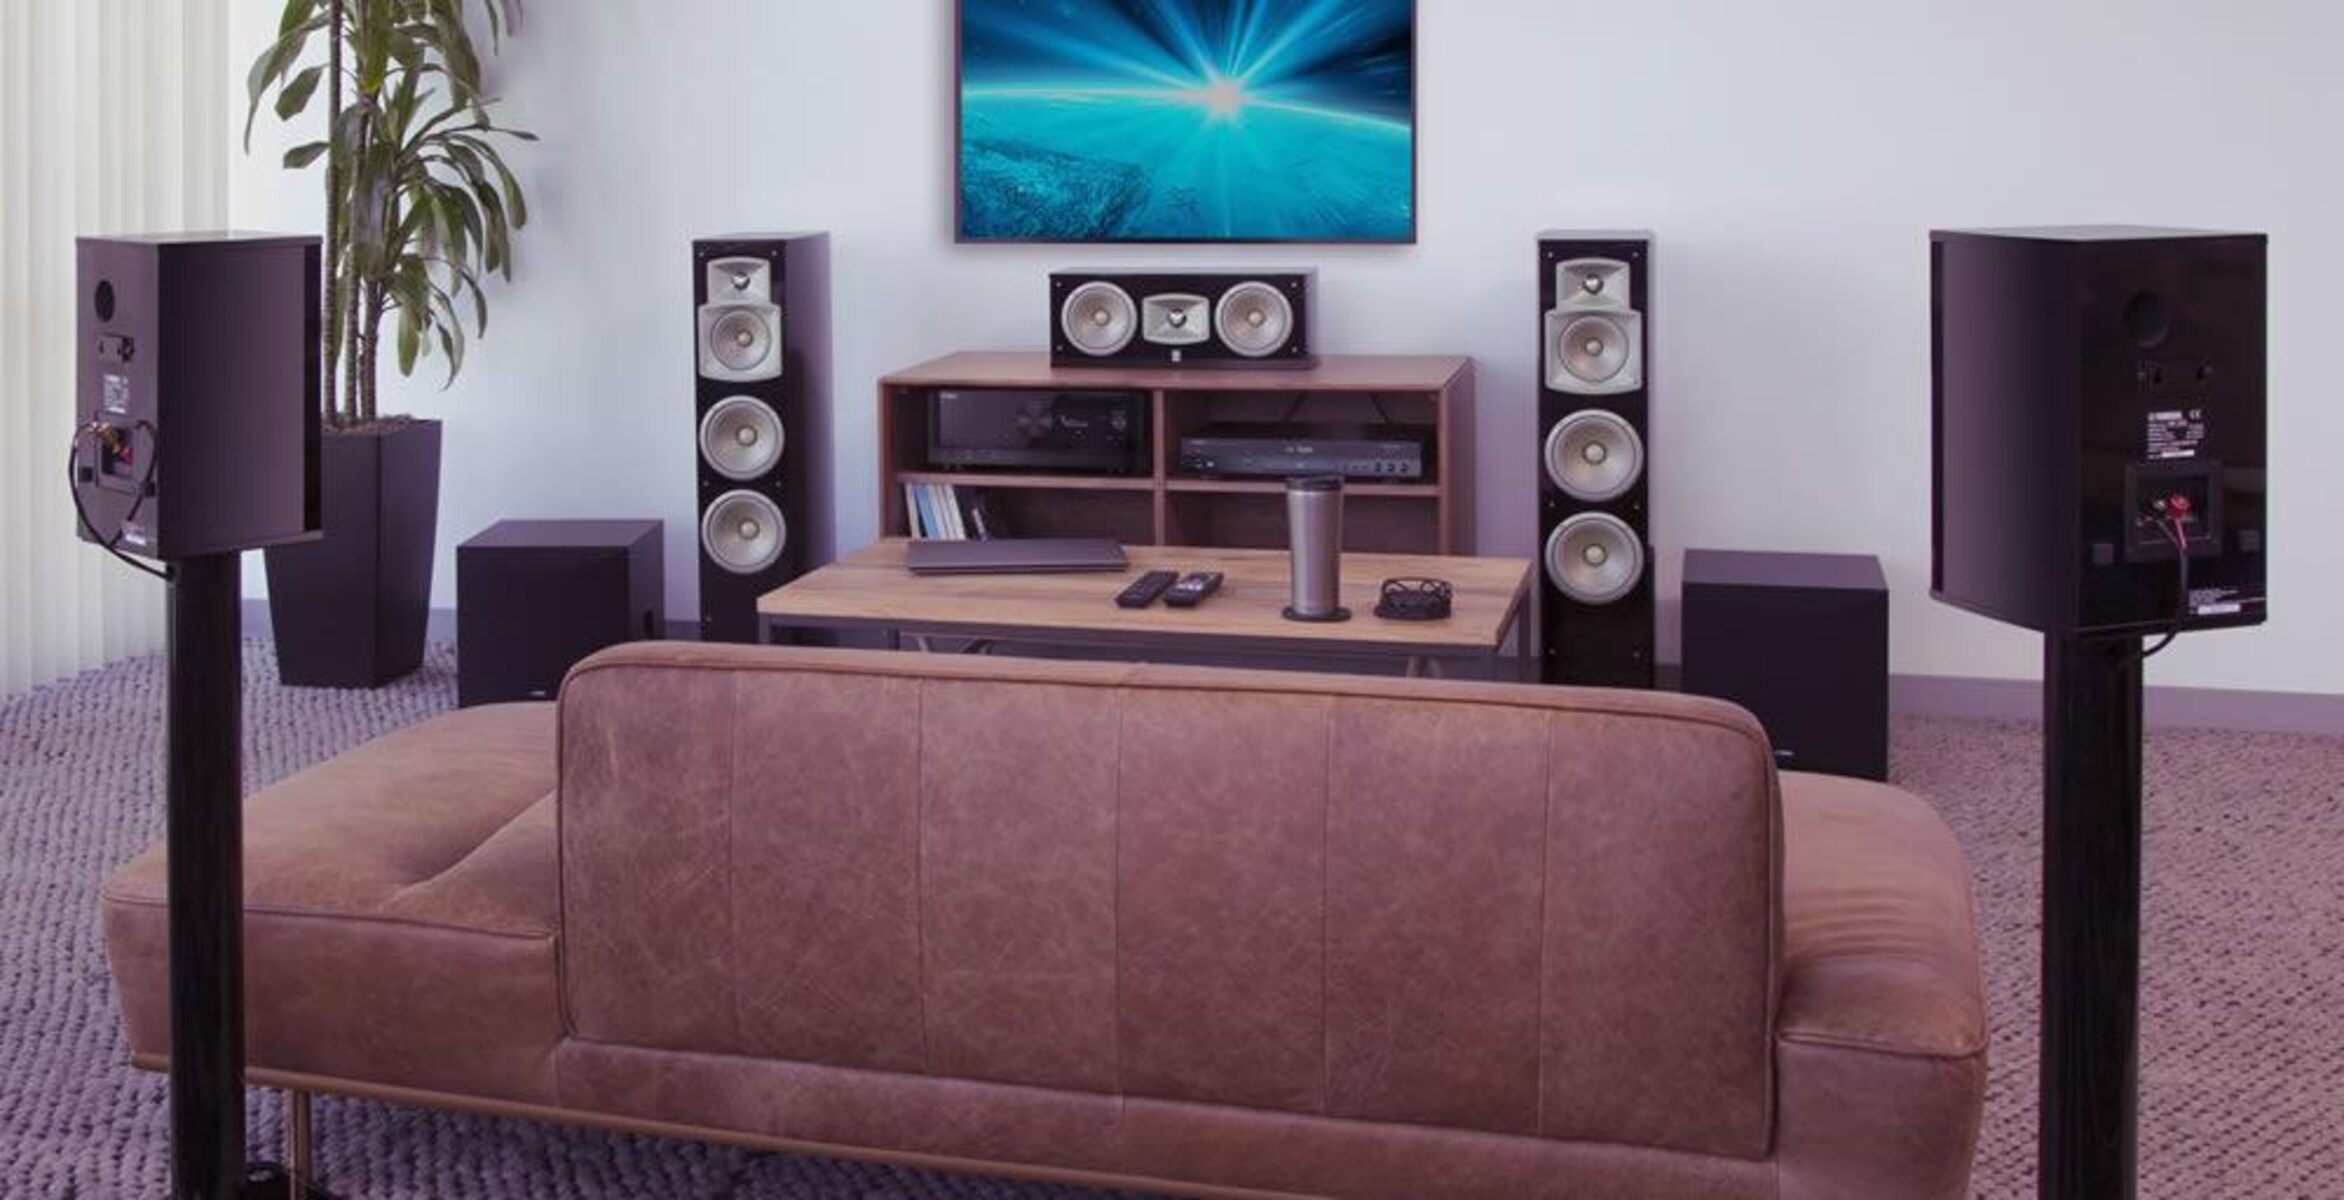
Step 4: Positioning the Outdoor Speakers
Proper positioning of your outdoor speakers is key to achieving the best sound quality and coverage. Follow these guidelines when positioning your speakers:
- Symmetric Placement: For a balanced soundstage, position your outdoor speakers symmetrically. Place them at an equal distance from the main listening area, ensuring they are at the same height.
- Aim for Ideal Angles: Angle the speakers towards the listening area to direct the sound towards your desired listening spot. Experiment with small adjustments to find the optimal angle that provides excellent sound dispersion and clarity.
- Consider Speaker Height: Mounting the speakers at a height of around 5 to 6 feet off the ground can help ensure better sound projection and avoid potential obstructions. Use mounting brackets, stands, or secure them to the exterior walls or ceilings.
- Keep Distance from Obstacles: Try to place the speakers away from objects that may obstruct the sound waves, such as walls, trees, or large furniture. This will help prevent unwanted reflections or interference that can affect the audio quality.
- Adjust for Outdoor Acoustics: Outdoor environments differ from indoor ones, so take into account the open space and any natural acoustics. You may need to adjust the speaker placement or angle to optimize the sound for your specific outdoor area.
- Consider Weather Protection: Depending on your outdoor speakers’ design, ensure they are installed under eaves, awnings, or in weatherproof enclosures to protect them from rain, sunlight, and other outdoor elements. This will prolong their lifespan and maintain their performance.
By following these positioning guidelines, you can maximize the sound quality and coverage of your outdoor speakers. Take the time to fine-tune the speaker placement for the best possible audio experience in your outdoor entertainment space.
Step 5: Fine-tuning the Sound Settings
After setting up your outdoor speakers and positioning them, it’s time to fine-tune the sound settings on your Yamaha surround sound receiver for optimal audio performance. Follow these steps:
- Access the Receiver’s Menu: Use the remote control or front panel buttons on your Yamaha receiver to access the settings menu on the display screen. Consult your receiver’s manual if you’re unsure of how to navigate the menu.
- Adjust Speaker Levels: Within the menu, you’ll find options to adjust the levels of each speaker in your setup. Use the receiver’s built-in sound calibration features or manually adjust the speaker levels to ensure a balanced sound output. Pay attention to the front speakers, as they play a crucial role in delivering clear dialogue and sound effects in movies or music.
- Set Up Room Acoustics: Some Yamaha receivers offer room correction features, such as Yamaha’s YPAO (Yamaha Parametric Acoustic Optimizer). Utilize these features by connecting the included microphone to your receiver and following the calibration process. This will analyze your room’s acoustics and automatically adjust the audio settings accordingly.
- Experiment with Sound Modes: Yamaha receivers often provide various sound modes, such as Movie, Music, or Game modes. These modes apply audio processing based on the content you’re playing. Try different modes and select the one that suits your preference for different types of entertainment.
- Adjust Bass and Treble: Fine-tune the bass and treble settings to your liking. Increase the bass for added impact or reduce it if the sound feels too boomy. Adjust the treble to enhance the clarity of high-frequency sounds.
- Test and Listen: To evaluate the changes you’ve made, play various types of audio content, such as movies, music, or games, and listen carefully. Pay attention to the clarity, balance, and overall sound quality. Make further adjustments as needed to achieve your desired audio experience.
By carefully fine-tuning the sound settings on your Yamaha surround sound receiver, you can customize the audio output to suit your preferences and optimize the outdoor listening experience. Take the time to experiment and adjust the settings until you achieve the most satisfying sound quality.
Step 6: Testing and Troubleshooting
Once you have completed the setup and fine-tuning of your Yamaha surround sound system with outdoor speakers, it’s important to thoroughly test the system and troubleshoot any issues that may arise. Follow these steps to ensure everything is functioning correctly:
- Test Audio Playback: Play various types of audio content through your outdoor speakers to ensure they are producing sound. Test different sources, such as music, movies, or streaming services, to thoroughly assess the system’s functionality.
- Check Speaker Connections: Verify that all speaker wire connections are secure and have not come loose during the setup process or while testing the system. Loose connections can lead to sound issues or the complete loss of audio from specific speakers.
- Inspect Outdoor Speaker Enclosures: Ensure that the weatherproof enclosures, if used, are properly installed and protecting the speakers from the outdoor elements. Check for any signs of damage or deterioration that may affect the speakers’ performance.
- Monitor for Distortion or Noises: Listen for any distortion, buzzing, or unwanted noises coming from the speakers. If you hear any issues, check the speaker placements, connections, or settings adjustments to address the problem.
- Confirm Power Delivery: Verify that the outdoor speakers are receiving adequate power. Double-check the power extension cord connections and ensure they are securely plugged into a power outlet. Faulty power delivery can result in low volume or no audio output.
- Consult the Receiver’s Manual: If you encounter any difficulties or have specific questions about the Yamaha surround sound receiver, refer to the user manual. It can provide troubleshooting tips or detailed instructions on resolving common issues.
- Seek Professional Help if Needed: If you have tried troubleshooting but still encounter persistent problems, it may be beneficial to consult a professional or contact Yamaha customer support for further assistance. They can provide expert guidance to resolve complex issues.
Remember to be patient and methodical when testing and troubleshooting your Yamaha surround sound system with outdoor speakers. By addressing any potential issues promptly, you can ensure the best possible audio experience in your outdoor entertainment area.
Conclusion
Congratulations! You have successfully set up your Yamaha surround sound system with outdoor speakers. By following the steps outlined in this guide, you have transformed your outdoor entertainment space into a captivating audio experience. Now, you can enjoy your favorite movies, music, and more with immersive sound quality.
During the setup process, you gathered the necessary equipment, connected your Yamaha surround sound receiver, and positioned the outdoor speakers strategically. You fine-tuned the sound settings to create a customized audio experience and tested the system to ensure its functionality. If you encountered any issues, you followed troubleshooting techniques to address them effectively.
Remember, maintaining your equipment and periodically checking for any damage or loose connections is crucial for long-term performance. Additionally, as you continue to use your Yamaha surround sound system with outdoor speakers, feel free to experiment and make further adjustments according to your preferences and the characteristics of your outdoor space.
Now sit back, relax, and enjoy the immersive sound experience that your Yamaha surround sound system and outdoor speakers provide. Whether you’re hosting a backyard party, having a cozy movie night, or simply enjoying the outdoors, the enhanced audio quality will undoubtedly elevate your entertainment moments.