Introduction
Welcome to our guide on how to connect your Yamaha surround sound system to your TV. If you’re looking to create an immersive audio experience while watching your favorite movies, TV shows, or playing games, a surround sound system is a must-have. Yamaha is renowned for its high-quality audio equipment, and connecting it to your TV is easier than you might think.
By connecting your Yamaha surround sound system to your TV, you can elevate your entertainment experience and enjoy cinematic audio right in the comfort of your own home. Whether you have a simple 2.1 setup or a more elaborate 7.1 configuration, our step-by-step instructions will help you get everything up and running smoothly.
Before you get started, it’s important to make sure you have all the necessary equipment. You’ll need your Yamaha surround sound system, your TV, an HDMI cable, and audio cables depending on the type of inputs and outputs available on both the TV and the surround sound system.
In this guide, we’ll walk you through the process of connecting your Yamaha surround sound system to your TV, ensuring that you have stellar audio performance every time you turn on your TV. So, let’s get started with the first step: gathering the necessary equipment.
Step 1: Gather the necessary equipment
Before you can connect your Yamaha surround sound system to your TV, you’ll need to gather all the necessary equipment. Make sure you have the following items handy:
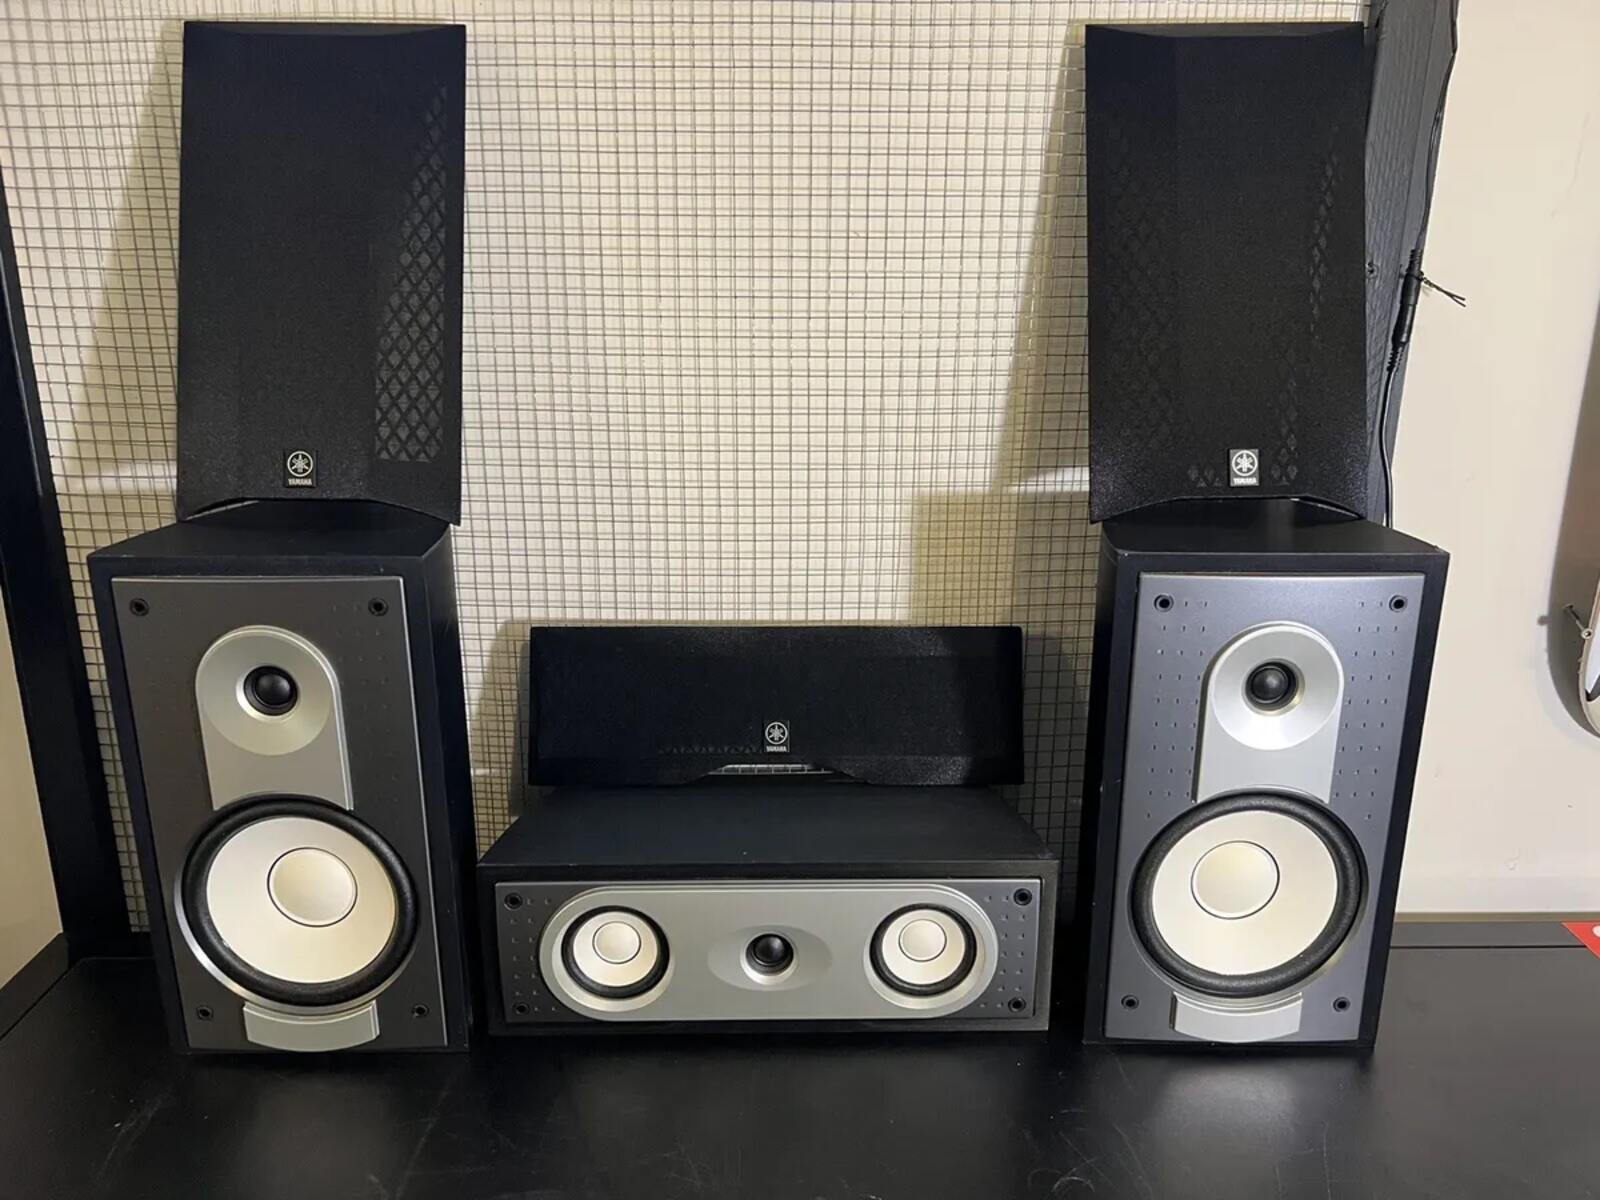
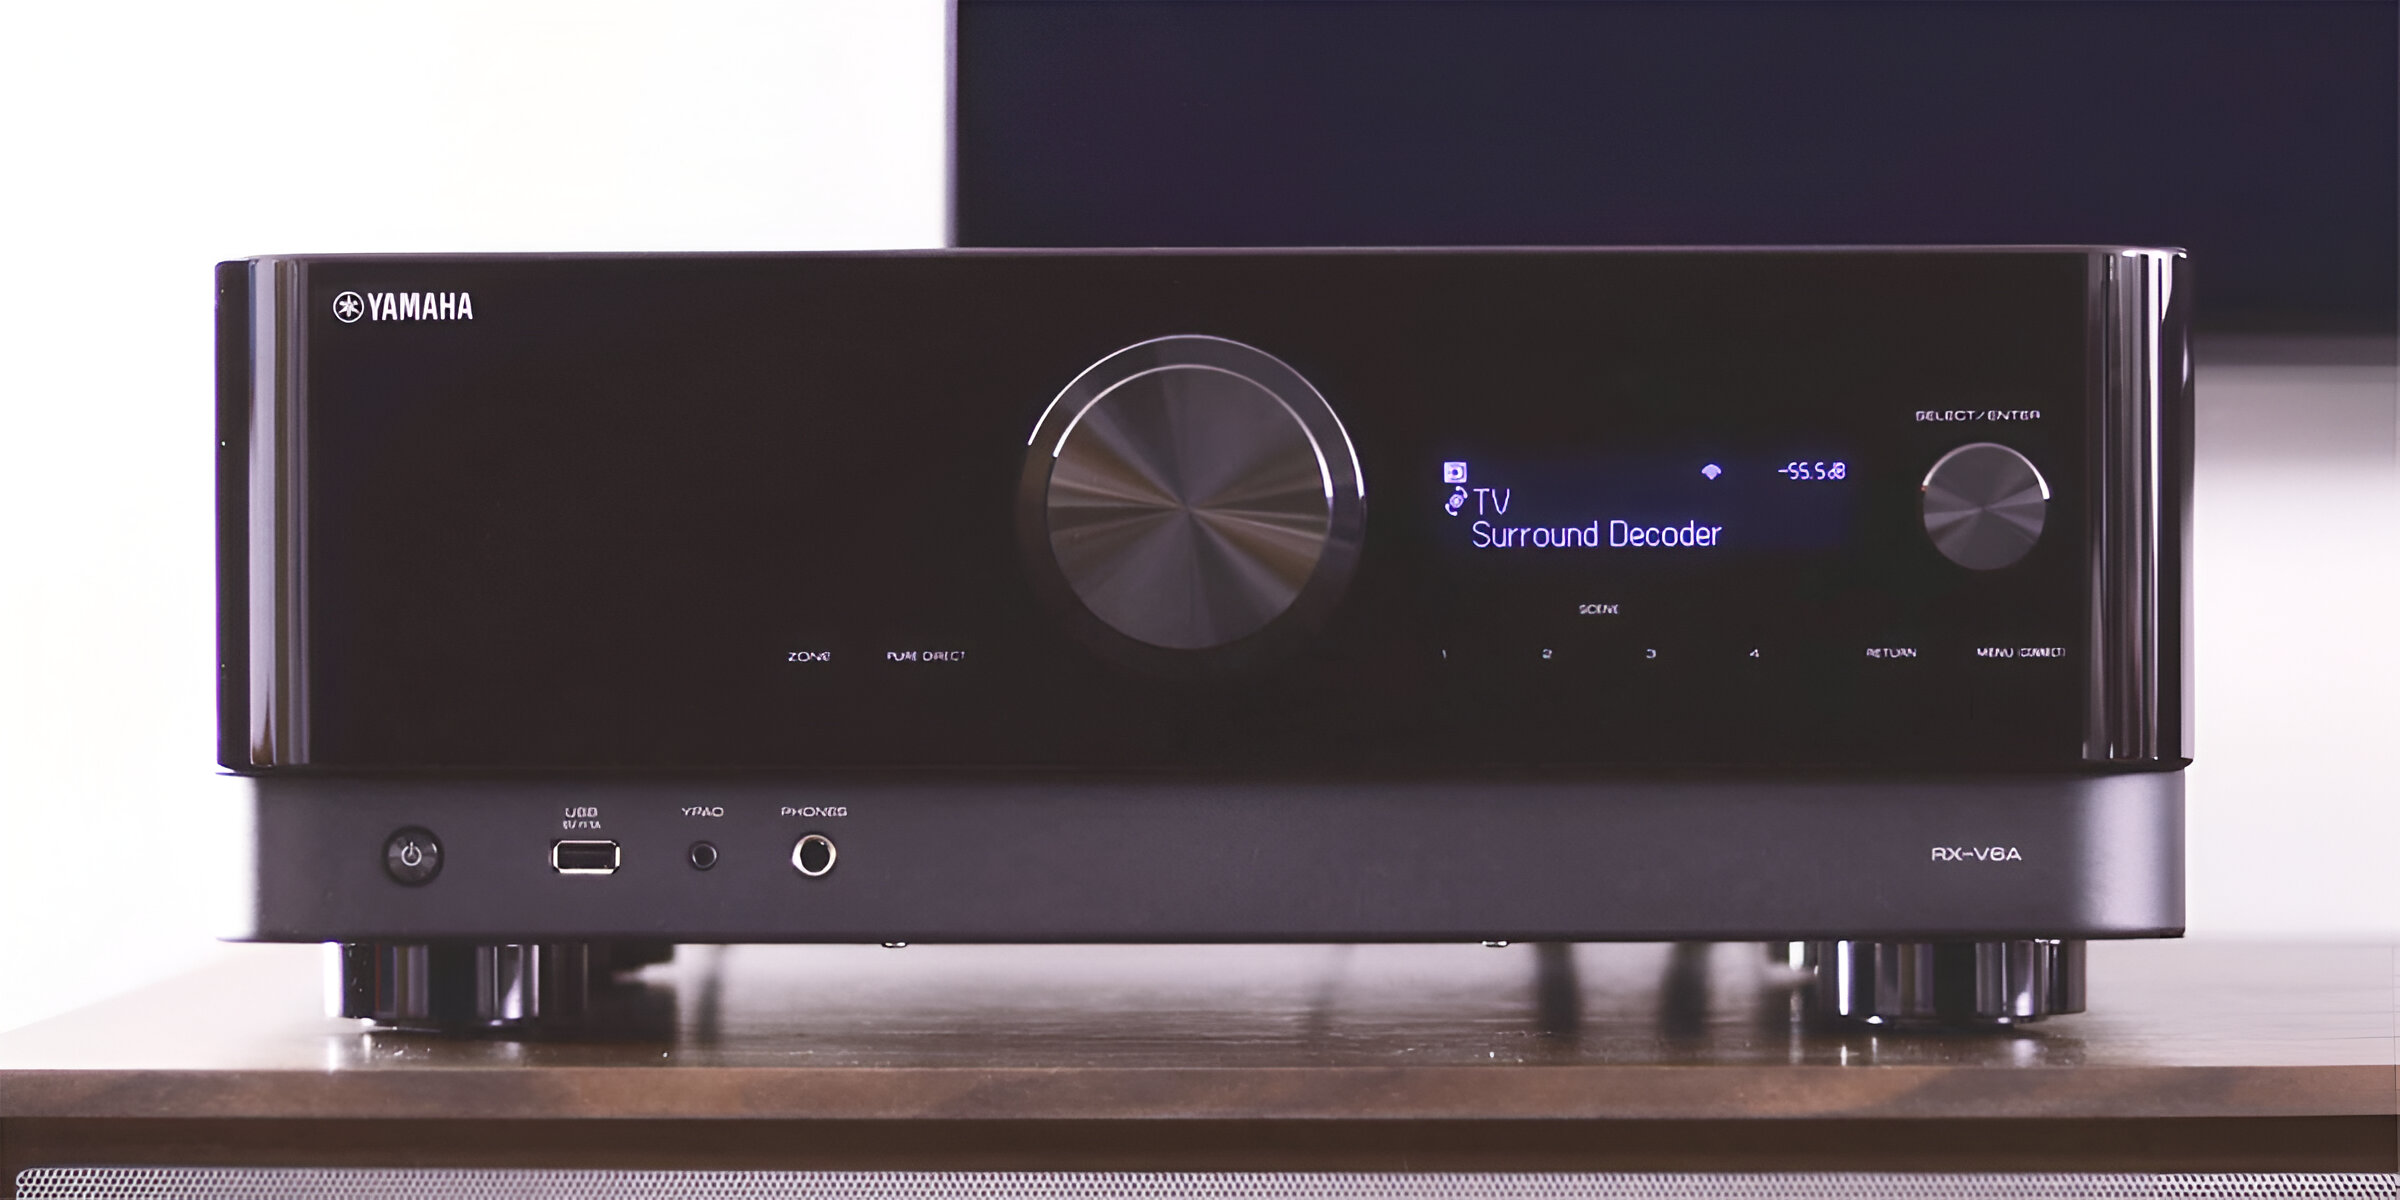
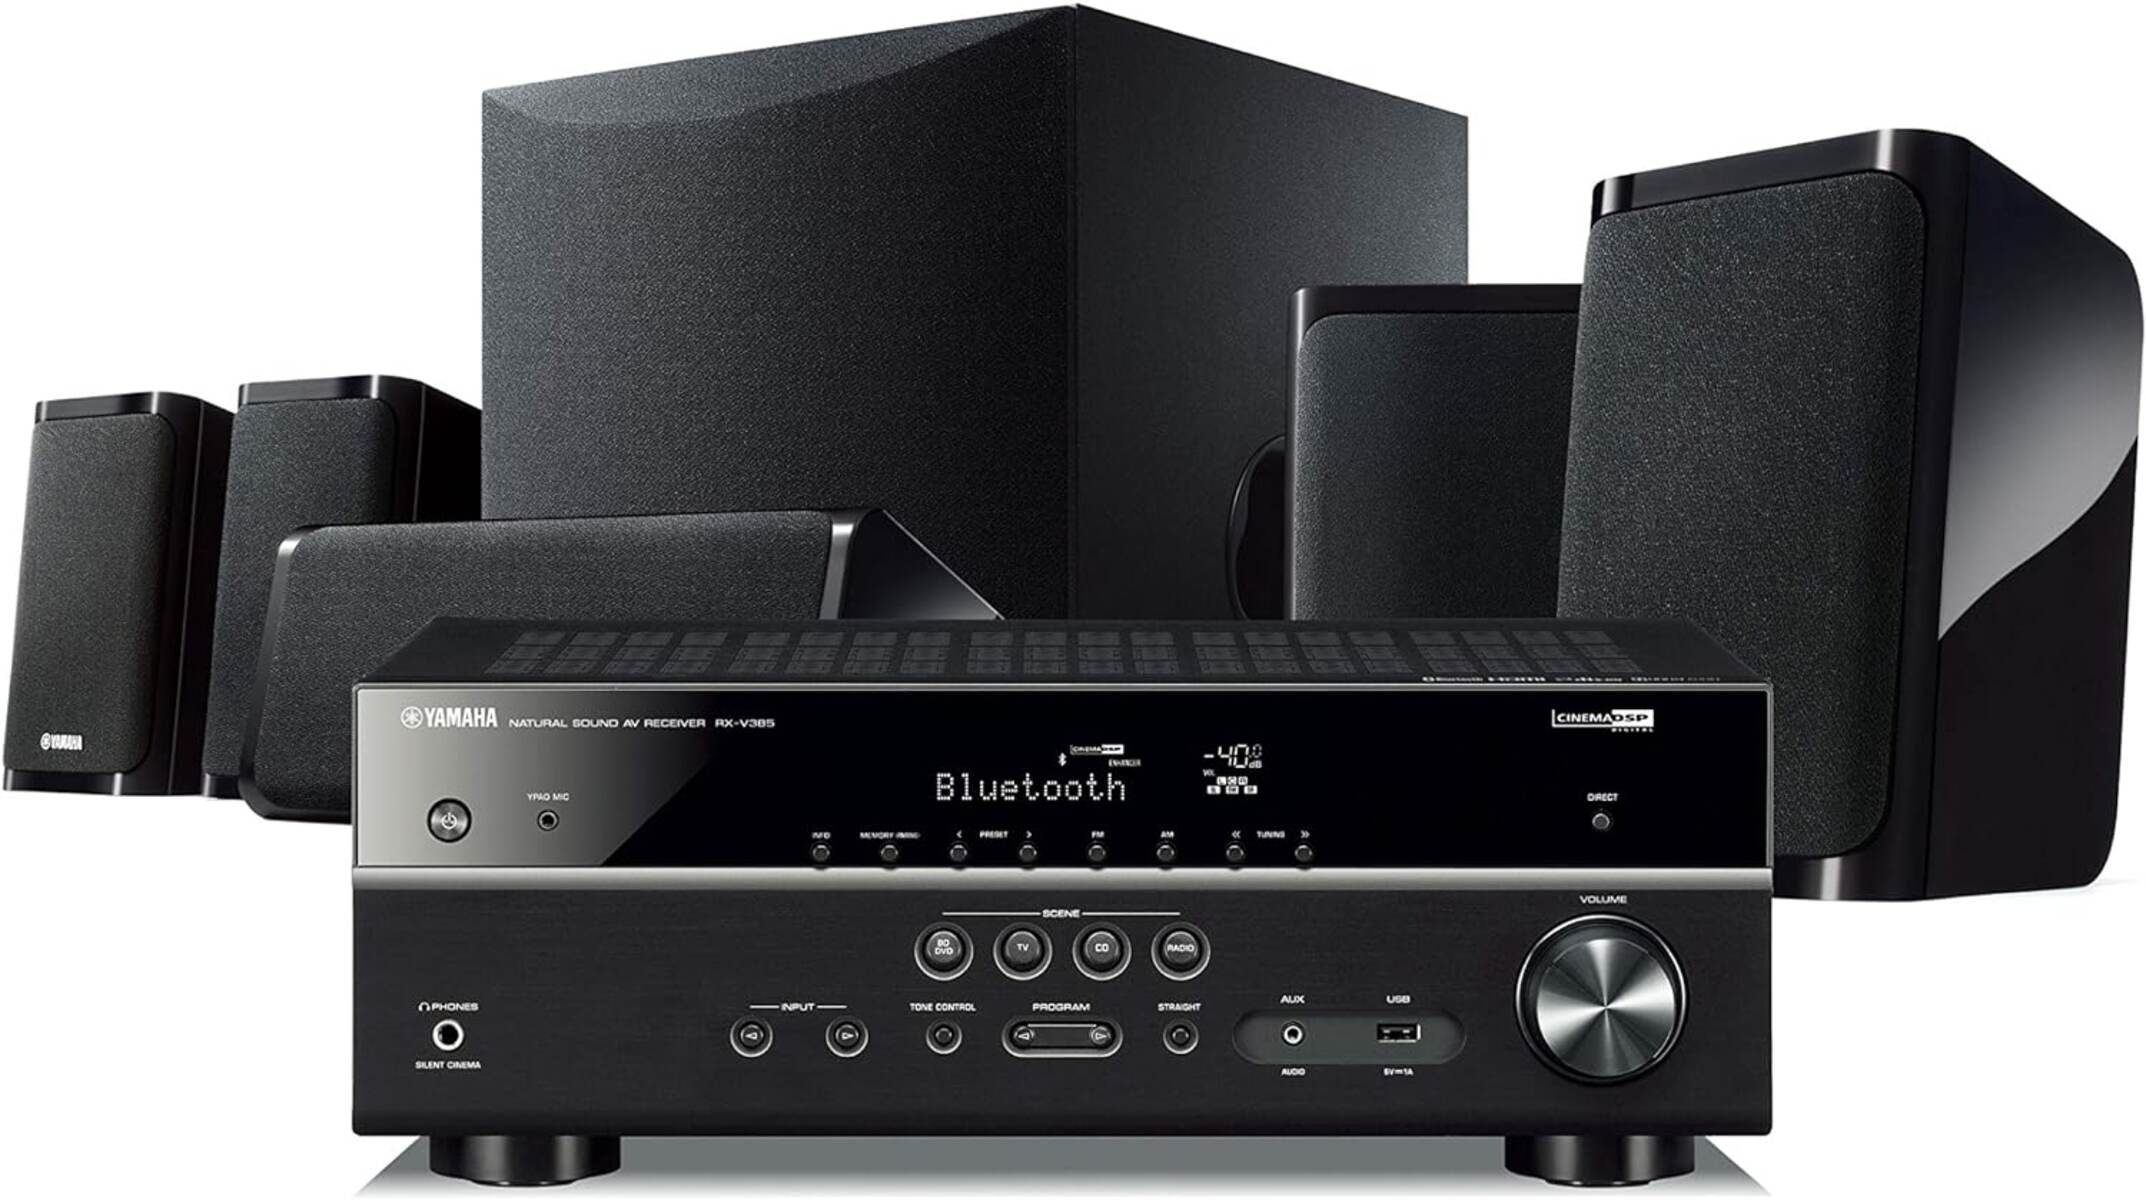
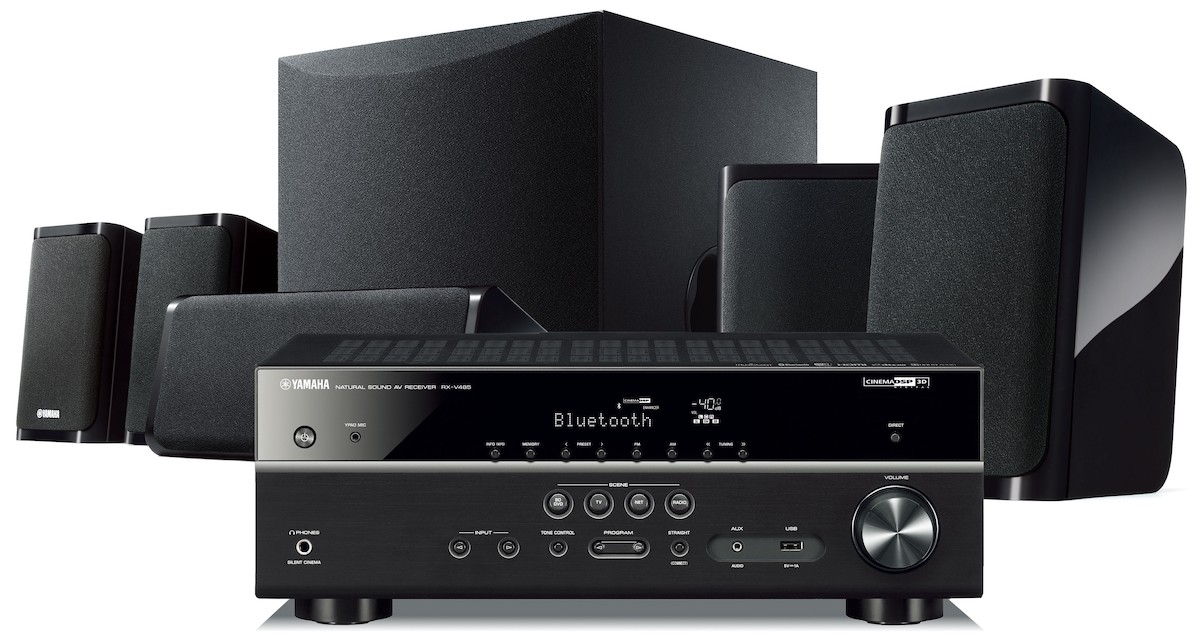
- Yamaha surround sound system: Ensure that you have your Yamaha surround sound system ready. It may include a receiver, speakers, subwoofer, and any additional components.
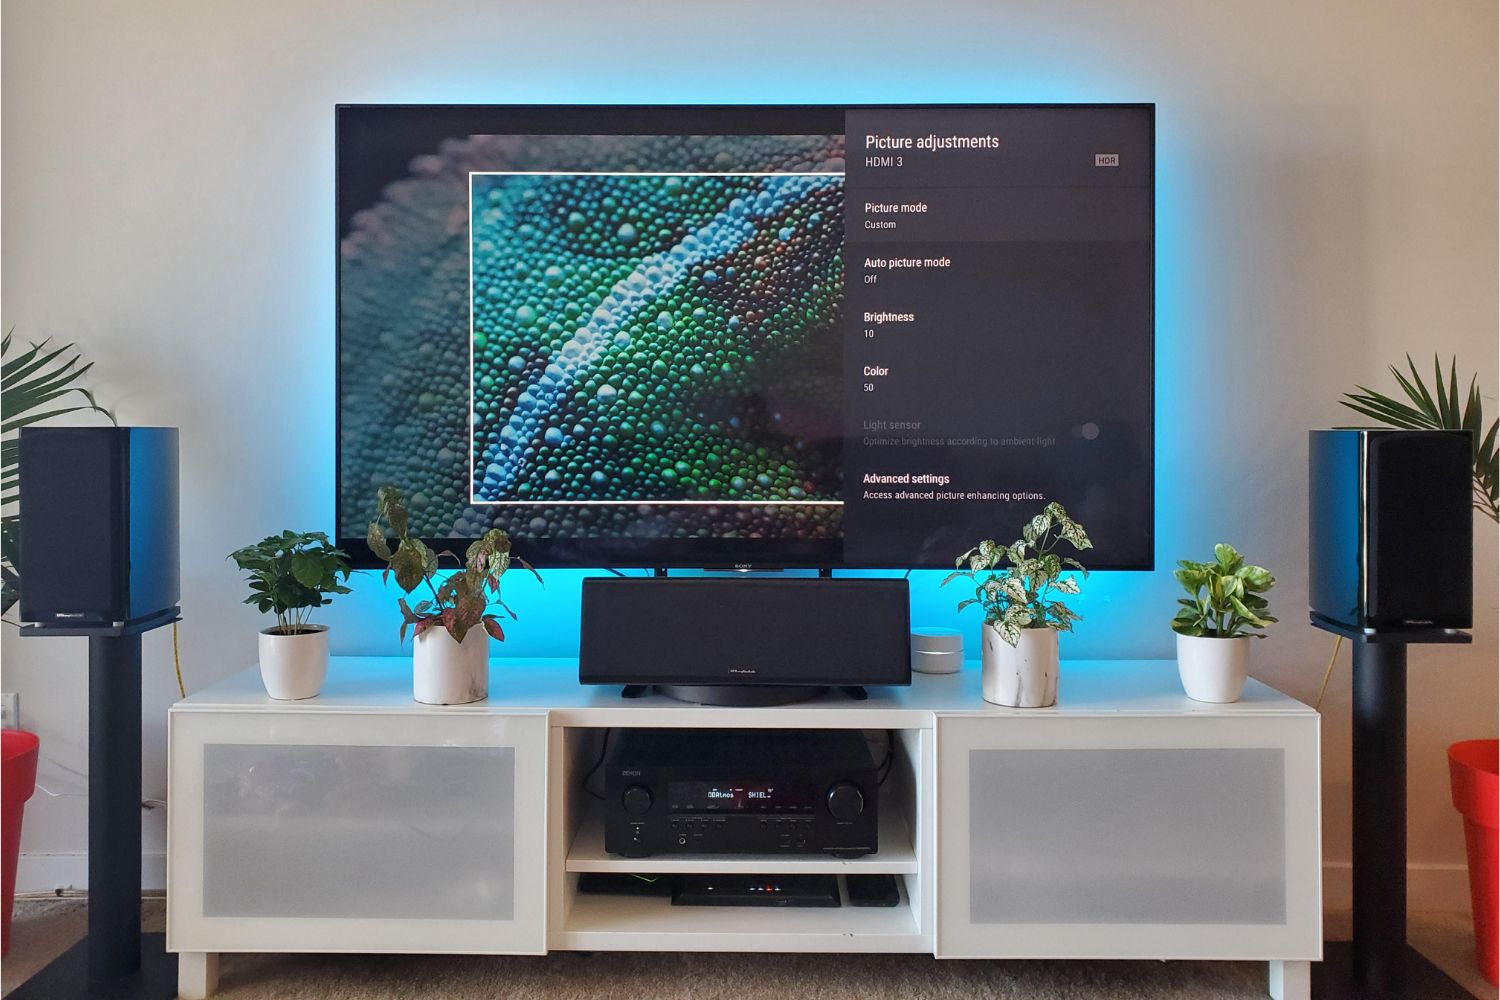
- TV: Make sure you have your TV ready. Check if it has HDMI inputs, as this will be the primary method of connecting the audio from the TV to the surround sound system.
- HDMI cable: You’ll need an HDMI cable to connect the TV and the surround sound system. Ensure that you have the appropriate length of cable to reach between the two devices.
- Audio cables: Depending on the available audio inputs and outputs on both the TV and the surround sound system, you may need additional audio cables such as RCA cables or optical cables.
- Power cords: Make sure you have the necessary power cords for both the TV and the Yamaha surround sound system. Ensure that they are in good condition and properly connected to power outlets.
Once you have gathered all the required equipment, you’re ready to move on to the next step. In the following steps, we will guide you through the process of connecting your Yamaha surround sound system to your TV, step by step. By the end of this guide, you’ll be enjoying high-quality, immersive audio with your favorite TV shows, movies, and games.
Step 2: Connect the HDMI cable
Now that you have gathered all the necessary equipment, it’s time to connect the HDMI cable between your TV and Yamaha surround sound system. Follow these steps:
- Locate the HDMI output port on the back of your surround sound system. It is usually labeled as “HDMI Out” or “ARC” (Audio Return Channel).
- Plug one end of the HDMI cable into the HDMI output port on your surround sound system.
- Locate the HDMI input port on your TV. It is typically labeled as “HDMI In”. Check your TV’s user manual or the labeling on the back of the TV for specific details.
- Plugin the other end of the HDMI cable into the HDMI input port on your TV.
Once the HDMI cable is securely connected to both the surround sound system and the TV, you have established the audio connection between the two devices. The HDMI cable allows the audio signal from your TV to be transmitted to the surround sound system, ensuring you get high-quality sound in your home theater setup.
Note that if your TV and surround sound system both support HDMI ARC, you might be able to simplify the connection process. HDMI ARC (Audio Return Channel) allows for audio to be transmitted from the TV to the surround sound system both ways using a single HDMI cable. Consult your TV and surround sound system’s user manuals to enable and utilize HDMI ARC if available.
With the HDMI cable connected, you are now ready to move on to the next step: setting the input source on your TV.
Step 3: Set the input source on the TV
After connecting the HDMI cable between your TV and Yamaha surround sound system, you need to set the input source on your TV to ensure that the audio signal is properly routed to the surround sound system. Here’s how to do it:
- Using your TV’s remote control, power on your TV.
- Press the “Input” or “Source” button on your TV remote. This will bring up a menu displaying different input sources.
- Using the arrow buttons on the remote, navigate through the input sources and select the HDMI input that is connected to your Yamaha surround sound system. It may be labeled as “HDMI 1,” “HDMI 2,” or with a specific device name.
- Once you have selected the appropriate HDMI input, press the “Enter” or “OK” button to confirm the selection.
By setting the input source on your TV to the HDMI input connected to your surround sound system, you are directing the audio signal from your TV to be routed through the surround sound system. This ensures that the sound from your TV’s audio output is delivered through the speakers of your Yamaha surround sound system, creating a more immersive and enjoyable audio experience.
Remember to also set your TV’s audio output settings to “External Speakers” or “Audio System” to ensure that the audio is not being output through the TV’s built-in speakers.
Once you have successfully set the input source on your TV, you are ready to proceed to the next step: connecting the audio cables between the TV and the surround sound system.
Step 4: Connect the audio cables
With the HDMI cable connected and the input source set on your TV, the next step is to connect the audio cables between your TV and Yamaha surround sound system. The specific type of audio cables you’ll need will depend on the available ports on both devices. Here’s how to do it:
- Identify the audio output ports on your TV. These may include RCA (red and white) audio output ports, optical audio output port, or a 3.5mm headphone jack.
- Depending on the audio output ports on your TV, select the appropriate audio cable. For RCA audio output, you’ll need a pair of RCA cables. For optical audio output, you’ll need an optical cable. For a headphone jack, you’ll need a male-to-male 3.5mm auxiliary cable.
- Connect one end of the audio cable to the corresponding audio output port on your TV.
- Locate the audio input ports on your Yamaha surround sound system. These can be RCA input ports, optical input port, or a dedicated audio input for the HDMI connection.
- Connect the other end of the audio cable to the corresponding audio input port on your Yamaha surround sound system.
Ensure that the audio cables are securely connected to both the TV and the surround sound system to establish the audio connection. This connection will allow the audio signal from your TV to be routed to the surround sound system, enabling you to enjoy immersive and high-quality sound.
If your TV and surround sound system support HDMI ARC (Audio Return Channel), you may not need to connect additional audio cables. In this case, the audio signal will be transmitted through the HDMI cable itself.
Once the audio cables are connected, you’re ready to move on to the next step: configuring the surround sound system.
Step 5: Configure the surround sound system
After connecting the audio cables between your TV and Yamaha surround sound system, it’s time to configure the surround sound system to ensure optimal audio performance. Follow these steps:
- Power on your Yamaha surround sound system.
- Using the remote control or the front panel controls of the surround sound system, access the settings or setup menu.
- Navigate through the menu and select the audio input that corresponds to the connection you made from the TV. This could be the HDMI input, RCA input, or optical input, depending on your setup.
- Adjust the audio settings on the surround sound system according to your preferences. This may include selecting the appropriate audio mode (such as stereo, surround, or cinema), adjusting the volume levels of the speakers, and configuring any additional audio features offered by the system.
- If your Yamaha surround sound system has a built-in calibration or room correction feature, follow the instructions provided in the user manual to optimize the audio performance based on your room acoustics.
By configuring the surround sound system, you ensure that it is correctly receiving the audio signal from your TV and optimizing the audio output according to your preferences. This step is crucial in achieving the best audio experience and making the most of your Yamaha surround sound system.
Keep in mind that the configuration options may vary depending on the specific model of your Yamaha surround sound system. Consult the user manual for detailed instructions on accessing and adjusting the settings.
Once you have configured your surround sound system, it’s time to move on to the final step: testing the audio connection between the TV and the surround sound system.
Step 6: Test the audio connection
After setting up and configuring your Yamaha surround sound system, it’s important to test the audio connection between your TV and the surround sound system to ensure everything is working correctly. Follow these steps to test the audio connection:
- Turn on your TV and the Yamaha surround sound system.
- Select a TV show, movie, or any other audio source that you want to test.
- Adjust the volume on your TV to a moderate level.
- Using your surround sound system’s remote control, adjust the volume on your surround sound system to a comfortable level.
- Play the audio from your chosen source and pay attention to the sound coming from the speakers of your surround sound system. Make sure the sound is clear, balanced, and immersive.
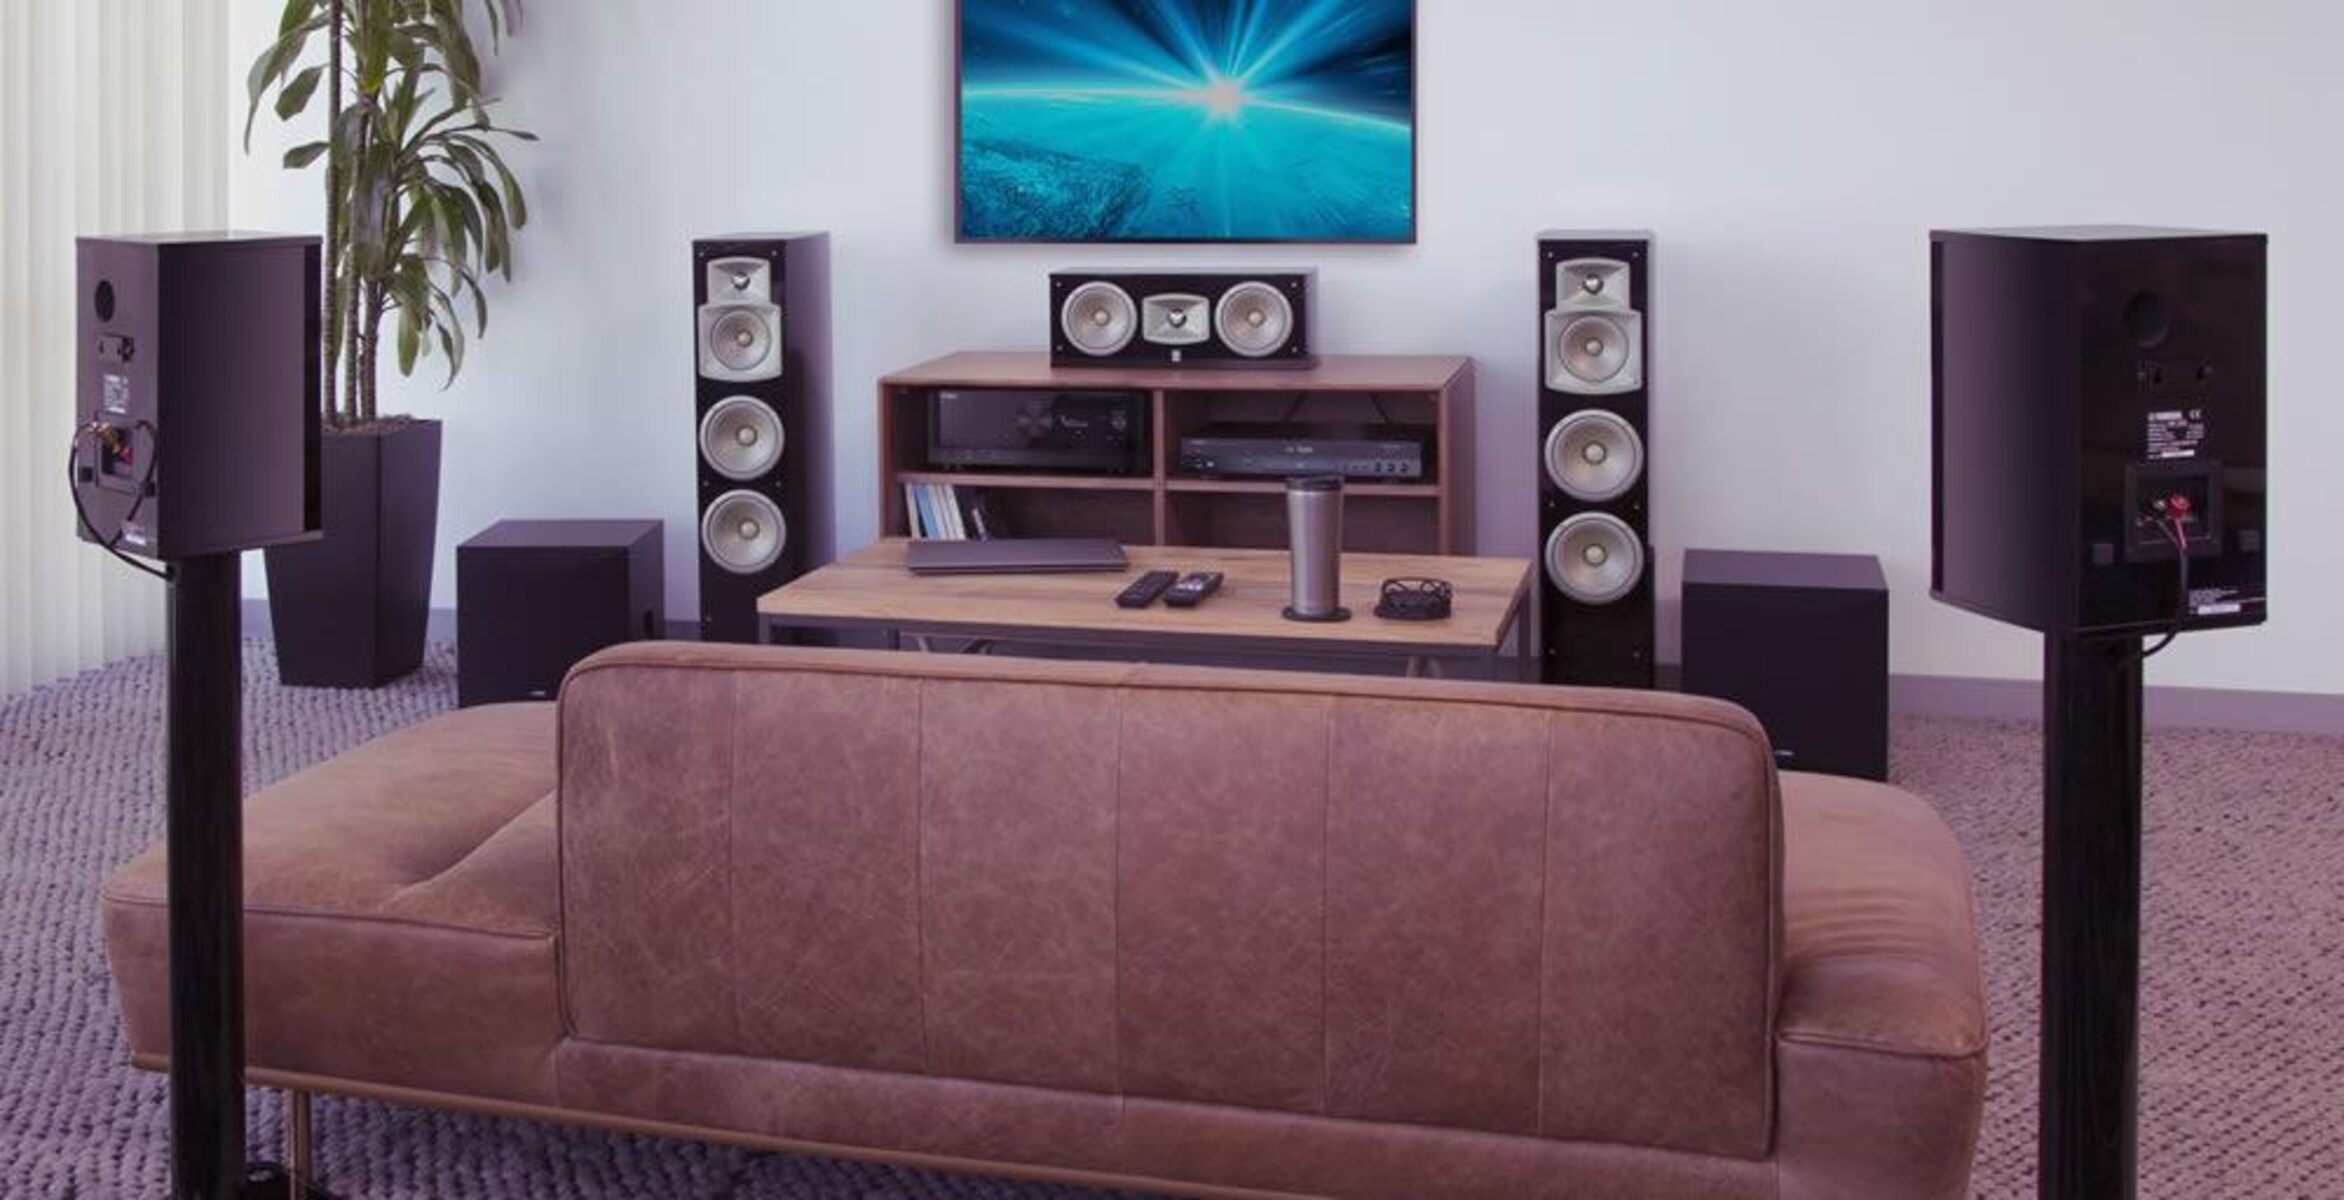
- If you have a multi-channel surround sound system, such as a 5.1 or 7.1 setup, you can test the spatial effects by playing content specifically designed for surround sound. This will help you ensure that the audio is being distributed correctly among the various speakers.
During the audio testing, listen for any distortion, irregularities, or issues with the sound quality. If you encounter any problems, recheck your connections and settings to ensure everything is properly set up. You may also refer to the user manual of your Yamaha surround sound system for troubleshooting steps.
Once you have tested the audio connection and are satisfied with the sound quality and performance of your Yamaha surround sound system, you’re all set to enjoy immersive audio while watching your favorite movies, TV shows, and games!
Remember, if you ever make changes to your TV setup or add new devices, such as a gaming console or a Blu-ray player, you may need to adjust the audio settings and input sources on your TV and surround sound system accordingly.
Now that you have successfully connected and tested your Yamaha surround sound system with your TV, sit back, relax, and enjoy a truly immersive audio experience in the comfort of your home!
Conclusion
Connecting your Yamaha surround sound system to your TV can greatly enhance your audio experience and bring a cinematic feel to your home entertainment setup. By following the steps outlined in this guide, you can easily connect your Yamaha surround sound system to your TV and enjoy immersive, high-quality sound while watching movies, TV shows, and playing games.
We started by gathering the necessary equipment, including your Yamaha surround sound system, TV, HDMI cable, and audio cables. Then, we walked you through the process of connecting the HDMI cable between the TV and the surround sound system, setting the input source on the TV, and connecting the audio cables to ensure proper audio transmission.
Next, we guided you in configuring your Yamaha surround sound system, allowing you to optimize the audio settings according to your preferences and potentially using built-in calibration features to improve sound quality. Finally, we emphasized the importance of testing the audio connection to ensure that everything is working as expected and that you’re getting the best audio performance from your Yamaha surround sound system.
With your Yamaha surround sound system properly connected and tested, you’re ready to immerse yourself in a captivating audio experience. Whether you’re watching action-packed movies, thrilling TV shows, or playing your favorite video games, the enhanced sound quality and spatial effects provided by your surround sound system will undoubtedly elevate your entertainment to a whole new level.
Remember, if you ever need to make changes to your setup or if you encounter any issues, consult the user manual of your Yamaha surround sound system or reach out to their customer support for assistance. By staying informed and maintaining your audio equipment, you can continue to enjoy optimal audio performance for years to come.
Now, grab your popcorn, sit back, and enjoy an immersive audio journey with your Yamaha surround sound system and TV!