Introduction
Welcome to the world of immersive audio experience with your new Yamaha Surround Sound System. Whether you’re a movie enthusiast, a gaming fanatic, or simply a music lover, setting up a surround sound system can elevate your entertainment to new heights. With Yamaha’s renowned audio technology, you can expect crystal-clear sound and dynamic surround effects that will bring your favorite movies, games, and music to life right in your own living room.
In this guide, we will walk you through the step-by-step process of setting up your Yamaha Surround Sound System. From unpacking and organizing the components to configuring the system, we’ll cover everything you need to know to get the most out of your audio setup.
Before we begin, it’s important to note that setting up a surround sound system may require some basic knowledge of audio equipment and connections. However, don’t let that intimidate you. We will explain each step in a simple and straightforward manner, ensuring that even beginners can follow along.
So, if you’re ready to transform your home entertainment experience, let’s dive into the exciting world of Yamaha Surround Sound System setup!
Step 1: Unpack and Organize your Yamaha Surround Sound System
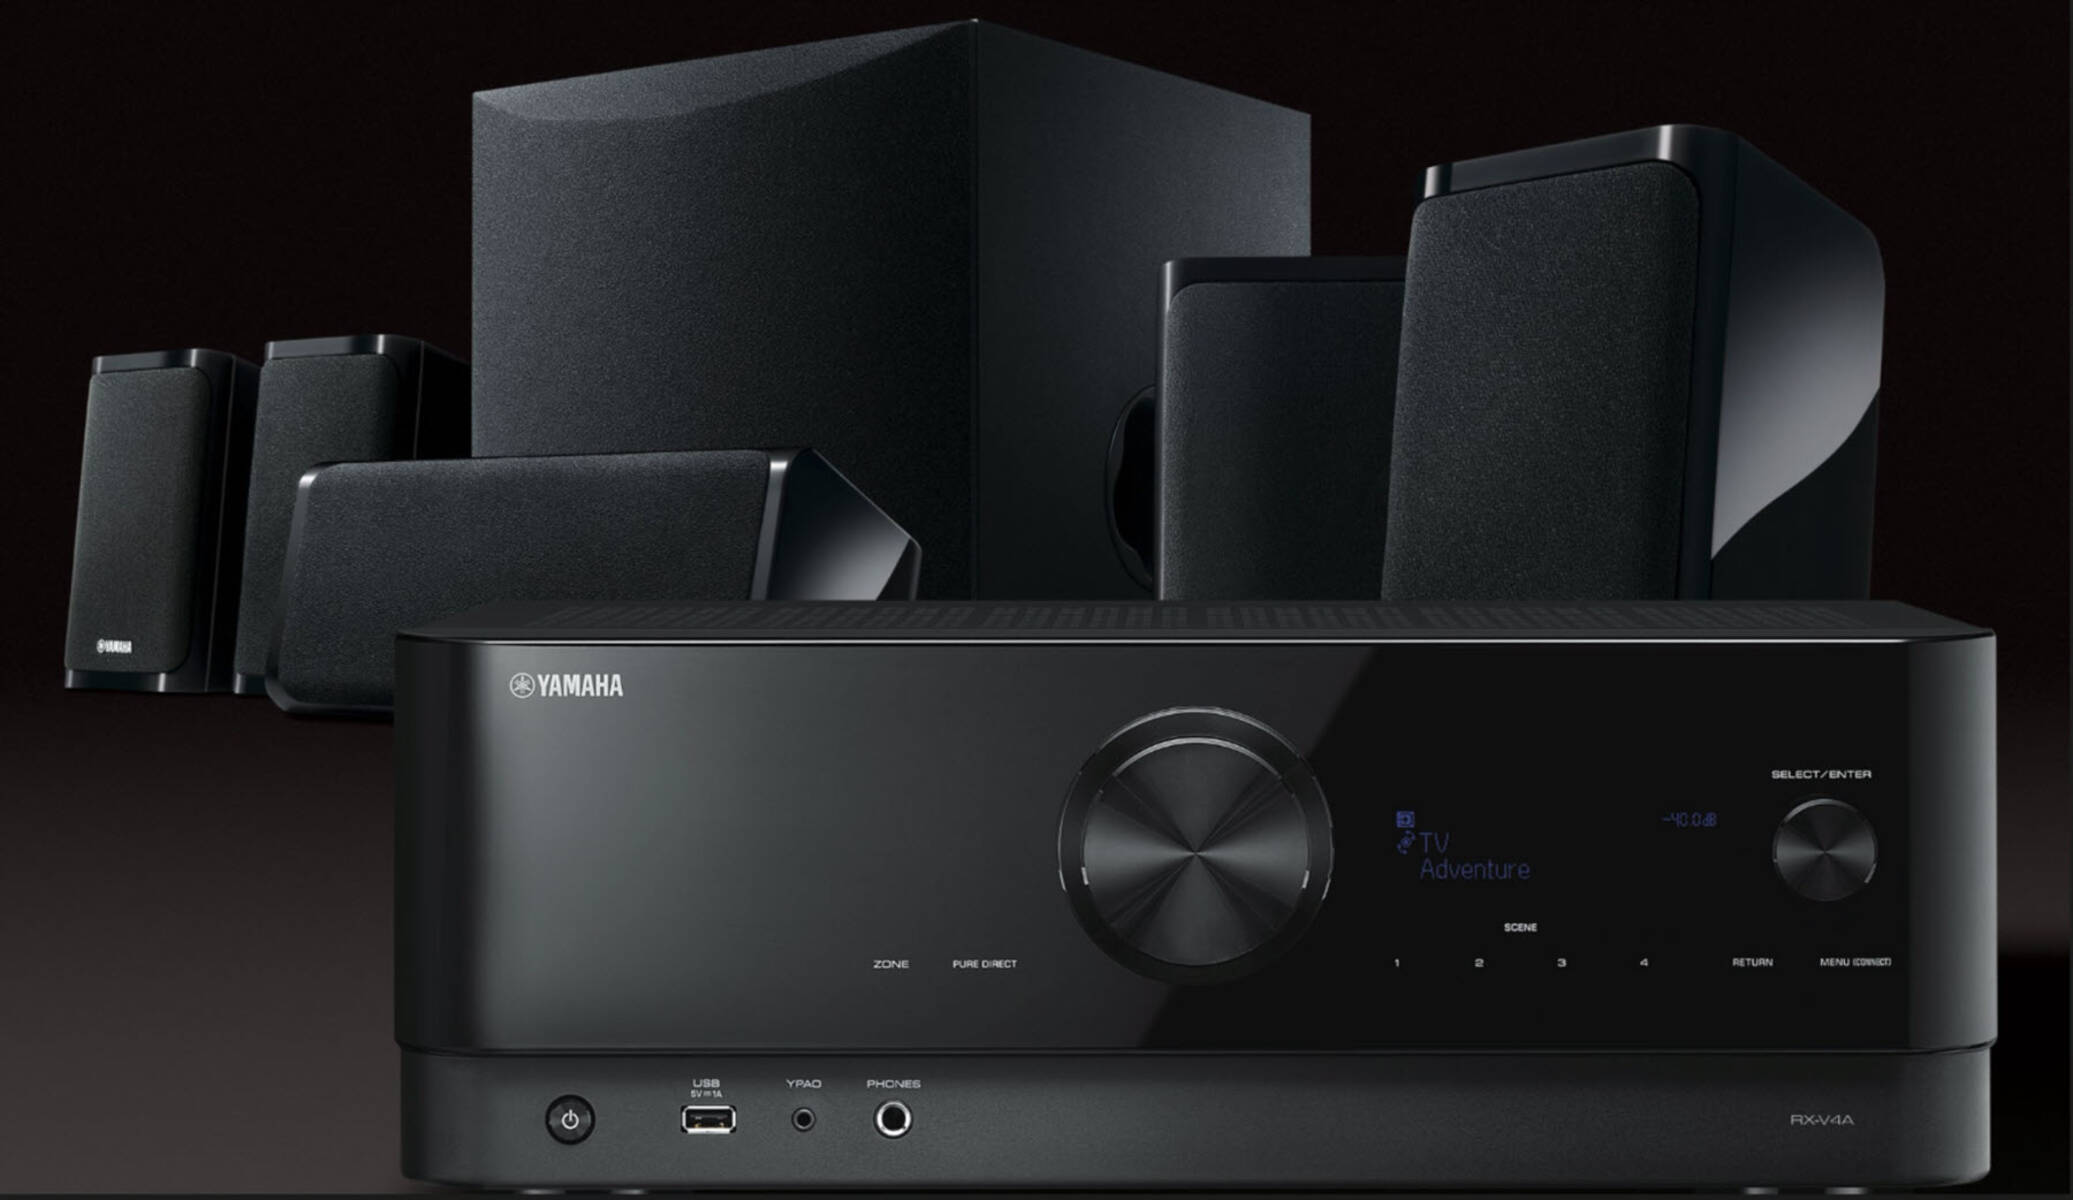
Before you can enjoy the immersive sound of your Yamaha Surround Sound System, you need to start by unpacking and organizing the various components. This step is crucial as it ensures that you have all the necessary parts and helps prevent any damage during the installation process.
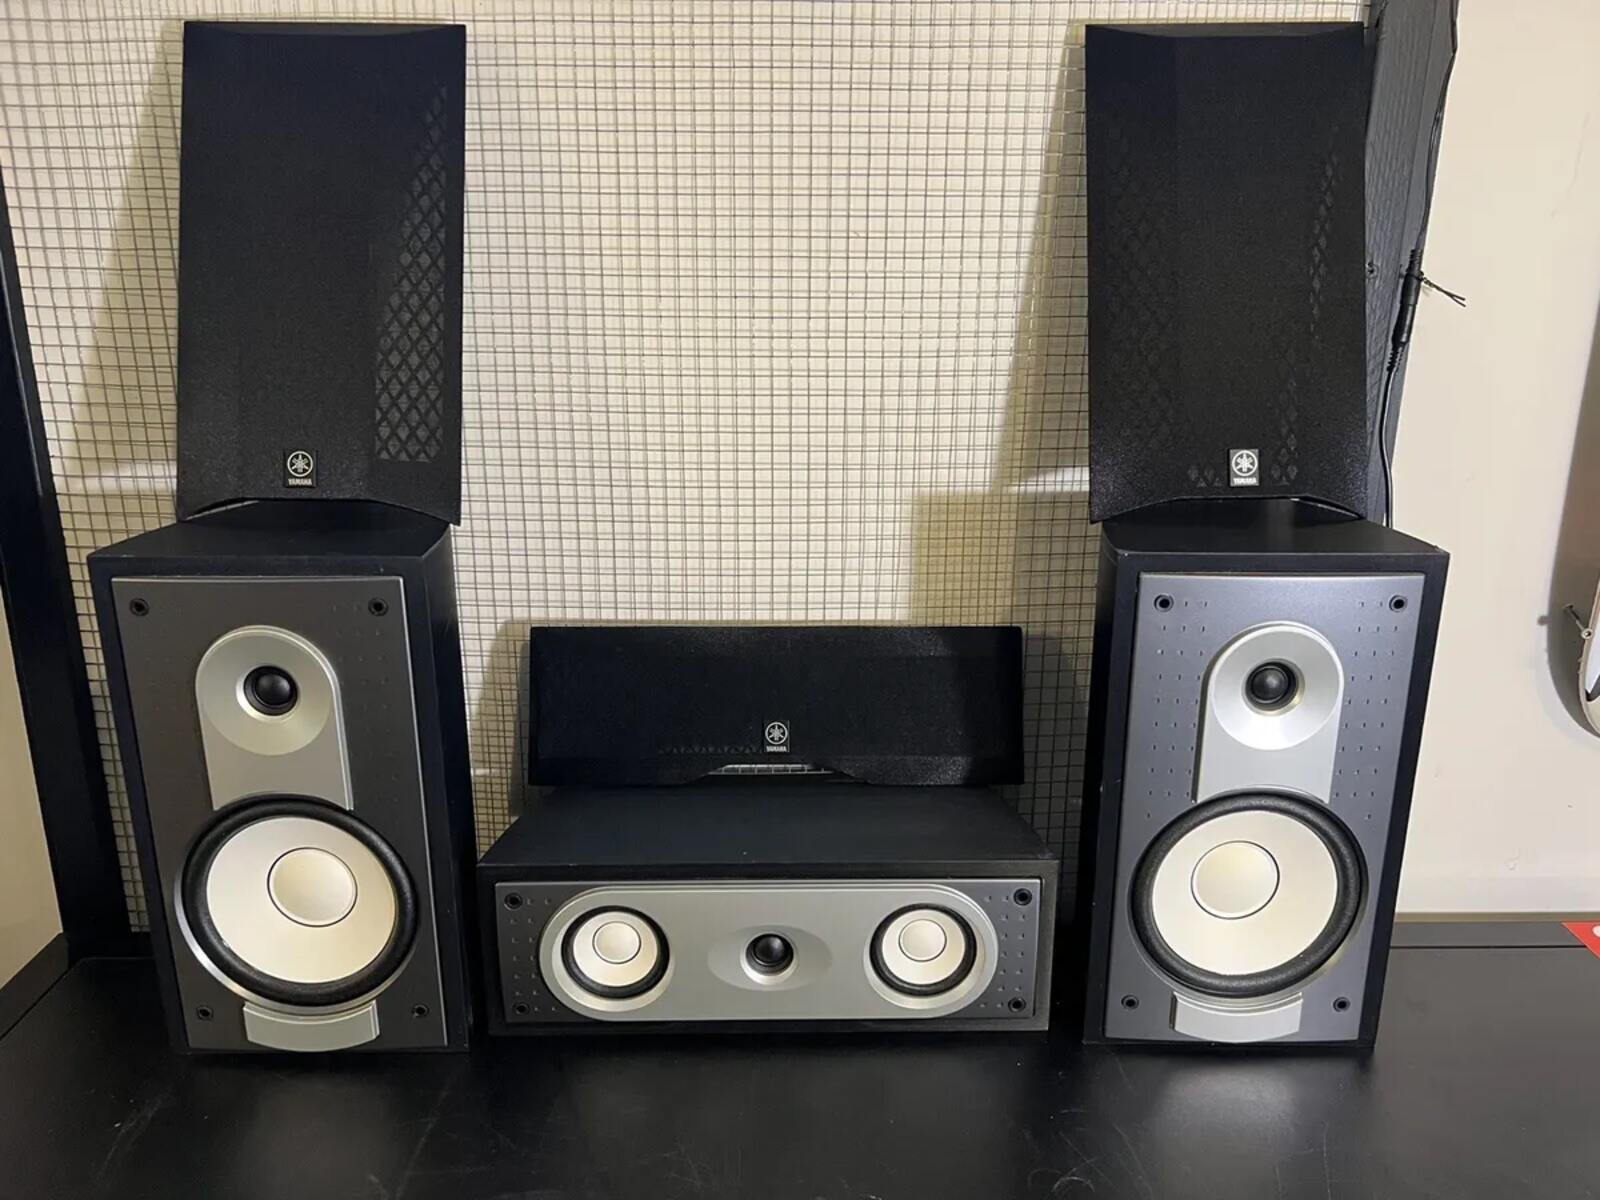
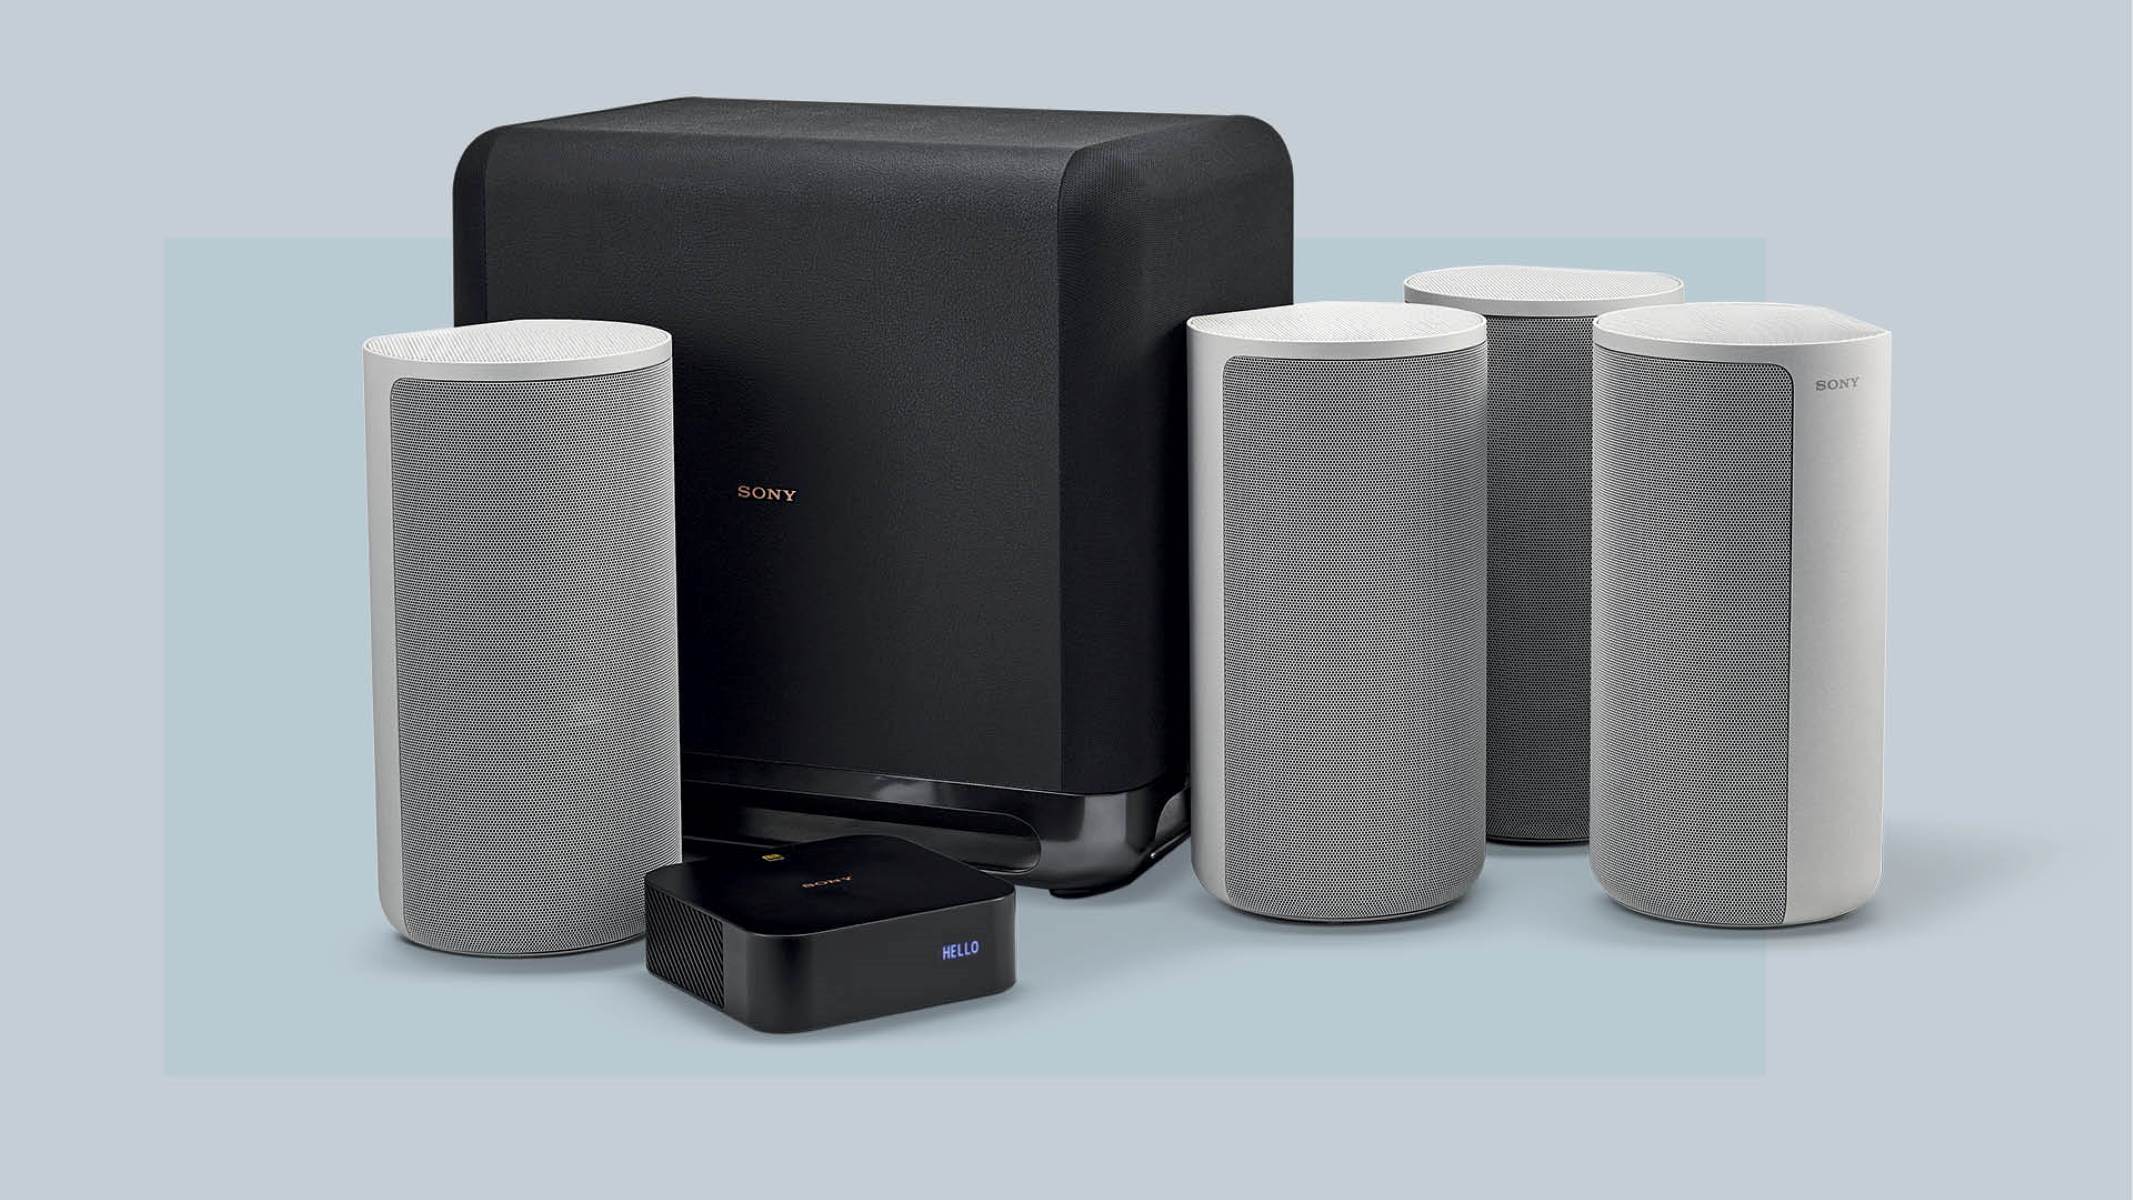
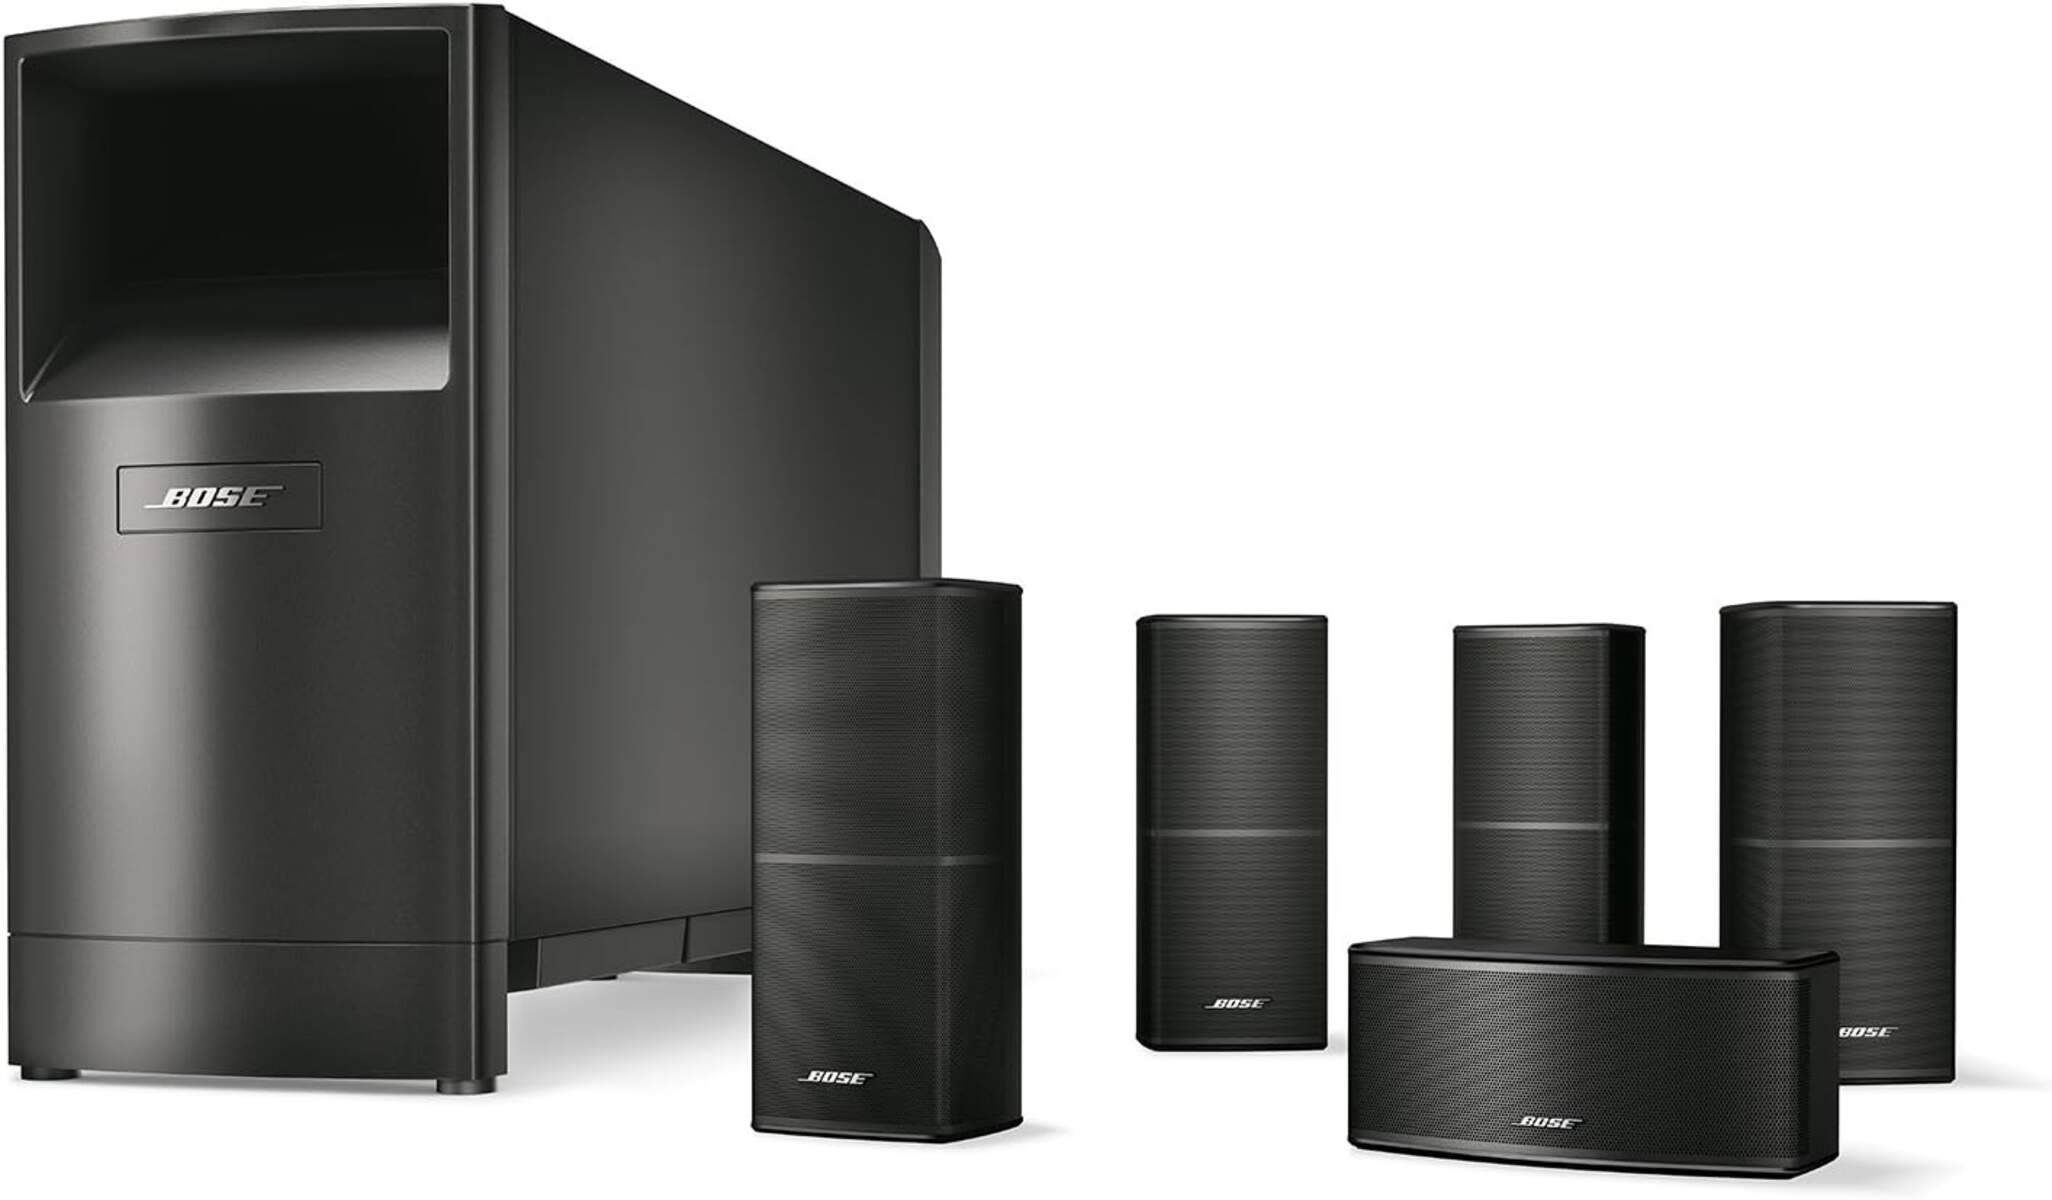
Begin by carefully unboxing the contents of your Yamaha Surround Sound System. Inside the packaging, you should find the AV receiver, several speakers (including the front, center, and surround speakers), audio cables, power cords, and a user manual. Take a moment to inspect each component and ensure that nothing is missing or damaged.
Once you’ve confirmed that everything is in order, it’s time to find a suitable location for your AV receiver. Ideally, you’ll want to place it near your TV or projector, as it will serve as the central hub for all your audio connections. Make sure to choose a well-ventilated area with enough space to accommodate the receiver and allow for easy access to the ports and controls.
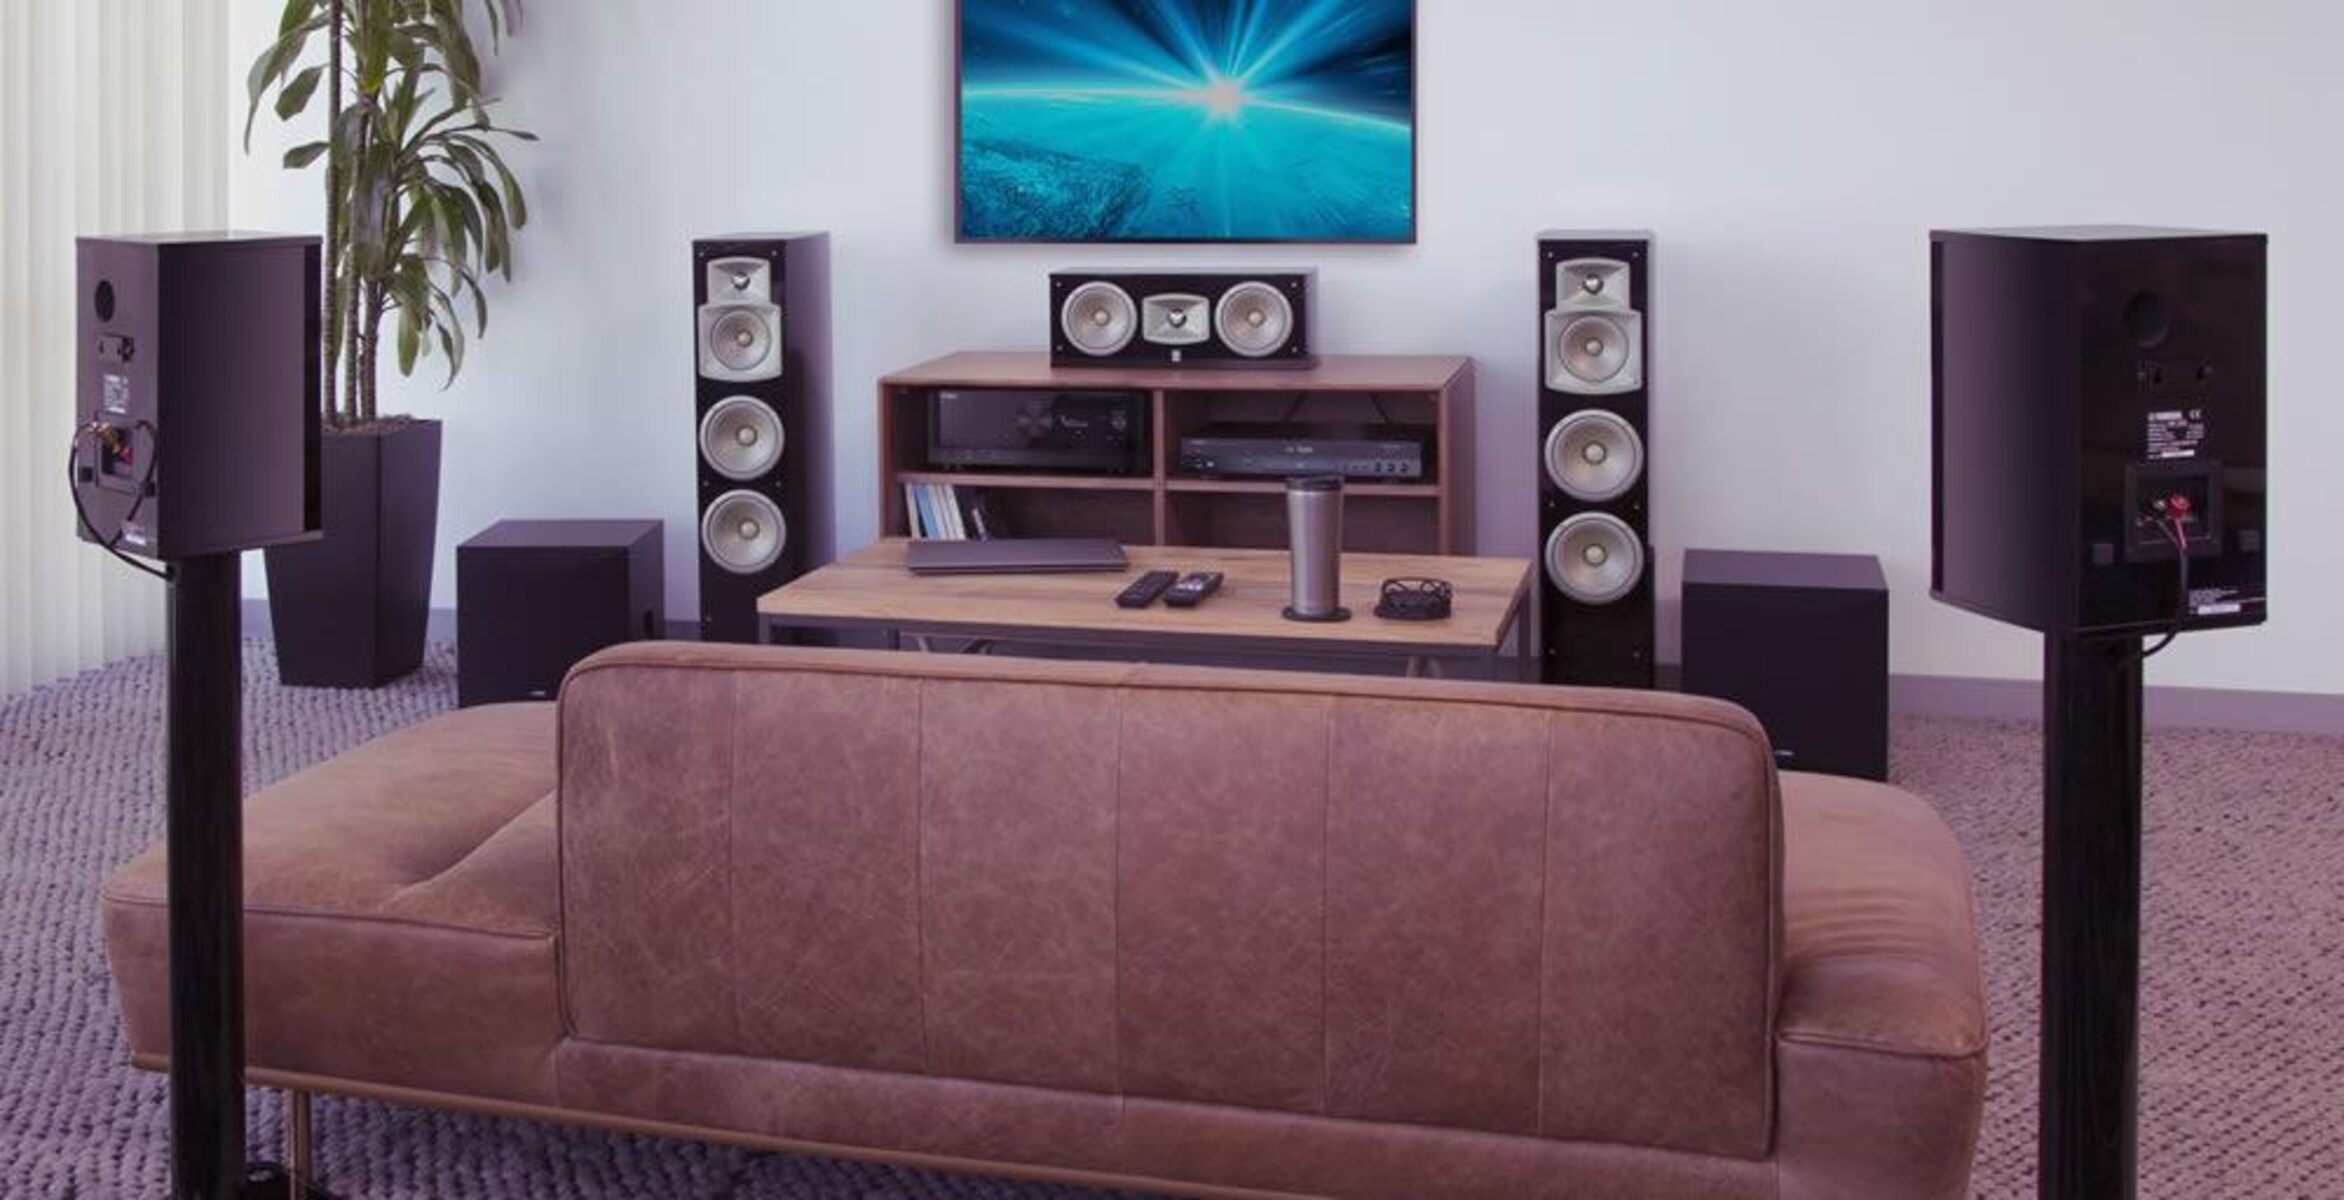
Next, identify the optimal spots for your speakers. The front speakers should be placed on either side of your TV or projector, facing towards the seating area. The center speaker should be positioned above or below the screen, aligned with the front speakers. As for the surround speakers, they should be placed slightly behind and to the sides of the seating area, creating an enveloping sound experience.
Take your time to arrange the cables neatly, avoiding any tangles or obstructions. Ensure that there is enough length to comfortably connect each speaker to the AV receiver without pulling on the cables. If necessary, you can use cable management solutions such as cable clips or conduits to keep everything organized.
Lastly, refer to the user manual to familiarize yourself with the various buttons, ports, and controls on the AV receiver. Understanding the layout and functions of the receiver will make the setup and configuration process much easier.
Once you’ve completed this step, you’re ready to move on to the next phase of setting up your Yamaha Surround Sound System: connecting the AV receiver.
Step 2: Set up the AV Receiver
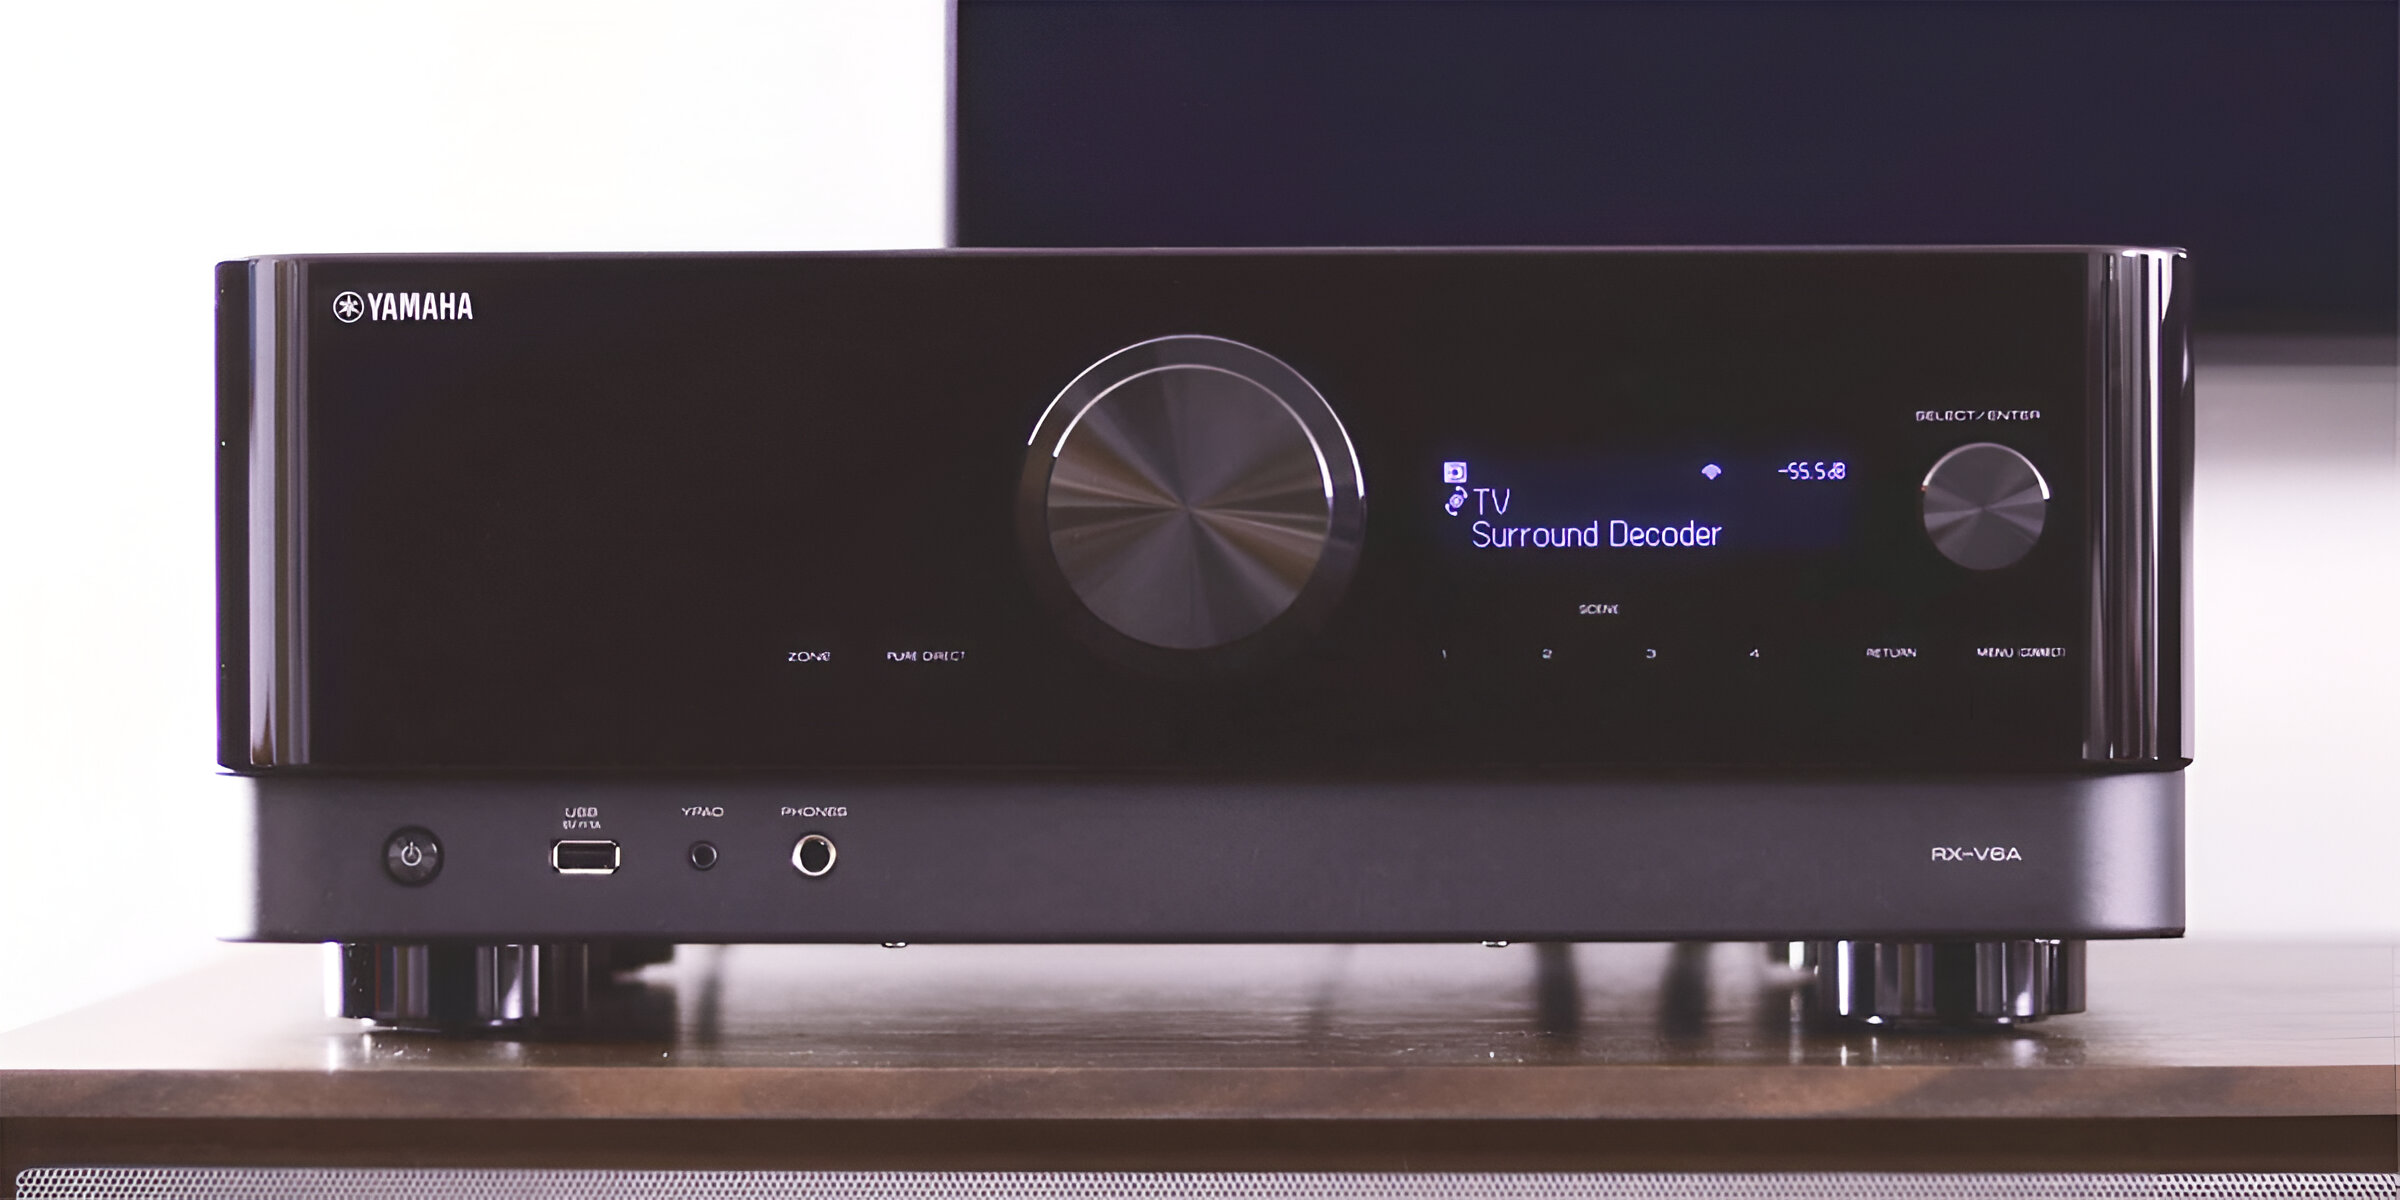
Now that you have unpacked and organized your Yamaha Surround Sound System, it’s time to set up the heart of your audio system – the AV receiver. The receiver acts as the control center for all your audio sources, amplifies the sound, and distributes it to the connected speakers.
Start by finding the most convenient location for your AV receiver. Ensure that it is placed on a stable surface and has enough space around it for ventilation. Avoid placing it in enclosed spaces or near heat sources, as this can affect its performance.
Next, connect the power cord to the back of the AV receiver and plug it into a power outlet. Switch on the power button and check that the receiver powers up properly.
Now it’s time to connect the audio and video sources to the AV receiver. Use HDMI, optical, or coaxial cables to connect your TV, gaming console, Blu-ray player, or any other audio source to the corresponding input ports on the back of the receiver. Make sure to select the appropriate input on the receiver for each connected device. Consult the user manual for specific instructions on connecting different types of audio sources.
In addition to audio sources, you may also want to connect your receiver to the internet for firmware updates and access to streaming services. If your receiver supports Wi-Fi or Ethernet connectivity, follow the instructions in the manual to establish a network connection.
Once all the necessary connections are made, it’s time to calibrate the AV receiver for optimal audio performance. Most Yamaha receivers come with an automatic calibration system, such as Yamaha’s YPAO (Yamaha Parametric room Acoustic Optimizer). Follow the instructions in the manual to run the calibration process, which measures your room’s acoustic properties and adjusts the audio settings accordingly.
During the calibration process, make sure to keep your speakers at their intended positions and at ear level. This ensures that the audio is properly adjusted for the seating area and provides an immersive surround sound experience.
With the AV receiver set up and calibrated, you’re now one step closer to enjoying the rich, immersive sound of your Yamaha Surround Sound System. The next step is to connect the speakers, which we’ll cover in the following section.
Step 3: Connect the Speakers
Now that your AV receiver is set up, it’s time to connect the speakers to your Yamaha Surround Sound System. Properly connecting the speakers is crucial for ensuring accurate audio reproduction and achieving a balanced surround sound experience.
Start by identifying the different speaker outputs on the back of your AV receiver. The front speakers are usually labeled as “L” (left) and “R” (right), while the center speaker may be labeled as “C” or “Center.” The surround speakers are typically labeled as “SL” (surround left) and “SR” (surround right).
Take the speaker cables provided with your Yamaha Surround Sound System and connect them to the corresponding speaker outputs on the AV receiver. Match the positive (+) and negative (-) terminals on each speaker cable to the corresponding terminals on the receiver. Make sure the connections are secure and tight to prevent any audio distortion.
Next, move to the actual placement of the speakers in your room. Position the front left and right speakers on either side of your TV or projector, facing towards the seating area. Place the center speaker either above or below the screen, ensuring it is aligned with the front speakers for clear dialogue and vocals.
For the surround speakers, position them slightly behind and to the sides of the seating area. Angle the speakers towards the center of the room to create an enveloping sound experience. If your system includes a subwoofer, place it in a convenient location within your room, as the low-frequency sound is non-directional.
Once you have placed the speakers in their intended positions, carefully run the speaker cables from the AV receiver to each speaker. Avoid running the cables in high-traffic areas or where they might pose a tripping hazard. You can conceal the cables using cable management solutions or by routing them along baseboards and corners.
Connect the speaker cables to the terminals on each speaker, ensuring that the positive (+) and negative (-) terminals on the speakers match the corresponding terminals on the receiver. Double-check all the connections to make sure they are securely fastened.
With the speakers connected, it’s time to move on to the next step: connecting the audio source to your Yamaha Surround Sound System.
Step 4: Connect the Audio Source
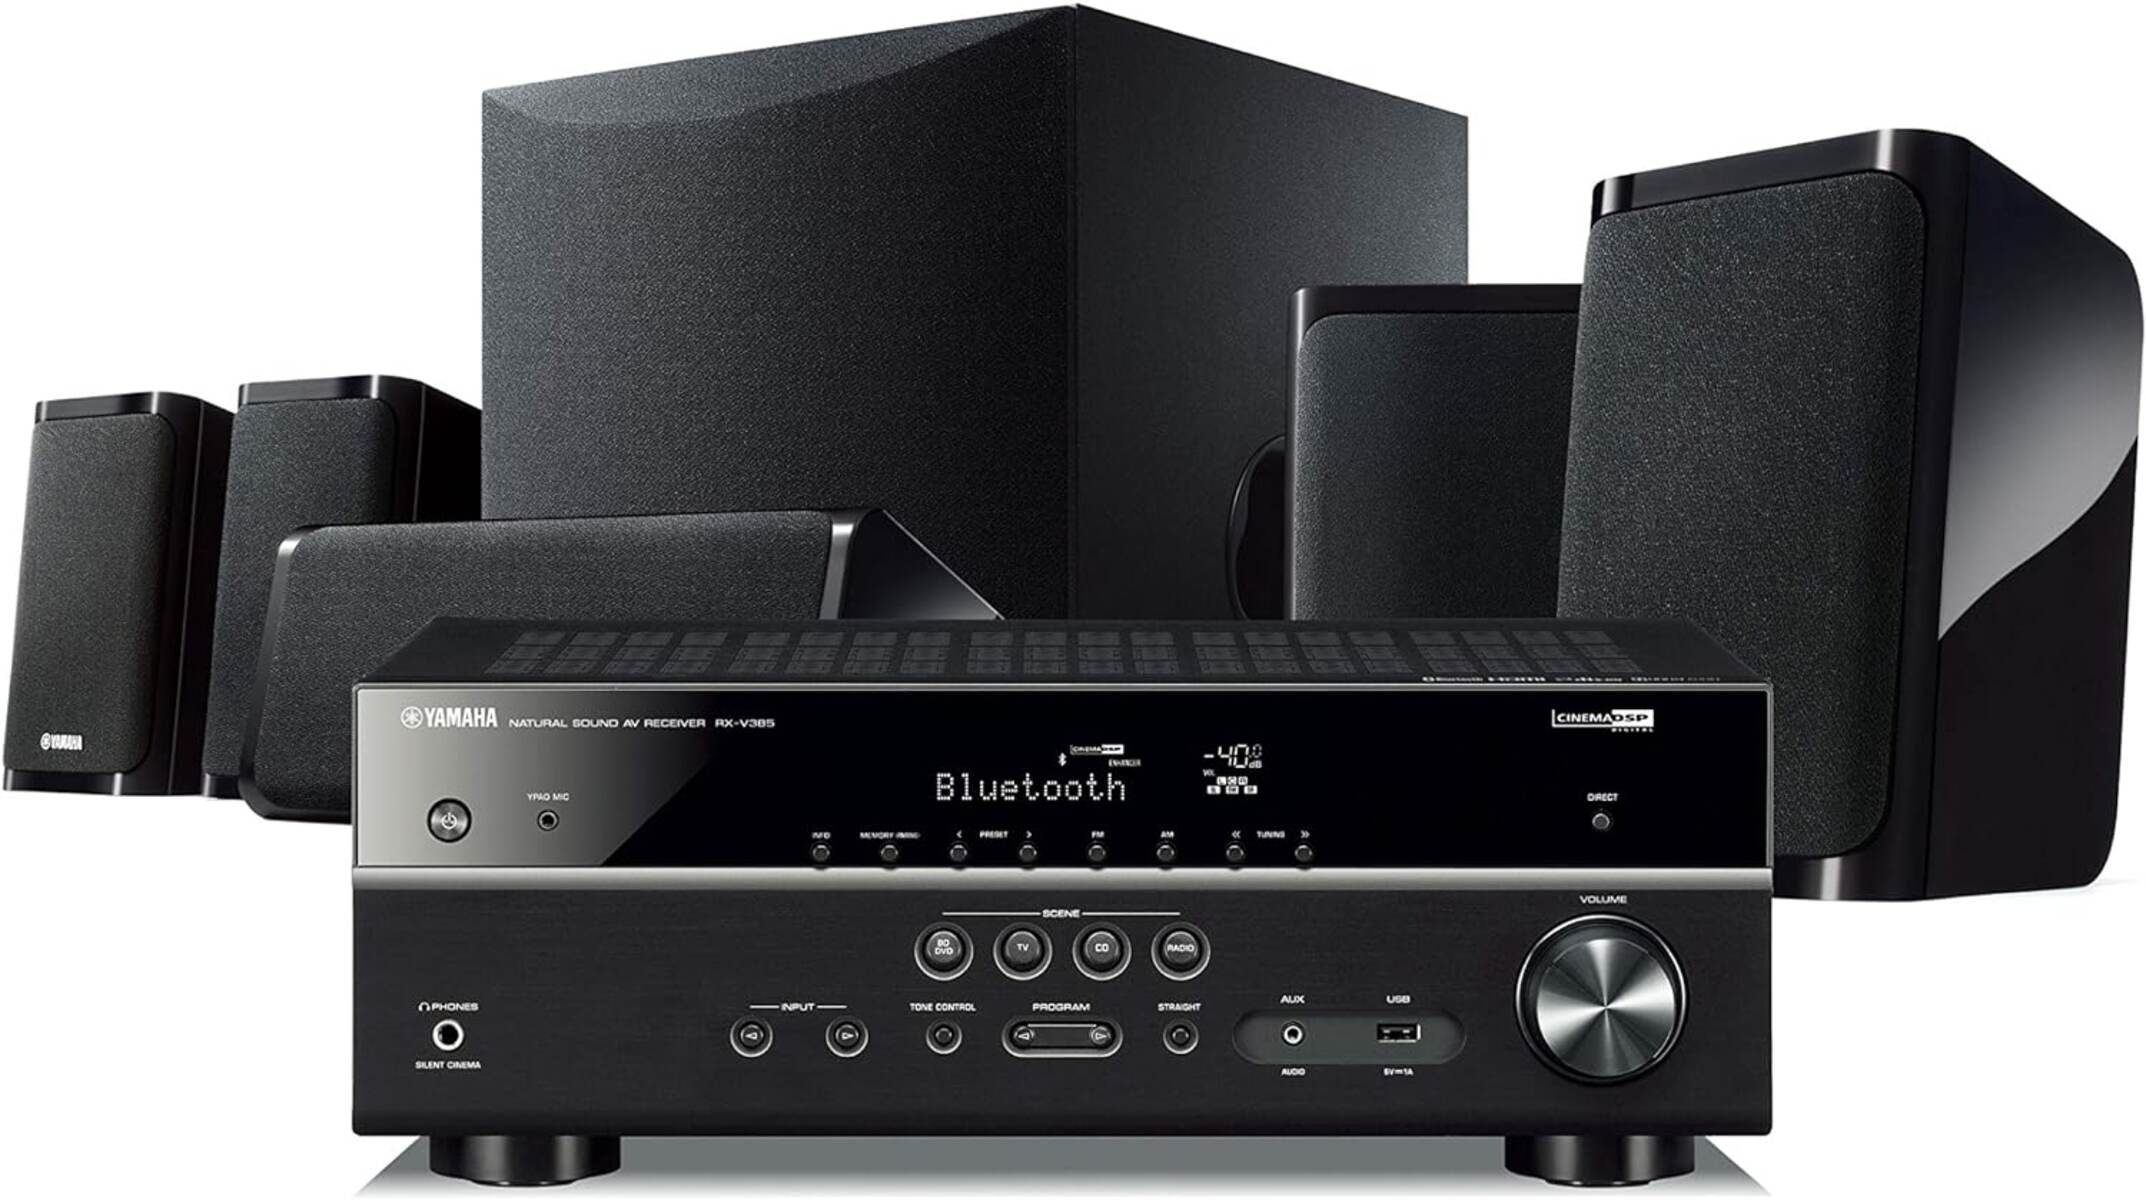
Now that your speakers are properly connected, it’s time to connect an audio source to your Yamaha Surround Sound System. Whether it’s a Blu-ray player, gaming console, streaming device, or even your smartphone, connecting the audio source allows you to enjoy your favorite content with immersive surround sound.
The most common way to connect an audio source to your AV receiver is through an HDMI cable. HDMI provides both high-quality audio and video signals in a single cable. Simply connect one end of the HDMI cable to the HDMI output port on your audio source and the other end to an available HDMI input port on your AV receiver.
If your audio source only has optical or coaxial audio outputs, don’t worry. Most AV receivers have corresponding optical or coaxial input ports that allow you to connect these devices using the appropriate cables. Check the user manual of your AV receiver for specific instructions on connecting different audio sources.
If you have multiple audio sources that you frequently switch between, consider using an HDMI switcher or AV receiver with multiple HDMI inputs. This allows you to connect multiple devices to your surround sound system and easily switch between them without constantly unplugging and replugging cables.
Once your audio source is connected to the AV receiver, use the receiver’s input selector to choose the appropriate input corresponding to the connected device. This ensures that the audio signals from the selected source are correctly processed and distributed to the speakers.
Additionally, if your audio source supports streaming services or connects to the internet, you may be able to directly stream music or other audio content through your surround sound system. Consult the user manual of your audio source or AV receiver to learn more about these streaming capabilities.
With the audio source connected, you’re one step away from experiencing the immersive sound of your Yamaha Surround Sound System. In the next step, we’ll cover the final configuration of your system to ensure optimal performance.
Step 5: Configure the Yamaha Surround Sound System
After connecting the audio source to your Yamaha Surround Sound System, the next step is to configure the settings of your AV receiver to optimize the audio performance and tailor it to your preferences. Configuring the system ensures that you get the best audio experience possible.
Start by accessing the setup menu of your AV receiver. This can usually be done by pressing the setup or menu button on your remote control or directly on the front panel of the receiver. Once in the setup menu, navigate to the audio settings or surround sound options.
One essential setting to configure is the speaker size and distance. Specify the size of your connected speakers, typically categorized as small, medium, or large. Additionally, enter the distance from each speaker to the primary listening position. These settings allow the receiver to calibrate the audio output accordingly and ensure a balanced soundstage.
Next, select the appropriate surround sound mode for your preference. Yamaha receivers come with various options like Dolby Atmos, DTS:X, or Yamaha’s proprietary CINEMA DSP modes, each providing a unique audio experience. Experiment with different modes to find the one that enhances your content the best.
If your AV receiver supports room correction technology, like Yamaha’s YPAO (Yamaha Parametric room Acoustic Optimizer), it’s recommended to run the automatic calibration process. This analyzes the acoustic characteristics of your room and makes adjustments to optimize the sound quality. Follow the instructions in the user manual to run the calibration and ensure accurate audio reproduction.
Additionally, you may have access to EQ settings, allowing you to fine-tune the audio output to your liking. Adjust parameters like bass, treble, and mid-range frequencies to achieve the desired audio balance. Experiment with these settings to achieve the best sound quality for your preferences and the content you’re enjoying.
Lastly, don’t forget to configure any additional features your AV receiver may offer, such as audio sync adjustments, sound optimization modes, or network settings. These options can further enhance your audio experience and tailor it to specific content or environment.
Once you have finished configuring the Yamaha Surround Sound System to your liking, you’re ready to enjoy the immersive and captivating sound experience it provides. Before diving into your favorite movie, game, or music, perform a quick test to ensure that all speakers are functioning correctly.
In the next and final step, we’ll guide you through testing the sound system to confirm that everything is set up and working properly.
Step 6: Test the Sound System
Once you have finished configuring your Yamaha Surround Sound System, it’s essential to test the audio to ensure that all speakers are working correctly and that you’re getting the immersive sound experience you desire. Testing the sound system allows you to fine-tune any settings and make any necessary adjustments for optimal performance.
Start by playing some test audio or content that is known for its surround sound capabilities. This can be a movie scene with dynamic action sequences, a video game with immersive sound effects, or a music track that showcases the spatial audio capabilities of your system.
As the audio plays, make sure to go through each speaker individually and confirm that sound is coming from the correct direction. This is especially important for the surround speakers. You should be able to hear distinct sound cues and effects from each speaker, creating a seamless surround sound experience.
Pay attention to the dialogue clarity from the center speaker. Adjust the speaker level or center channel volume if necessary to ensure clear and balanced dialogue playback.
If you have a subwoofer, listen for deep, impactful bass during bass-heavy audio moments. Adjust the subwoofer volume to achieve the desired low-frequency response without overpowering the rest of the audio.
While testing, you may also want to explore different surround sound modes and EQ settings to find the one that best suits your preferences and the content you’re experiencing. Take the opportunity to fine-tune the system settings to achieve the ideal audio balance.
During the testing phase, keep an ear out for any distortions, imbalance, or abnormal sounds. If you notice any issues, double-check the connections, speaker placement, and receiver settings to ensure everything is as it should be. Make any necessary adjustments or troubleshooting steps to address the problem.
Continue testing with different types of content, such as movies, games, and music, to get a comprehensive understanding of your Yamaha Surround Sound System’s capabilities across various genres. This will help you fully appreciate the immersive sound experience that your system can deliver.
Remember, audio preferences can vary from person to person, so feel free to adjust the settings and configurations according to your personal taste and the environment in which you’re using the system.
Once you’re satisfied with the performance and quality of the sound system, you’re all set to enjoy your favorite movies, games, and music in a whole new way. Sit back, relax, and immerse yourself in the rich, dynamic sound of your Yamaha Surround Sound System.
Conclusion
Congratulations! You have successfully set up and configured your Yamaha Surround Sound System. By following the step-by-step process, you have unlocked the potential for a truly immersive audio experience in your home entertainment setup.
From unpacking and organizing the components to connecting the speakers and configuring the AV receiver, you have taken the necessary steps to ensure optimal audio performance and enjoy the rich, detailed sound that Yamaha is renowned for.
Remember that, as with any audio system, it might take some time to fine-tune the settings and find what works best for your preferences and the content you’re enjoying. Don’t hesitate to experiment with different surround sound modes, EQ settings, and speaker positions to achieve the desired audio balance and create a truly personalized experience.
Whether you’re indulging in a movie marathon, engaging in an intense gaming session, or simply enjoying your favorite music, the Yamaha Surround Sound System will elevate your entertainment to new heights. Immerse yourself in the power of cinematic sound, feel the impact of explosive effects, and get lost in the intricacies of each musical note.
As you continue to explore and immerse yourself in the world of audio, don’t hesitate to refer to the user manual or consult online resources for further information and tips on maximizing the potential of your Yamaha Surround Sound System. Embrace the joy of high-quality sound and enjoy countless hours of immersive entertainment in the comfort of your own home.
Thank you for choosing Yamaha, and may your audio adventures be filled with captivating sound and unforgettable experiences!