Introduction
Setting up a surround sound system in your home can greatly enhance your audio experience while watching movies, playing games, or listening to music. However, one common challenge that many people face is dealing with the unsightly mess of wires that come along with it. Nobody wants tangled wires running across the room, causing a tripping hazard and ruining the aesthetic appeal of your space.
The good news is that there are several ways to hide those wires and achieve a clean and professional-looking setup. In this article, we will guide you through the steps to set up your surround sound system while effectively hiding the wires to maintain a clutter-free environment.
We will cover various options, from simple cable management solutions to more advanced techniques such as hiding the wires in the walls. We will also discuss the possibility of going wireless to eliminate the need for physical connections entirely. Additionally, we will touch upon the option of hiring a professional installer if you want a seamless and hassle-free setup.
By the end of this article, you will have a clear understanding of the steps involved in setting up a surround sound system and hiding the wires, allowing you to enjoy immersive audio without any unsightly cable mess.
Step 1: Planning the Setup
Before you dive into setting up your surround sound system, it’s essential to carefully plan your setup to ensure optimal performance and minimal wire visibility. Here are a few key factors to consider during the planning stage:
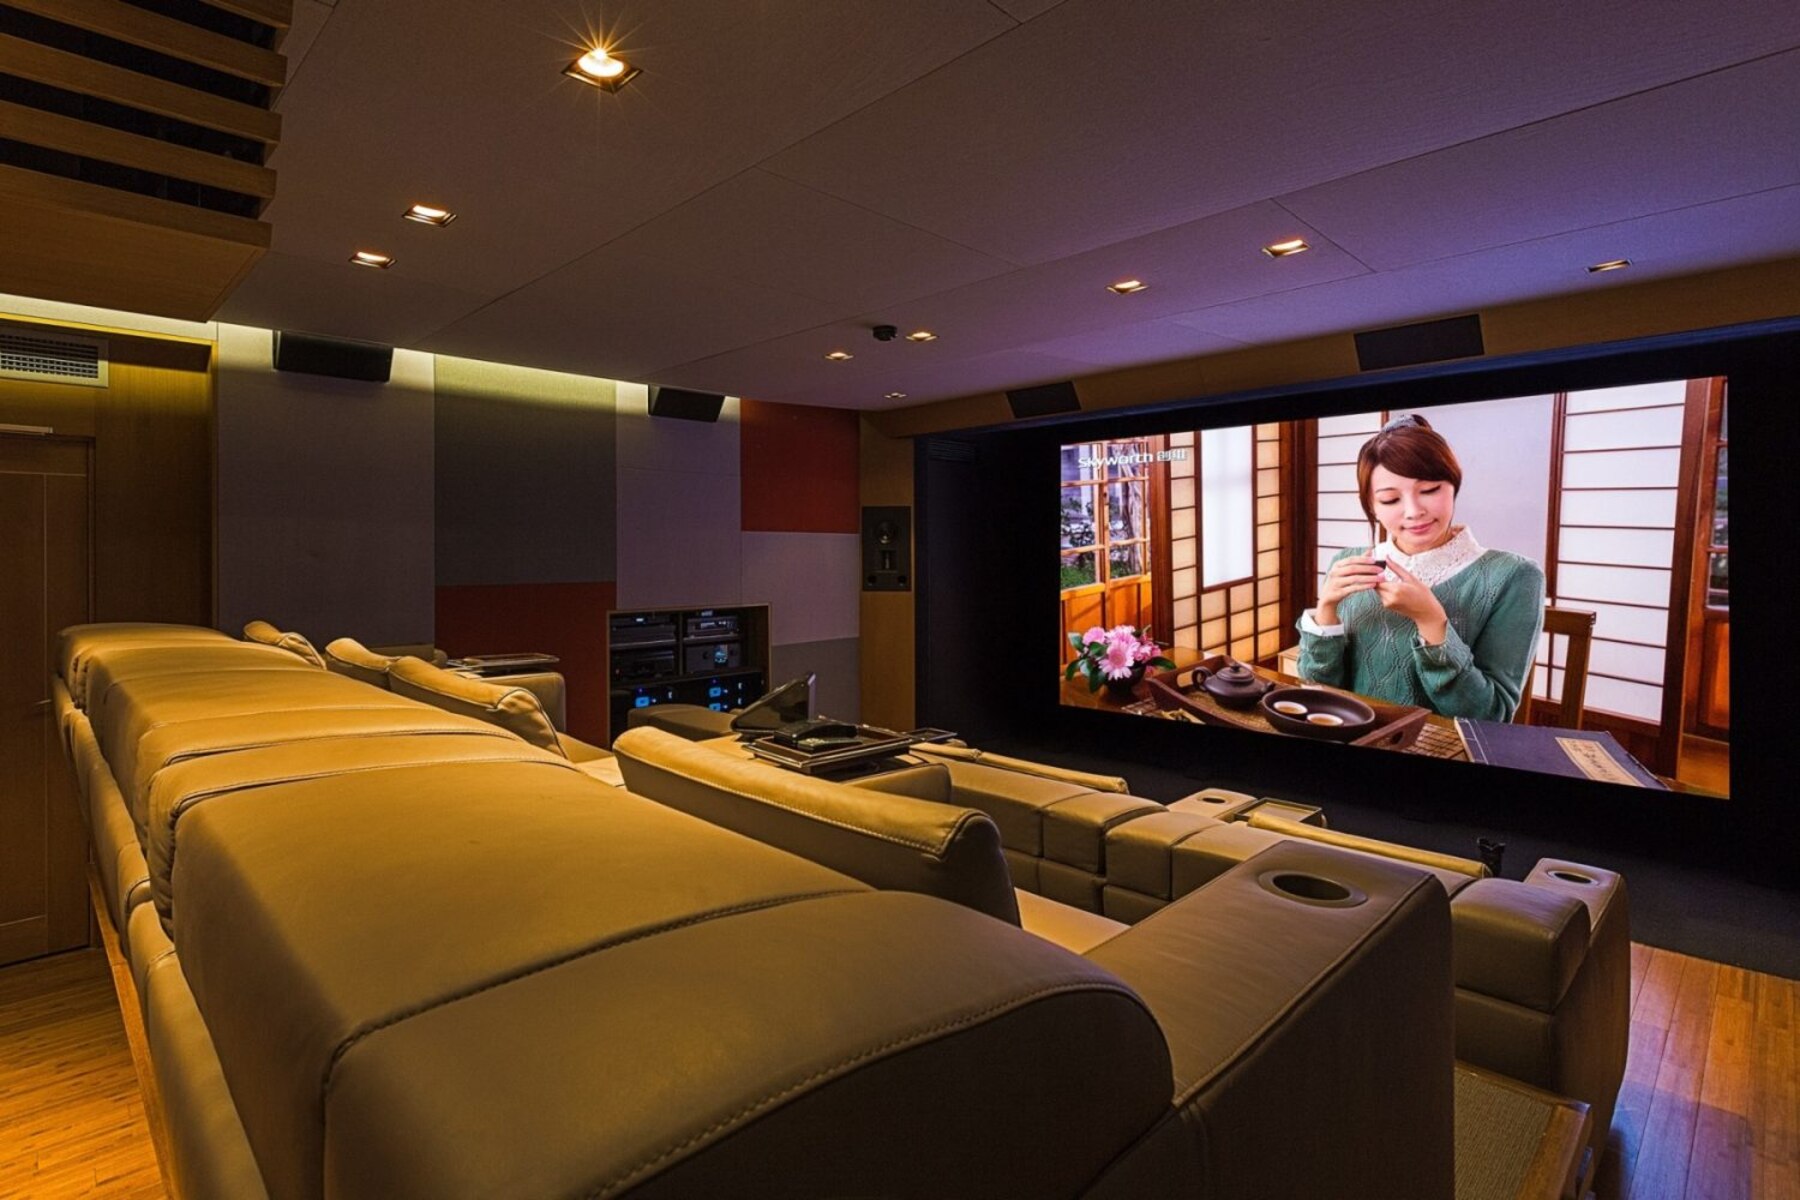
1. Room size and layout: Take into account the size and layout of your room when planning the placement of your speakers. Consider the acoustics of the space and how sound will travel. Ideally, the speakers should be positioned to provide an immersive audio experience from all angles.
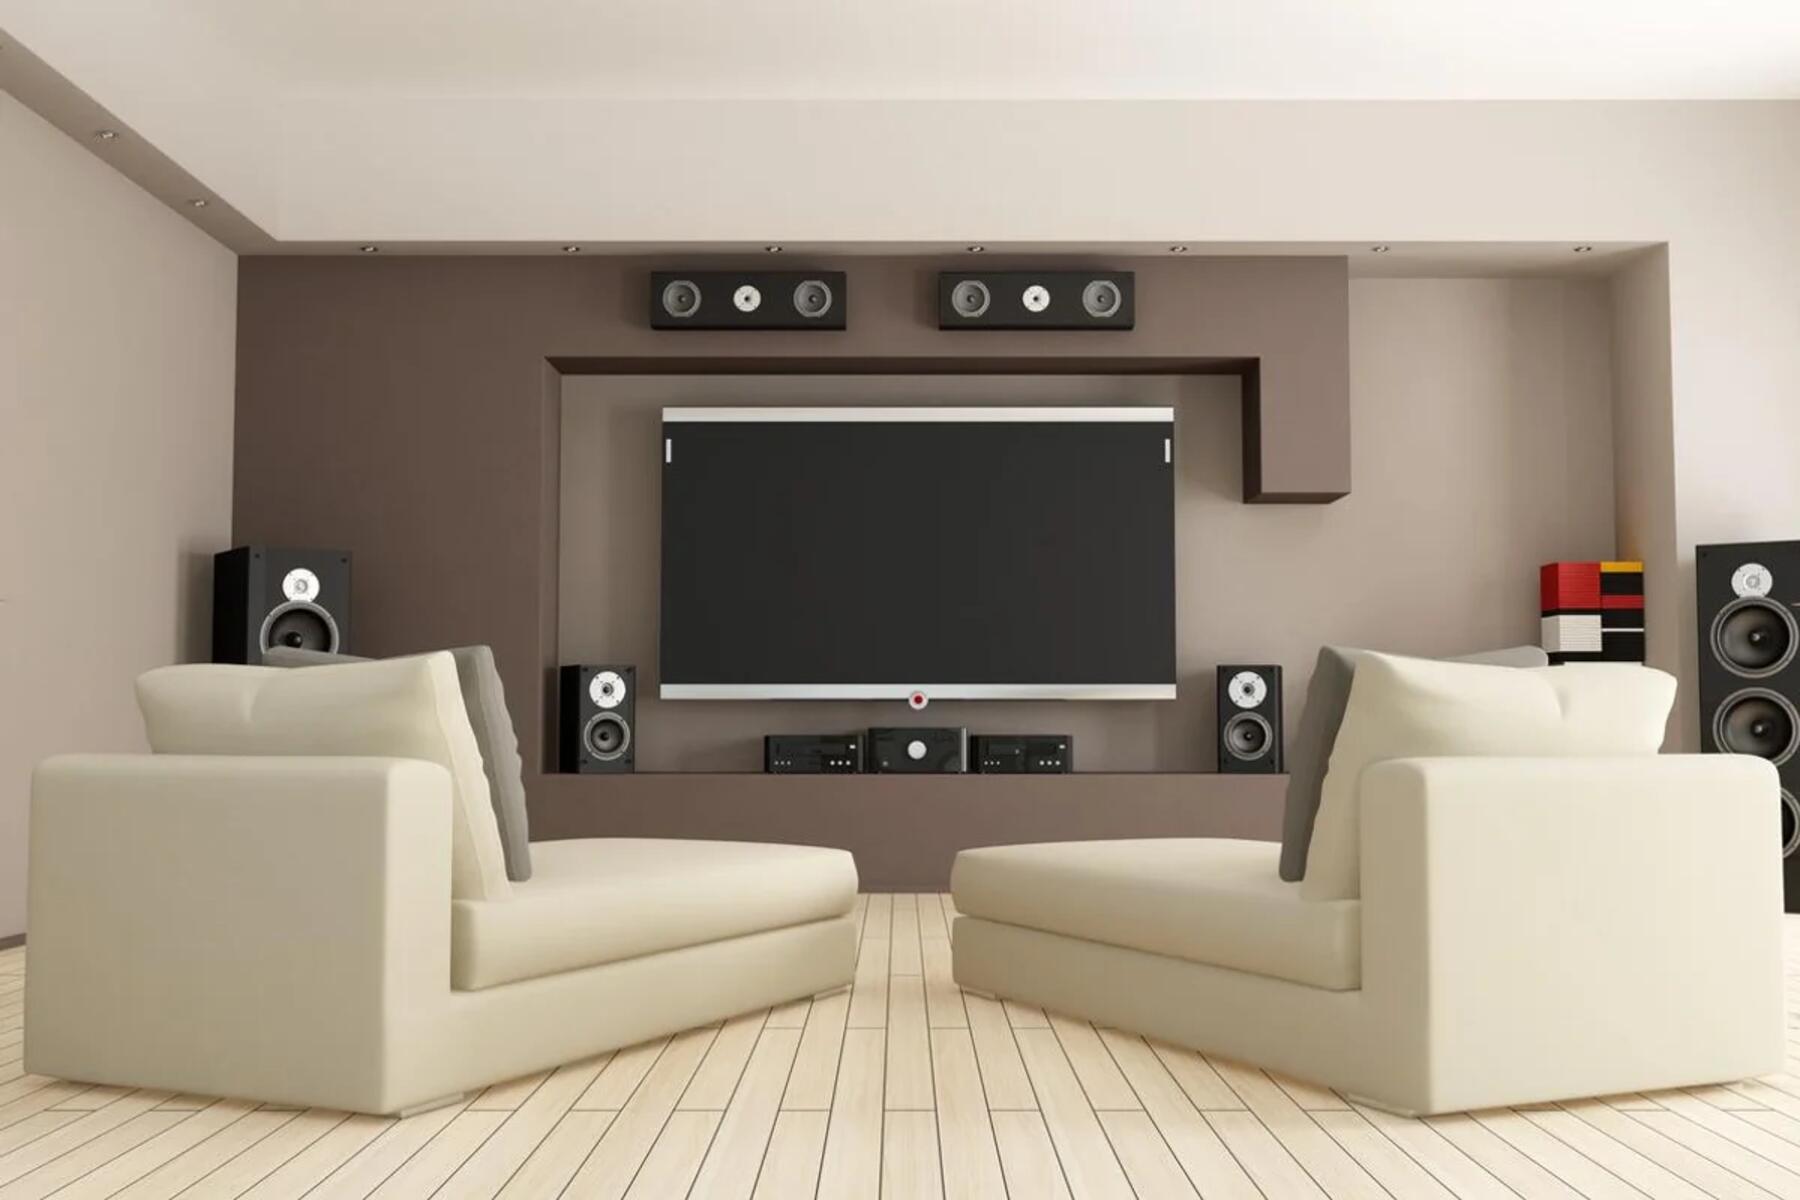
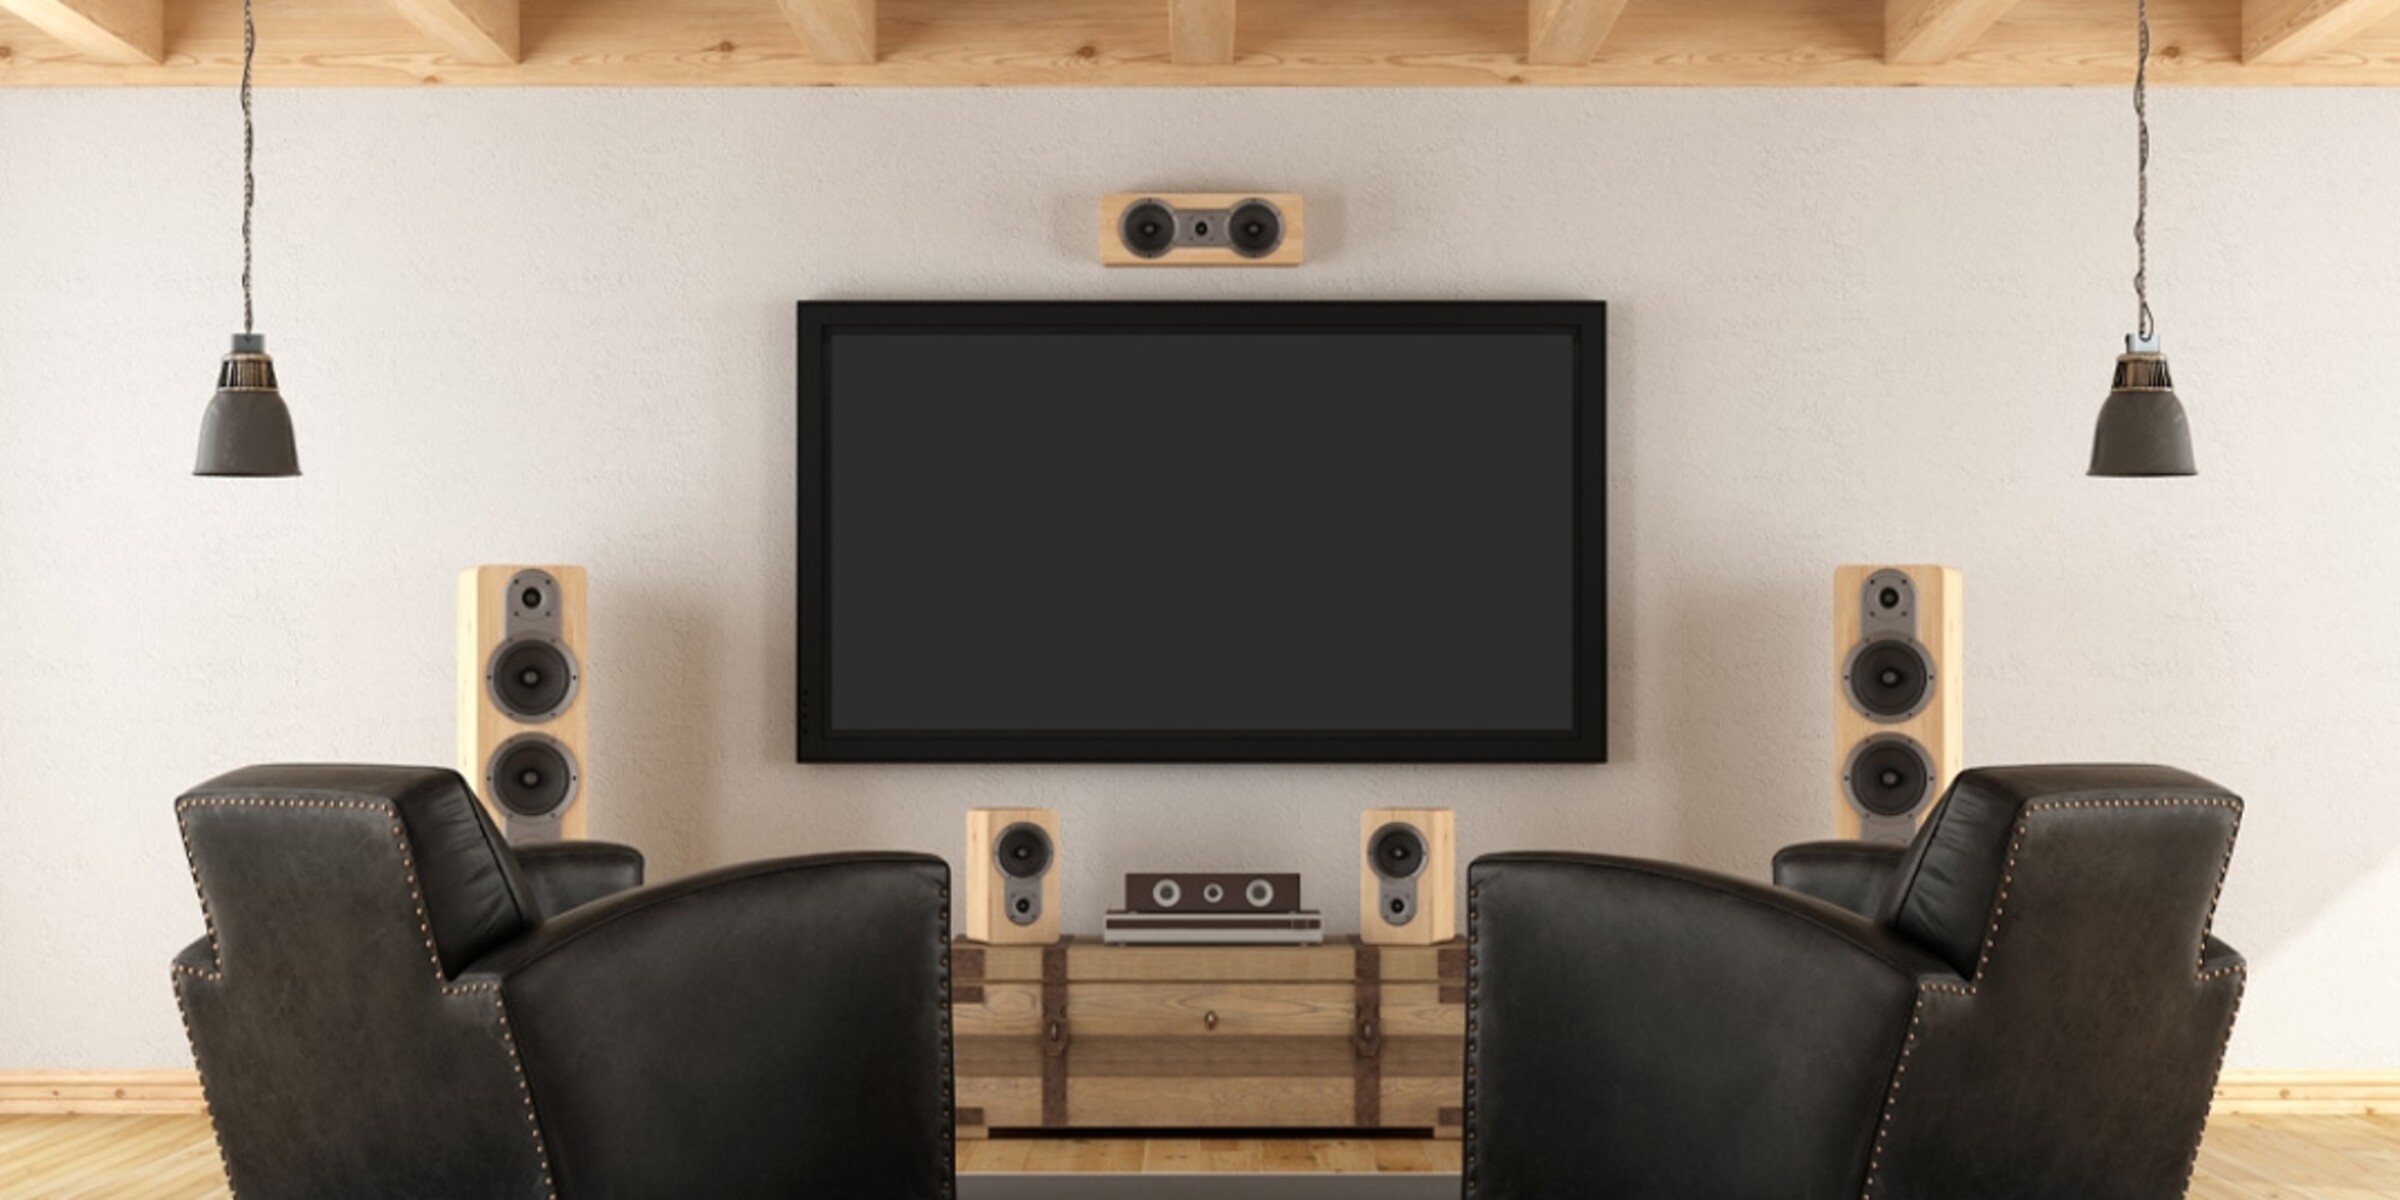
2. Speaker positioning: Determine the best locations for your speakers based on the room layout and your personal preferences. The front speakers should be placed on either side of the television or screen, while the rear speakers should be positioned at the back of the room. The center speaker should be placed above or below the television for clear dialogue.
3. Subwoofer placement: The subwoofer is responsible for producing deep bass sounds. Experiment with different placements to find the optimal spot that delivers powerful and balanced bass. Common locations include near the front speakers or in a corner of the room.
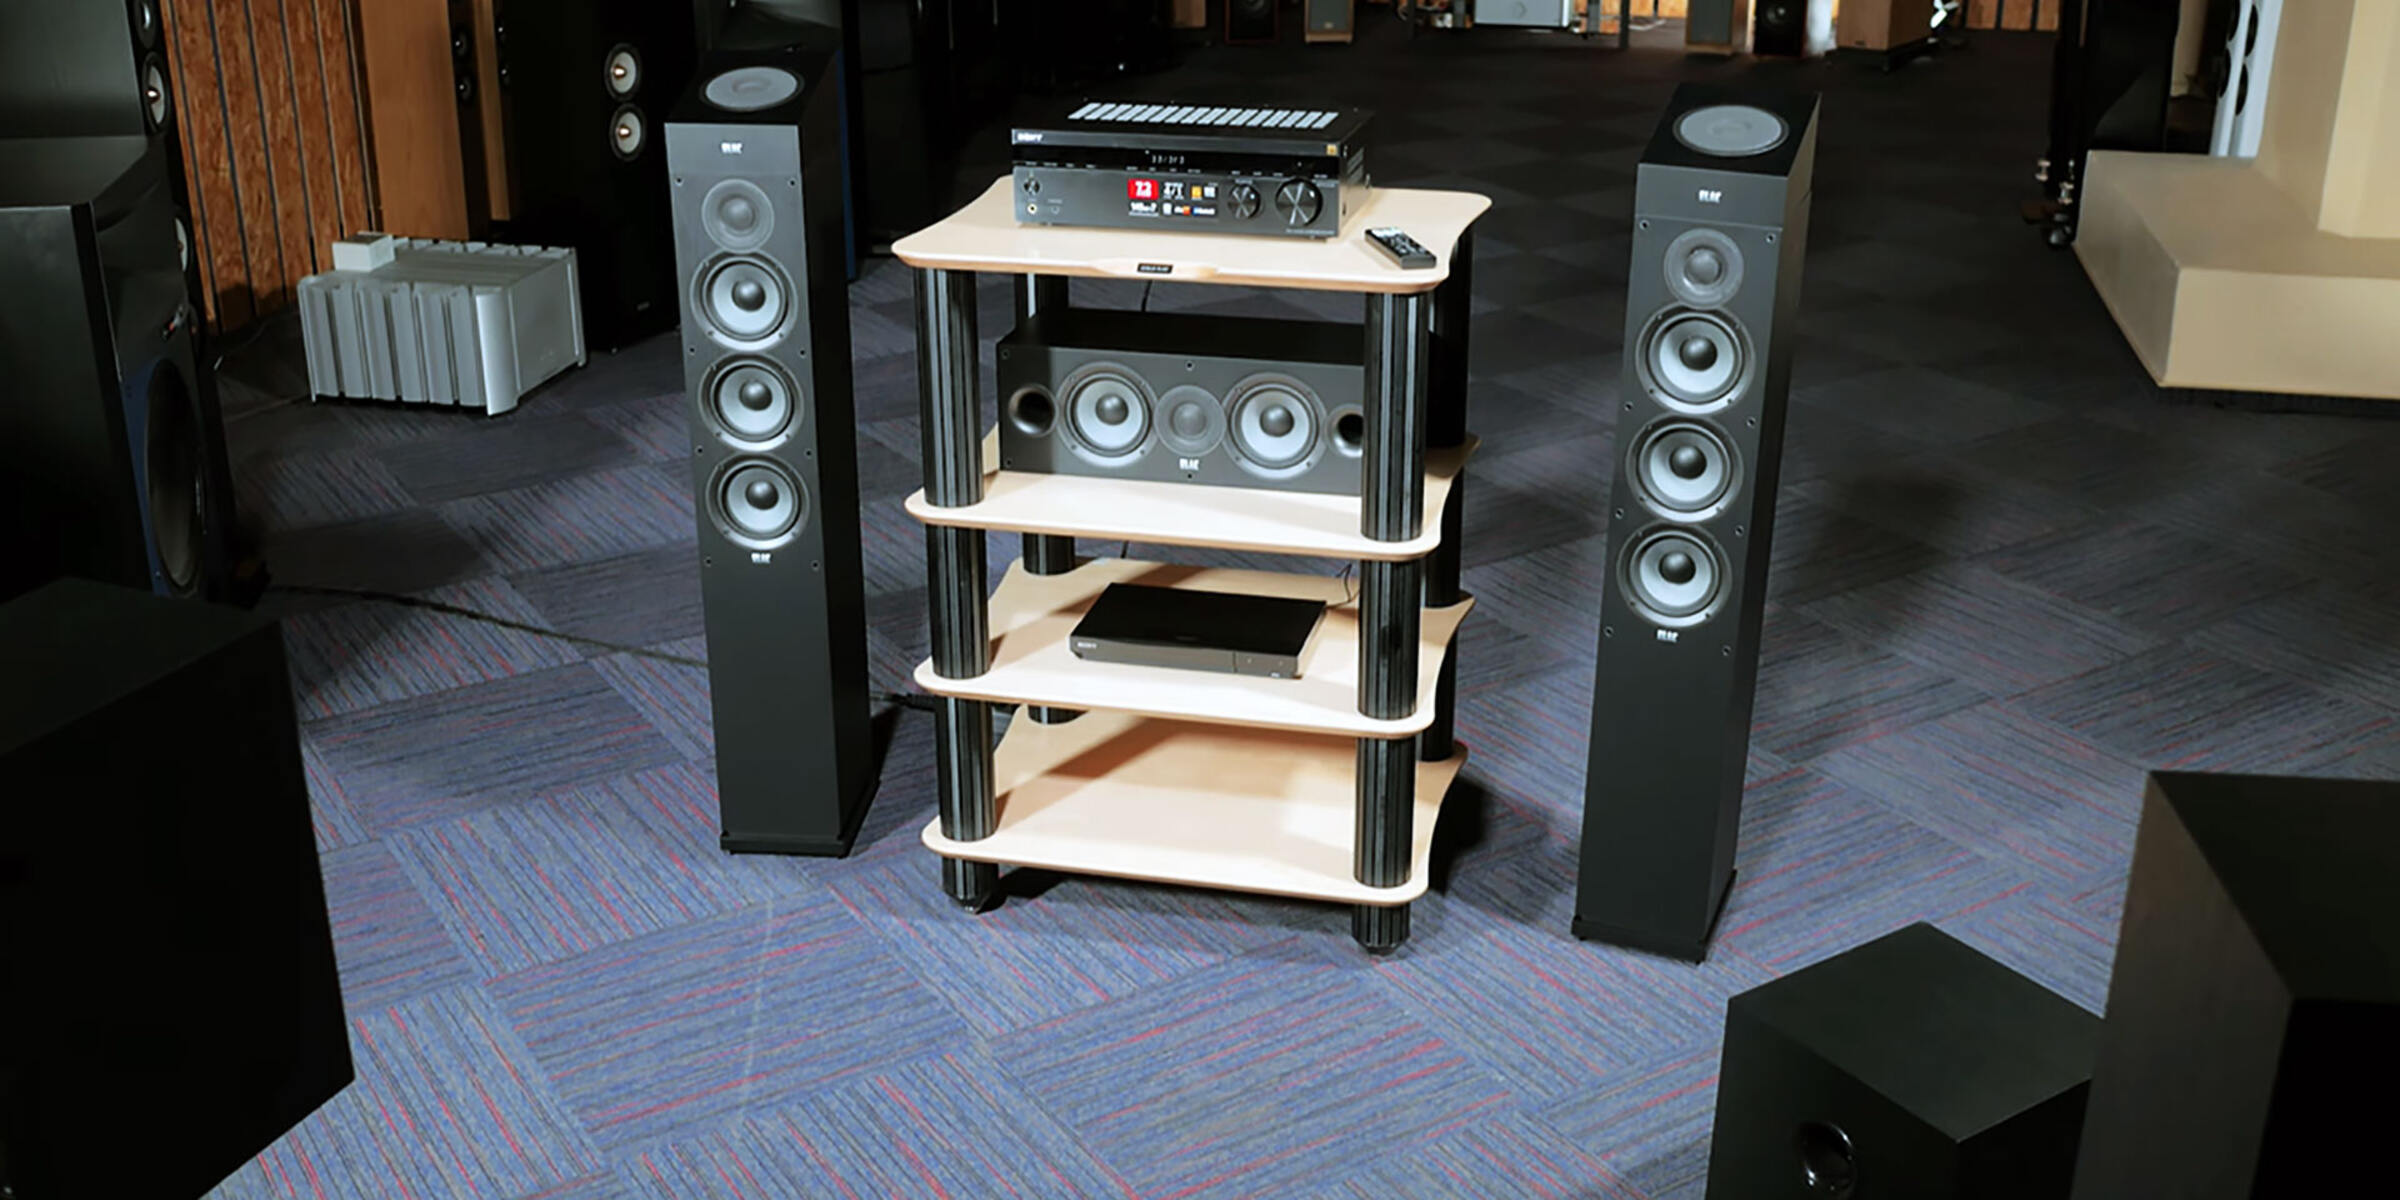
4. Equipment placement: Consider where you will place your audio/video receiver and other equipment. Ensure that they are easily accessible for connecting wires and making adjustments. It’s also crucial to provide proper ventilation to prevent overheating.
5. Wire routing: During the planning stage, think about the most efficient route for running wires from the speakers to the audio/video receiver. Consider the location of power outlets and any existing conduits or cable management solutions you may want to utilize.
By taking the time to carefully plan your setup, you can ensure that you make the most of your surround sound system while minimizing wire visibility. This initial step will set the foundation for a clean and organized installation process.
Step 2: Choosing the Right Location
Selecting the appropriate location for your surround sound system components plays a significant role in both the audio quality and wire management. Consider the following factors when determining where to place your equipment:
1. Line of sight: Ensure there is a clear line of sight between the speakers and the listening area. Obstructions such as furniture or walls can hinder sound propagation and detract from the surround sound experience.
2. Accessibility: Opt for easily accessible locations for your audio/video receiver and other components. This will make it convenient for connecting and troubleshooting the system if necessary.
3. Ventilation: Keep in mind that audio/video receivers produce heat. Choose a well-ventilated area to prevent overheating and ensure optimal performance and longevity.
4. Concealment options: Look for areas where you can discreetly hide the components using furniture, entertainment centers, or dedicated AV cabinets. This will not only improve the overall aesthetic but also help manage wire visibility.
5. Proximity to power outlets: Make sure the chosen location is near power outlets to avoid long, visible wires or the need for extension cords. Be mindful of cable lengths and plan accordingly.
Additionally, consider the layout of your room and the location of furniture. Arrange the speakers strategically to achieve an optimal audio experience. Experiment with different speaker placements and configurations to find the position that delivers balanced sound and immerses you in your entertainment.
Remember, wire management is an essential aspect of choosing the location. Think about how the wires will be routed and if there are any existing options for concealing or organizing them. Taking the time to choose the right location will result in a more seamless and visually appealing surround sound system setup.
Step 3: Hiding the Wires
Once you have planned the setup and chosen the ideal location for your components, it’s time to tackle the challenge of hiding the wires. Here are some effective methods to keep those pesky cables out of sight:
1. Use cable clips or ties: Start by bundling the wires together using cable clips or ties. This will help keep them organized and prevent them from becoming tangled. Run the bundled cables along the back of furniture or along the baseboards to keep them hidden as much as possible.
2. Conceal with furniture: Arrange your furniture strategically to hide the wires. Place tall bookshelves, cabinets, or entertainment centers against the walls to create a natural barrier that conceals the cables.
3. Utilize cable raceways: Cable raceways are plastic channels designed to hide and protect wires. You can easily mount them along the walls or baseboards to create a clean and professional look. Choose raceways that match your wall color for a seamless blend.
4. Install cord covers: Cord covers are ideal for hiding wires that run across open areas. These covers come in various sizes and styles, allowing you to match them with your room’s decor. Simply lay the wires inside the cover and secure it to the floor or wall.
5. Use wire-hiding boxes or sleeves: Wire-hiding boxes or sleeves are another great solution. They conceal bundles of wires and provide a clean, organized appearance. These boxes or sleeves are available in different sizes and can be placed behind furniture or mounted on the walls.
6. Take advantage of rugs or carpets: If you have rugs or carpets in your room, tuck the wires underneath them. This helps camouflage the cables and prevents them from being a tripping hazard.
Remember, safety is essential when hiding wires. Avoid placing cables under carpets in high-traffic areas or where they could be damaged. Also, ensure that the wires have enough breathing space and are not tightly compressed, as this can cause heat buildup.
By employing these methods, you can effectively hide the wires and create a clutter-free environment for your surround sound system, enhancing the aesthetic appeal of your space and providing a seamless audio experience.
Step 4: Using Cable Management Solutions
To further enhance wire organization and create a professional-looking surround sound system setup, consider utilizing cable management solutions. These solutions are designed specifically to help manage and conceal wires. Here are some practical options to explore:
1. Cable sleeves: Cable sleeves are flexible tubes that you can use to bundle and hide multiple cables together. They come in various sizes and can be cut to the desired length. Simply gather the wires, slide them into the sleeve, and zip it up. The sleeve can then be placed behind furniture or run along the walls for a clean look.
2. Cable trays: Cable trays are metal or plastic trays that you can mount underneath desks or shelves. They provide a designated space for routing and hiding wires. Simply place the cables inside the tray and secure them in place. This solution works well for managing multiple cables in one location.
3. Wire raceways: Wire raceways are similar to cable trays but are mounted on walls or baseboards. They come in various sizes and shapes, allowing you to run wires in a more organized and concealed manner. Wire raceways can be easily installed using adhesive backing or screws, depending on the type.
4. Cable clips and adhesive mounts: Cable clips and adhesive mounts are simple yet effective solutions for securing wires to walls or furniture. These small clips can be easily attached using adhesive backing. Insert the wires into the clip and stick it to the desired location. This method works well for managing individual wires or smaller cable bundles.
5. Cord channels or floor cord covers: Cord channels and floor cord covers are ideal for hiding wires that run across the floor. They provide a protective and concealed path for cables while minimizing the risk of tripping. Cord channels are typically made of durable plastic and can be easily positioned along the floor or baseboards.
When using these cable management solutions, ensure that you leave enough slack in the wires to allow for movement and future adjustments. Additionally, consider the visibility of the management solutions themselves and choose options that blend seamlessly with your room’s decor.
By implementing these cable management solutions, you can effectively organize and conceal your surround sound system’s wires, resulting in a neat and visually appealing setup.
Step 5: Going Wireless
If you want to eliminate the hassle of dealing with visible wires altogether, consider opting for a wireless setup for your surround sound system. Going wireless not only provides a clean and seamless look but also offers the flexibility to position your speakers without being limited by cable lengths. Here’s how you can go wireless:
1. Wireless speakers: Invest in wireless speakers that connect to your audio/video receiver via Bluetooth, Wi-Fi, or other wireless transmission technologies. These speakers eliminate the need for physical connections, allowing you to place them anywhere in the room without the constraints of wires.
2. Wireless audio/video receiver: Look for an audio/video receiver that supports wireless connectivity. This allows you to connect your source devices, such as a TV or gaming console, to the receiver wirelessly. By eliminating the need for wired connections between the receiver and the source devices, you can achieve a cleaner setup.
3. Wireless subwoofer: If you want to keep your subwoofer wire-free as well, consider opting for a wireless subwoofer model. These subwoofers use wireless technology to communicate with the audio/video receiver, eliminating the need for a physical audio cable.
4. Wireless transmitter and receiver kit: If you already have a wired surround sound system and want to make it wireless, you can use a wireless transmitter and receiver kit. This kit connects to the audio/video receiver and converts the audio signal into a wireless transmission. The wireless receiver then connects to the speakers, allowing you to enjoy wireless audio.
When going wireless, keep in mind that power cables and charging cables may still be required for the wireless components. However, these cables are generally easier to manage and conceal compared to audio cables.
While wireless surround sound systems offer convenience and aesthetics, it’s essential to ensure the quality and stability of the wireless connection. Consider factors such as range, interference from other devices, and audio latency to maintain the optimal audio experience.
Going wireless can be an excellent solution for those who want a clean and wire-free setup. It provides the freedom to position your speakers and components wherever you desire while maintaining a clutter-free and visually appealing environment.
Step 6: Hiding the Wires in the Walls
For a seamless and truly hidden wire setup, you can consider hiding the wires in the walls. This method requires some additional effort and may involve drilling holes and running wires through the walls, so it’s essential to approach this step with caution and follow proper safety guidelines. Here’s how you can hide the wires in the walls:
1. Plan the wire route: Determine the path you want the wires to take within the walls. Identify the starting and ending points for each wire and consider any obstacles or potential hazards along the way.
2. Locate studs and choose the entry and exit points: Use a stud finder to locate the studs in the walls. Choose entry and exit points that align with the position of the components and speakers. It’s important to avoid cutting into any electrical or plumbing lines.
3. Cut holes for wire channels: Using a drywall saw or a keyhole saw, carefully cut holes along the planned wire route. These holes will serve as entry and exit points, as well as locations for wire channels.
4. Install wire channels: Install wire channels within the walls to provide a pathway for the wires. These channels can be plastic or metal, and they come in various sizes and shapes to accommodate different wire bundles. Secure the wire channels in place using screws or adhesive backing.
5. Run the wires: Start by feeding the wires through the entry point and guide them along the wire channels until they reach the exit point. Take precautionary measures to prevent wire tangling or damage during the installation process.
6. Patch the holes: Once the wires are in place, patch the holes using drywall compound or patching plaster. Smooth the surface and blend it with the rest of the wall for a seamless finish. Allow the patched areas to dry completely before moving on to the next step.
7. Paint or wallpaper: After the patched areas have dried, apply paint or wallpaper to match the rest of the wall. This will help disguise the patched areas and ensure a cohesive look.
Hiding the wires in the walls provides a clean and professional appearance, eliminating any visible cables and wire clutter. However, it’s crucial to ensure that you have the necessary skills and tools, or consult a professional if needed, to perform this step safely and effectively.
Remember to exercise caution when working with electrical wires and follow local building codes and regulations. If you’re unsure about any aspect of this process, it’s best to seek assistance from a professional installer or electrician.
By hiding the wires in the walls, you can achieve a polished and truly wire-free surround sound system setup.
Step 7: Hiring a Professional Installer
If you prefer a hassle-free and expertly executed surround sound system installation, hiring a professional installer can be a worthwhile consideration. Professional installers have the knowledge, experience, and specialized tools to ensure a seamless setup while minimizing any wire visibility. Here are some reasons why you might want to hire a professional installer:
1. Expertise and experience: Professional installers are well-versed in the intricacies of audio and video systems. They understand the best practices for positioning speakers, routing wires, and optimizing audio performance. Their expertise ensures that your surround sound system is set up to deliver the best audio experience possible.
2. Time-saving: Setting up a surround sound system can be time-consuming, especially if you’re not familiar with the process. Professional installers can efficiently handle the installation, saving you the hassle of figuring out the intricacies yourself. This allows you to spend more time enjoying your new audio setup.
3. Wire management: Professional installers have the know-how to effectively manage and hide wires, ensuring a clean and organized appearance. They are equipped with cable management solutions and techniques to minimize cable visibility and create a clutter-free environment.
4. Troubleshooting and technical support: If any issues arise during the installation or afterwards, professional installers are equipped to troubleshoot and address them. They can provide technical support and guidance to ensure that your surround sound system functions optimally.
5. Customization and integration: Professional installers can work with you to customize and integrate your surround sound system with other audiovisual components in your home. They can help integrate the system with your smart home devices or assist with multi-room audio installations.
Keep in mind that hiring a professional installer may come at an additional cost. However, it can be a worthwhile investment for those who want a high-quality and hassle-free installation.
When selecting a professional installer, research and choose a reputable and experienced provider. Read reviews, check their credentials, and ask for recommendations if possible. Communicate your needs and expectations clearly to ensure that the installer understands your vision for the setup.
By enlisting the help of a professional installer, you can enjoy a professionally executed and visually appealing surround sound system installation without the stress and time investment of doing it yourself.
Conclusion
Setting up a surround sound system in your home can elevate your audio experience to new levels. However, dealing with the tangle of wires can often be daunting and may impact the overall aesthetics of your space. Fortunately, there are various methods to hide and manage these wires effectively, ensuring a clean and professional-looking setup.
By carefully planning the layout, choosing the right location, and utilizing cable management solutions, you can significantly minimize wire visibility. Options such as cable clips, concealment with furniture, and wire raceways can help keep your wires organized and hidden. Additionally, going wireless offers a truly wire-free setup, providing more flexibility in speaker placement.
For those seeking a seamless and polished look, hiding the wires in the walls is an excellent option. However, it requires additional effort and expertise. Hiring a professional installer brings the advantage of their knowledge and experience, ensuring a hassle-free installation with expert wire management and customization.
Whichever method you choose, it’s important to prioritize safety and follow proper guidelines when working with wires, especially when drilling into walls or handling electrical components.
By implementing these steps and techniques, you can create a clutter-free and visually appealing setup for your surround sound system, enhancing both the audio quality and the overall aesthetics of your space.
Remember, the ultimate goal is to achieve an immersive audio experience without sacrificing the visual appeal of your room. Take the time to plan and execute the setup carefully, and don’t hesitate to seek professional assistance if needed. By doing so, you’ll be able to enjoy the immersive sound and cinematic experience of your surround sound system while maintaining a clean and organized space.