Introduction
Welcome to this guide on how to connect a Sherwood Surround Sound System. If you’re a fan of immersive audio experiences while watching movies or listening to music, a surround sound system can take your entertainment to the next level. Sherwood is a trusted brand known for its high-quality audio products, and in this article, we will walk you through the process of setting up and connecting your Sherwood Surround Sound System.
Whether you’ve just purchased a Sherwood Surround Sound System or are looking to improve your existing setup, this comprehensive guide will provide you with step-by-step instructions to ensure a seamless connection. We’ll cover everything from gathering the necessary components and cables to configuring the settings on your receiver for optimal sound performance.
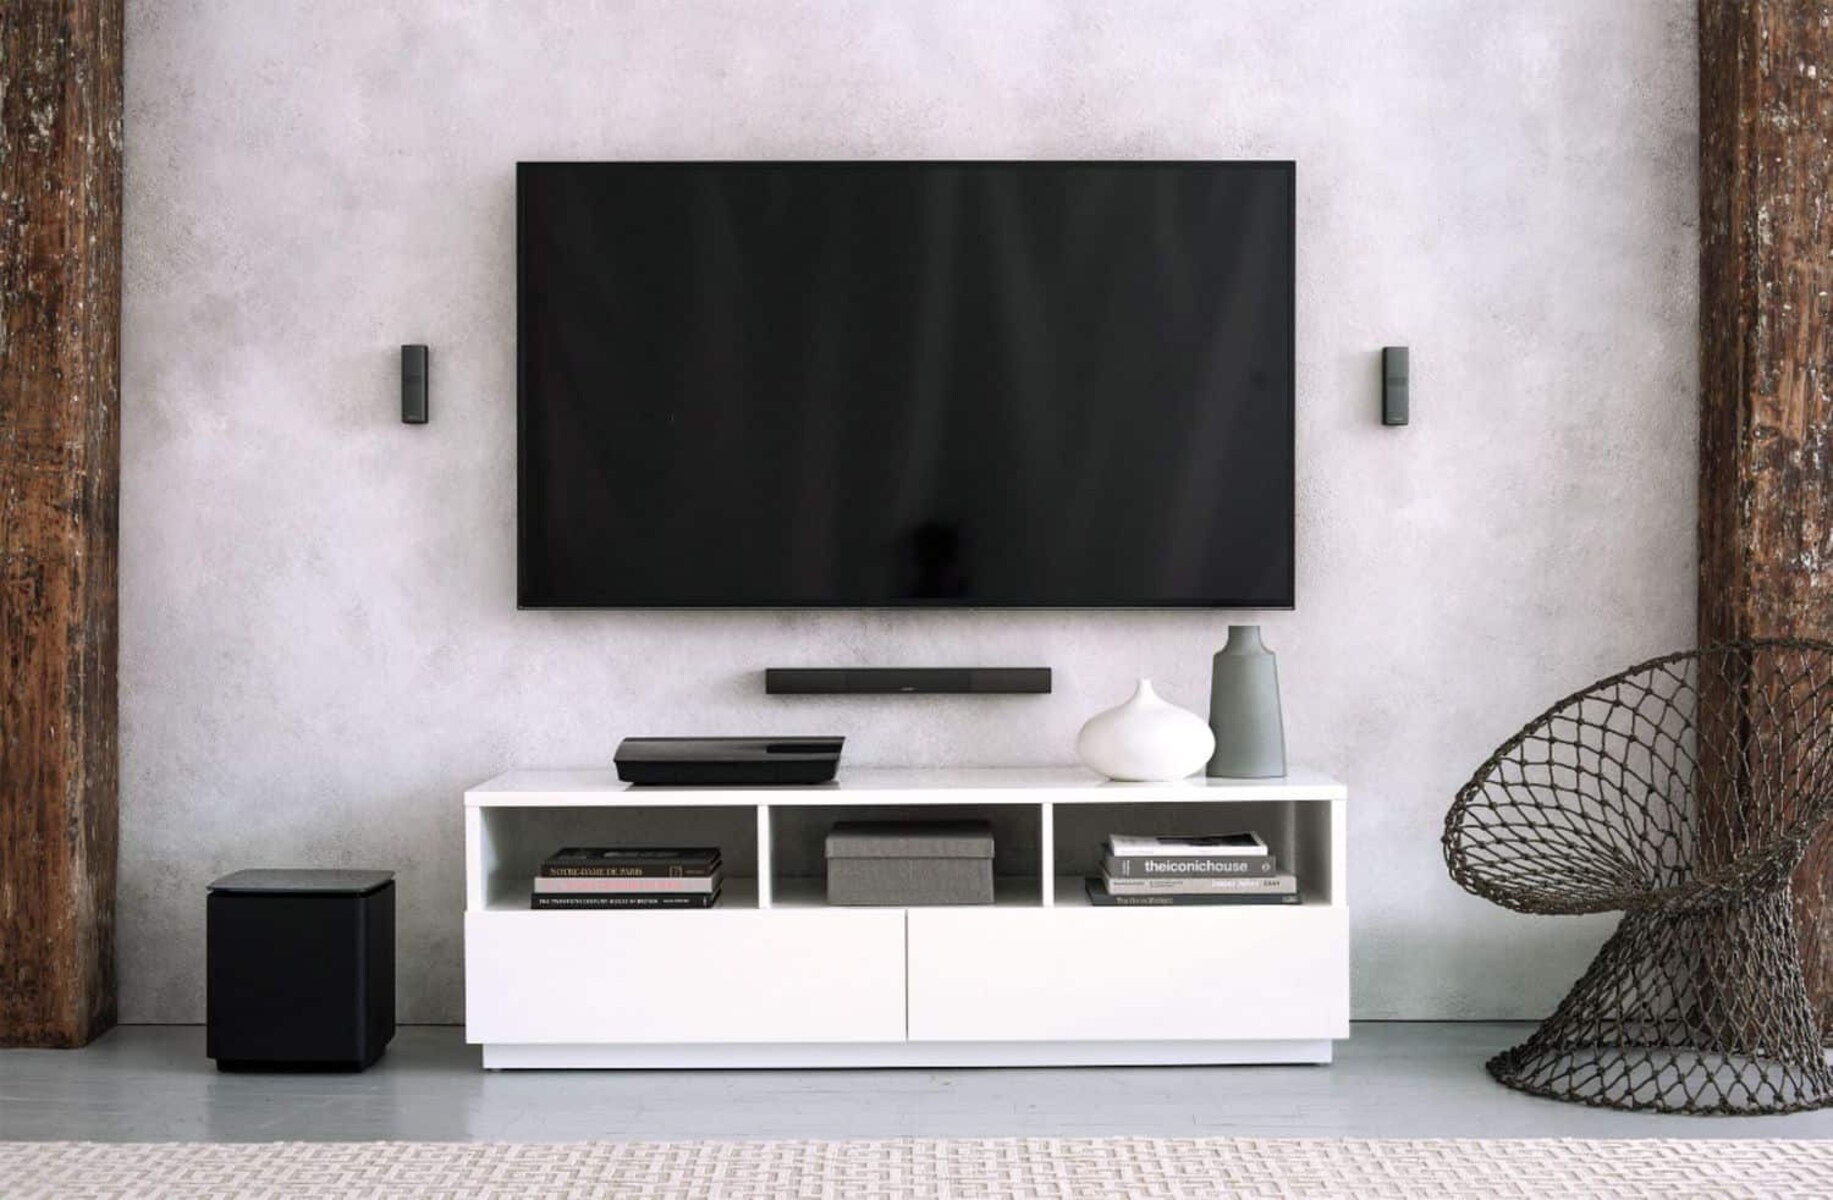
The immersive audio experience of a surround sound system involves placing multiple speakers strategically to create a three-dimensional soundstage. By distributing sound from different directions, it enhances the sense of immersion, making you feel like you’re right in the middle of the action.
Connecting a surround sound system may seem daunting, especially if you’re not familiar with audio equipment. However, with the right guidance and a little bit of patience, you’ll be able to enjoy the rich, cinematic sound of a Sherwood Surround Sound System in no time.
So, let’s dive into the step-by-step process of connecting your Sherwood Surround Sound System and bring the immersive audio experience into your living room!
Step 1: Gather all the necessary components and cables
Before you can start setting up your Sherwood Surround Sound System, it’s important to gather all the necessary components and cables. This will ensure that you have everything you need within reach, making the installation process much smoother.
Here are the essential components you’ll need to gather:
- Sherwood AV receiver
- Surround sound speakers
- Subwoofer
- Television
- Audio/video devices (such as Blu-ray players, gaming consoles, or streaming devices)
- HDMI cables
- Speaker wires
- Power cables
- Remote control
- User manual or setup guide
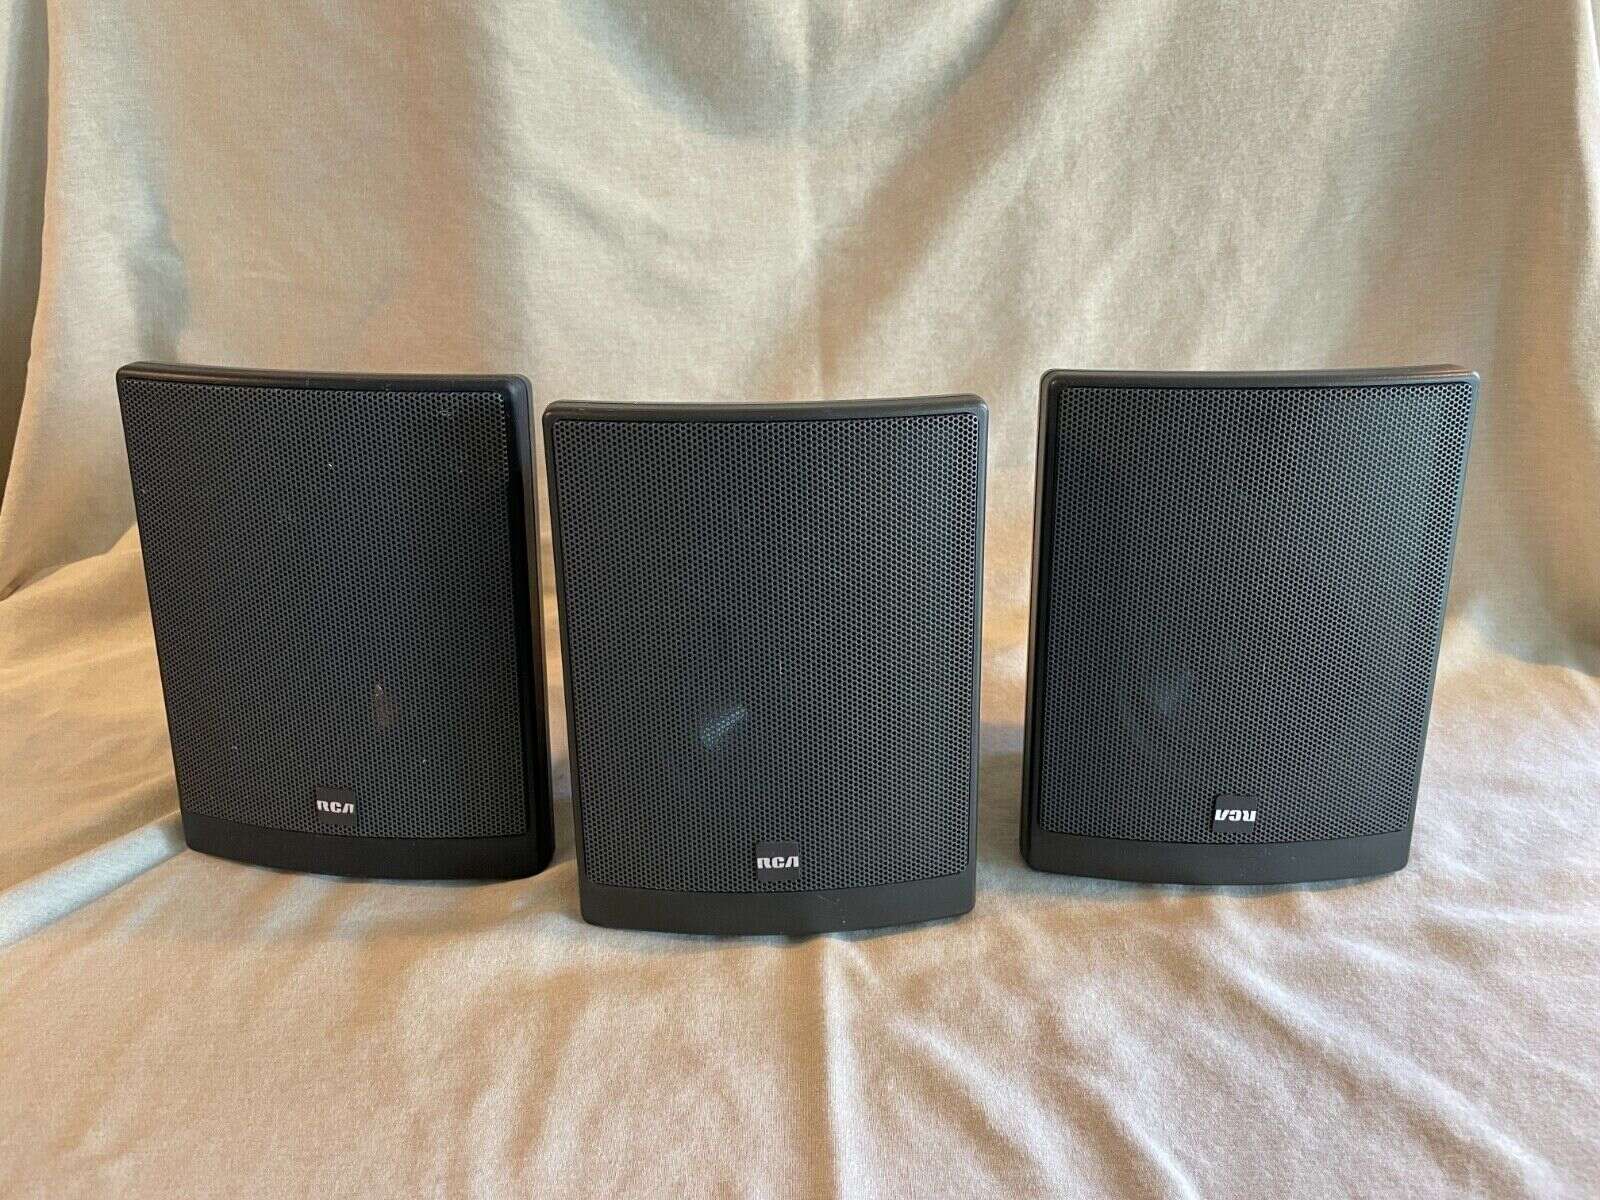
Make sure you have the appropriate number of speakers for your surround sound system. This typically includes front speakers (left and right), center speaker, surround speakers (left and right), and a subwoofer for deep bass. Check the specifications of your Sherwood system to determine the recommended number and placement of speakers.
Additionally, ensure that you have enough HDMI cables to connect your devices to the AV receiver. These cables transmit both high-definition audio and video signals, providing a seamless connection between your home theater components. It’s also a good idea to have extra speaker wires in case you need to extend the reach of your speakers.
Once you have gathered all the necessary components and cables, you’re ready to move on to the next step: connecting the speakers to the receiver.
Step 2: Connect the speakers to the receiver
Connecting the speakers to the receiver is an essential step in setting up your Sherwood Surround Sound System. Properly connecting the speakers will ensure optimal audio performance and an immersive surround sound experience. Here’s how to do it:
- Identify the speaker terminals on the back of your Sherwood AV receiver. These terminals are usually labeled “Front L/R,” “Center,” “Surround L/R,” and “Subwoofer.”
- Match the speaker cables with their corresponding terminals on the receiver. Most speaker cables have color-coded or labeled ends to make the connection process easier.
- Insert the positive (+) wire into the positive terminal and the negative (-) wire into the negative terminal of each speaker. Make sure the connections are secure and tight to avoid any audio issues.
- Repeat this process for each speaker, ensuring that you connect them according to the recommended placement for optimal surround sound performance.
- If your Sherwood Surround Sound System includes a powered subwoofer, locate the dedicated subwoofer output on the receiver. Connect one end of an RCA cable to the subwoofer output and the other end to the input on the subwoofer. Again, secure the connection for optimal performance.
- Once all the speakers and subwoofer are connected, organize and hide the cables for a neat and tidy setup. You can use cable ties or cable management tools to keep the wires organized and minimize clutter.
Properly connecting the speakers to your Sherwood receiver is crucial for ensuring accurate sound reproduction and creating a true surround sound experience. Take your time to ensure that all connections are secure and correctly matched to the corresponding terminals on the receiver.
With the speakers connected, you’re now ready to move on to the next step: connecting the receiver to the TV.
Step 3: Connect the receiver to the TV
Now that your speakers are connected to the Sherwood AV receiver, it’s time to connect the receiver to your TV. This step will allow you to enjoy the audio and video from your TV and other connected devices through the surround sound system. Follow these steps to make the connection:
- Locate the HDMI output on your Sherwood receiver. This HDMI output is often labeled as “Monitor Out” or “TV Out.”
- Connect one end of an HDMI cable to the HDMI output of the receiver.
- Identify the HDMI input port on your TV. It is usually labeled as “HDMI 1,” “HDMI 2,” etc.
- Connect the other end of the HDMI cable to the HDMI input port on your TV.
- Make sure your TV is turned on and set to the corresponding HDMI input that you connected your Sherwood receiver to.
By connecting the receiver to your TV with an HDMI cable, you can enjoy high-definition audio and video signals seamlessly. HDMI cables are capable of carrying both audio and video signals, providing a convenient and streamlined connection between your receiver and TV.
Alternatively, if your TV does not have an HDMI input, you can use other audio connection options such as digital optical or analog RCA cables. Refer to your TV’s user manual to determine the available audio output options and adjust the audio settings on both the TV and Sherwood receiver accordingly.
With the receiver successfully connected to your TV, you can now enjoy the immersive audio of your Sherwood Surround Sound System while watching your favorite movies, TV shows, or playing video games.
In the next step, we will explore how to connect other audio/video devices to the receiver, expanding the functionality of your surround sound system.
Step 4: Connect other audio/video devices to the receiver
In addition to connecting your TV, the Sherwood Surround Sound System allows you to connect other audio/video devices, such as Blu-ray players, gaming consoles, or streaming devices, to the receiver. This step will enable you to enjoy immersive surround sound from all of your entertainment sources. Here’s how to connect these devices to your Sherwood receiver:
- Identify the audio/video input ports on the back of your Sherwood receiver. These ports are typically labeled with their corresponding names, such as “Blu-ray,” “DVD,” “Game,” or “Aux.”
- Connect the audio/video output of your chosen device to the corresponding input on the receiver. If using an HDMI connection, simply connect one end of an HDMI cable to the HDMI output on the device and the other end to an available HDMI input on the receiver.
- If your device only has analog audio outputs, use RCA cables to connect the audio outputs of the device to the corresponding audio inputs on the receiver. The red RCA connector usually represents the right audio channel, while the white connector represents the left audio channel.
- Repeat this process for each additional audio/video device you want to connect to the Sherwood receiver.
By connecting your audio/video devices to the receiver, you can route the audio signals through the surround sound speakers, enhancing your viewing and listening experience. This allows you to enjoy the full potential of your Sherwood Surround Sound System with all of your entertainment sources.
Once all of your devices are connected to the receiver, remember to switch the input source on the receiver to the desired device when you want to use it. Most receivers have input selection buttons on the front panel or remote control for easy switching.
With your audio/video devices connected to the Sherwood receiver, you can now enjoy immersive surround sound from all of your entertainment sources. In the next step, we will dive into the process of setting up the surround sound system for optimal performance.
Step 5: Set up the surround sound system
Now that you have connected your Sherwood Surround Sound System to the receiver and all your audio/video devices are linked, it’s time to set up the system for optimal performance. Follow these steps to configure the placement and calibration of your speakers:
- Refer to the user manual or setup guide of your Sherwood Surround Sound System to determine the recommended placement for your speakers. Position the front speakers on either side of your TV, facing towards the listener. Place the center speaker either above or below the TV, ideally at the same height as the front speakers.
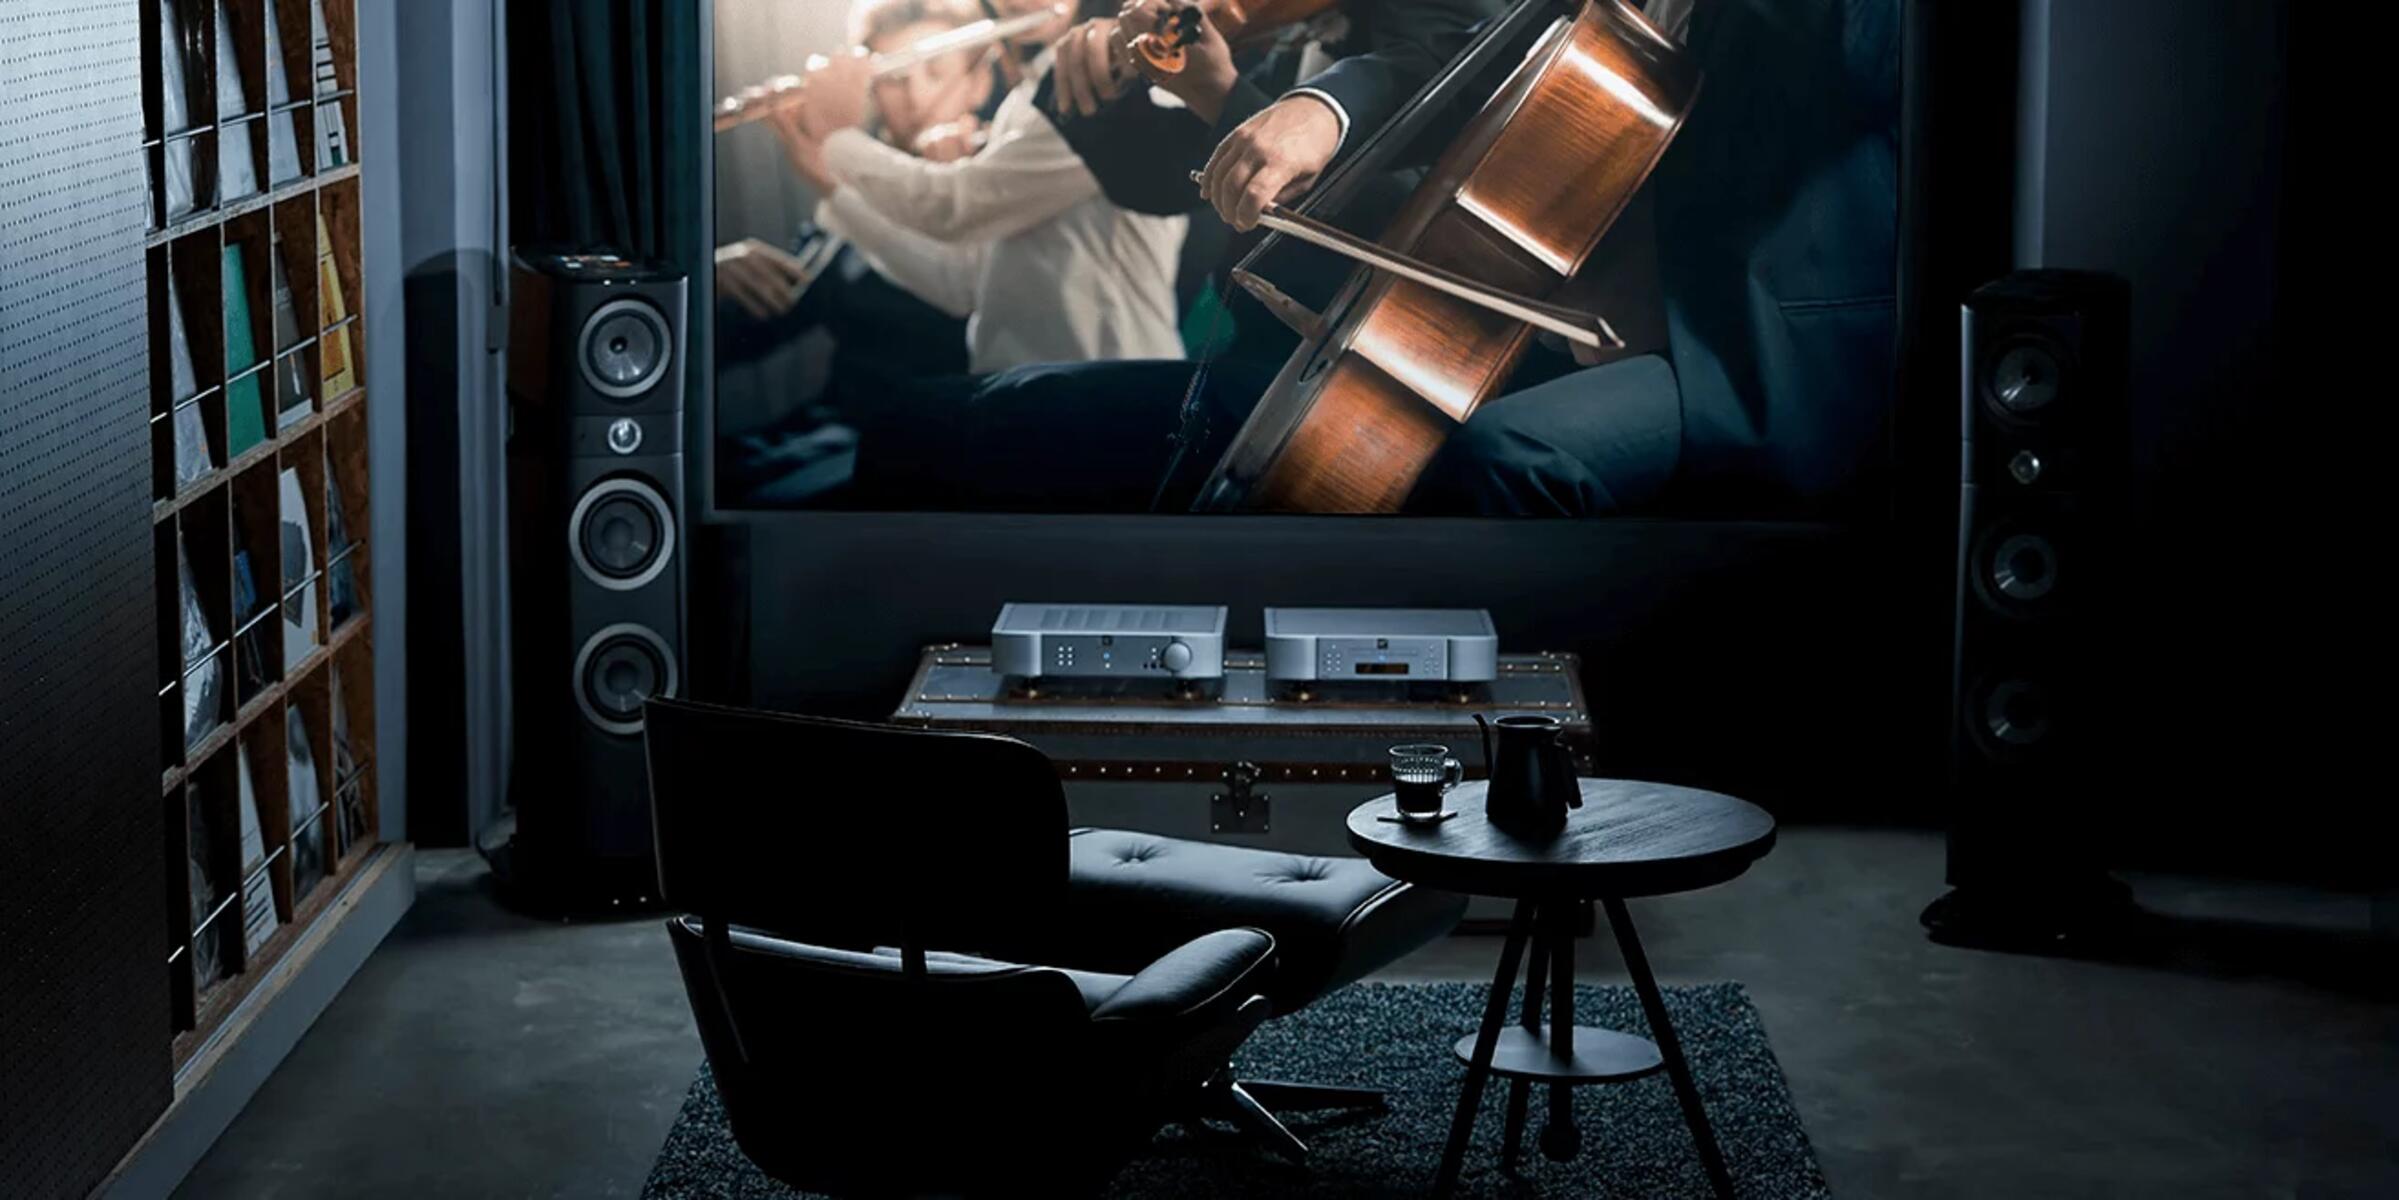
- Position the surround speakers to the sides or slightly behind the listening area. These speakers create the immersive surround sound experience, so experiment with their placement to find the best position for your room.
- Place the subwoofer in a central location, such as near the front speakers or next to the TV. Adjust the subwoofer settings to achieve the desired level of bass output. Avoid placing the subwoofer in a corner, as this can result in boomy or overpowering bass.
- Once the speakers are positioned, use a level to ensure they are appropriately aligned. This step is crucial for accurate sound distribution and imaging.
- Consider using speaker stands or wall mounts for secure and optimal placement of your speakers. These accessories can help minimize vibrations and provide better sound dispersion.
- If your Sherwood Surround Sound System includes a calibration microphone, follow the instructions in the user manual to perform an auto-calibration. This process allows the receiver to analyze the acoustic characteristics of the room and adjust the sound output accordingly.
Setting up your surround sound system correctly is essential for achieving balanced audio and an immersive experience. Spend some time experimenting with speaker placement and calibration settings to find the optimal configuration for your listening environment.
With the system set up, you’re now ready to move on to the next step: configuring the settings on the receiver to fine-tune the audio performance.
Step 6: Configure the settings on the receiver
Configuring the settings on your Sherwood receiver is a crucial step to ensure optimal audio performance and tailor the sound to your preferences. Follow these steps to fine-tune the settings on your receiver:
- Access the menu settings on your Sherwood receiver by navigating through the on-screen display or using the receiver’s remote control.
- Adjust the speaker settings to match your speaker configuration. Specify the size (small or large) and crossover frequency of each speaker. This allows the receiver to properly distribute audio frequencies to the different speakers.
- Configure the audio playback options, such as Dolby Digital, DTS, or other surround sound formats. Select the preferred listening mode based on the content you’re playing (e.g., movie, music, game).
- Experiment with the equalizer settings to fine-tune the sound according to your preferences. This includes adjusting the bass, treble, and other frequency levels.
- If your Sherwood receiver supports room correction or speaker calibration software, follow the instructions to analyze the room acoustics and optimize the audio output accordingly.
- Explore additional features and settings on your receiver, such as virtual surround sound modes, sound enhancements, or network connectivity options.
Take your time to explore and adjust the settings on your Sherwood receiver. Each setting may interact differently with your listening environment and personal preferences. Play around with the settings and listen to different types of content to find the optimal configuration that suits your needs.
Once you have configured the settings on your receiver, you’re ready for the final step: testing the surround sound system to ensure everything is working correctly.
Step 7: Test the surround sound system
Testing your Sherwood Surround Sound System is the final step to ensure that everything is functioning correctly and that you’re getting the immersive audio experience you desire. Follow these steps to test and fine-tune your surround sound system:
- Choose a source that supports surround sound, such as a Blu-ray disc with a 5.1 or 7.1 audio track.
- Play the content and ensure that audio is being output from all the connected speakers. Verify that the sound is coming from the correct speakers and that the overall audio balance feels natural.
- Pay attention to specific audio effects, such as dialogue clarity, sound effects, and ambient sounds. Adjust the volume and speaker levels if necessary to achieve the desired audio balance.
- Try different listening modes available on your receiver to see which one suits your preferences and the content you’re playing. Compare the differences between stereo, surround, or other sound modes to find the one that enhances your audio experience the most.
- Listen for any distortions, clipping, or inconsistencies in the sound. If you encounter any issues, double-check the connections, settings, and placement of your speakers to ensure everything is in order.
- Consider inviting others to experience the surround sound system and gather their feedback. This can help you fine-tune the settings and placement based on different perspectives.
By testing your surround sound system, you can identify any issues or adjustments needed to achieve the best audio performance possible. It also allows you to fully appreciate the immersive qualities of the Sherwood Surround Sound System and the enhanced audio experience it provides.
If you encounter any difficulties during the testing process, refer to the user manual or contact Sherwood customer support for assistance. They can provide further guidance or troubleshooting steps for any specific issues you may encounter.
Congratulations! You have successfully set up, connected, and tested your Sherwood Surround Sound System. Sit back, relax, and enjoy the immersive audio experience that your system now provides. Happy listening!
Conclusion
Congratulations on successfully setting up and connecting your Sherwood Surround Sound System! By following the step-by-step guide outlined in this article, you have now unlocked the potential for immersive audio experiences in your home entertainment setup.
We began by gathering all the necessary components and cables, ensuring that you have everything you need for a seamless installation. Then, we moved on to connecting the speakers to the receiver, allowing for optimal sound distribution throughout your room. Next, we connected the receiver to the TV, enabling you to enjoy high-quality audio and video immersion. We then discussed how to connect other audio/video devices to the receiver, expanding the functionality of your surround sound system.
Setting up the surround sound system involved positioning the speakers correctly, calibrating them to achieve optimal sound performance, configuring the settings on the receiver, and fine-tuning the audio output to suit your preferences. Finally, we tested the system to ensure everything was functioning correctly and addressed any issues that may have arisen.
Now, sit back, relax, and enjoy the immersive audio experience that your Sherwood Surround Sound System provides. Whether you’re watching movies, playing games, or listening to music, you’ll now have a heightened sense of realism and audio immersion.
Remember, if you ever need to make changes or adjustments to your setup, refer to the user manual or reach out to Sherwood customer support for assistance. They are there to help you optimize your audio experience and troubleshoot any issues that may arise.
Thank you for choosing Sherwood and for taking the time to follow this guide. We hope you thoroughly enjoy your newly connected Sherwood Surround Sound System and the enhanced audio experience it brings to your home entertainment setup.