Introduction
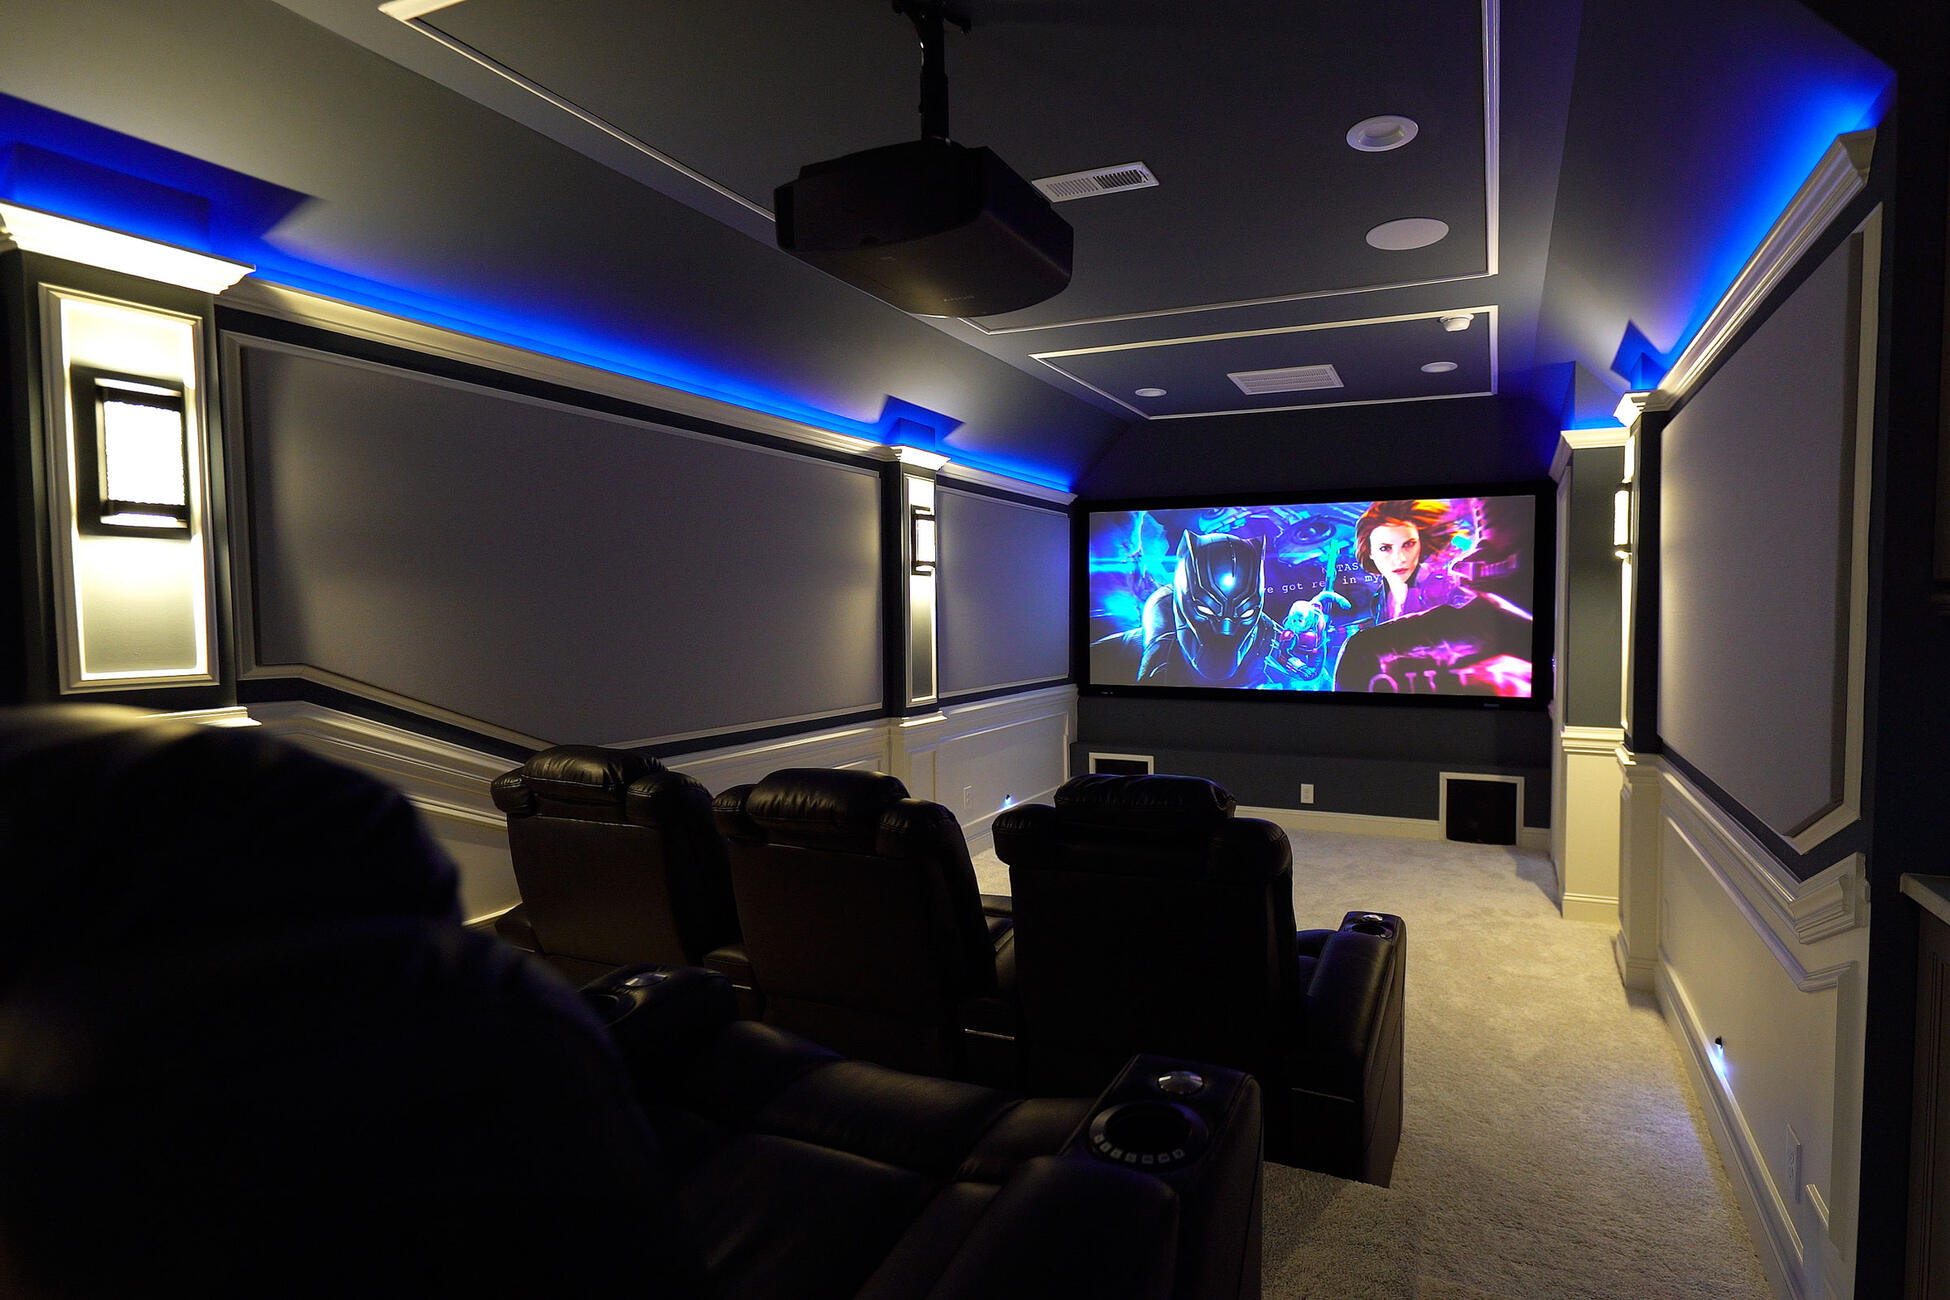
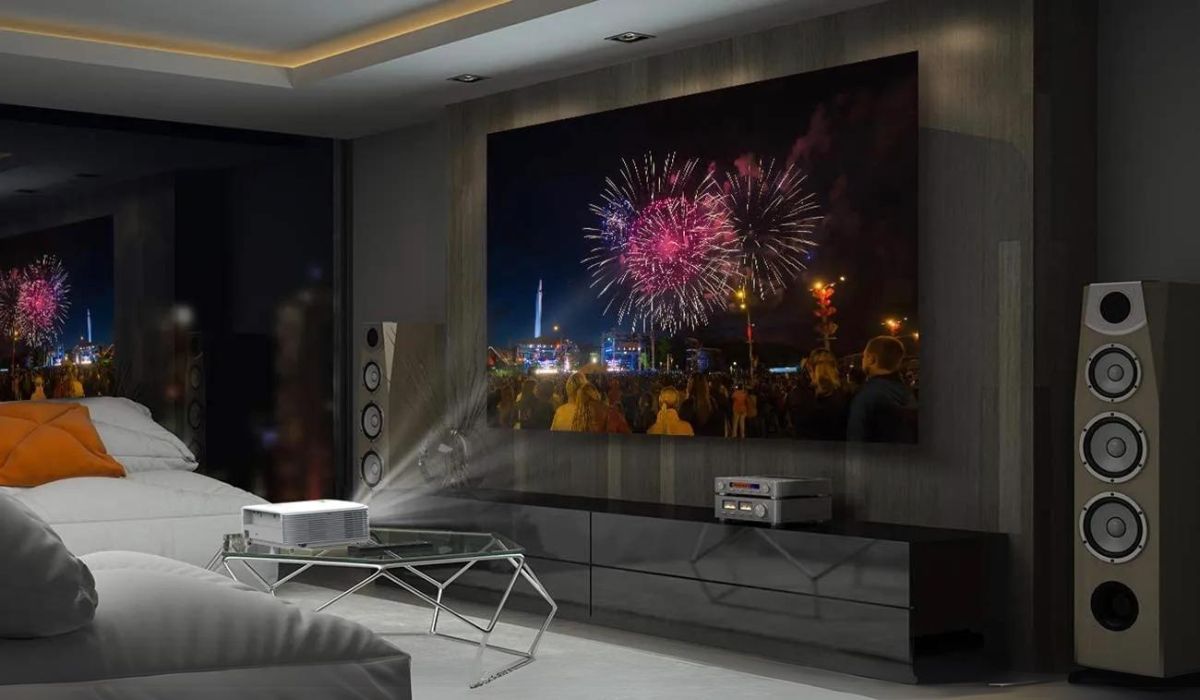
Connecting a surround sound system to a projector can greatly enhance your home entertainment experience. With the ability to enjoy immersive audio along with high-quality visuals, you can bring the movie theater experience right into your living room. Whether you’re watching your favorite films or playing video games, having a surround sound system connected to your projector will take the audio to a whole new level.
However, figuring out how to connect a surround sound system to a projector may seem like a daunting task. With different inputs, outputs, cables, and settings, it can be a bit overwhelming. But fear not! In this guide, we will walk you through the step-by-step process and provide you with the knowledge you need to make these connections with ease.
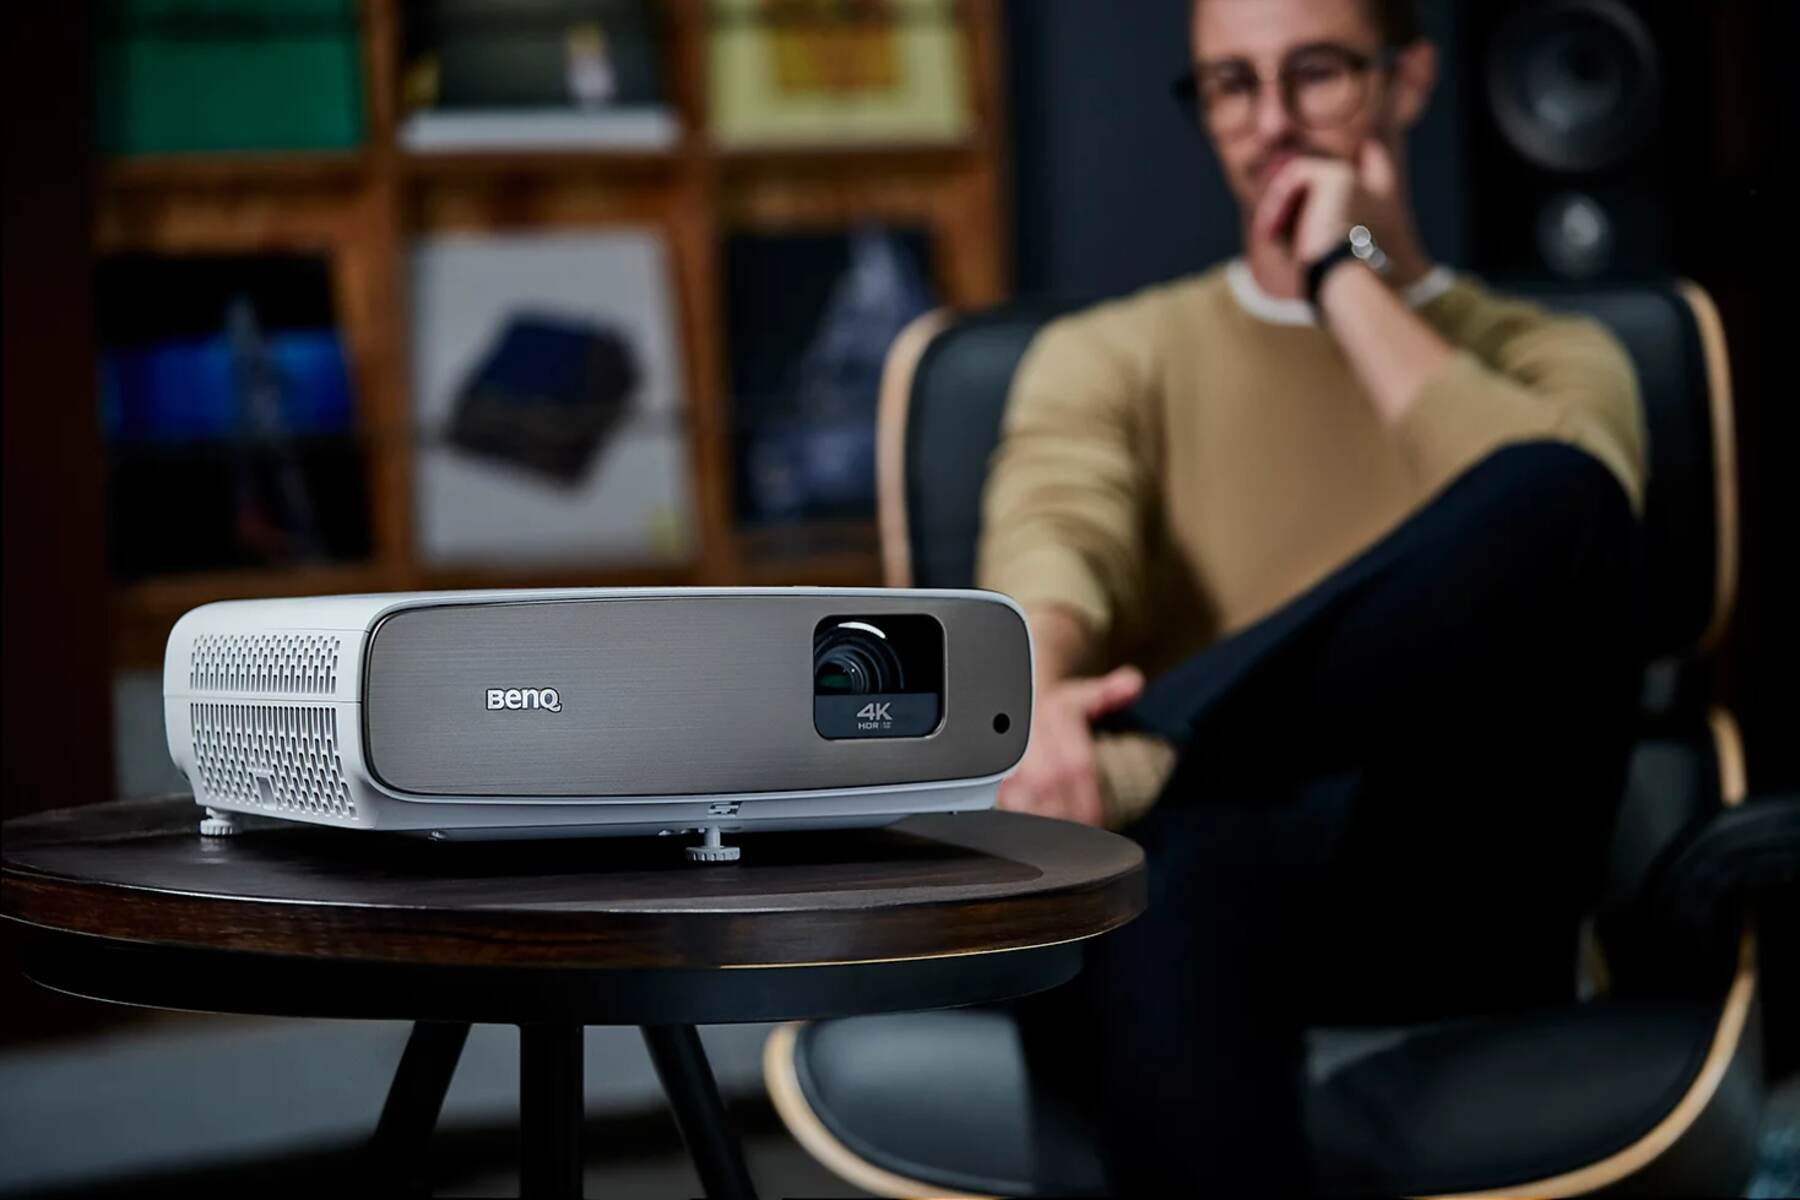
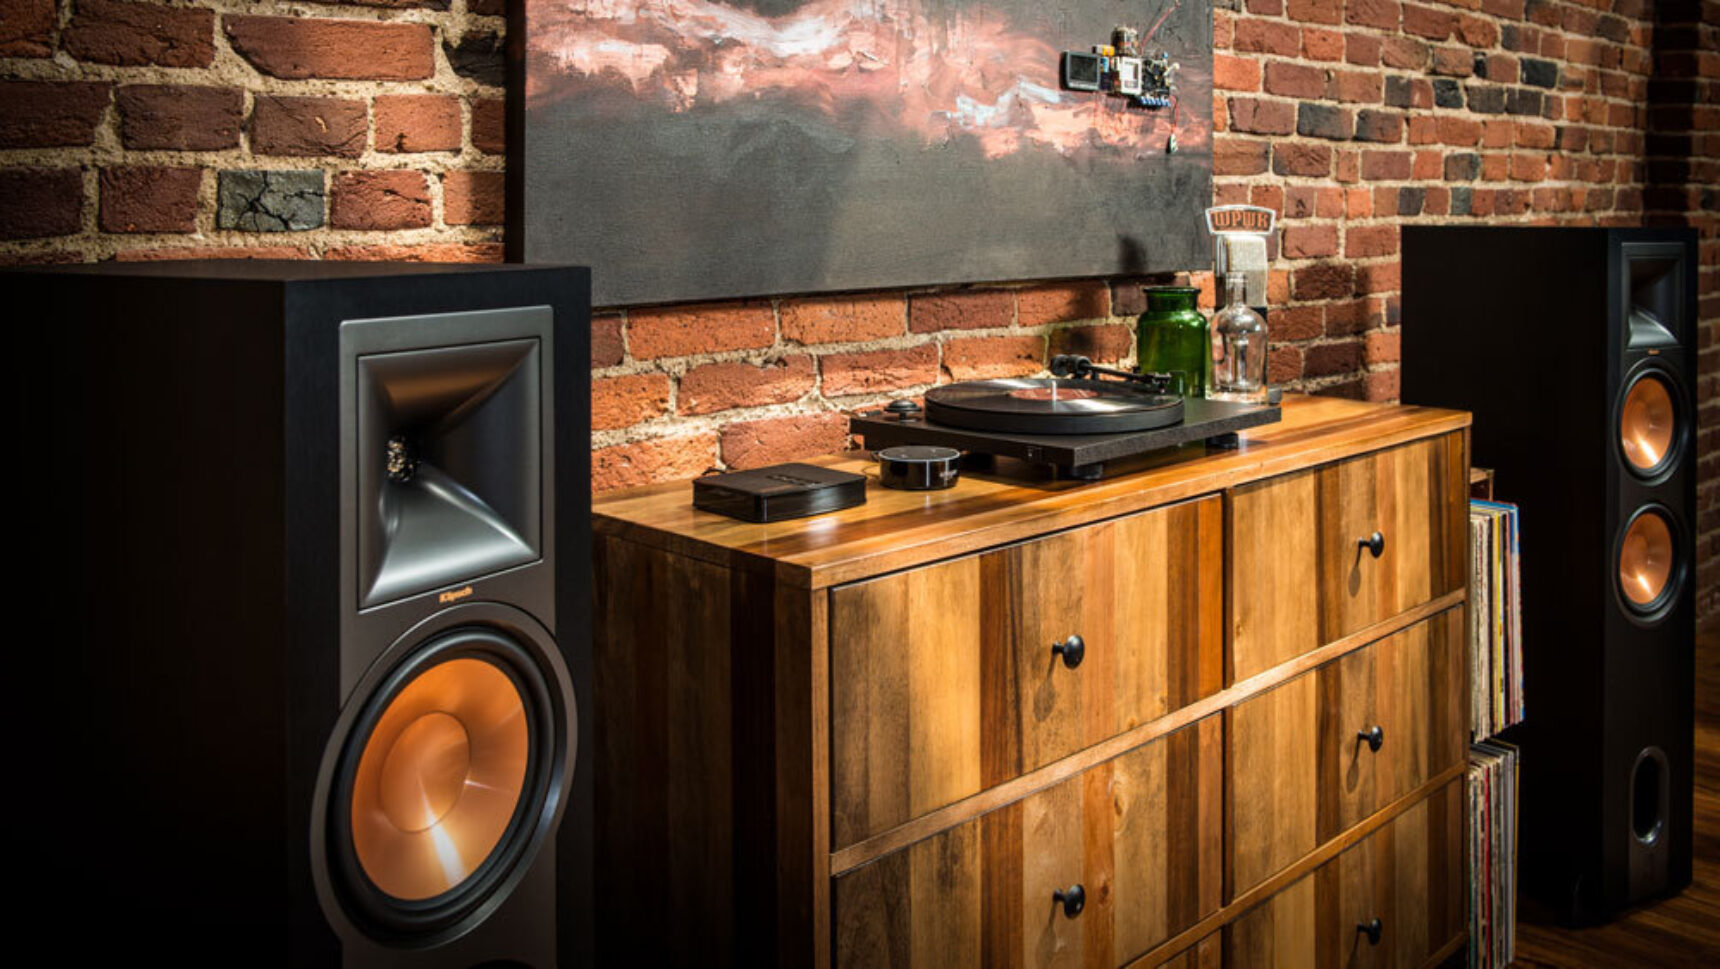
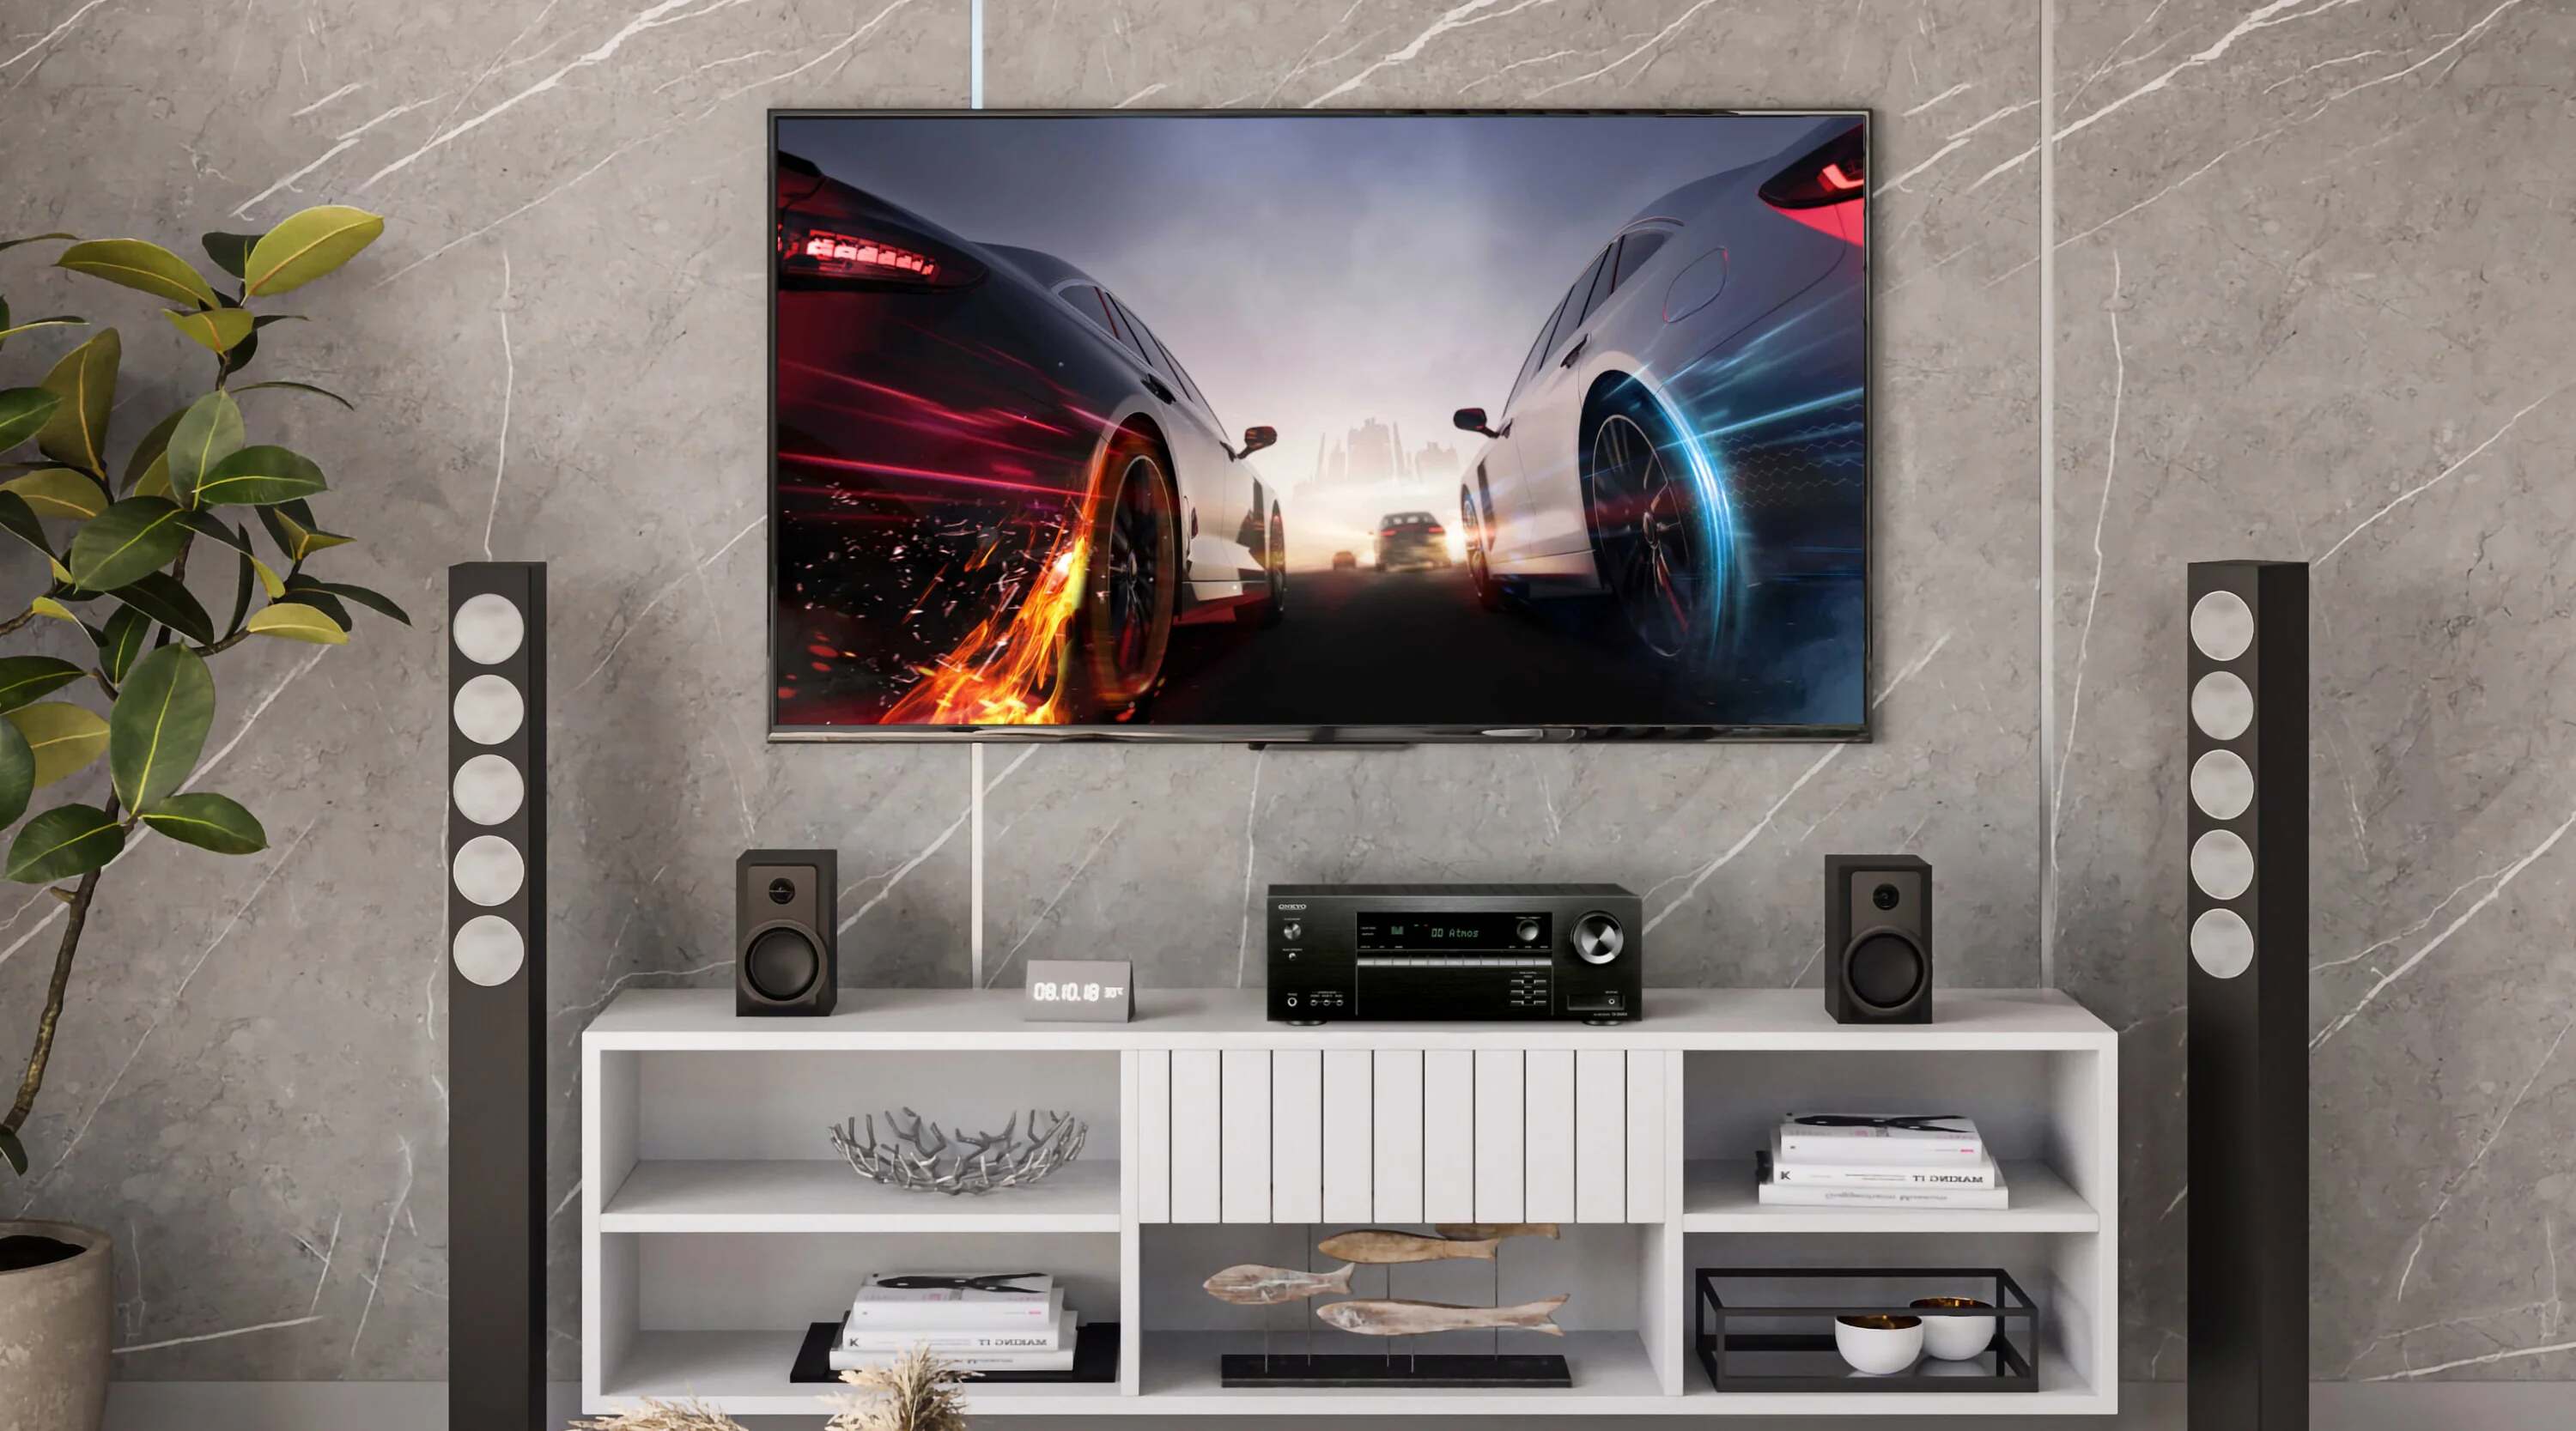
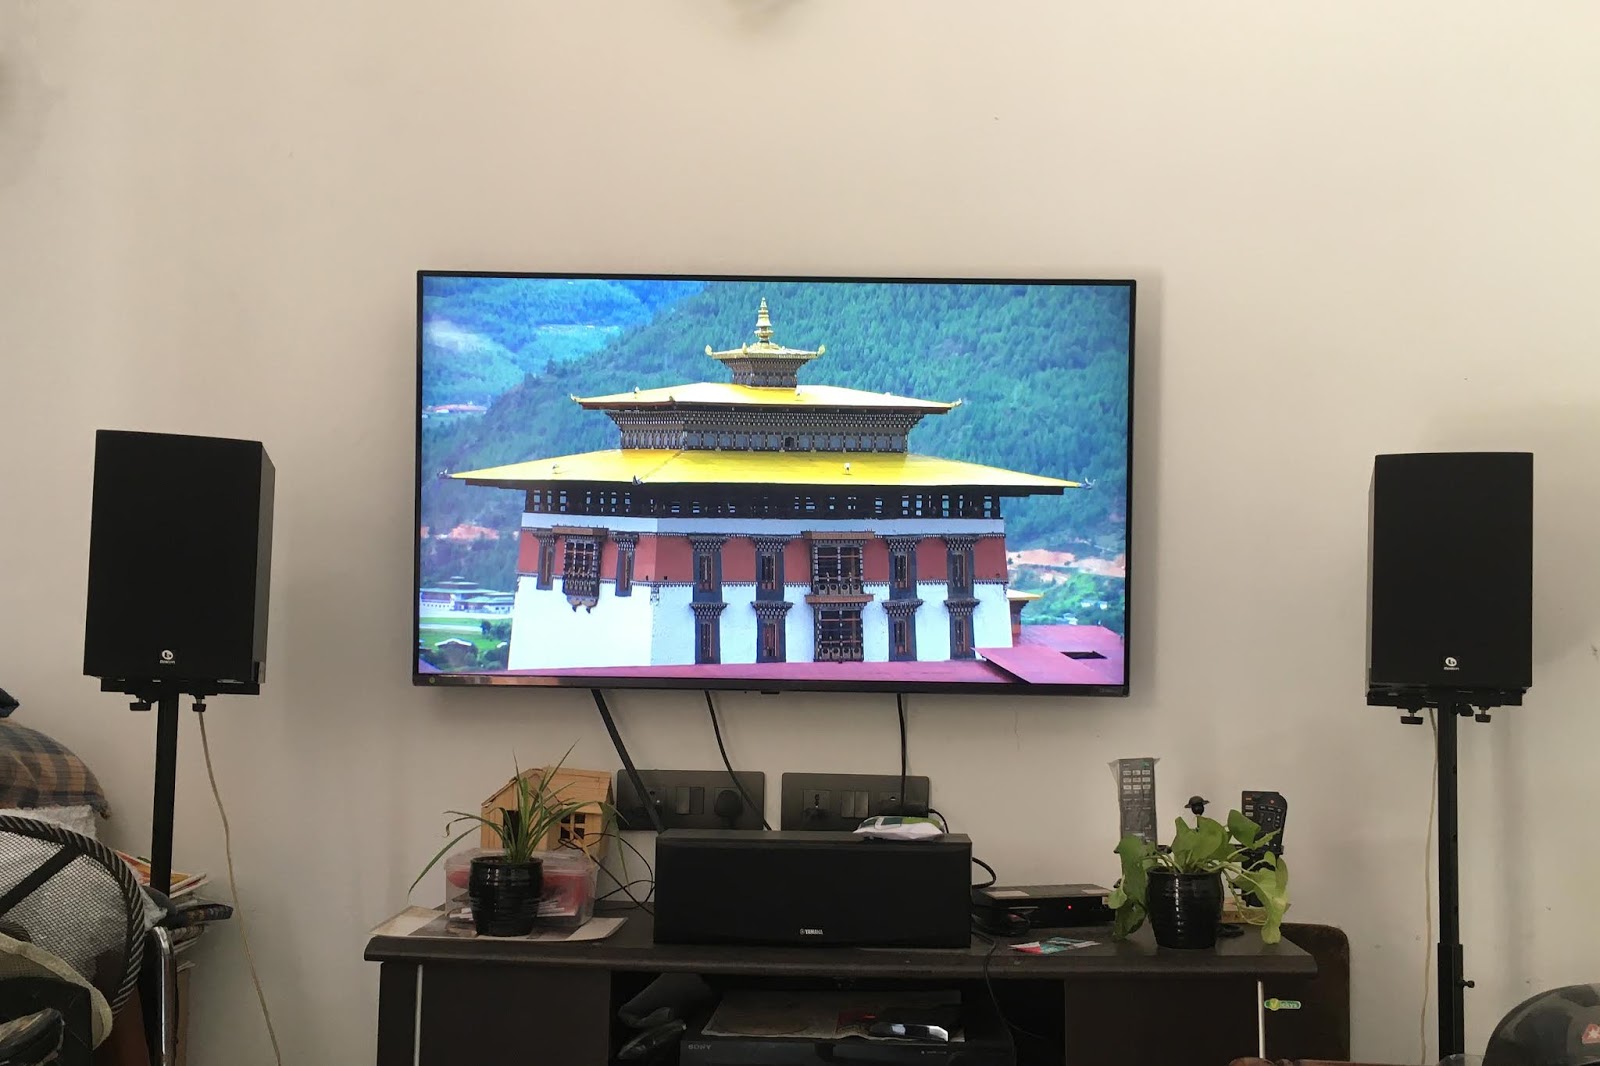
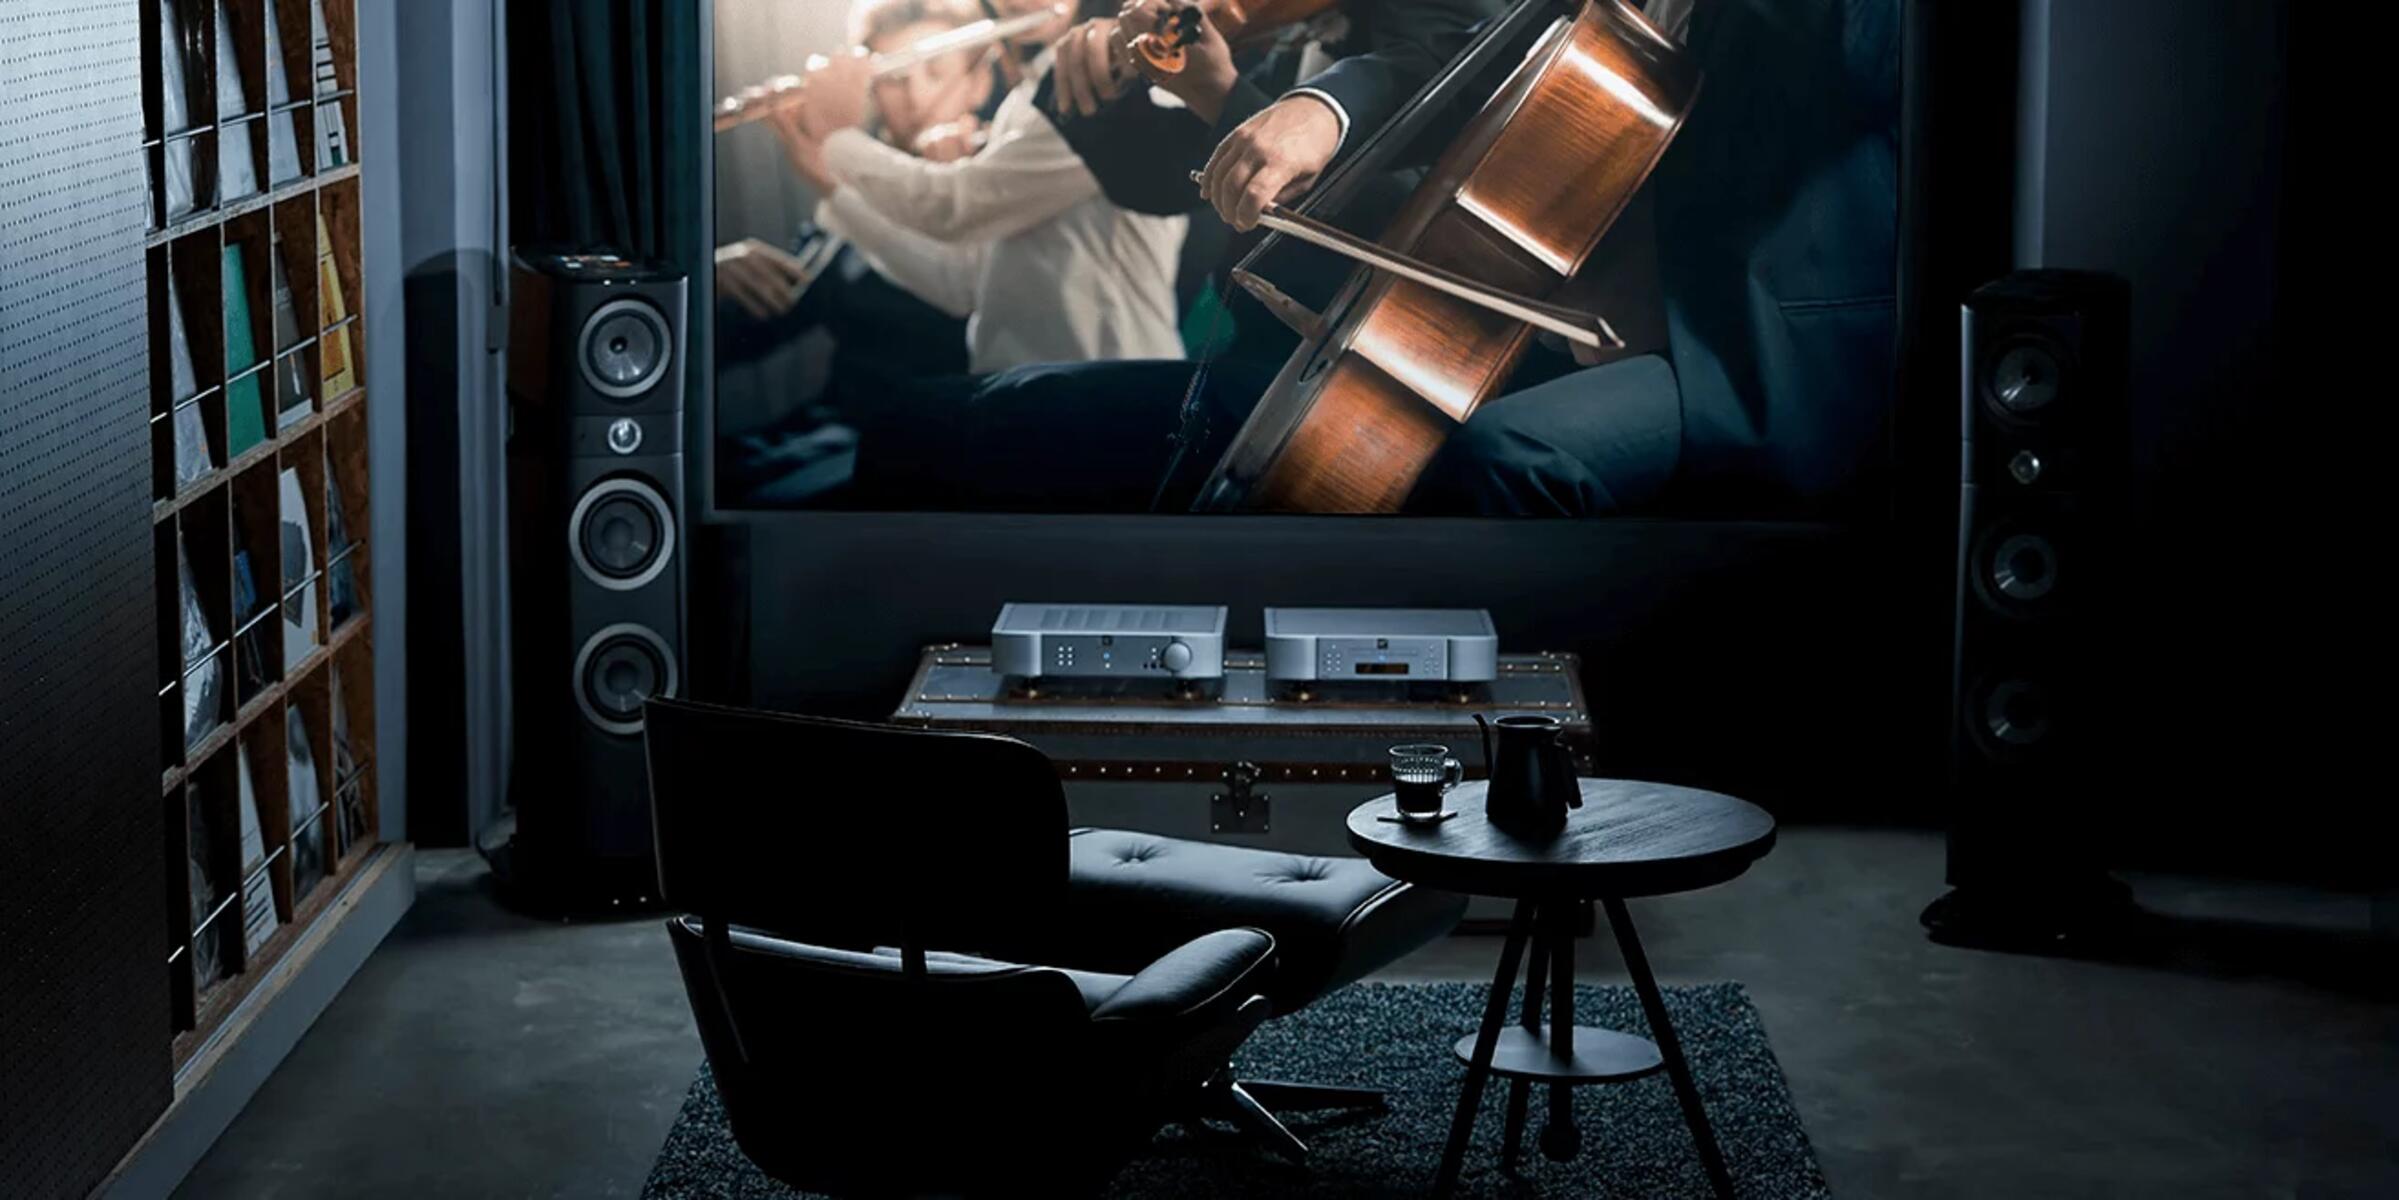
Before we dive into the steps, it’s essential to understand the basics. A surround sound system typically consists of multiple speakers that are strategically placed around the room to create a 360-degree audio experience. These speakers work together to deliver precise and immersive sound effects. On the other hand, a projector is a device that projects images onto a screen or surface, serving as a display for your video content.
Now that we have a basic understanding, let’s get started on how to connect your surround sound system to a projector. By following these steps, you’ll be able to enjoy a cinematic audio experience that will make you feel like you’re in the middle of the action.
Step 1: Determine the Inputs and Outputs of Your Surround Sound System and Projector
Note: Before you begin the setup process, make sure to turn off both your surround sound system and your projector.
The first step in connecting your surround sound system to a projector is to identify the inputs and outputs of both devices. This is crucial because you need to know which cables and adapters will be required for the connection.
Start by examining your surround sound system. Look for the audio output ports. These can be labeled as “Audio Out,” “HDMI Out,” or “Optical Out.” Make a note of the type of audio output ports your system has.
Next, you need to identify the inputs on your projector. Projectors typically have multiple input options such as HDMI, VGA, and audio input ports. Take note of the available input ports on your projector.
Once you have identified the inputs and outputs of both the surround sound system and the projector, you can move on to the next step, which involves selecting the appropriate cables and adapters for the connection.
Note: If you are unsure about the inputs and outputs of your devices, refer to their respective user manuals or visit the manufacturer’s website for detailed information.
Now that you have determined the inputs and outputs of your surround sound system and projector, you are ready to proceed to the next step. Remember to double-check your findings to ensure a successful connection.
Step 2: Choose the Correct Cables and Adapters
Now that you have identified the inputs and outputs of your surround sound system and projector, it’s time to choose the appropriate cables and adapters for the connection. The cables you need will depend on the types of ports available on both devices.
If both your surround sound system and projector have HDMI ports, an HDMI cable is the most convenient option. HDMI cables transmit both audio and video signals in high definition, making them ideal for connecting your devices. Ensure that you have an HDMI cable that is long enough to reach from your projector to your surround sound system.
If your projector has HDMI ports but your surround sound system only has RCA or optical audio output ports, you will need additional adapters. For RCA connections, you will need an HDMI to RCA adapter. These adapters usually have an HDMI input and RCA output connectors. Simply connect the HDMI cable from your projector to the HDMI input of the adapter, and then use RCA cables to connect the adapter to the appropriate input ports on your surround sound system.
Alternatively, if your surround sound system only has an optical audio output port, you will need an HDMI to optical audio converter. This converter will allow you to connect the HDMI cable from your projector to the converter’s HDMI input, and then use an optical audio cable to connect the converter to the optical audio input port of your surround sound system.
Remember to choose cables and adapters of good quality to ensure optimal audio and video transmission. Look for cables with gold-plated connectors and good shielding to minimize signal interference.
Once you have gathered the necessary cables and adapters, you can move on to the next step, which involves connecting the audio output of the projector to the surround sound system.
Step 3: Connect the Audio Output of the Projector to the Surround Sound System
Now that you have selected the appropriate cables and adapters, it’s time to connect the audio output of your projector to the surround sound system. This step is crucial for ensuring that the audio from your projector is directed to your surround sound speakers.
If you are using an HDMI connection, simply connect one end of the HDMI cable to the HDMI output port of your projector and the other end to the HDMI input port on your surround sound system. This will transfer both the audio and video signals from your projector to the surround sound system, providing you with an immersive audio experience.
If you are using an HDMI to RCA adapter, connect the HDMI cable from the projector to the HDMI input of the adapter. Then, use RCA cables to connect the adapter’s RCA outputs to the corresponding RCA inputs on your surround sound system. Remember to match the colors of the RCA connectors (red, white, and yellow) to their respective ports.
Alternatively, if you are using an HDMI to optical audio converter, connect the HDMI cable from the projector to the HDMI input of the converter. Then, use an optical audio cable to connect the converter’s optical audio output to the optical audio input port on your surround sound system. Make sure to remove the plastic protective caps from the cable connectors before inserting them into the appropriate ports.
Once the audio connection is established, ensure that the cables are securely plugged in and tightened to avoid any loose connections. This will prevent audio interruptions during playback.
Note: Some projectors may require you to enable the audio output in the settings menu. Consult your projector’s user manual for instructions on how to do this.
With the audio connection successfully made, you are now ready to proceed to the next step, which involves connecting the video source to the projector.
Step 4: Connect the Video Source to the Projector
Now that you have successfully connected the audio output of your projector to the surround sound system, it’s time to connect the video source to the projector. This step will allow you to display the visual content from your video source onto the projection screen.
Start by identifying the video output ports on your video source device, such as a Blu-ray player, gaming console, or streaming device. These ports are usually labeled as HDMI, VGA, or component video outputs. Choose the appropriate cable based on the available ports.
If your video source and projector both have HDMI ports, use an HDMI cable to connect the HDMI output of your video source to the HDMI input of the projector. This will ensure a high-definition video signal transfer. Remember to securely plug in the HDMI cable on both ends to avoid any loose connections.
If your video source has VGA or component video outputs, but your projector only has HDMI inputs, you will need to use a VGA or component-to-HDMI converter. Connect the VGA or component video cable from the output of your video source to the corresponding input on the converter. Then, use an HDMI cable to connect the converter’s HDMI output to the HDMI input port on your projector.
Once the video connection is established, power on your video source device, projector, and surround sound system. Make sure all devices are set to the correct input source. Use your projector’s remote or control panel to select the HDMI or VGA input that corresponds to the connected video source.
You should now see the video content from your source device displayed on the projector screen. If the image appears distorted or not fitting the screen correctly, adjust the projector’s settings, such as aspect ratio and screen position, to achieve the desired display.
With the video source successfully connected to the projector, you are ready to move on to the next step, which involves configuring the audio settings on your projector.
Step 5: Configure the Audio Settings on Your Projector
After connecting the video source to your projector, it’s important to configure the audio settings on your projector to ensure that the audio is directed to your surround sound system.
Using the remote or control panel of your projector, navigate to the projector’s settings menu. Look for the audio settings or audio output options. Depending on your projector model, you may have different audio output options, such as HDMI audio, built-in speakers, or external speakers.
Select the audio output option that corresponds to the HDMI or audio output connection you made in the previous steps. This will ensure that the audio signals are properly routed to the connected surround sound system. If you have the option, choose “External Speakers” or “Audio Out” to redirect the audio to your surround sound system.
Some projectors may also allow you to adjust the audio volume or audio delay settings. Adjust these settings according to your preferences and the audio synchronization with the video content. Test the audio by playing a video or audio clip and listen to ensure that the sound is coming from the surround sound speakers.
It’s worth noting that some projectors may not have built-in speakers. In such cases, it is crucial to configure the audio output settings correctly to ensure that the audio is directed to your surround sound system.
If you encounter any difficulties in configuring the audio settings, refer to the user manual of your projector for detailed instructions. Each projector may have slightly different menu navigation and settings options.
With the audio settings on your projector correctly configured, you are ready to proceed to the next step, which involves testing the surround sound system to ensure everything is connected and working properly.
Step 6: Test the Surround Sound System
Now that you have connected and configured your surround sound system with the projector, it’s important to test the system to ensure that everything is working properly. Performing a test will allow you to verify if the audio is being correctly routed to the surround sound speakers and if all the speakers are functioning as intended.
Start by playing a video or audio clip that features surround sound effects. It could be a movie scene with immersive sound or a surround sound test video available online. Make sure the volume on your projector and surround sound system is set to an appropriate level.
As the video or audio clip plays, pay close attention to the sound coming from each speaker in the surround sound system. Walk around the room and listen for balanced sound distribution. The surround sound system should produce sound effects that correspond to the action happening on the screen.
If you notice any issues with the sound, such as low volume, distorted audio, or speakers not working, there are a few troubleshooting steps you can take:
- Check the connections: Ensure that all cables are securely plugged in and that there are no loose connections.
- Verify the settings: Double-check the audio settings on your projector and surround sound system to ensure they are correctly configured.
- Adjust speaker placement: If you notice a significant difference in sound levels from certain speakers, you may need to adjust their placement or positioning to achieve better sound balance.
- Test different audio sources: Try playing audio from different sources, such as DVDs, Blu-ray discs, or streaming services, to see if the issue persists across different media.
- Consult the user manuals: If you are still experiencing issues, refer to the user manuals for your projector and surround sound system for further troubleshooting advice.
By testing the surround sound system, you can ensure that it is functioning correctly and providing the desired audio experience. Take the time to make any necessary adjustments or troubleshoot any issues to optimize the performance of your system.
Once you are satisfied with the results of the surround sound system test, you are ready to move on to the final step, which is all about enjoying the enhanced audio experience with your projector.
Step 7: Enjoy the Enhanced Audio Experience with Your Projector
Congratulations! You have successfully connected your surround sound system to your projector, and now it’s time to sit back, relax, and enjoy the immersive audio experience that awaits you.
Whether you’re watching your favorite movies, playing video games, or streaming content, the combination of the projector’s stunning visuals and the surround sound system’s dynamic audio will transport you into a whole new level of entertainment.
Get ready to experience the deep rumble of explosions, the crisp clarity of dialogue, and the enveloping soundstage that surrounds you. Each sound effect and musical note will come alive, enhancing your overall viewing and listening experience.
Take advantage of the various audio options available on your surround sound system, such as adjusting the levels of each speaker, choosing different sound modes, or fine-tuning the equalizer settings to personalize the audio to your preferences.
Remember to occasionally check and clean your audio equipment to maintain optimal performance. Dust or debris can impact sound quality, so wiping down your speakers and checking the connections periodically can help ensure that they continue to deliver exceptional audio.
Additionally, keep in mind that as technology advances, there may be firmware updates or new audio features available for your surround sound system or projector. Regularly check the manufacturer’s website or subscribe to their newsletters to stay informed about any updates that can enhance your audio experience even further.
With the enhanced audio experience now at your fingertips, invite friends and family over for movie nights, gaming sessions, or any gathering where you can showcase the power and clarity of your surround sound system.
By following the steps outlined in this guide, you have successfully connected a surround sound system to your projector and opened up a whole new realm of immersive entertainment possibilities. Sit back, relax, and enjoy the extraordinary audio experience that brings your movies, games, and multimedia content to life.
Conclusion
Connecting a surround sound system to a projector can elevate your home entertainment experience to new heights. The combination of stunning visuals and immersive audio creates a truly cinematic environment right in the comfort of your own home.
In this guide, we have walked you through the step-by-step process of connecting a surround sound system to a projector. From determining the inputs and outputs of your devices to choosing the right cables and adapters, we have provided you with the knowledge and guidance needed to make the necessary connections.
By following the steps outlined, you can ensure that the audio from your projector is directed to your surround sound system, providing you with an enhanced audio experience. Testing the system allows you to verify that everything is connected and working correctly, while adjusting settings and troubleshooting any issues that may arise.
Once everything is set up, you can sit back, relax, and enjoy the immersive audio experience that your surround sound system brings to your projector setup. Whether you’re watching movies, playing games, or streaming content, the combination of crisp audio and stunning visuals will captivate your senses.
Remember to periodically check and clean your audio equipment to maintain optimal performance, and stay informed about any firmware updates or new audio features that may become available for your devices.
Now that you have successfully connected your surround sound system to your projector, it’s time to immerse yourself in the world of immersive audio and visual entertainment. Enjoy the enhanced experience and create lasting memories with friends and family.
So, grab some popcorn, dim the lights, and let the incredible audio from your surround sound system transport you into a whole new world of entertainment.