Introduction
Are you ready to elevate your home entertainment experience? Connecting a surround sound system to your Xfinity X1 box can provide you with immersive audio that brings movies, TV shows, and games to life. Whether you’re a movie buff, a sports enthusiast, or a gaming fanatic, a surround sound system can enhance your viewing and listening pleasure.
In this guide, we will walk you through the steps to connect your surround sound system to your Xfinity X1 box. By following these simple instructions, you’ll be able to enjoy rich and dynamic sound that fills your living room, creating an unparalleled cinematic experience right in the comfort of your own home.
Before we dive into the instructions, let’s take a moment to discuss the equipment you will need. To successfully connect your surround sound system to your Xfinity X1 box, you will need an HDMI cable, as well as the appropriate audio cables, depending on the connection options available on your surround sound system.
It’s important to mention that the steps provided in this guide may vary depending on the model of your Xfinity X1 box and your surround sound system. We recommend consulting the user manuals for both devices to familiarize yourself with their specific features and connections.
So, if you’re ready to take your audio experience to the next level, let’s get started on connecting your surround sound system to your Xfinity X1 box. Follow along with the steps below to unlock the full potential of your home entertainment system.
Step 1: Gather the necessary equipment
Before you can connect your surround sound system to your Xfinity X1 box, you’ll need to ensure that you have all the necessary equipment. Here’s what you’ll need:
- HDMI cable: This is the primary cable you’ll use to connect your Xfinity X1 box to the surround sound system. Make sure you have a high-quality HDMI cable that is long enough to reach from your X1 box to your surround sound system.
- Audio cables: Depending on the audio output options available on your surround sound system, you may need additional audio cables, such as RCA cables or optical cables. Check the back of your surround sound system and ensure you have the required cables.
- Power cables: Ensure that all necessary power cables for your Xfinity X1 box and surround sound system are available and connected to power outlets.
- User manuals: Keep the user manuals for both your Xfinity X1 box and your surround sound system handy. These manuals can provide useful information on connections, settings, and troubleshooting.
It’s important to note that the specific equipment you’ll need may vary depending on the models and brands of your X1 box and surround sound system. Refer to the user manuals for both devices to confirm the exact cables and connectors required.
Once you’ve gathered all the necessary equipment, you’re ready to move on to the next step: checking the audio output options on your Xfinity X1 box.
Step 2: Check the audio output options on your Xfinity X1 box
Before connecting your surround sound system to your Xfinity X1 box, you need to identify the audio output options available on the box. This will ensure that you can choose the appropriate connection method for your surround sound system.
Here’s how you can check the audio output options on your Xfinity X1 box:
- Locate the audio output ports on the back of your X1 box. These ports are typically labeled “Audio Out” or “HDMI Out.”
- If your X1 box has an HDMI output port, you will be able to use an HDMI cable to connect it to your surround sound system. HDMI allows for both video and audio transmission, providing a convenient and high-quality connection.
- If your X1 box has additional audio output ports, such as RCA or optical, you can choose to connect your surround sound system using those options. However, keep in mind that HDMI is generally the preferred method for audio transmission due to its superior audio quality.
It’s important to note that the availability of audio output options on your X1 box may vary depending on the model. Please refer to the user manual that came with your X1 box to find detailed information about the available audio output options.
Once you have identified the audio output options on your Xfinity X1 box, you are ready to proceed to the next step: connecting your surround sound system using an HDMI cable.
Step 3: Connect the surround sound system to the Xfinity X1 box using an HDMI cable
Now it’s time to connect your surround sound system to your Xfinity X1 box using an HDMI cable. Follow these steps:
- Locate the HDMI output port on your Xfinity X1 box and the corresponding HDMI input port on your surround sound system. Make sure both devices are powered off.
- Insert one end of the HDMI cable into the HDMI output port on your X1 box.
- Take the other end of the HDMI cable and connect it to the HDMI input port on your surround sound system.
- Power on both your Xfinity X1 box and your surround sound system.
- Use your surround sound system’s remote control or on-screen menu to select the appropriate HDMI input that corresponds to the connection you just made.
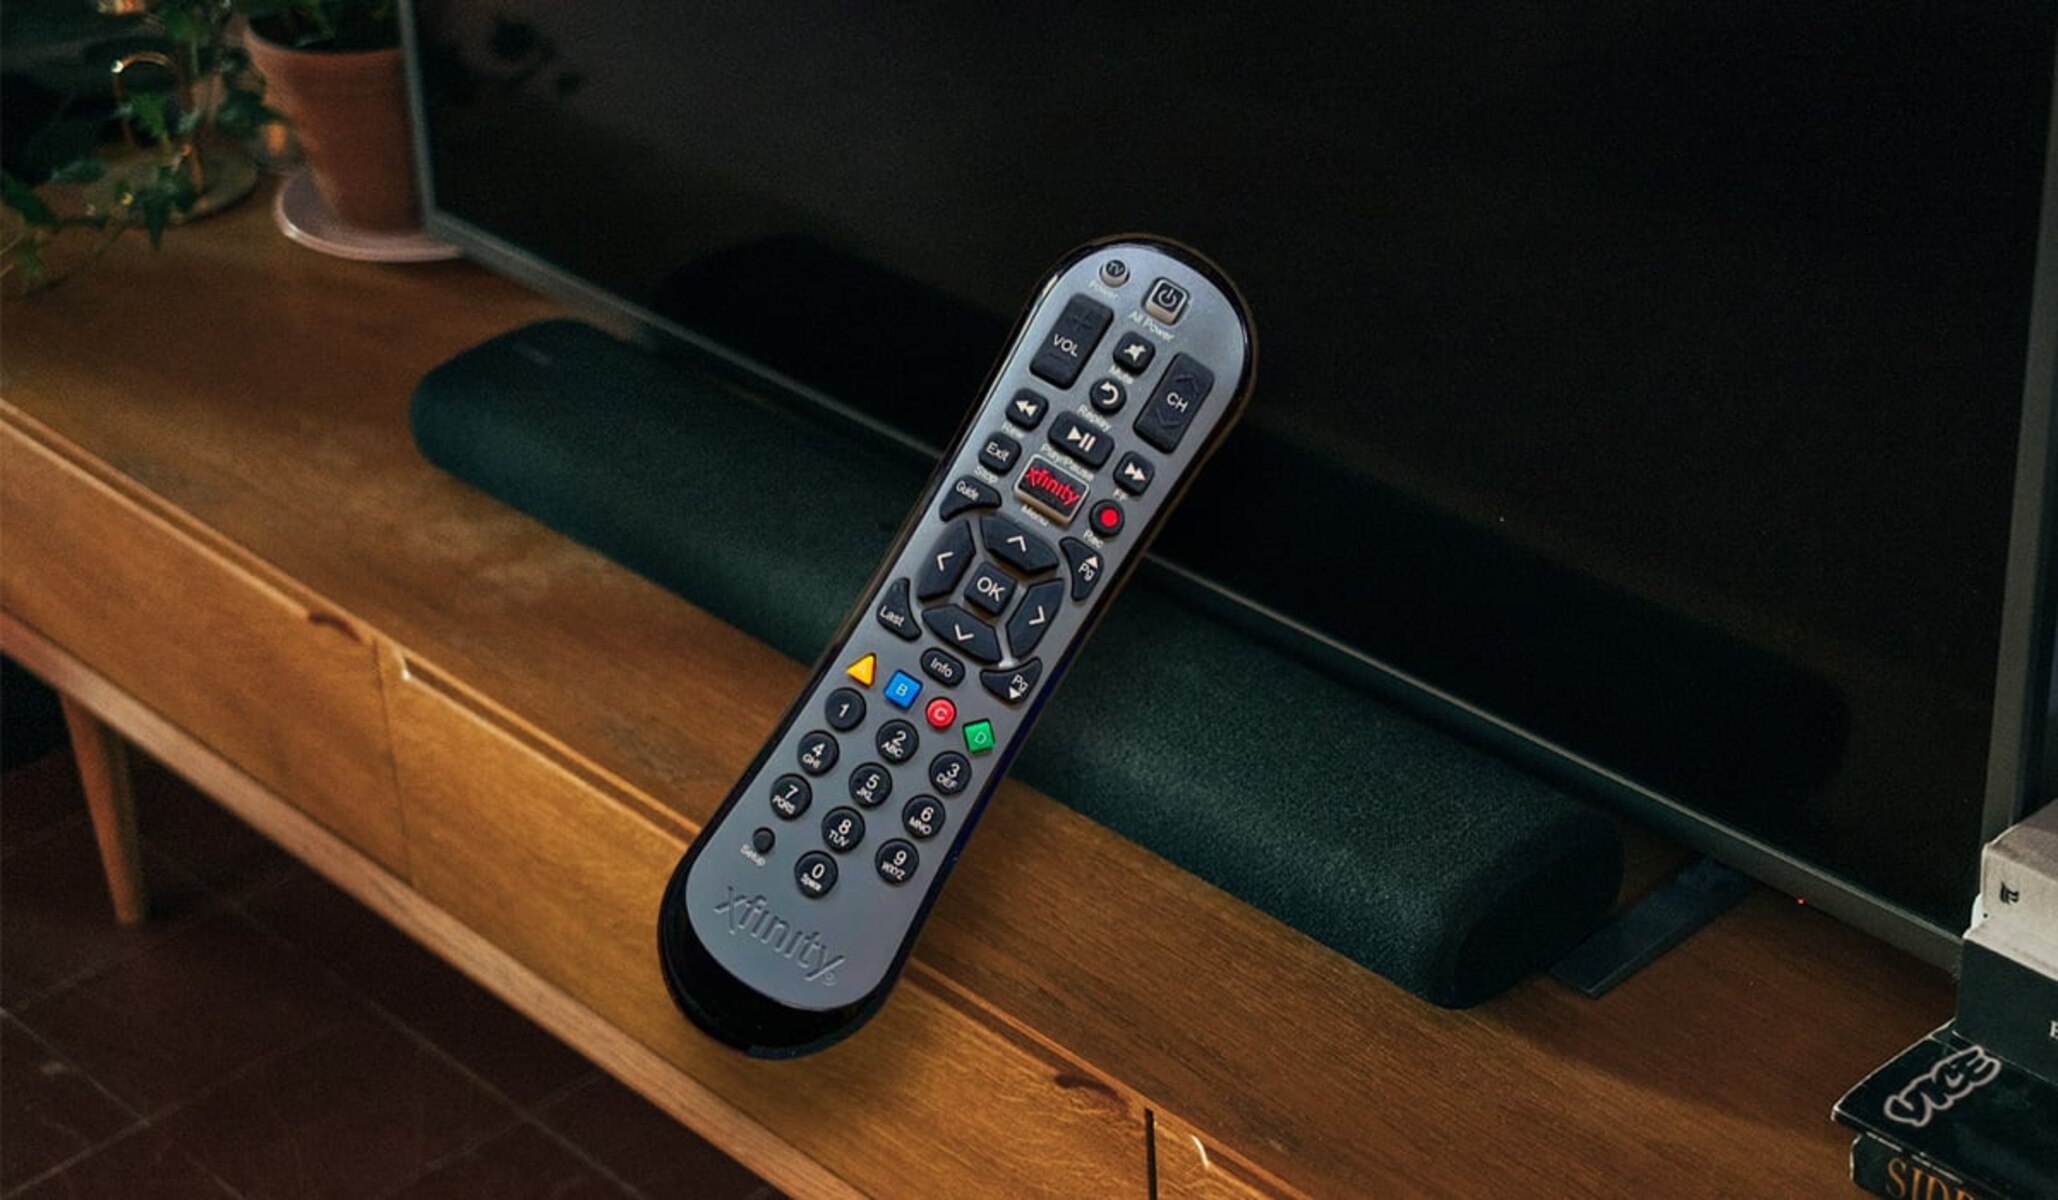
- On your X1 box remote control, press the “Menu” button to access the Xfinity X1 box settings menu.
- Navigate to the audio settings section and select the option that enables HDMI audio output. This will ensure that the audio signal is transmitted through the HDMI cable to your surround sound system.
Once you’ve completed these steps, your surround sound system should be connected to your Xfinity X1 box using an HDMI cable. This setup allows for both audio and video signals to be transmitted from the X1 box to the surround sound system, providing you with a seamless home theater experience.
In the next step, we will explore how to configure the audio settings on your X1 box to optimize the surround sound output.
Step 4: Configure the audio settings on your X1 box
After connecting your surround sound system to your Xfinity X1 box, it’s important to configure the audio settings to ensure optimal sound output. Follow the steps below:
- On your X1 box remote control, press the “Menu” button to access the Xfinity X1 box settings menu.
- Navigate to the audio settings section, which may be labeled as “Sound” or “Audio.”
- Here, you will find various options to customize your audio settings. Adjust the settings according to your preferences, such as volume levels, bass, treble, and surround sound effects.
- If your surround sound system supports different audio formats, such as Dolby Digital or DTS, make sure to select the appropriate format in the audio settings menu. This ensures that the X1 box outputs the audio in the format compatible with your surround sound system.
- Some X1 box models may have specific audio settings for HDMI output. If available, check for any HDMI audio options and make the necessary adjustments.
- Once you have configured the audio settings to your liking, exit the settings menu.
By configuring the audio settings on your X1 box, you can fine-tune the sound output to match your preferences and maximize the performance of your surround sound system.
Now that you have completed the audio settings configuration, it’s time to move on to the final step: testing your surround sound system to ensure everything is working properly.
Step 5: Test the surround sound system
Now that you have connected and configured your surround sound system to your Xfinity X1 box, it’s essential to test the system to ensure everything is working correctly. Follow these steps to perform a sound test:
- Choose a source that has audio output, such as a movie, TV show, or video game.
- Play the selected content on your X1 box while making sure the sound is routed through your surround sound system.
- Listen carefully to all the speakers in your surround sound system. Verify that sound is coming from each speaker, including the front, center, rear, and subwoofer speakers.
- If the sound is not coming from all the speakers, check the audio settings on both your X1 box and your surround sound system. Make sure the correct audio output format is selected and that the speaker configuration is properly set.
- Adjust the volume levels and audio settings as needed to achieve the desired sound experience.
- Continue testing your surround sound system with different types of content, such as movies with robust sound effects or music with a wide range of instruments.
If you encounter any issues or are not satisfied with the sound quality, refer to the user manuals of your X1 box and surround sound system for troubleshooting tips or contact their respective support teams.
By testing your surround sound system, you can ensure that all speakers are functioning correctly, the sound is properly balanced, and you’re getting the most out of your home entertainment setup.
Congratulations! You have successfully connected and tested your surround sound system with your Xfinity X1 box. Sit back, relax, and enjoy an immersive audio experience that will transform your home entertainment!
Conclusion
Connecting a surround sound system to your Xfinity X1 box can elevate your home entertainment experience by delivering immersive audio that enhances your favorite movies, TV shows, and games. By following the steps outlined in this guide, you can successfully connect your surround sound system to your X1 box and enjoy a cinematic audio experience right in the comfort of your home.
We started by gathering the necessary equipment, including an HDMI cable and audio cables, and then proceeded to check the audio output options on the X1 box. After that, we connected the surround sound system to the X1 box using an HDMI cable and configured the audio settings to optimize the sound output. Finally, we tested the surround sound system to ensure all speakers are working correctly.
Remember, the specific steps may vary depending on the models and brands of your devices, so always consult the user manuals for detailed instructions. If you encounter any issues, don’t hesitate to reach out to the support teams for your X1 box and surround sound system.
Now that you have successfully set up your surround sound system, it’s time to sit back, relax, and immerse yourself in the captivating audio experience that will enhance your viewing and listening pleasure. Enjoy the quality sound and feel like you’re part of the action with your Xfinity X1 box and surround sound system!


