Introduction
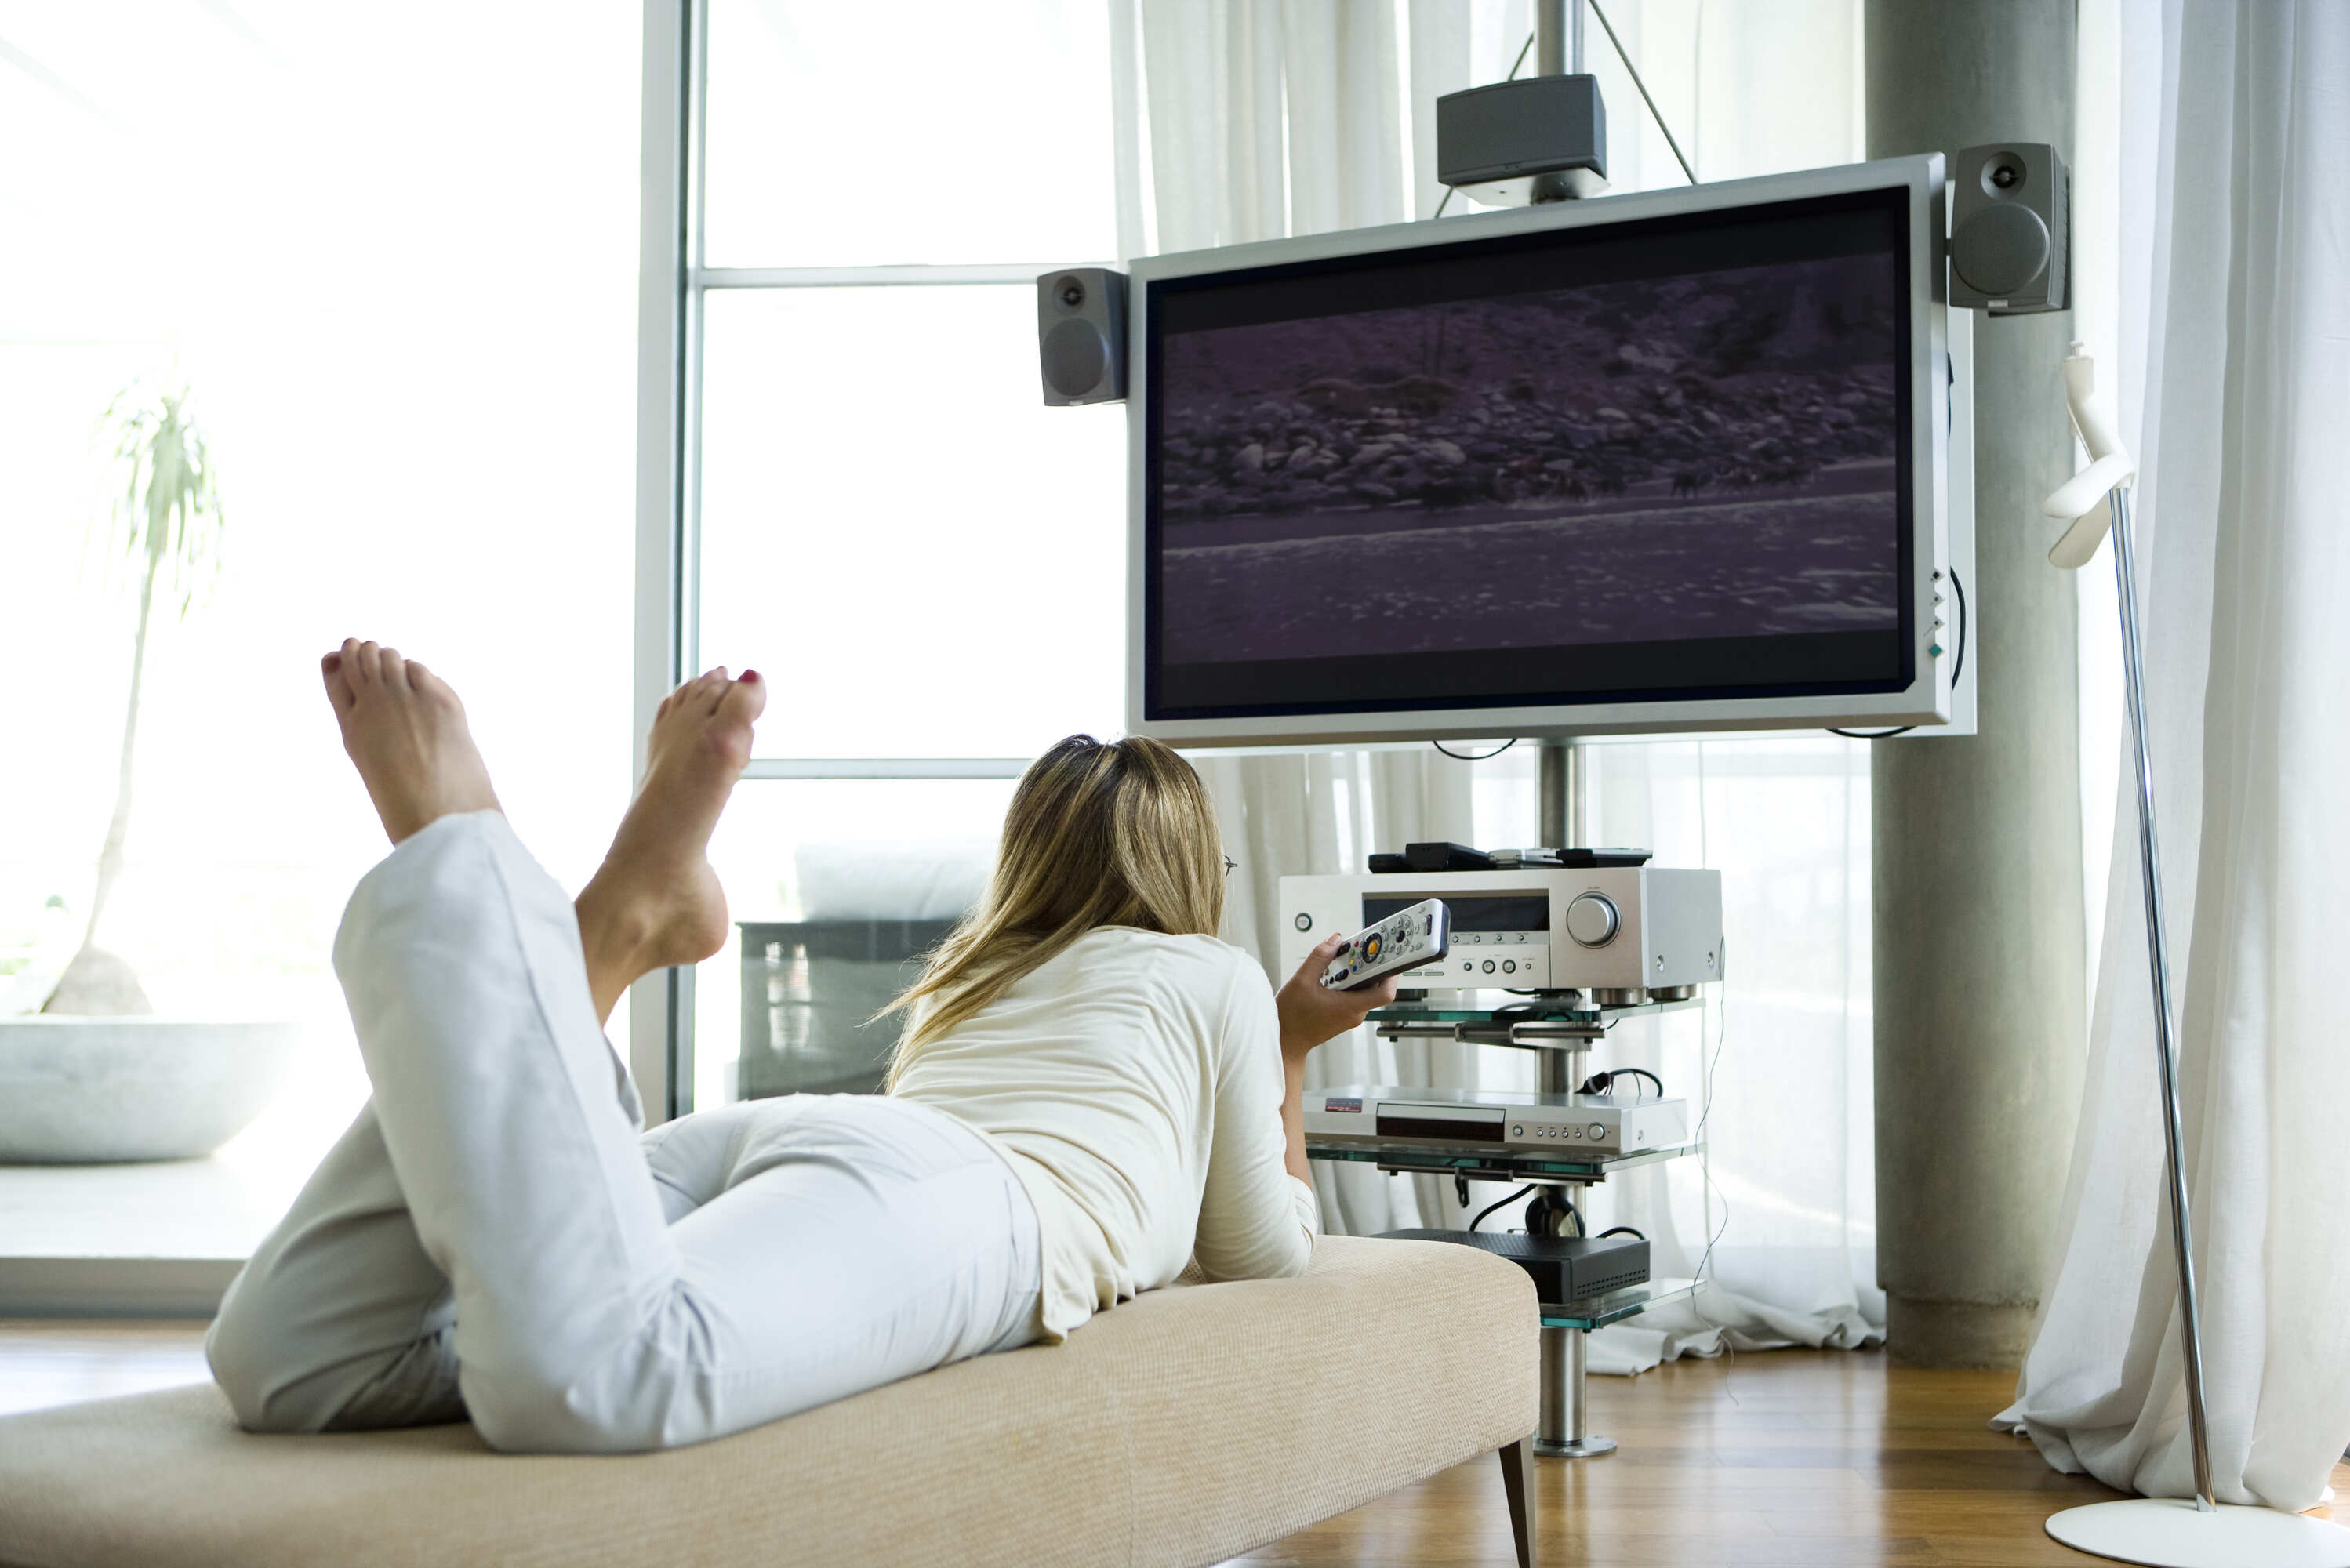
Imagine watching your favorite movie or sports event on your TV, but the sound feels lackluster. The solution? Connecting your TV to a surround sound system to immerse yourself in a truly cinematic audio experience. By making all sound play through your surround sound system, you can elevate your entertainment setup to new heights.
In this guide, we will walk you through the process of connecting your TV to a surround sound system. Whether you’re a tech enthusiast or a novice, our step-by-step instructions will make it easy for you to achieve that immersive audio effect you’ve been dreaming of.
Before diving into the setup process, it’s important to gather the necessary equipment. You’ll need a TV, preferably with multiple audio output options such as HDMI, optical, or RCA. Additionally, you’ll need a surround sound system with the corresponding input options. Some basic tools like HDMI cables, optical cables, and speaker wires will also be handy.
Once you have all the required components, you’ll be ready to follow the steps outlined in this guide. Keep in mind that the specific instructions may vary depending on your TV and surround sound system models, so always refer to the user manuals if needed. Now, let’s get started on making all the sound from your TV play through your surround sound system!
What You’ll Need
Before you begin the setup process, make sure you have the following items on hand:
- A TV with audio output options (HDMI, optical, or RCA)
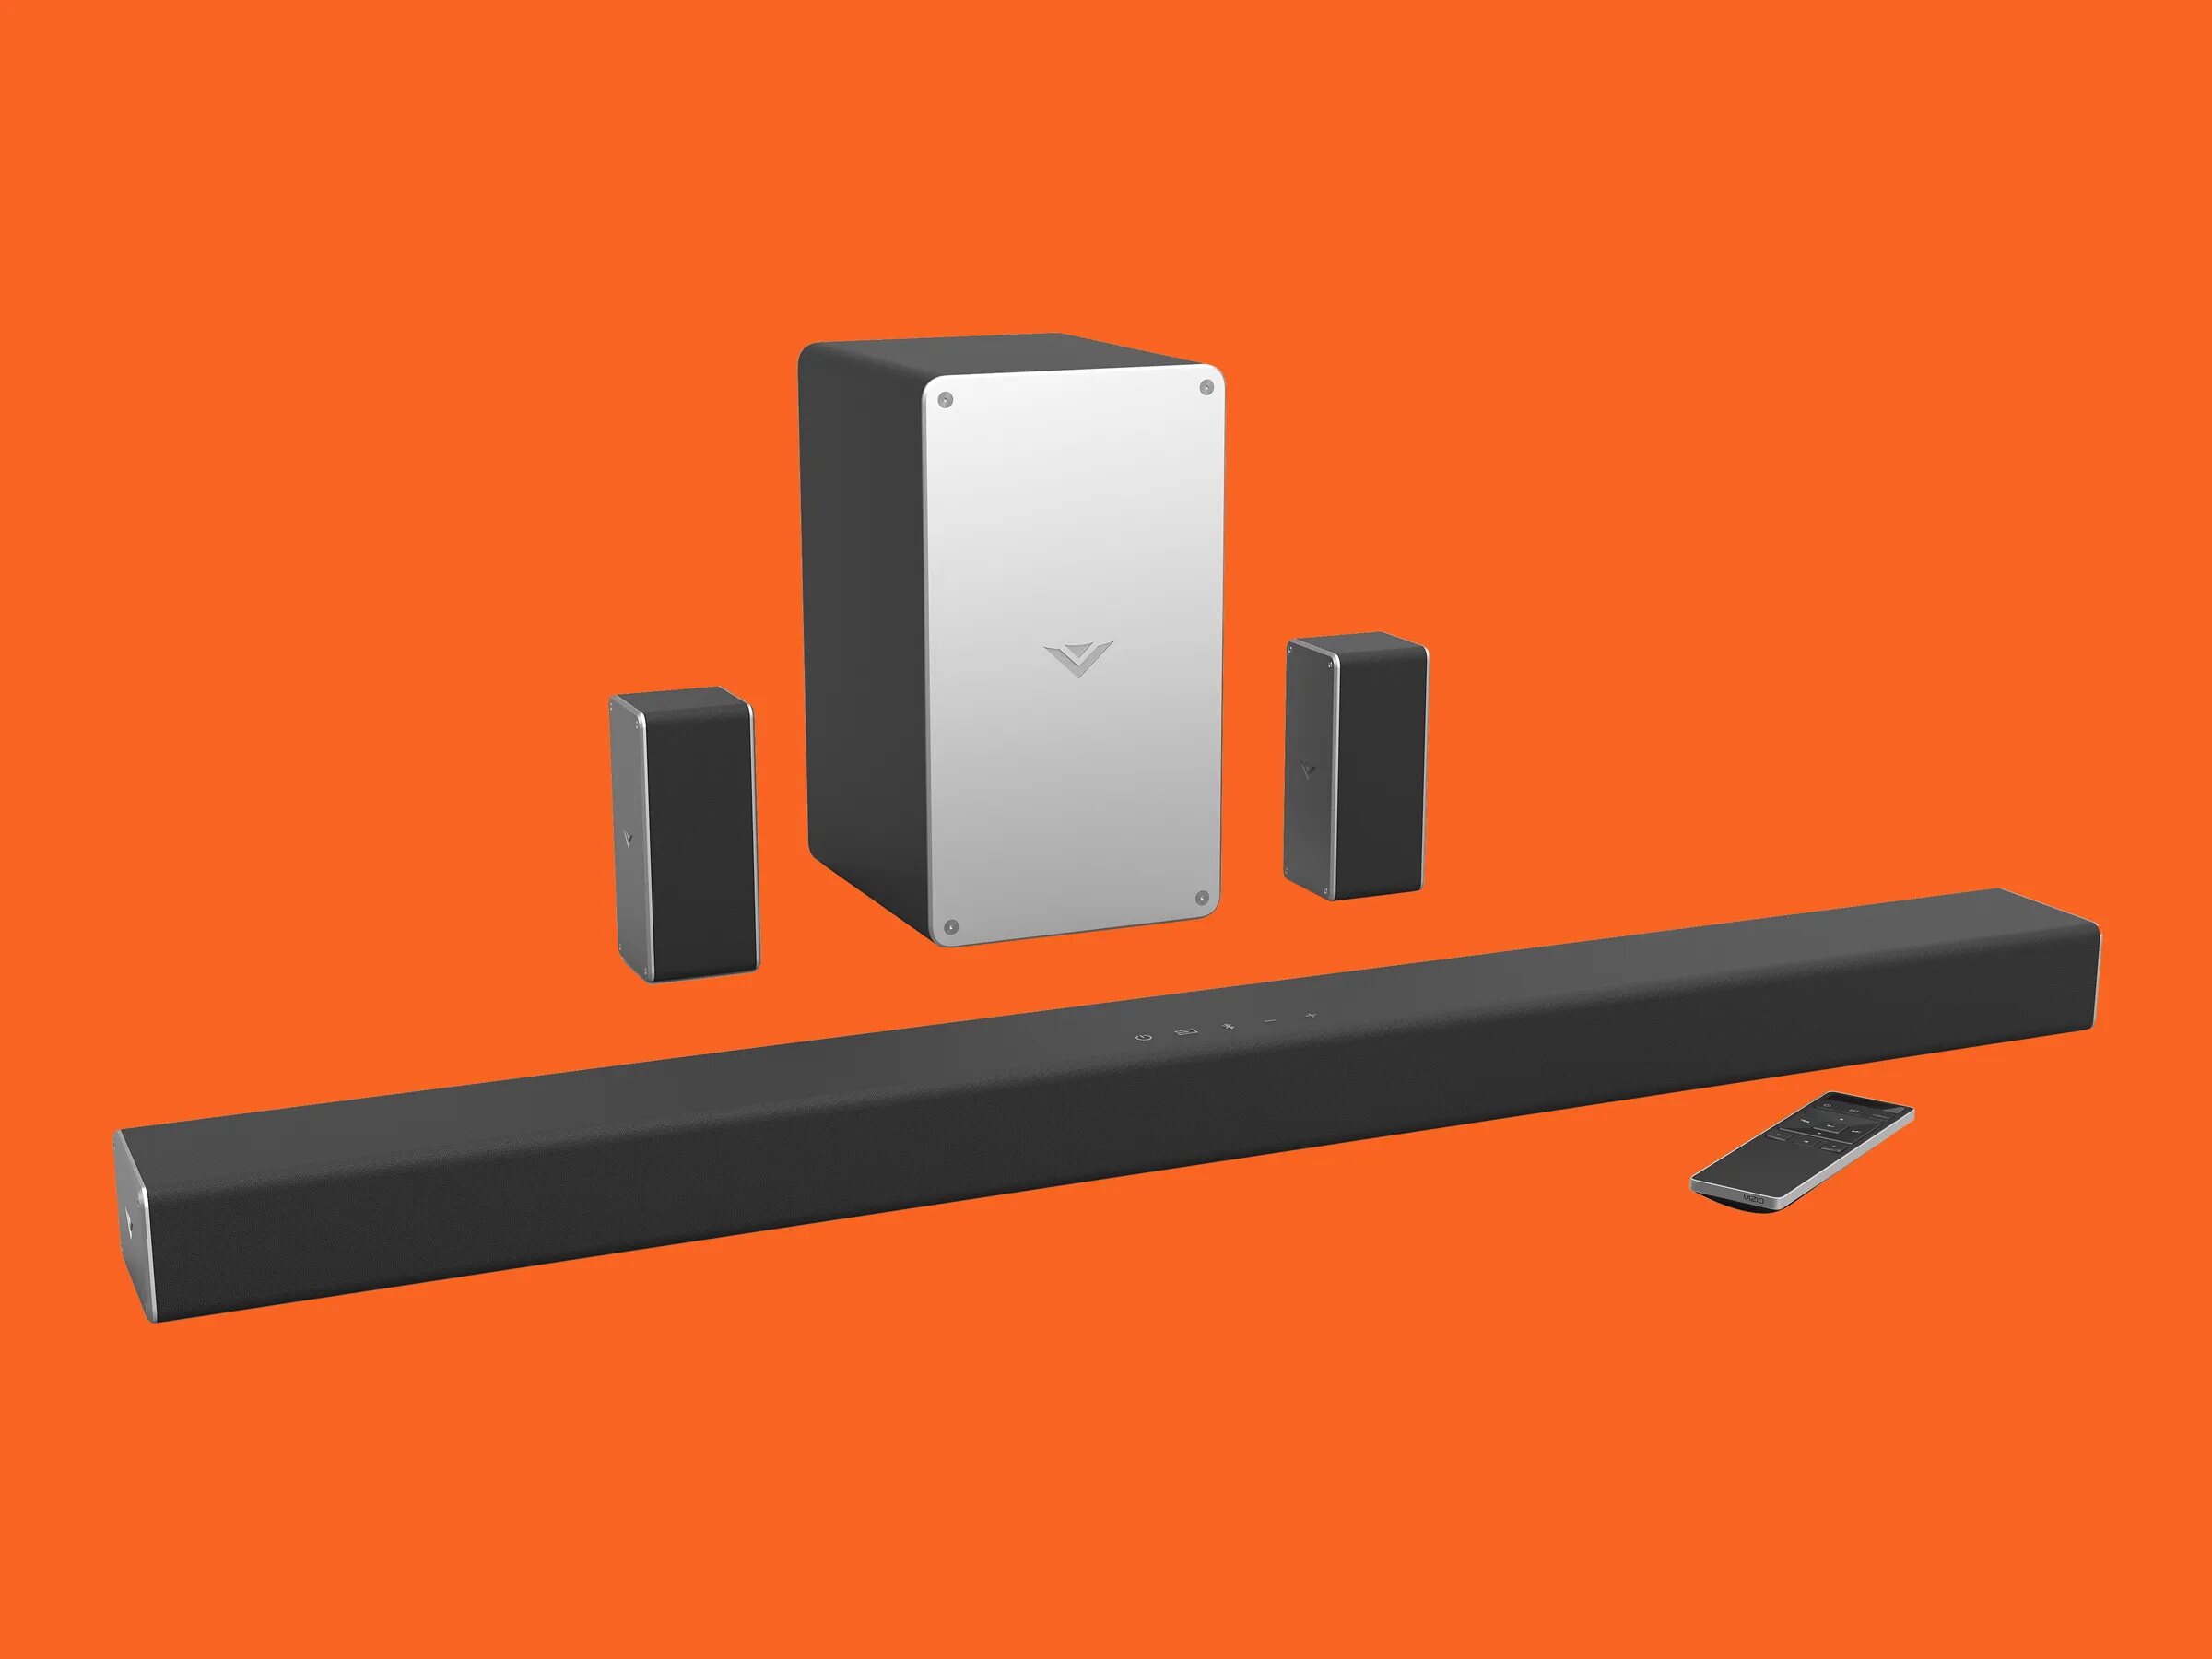
- A surround sound system with corresponding input options
- HDMI cables, optical cables, and/or RCA cables
- Speaker wires for the surround sound speakers
- Remote controls for both the TV and surround sound system
- User manuals for the TV and surround sound system
Having these items readily available will ensure a smooth and hassle-free setup process. It’s essential to have a TV with compatible audio output options that can be connected to the surround sound system. HDMI is preferred for its high-quality audio transmission, but optical and RCA connections are also viable alternatives.
The surround sound system should have the necessary input options to connect to your TV. This could include HDMI, optical, or RCA inputs, depending on the available ports on your TV. Ensure that the surround sound system is compatible with your TV’s audio output options to establish a seamless connection.
Having the right cables is crucial for proper audio transfer from the TV to the surround sound system. HDMI cables are versatile and capable of transmitting both audio and video signals, making them ideal for connecting modern TVs and surround sound systems. Alternatively, optical cables or RCA cables can be used depending on the available ports on your TV and surround sound system.
Speaker wires are required to connect the surround sound speakers to the main unit or receiver. These wires are usually included with the surround sound system, but if not, ensure you have appropriate gauge speaker wires that are long enough to reach your desired speaker placement locations.
Finally, having the remote controls for both your TV and surround sound system will be essential for adjusting audio settings and managing the overall audio output. Make sure the batteries in the remotes are functional and ready for use.
Keep the user manuals for your TV and surround sound system within reach. They will serve as valuable references throughout the setup process, ensuring you follow specific instructions tailored to your devices.
Step 1: Check Your TV Connections
Before diving into the setup process, it’s essential to check the audio output options available on your TV. This step will ensure that you can connect your TV to the surround sound system using the appropriate cables.
Start by locating the audio output ports on your TV. Most modern TVs offer multiple options, including HDMI ARC (Audio Return Channel), optical, and RCA. These ports are typically located on the back or side panel of the TV.
If your TV has an HDMI ARC port, this is the preferred option for connecting to a surround sound system. HDMI ARC allows for bidirectional audio transmission, meaning you can send audio from the TV to the surround sound system and vice versa. To use HDMI ARC, make sure both your TV and surround sound system support this feature.
If your TV does not have HDMI ARC, look for the optical or RCA audio output ports. Optical ports use TOSLINK cables, while RCA ports use a pair of red and white connectors. Choose the audio output option that is compatible with your surround sound system. Refer to the user manual of your TV to understand the specific capabilities and limitations of each audio output option.
Once you have identified the audio output ports on your TV, ensure that they are not already in use. Sometimes, other devices like soundbars or headphones may be connected to these ports. If necessary, disconnect any devices currently using the audio output ports to free them up for the surround sound system connection.
In addition to checking the audio output ports, verify that your TV is set to output audio through the designated port. Access the TV’s settings menu and navigate to the Audio or Sound settings. Look for options related to audio output or audio output format. Select the appropriate output option that matches the port you will be using for the surround sound system connection.
By checking the TV’s audio output options and ensuring they are available and properly configured, you are now ready to proceed with the setup of your surround sound system. The next steps will guide you through connecting the surround sound system to the TV using the selected audio output option.
Step 2: Configure the Sound Settings on Your TV
Once you have checked and verified the audio output options on your TV, it’s time to configure the sound settings to ensure optimal performance with your surround sound system.
Access the settings menu on your TV, usually done through a designated button on your remote control or through an on-screen menu. Look for the audio or sound settings within the menu options.
Within the sound settings, you may find various audio output options such as stereo, surround sound, or Dolby Digital. Choose the option that best matches your surround sound system’s capabilities. If you are unsure, consulting the user manual of your surround sound system can provide guidance on the optimal audio output setting.
Next, explore any additional audio settings that can enhance your audio experience. These settings may include equalizer options, sound modes, or audio enhancements. Adjust these settings according to your personal preference and the room’s acoustic conditions.
Additionally, ensure that any audio features that could interfere with the surround sound system’s performance, such as virtual surround sound or audio enhancements, are turned off. These features may create conflicts or alter the audio output, diminishing the immersive experience the surround sound system can provide.
If your TV has a volume control option specific to the audio output port you are utilizing, check that it is set to an appropriate level. This ensures that the audio signals sent to the surround sound system are not too low or too high, allowing for smooth and balanced sound reproduction.
Save and apply the changes you have made in the sound settings menu. Your TV is now configured to produce the audio output that will be sent to the surround sound system.
Keep in mind that the sound settings on your TV may slightly differ depending on the brand and model. If you encounter any difficulties in locating or adjusting the sound settings, refer to the user manual or online support resources provided by the manufacturer.
With the sound settings properly configured, you are now ready to proceed with physically connecting your surround sound system to the TV. The next step will guide you through the necessary connections to achieve audio playback through the surround sound system.
Step 3: Connect Your Surround Sound System to Your TV
Now that you have configured the sound settings on your TV, it’s time to physically connect your surround sound system to the TV. The connection method will depend on the available audio output options on your TV and the corresponding input options on your surround sound system.
If your TV has an HDMI ARC (Audio Return Channel) port, this is the recommended option for connecting to your surround sound system. Simply connect one end of an HDMI cable to the HDMI ARC port on your TV and the other end to the HDMI ARC input port on your surround sound system. This single cable will not only transmit audio from the TV to the surround sound system, but it can also send audio from the surround sound system to the TV if needed.
In cases where HDMI ARC is not available or compatible, you can use an optical cable or RCA cables to establish the connection. For an optical connection, connect one end of the optical cable to the optical output port on your TV and the other end to the optical input port on the surround sound system. Make sure to align the connectors properly and secure the connection.
If using RCA cables, locate the red and white audio output ports on your TV and the corresponding input ports on the surround sound system. Connect the red RCA cable to the red audio output port on your TV and the red input port on the surround sound system. Repeat the same process for the white cable. Ensure the connections are secure to prevent any loose or inconsistent audio signals.
Once the physical connections are established, power on both your TV and surround sound system. Use the TV remote control or the input selector on the surround sound system to select the appropriate audio input corresponding to the connection you made (HDMI ARC, optical, or RCA).
It’s important to note that some surround sound systems may require specific settings or configurations to recognize and process the audio signal properly. Refer to the user manual for your surround sound system to ensure all necessary settings are adjusted accordingly.
With the TV and surround sound system connected, audio signals from the TV will now be transmitted to the surround sound system, providing an immersive audio experience that complements your visual content. The next step will guide you through setting up the surround sound speakers for optimal audio distribution.
Step 4: Set Up the Surround Sound Speakers
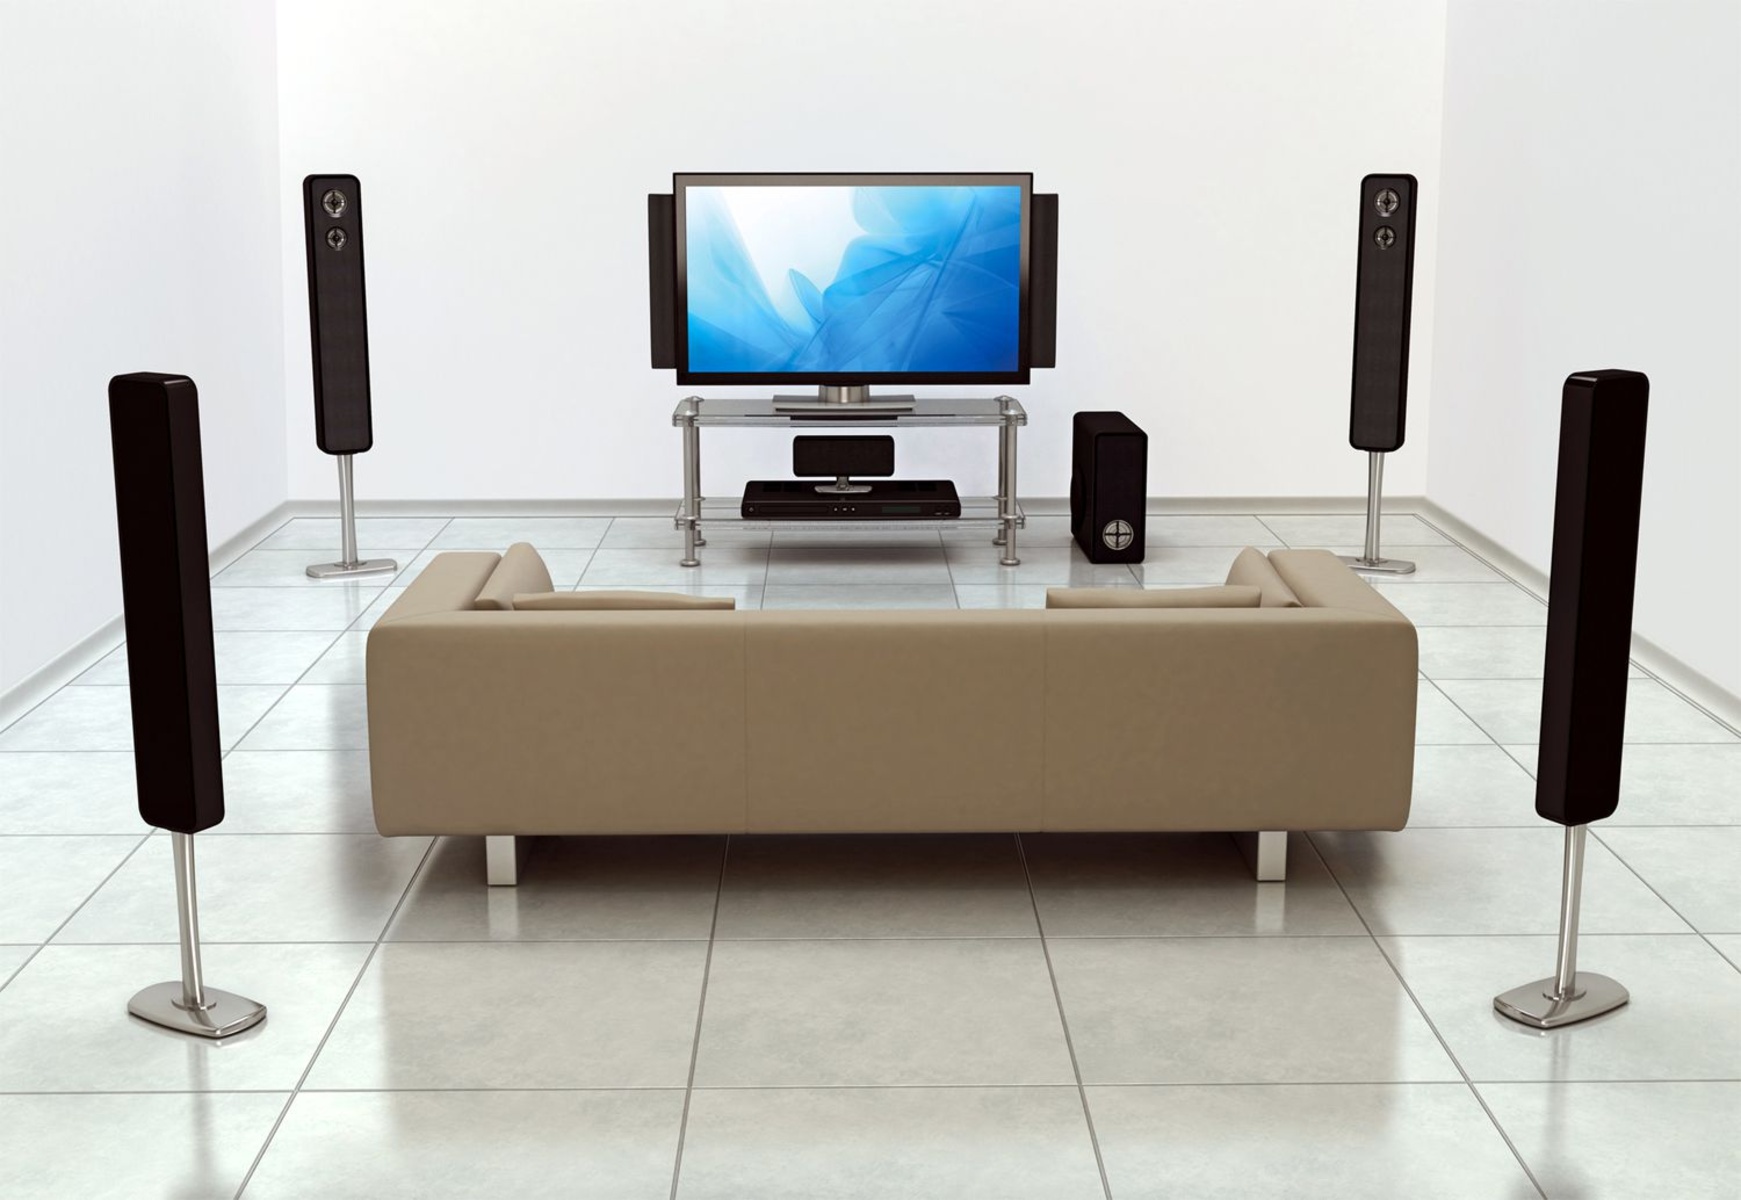
Setting up the surround sound speakers correctly is crucial to ensure optimal audio distribution and an immersive listening experience. The placement of each speaker plays a significant role in delivering accurate sound positioning and creating a realistic soundstage.
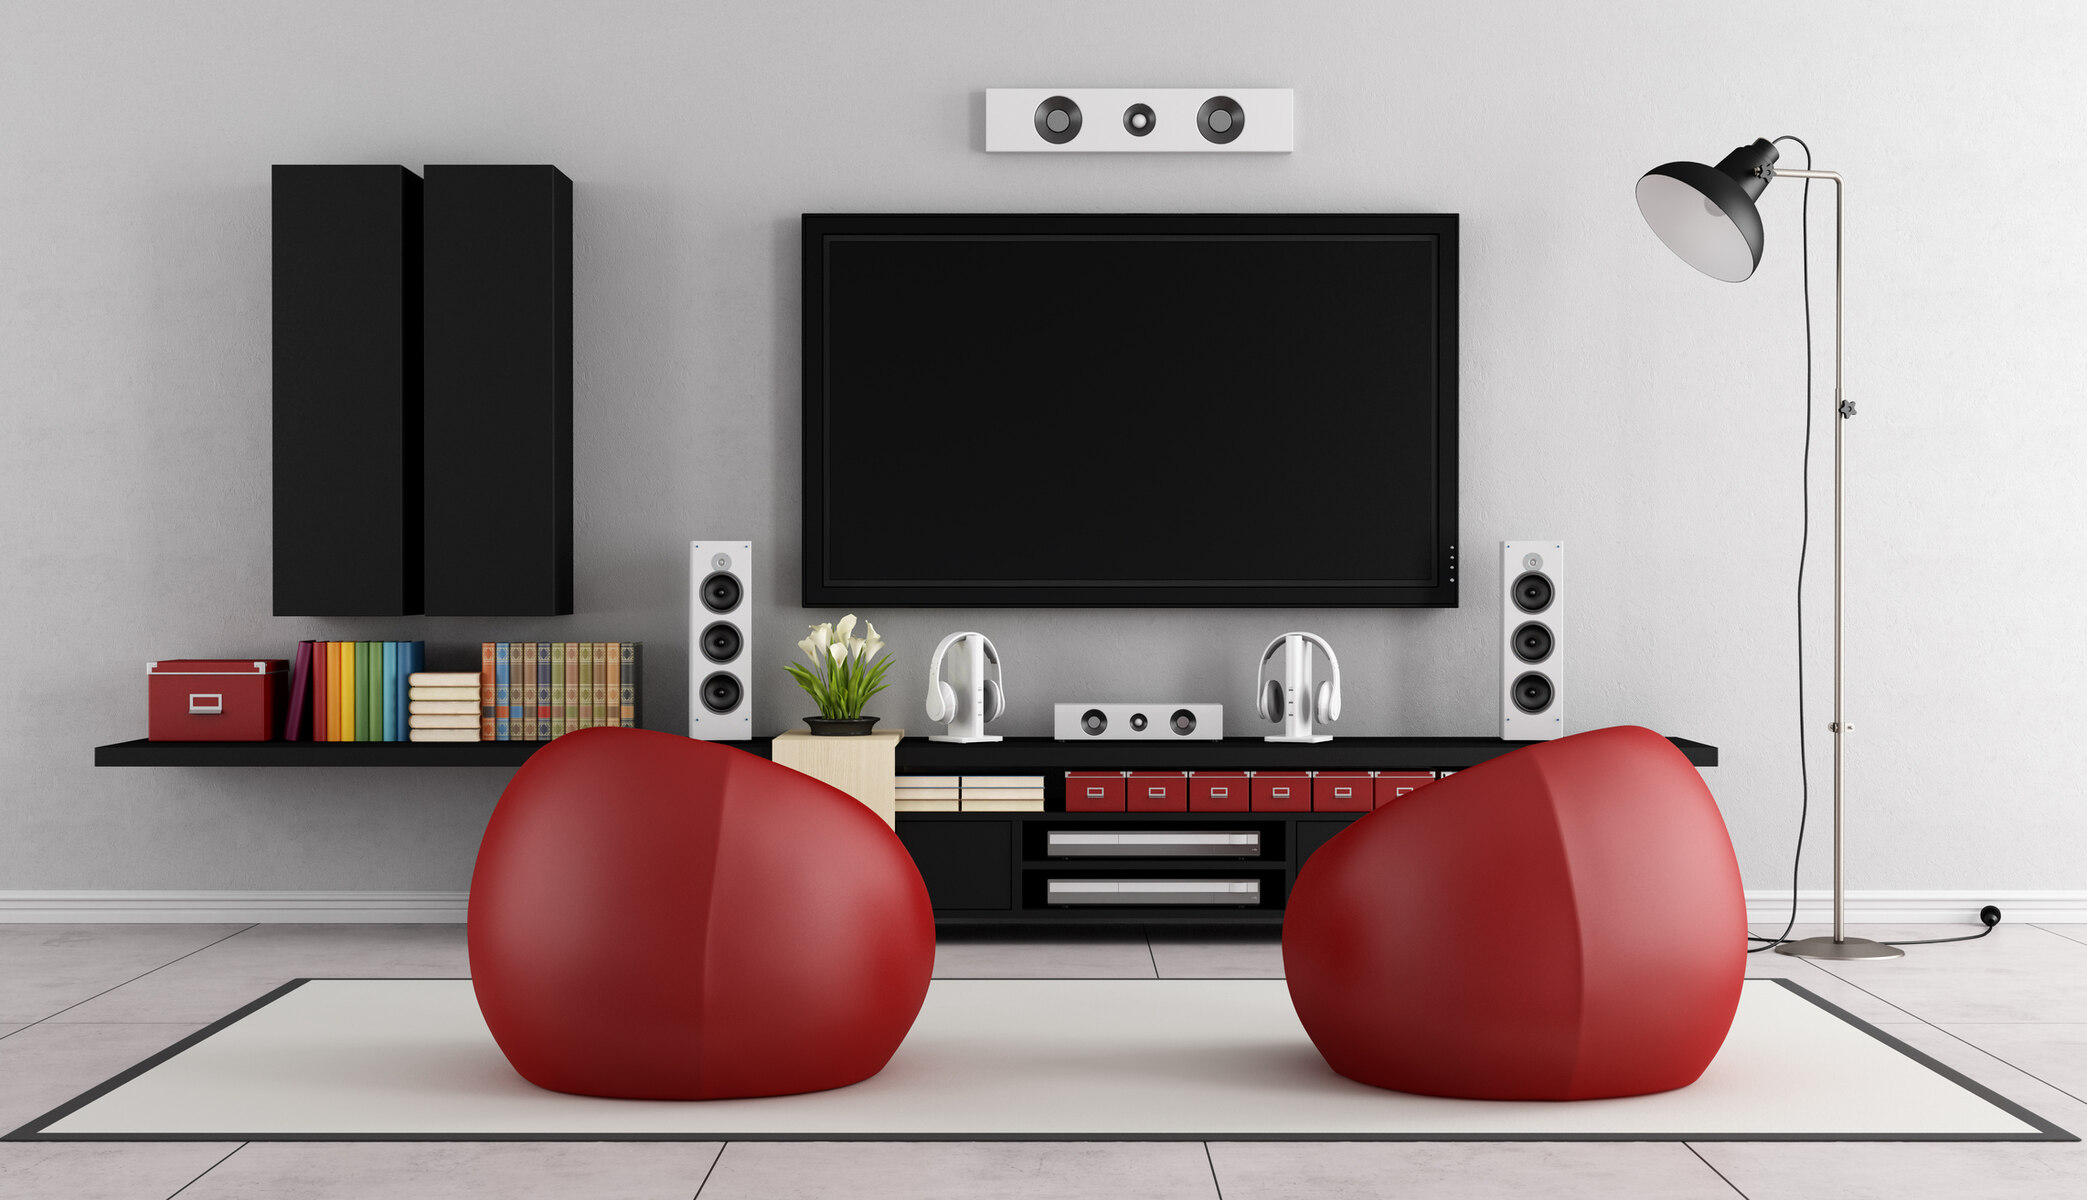
Start by referring to the user manual of your surround sound system to understand the optimal speaker placement recommendations specific to your system. Typically, a surround sound system consists of front speakers, center speaker, surround speakers (usually placed behind or to the sides of the viewing area), and a subwoofer for low-frequency sounds.
Position the front speakers, which are responsible for most of the sound output, on both sides of your TV or viewing area. Ensure they are placed at an equal distance from the TV, forming an equilateral triangle between the speakers and the viewing position. This configuration provides a balanced sound stage and improves stereo imaging.
Place the center speaker either above or below your TV, ideally at ear level when seated. The center speaker is responsible for dialogue and other central audio elements, enhancing speech clarity and overall sound balance.
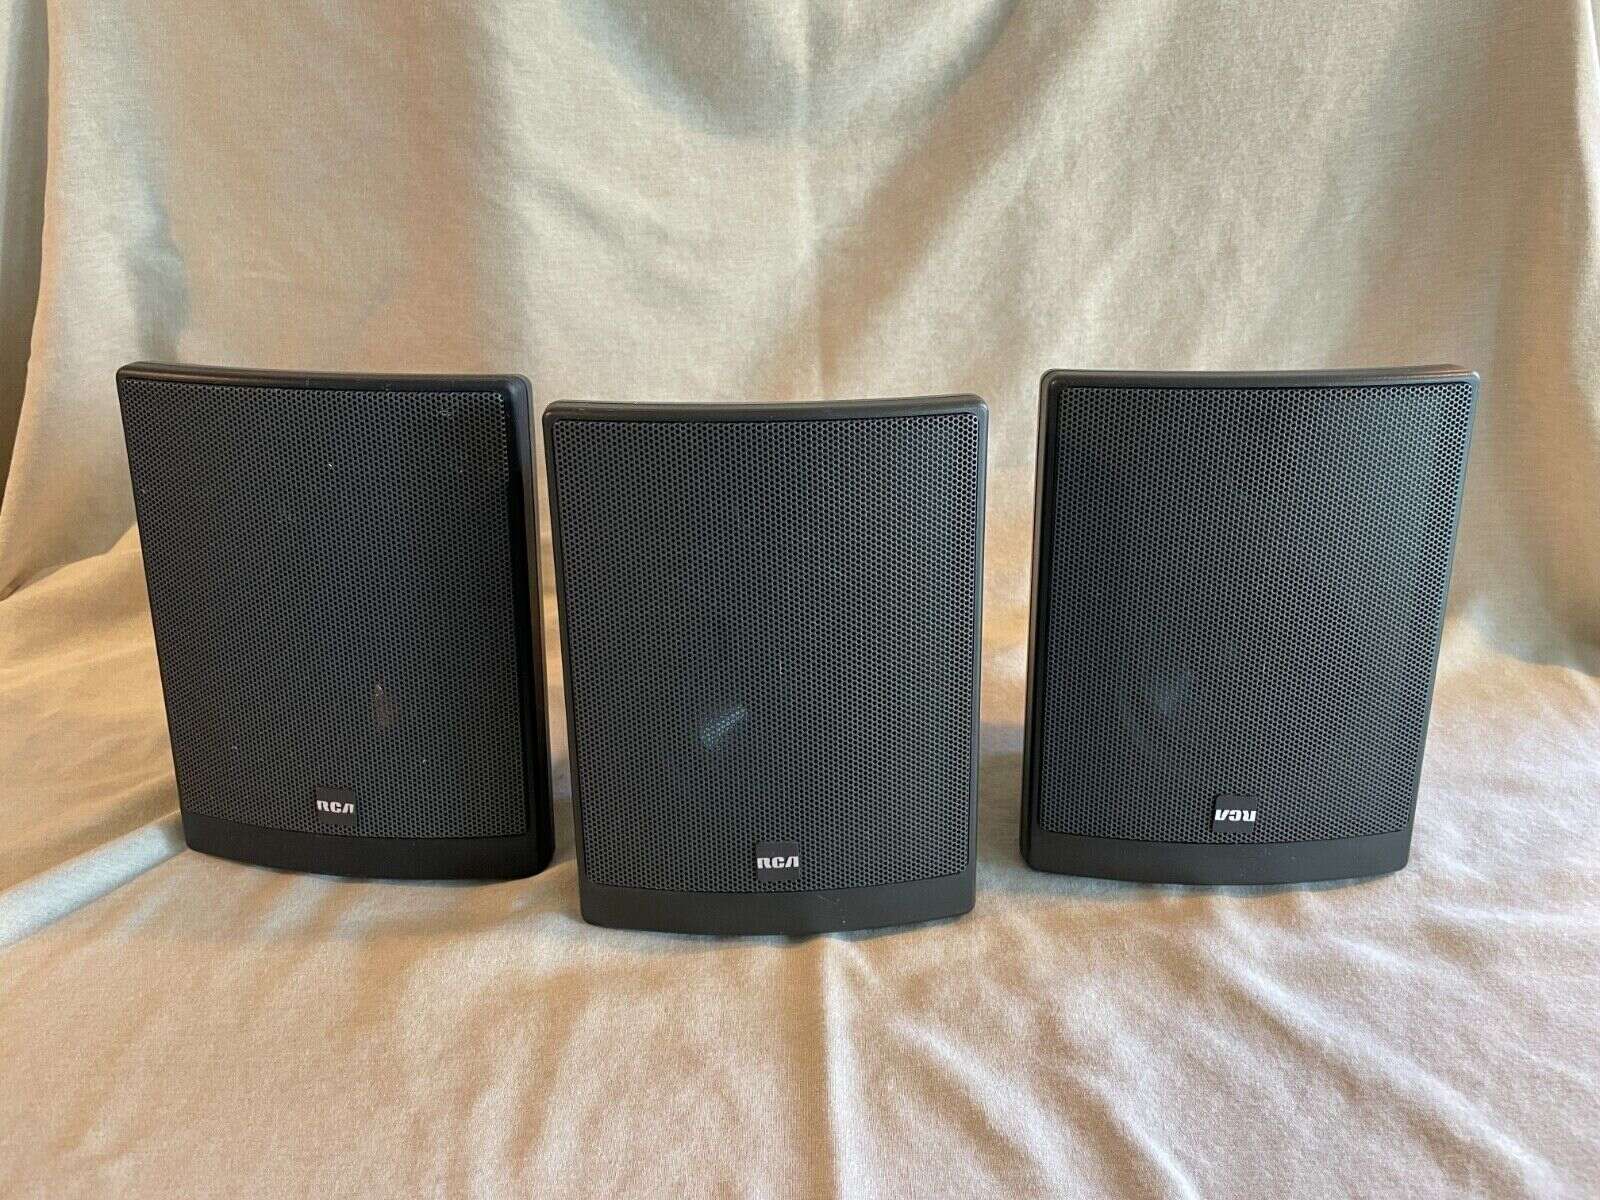
For the surround speakers, position them to the sides or slightly behind the viewers. The exact placement may depend on the specific recommendations of your surround sound system. The surround speakers create an immersive audio environment, adding depth and dimension to the soundstage.
Lastly, position the subwoofer in an area that allows for optimal low-frequency sound reproduction. The low-frequency sounds produced by the subwoofer are omnidirectional, meaning they can be placed anywhere in the room while still providing a deep and rich bass response.
Once all the speakers are placed correctly, take a moment to ensure they are securely mounted or positioned to prevent any vibrations or movements that may affect the audio quality. Concealing cables or wires as much as possible can also help maintain a clean and organized appearance.
Keep in mind that the room acoustics and layout can also impact the sound performance. Experiment with different speaker placements and configurations to find the optimal positioning for your specific room setup.
With the surround sound speakers set up, you are now ready to fine-tune the audio output to match your preferences and room characteristics. The next step will guide you through adjusting the audio output settings on your TV for the best surround sound experience.
Step 5: Adjust the Audio Output Settings on Your TV
Now that you have set up the surround sound speakers, it’s time to fine-tune the audio output settings on your TV to ensure the best surround sound experience. By adjusting these settings, you can optimize sound quality and customize the audio output to suit your preferences.
Access the settings menu on your TV and navigate to the audio or sound settings. Look for options related to audio output or sound mode. Depending on your TV model, you may find various settings such as equalizer, surround sound, or audio enhancements.
Start by adjusting the equalizer settings. The equalizer allows you to modify the levels of different audio frequencies, such as bass, mid-range, and treble. Experiment with these settings and find the balance that suits your listening preferences and enhances the overall sound quality.
If your TV offers a surround sound mode, enable this option to optimize the audio output for a surround sound system. The surround sound mode adjusts the audio processing to create a more immersive and realistic soundstage. However, note that the effectiveness of this mode may vary depending on your TV’s capabilities and the content being played.
Some TVs also provide audio enhancements or special sound modes designed for specific content types, such as movies, music, or sports. Explore these options and see if they enhance your audio experience. However, be mindful that certain sound modes may alter the audio output and may not always provide the most accurate representation of the original sound.
Additionally, review any additional audio settings in the TV’s menu, such as lip-sync adjustment, volume control, or audio delay. These settings allow you to fine-tune the audio synchronization and ensure a seamless audio-visual experience.
Remember, the optimal audio output settings may vary depending on your personal preferences, the surround sound system, and the room acoustics. Take the time to adjust and test different settings until you achieve the desired sound quality and audio immersion.
Keep in mind that the available audio output settings and options may differ depending on your TV model. Refer to the user manual or online support resources provided by the manufacturer if you need further guidance on specific settings.
With the audio output settings adjusted, you are now ready to put your surround sound system to the test. The next step will guide you through testing the surround sound system to ensure everything is working correctly.
Step 6: Test the Surround Sound System
After setting up and fine-tuning your surround sound system, it’s important to test its functionality to ensure all speakers are correctly positioned, and the audio is being evenly distributed throughout the room. Testing the system will help identify any issues or adjustments needed before fully enjoying your immersive audio experience.
Start by playing a piece of content that is specifically designed to test surround sound, such as a movie or a video with surround sound effects. Make sure the content you choose has clear spatial audio cues that can be easily identified when played through a surround sound system.
Once the content is playing, carefully listen for audio cues coming from each speaker. Pay attention to the dialogue, sound effects, and background music to determine if they are being conveyed accurately and from the correct direction. For example, sounds meant to come from the rear speakers should be distinct and clearly audible from the designated surround speakers.
Walk around the room to assess the audio consistency. Make note of any “dead spots” where audio may be weaker or uneven. These dead spots could indicate that speakers need to be repositioned or that the room acoustics need to be adjusted.
During the testing phase, take the time to adjust any settings that might impact the audio output. Experiment with different sound modes, equalizer settings, or other enhancements to find the configuration that delivers the most satisfying surround sound experience.
If you encounter any issues, such as one or more speakers not producing sound or the overall audio balance being off, double-check the connections and settings. Ensure all speaker wires are securely connected and that the speaker configuration settings on your surround sound system align with your speaker setup.
If troubleshooting does not resolve the issue, consult the user manual for your surround sound system or contact their customer support for further assistance.
Take the time to familiarize yourself with the different sound sources (e.g., TV, Blu-ray player, streaming devices) and how they interact with the surround sound system. Adjust the input settings on your surround sound system accordingly to ensure consistent and optimal audio playback from different sources.
Once you are satisfied with the surround sound system’s performance and have successfully tested its functionality, you are ready to sit back, relax, and fully enjoy the immersive audio experience it provides.
Remember to periodically retest and recalibrate your surround sound system to ensure it continues to meet your expectations and deliver the best audio quality possible.
Troubleshooting Tips
While setting up a surround sound system can be a rewarding experience, it’s not uncommon to encounter some challenges along the way. Here are a few troubleshooting tips to help you overcome common issues and ensure a smooth and satisfying audio setup.
- No sound from specific speakers: Ensure that the speaker wires are properly connected to both the surround sound system and the speakers themselves. Check if the speaker settings on your surround sound system are configured correctly, assigning the appropriate audio channels to each speaker.
- Uneven audio levels: Adjust the speaker levels on your surround sound system to ensure that all speakers are balanced in terms of volume. Some surround sound systems offer manual adjustments or automated calibration tools to help you achieve balanced audio levels.
- Poor audio quality: If you notice any distortion, static, or unclear sound, double-check the connections between your TV, surround sound system, and speakers. Ensure that you are using high-quality cables and that all connections are secure. Try using different audio cables or inputs to troubleshoot potential issues with specific connections.
- Audio lag or synchronization issues: If you experience a delay or synchronization problems between the audio and video, adjust the audio delay or lip-sync settings on your TV or surround sound system. These settings allow you to manually adjust the synchronization to suit your setup.
- Interference or buzzing noise: If you encounter interference or buzzing noise, try rearranging the speaker wires and keeping them away from other electrical devices or power sources that may be causing interference. Additionally, ensure that the ground connection of your surround sound system is properly set up.
- Compatibility issues: Verify that your TV and surround sound system are compatible with each other in terms of audio output options and protocols. If they are not compatible, consider using alternative connection methods or seek out external devices, such as AV receivers, to bridge any compatibility gaps.
- Software and firmware updates: Regularly check for software and firmware updates for your TV and surround sound system. Manufacturers often release updates to address known issues, improve compatibility, and enhance overall performance. Keeping your devices up to date can help prevent or resolve various technical glitches.
If you encounter persisting issues that you are unable to troubleshoot, refer to the user manuals for your TV, surround sound system, or other devices involved. Additionally, reach out to the customer support of the respective manufacturers for further assistance and guidance.
Remember, troubleshooting audio issues can require patience and persistence. With a systematic approach and the help of these troubleshooting tips, you’ll be able to address any problems that arise and enjoy the full potential of your surround sound system.
Conclusion
Congratulations on successfully setting up your surround sound system and making all sound play through your TV! By following the steps outlined in this guide, you have transformed your entertainment setup into a truly immersive audio experience. Now, you can enjoy movies, TV shows, games, and more with captivating surround sound that brings the action to life.
Beginning with checking your TV connections and configuring the sound settings, you ensured that your TV is ready to produce high-quality audio output. Connecting the surround sound system to your TV and setting up the speakers allowed you to create a balanced and enveloping soundstage. Adjusting the audio output settings on your TV further enhanced the audio performance to suit your preferences.
Throughout the process, troubleshooting tips were provided to help you resolve any potential issues that may arise. By applying these troubleshooting techniques, you can overcome common challenges and ensure smooth and optimized audio playback from your surround sound system.
Remember, every setup may be unique, and it’s important to refer to the user manuals and support resources for your specific TV and surround sound system if you encounter any difficulties or require further assistance. Experimenting with different settings and speaker placements can also help you customize the audio experience to your liking.
Now that your surround sound system is up and running, it’s time to sit back, relax, and immerse yourself in the rich, multidimensional audio that it delivers. Whether you’re watching a blockbuster movie, playing video games, or enjoying your favorite music, the surround sound system will enhance your overall entertainment experience and transport you into a world of sound like never before.
With proper care and periodic adjustments, your surround sound system will continue to provide an incredible audio experience for years to come. Stay abreast of any software or firmware updates for your devices and periodically retest and recalibrate the system to ensure optimal performance.
Thank you for following this guide on how to make all sound play through your surround sound system. We hope you enjoy the immersive audio experience and discover new depths of entertainment with your upgraded setup!