Introduction
Connecting your surround sound system to your TV using an HDMI cable can greatly enhance your audio experience and create a more immersive entertainment setup. With the right equipment and a few simple steps, you can enjoy high-quality sound while watching your favorite movies or TV shows.
In this guide, we will walk you through the process of connecting your surround sound system to your TV using an HDMI cable. Whether you’re a tech enthusiast or a beginner, you’ll find the instructions easy to follow.
Before we proceed, it’s important to note that there are different types of surround sound systems available, such as soundbars, home theater systems, and receivers. The steps outlined in this guide are general and may vary slightly depending on the specific model you own. It’s always a good idea to consult the user manual that came with your equipment for more detailed instructions.
Now, let’s gather the necessary equipment and get started on connecting your surround sound system to your TV using HDMI!
Step 1: Gather the necessary equipment
Before you begin the setup process, it’s important to ensure you have all the necessary equipment on hand. Here’s a list of the items you’ll need:
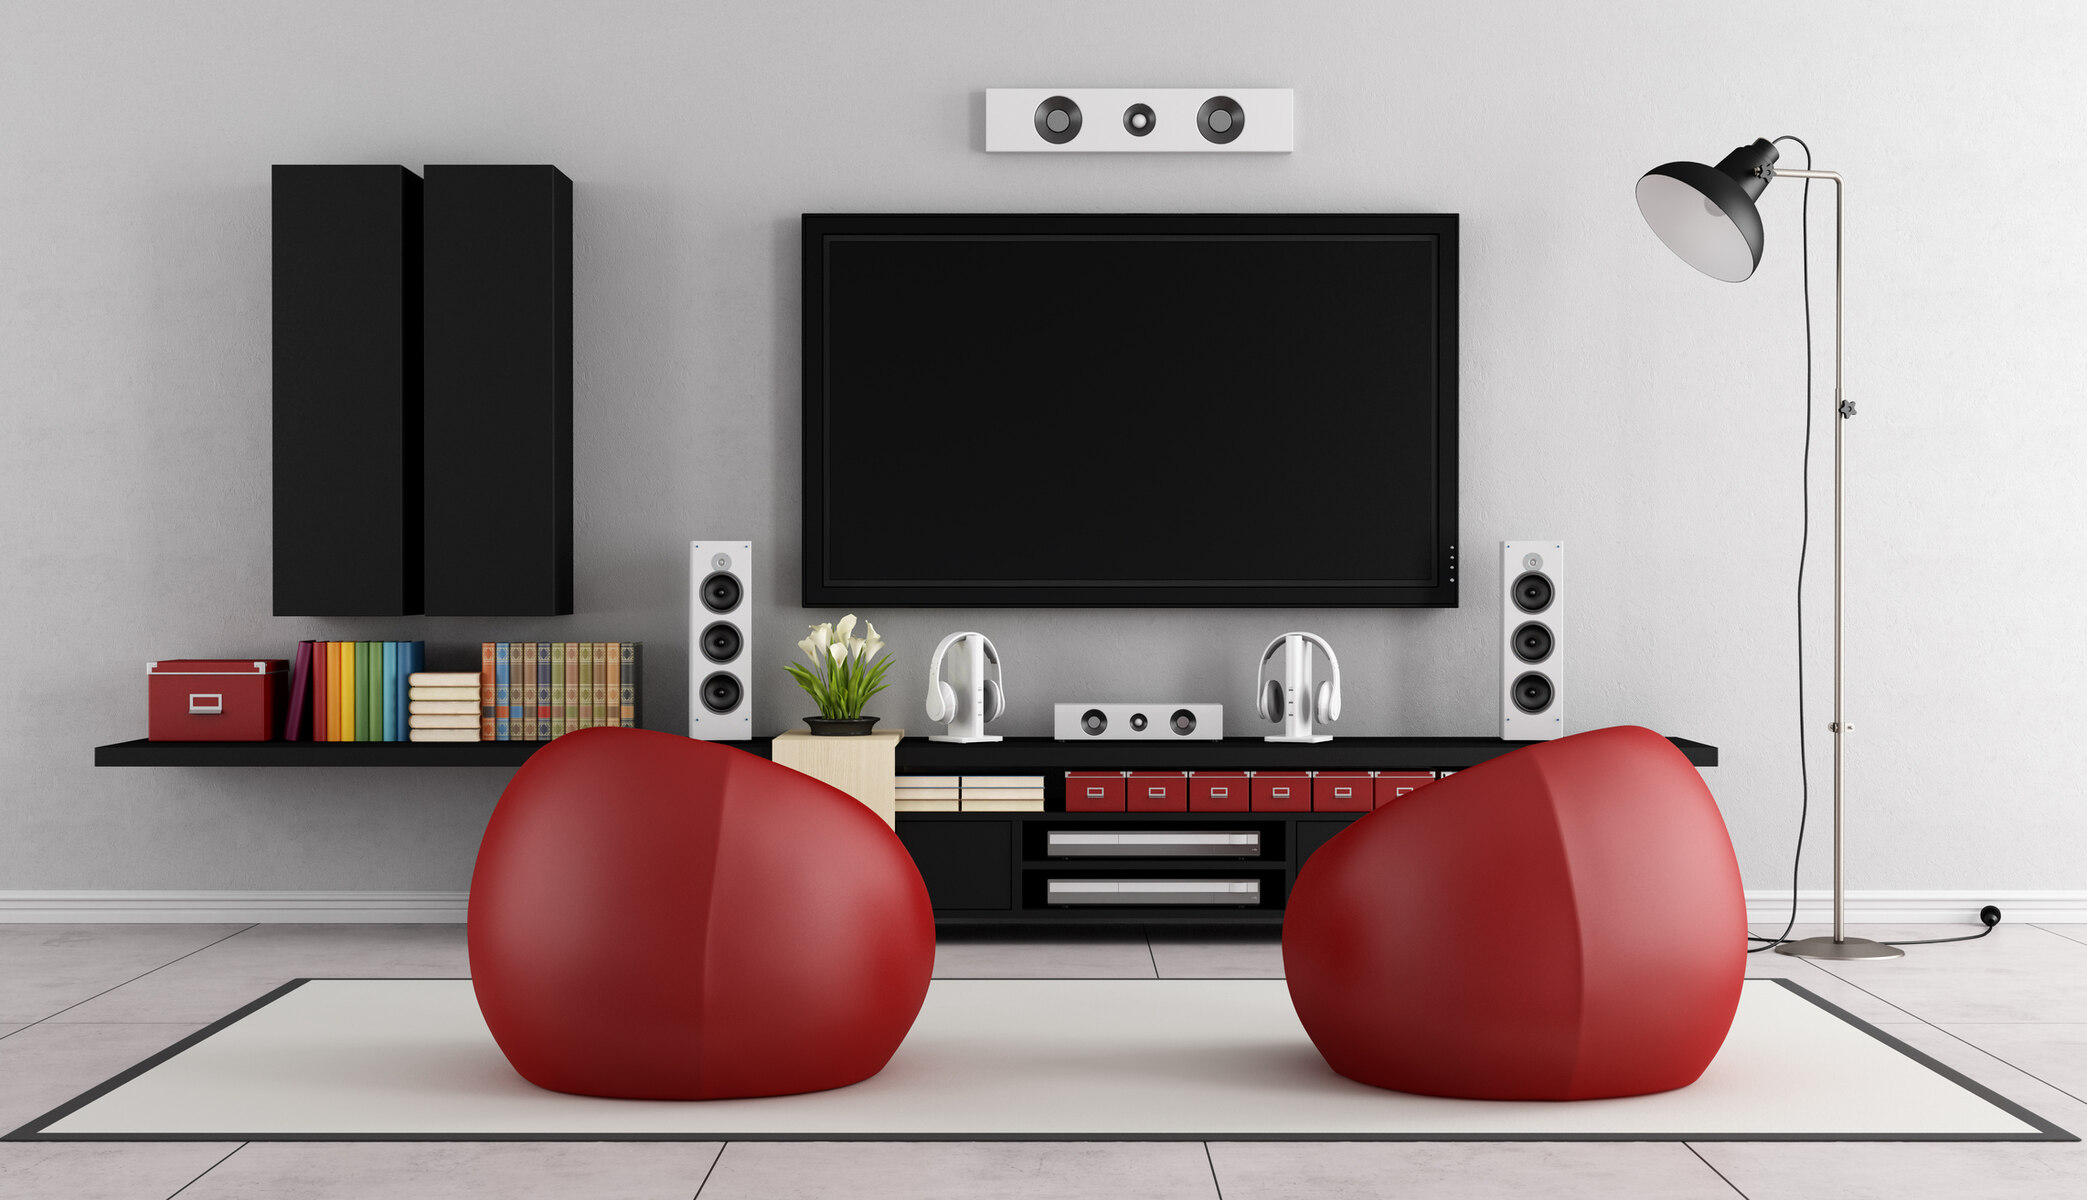
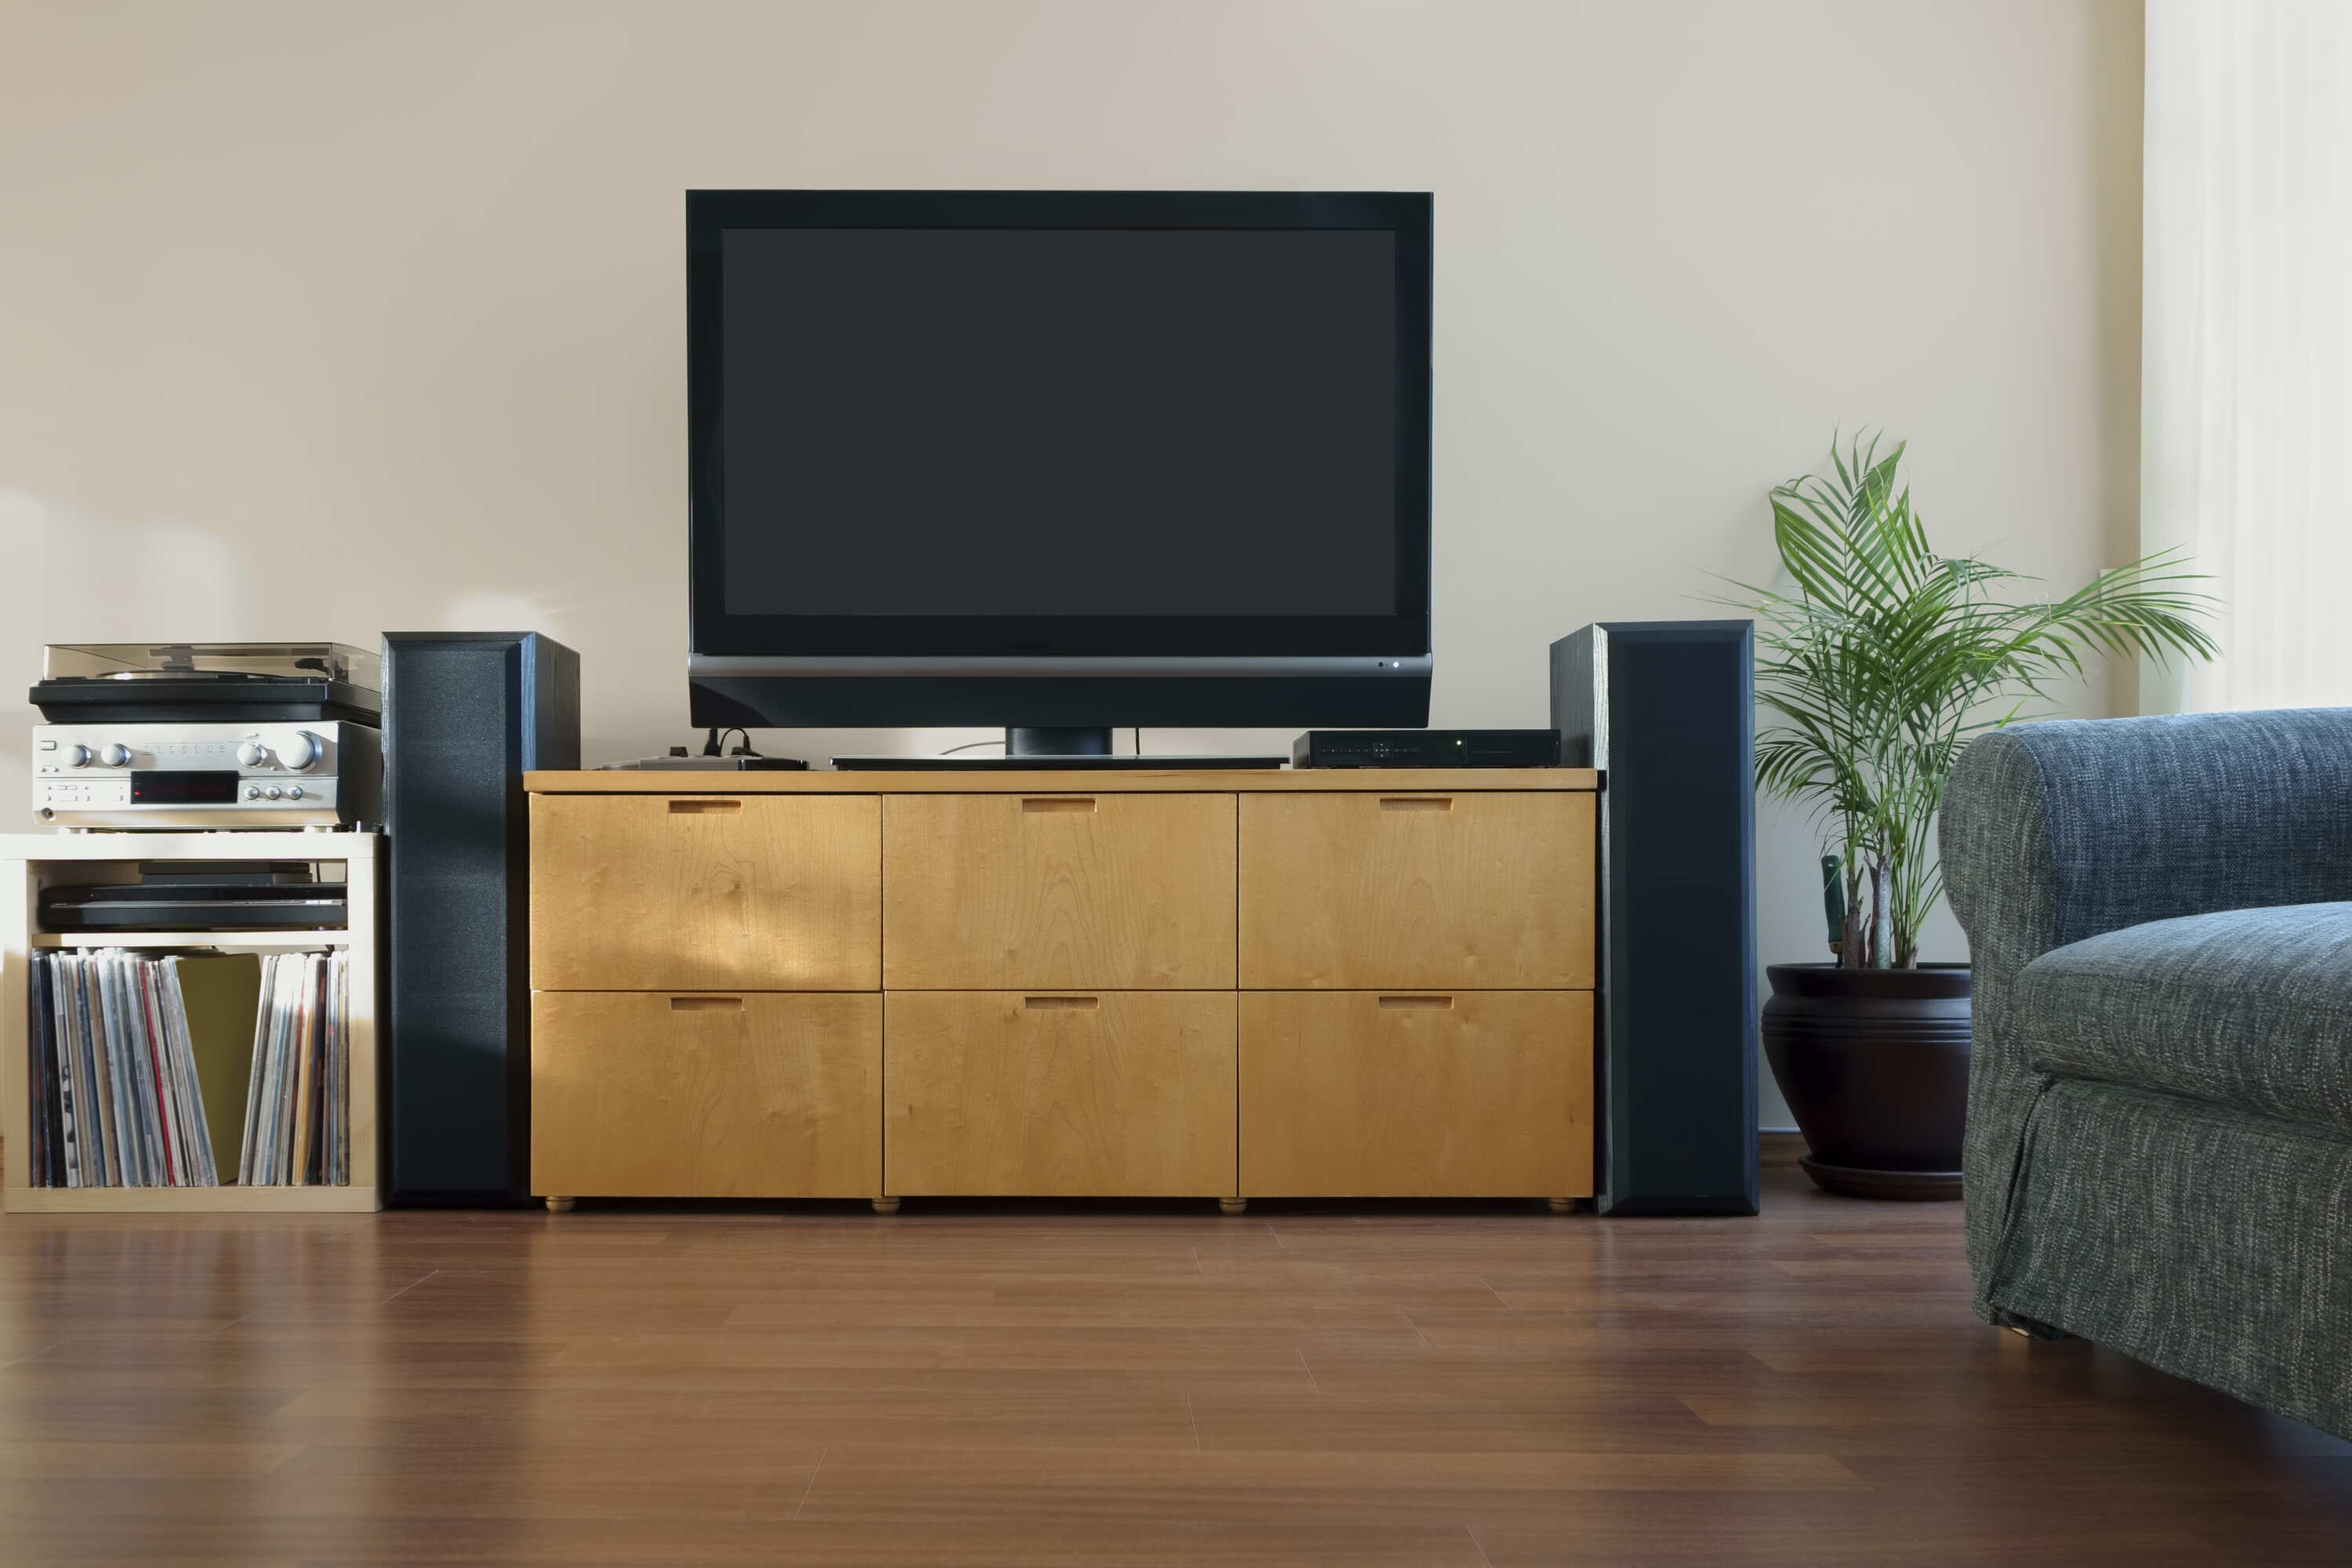
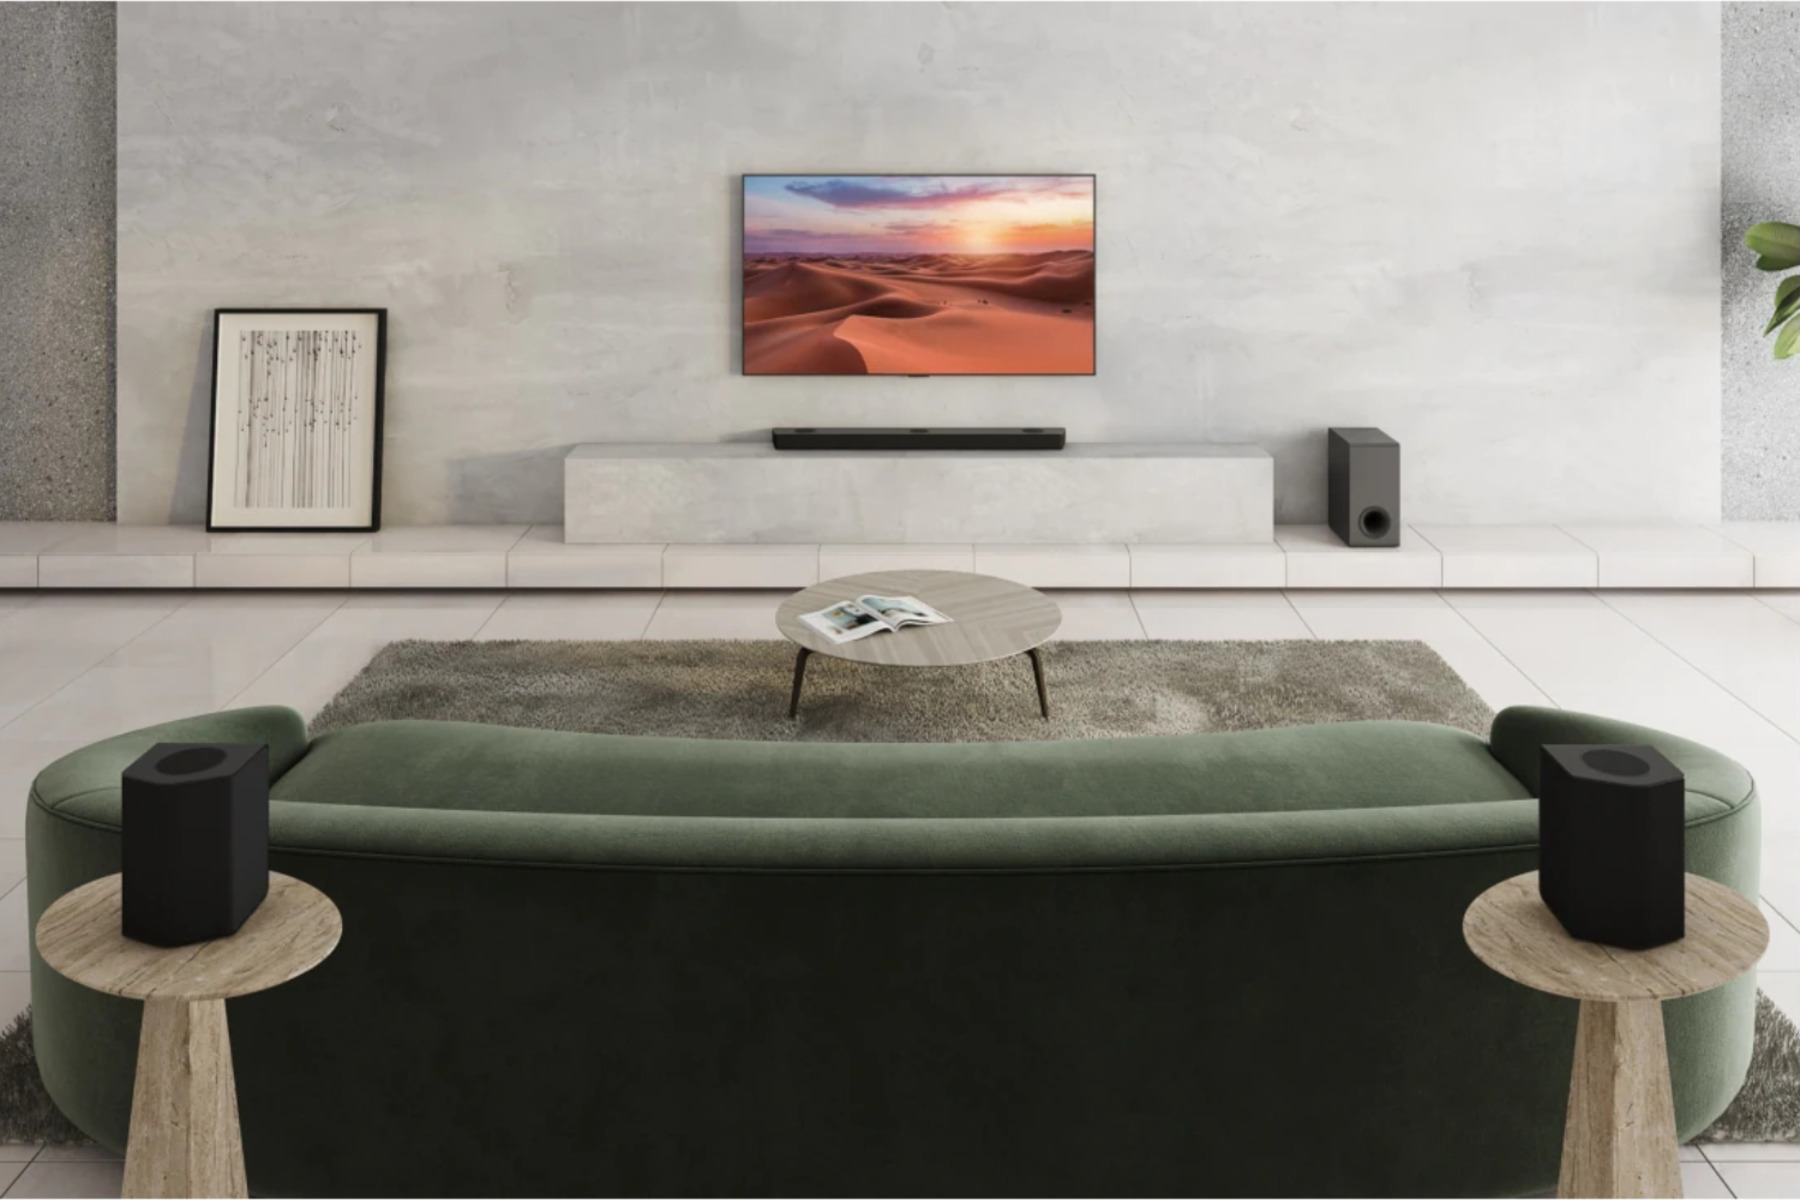
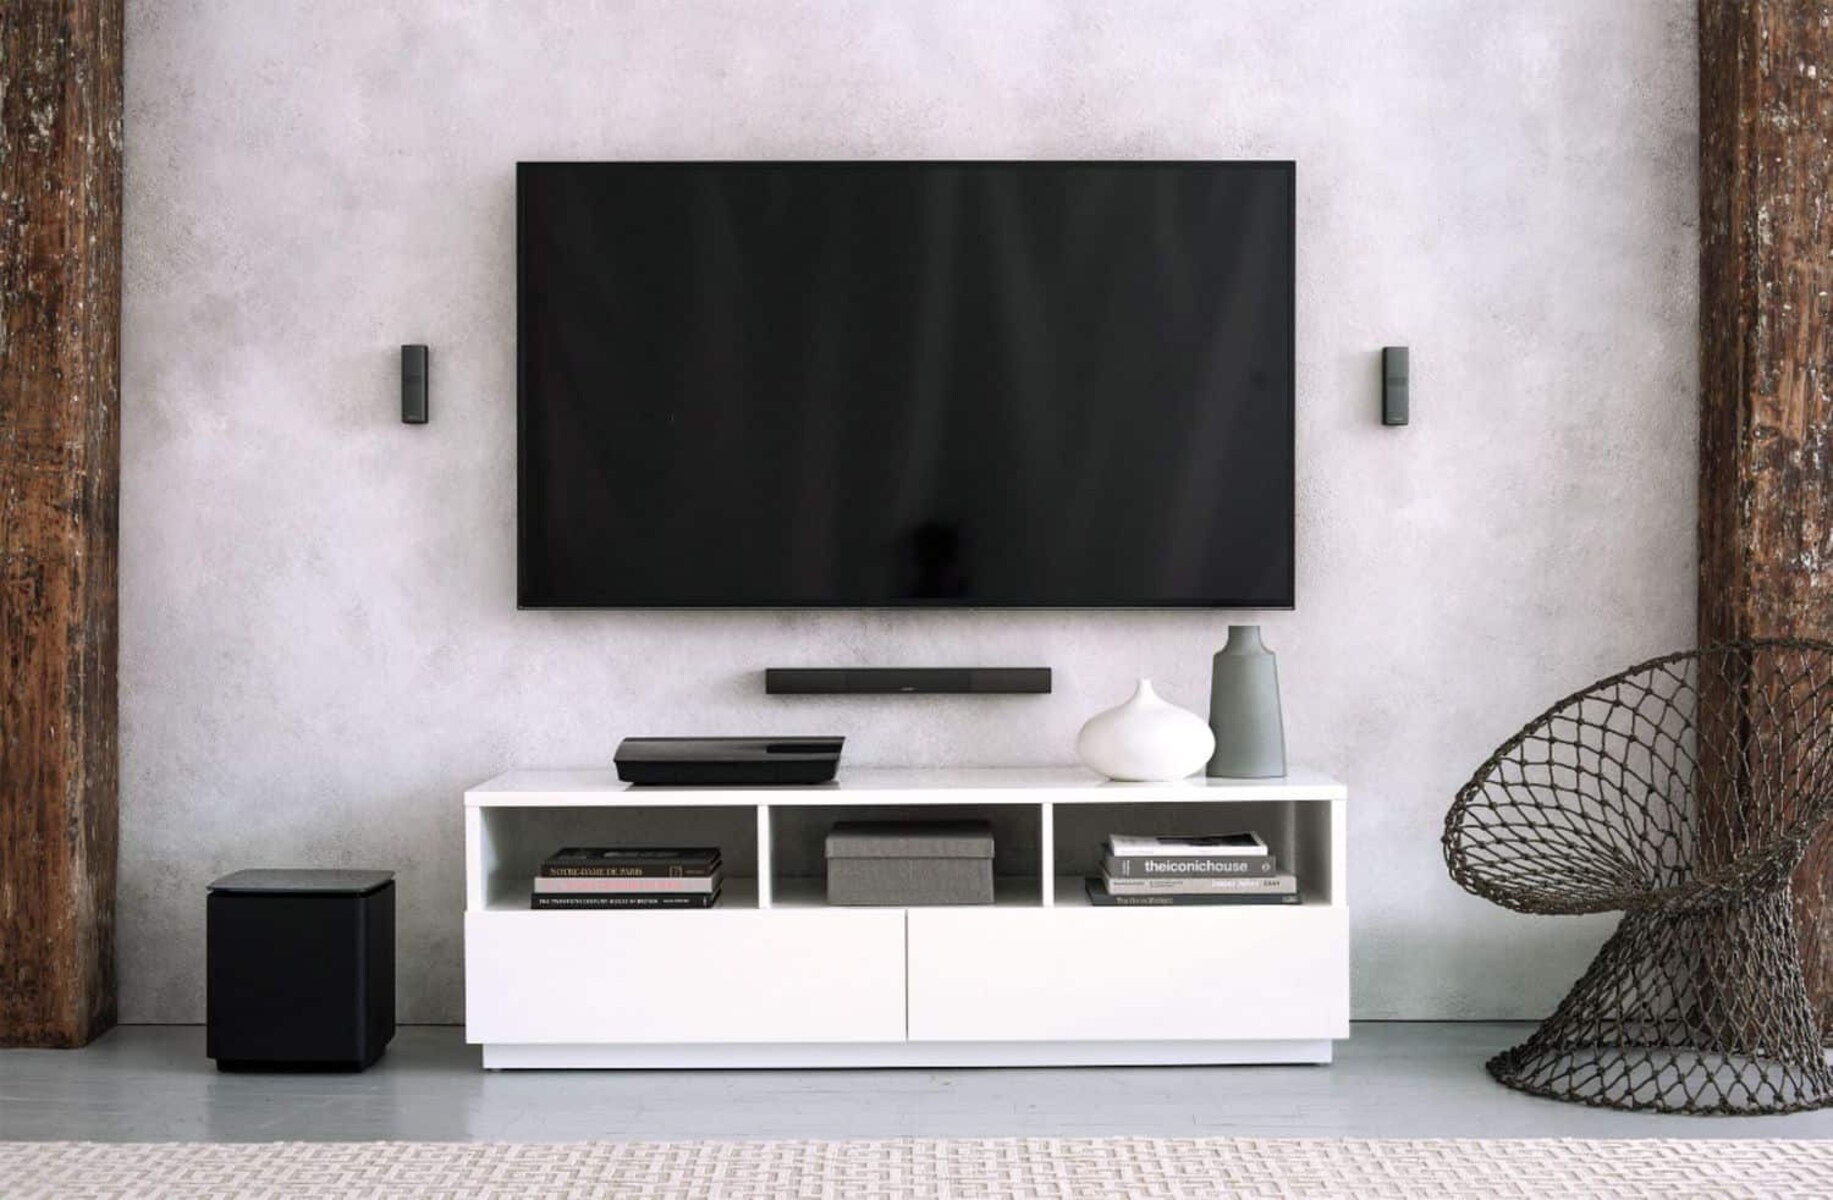
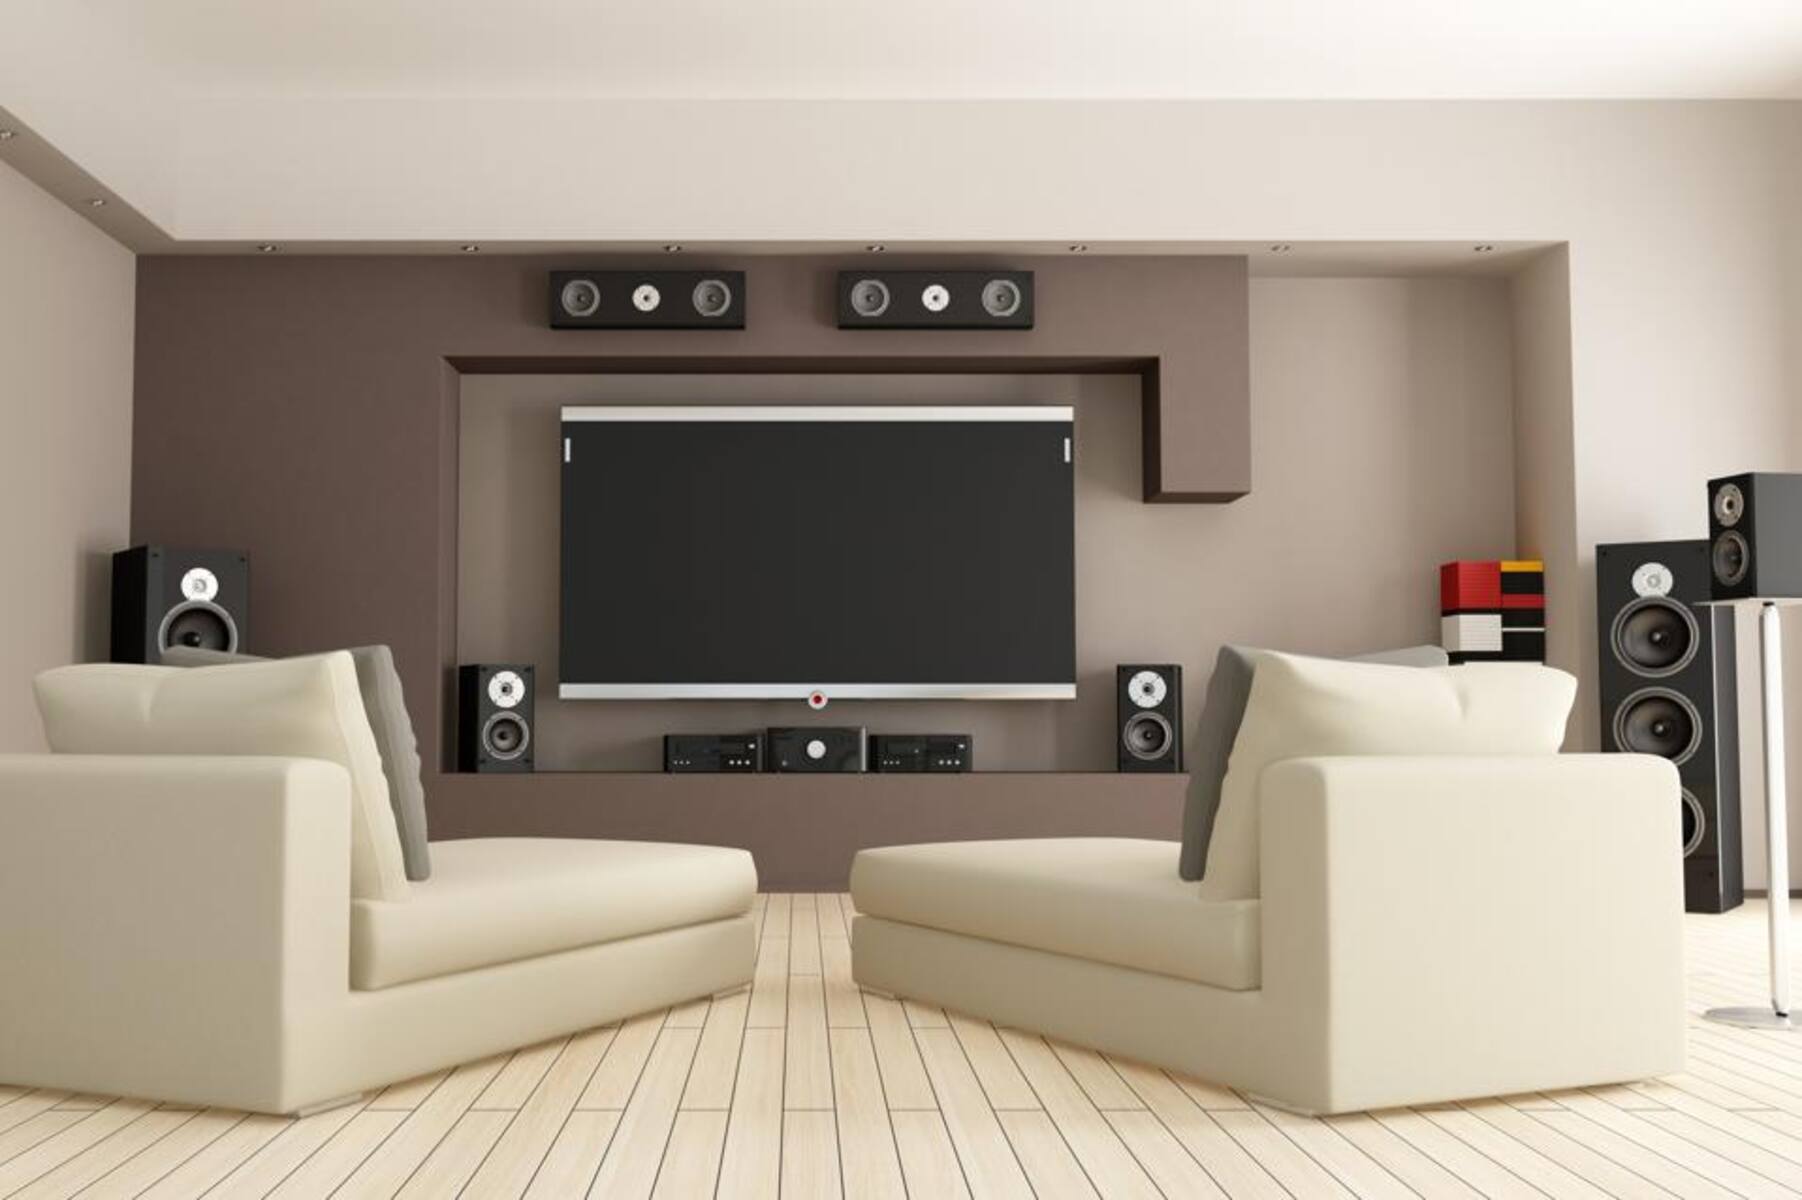
- A surround sound system: This can be a soundbar, a home theater system, or a receiver with speakers.
- An HDMI cable: Look for a high-speed HDMI cable that supports audio return channel (ARC) if your TV and surround sound system have this feature.
- A compatible TV: Check if your TV has an HDMI port and supports ARC. Most modern TVs should have these features.
- Speakers: If you’re using a receiver, you will need speakers to connect to it. Ensure you have the appropriate number of speakers for your chosen setup, whether it’s 5.1, 7.1, or another configuration.
- A power source: Make sure your surround sound system and TV are plugged into power outlets.
Once you have gathered all the necessary equipment, you’re ready to move on to the next step: checking the compatibility of your TV and surround sound system.
Step 2: Check your TV and surround sound system compatibility
Before proceeding with the connection, it’s essential to ensure that your TV and surround sound system are compatible with each other. Here’s what you need to do:
- Check for HDMI ports: Look at the back or side of your TV and surround sound system for HDMI ports. These ports resemble thin, rectangular slots labeled as “HDMI.”
- Evaluate ARC support: Determine if both your TV and surround sound system support ARC (Audio Return Channel) functionality. ARC allows the TV to send audio signals back to the surround sound system through the HDMI cable, eliminating the need for a separate audio connection.
- Verify the HDMI standard: Make sure that your HDMI cable is compatible with the HDMI standard supported by your TV and surround sound system. The most common standard is HDMI 2.0, but newer devices may support HDMI 2.1 for enhanced features like eARC (enhanced Audio Return Channel).
- Consult the manuals: If you’re unsure about the compatibility or setup process, refer to the user manuals for your TV and surround sound system. These manuals usually provide detailed instructions and information specific to your devices.
By checking the compatibility of your TV and surround sound system, you can ensure a seamless connection and optimize the audio performance of your setup. Once you’ve confirmed compatibility, we can move on to the next step: connecting the HDMI cable between your TV and surround sound system.
Step 3: Connect HDMI cable from the TV to the surround sound system
Now that you have verified the compatibility, it’s time to connect the HDMI cable between your TV and surround sound system. Follow these steps:
- Locate the HDMI ports: Identify the HDMI OUT or ARC (Audio Return Channel) port on your TV. It’s usually labeled as such, but if you’re unsure, consult your TV’s user manual. On your surround sound system, find the HDMI IN port.
- Plug in the HDMI cable: Take one end of the HDMI cable and insert it into the HDMI OUT or ARC port on your TV. Ensure a secure connection by firmly pushing the cable into the port. Then, connect the other end of the cable to the HDMI IN port on your surround sound system.
- Power on the devices: Switch on your TV and surround sound system. Wait for them to power up and establish a connection.
- Select the input source: On your TV, navigate to the input source settings. Look for the option that corresponds to the HDMI port you connected to your surround sound system. Select it as the input source for your sound system.
Once you’ve completed these steps, the HDMI cable will transmit both audio and video signals between your TV and surround sound system. This seamless connection allows you to enjoy immersive sound while watching your favorite movies or TV shows.
Now that you’ve successfully connected the HDMI cable, let’s move on to the next step: configuring the settings on your TV and surround sound system.
Step 4: Configure the TV and surround sound system settings
With the HDMI cable connected, it’s time to configure the settings on your TV and surround sound system to optimize the audio output. Follow these steps:
- Access the TV settings: Using your TV remote, navigate to the settings menu. Look for the audio or sound settings option.
- Enable ARC: In the audio settings, locate the option to enable ARC (Audio Return Channel). Enable it to allow your TV to send audio signals to the surround sound system through the HDMI cable.
- Select the correct audio output: In the audio settings, ensure that the audio output is set to HDMI or ARC. This ensures that the audio signals are routed to the surround sound system.
- Adjust sound settings: Explore the sound settings on your TV and adjust them according to your preferences. You may have options to adjust the equalization, surround sound modes, or other audio enhancements.
- Access the surround sound system settings: Use the remote control for your surround sound system to access its settings menu.
- Configure audio settings: In the surround sound system settings, configure the audio settings according to your desired setup. This may include selecting the speaker configuration (such as 5.1 or 7.1), adjusting volume levels for each speaker, or enabling specific audio features.
- Test the audio: Play some content that supports surround sound, such as a movie or a video game, and listen to the audio output. Ensure that you’re hearing the desired sound effects from the appropriate speakers.
By configuring the settings on both your TV and surround sound system, you can fine-tune the audio output and tailor it to your preferences. Take your time to explore the settings and experiment with different options to achieve the best audio experience.
Once you’ve completed the configuration, it’s time to move on to the next step: testing the surround sound system to ensure everything is working correctly.
Step 5: Test the surround sound system
After configuring the settings, it’s crucial to test your surround sound system to ensure everything is working correctly. Follow these steps to conduct a thorough test:
- Choose compatible content: Select a movie, TV show, or video game that supports surround sound. Look for titles with Dolby Digital or DTS audio formats to fully experience the capabilities of your surround sound system.
- Position yourself in the listening area: Situate yourself in the center of your designated listening area where you can fully immerse yourself in the audio experience.
- Play the content: Start playing the selected content and pay attention to the sound coming from each speaker. Listen for clear dialogue from the center speaker and directional audio effects from the surround speakers.
- Verify proper speaker output: As the audio plays, verify that each speaker is producing the correct sound. You can test this by temporarily muting individual speakers to identify their output or using test tones provided by your surround sound system.
- Adjust settings as needed: If you notice any issues or imbalances in the sound, revisit the settings on both your TV and surround sound system. Make adjustments to the volume, speaker levels, or audio configurations to achieve the desired audio balance.
- Test different sound modes: Experiment with different sound modes on your surround sound system, such as movie mode, music mode, or gaming mode, to find the one that enhances your audio experience for different types of content.
- Repeat the test: Test your surround sound system with various types of content and genres to ensure consistent performance across different media.
By conducting a thorough test of your surround sound system, you can verify that all speakers are functioning properly, the sound is properly balanced, and you are getting the best audio experience possible.
If you encounter any issues during the testing phase, don’t worry. We’ll address some common troubleshooting tips in the next step to help you resolve any potential problems.
Step 6: Troubleshooting common issues
While setting up your surround sound system, you may encounter some common issues that can affect the audio experience. Here are a few troubleshooting tips:
- No audio or low volume: Ensure that all cables are securely connected and that the volume levels on both your TV and surround sound system are appropriately adjusted. Verify that the correct input source is selected on your TV.
- Incorrect audio output: If the audio is playing through the TV speakers instead of the surround sound system, check the audio settings on your TV. Make sure the audio output is set to HDMI or ARC.
- Audio out of sync: If the audio and video are not synchronized, check the audio settings on your TV or surround sound system for an audio delay or lip-sync adjustment. Experiment with different settings to achieve proper synchronization.
- Missing or distorted surround sound effects: Ensure that your content is compatible with surround sound and has been encoded with the appropriate audio formats, such as Dolby Digital or DTS. Verify that the surround sound settings on your TV and surround sound system are correctly configured.
- ARC not working: If the ARC function is not working properly, check the HDMI cable to ensure it supports ARC. Consider trying a different HDMI cable or consult the user manuals of both your TV and surround sound system for troubleshooting specific to ARC functionality.
- Audio dropouts or interruptions: Interference from other electronic devices, Wi-Fi routers, or wireless speakers can cause audio dropouts or interruptions. Try moving any potential sources of interference away from your surround sound system or switch to a wired connection if possible.
Remember, troubleshooting can vary depending on the specific model and brand of your TV and surround sound system. Consult the user manuals or contact the manufacturer’s customer support for further assistance if you are unable to resolve the issues on your own.
With these troubleshooting tips, you can overcome common issues and ensure that your surround sound system is functioning optimally.
Conclusion
Connecting your surround sound system to your TV using an HDMI cable is a straightforward process that can greatly enhance your audio experience. By following the steps outlined in this guide, you can create a more immersive entertainment setup and enjoy high-quality sound while watching movies, TV shows, or playing games.
Throughout the setup process, it’s important to gather the necessary equipment, check the compatibility of your TV and surround sound system, and connect the HDMI cable securely. Configuring the settings on both devices and conducting a thorough audio test will ensure optimal performance.
If you encounter any issues, remember to troubleshoot common problems such as no audio, audio out of sync, or missing surround sound effects. Check your cables, adjust settings, and consult the user manuals or manufacturer’s support if needed.
With patience and attention to detail, you can overcome any challenges and achieve a seamless connection between your TV and surround sound system, delivering an immersive audio experience that enhances your entertainment enjoyment.
Now that you’re equipped with the knowledge to connect your surround sound system to your TV with an HDMI cable, it’s time to sit back, relax, and revel in the rich, immersive sound that will transform your entertainment experience.